The steps below follow the order of the work for this kitchens project.
Hi there, my name is Bettina from OhEverythingHandmade and I am a new contributor here at Bekob! I love to Handmade, and hopefully I will inspire some of you out there with my tutorials.
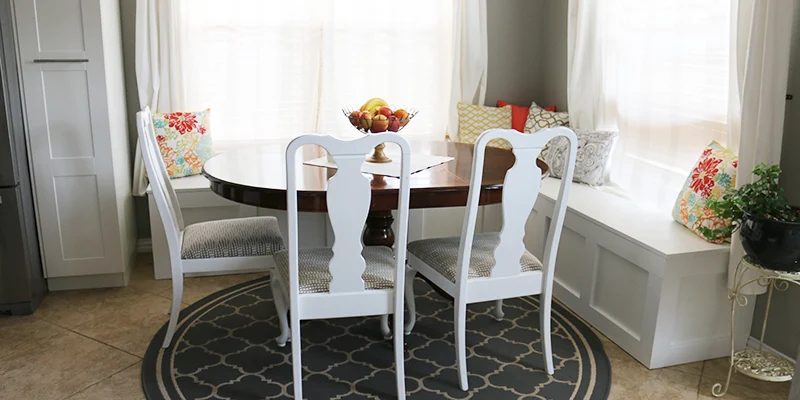
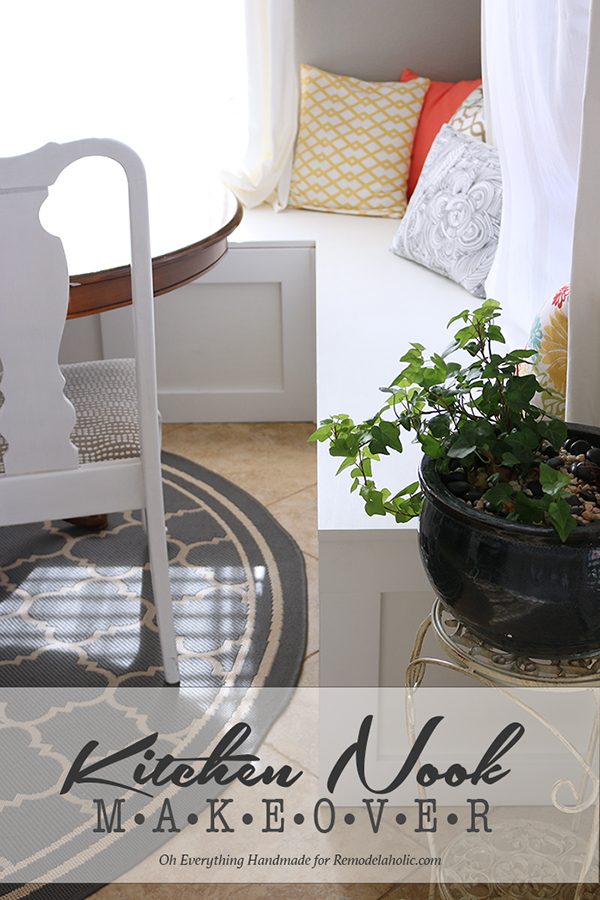
My first walkthrough is about our kitchen nook makeover, we have always been short on chairs. So, we (my husband and I) build a bench from scratch, which extended the kitchen visually, and gave us more seating options.
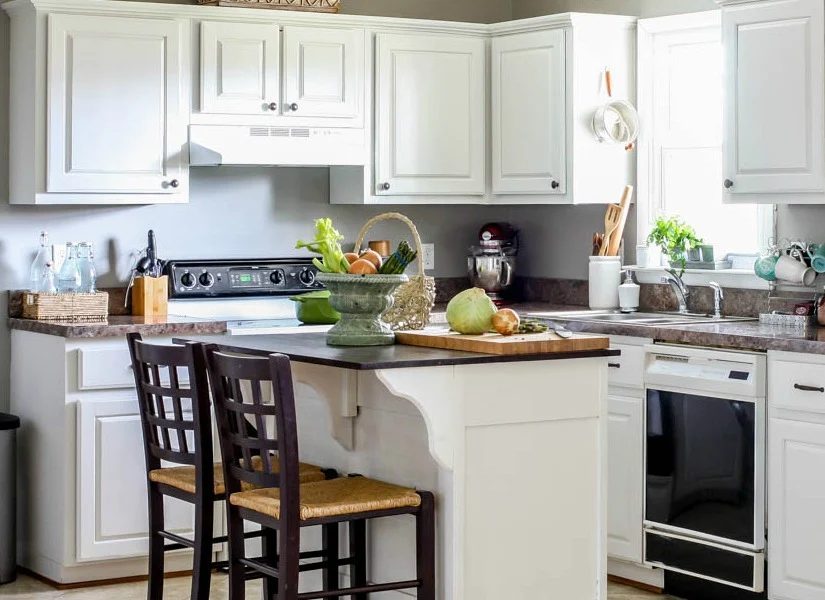
This is what we our kitchen nook looked before:
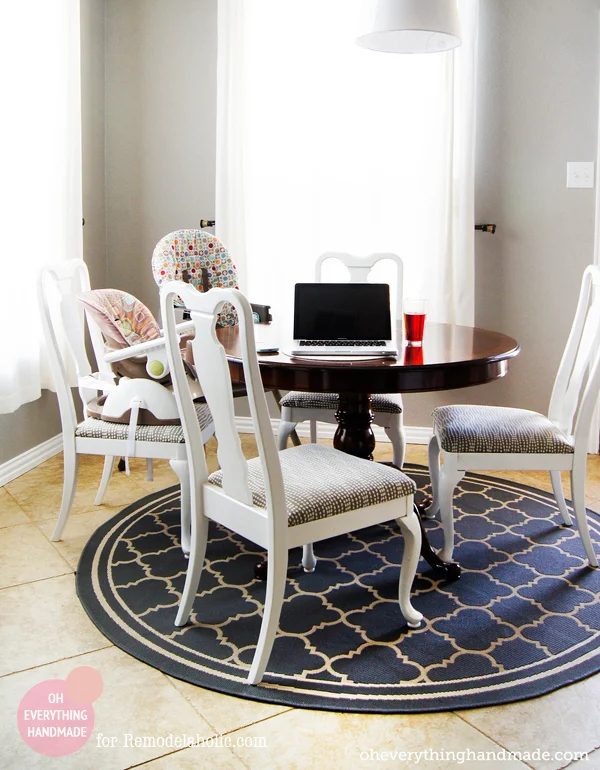
Only 1 guest was allowed to sit with us. Oh wait, that explains it all!
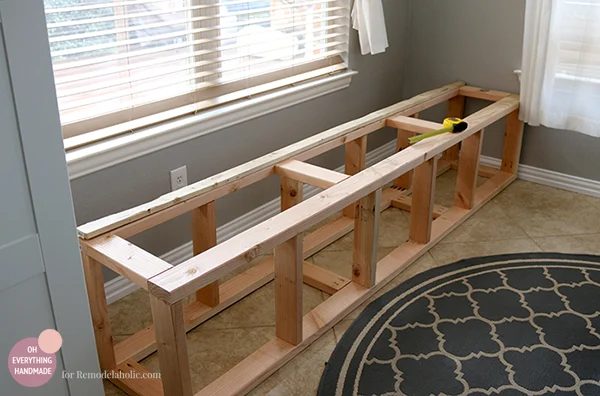
How to Build a Banquette Bench
Step 1.
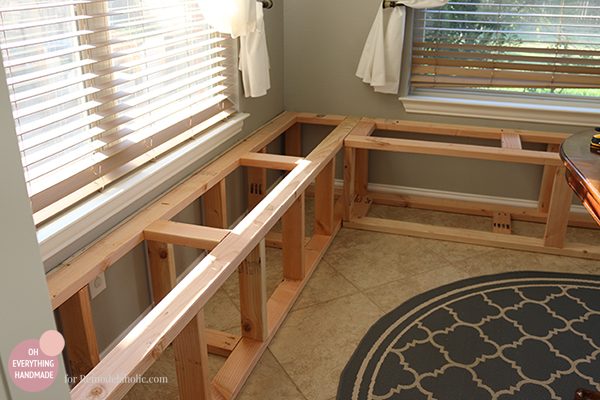
Build the frame for your bench. I’d love to give you the exact measurements, however I am pretty sure we all have different kitchen layouts. So, I’ll skip the measurements, but I will add the material we used.
12- 2×4’s is all you need to build the frame for a 12’x6′ bench.
- measure the area where your bench is going to be installed
- make sure you choose a comfortable hight for your bench
- cut your 2×4’s, and use a kreg jig to make vertical holes for your screws
Step 2.
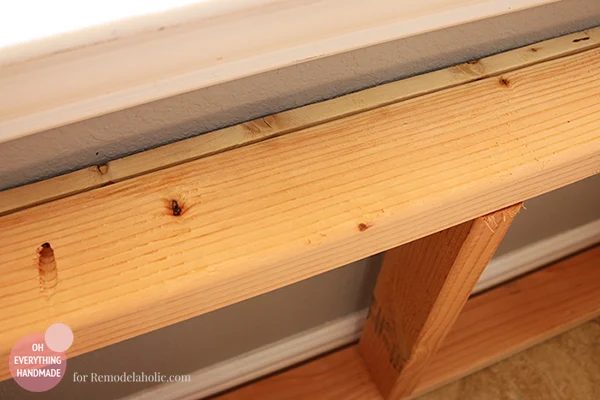
We thought about cutting out the base board, but something told me not to. We simply attached a 3/4-inch thick board onto the wall, to close the gap. This board was also used to secure the bench to the wall.
- If you leave your baseboard on the wall, make sure to have some boards available to fill in the gap.
- Should you not have a baseboard, continue with securing the bench frame to the wall. I recommend using good screw hooks!
Step 3.
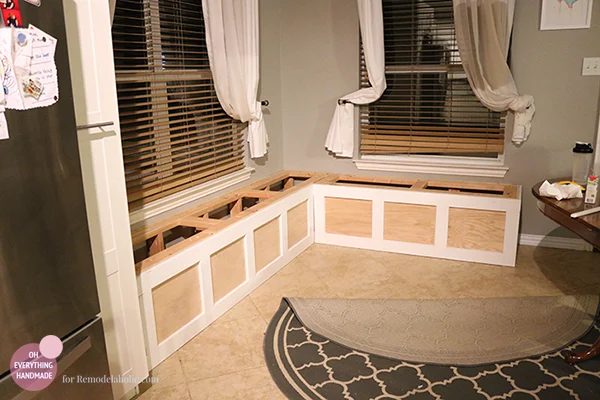
Now, we give the frame a nice look, by attaching 3/4-inch plywood (your home improvement store will cut the wood for you) to the front.
- Measure the front, and the sides of your bench frame
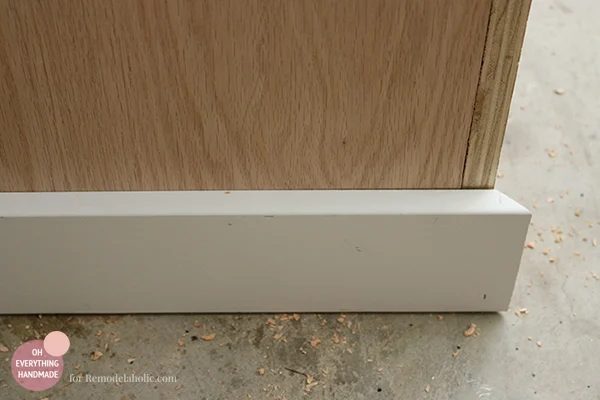
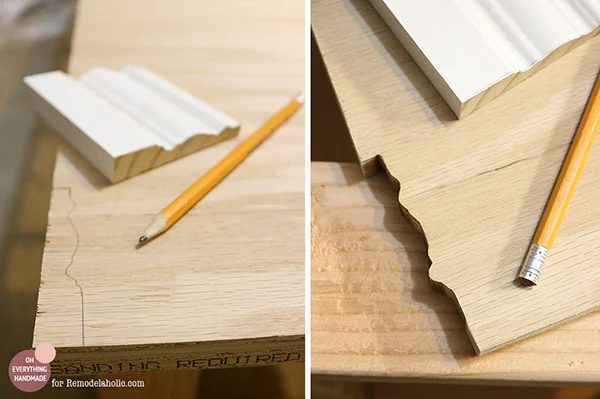
- Our baseboard was sticking out, so I cut the shape for it out with a table saw (leftover base board always comes in handy)
- We used 1 sheet of 3/4-inch plywood, and I had some scrap wood for the sides
- You also need some trim to give the bench a finished look
- I used white 3/4″x3″ trim
Step 4.
I used the trim to hide the ends. Cutting the trip at 45 degree did the trick.
- Gorilla glue
- Nail gun
- Miter saw
- Electric sander
Step 5.
Ready to be painted!
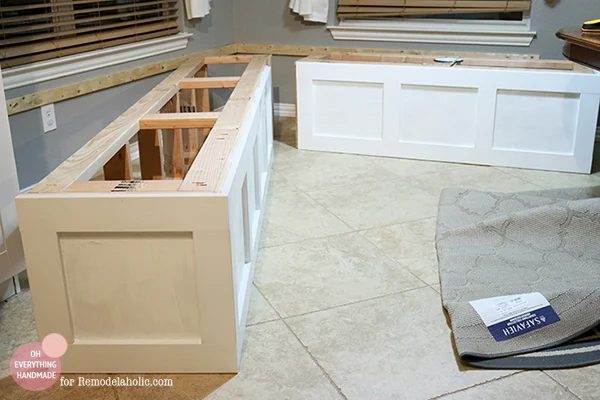
First coat of three.
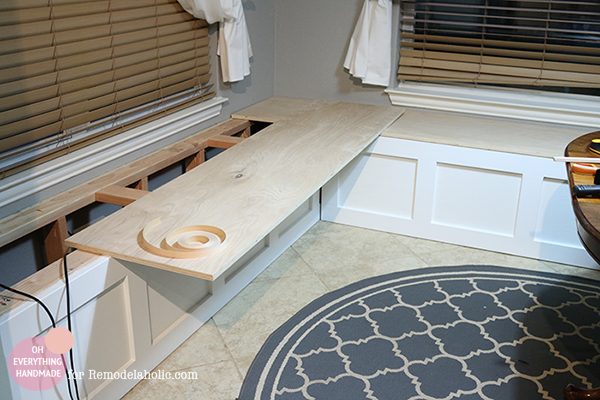
Step 6.
Attach the bench to your wall now, and measure the top. It is always important to measure again once the bench is installed. Our wall was slightly uneven, which through off some of our previous numbers.
- 1 sheet of 3/4-inch plywood
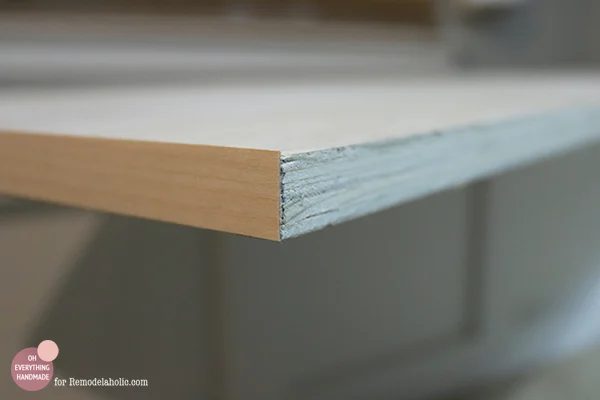
- 3/4-inch paintable, Iron-on wood veneer
- Veneer cutter
- Iron
- Electric sander (sand the plywood before painting)
- Wood filler
Step 7.
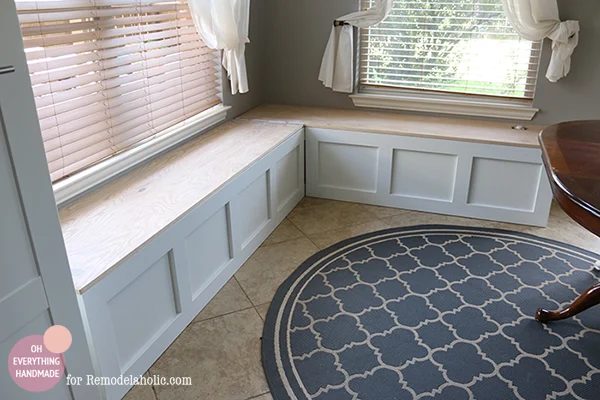
I attached the plywood with screws to the frame and filled in the holes with wood filler.
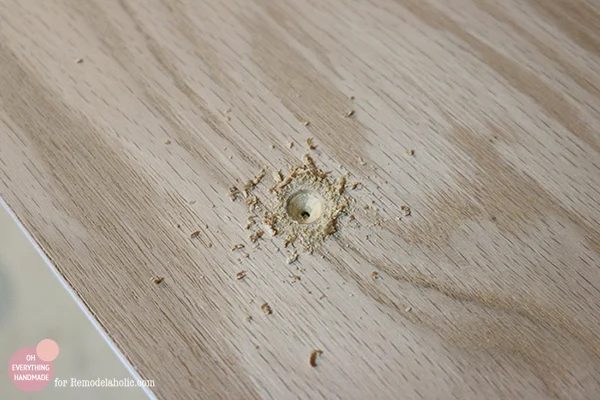
- Let wood filler dry 2-8h depending on the size and depth
- Sand
- Paint
- Add trim along the wall to hide gaps
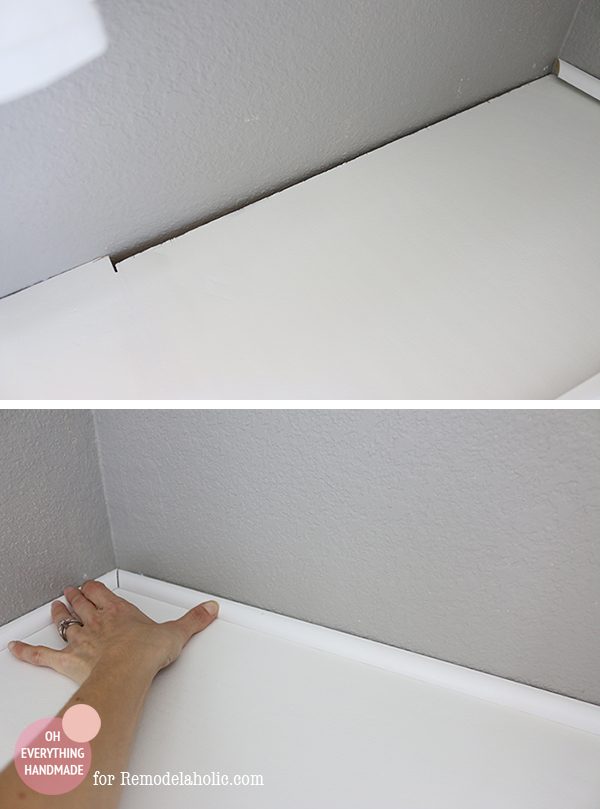
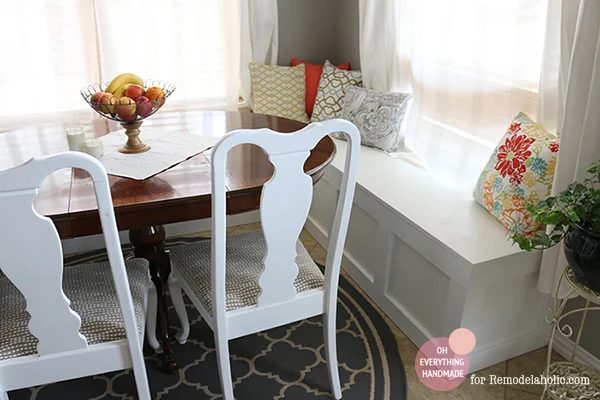
All done! I am working on the cushions which will be added shortly!
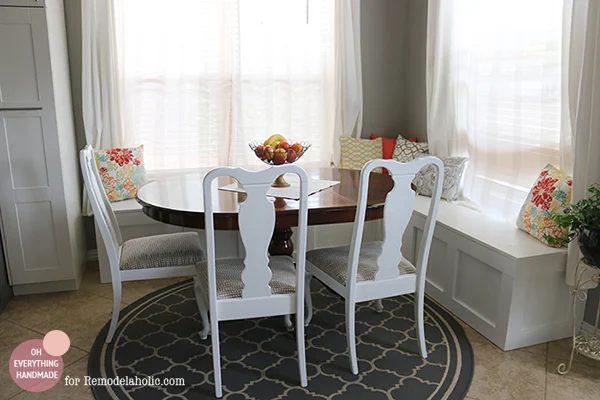
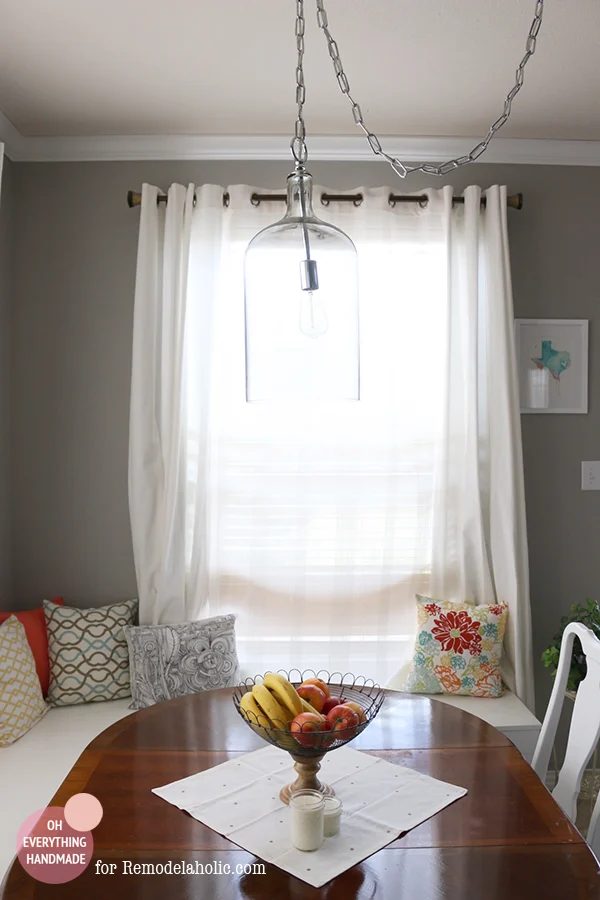
Hope you enjoyed the walkthrough, should you have any questions please post them below.
————————————–
Crushing on banquette bench arrangements? Try these on for size!
How to Create a Corner Art Gallery Banquette