The steps below follow the order of the work for this workshop project.
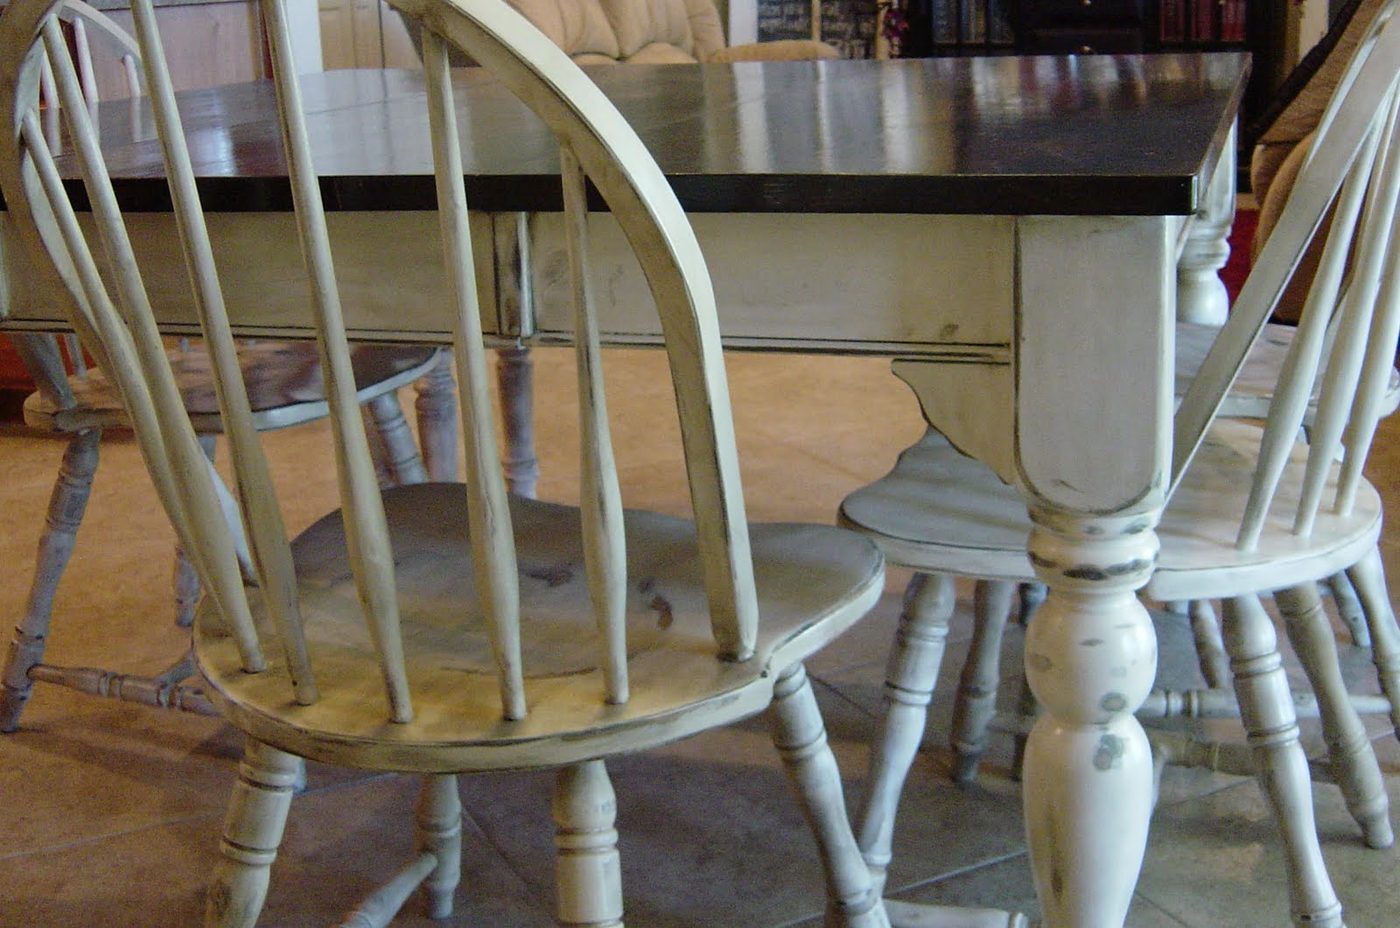
Kitchen Table Refinished With Distressed Look contributed by The Backyard Boutique I have always loved my kitchen table. Lately, though, I felt like it needed a good facelift. Once again, I failed to take decent before pictures for this project. I scoured my iPhoto and here’s the best I came up with. (Lucky for you; you get to see my cute Little Man!): I decided to change the whole appearance of the table by painting the legs a lovely shade of Heirloom White from Home Depot (my go-to), staining the top a rich Jacobean by Miniwax (also found at Home Depot), distressing the whole thing, glazing it, and then polyurethaning the heck out of it (nine coats, to be exact). Five days and about 28 ant bites later (I worked on it outside, obviously), it’s finished and I couldn’t be more please with the results.So, my friends, for the cost of twelve cans of spray paint (the high-end stuff, no less), a can of stain, a can of polyurethane, some sandpaper, and 5 days out of my life (I’m not kidding), I acquired (Or perhaps reacquired…?) myself a new kitchen table. And I wake up in the morning, look at it, and feel like a new person. What a steal! Nothing like being 9 months pregnant and nesting to get my act in gear! And now on to the next project… Next up on the agenda? I’m just finished re-doing a vintage baby cradle. Come back again tomorrow and it will be posted, complete with (decent) before and after pictures. That is, unless I go into labor… Which, come to think of it, wouldn’t be so such a bad option at this point!