Read the sequence from the top before cutting, painting, or moving pieces.
–
ALPHABET WALL DECOR
My oldest daughter Etta loves the alphabet… it all started with the foam bath letters, and singing the alphabet with bath time. Then when she was about 15 months old we went to my sister’s house for Thanksgiving and my sister introduced her to the Letter Factory movie ( and bought her a copy! I totally recommend this movie for helping your kids learn their letters). She LOVED it! She sings along to the alphabet song, and says the letters sounds- so cute to hear!
Anyway, then this picture started floating around blogland, and I totally thought a little too ambitiously for a mother with two kids under 2, “I have time to make that…”
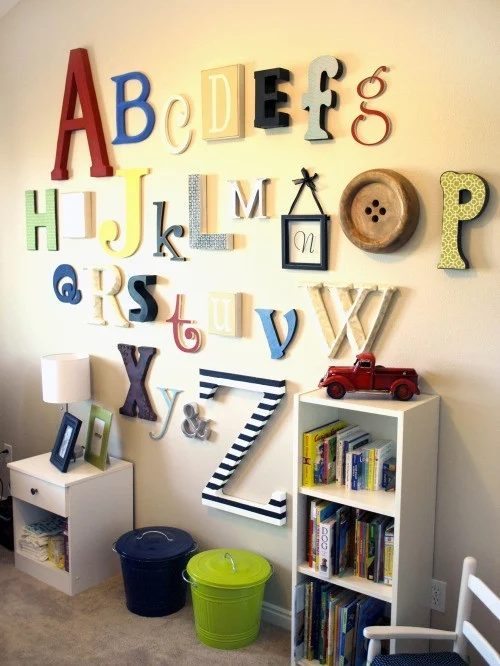
Image Source (available on Etsy)
Well, let’s be honest, I don’t have the time to get THAT creative. And, I didn’t know at the time I could just buy the set- but I probably wouldn’t have spent the cash. So, I bought some wooden cut out letters… still not too low-cost, but a lot faster than anything I could just make. AND then, they sat in a box for 7 months…. yeah, cuz that is how I waste my money, buying stuff for projects that I never finish!
Finally my friend Lindsay volunteered to help me paint all the edges of the letters, it was the well fitted kick to get the project going!
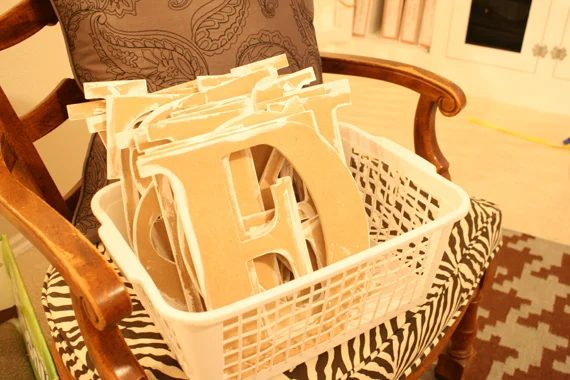
I picked out a bunch of scrapbook paper, to glue on the fronts. I glued them on and then cut the edges with an exacto… BUT If I had this project to do over, I would trace the letters onto the paper, cut them out out with scissors and then glue in on the wooden cut-outs! It would have been so much easier than what I did…
Once the letters were all cut and ready, I rolled a ton of masking tape to get the basic layout on the wall.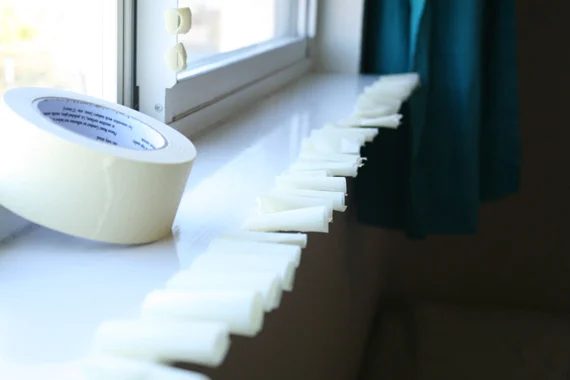
I fooled around with the layout on the floor fist, but when I got to the actual wall, it changed a bit, because I realized that I couldn’t have the letters too low, or they would get ripped off the wall – everyday!! (cuz this is a 2 year old we are talking about… they don’t care about Mommy’s design sense! Oh well!)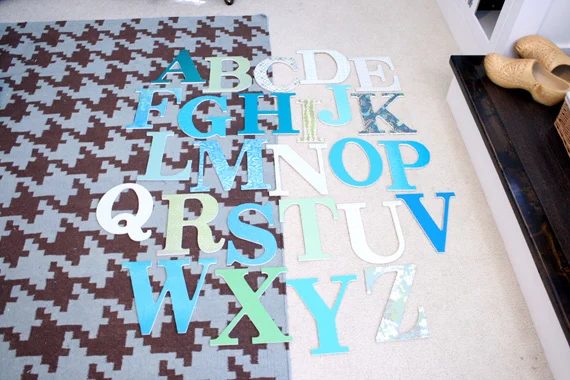
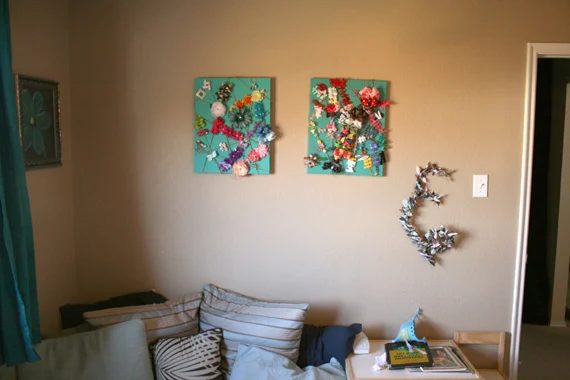
Here is the wall before… basically just a few things hung randomly to get them off of the floor.
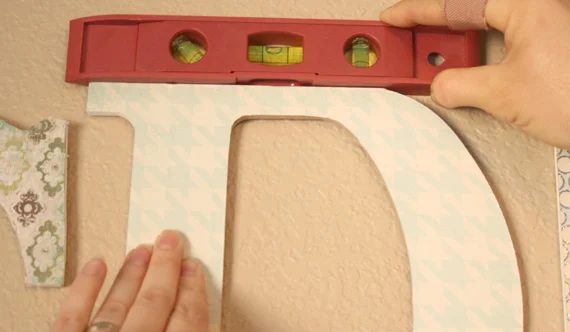
To hang the letters I first put them up with rolled tape. Then when I got the images organized. I just hot glued push pins to the back of the letters. Anybody else have any good options for getting them up on the wall?!…hanging the letters was a total pain!!! Be sure to use a level.
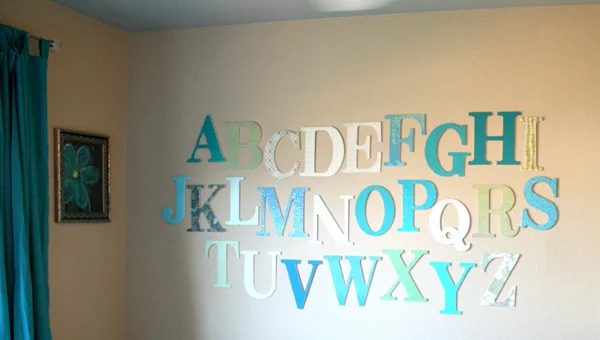
And after a little while, here are all the letters up on the wall.
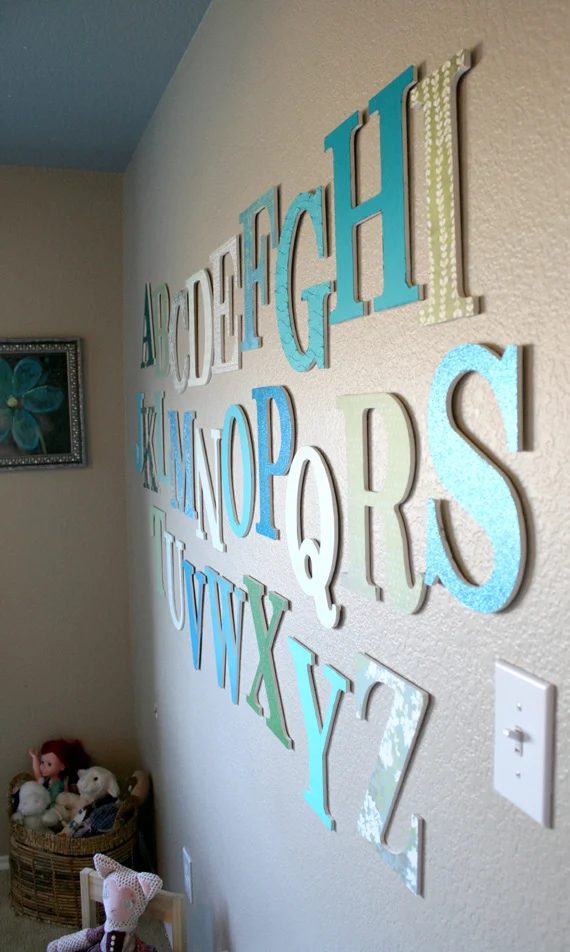
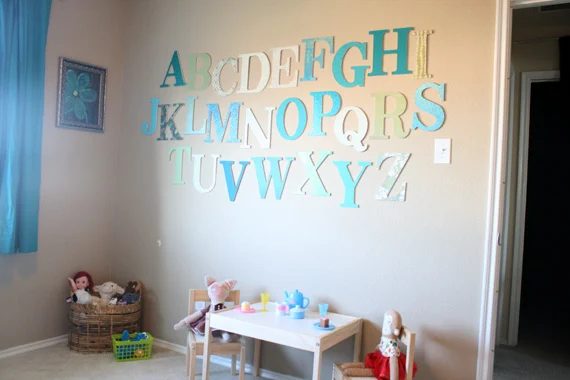
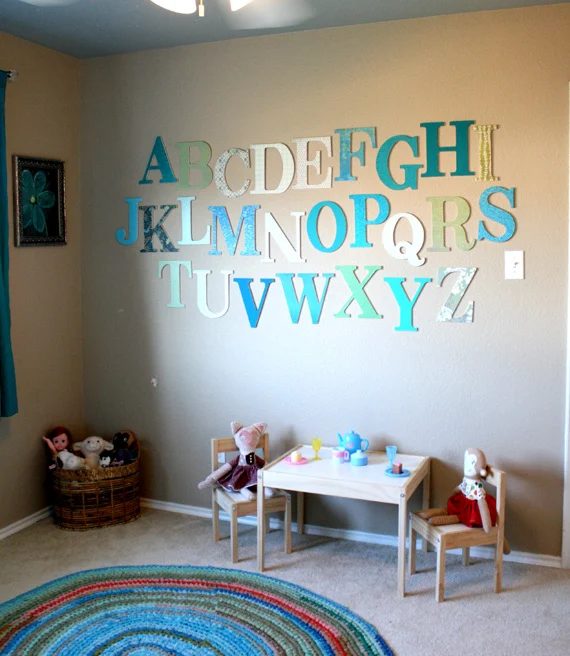
It isn’t prefect, but I am happy with it, and am glad to have it done. Because, there are a ton of things to still be done, but at least the letters are up! And we can move on from there!