
Welcome back to our DIY concrete patio journey! In our first installment, we covered all the essential prep work, laying the groundwork for a successful and long-lasting outdoor living space. Now, we’re thrilled to share the exciting, yet demanding, process of mixing, pouring, and expertly finishing the concrete for our brand-new patio. If you’re also dreaming of transforming your backyard, be sure to check out our initial backyard design plans and our guide to building custom raised garden boxes for a complete outdoor oasis makeover.
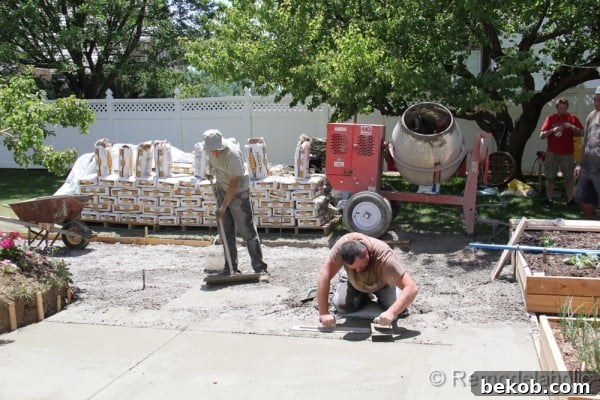
Our ambition was to complete the entire patio pour in a single day, a decision driven by the desire to minimize rental time for the concrete mixer. This meant an early start and meticulous final preparations before the mixing could even begin. My capable concrete companion, Dallin, expressed confidence that we could conquer this monumental task. And so, with the final groundwork complete, we commenced mixing concrete around 8:30 AM – signaling the start of what would indeed be a very long, but ultimately rewarding, day!
Essential Tips for Mixing, Pouring, and Finishing Your DIY Concrete Patio
Undertaking a DIY concrete patio is a significant project that requires careful planning and execution. To help you achieve professional-looking results and avoid common pitfalls, here are some invaluable tips derived from our hands-on experience:
- Prepare Your Water Source: Ensure a garden hose with a functional nozzle is readily available near your mixing station. This allows for precise control over water addition, which is critical for achieving the correct concrete consistency and speeding up the mixing process.
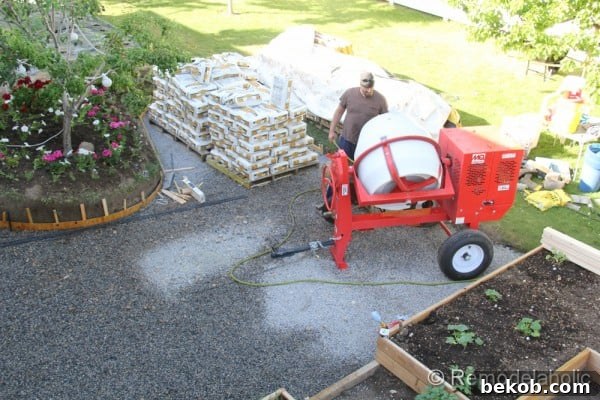
- Strategic Mixer Placement: Before you even start, confirm that your concrete mixer can be transported to the exact project site. Our mixer barely fit through our side yard (its wheelbase was 42 inches wide). Once at the site, position the mixer as close as possible to where the concrete will be poured. We initially placed ours on a gravel patch adjacent to our concrete bags, which significantly reduced the effort of carrying heavy 80-pound bags. Always try to keep the mixer off the grass to prevent damage and a difficult cleanup. If moving it onto the lawn is unavoidable, lay down a large, heavy-duty tarp underneath to catch spills and simplify cleanup immensely. We learned this the hard way!
- Fuel for the Long Haul: Purchase extra gasoline for your mixer beforehand. Running out of fuel in the middle of a pour can cause major delays and potential issues with concrete setting. We found that about 2 gallons were sufficient for a full day’s work, but it’s always better to have more than enough.
- Pre-Wet the Sub-Base: Thoroughly wet the gravel sub-base before pouring any concrete. This crucial step prevents the dry ground from absorbing water from the fresh concrete mix, which can lead to rapid curing, increased cracking, and a weaker finished product. The goal is to keep the concrete moist as it sets.
- Invest in a Heavy-Duty Wheelbarrow: A standard garden wheelbarrow simply won’t cut it. You need a robust model capable of safely handling at least 200+ pounds of wet concrete. We relied on a very old but sturdy wheelbarrow that required some minor reinforcement, proving that reliability is key.
- Dress for Success (and Mess): Concrete work is inherently dirty. Wear old work clothes, including long sleeves and pants, that you don’t mind getting stained or damaged. This also provides some protection from skin irritation.
- Prioritize Personal Protection: When mixing concrete, dust containing silica can be harmful if inhaled. Always wear a dust mask or respirator and safety glasses to protect your lungs and eyes from airborne particles and splashes. Durable work gloves are also essential for protecting your hands.
- Clean Tools and Mixer Frequently: Concrete dries quickly and, once hardened, is incredibly difficult to remove from tools and equipment. Throughout the day, make it a habit to wash your shovels, floats, and especially the rental mixer with water. For the mixer, rinse it out every few batches. We regret not cleaning ours enough during the day, which resulted in a prolonged and frustrating cleanup at the end. Even a power washer struggled with the dried concrete. Pro tip: always return rental equipment cleaner than you received it to avoid potential fines!
- Achieve the Right Mix Consistency: The ideal concrete consistency is often described as “chunky oatmeal” – not too wet, not too dry. Refer to the water-to-mix ratio specified on each bag of concrete. Having an experienced helper like Dallin, who could visually assess the mix, was invaluable in ensuring we achieved the perfect consistency for optimal workability and strength.
- Stay Hydrated and Take Breaks: Pouring concrete is physically demanding work, especially on a hot day. Take frequent breaks in the shade to cool down, and drink plenty of water to stay hydrated. Dehydration and heat exhaustion are real risks that can impair judgment and lead to accidents.
- Protect Your New Patio: Once the concrete is poured and finished, keep any pointy or heavy patio furniture off the surface for at least a week, or as recommended by the concrete manufacturer. This allows the concrete to cure sufficiently and gain its full strength, preventing damage or indentations.
Essential Tools for Your DIY Concrete Patio Project
Having the right tools is paramount for a smooth and efficient concrete pour and finish. Here’s what we used:
- 16 Horse Power Gas Concrete Mixer: We rented a powerful mixer from The Home Depot. A robust mixer is critical for large projects to handle many bags of concrete quickly.
- Heavy Duty Wheelbarrow: As mentioned, a sturdy wheelbarrow is non-negotiable for transporting large quantities of wet concrete.
- Flat and Spade Shovels: Essential for loading concrete bags into the mixer and for spreading the concrete once poured.
- Garden Hose with Nozzle: For controlled water addition to the mix and for frequent tool washing.
- Concrete Placer: This specialized tool with a long handle is designed for efficiently pushing and pulling wet concrete into place and tamping it down to remove air voids.
- Bull Float with Long Handle: Used for the initial leveling and smoothing of large concrete surfaces, bringing the “cream” to the top.
- Hand Float: A smaller, hand-held float used for finer leveling, smoothing edges, and preparing the surface for the final finish.
- Steel Edger: Creates neatly rounded, durable edges along the perimeter of the patio, preventing chipping and improving aesthetics.
- Water Bucket: Handy for cleaning smaller tools, keeping floats wet during finishing, and mixing small amounts of patching material if needed.
- Concrete Broom: Used for applying a textured, slip-resistant broom finish to the patio surface.
- Board for Kneeling: Crucial for comfortably kneeling on the fresh concrete while performing finishing work without leaving indentations.
- Face Mask/Respirator: Protects your lungs from concrete dust during mixing.
- Water-Resistant Gloves: Provides grip and protects hands from caustic concrete, while designed to get wet without falling apart.
- Floor Scraper: Useful the day after for knocking off any small, sharp edges or imperfections left by the broom finish after the concrete has hardened slightly.
Key Materials for Your DIY Concrete Patio
- (275) 80 lb bags of Quikrete Concrete Mix: The foundation of our patio. The quantity will vary based on your patio’s dimensions.
- Water: Essential for mixing the concrete.
- Gasoline: To power the concrete mixer throughout the demanding day.
The Process: Mixing and Pouring the Concrete
Our day began by thoroughly wetting the gravel sub-base, a critical step to ensure proper curing and prevent cracking. Once the base was adequately moist, it was time to fire up the mixer and begin the intense task of combining hundreds of pounds of concrete mix with water.
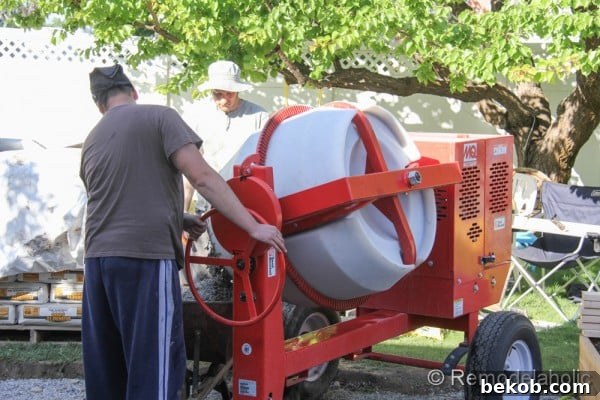
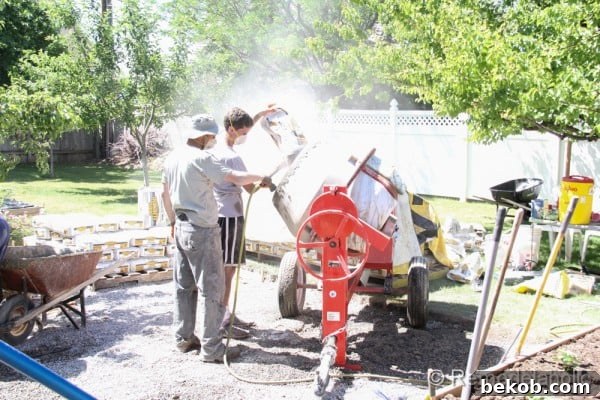
The large mixer we rented proved to be a workhorse, running continuously throughout the day. Despite its size, it was surprisingly efficient with fuel; we only needed to refill its tank once during our lunch break with about a gallon of gas. The manufacturer stated the mixer could handle up to 16 bags at a time, but to ensure optimal consistency and manageability, we opted for half loads of approximately 8 bags per batch. We carefully added one bag at a time, simultaneously spraying in water until the perfect “lumpy oatmeal” texture was achieved. Each batch took about 15 minutes to mix correctly. Once ready, we loaded the mix into the wheelbarrow and swiftly transported it to the pour site.
 |
 |
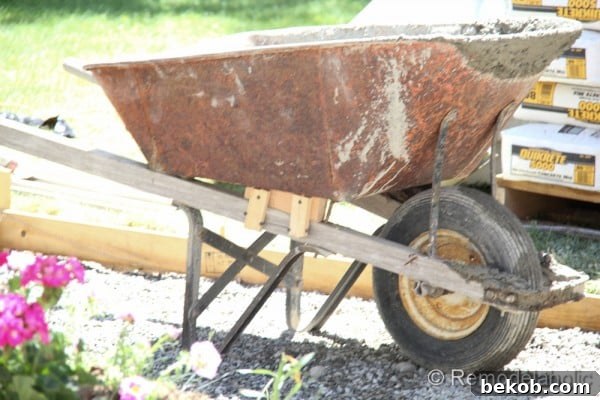
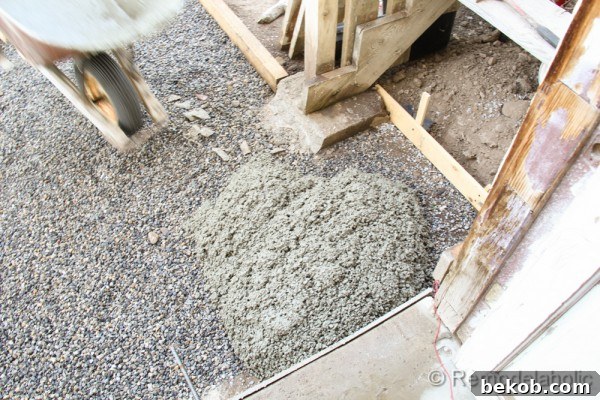
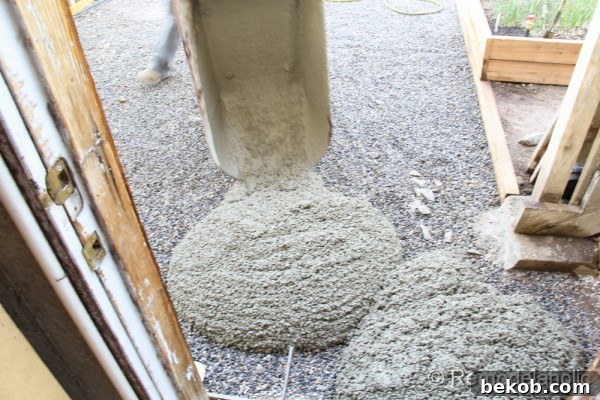
Our trusty old wheelbarrow, which required a small repair to reinforce a weakened side, proved its worth. Despite its age, its robust build was ideal for the heavy loads of concrete. We would fill it about a third of the way with a fresh batch, then wheel the mix to the desired location. Our strategy was to start pouring at the farthest end of the patio, working our way back towards the mixer. This method ensured we weren’t tracking over freshly poured concrete, minimizing disruptions to the setting process.
Much of the morning’s pouring was conducted in the blissful shade cast by our house, which is an ideal condition for concrete work as it slows down the curing process and provides more time for finishing. However, as the day progressed, the sun climbed higher, bringing intense heat. This presented a significant challenge, requiring us to work faster to screed, float, and finish the concrete before it began to set too quickly in the direct sunlight.
 |
 |
 |
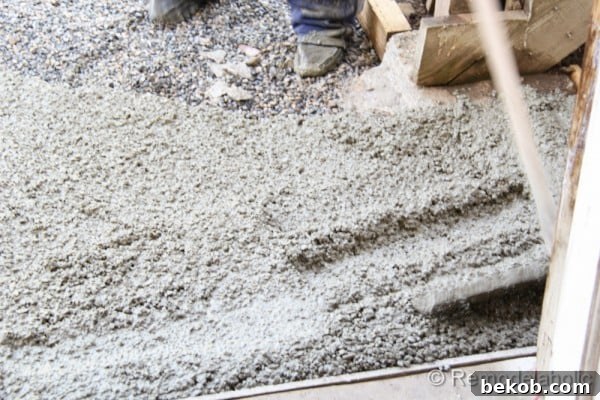 |
As the concrete was poured, it was roughly leveled and then carefully worked with the bull float to bring the finer particles to the surface. At this point, we also began to establish the control joints. These joints are crucial for managing concrete cracking; they create planned weak points that encourage cracks to form neatly along the joint lines, rather than haphazardly across the patio surface. We were nearing the halfway mark, and the initial progress was highly encouraging.
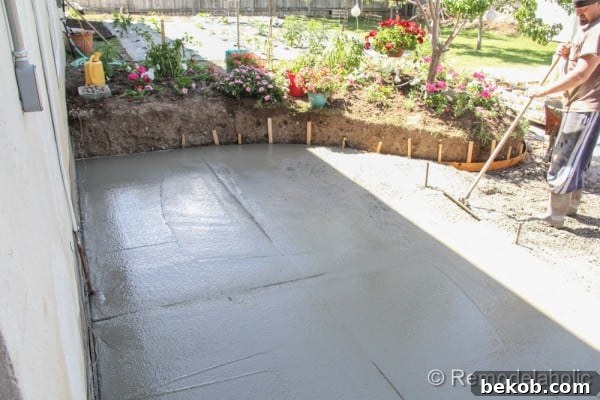
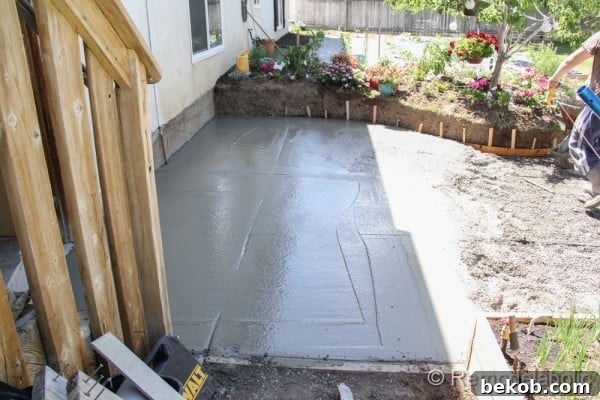
The day was a whirlwind of continuous mixing and wheelbarrow runs, resulting in a mountain of empty concrete bags. The sheer volume of material required highlighted the scale of the undertaking.
 |
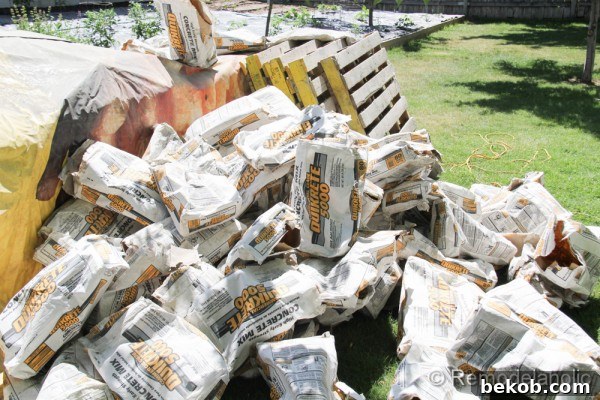 |
I was particularly grateful for my dust mask on such a busy and dusty day, as it provided vital protection against airborne concrete particles.

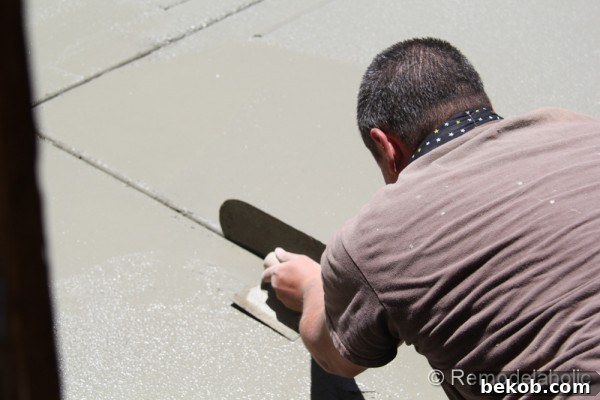
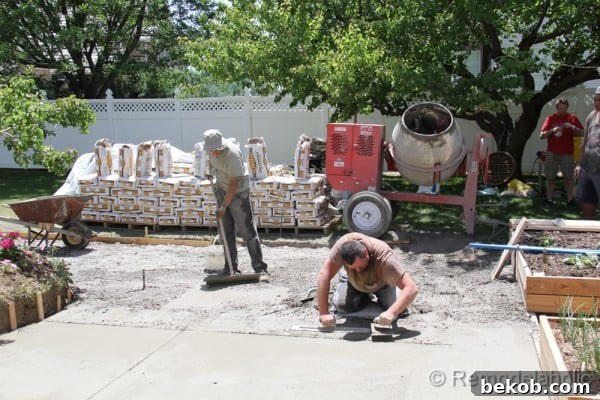
Dallin’s expertise truly shone during the finishing stages. His knowledge of concrete and access to the correct tools ensured that each section was completed with precision. Here, he is meticulously finishing a control joint, demonstrating the attention to detail required for a durable and attractive patio surface.
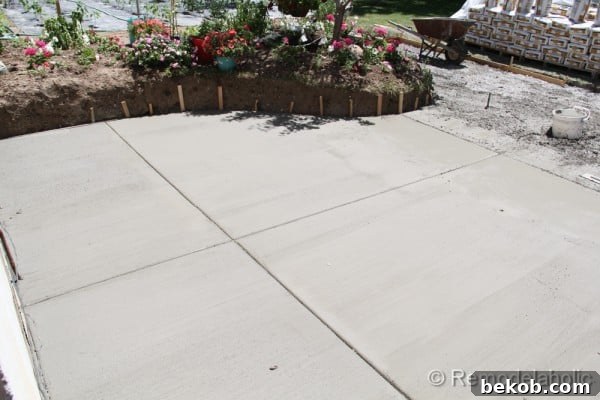
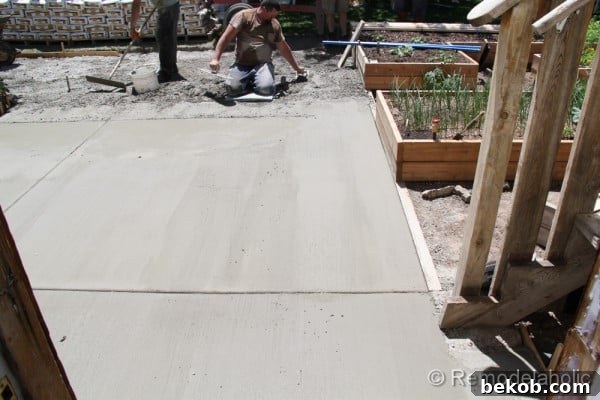
With more than half the patio poured, Dallin was able to fully finish this section. We collectively decided on a broom finish for our patio. This choice provides a practical, slip-resistant texture, making the patio safer, especially when wet – a crucial consideration for our girls’ play area. A broom finish also adds a pleasant aesthetic appeal, transforming a utilitarian surface into an attractive feature.
 |
 |
Throughout the day, our two little princesses frequently checked on our progress, their excitement for their new play space palpable. They were absolutely “dying” to step onto the fresh concrete, their anticipation serving as a constant reminder of the project’s ultimate purpose: creating a wonderful outdoor area for our family.
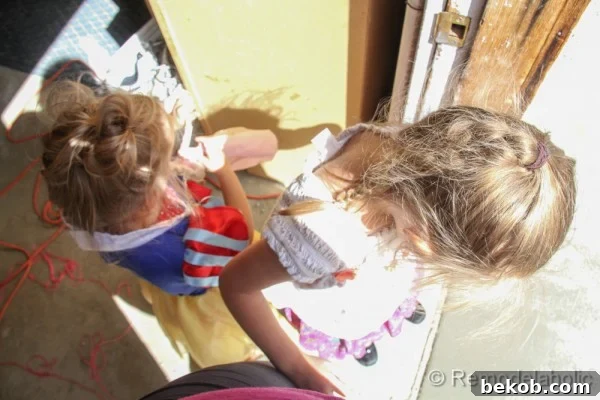
The entire pouring process spanned approximately 10 hours, with an additional two hours dedicated to achieving the perfect finish. It was an exceptionally long and arduous day, and we were immensely relieved when it was finally over, grateful that we wouldn’t have to repeat the process the following day. A special and heartfelt thank you goes out to Dallin, who truly carried the heaviest load and contributed invaluable expertise to this challenging endeavor. His hard work and guidance were indispensable!
The following day, the patio’s color had transformed from a fresh gray-green to a lighter, more uniform gray, indicating the initial curing had taken place. The surface was dry enough to walk on, and the true scale of our accomplishment became clear. However, due to the intense heat during the single-day pour, some areas of the broom finish weren’t as smooth as we had hoped. We consulted Dallin, who advised that gently scraping the surface at this early stage, before the concrete fully hardened, would be a good idea to improve its smoothness and comfort underfoot.
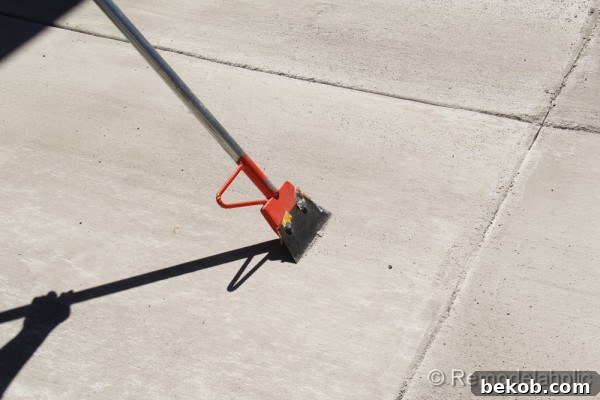
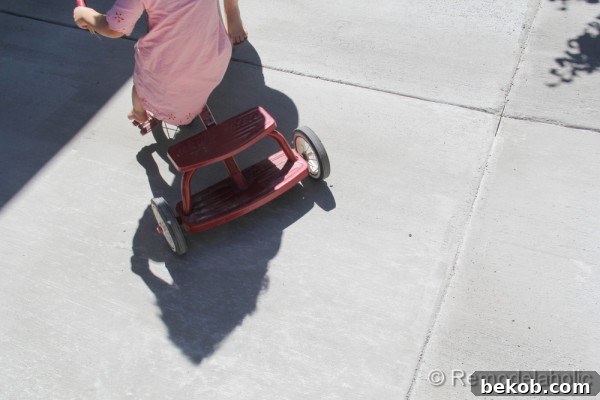
After a quick scrape and a hose-down, the girls wasted no time seizing the perfect opportunity to test out their new patio, joyfully riding their toys across its smooth, textured surface.
 |
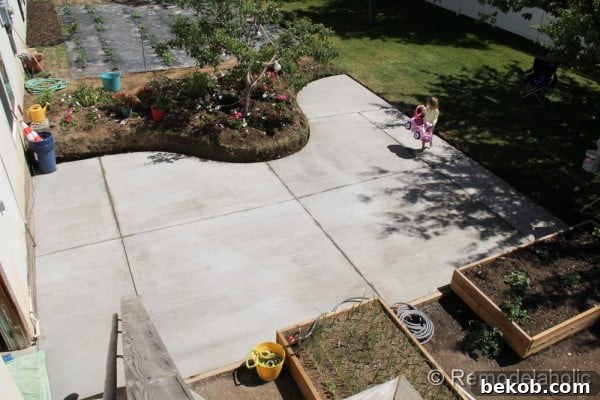 |
Moments like Etta’s first ride across the patio made every ounce of hard work, sweat, and time invested absolutely worthwhile. Seeing their sheer delight was the ultimate reward for our efforts.
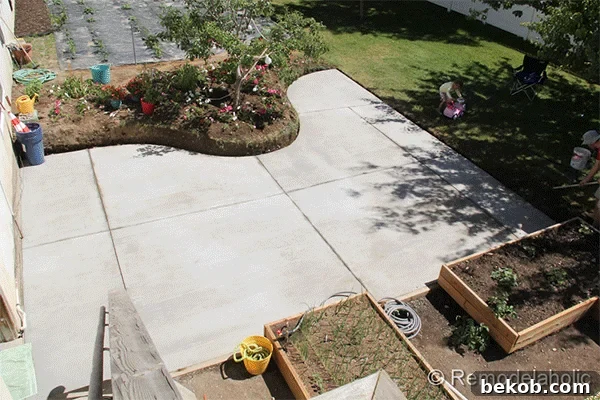
Of course, a project of this magnitude isn’t complete without some cleanup. We had to dedicate time to cleaning up the lawn, particularly where the mixer had been positioned for several hours towards the end of the day. Spilled concrete had dried onto the grass, forming stubborn patches. We used a rake to scrape off these hardened remnants, ensuring the grass would have a chance to regrow. This experience reinforced a crucial lesson: in the future, we will definitely lay a large tarp under the mixer to facilitate an easier and faster cleanup.
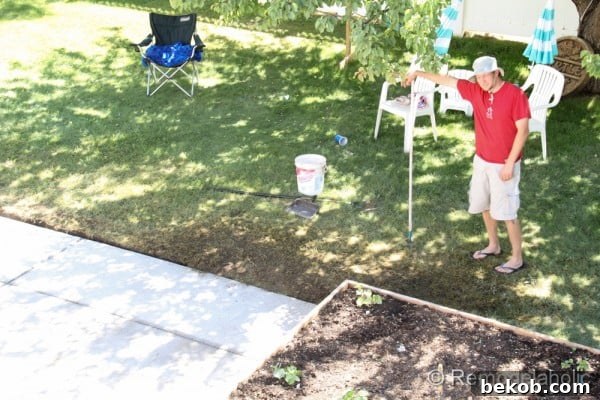
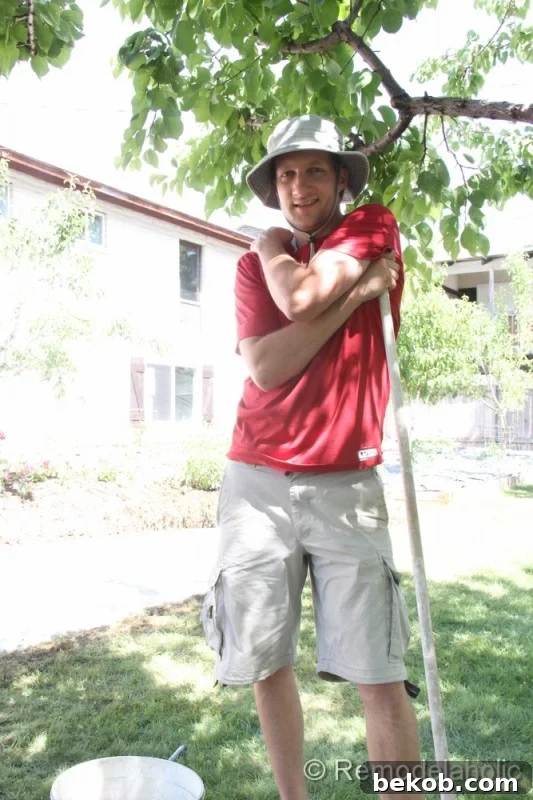
Personally, there was a profound sense of satisfaction and relief when the project was finally complete. It was undeniably a massive undertaking, but the transformation of our backyard into a beautiful and functional concrete patio made every moment of effort and time invested entirely worth it. The pride of having built it ourselves adds an immeasurable value to our new outdoor space.
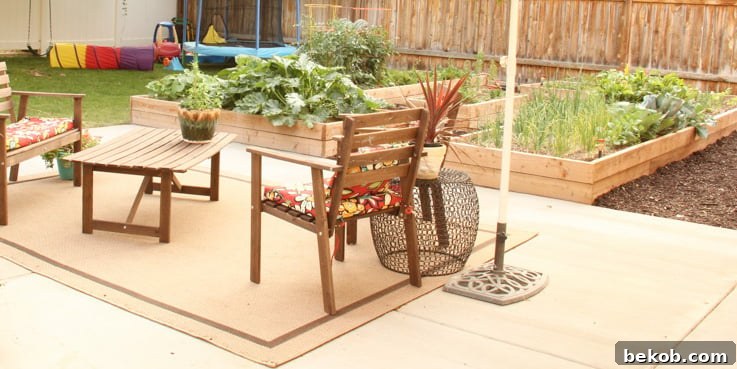
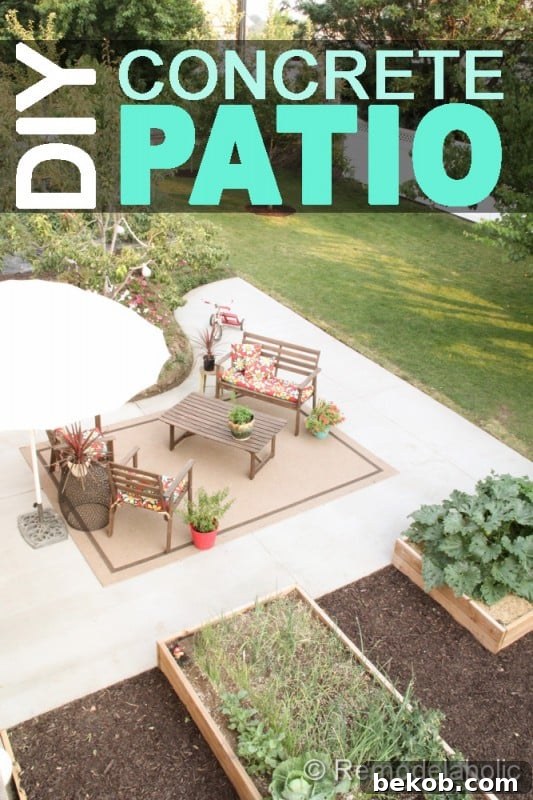
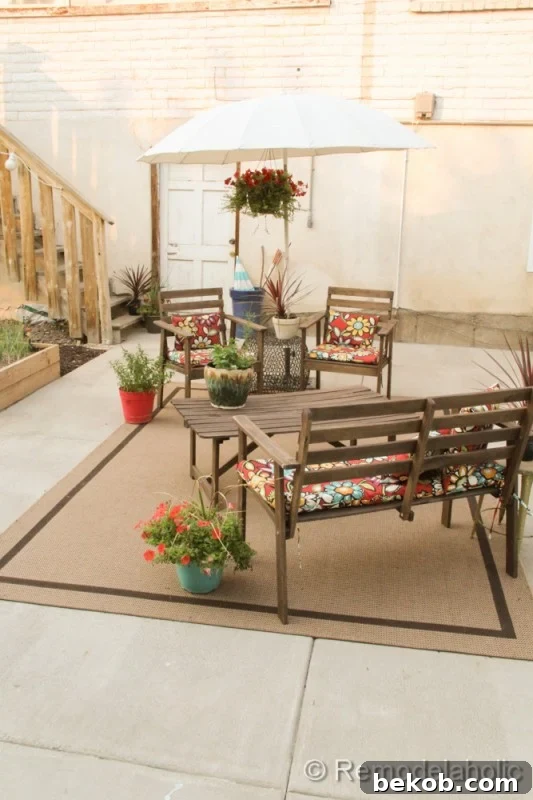
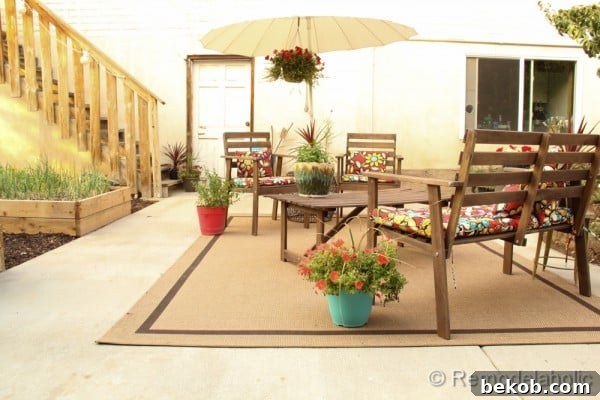
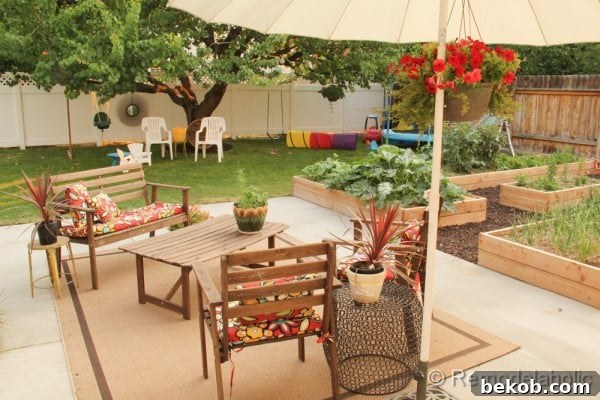
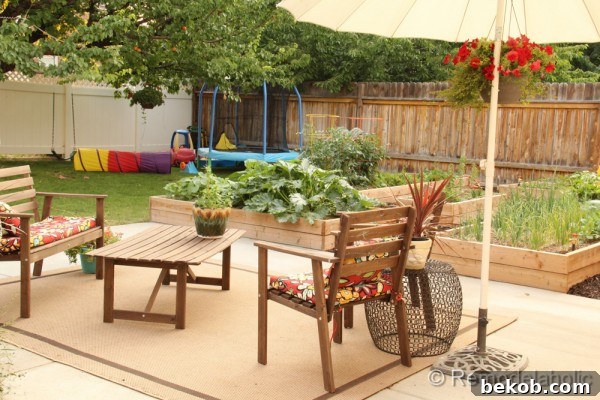
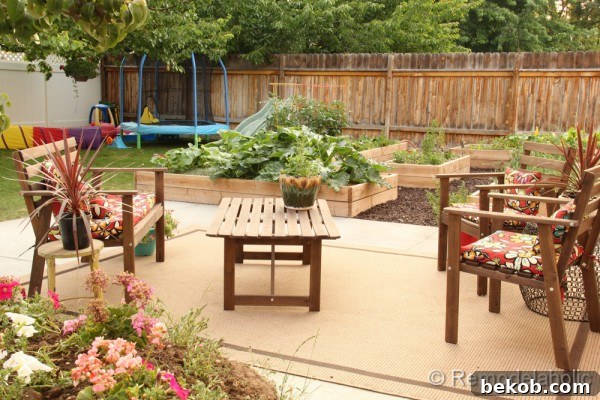
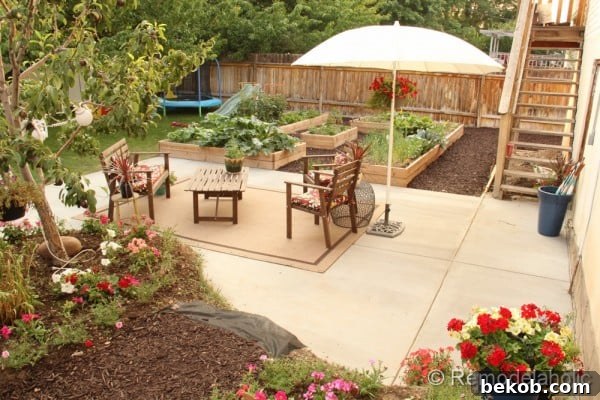
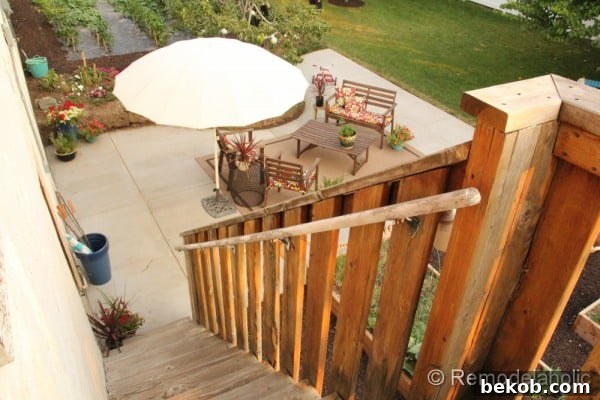
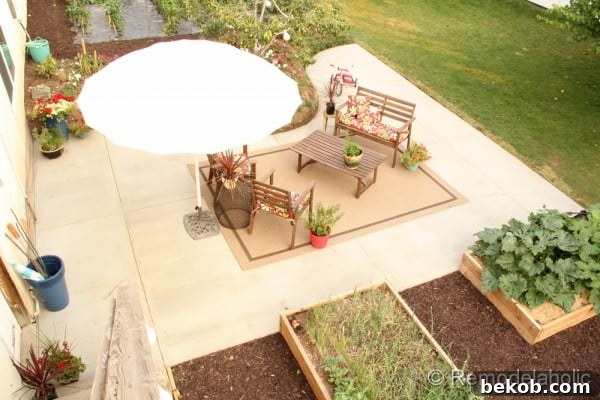
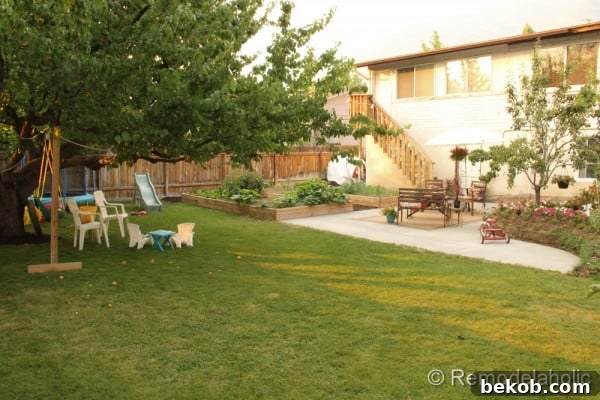
Approximately one week later, with the concrete fully cured and hardened, we began to add the decorative touches that truly bring a patio to life. With vibrant flowers and comfortable patio furniture, our new concrete patio was ready for enjoyment and relaxation.
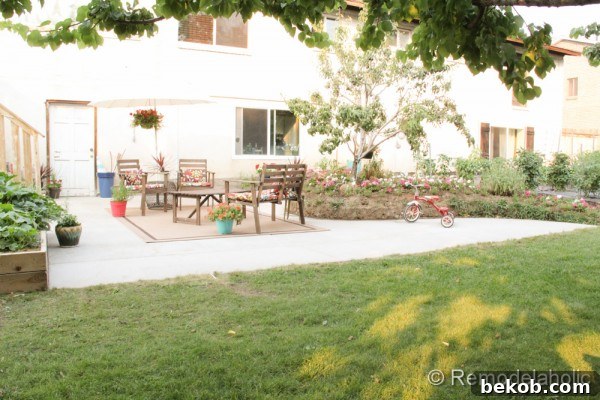
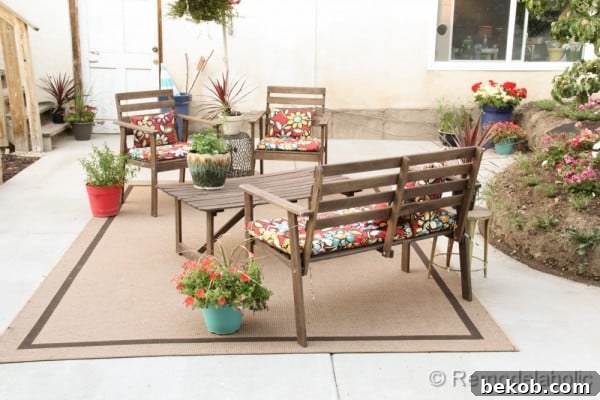
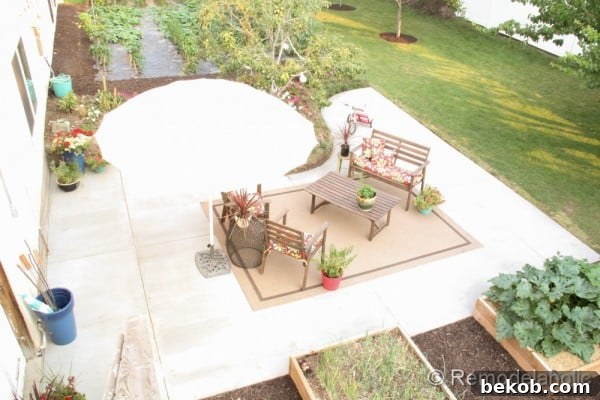
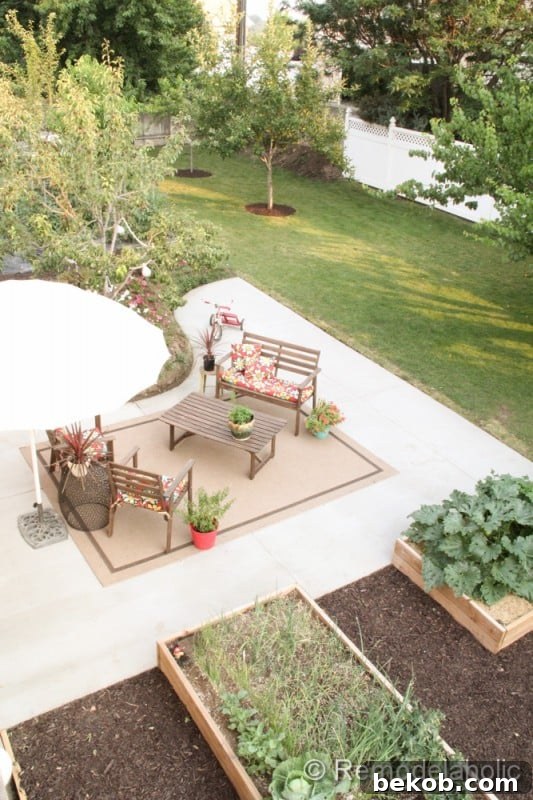
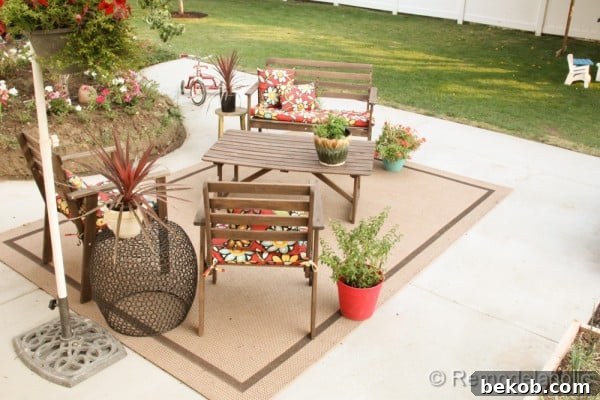
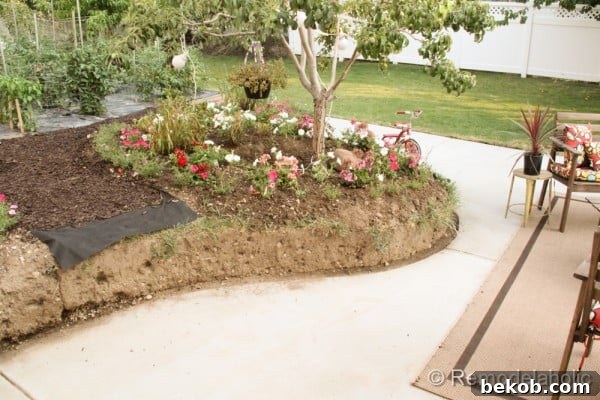
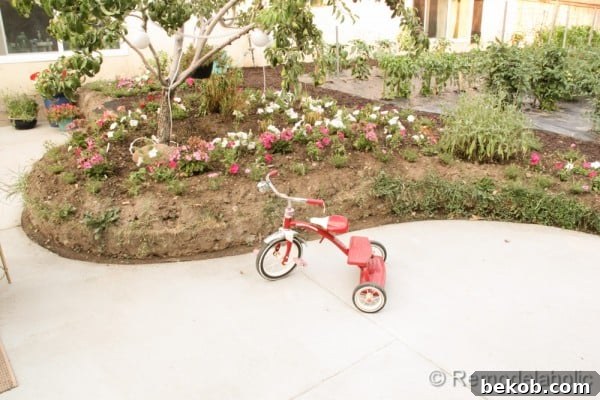
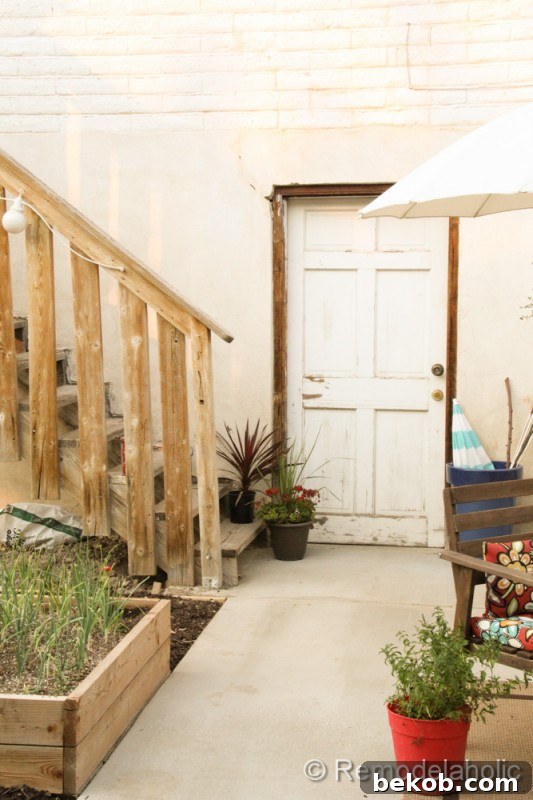
Our vision for this backyard space extends even further. We’re eagerly anticipating the installation of a beautiful stone retaining wall from Pavestone, which will define the edge of the patio and add another layer of aesthetic appeal. For now, the sturdy clay soil is doing an excellent job of holding everything in place. Additionally, a new set of stairs will be constructed to seamlessly connect this patio to another raised garden area, completing the multi-level outdoor design.
 |
 |
 |
 |

We truly hope you’ve enjoyed following our DIY concrete patio project! Your thoughts and feedback are always welcome, so please share what you think.
A big thank you once again to Quikrete for sponsoring the concrete portion of this project. All other supplies and materials were purchased by us, and all opinions expressed in this article are entirely our own.
We’re looking forward to sharing the next phase of our backyard transformation with you soon – the installation of the new retaining wall along the flower bed. Stay tuned for more DIY adventures!