
Hello, fellow DIY enthusiasts and home improvement lovers!
I’m Corinna, and I’m thrilled to be back sharing another creative project. You might remember my previous contributions here, such as the unique Punched Metal Ceiling Light, or perhaps my ingenious Reverse Ekby Lerberg Shelf Bracket Hack. I genuinely cherish both of those creations, but with summer now in full swing, my attention has naturally shifted outdoors. Spending more time enjoying our exterior spaces has brought a fresh perspective to our home’s curb appeal, reminding me of all those little upgrades we promised ourselves when we first moved in.
One particular item that consistently caught my eye was our house numbers. Like many homes, ours came equipped with those ubiquitous, often uninspiring, peel-and-stick numbers. While functional, they certainly don’t add any flair or character. I believe it’s a common aspiration for new homeowners to replace these temporary placeholders with something more substantial, stylish, and reflective of their personal aesthetic. After all, your house numbers are often the very first detail visitors, delivery drivers, and even emergency services notice about your property. They offer a unique opportunity to make a lasting first impression and subtly enhance your home’s overall design.
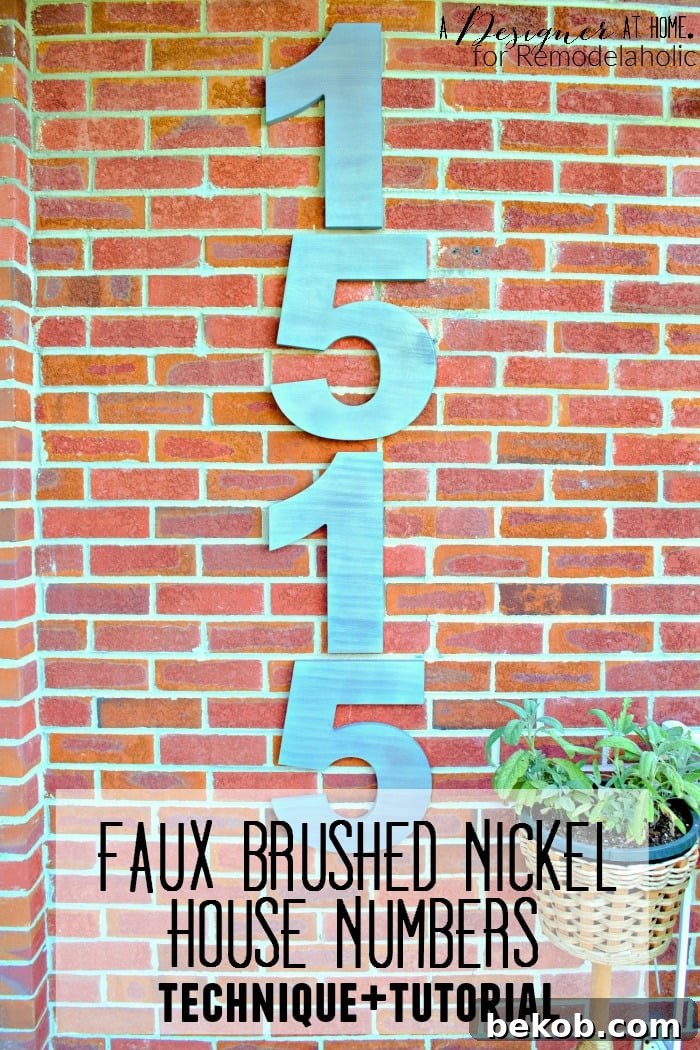
Today, I’m excited to guide you through a fantastic DIY project that will dramatically upgrade your home’s exterior: creating striking, highly visible house numbers with a sophisticated faux brushed nickel finish. Forget expensive custom metal numbers; with this technique, you can achieve a high-end look using readily available, inexpensive wood shapes. Our numbers are a generous 14 inches tall, ensuring they are impossible to miss and instantly elevate our home’s modern appeal. This project combines affordability, creativity, and a touch of elegance to deliver truly impactful results for your home’s façade.
Transform Your Home: DIY Faux Brushed Nickel House Numbers
Achieving a sleek, modern brushed nickel appearance without the cost or complexity of real metal is simpler than you might imagine. This technique leverages basic spray paints and a clever sanding method to create an authentic-looking metallic texture on ordinary wood. The result is a set of house numbers that exude contemporary charm and significantly boost your home’s curb appeal. Let’s gather our materials and get started on this rewarding DIY transformation.
Essential Supplies for Your Brushed Nickel Numbers:
- Large Wood Numbers: The foundation of our project. Choose a size and font that complements your home’s architectural style and ensures excellent visibility. These can often be found at craft stores, online retailers, or custom-cut by a local woodworker. We opted for a bold, modern sans-serif font, roughly 14 inches in height, to make a significant statement.
- “Looking Glass” Spray Paint: This specialty spray paint is crucial for mimicking a true mirror-like, metallic sheen. It contains highly reflective particles that, when applied correctly, give the illusion of metal. Ensure you purchase a good quality brand for the best reflective properties.
- White Spray Paint (Matte or Satin): A simple white spray paint will serve as a crucial base layer that subtly peeks through to create the “brushed” effect. A matte or satin finish is generally preferred here as it provides a good contrast without being overly glossy.
- Clear Gloss Spray Paint: This final protective layer is essential for durability and enhancing the metallic shine. It seals the finish, protects against the elements (UV rays, moisture), and adds a professional, high-gloss sheen that mimics polished metal.
- Fine-Grit Sandpaper (220-400 grit): Vital for both smoothing the wood and creating the signature brushed texture. An electric sander can speed up initial smoothing, but for the brushed effect, a fine-grit paper used by hand is best for control.
- Cleaning Cloth and Wood Cleaner (Optional): For preparing your wood numbers.
- Protective Gear: Always work in a well-ventilated area and wear a mask and gloves when spray painting.
Step-by-Step Guide to a Faux Brushed Nickel Finish:
Precision and patience are key to achieving a truly convincing faux finish. Take your time with each step, allowing adequate drying between coats, and you’ll be rewarded with a professional-looking result.
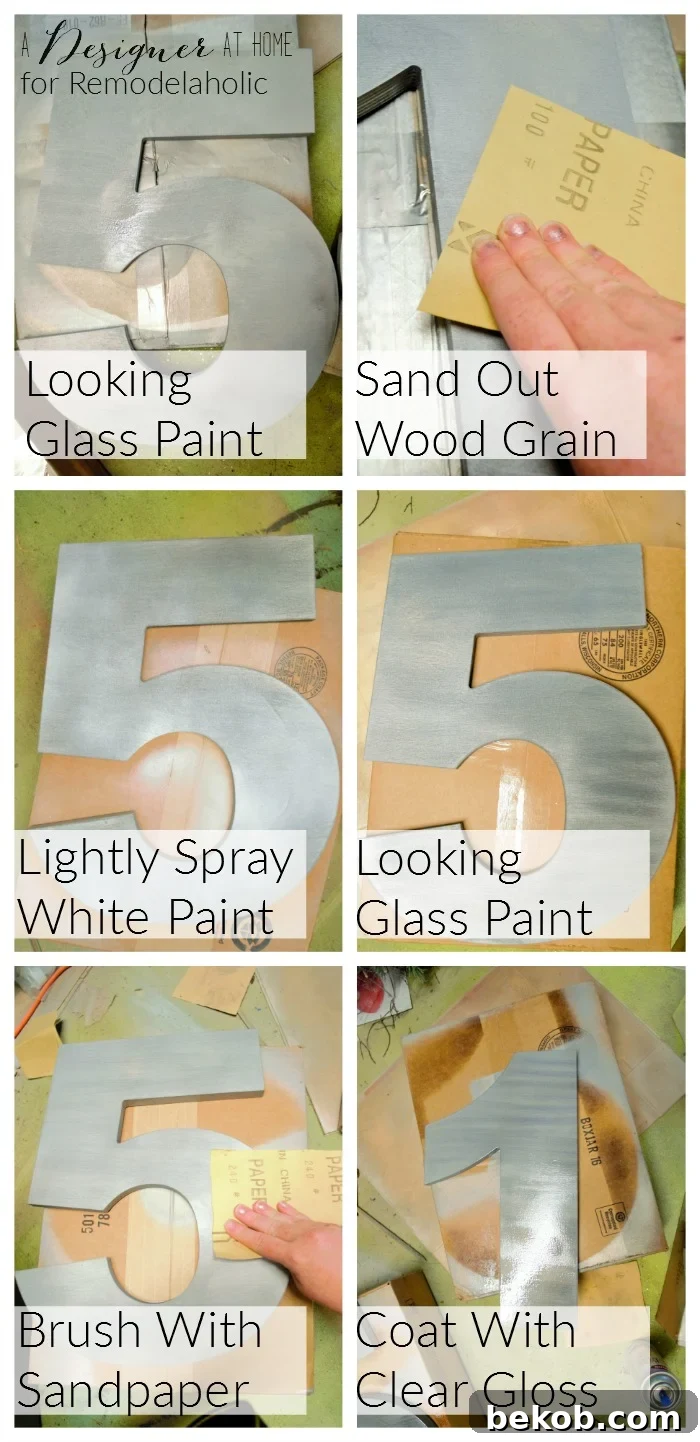
- Prepare and Apply the First “Looking Glass” Layer: Begin by ensuring your wood numbers are clean, dry, and free of any dust or debris. If the wood is particularly rough, a light sanding beforehand can be beneficial, though we will refine this after the first coat. In a well-ventilated area, shake your “Looking Glass” spray paint vigorously. Apply a generous, even layer over the entire surface of your wood numbers. Hold the can approximately 8-10 inches away and use steady, sweeping motions. The goal is a thorough, reflective base. Allow this coat to dry completely, which typically takes a few hours, but always refer to the manufacturer’s instructions for exact drying times.
- Sand Away Wood Grain Imperfections: Once the first “Looking Glass” coat is dry, it’s time to address any visible wood grain. The initial reflective coat actually helps to highlight these imperfections, making it easier to pinpoint areas that need attention. Using your sandpaper (or an electric sander for larger, flatter areas), gently sand the surface to smooth out any raised grain. The aim is to create as smooth a surface as possible, as this will enhance the metallic illusion. Be careful not to sand through the paint completely. Remove any sanding dust with a tack cloth or a damp cloth. This step is crucial for a truly sleek, modern finish.
- Apply a Very Light White Base Coat: Now for a clever trick to create depth. After ensuring the sanded numbers are dust-free, apply a very light, almost misty layer of white spray paint. This should not be a solid, opaque coat; rather, think of it as a subtle dusting. The white layer will serve as the underlying color that peeks through when we create the “brushed” effect, adding realism and contrast to the faux nickel finish. Too much white will overpower the metallic look, so err on the side of lightness. Let this light coat dry for 15-30 minutes, or until touch-dry.
- Reinforce with a Second “Looking Glass” Layer: Once the white layer is dry, apply another even coat of “Looking Glass” spray paint. This second layer will deepen the reflective quality and encapsulate the white base, preparing the surface for the brushing technique. Ensure full coverage, aiming for a consistent, mirror-like finish. Again, allow this coat to dry completely according to the manufacturer’s directions. Patience here prevents smudging and ensures a durable finish.
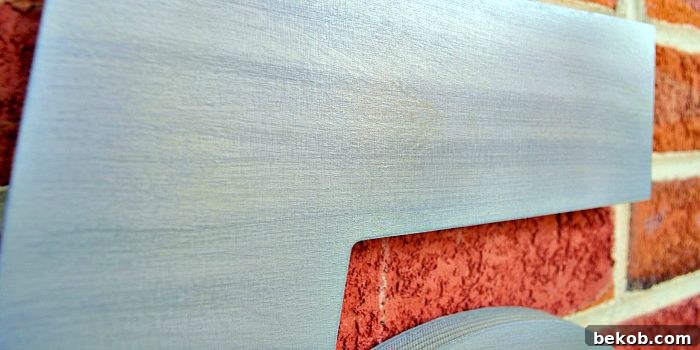
- Create the “Brushed” Effect: This is the defining step for our faux brushed nickel. Take your fine-grit sandpaper (around 320-400 grit) and, using light, consistent pressure, gently brush over the numbers. The key is to move in a single, continuous direction across the entire surface of each number. Do not use circular motions or varying directions, as this will ruin the brushed appearance. As you brush, you’ll notice the white paint from step 3 subtly showing through the “Looking Glass” finish, creating those characteristic fine lines that define brushed metal. Practice on a scrap piece of wood first if you’re unsure. The amount of brushing depends on your desired effect – more brushing will expose more white and create a more pronounced brushed look.
- Seal with Clear Gloss Paint: To protect your beautiful new numbers from the elements and give them a professional, durable finish, apply a generous and even coat of clear gloss spray paint. This will seal in all the layers, provide weather resistance, and enhance the metallic sheen. Apply several thin coats rather than one thick one to prevent drips and ensure a smooth, hard finish. Allow each coat to dry according to the product instructions before applying the next. Once the final coat is dry, your faux brushed nickel numbers are ready for installation!
Securely Hanging Your Large House Numbers:
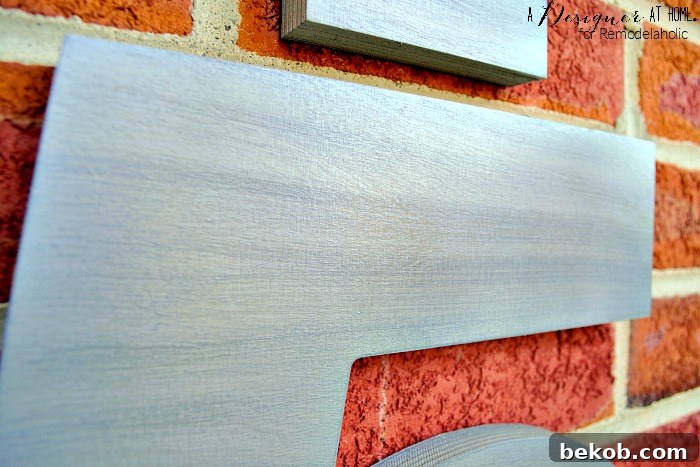
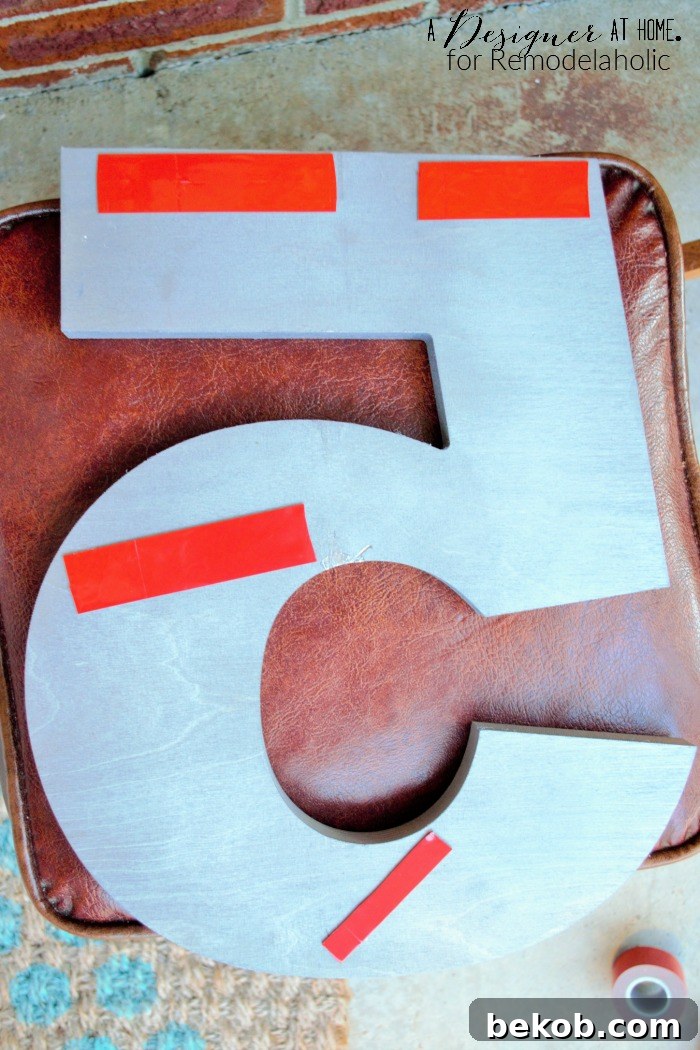
Once your numbers are perfectly finished and completely dry, the next crucial step is securely mounting them to your home. Given their size and the desire for a clean, undamaged aesthetic, choosing the right hanging method is important. While many options exist, I specifically avoided drilling directly into the numbers to preserve their smooth, flawless surface. For this project, I opted for a high-strength, outdoor-rated double-sided tape, which offers excellent adhesion without compromising the numbers themselves.
When working with uneven surfaces like brick, a little strategic planning goes a long way. Before applying any tape, hold each number in its desired position on your wall. Take note of the ‘high points’ – the parts of the brick that protrude furthest. These are the crucial contact points where your tape will need to be applied to ensure maximum adhesion. Some bricks will undoubtedly stick out more than others, so concentrate the tape application on these elevated areas to create the strongest bond possible. Ensure the surface is clean and dry before application for optimal stickiness.
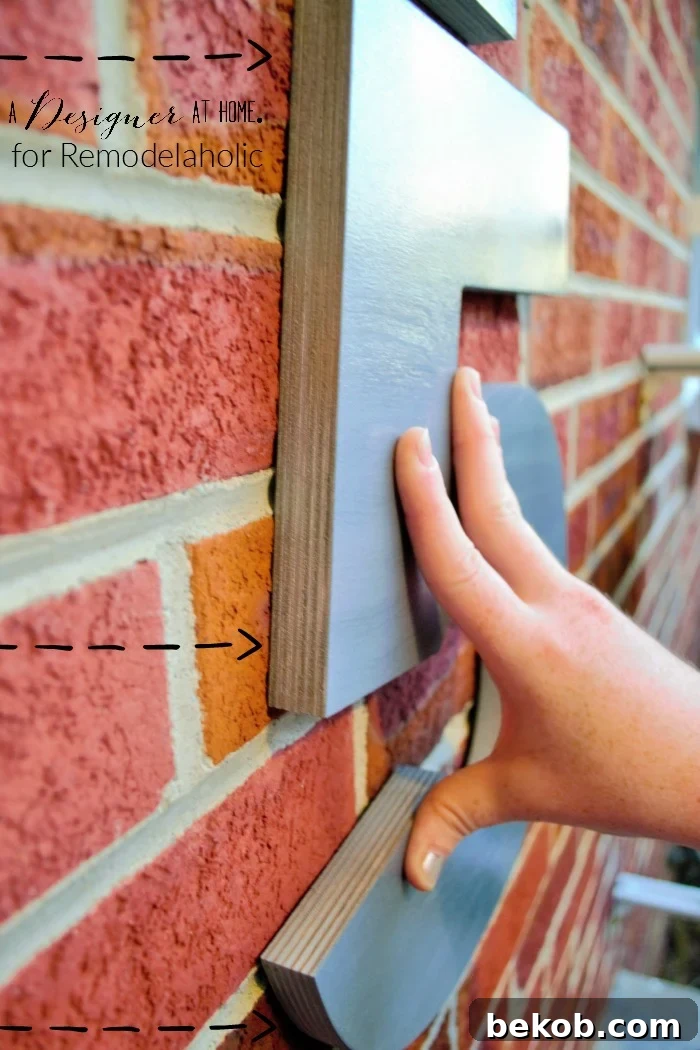
Always follow the specific instructions provided with your chosen hanging hardware or tape. In my case, the heavy-duty outdoor tape required applying it directly to the back of the numbers, then firmly pressing each number into place on the wall and holding it for approximately 30 seconds to allow the adhesive to set. For extra security, especially with larger or heavier numbers, consider adding a construction adhesive or silicone sealant along the edges after mounting. For different surfaces like wood siding, you might consider small screws with decorative caps or stand-offs for a floating effect. Just ensure any hardware is suitable for outdoor use and properly sealed against moisture.
The Impact of Thoughtful Design:
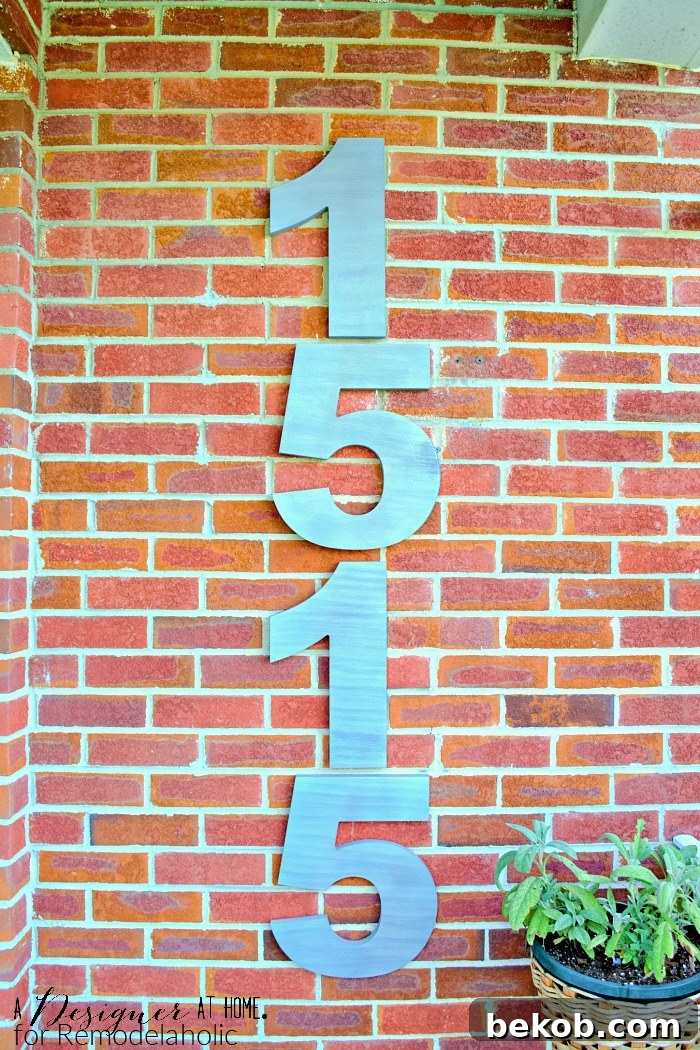
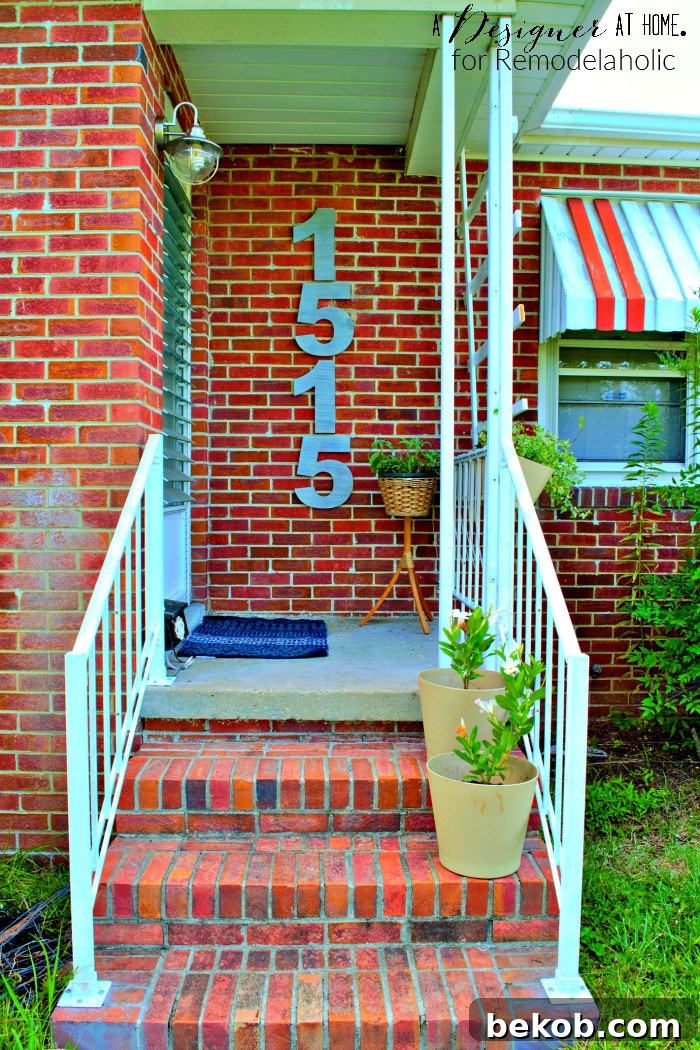
I am absolutely thrilled with the striking impact these giant house numbers have brought to our front porch. Our main entrance doesn’t directly face the street, making it challenging for visitors to spot our address from afar. These bold, modern numbers now serve as an unmissable focal point, adding a much-needed touch of drama and sophisticated style to the entire space. Beyond their functional purpose of clear identification, they’ve become a significant design element that ties our exterior aesthetic together.
The beauty of this faux brushed nickel technique lies in its versatility. While we’ve applied it to large house numbers, the method can be adapted for wooden numbers of any size or even other decorative wooden objects. Imagine custom signage for your garden, personalized accent pieces for your entryway, or even a unique touch on a piece of furniture. The possibilities for creative application are truly endless, limited only by your imagination. So, don’t hesitate to let your creative ideas flow and explore how this sophisticated finish can transform other areas of your home!
This project is just one piece of the puzzle as my husband and I continue our journey to spruce up our front porch. If you’re curious to see the initial stages of our outdoor transformation, I invite you to explore the first wave of changes we implemented in Our Front Porch Refresh. For a peek inside our home, I’ve also recently shared my living room room reveal: a boho vintage space. I’d absolutely love for you to hop over to my blogs, A Designer At Home and For My Love Of. A Designer At Home is a newer venture, and your feedback, suggestions, and insights would be incredibly valuable as I build a community around stylish, attainable home design. Come on over and see what I’m all about – I can’t wait to connect with you!
———————————–
More Creative Ways to Showcase Your House Numbers:
Looking for even more inspiration to make your house numbers a standout feature? Here are some fantastic ideas to consider, offering unique ways to integrate your address into your home’s exterior design:
Craft a stunning large house number planter box to combine greenery with clear identification. This DIY project adds both charm and functionality to your entryway, creating a welcoming and elegant statement.
Integrate your numbers into a clever wood screen, which can cleverly conceal unsightly utility boxes while proudly displaying your address. This dual-purpose solution enhances aesthetics and offers practical concealment.
Add your house numbers directly to a stair riser for a unique and eye-catching placement. This unexpected location can create a charming and distinctive welcome for guests approaching your front door.
Alternatively, make them truly stand out by mounting them on inexpensive wood plaques. This method allows for easy customization of color and style, ensuring your house numbers are not just visible, but also a beautiful part of your home’s exterior decor.