The steps below follow the order of the work for this workshop project.
Submitted By A Commoner’s Castle
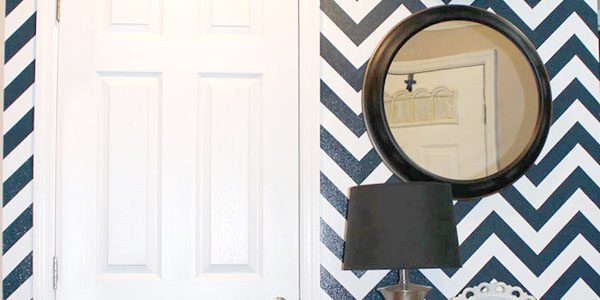
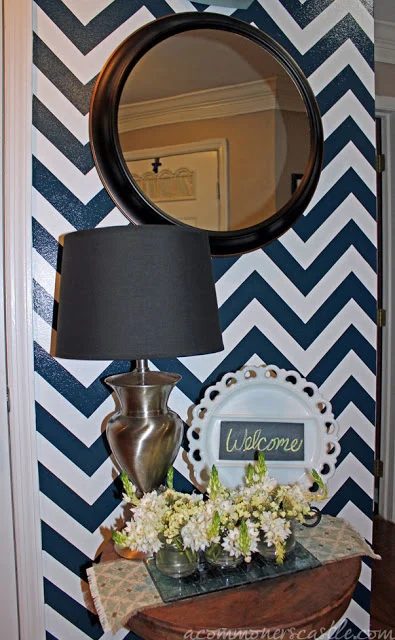
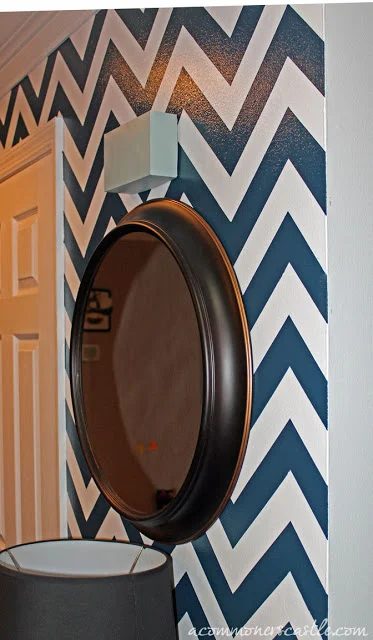
See what Mike and Lauren have done with a wall in their house. They did a great job of laying out the stripes of their new accent wall and they take you through step-by-step on how they accomplished this great task. This will really make a statement for visitors in their home when they walk in the door for the first time. See below for the step-by-step instructions.
 |
 |
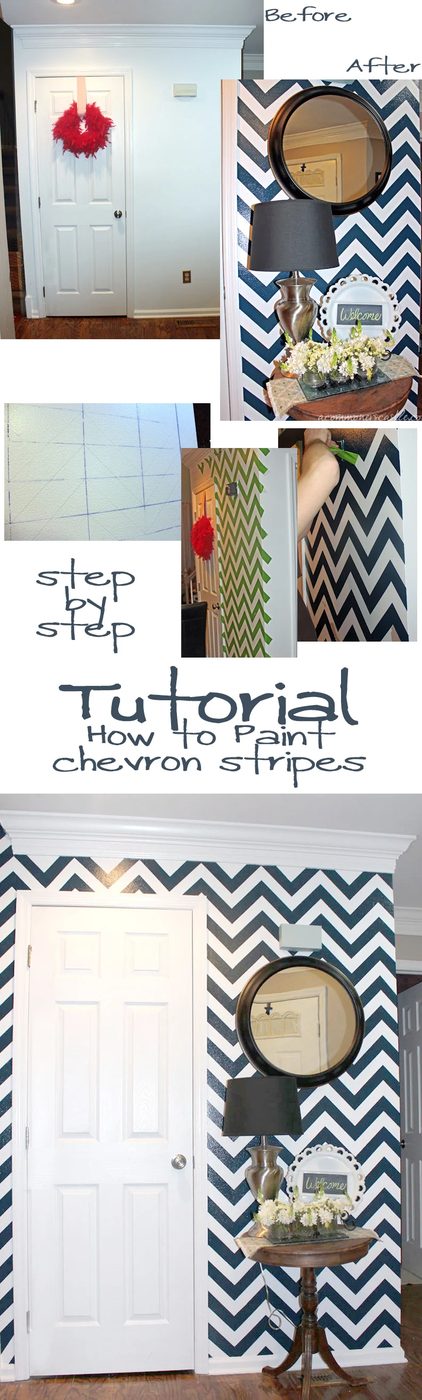
Step-By-Step Instructions
How To Paint Chevron Stripes On A Wall
First, you’ll want to gather all of your supplies.
Base Paint Color- Muralo Ultra Semi Gloss Enamel in the basic white
Blue Stripes- Sherwin Williams Rainstorm (SW6230) All Surface Enamel Latex Base in High Gloss – Ultra Deep Base.
Tape 1-7/8″ Green Frog Tape (if you want to use the formula I have worked out you need tape that is 1-7/8″ thick for it to work. I am not being compensated by any of these companies, so use whatever brand you like best, but to avoid lots of trial and error and math use tape that is this thick!)
Roller WHIZZ 4″ Roller w/ 1/2″ nap
Paint Brush Purdy 2-Inch Nylon Dale Angle Paint Brush
Chalk Line Reel and Chalk Stanley 47-681 100 Chalk Line Reel & Chalk Set
Paint Tray a basic paint tray that you can pick up pretty much anywhere
Ruler & Old Reliable (a #2 Pencil)
I know, I know I might have gone a little overboard with the ruler and pencil links, but I am a true believer that it is better to be safe than sorry!
Start by painting your base color. We used a basic white semi-gloss which is often used on trim and doors.
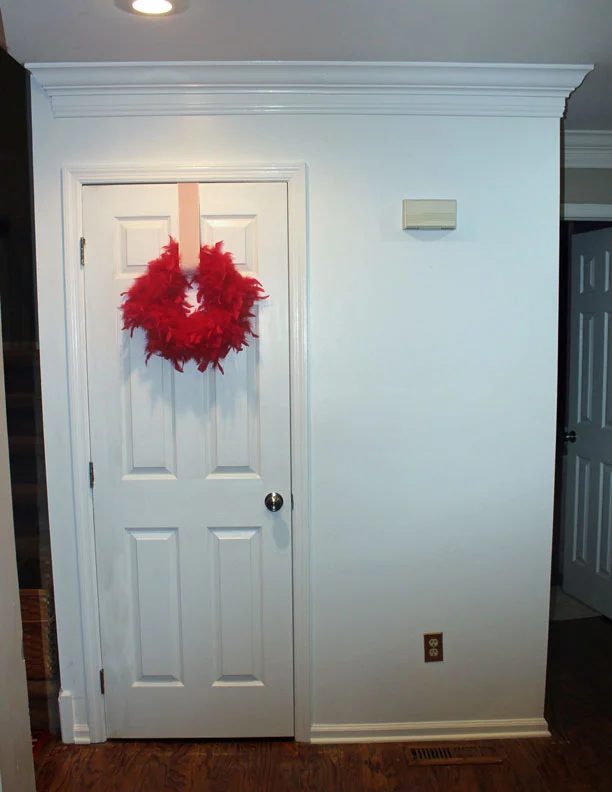
You will want to let this dry and cure for at least 3 days before you move on.
When your paint is cured it is time to move on and mark your wall for the chalk lines.
This is where it got tricky for us, and all that math and trial and error came into play. If you want to be able to paint over 95% of your pencil marks and have your tape fit conveniently in between them, the dimensions for your horizontal chalk lines will be 2-3/4″ apart and your vertical lines will be 5-1/2″ apart. I drew lines on my ruler so that I wouldn’t have to move it over for every line.
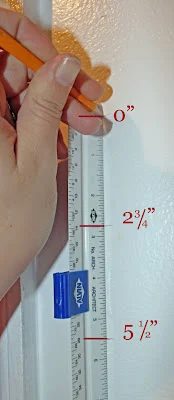
Mark both the top and bottom of the wall as well as the left and right side.
*Something to consider if you want your stripes to have a point that reaches the top of your wall then you can just start marking at 2-3/4″. It will look something like this
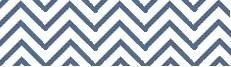
Or if you want them to look like they were just put there randomly measure down to a random increment and start there, say 1-1/2 or 2″ which will look something like this*

We have points at the top of our wall, but nowhere else. we measured in 1/4″ on the right side of the wall when we started to measure, and the stripes stop at a random spot.
It doesn’t matter which way you do it, but looking back I wish I wouldn’t have had the points at the top of the wall. It’s your choice, if you are very confused about all this then just skip it and move on.
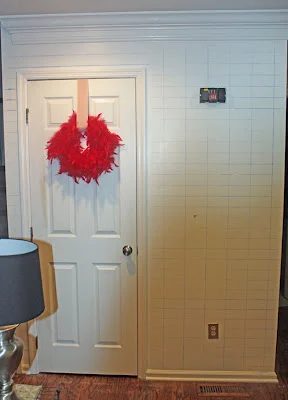
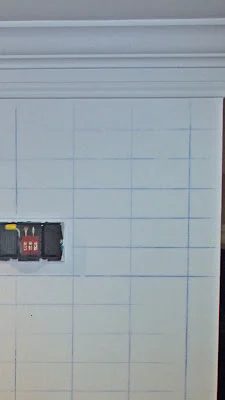
When you have your pencil marks every 2-3/4″ on the edges and top and bottom of your wall you will want to make your chalk lines. It doesn’t matter where you start, but you will need two people since you have to make it span the length and width of your wall. Your wall should look like this
 |
 |
Next, you want to take your ruler and make the diagonal lines.
You start on every horizontal line, but you cross over two boxes in the process.
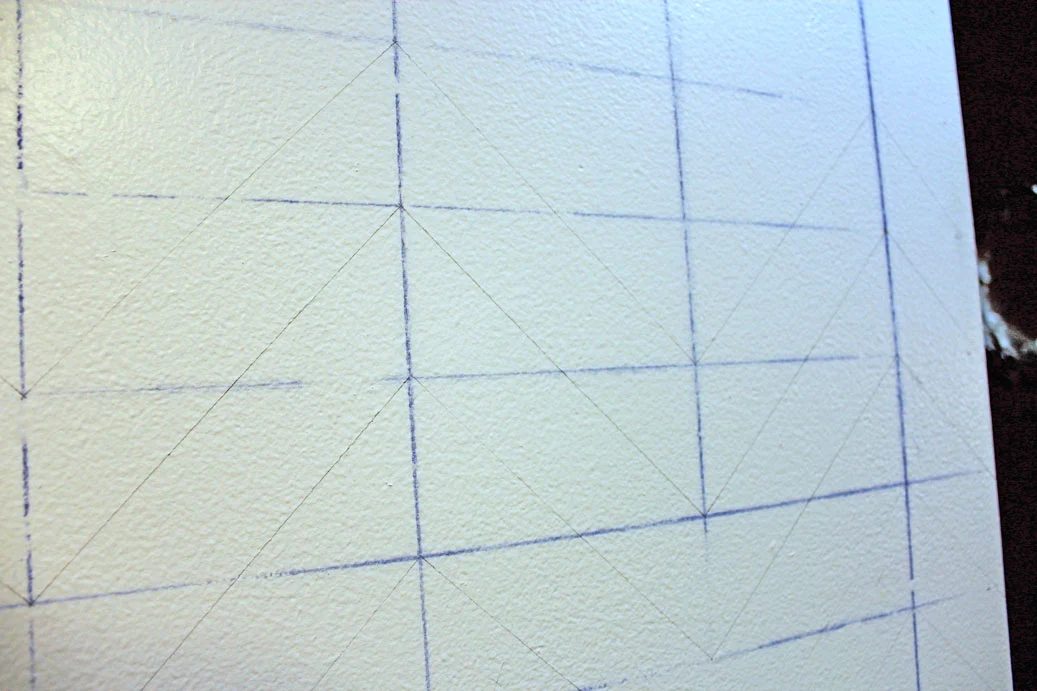
you may need to add in a few 2-3/4″ marks in spots where you don’t quite reach a 5-1/2″ width.
I needed to do this on the side of my door, it makes it much easier to get the correct angle.
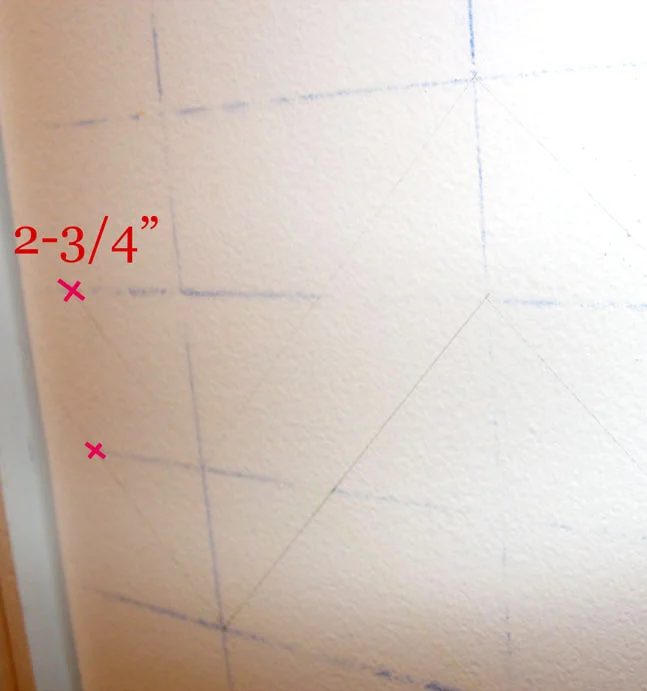
Once you have all of your lines drawn you will tape them off. I put red lines to show you where your pencil lines should be. Using these measurements and tape width makes it very straightforward to just tape in between the pencil marks and paint over them with your stripe color.
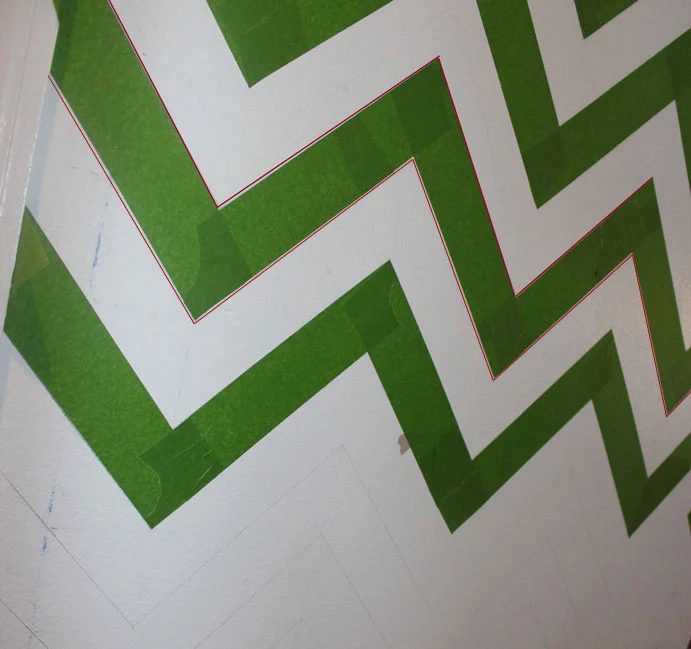
Your wall should be starting to look like this.
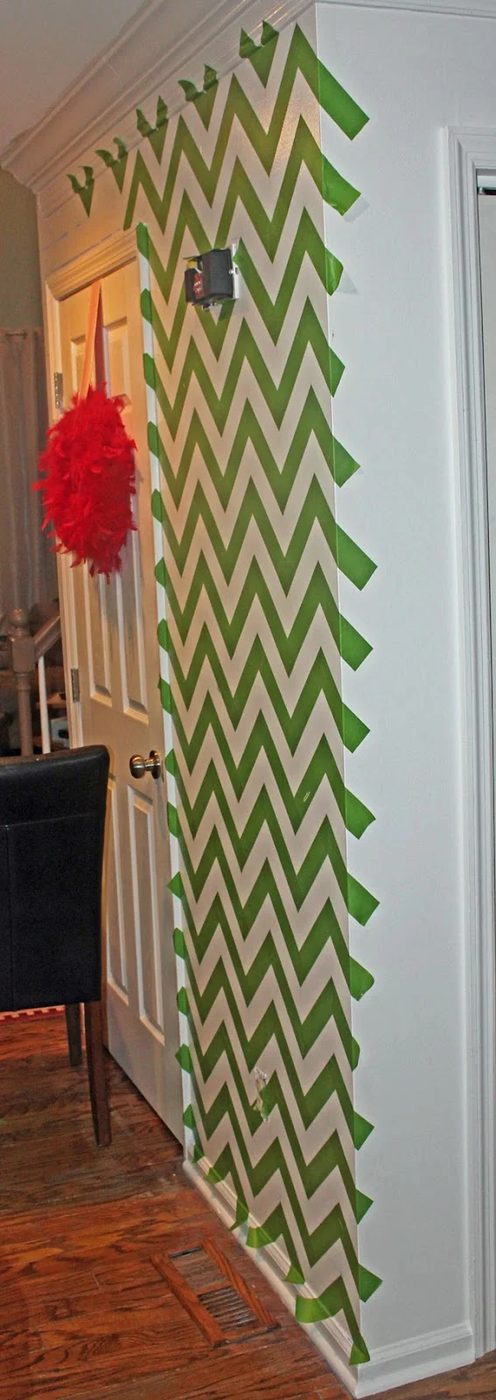
When your all finished taping your stripes you’ll want to tape around the trim, door or window frames, and the edges of the walls. I don’t have a picture of this before we painted, but you can see the blue tape we have around the edges in the pictures below.
When you have all your stripes, trim and edges taped off you can seal the tape, the company says that brushing a little bit of water on the edge will form a seal and you wont have any bleeding, but we decided to play it safe and did another coat of white on top of the tape. After all that work you don’t want to be doing touch ups for hours after your supposed to be done.
Roll the paint on everywhere you can fit the whizz roller, and then fill in any spots you couldn’t reach with your brush.
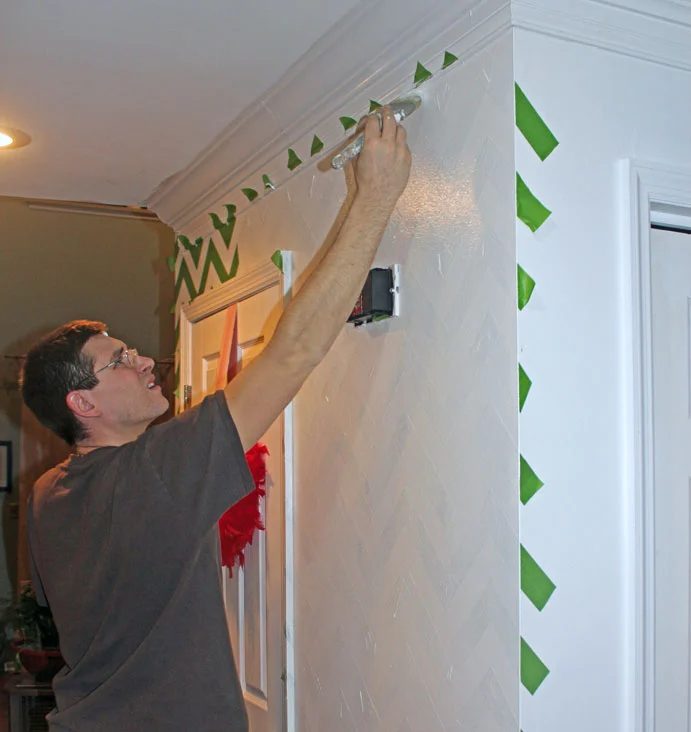
Let the white dry for a few hours and then get started on your first coat of your stripe color!
Once again you can do the majority of the work with your whizz and just cut in everywhere else with the brush.
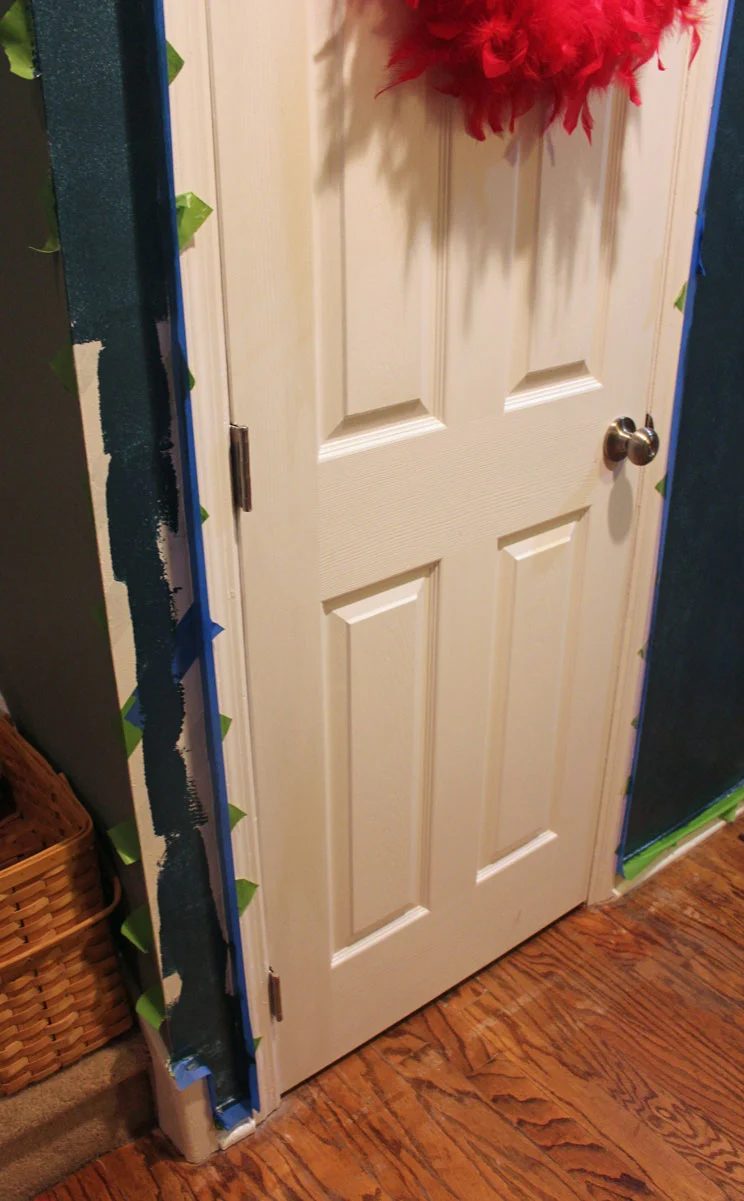
let your first coat dry to the touch, and then add a second coat.
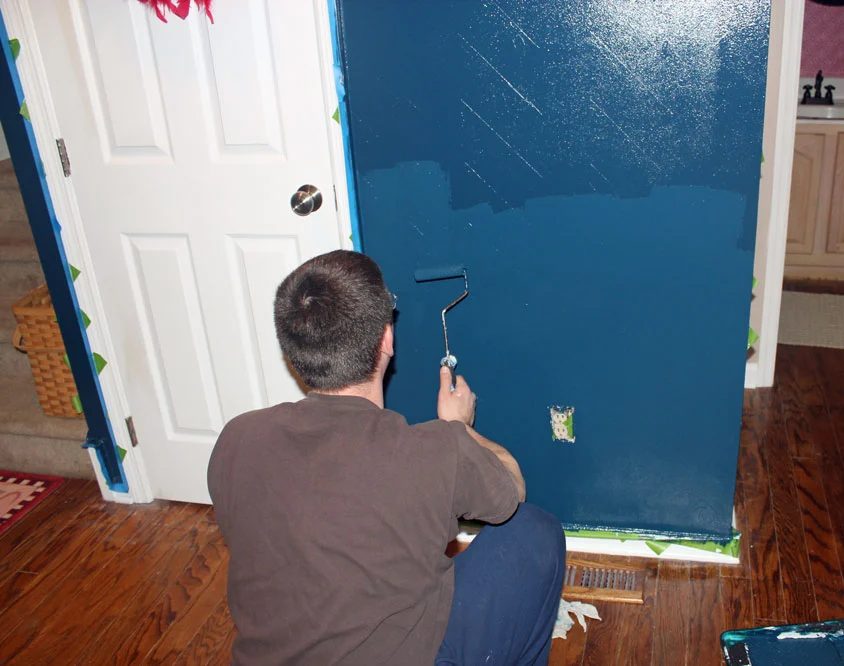
Because we were doing such a dark color on a white wall we needed to do three coats. Again, you want to let the paint dry to the touch in between coats.
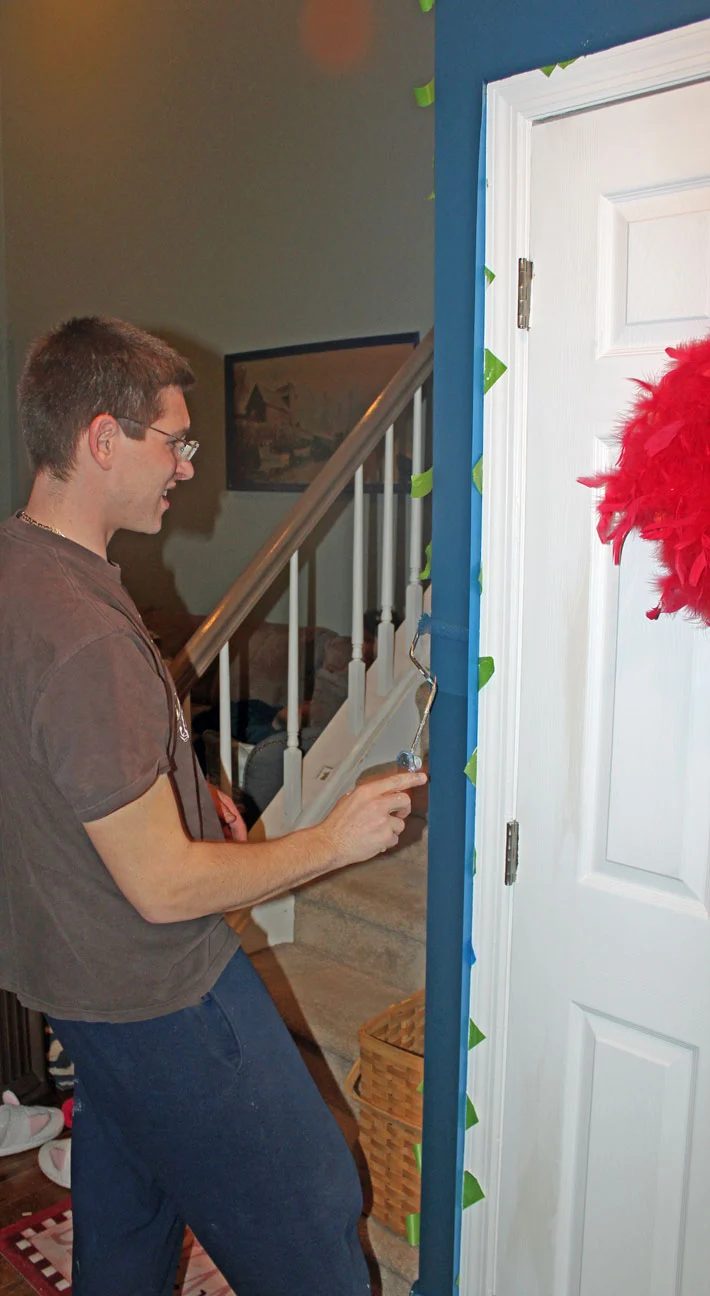
When you are happy with your coverage you can start to peel off the tape. we let ours dry just a little before we started, but this is a matter of personal preference. I think we waited about a half hour to 45 minutes.
When you do start taking it off peel slowly and peel it at a 90 degree angle.
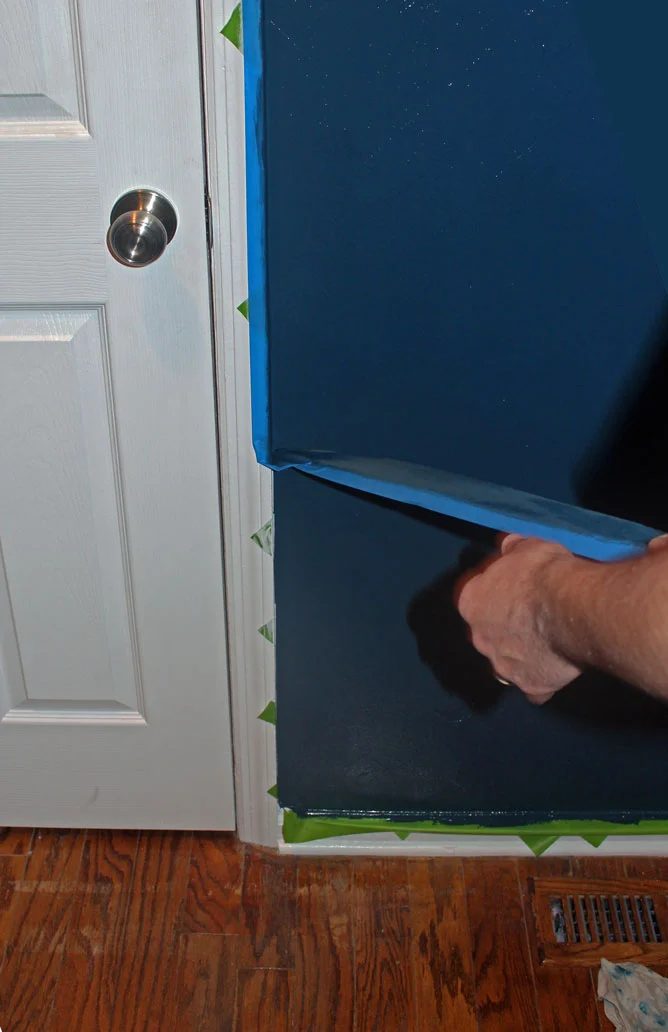 |
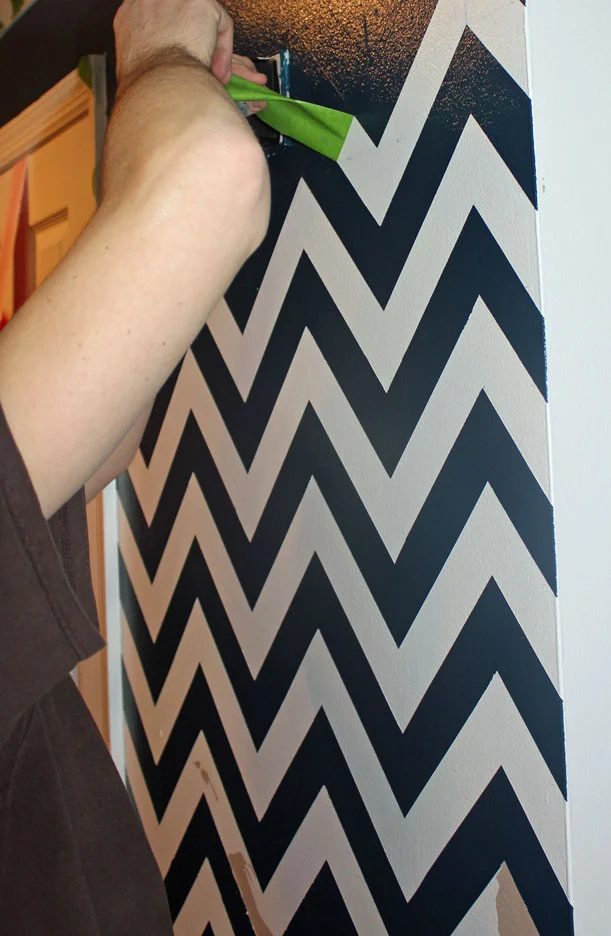 |
As you can see, we had one row with a LOT of boo-boo’s, this was due partially to me using a razor blade on the wall to cut the tape (I also cut through the white paint. OOPS!) and partially from Mike peeling it off at lightning speed. I can not emphasize how important it is to PEEL THE TAPE SLOWLY!
If it looks like the stripes are lifting off of the wall just hold them down with the side of your hand/ finger while you peel off the tape. The paint will be somewhat pliable if you peel the tape off before it’s completely dry.
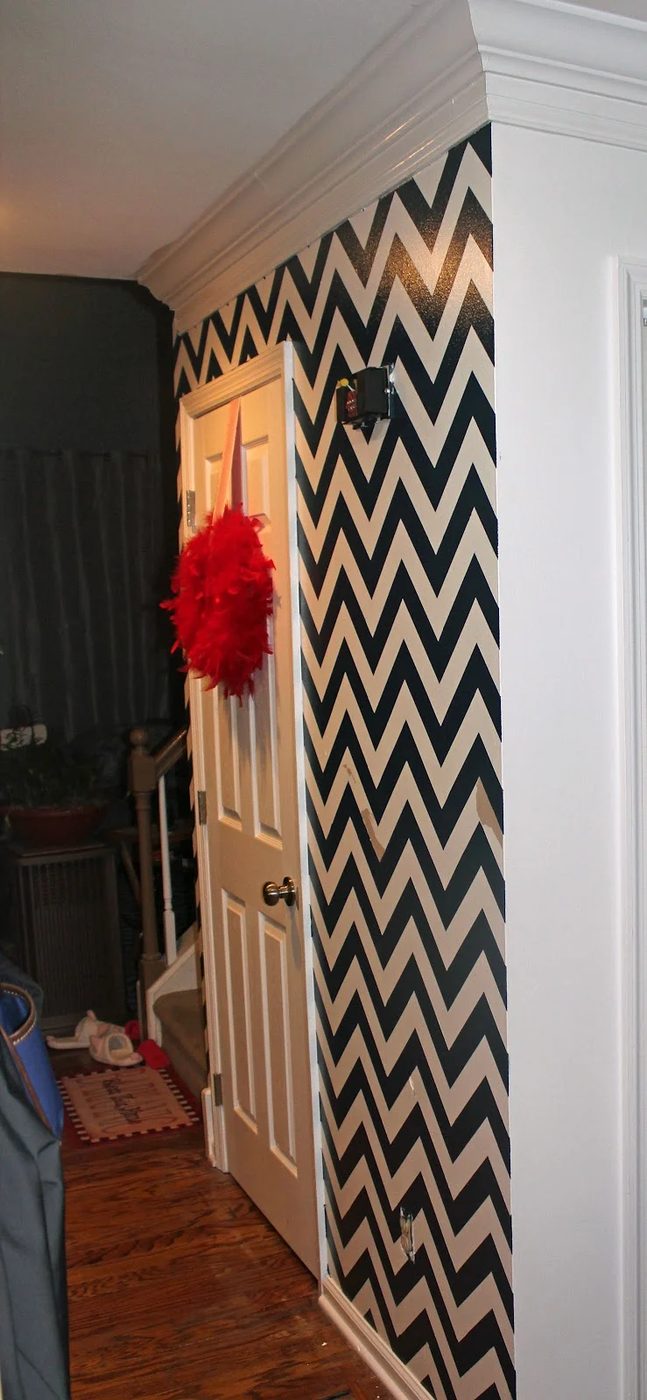
When we were finished we just went back in with the white to touch up the peeled spots, and now it looks FAB!
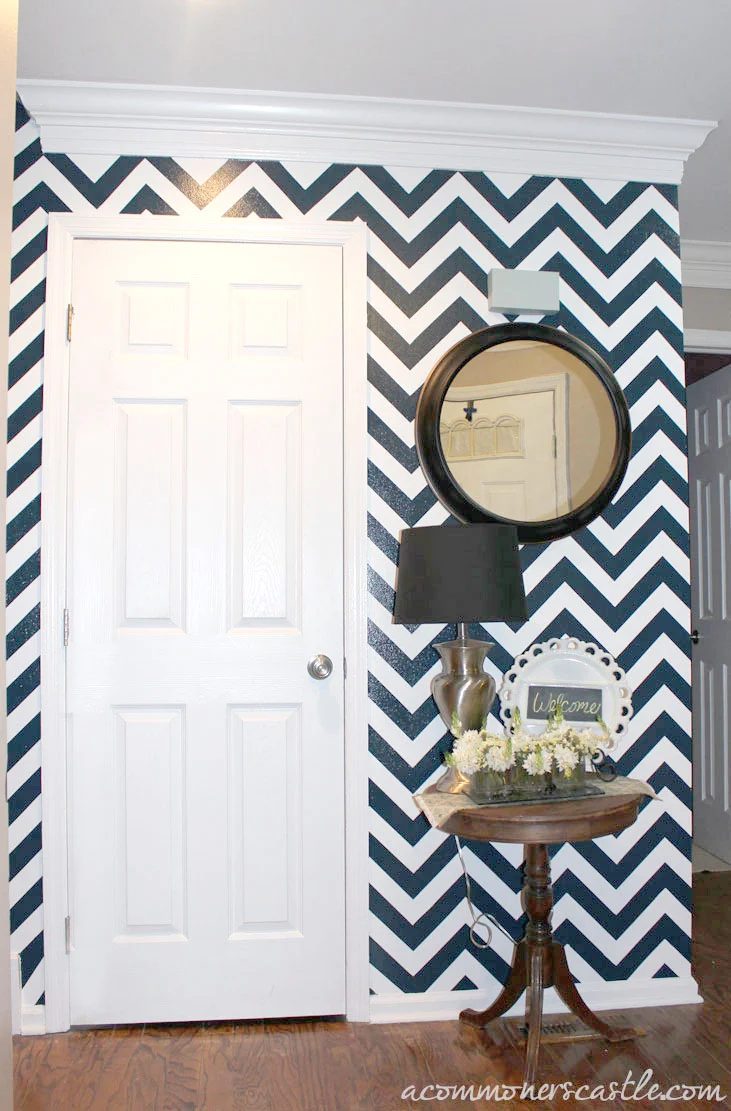
I am really SO happy with the results. I love how the high-gloss blue looks on top of the semi-gloss white. The lines came out so crisp and well fitted.
If you have any questions or need help making your own stripes please let me know!
I hope that this helped you know how to paint chevron stripes.