The steps below follow the order of the work for this holidays project.
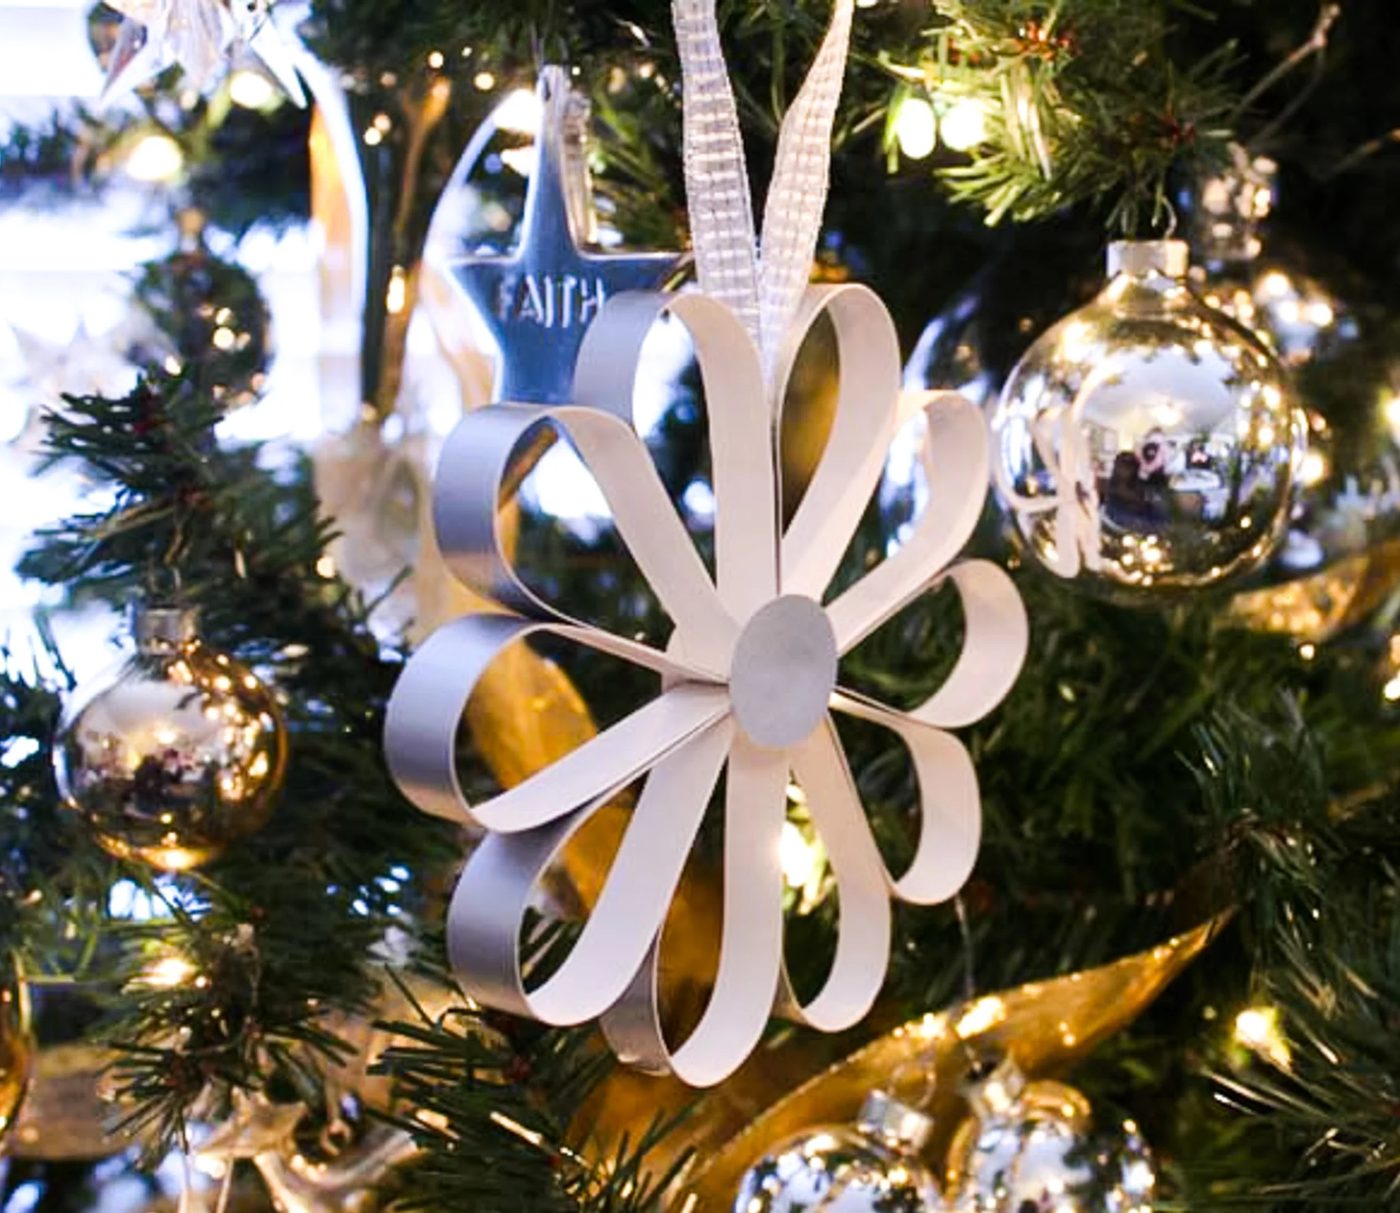
….on the 1st Day of Christmas my blog friend gave to me…. Aren’t they fun? They are so direct to make. Flower Ornament Cut 8 strips of card stock paper. 3/4 inch thick and about 4″ to 6″ long. It can be patterned or solid. Take a quarter and trace 2 circles on card stock paper. This can be either the same or contrasting paper. Cut circles out. Set aside. ** You could make this more snazzy by embellishing the circles, with pretty things you have in your craft room, i.e. glitter, rhinestones, artificial flowers etc Now grab a stapler, and loop paper strips like above and staple two ends together to create a teardrop loop. Repeat with all pieces. Now take a small piece of ribbon and glue it to the side of a loop of paper. Then loop the ribbon and glue that end down too. Take a second loop and glue to first, so it resembles a heart. Continue adding loops to circle with a little glue. Hold together with paper clips while glue sets.- When flower is assembled, and glue is set, remove paper clips and add some glue to center, and place cut, embellished(optional) circle over the center of flower.
Click on the links if you want to check them out.