This workshop walkthrough stays in the order the work happens.
Quick and Painless Backsplash Makeover With Contact Paper contributed by Kathleen Katydid And Kid
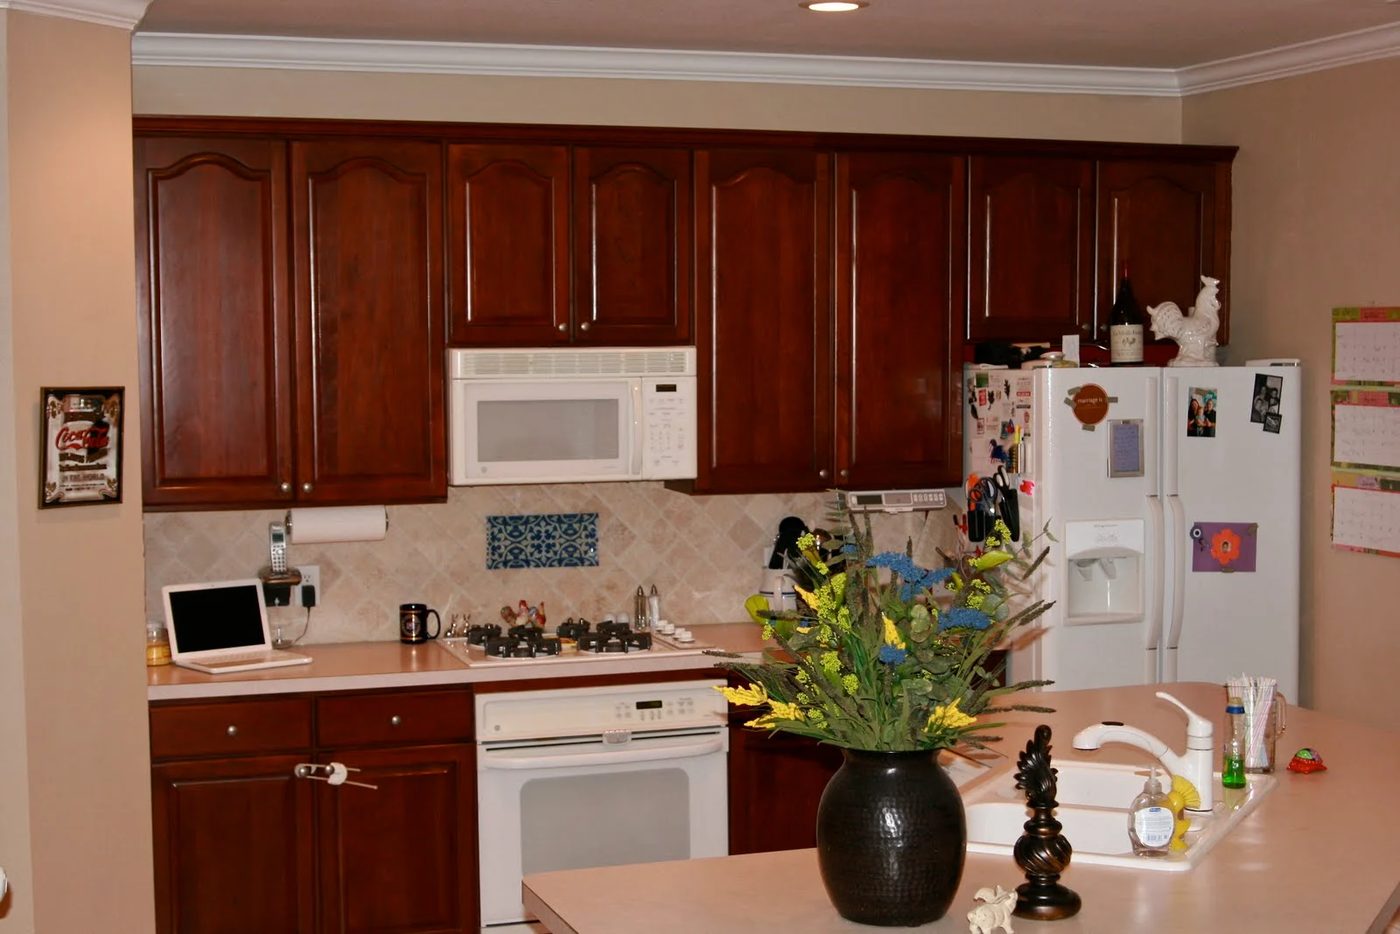
Even though I’m knee-deep in the painting-of-the-living-room project, I thought I’d take a break and update the backsplash in the kitchen. I hate how ugly it is, and because I don’t have the time, energy, or skills to do tile job on the backsplash, I decided to just cover it up.
My ideal situation would be bluish-green glass tiles, but that probably won’t happen until we fully makeover our kitchen.
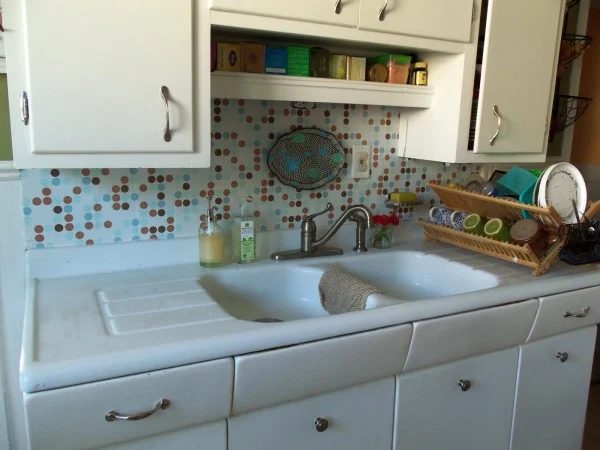
Today, I picked up some contact paper for 5 bucks at Target and went to town, cutting and pressing it on top of the tiles. For the project, I also needed scissors, a tape measure and X-Acto knife.It took all of about 10 minutes to do, between rolling out the paper, measuring, and pressing it into place. contact paper is really nice in that it has a grid on the back that makes for straightforward cutting and measuring.
I did take off the electrical cover as well as the soap dish that is drilled into the wall. It just made things so much easier than trying to cut around them neatly.
I trimmed a bit around the edges with the knife, as well as around the electrical socket, though I made sure not to cut off too much so it was sealed nicely under the cover.
Now honestly, it doesn’t look memorable up close, since you can slightly see the grout lines of the tiles, but who cares? I like that this was so low-cost to do, and I still have yards and yards of it left for other projects, like lining the shelves. When it gets too grimy, I’ll just replace it either with the same pattern or something else. I’ve also considered cutting them to fit each tile, so the grout still shows, but that is much beyond my attention span at the moment.
It also goes so much better with the color of the living room than that turquoise.
Next up: dealing with this mess (Goodwill stuff and things to be put away).
Keepin’ it real, y’all, keepin’ it real.