The steps below follow the order of the work for this decor project.
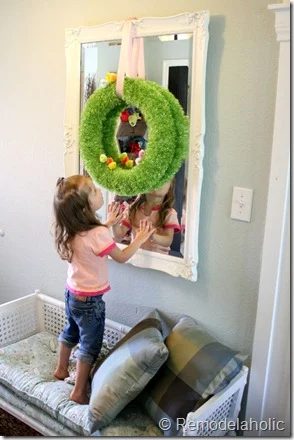
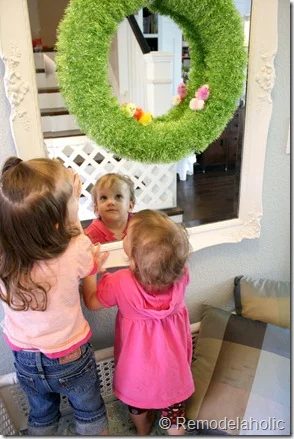
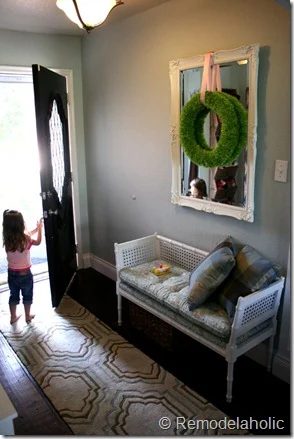
Time for a new wreath… it is April after all, and truthfully my Valentine wreath is still up… okay so I took it down yesterday when I finished this little wreath. I am pretty sure if you are on Pinterest you have seen this wreath… (the walkthrough is quite clear from the pictures…)
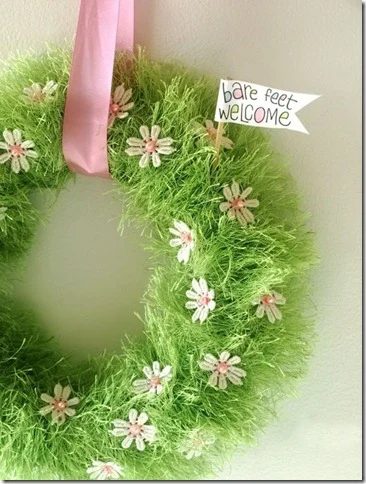
A few months ago when I first saw it, it had already been pinned a few thousand times. I am pretty sure it is even more “pin-famous” now!
I personally loved the option first cuz I thought it would be well fitted for two holidays…. St Patrick’s Day with maybe a pot of gold, then switch the gold- for flowers and is it well fitted for Spring/Easter.
So I made one.
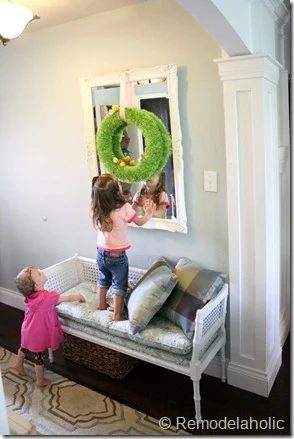
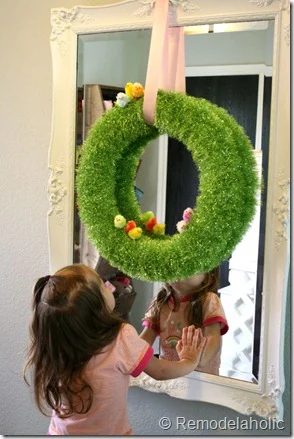
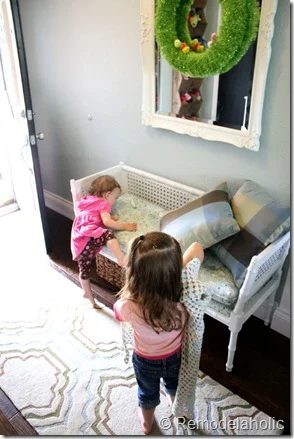
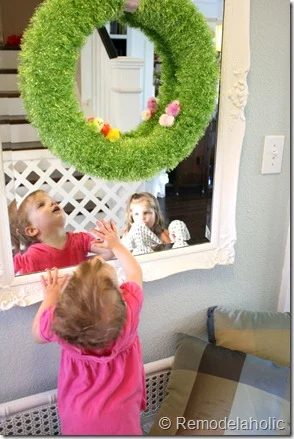
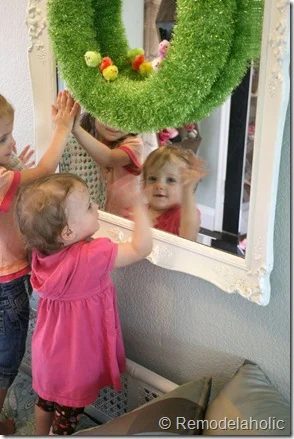
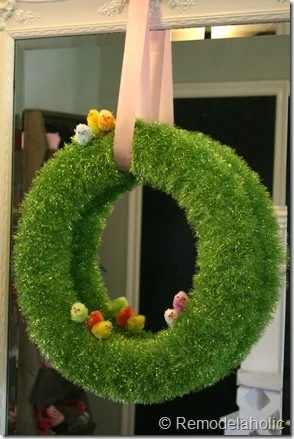
I just *had* to buy the eyelash yarn with some metallic string woven through, so it might be a little gaudy for some peoples taste, but my two girls *LOVE* it… and that is what holiday decorating is all about!?! Right?!
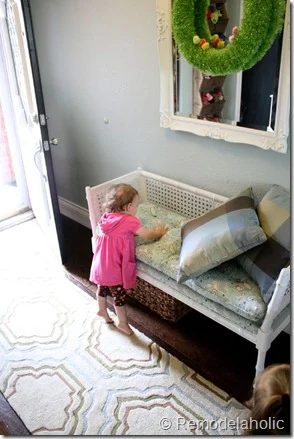
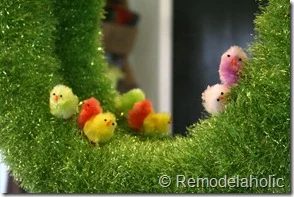
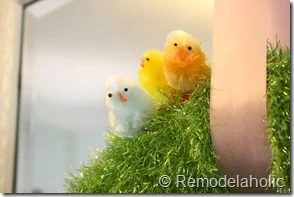
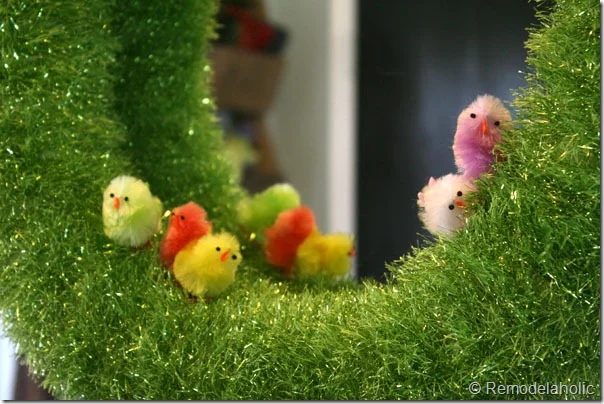
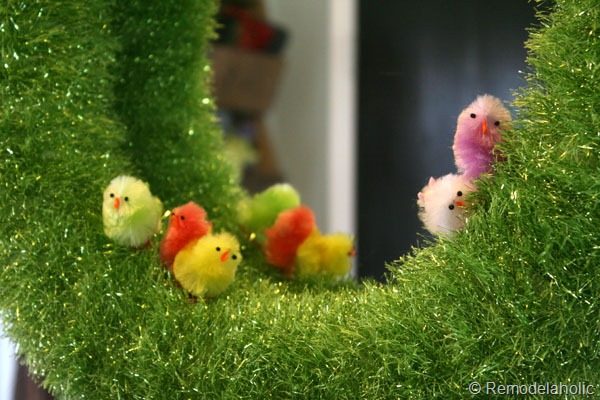
For Easter I threw a few little chicks in. And now every time I walk down the stairs with Lydia she gets clearly excited and starts “Bok-bok”-ing.
Before and after with the little chicks.
Things I learned.
I used an 18 inch straw form.
I only needed one skein of yarn. (I actually have a good sized balls left over) You don’t need to be so tight with this yarn so it lasts longer!
Don’t get too thick of a form because the yarn adds quite a bit of bulk. (at least an inch if not 2 in thickness)
The chicks are not permanent, so If I ever want to take them out I can easily.