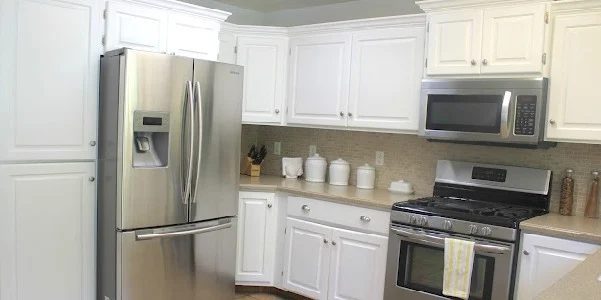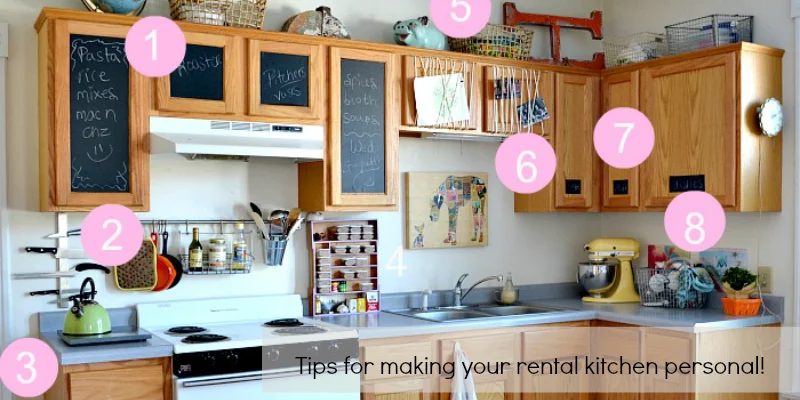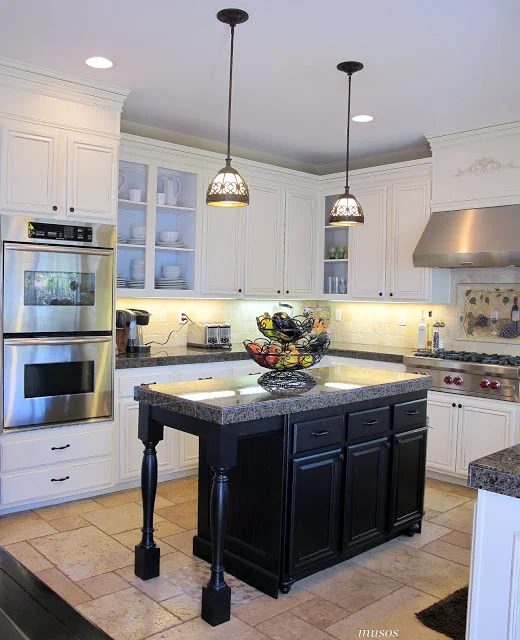
The steps below follow the order of the work for this kitchens project.
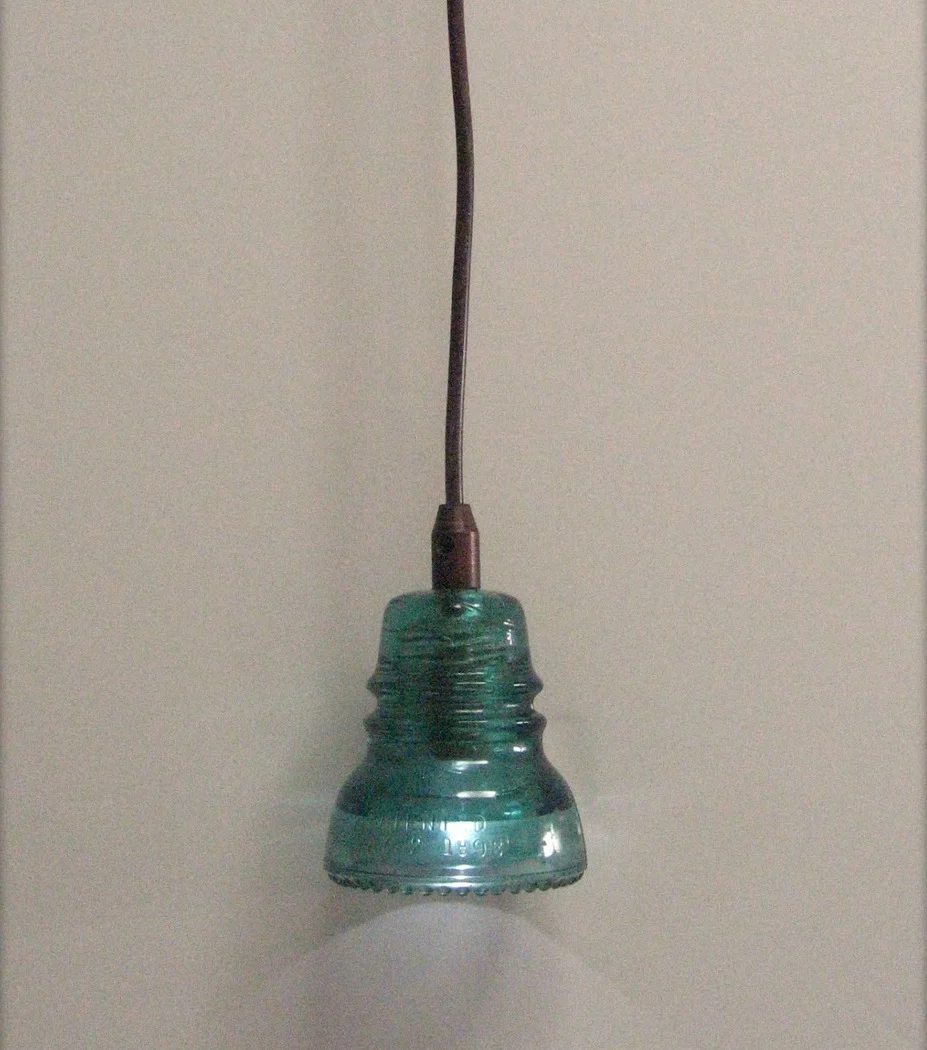
Recycling Glass Insulators Into Pendant Light Contributed by Girl In Air Photo Source Oh how I wish I had all these fabulous colors!! Ever wonder what you could do with those old glass insulators?? How about a pendant light!?I am really into re-purposing things right now….and I had a box full of glass insulators just calling my name.
Three of these beauties will soon be hanging above my eat at bar!
You’ll use these tips and techniques to drill glass, sea glass, wine bottles, glass block, tile, stone, granite and marble.
- Use diamond bits to drill your glass, not carbide bits.
- Use diamond hole saws to drill holes 1/4″ and larger or to drill holes in thick glass like glass block or wine bottles.
- Use plenty of lubrication/coolant to keep your drill tip cool and the hole clean.
- Use less pressure! Let your drill bit drill at it’s own pace.
- Start diamond hole saws at 600-900 RPM
- Start diamond drill bits at 2500-5000 RPM I used a 1/2″ diamond bit I got at the home improvement store for $7. Now let me try and expand the difference between a bit and a hole saw….Cause this is where I got very confused and maybe you are too… They both are bits to use in a drill…. The hole saw cuts a ring to make a hole and a bit drills a hole and works outward to make a bigger hole. See? The bit I bought is considered a hole saw…. Make sense??? Then I got to know the hubby’s drill press a little better… I used the larger one for this project. I’ve always been shy around power tools but this one is so straightforward to use and I’ve been using it for lots of other crafts too. See how you can set the speed for working with glass….the turtle for slow and rabbit for fast is how you change the setting on the R.P.M. Put in the diamond bit. Make sure you wear your safety glasses and don’t apply too much pressure….let the drill do the work. We bought 2 socket kits($2 each) not sure which one to use… ended up using the smaller one without wires. There are a lot of different type pendant kits you can buy…like the one I bought to make a mason jar pendant light But I found this on sale for $40 with a $20 rebate at Mernard’s My plan was to replace the globes with my glass insulators Here are the ends of the pendant light… One still attached and one taken apart You will need to use pliers to pull off the socket, wire strippers to remove the wires and then unscrew the other two pieces. (I’m sure had I found a pendant kit with a smaller socket I could have skipped this step and simply changed out the globe with the glass insulator.But a lighting kit with a small socket could not be found in my small town.) So you will have these two pieces left…. Thread the wires through the hole you cut and attach the socket There are instructions on the back of the socket packaging. I used an LED energy efficient long life bulb There is also tons of helpful video’s on the internet about how to wire a socket. Ready to install….. This pendant kit comes with assembly and installation instructions. Remember you can also turn a CAN light fixture into a pendant light with a $10 converter kit. Here’s another single mini pendant kit you can purchase. I have seen these priced $10-$20 in White, Nickel and Black finishes. Don’t have a place to hang a pendant??? Then you could pick up on one of these clip on socket cord sets for around $5 at your home improvement store and make a lamp! So for around $35 (light kit, diamond bit, sockets, LED lights) I made 3 charming pendant lights to hang in my kitchen