The steps below follow the order of the work for this methods project.
Refinished Dining Room Table andChair Re-upholstery walkthrough
Special Guest Feature by Natty by Design
I’m thrilled to be here at Bekob today to share my dining room and a
direct upholstery walkthrough with you!
I’m a new blogger over at Natty by Design where I share the ins and outs of my
furniture refinishing business and the S-L-O-W transformation of my new home. I
thrive on the adrenaline of a good challenge and I have a passion for learning new things.
I am an incurable DIYer. If I can do it myself – then I’m going to do it by myself. So without further ado, my dining room…
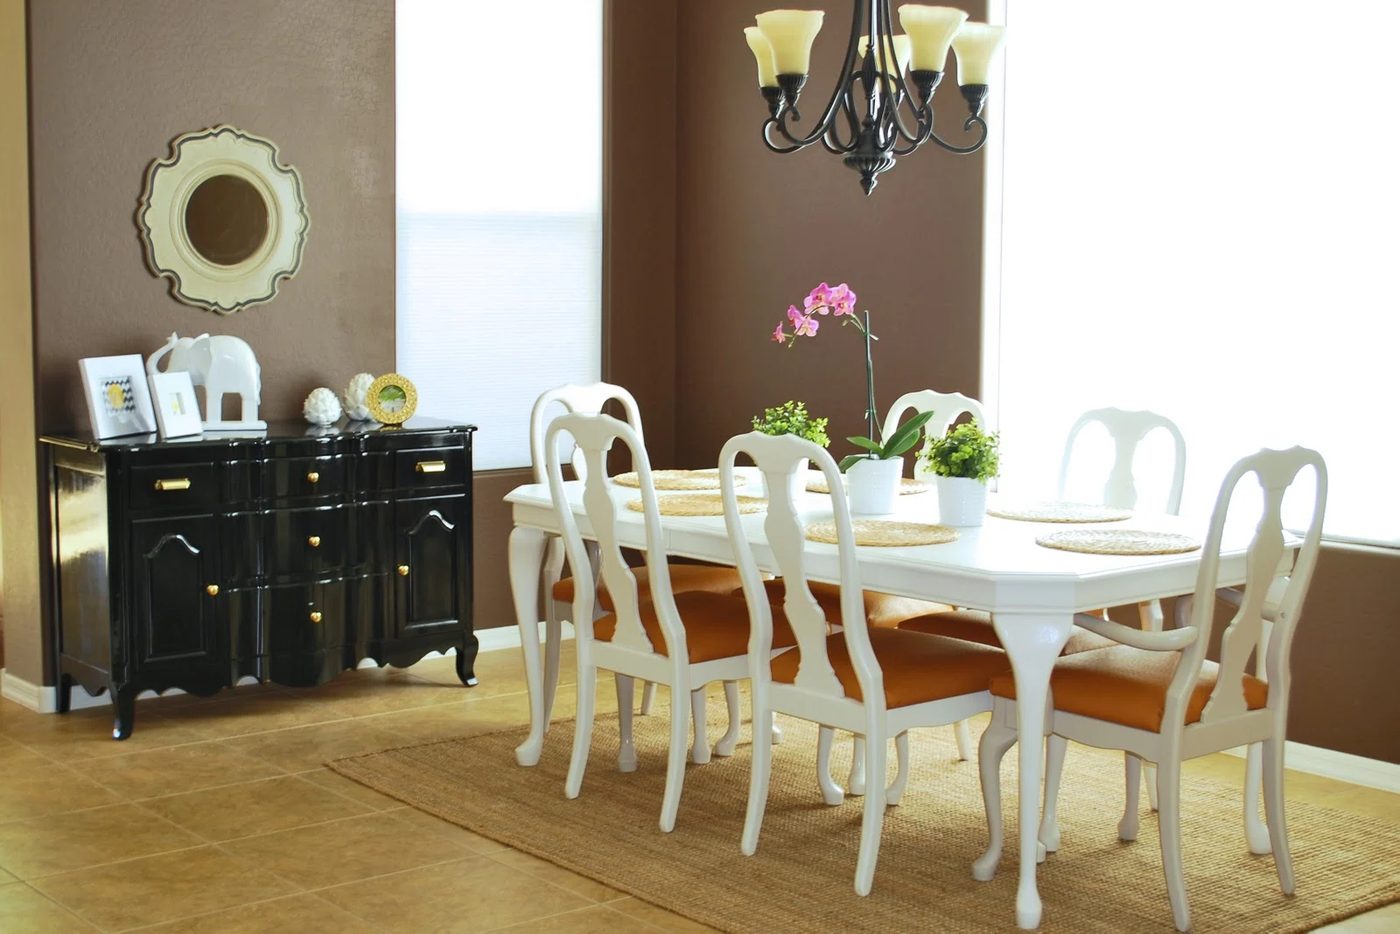
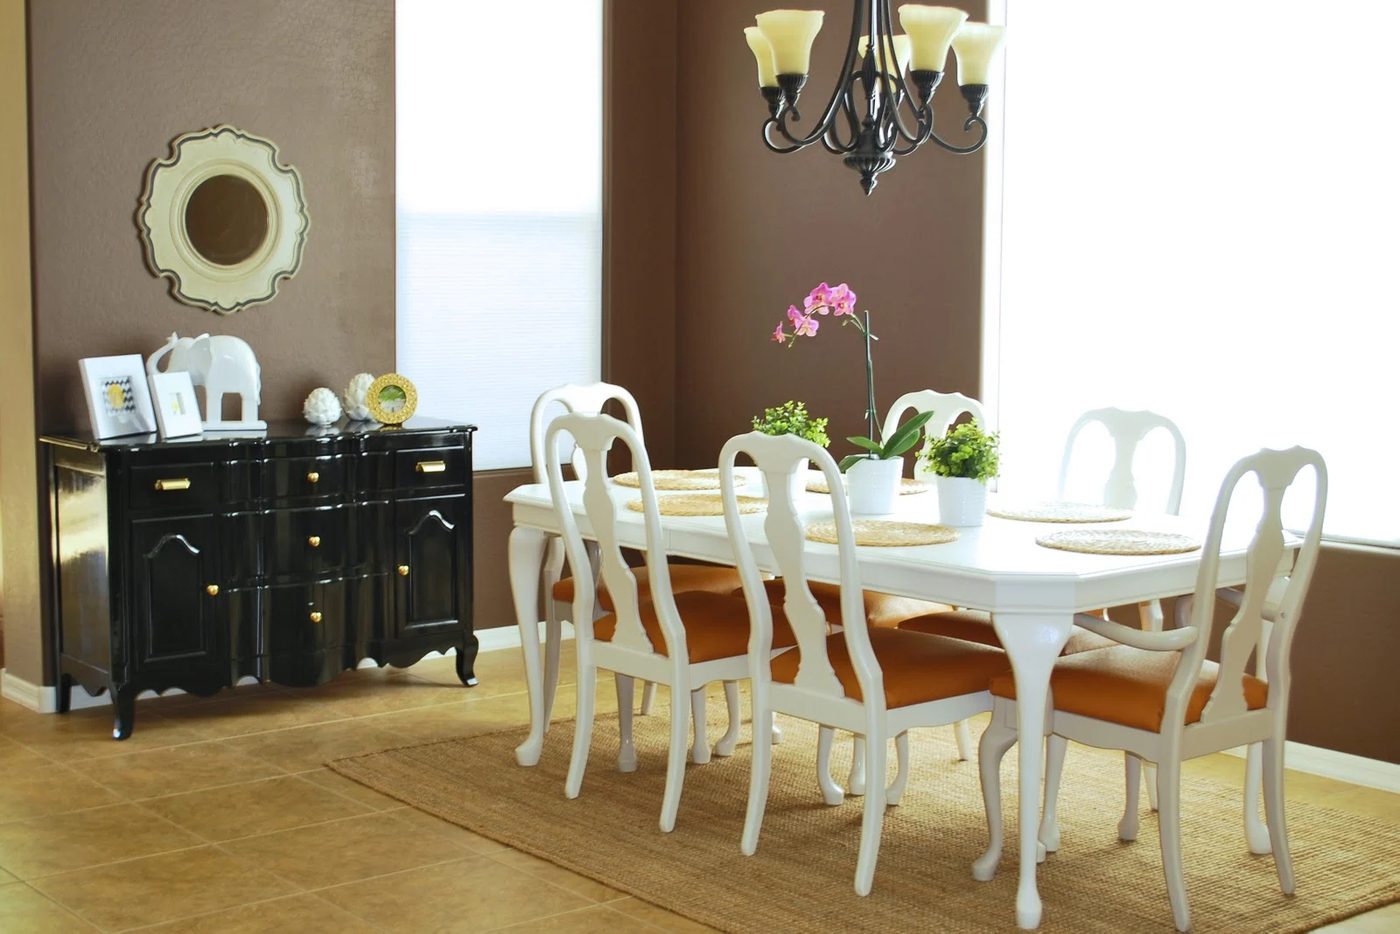 Prepare yourselves for the fabulous before and after of my table and chairs!
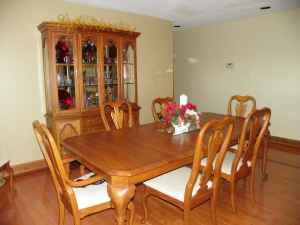
Nothing is more exciting than a great “before and after”…agreed? This picture doesn’t do the
complete nastiness of the table justice. The previous owners had two very large
dogs that had done some serious damage to the legs and a couple of the cushions.
Something else you can’t see are the atrocious seashell details on the table legs – my
husband, Zac, took the grinder to those. I wasn’t digging the heart shaped
backs either, so I made a template out of cardstock similar to the Pottery Barn chairs
here and he cut them out with his trusty
jigsaw.
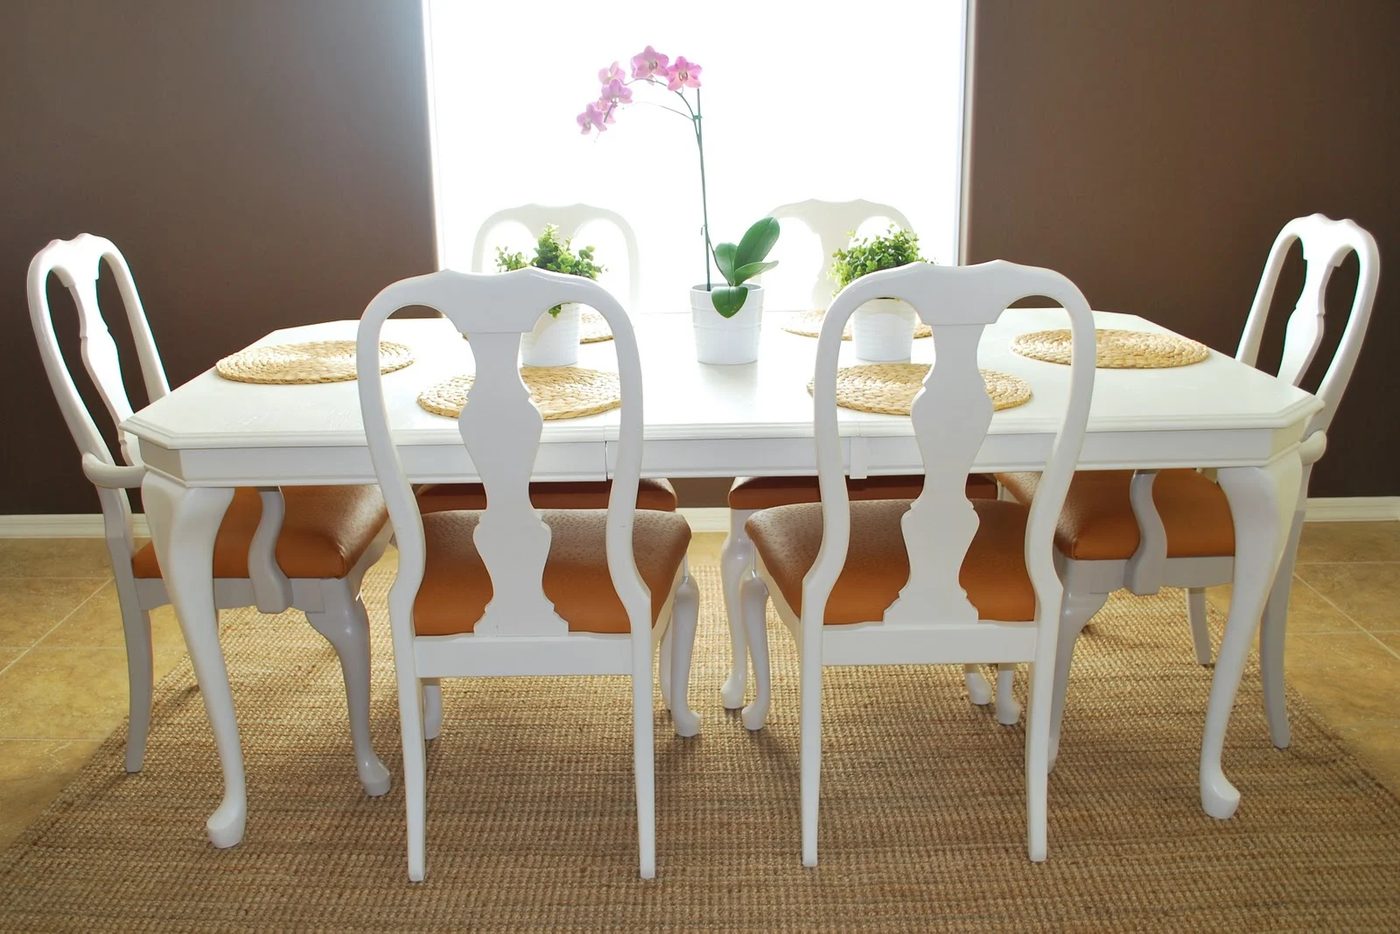
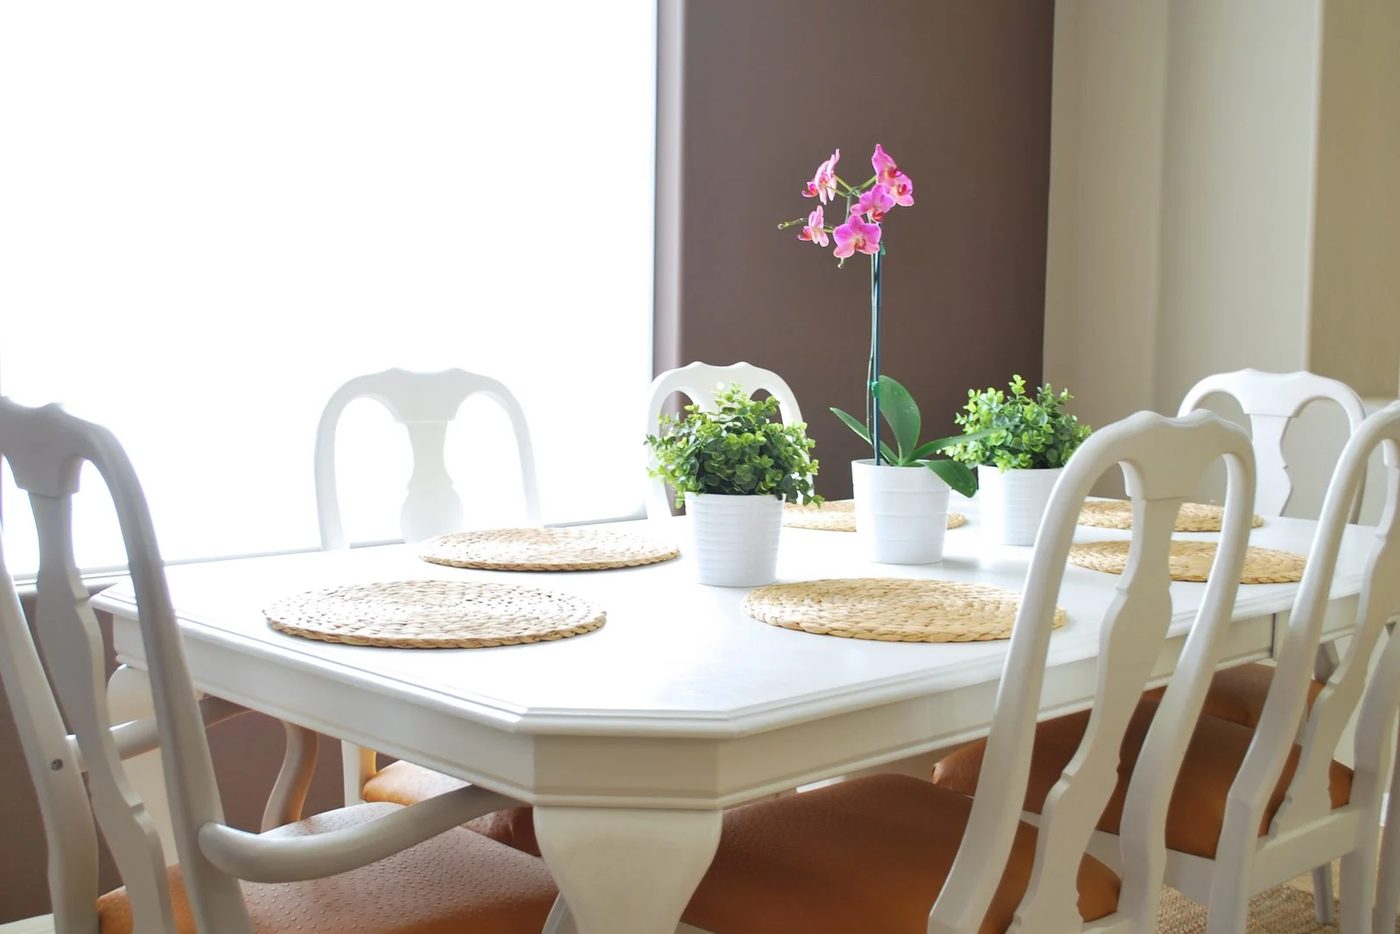
 Ahhh, so much better.
 On to the upholstery walkthrough…
Things needed for this project:
Foam {I wanted fluffy chairs so I went with the 2″}
Dacron or 3/4″ batting
Pneumatic staple gun {an electric staple gun WON’T work…I tried it, then promptly
On to the upholstery walkthrough…
Things needed for this project:
Foam {I wanted fluffy chairs so I went with the 2″}
Dacron or 3/4″ batting
Pneumatic staple gun {an electric staple gun WON’T work…I tried it, then promptlyasked for a pneumatic for Christmas} 3/8″ Staples Razor knife Marker 1. Trace your seat base leaving an extra inch all the way around.
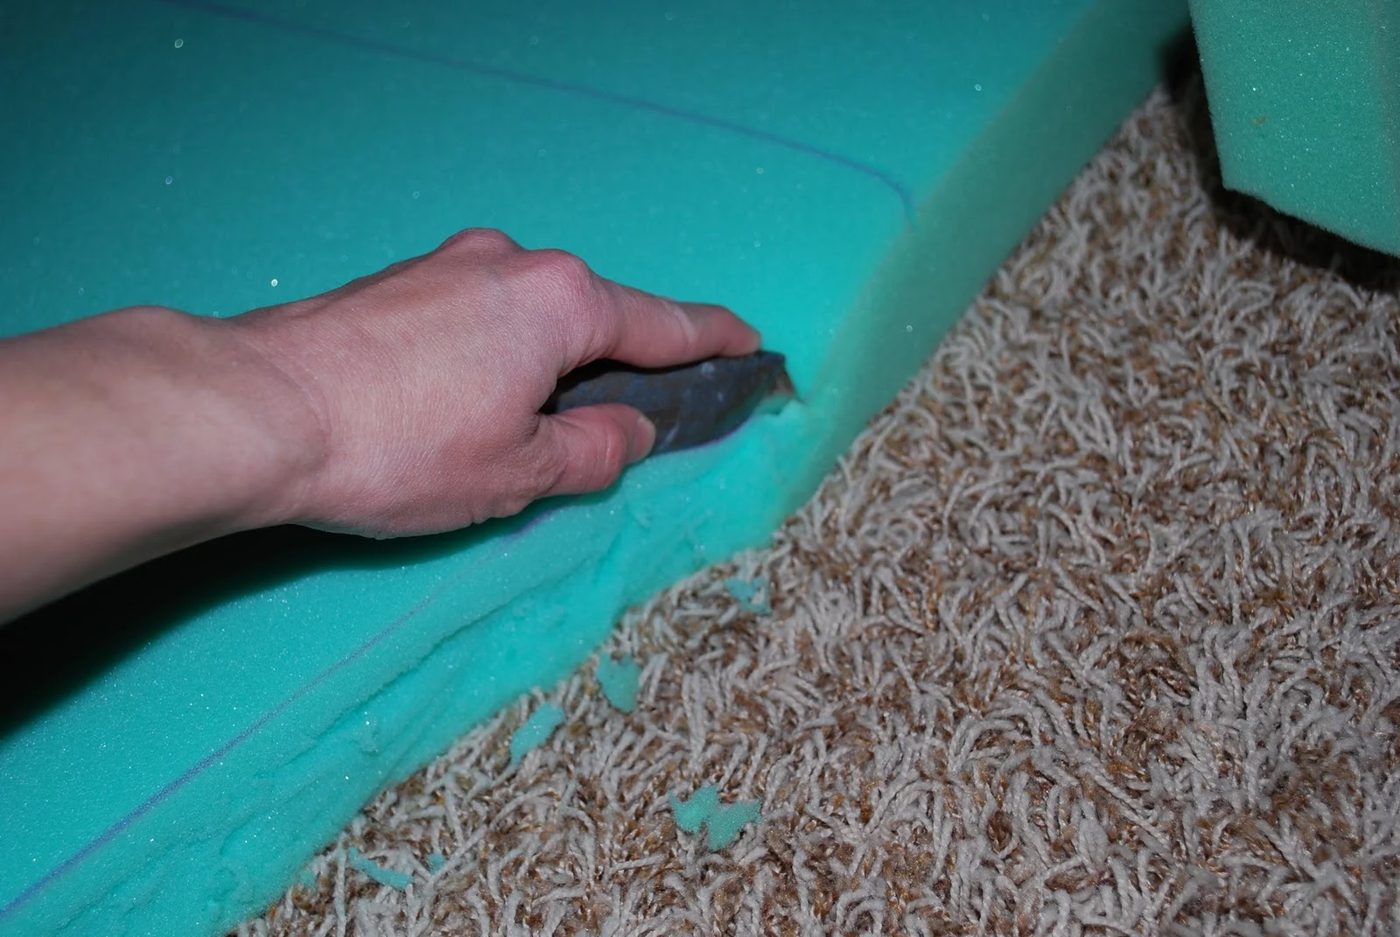
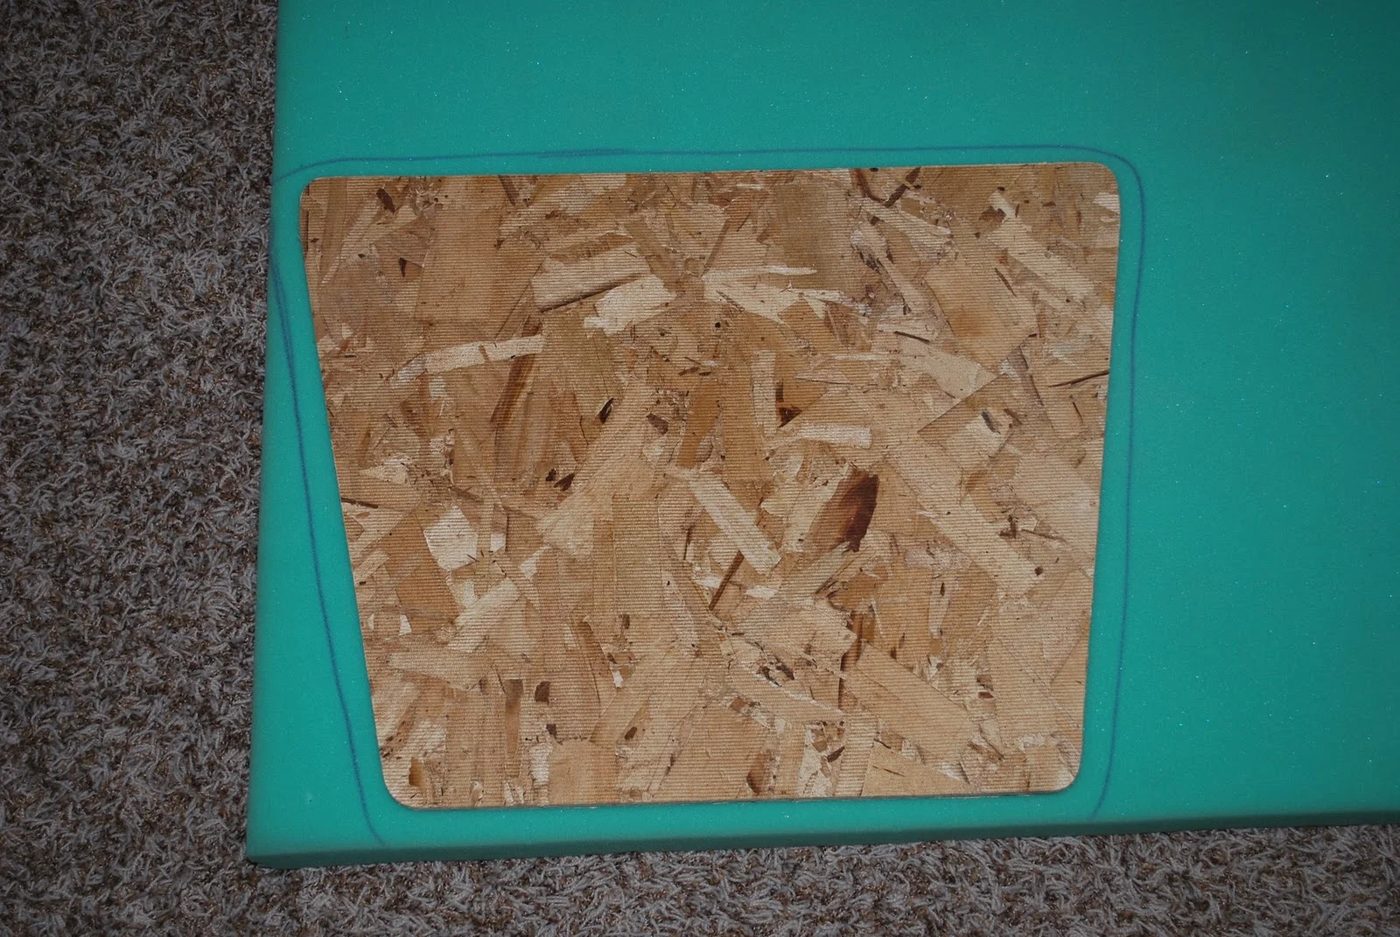 2. Cut it out. {The ladies at JoAnn’s used an electric bread knife to cut the foam
and it worked much better than the razor, but you probably don’t have one of those
either.} Don’t worry about the edges being messy, it won’t matter.
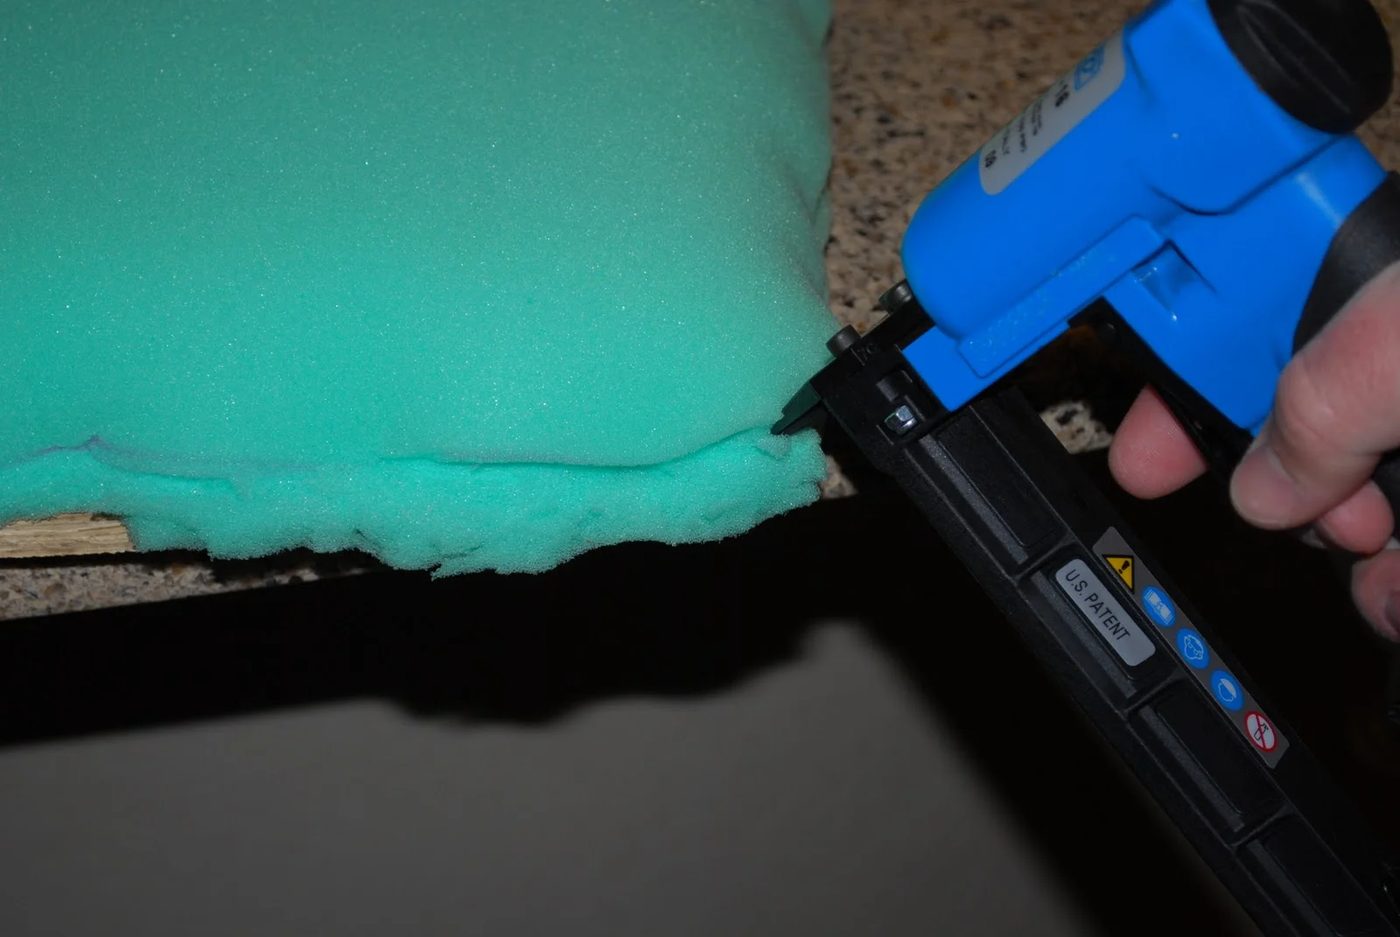
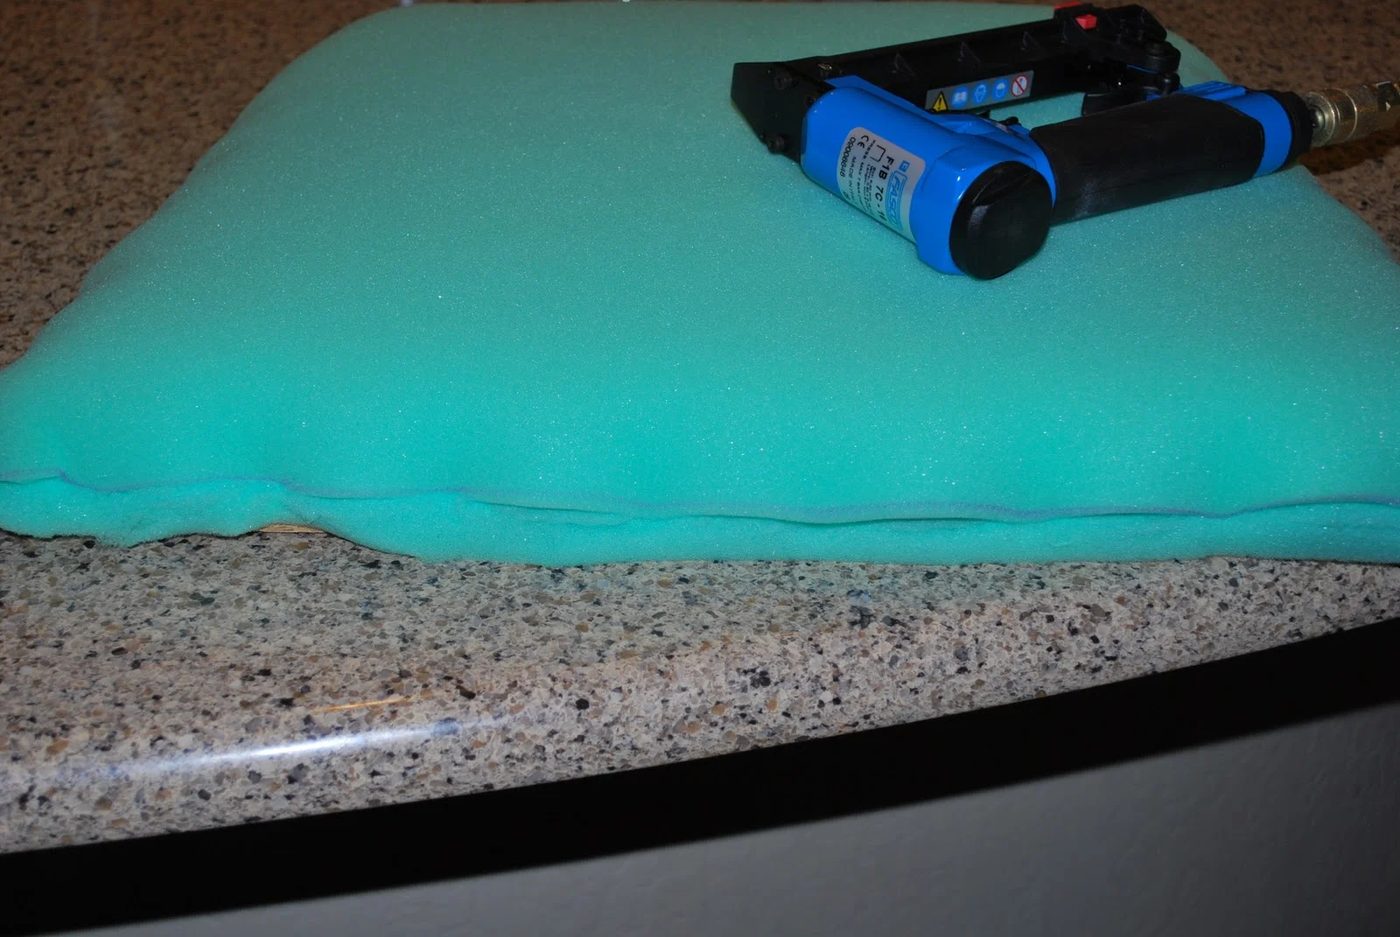
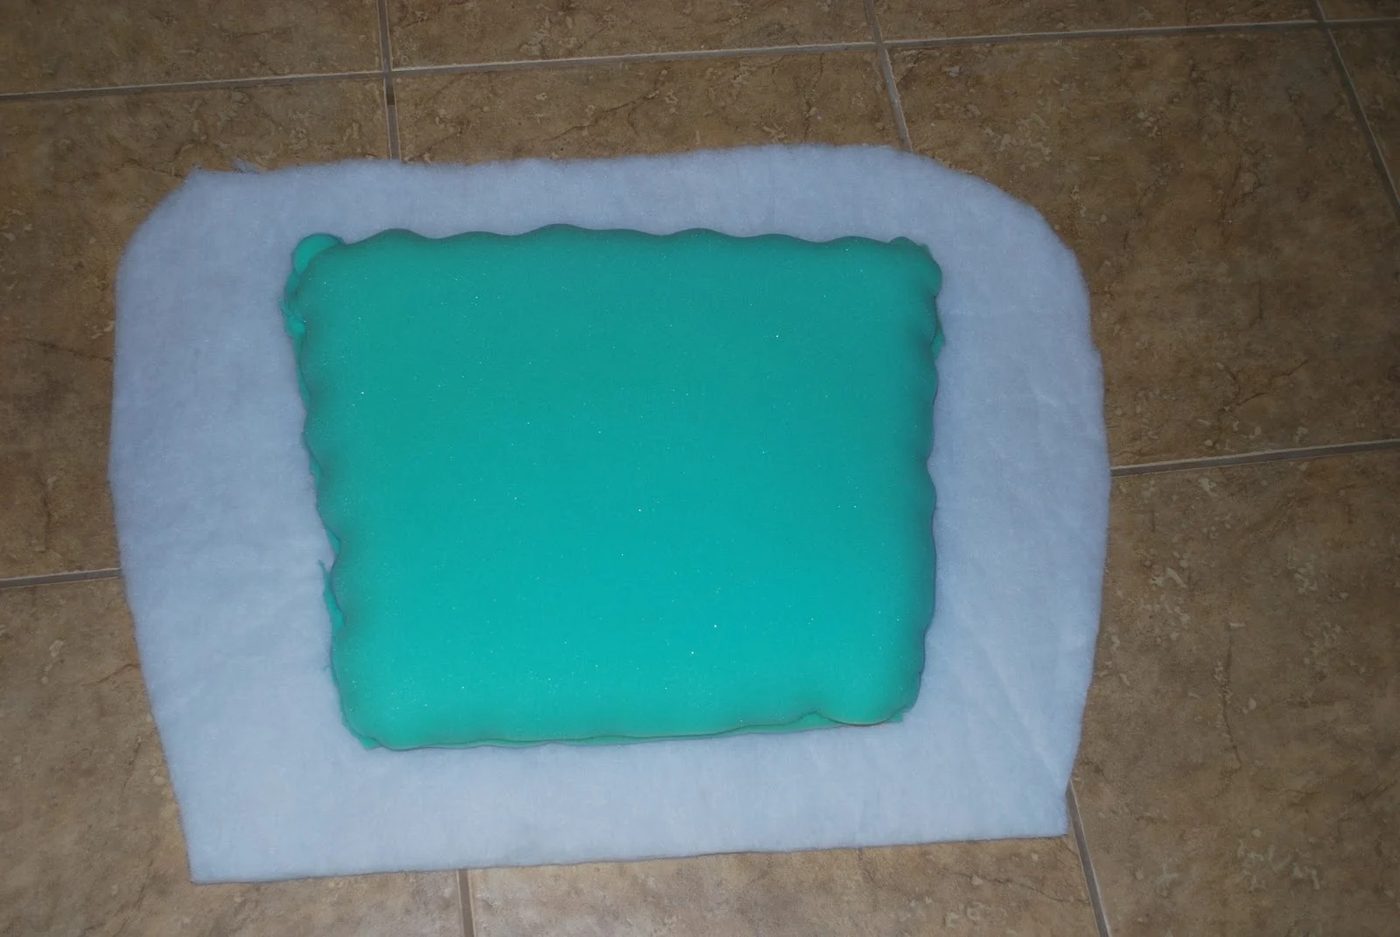
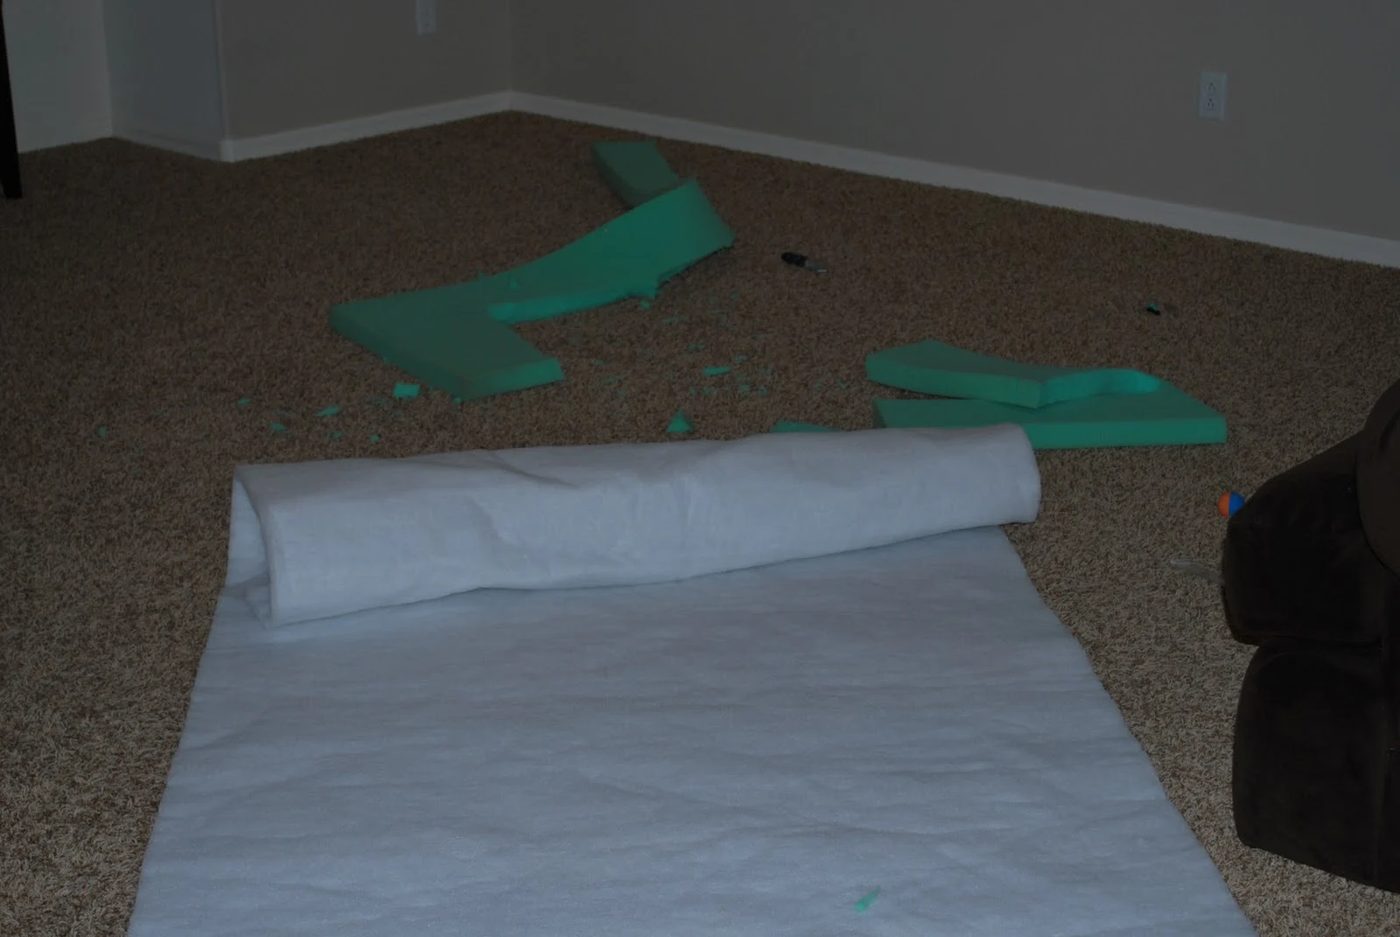
 3. Staple the foam to your seat base. Don’t staple from the top, staple downward
on an angle from the middle of the outside edge of the foam. It won’t look smooth,
but that’s what the dacron is for.
 4. Measure and cut your dacron.
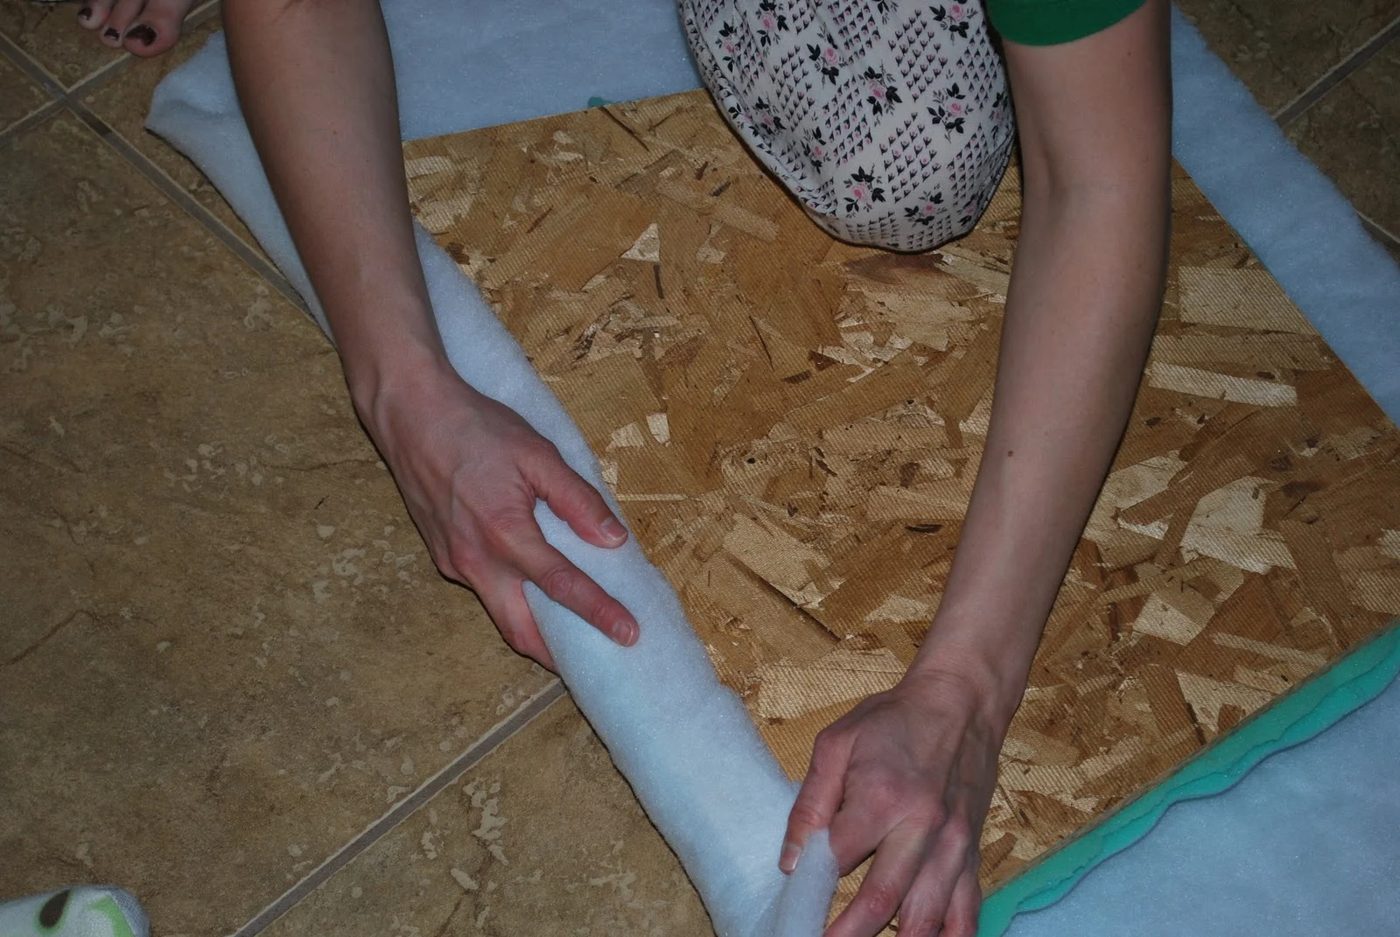
 5. The purpose of the dacron is to smooth the surface of the foam, while adding extra
cushion. Roll your edges over and staple, always starting with the middle.
Put one staple in the front middle, the back middle and the sides. Then go back
and finish stapling the rest of the front, the back, then the sides. Make sense?
{Yes, I am in my pajamas…and enjoying a root beer float while watching
Confessions of a Shopaholic.}
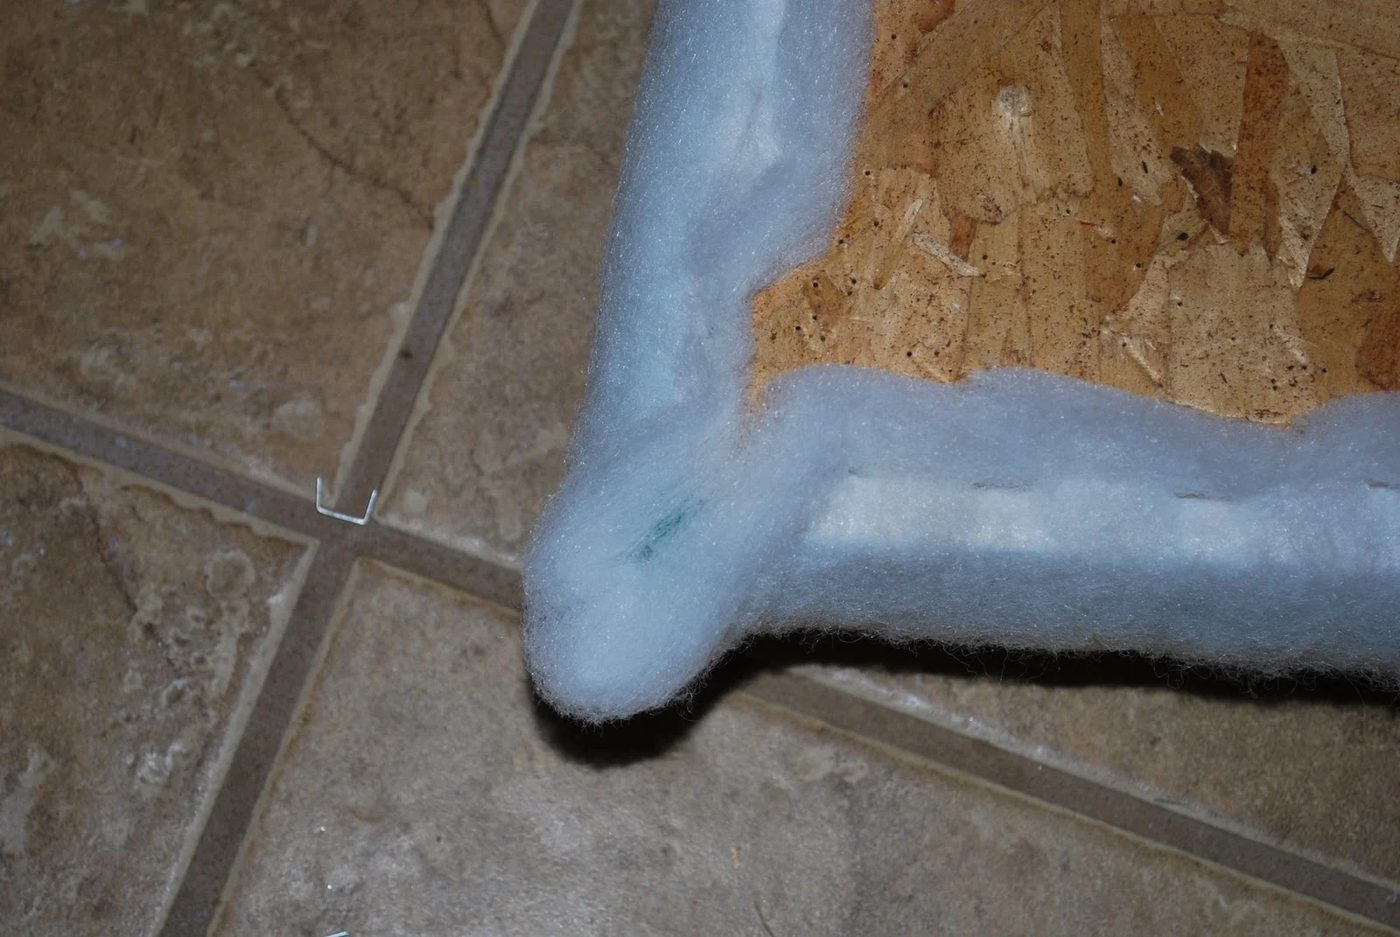
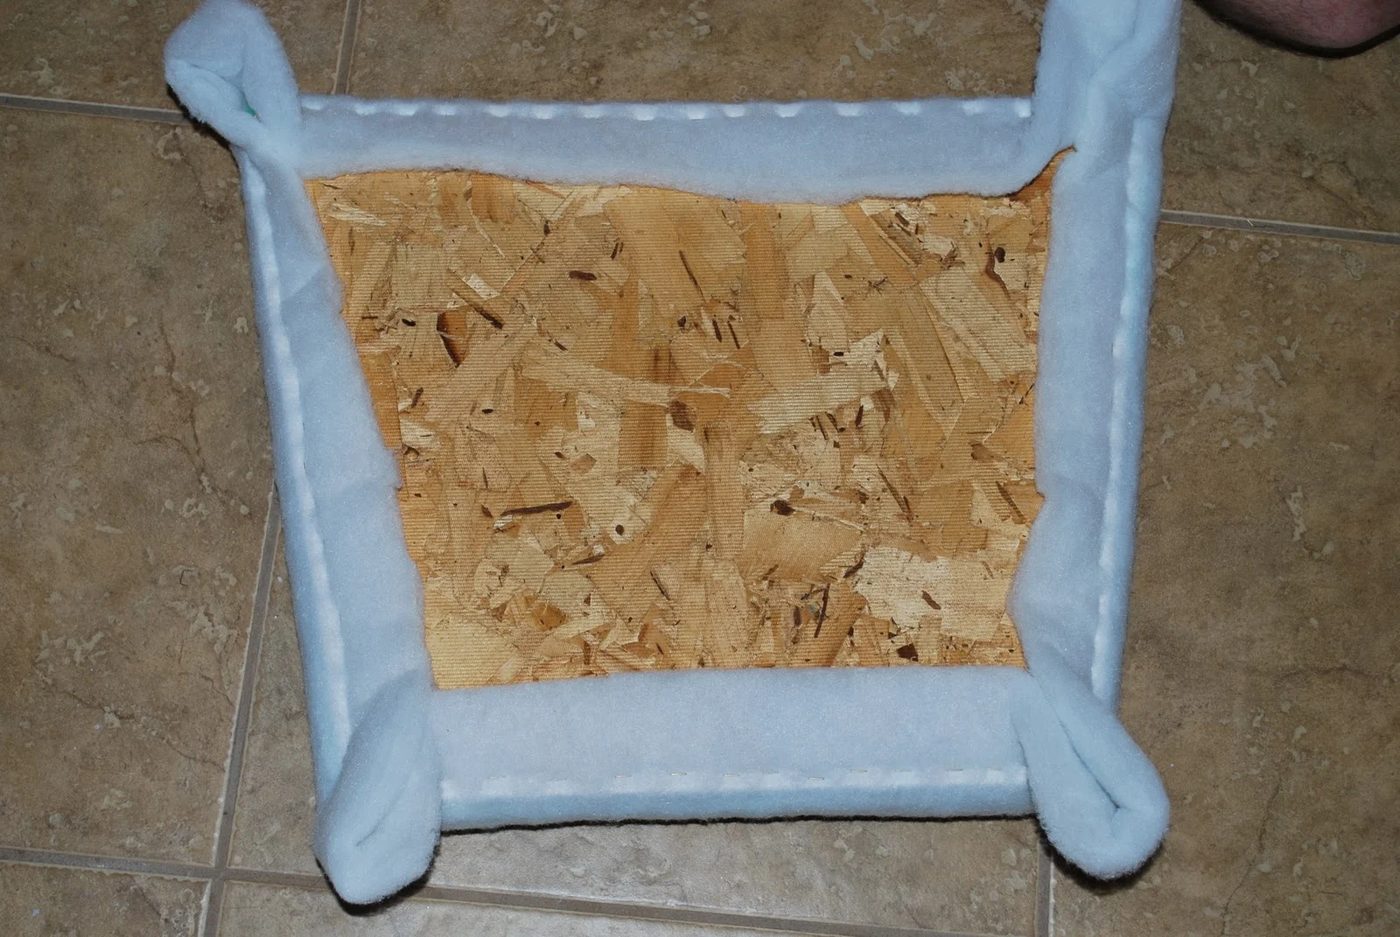
 Do not staple the corners. If you staple the dacron to the corners you’ll end up
with too much bulk and your seat won’t sit right when it’s finished. Staple up to
about 1 inch from the corners.
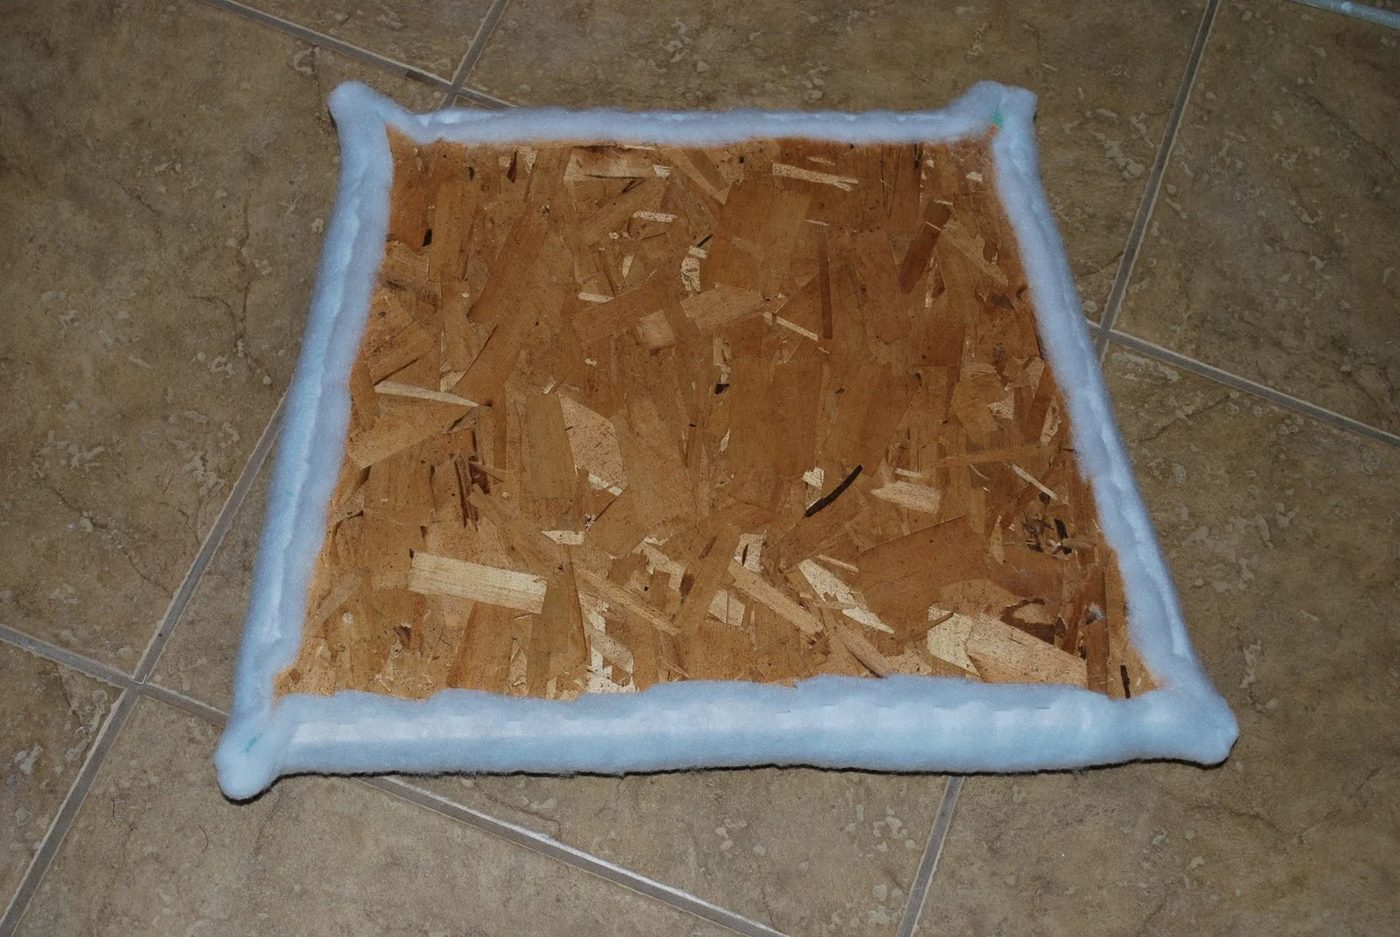
 Cut off the excess.
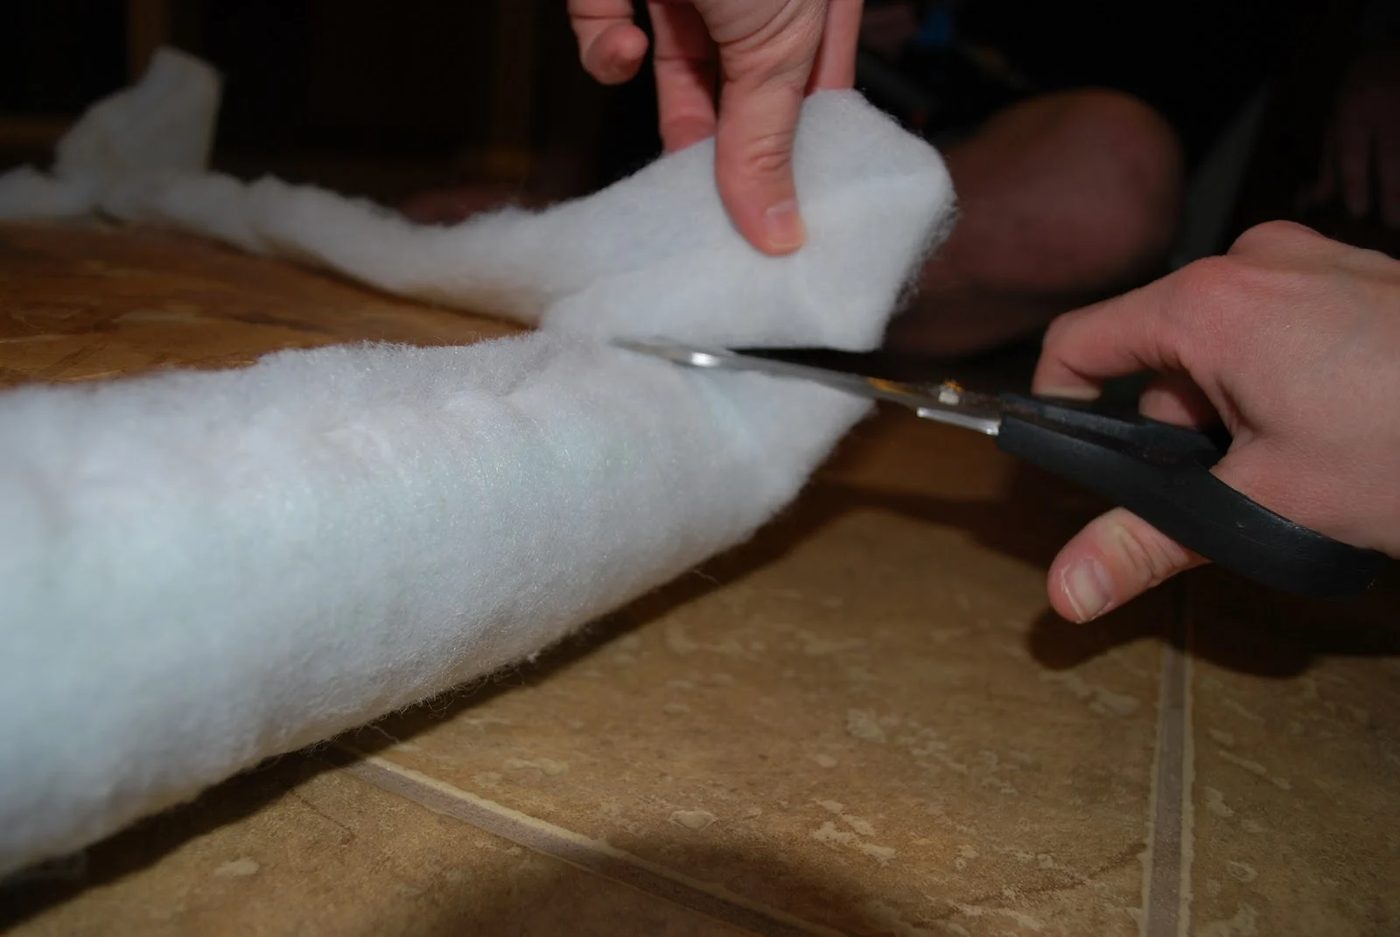 This is what it will look like before you trim the excess.
 And this is after.
 6. Cut your fabric and repeat step 5.
7. This next part is tricky to
6. Cut your fabric and repeat step 5.
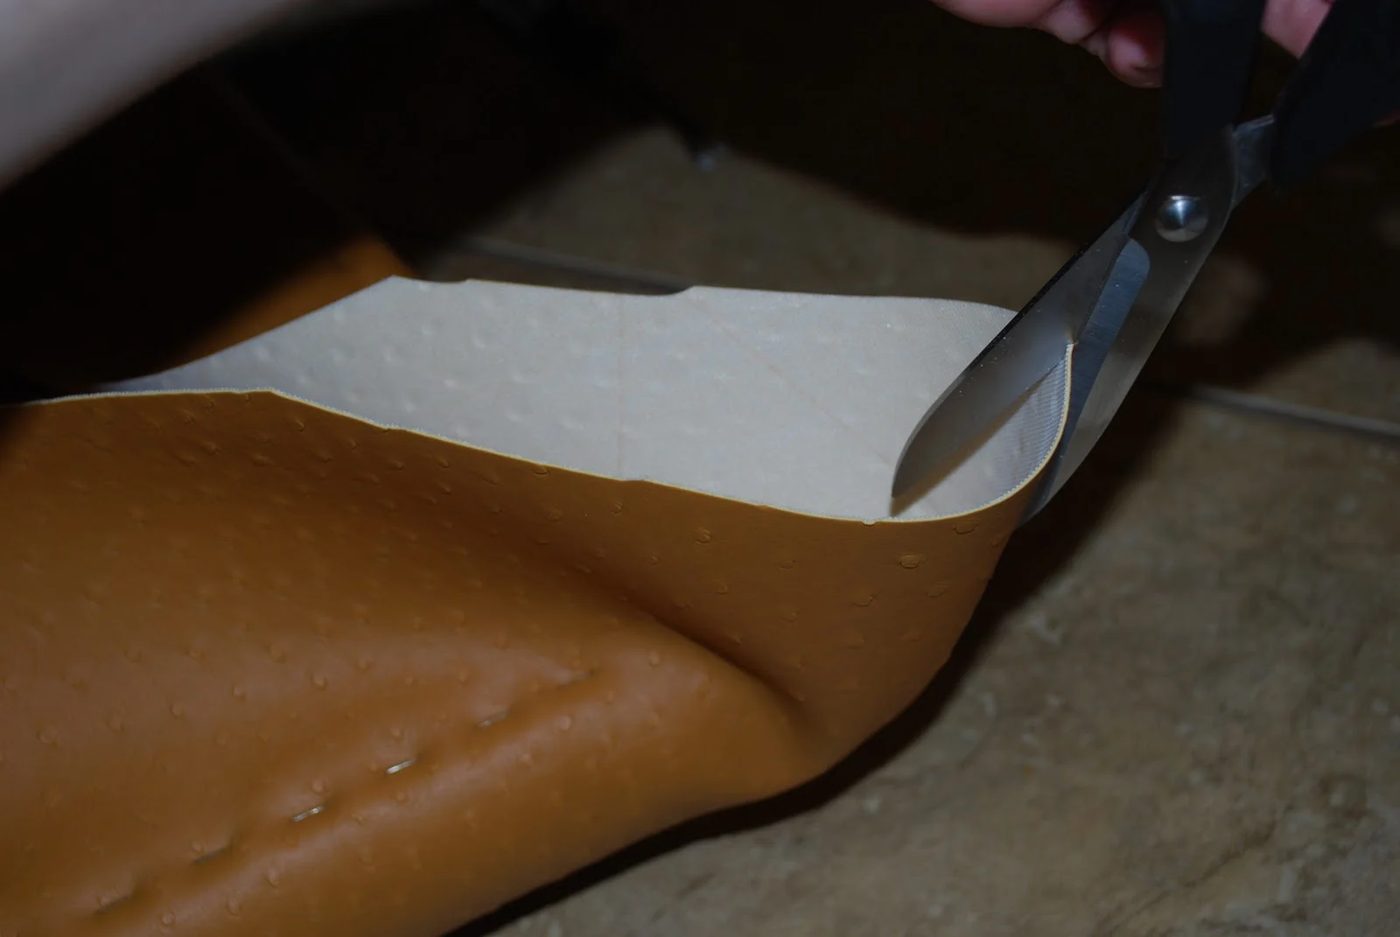
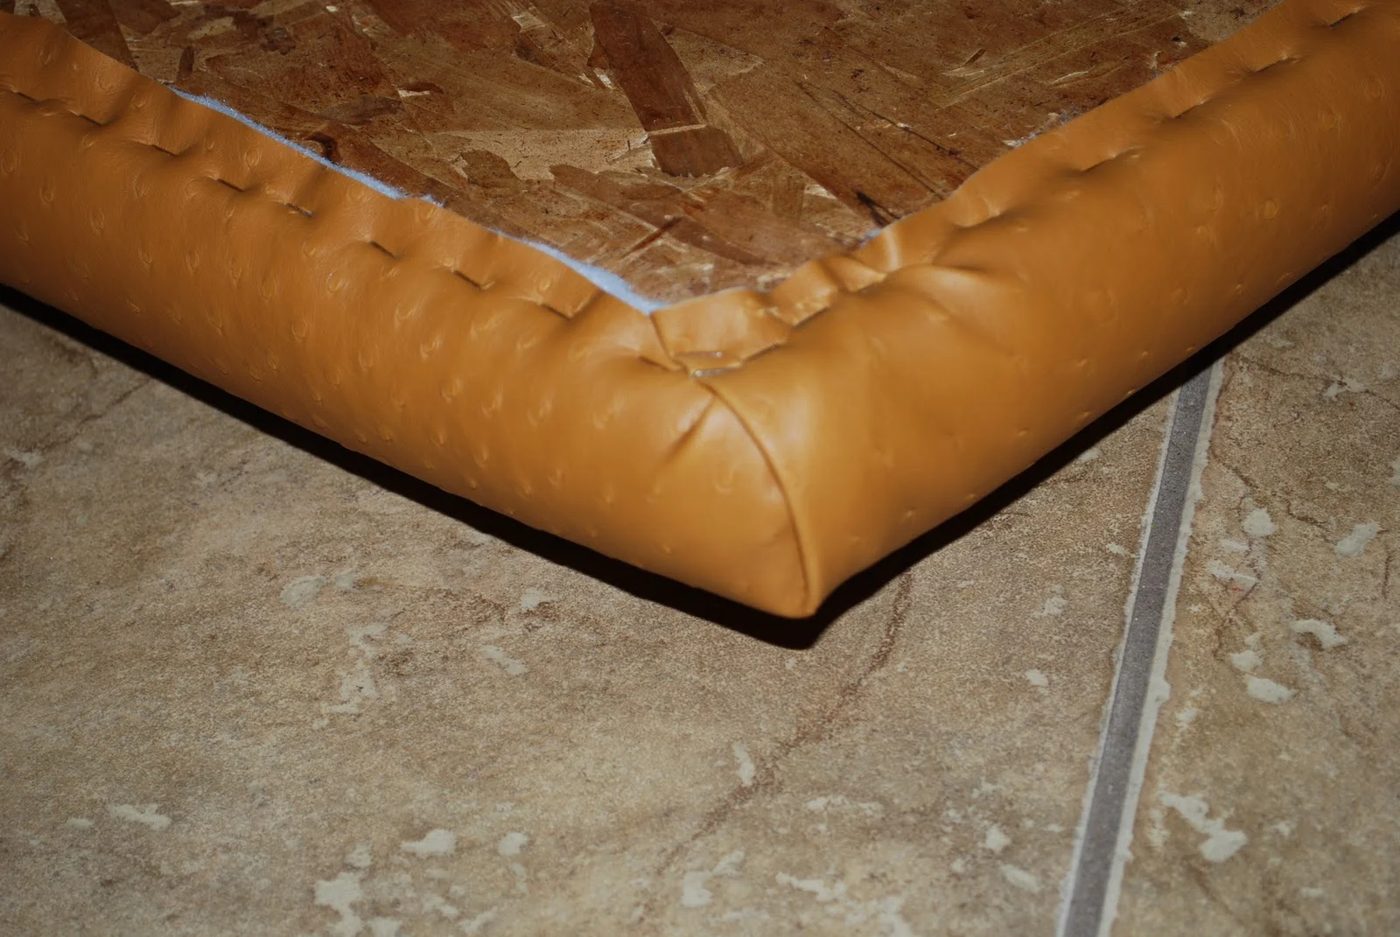
7. This next part is tricky toexplain. There are two types of corners to choose from when covering a seat
– the tailored pleat {single pleat} and the butterfly pleat {double pleat}. The
fabric I chose is a faux ostrich leather {I wanted something wipe-able} and because
of its thickness the butterfly pleat would’ve been too bulky, so we went with the
tailored. Cut up the center of your corner.
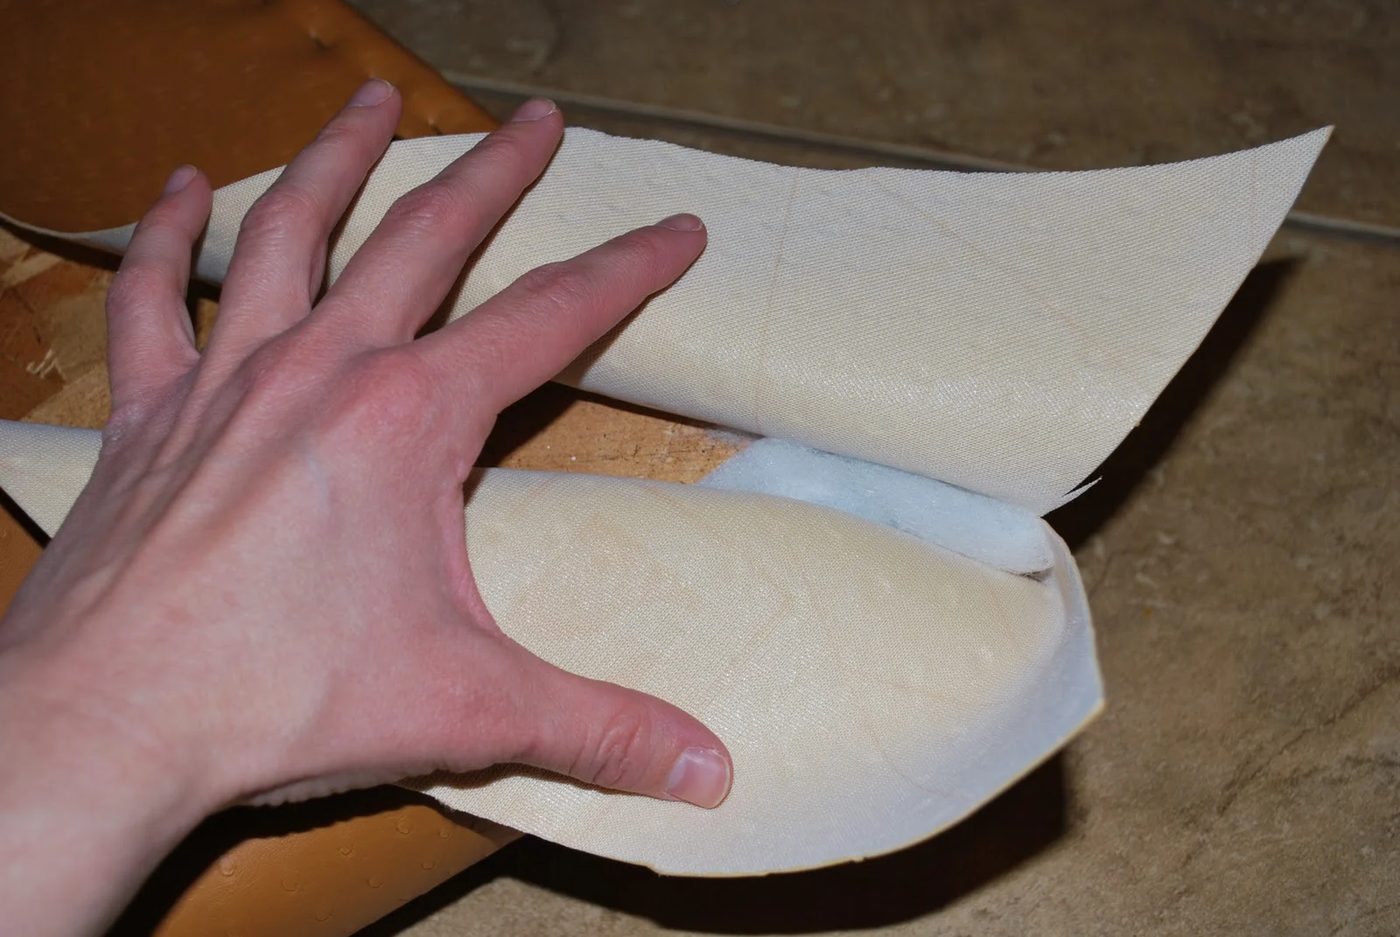 8. Then cut away the excess fabric on the side you don’t want the pleat.
9. Fiddle with it over and over until you get the hang of it and like how it lays
8. Then cut away the excess fabric on the side you don’t want the pleat.
9. Fiddle with it over and over until you get the hang of it and like how it lays
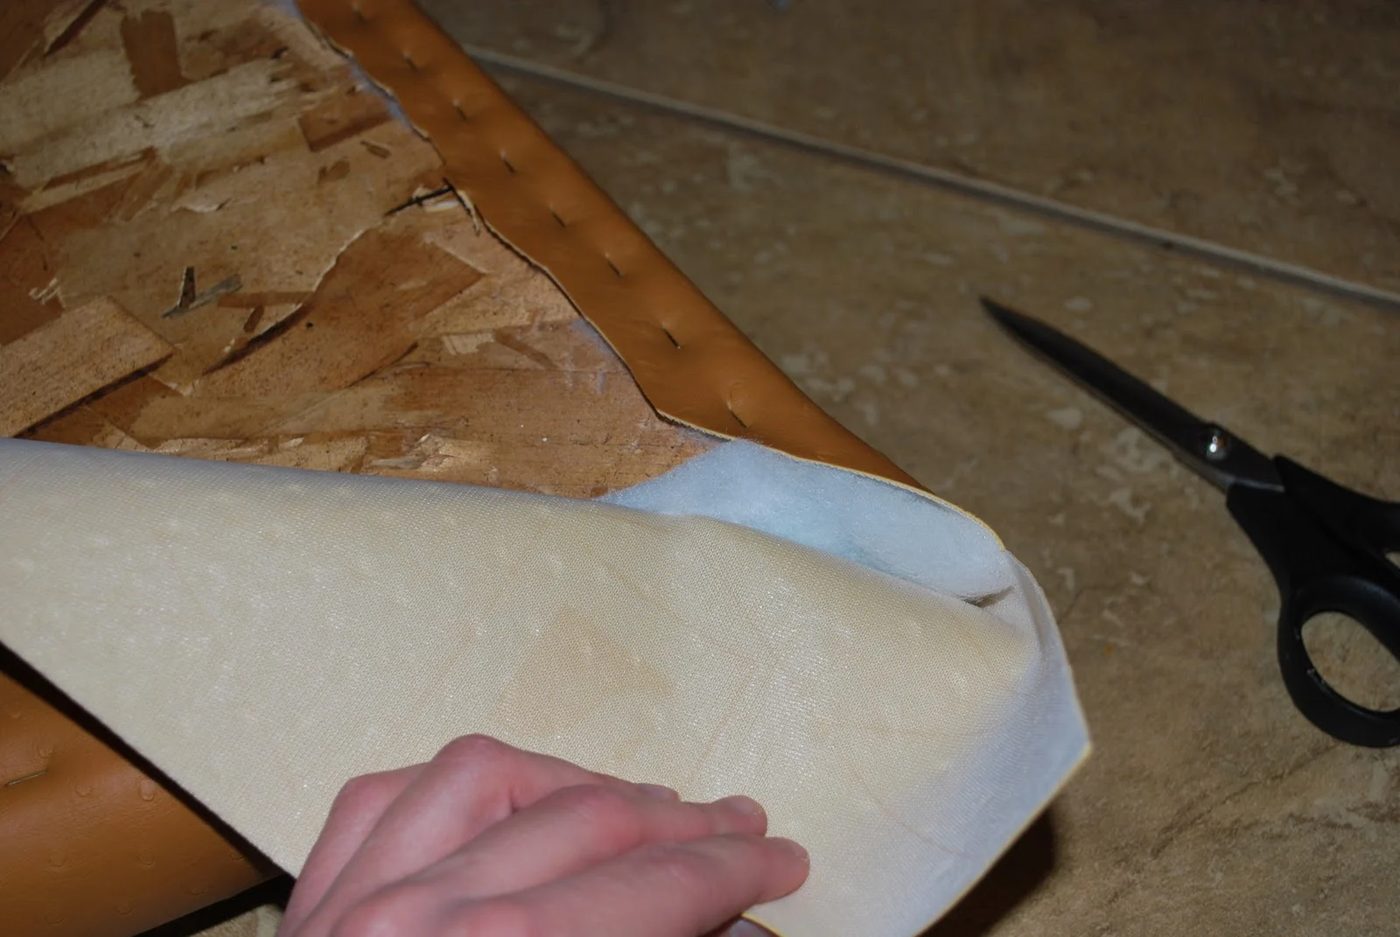 10. Staple like crazy.
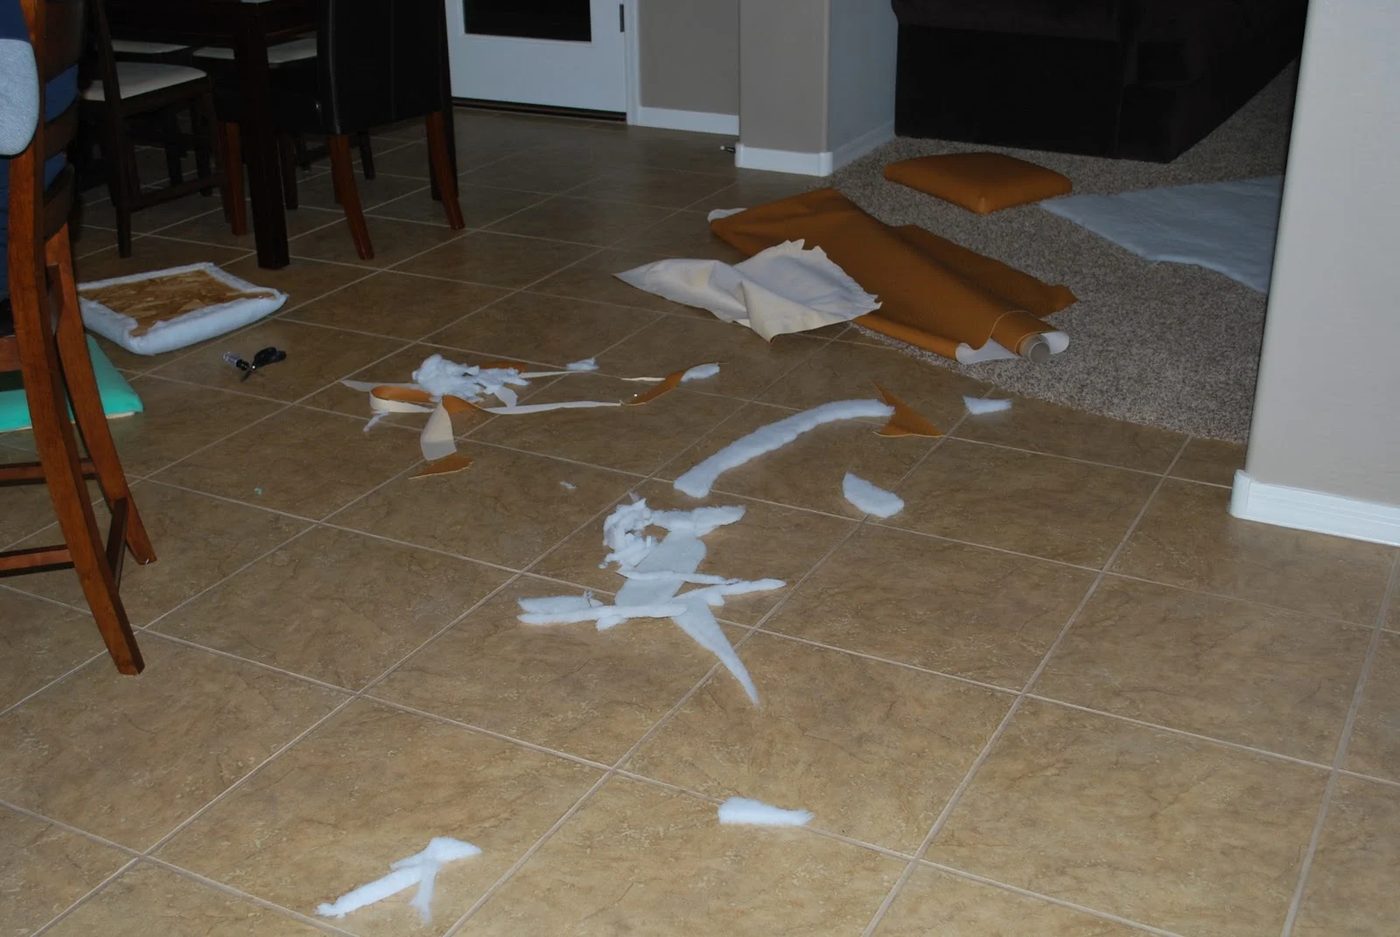
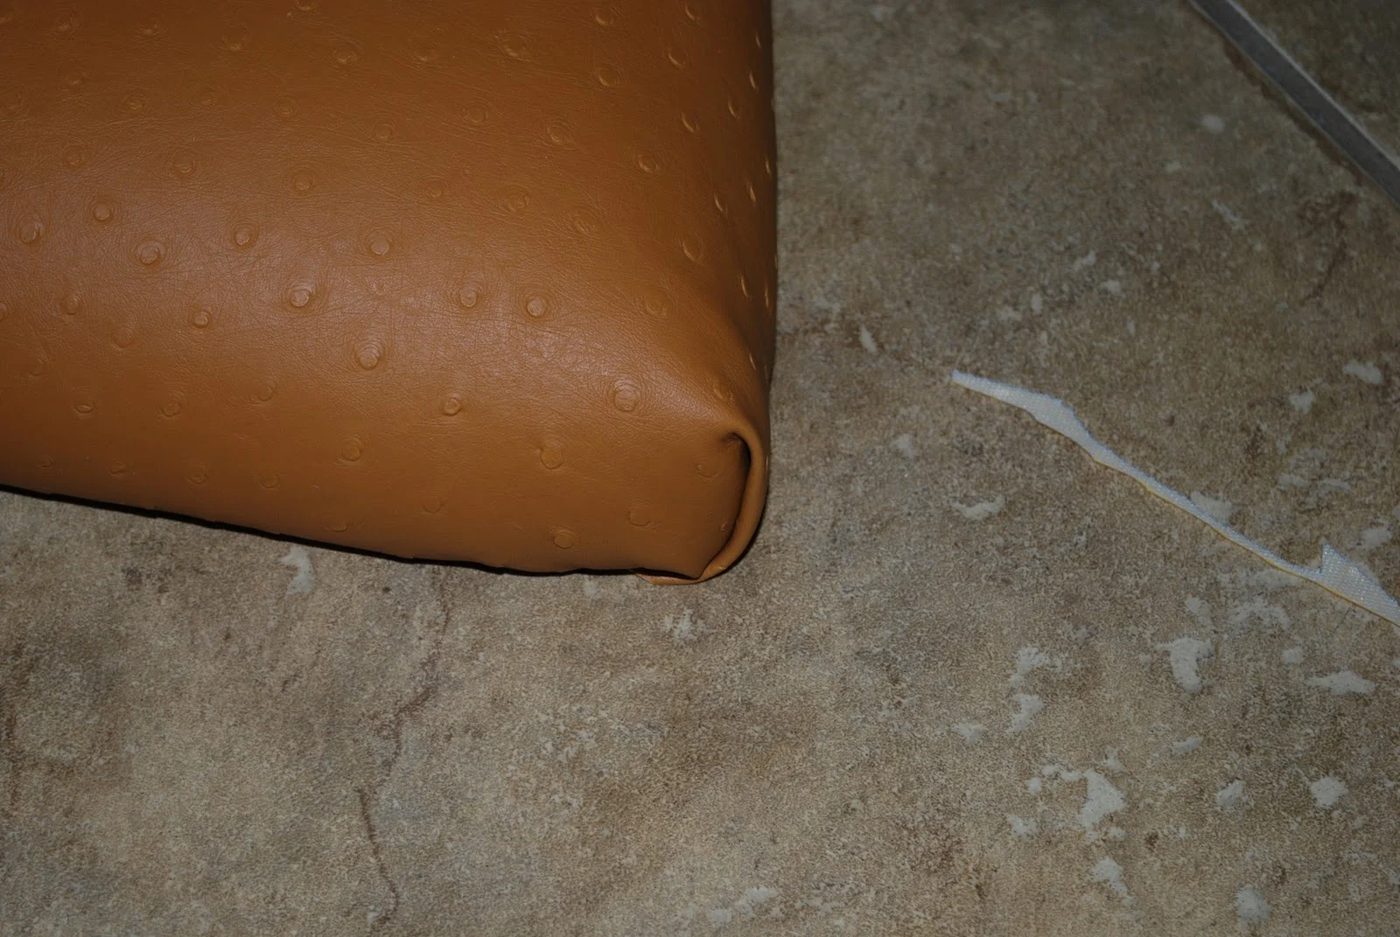 11. Clean up the mess.
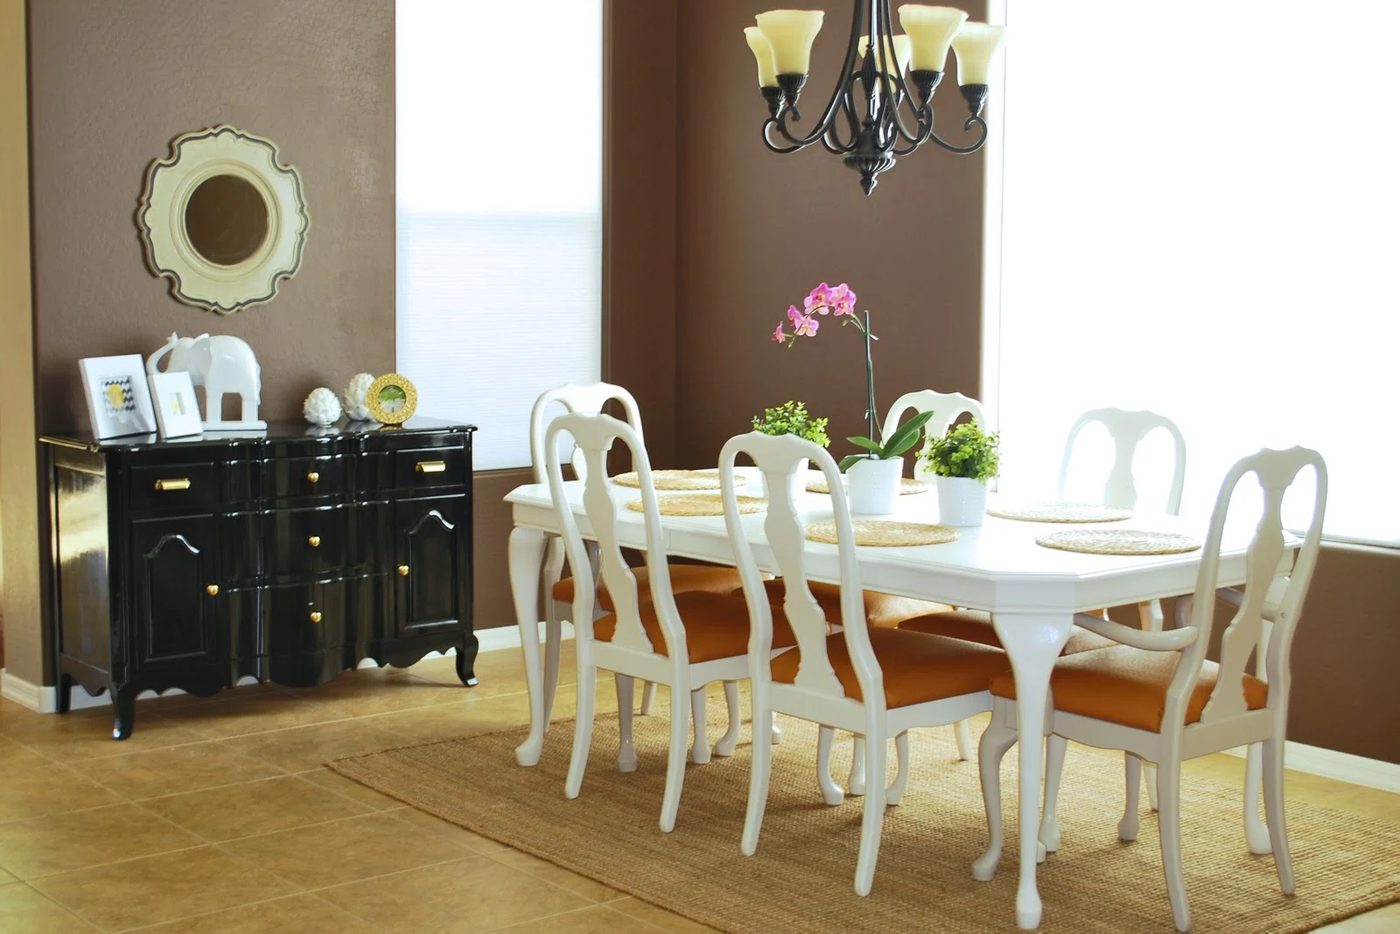
Dining Room Grand Total…drum
roll please…$755!
I hope you’ll stop by sometime over at Natty by Design. Thanks for reading!