The steps below follow the order of the work for this workshop project.
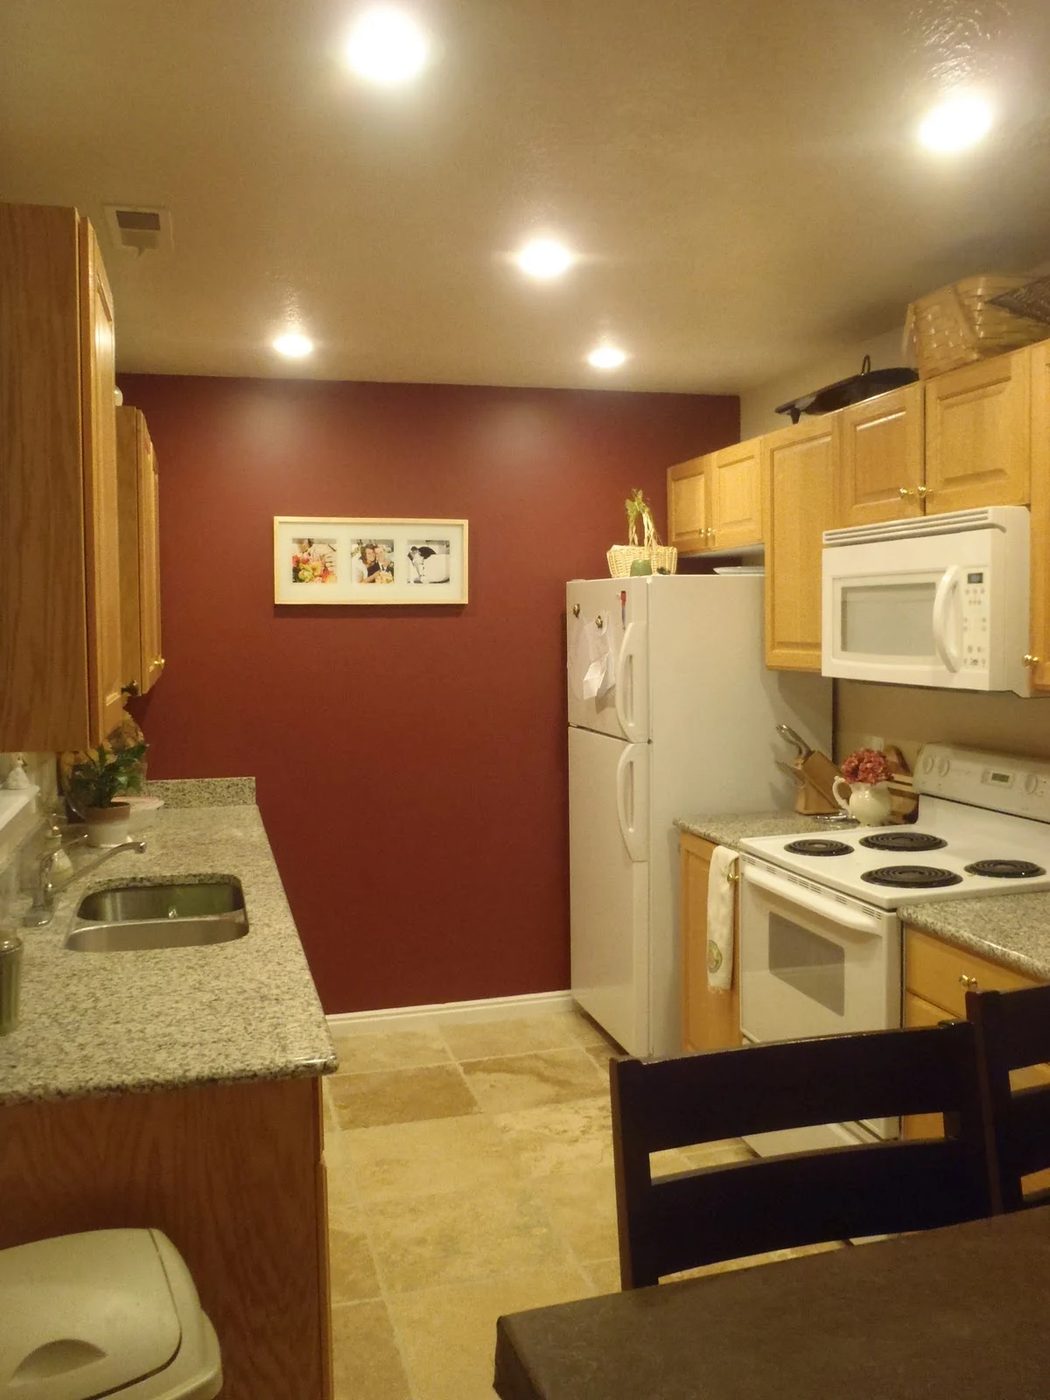
Replacing Florescent Kitchen Light With Can Lights contributed by Deck Out My Home1. Figure out how many can lights {and where to put them} Our kitchen is about 12′ by 12′. Five of these babies make it look like noon-day in the kitchen. We probably could have gotten away with 4, but I like how bright it gets in the kitchen. Placing the can lights is a little trickier. The “remodel” cans come with a template to draw on your ceiling. I pinned the templates where I thought I wanted them. I had to adjust, readjust, adjust again, and adjust again. Mainly finding a mirrored layout that didn’t get messed up by trusses was the tricky part. I finally got it and went for it, attacking the drywall with my drywall knife. (you’ll want safety glasses, insulation to the eye doesn’t feel good). 2. Install cans {REMEMBER: turn off the breaker!} I don’t know how many people feel comfortable doing their own wiring (you might want to hire an electrician). I am not entirely experienced, but in order to get my Construction Management degree I did take an electrical systems class. I felt comfortable doing my own wiring. With the help of my husband, we “daisy chained” from the original light box to our 5 new cans up in our attic.
3.Finish ‘er off
The rest is straightforward. Install the bulbs and trim and your new lights are done. I had a little of repair to do from our old light. First off, it wasn’t centered in the room, so I had to patch over the old “box”, do my own little texturing of the ceiling and paint. I took one of the circles that I had cut out of the ceiling and took it down to Sherwin Williams to have them match the paint. I painted houses professionally for 3 Summers. I do not trust anyone else to match paint, and again they gave me the well fitted color/sheen.