Read the sequence from the top before cutting, painting, or moving pieces.
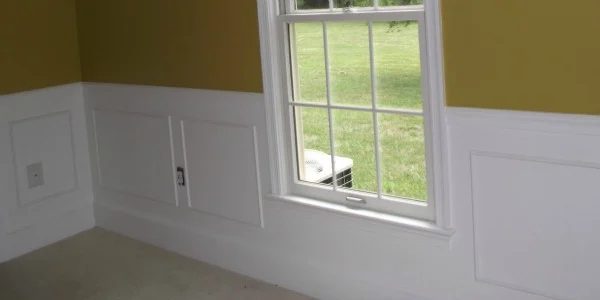
This Living Room update from The Thriftress is wonderful and I love the fabric she is considering, I think she should go for it. What do you think of her lovely new wainscoting?
Here are some before shots.
Here are some photos of the new trim work.
I love how the paint and picture frame moulding turned out! I can’t wait to get the furniture back in place and finish decorating.
Here are some tips and tricks I learned along the way:
- You simply must refer to Thrifty Decor Chick’s posts on moulding here.
- Measure your electrical outlet covers and use that measurement as the spacer around each box. This way, in most cases, you can space out your boxes around outlets and avoid having to cut the moulding around the outlets.
- Figure out how many feet of moulding you will need before you start the project to avoid extra trips to the hardware store (yeah…I skipped that step and ran out of trim twice!)
- Prime and paint the trim before you put it up. (skipped this step too and had to paint 3 coats after the moulding was up on the wall)
- Don’t worry too much about every box being the same size. I determined the size from section to section using my “spacer” measurement.
With this piece of the living room project completed, it’s on to reupholstering the side chairs. This will be my first stab at upholstery so fingers crossed. Here’s the fabric I’m considering.
I think it will be clearly cute with the wall color if I paint the chair frames black!
What do you think of her progress? There is so much more character, so much more to love! Can’t wait to see the finished product!