Read the sequence from the top before cutting, painting, or moving pieces.
Stenciled Wall Master Bedroom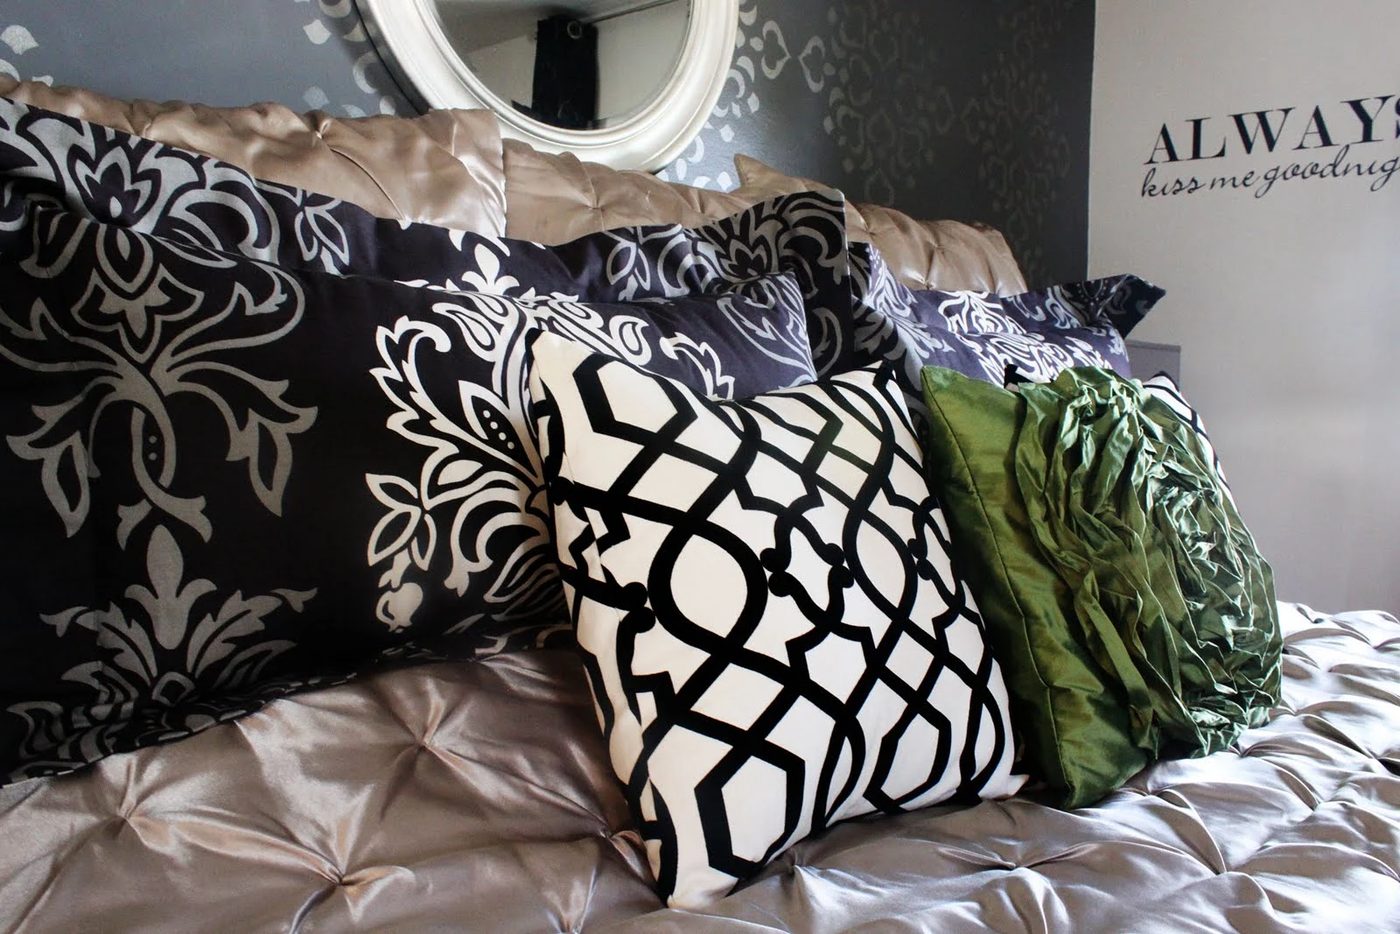
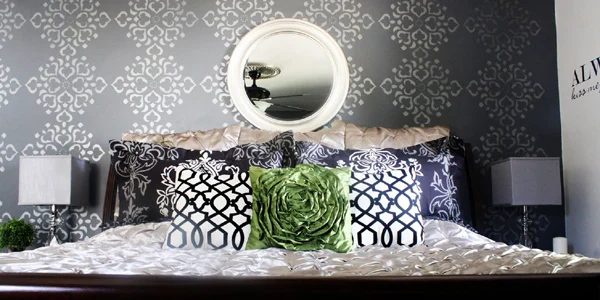
We started with giving the whole room a fresh coat of paint and using an accent color on a couple of the walls. As you can see we tore the fan light apart and added a ceiling molding to give the lamp added appeal. The light was originally all brown with a tan light fixture. We used spray paint and Martha Stewart’s metallic paint to give it a new face lift. Next, we used a stencil and the same Martha Stewart’s metallic paint to stencil the walls using a dauber brush. Tip: You will want to wipe off the excess paint on a paper towel to prevent it from running underneath your stencil. The stencil was really straightforward to use since it came with instructions, so I would say we did quite well for being our first time. Pretty soon you have a completed wall that looks like a work of art. It literally only took us one day to complete! After all the painting and stenciling was complete, it was time for the fun stuff! We started with buying the bedding, fabric for pillows and accessories to give the room a final touch. Happily Ever After! Remember the fan light? Look how vivid it looks now; it’s like a brand new light for very little cost. Also the rectangle mirror on the wall was a black frame, so we painted it with silver spray paint to make it pop out from the dark wall. The black frames on the wall were in my garage tucked away with pictures of my kids when they were little. We took some of the same fabric we bought for the pillows and used it for the backing of the pictures, and then we used Ashlie’s handy Silhouette Machine to print the vinyl letters and place on top of the glass. They turned out beautifully for virtually no cost! From there we started accessorizing with things that we loved, to give the room that romantic feel and a place that we call our sanctuary. We finished with a few minor details to give the room that final touch. The drawer knobs were on sale for half price at Hobby Lobby and the chains for the light were very inexpensive at Home Depot. We hope you enjoy looking at the pictures of our latest project and we welcome you to come back for more projects in the works. All photos taken by Thru My Lenz photography This project was contributed by one of our fabulous readers! We love to share your projects with this great blogging community. So, if you have projects from kitchen renovation options to small bathroom remodels, overhauled and repurposed furniture, spray paint updates you name it please send it in! Thanks for reading Bekob! More memorable stencil options: striking Stenciled Laundry Room Stenciled Drapery walkthrough Decorative Stencils Wall Art: Guest Post The Magic Stencil, Guest walkthrough