The steps below follow the order of the work for this furniture project.
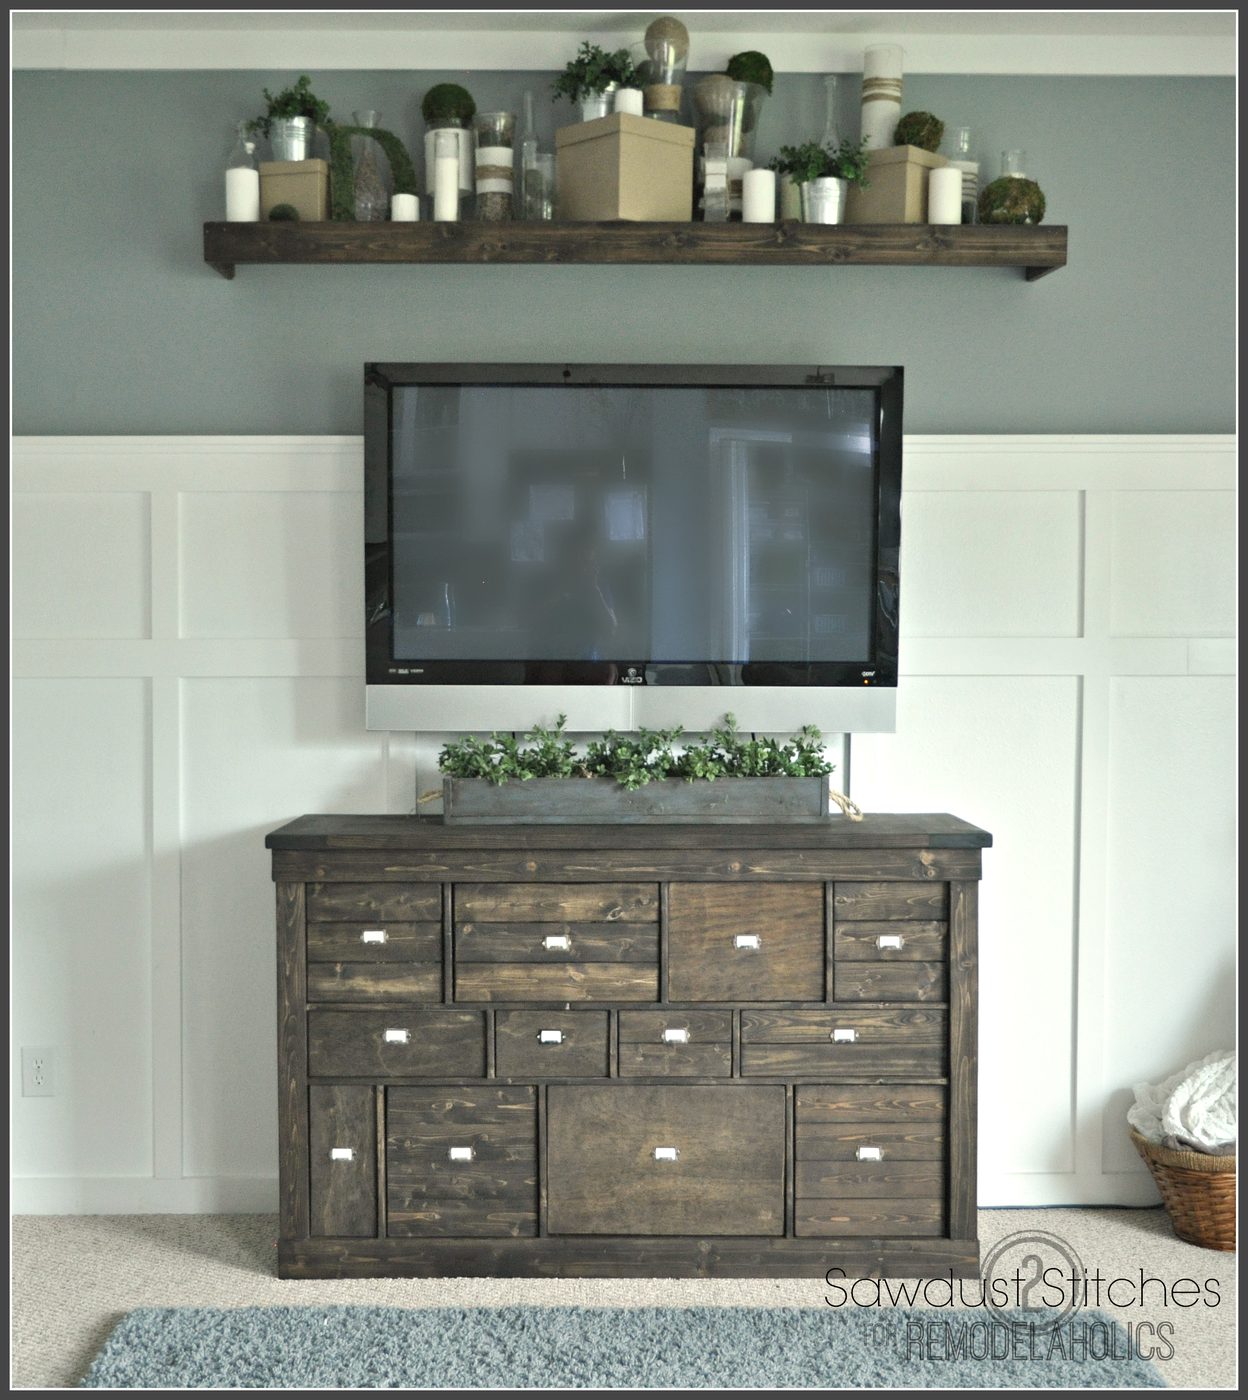
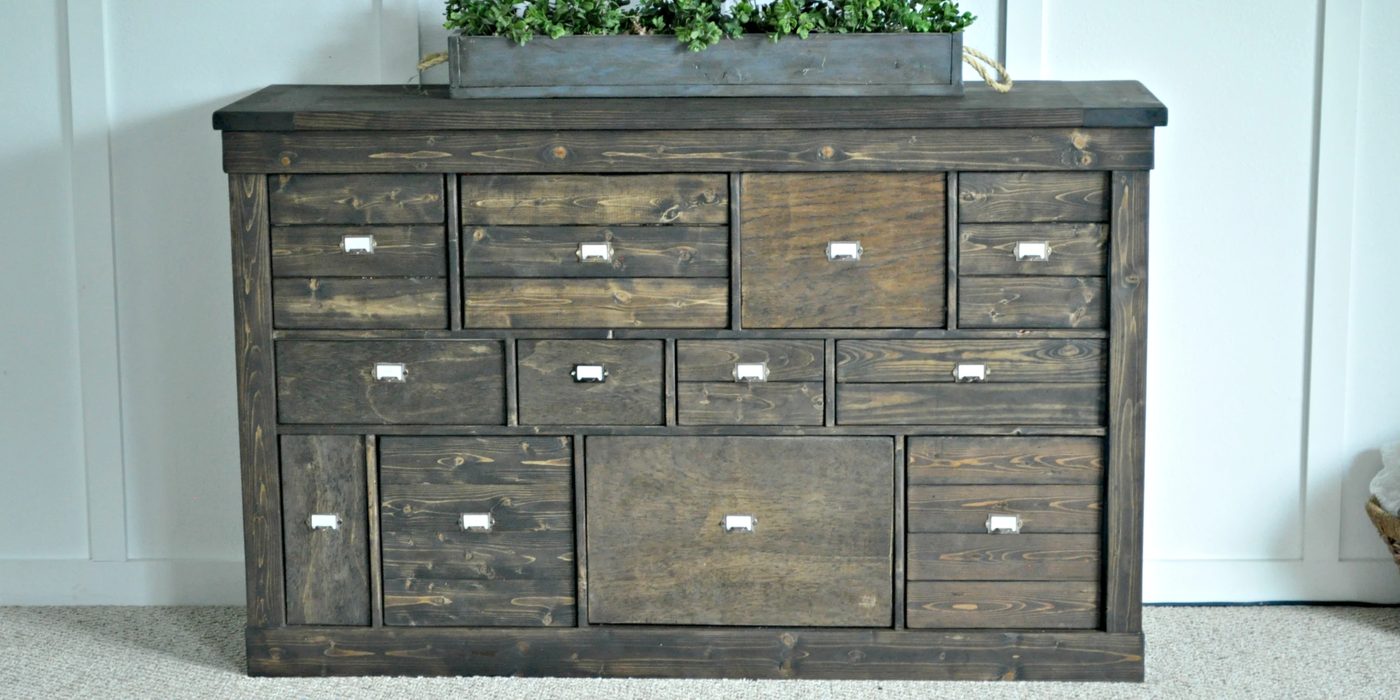
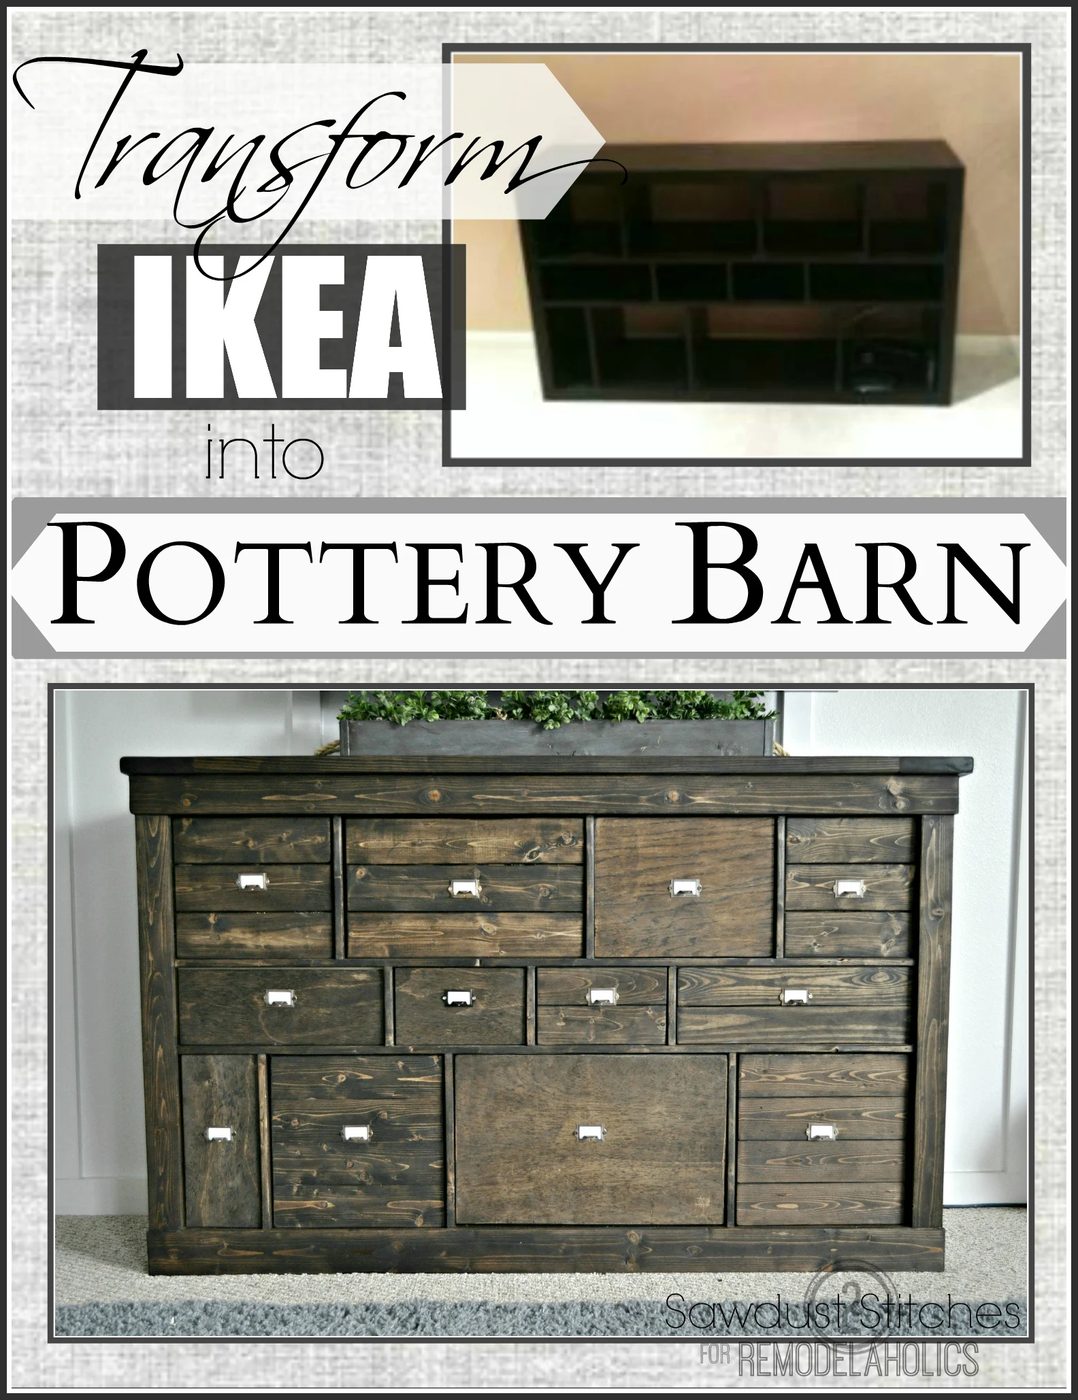
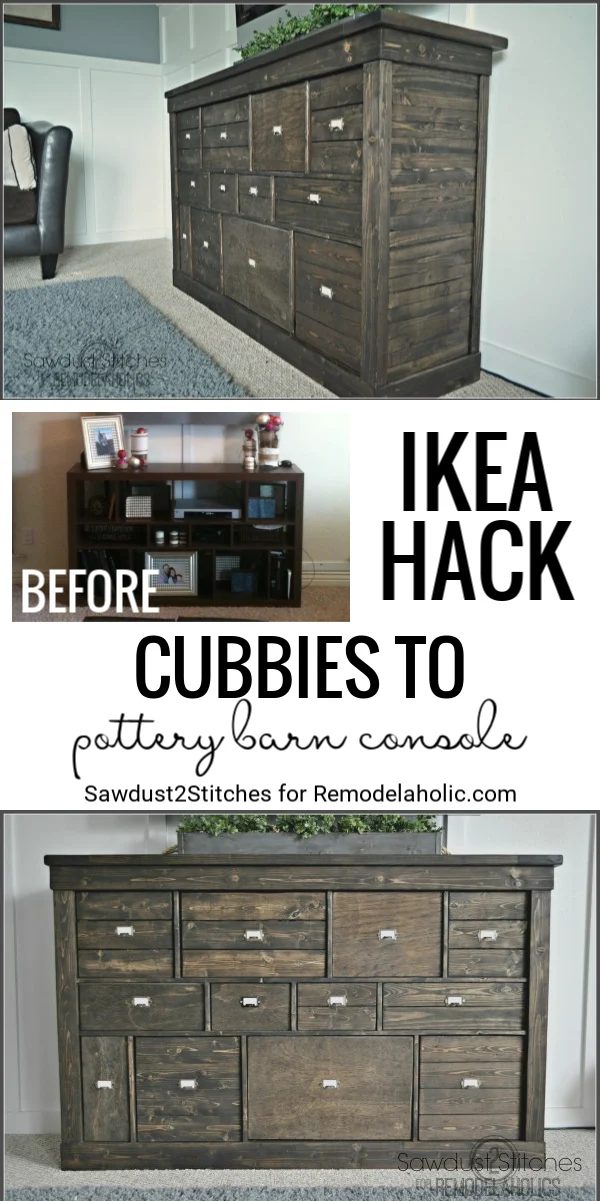
Hey all, Corey here from Sawdust 2 Stitches and I am back with an mind blowing option…. you ready ? I am going to show you how to completely TRANSFORM a very boxy, low-cost, modular shelving unit, into a vivid, Pottery Barn-esque apothecary console.
Let me preface by saying this, I do love Ikea. I have nothing against it. Truth be told I have quite a few items from there including this :
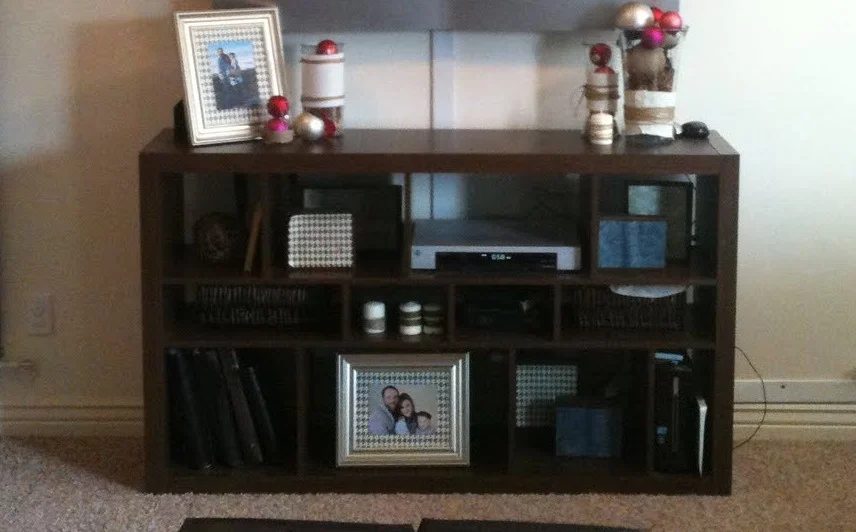
We purchased this “Media Shelf” shortly after we got married from the “scratch and dent” area of Ikea for $45.00, and I was clearly EXCITED about it… for a while.Then one very romantic Valentine’s Day, Andrew bought me a miter saw. That is when my life changed, and subsequently so did all my furniture.
This was a very direct makeover that did not require a lot of know how. It already had a sturdy structure, all I did was give it a little facelift.
This is how I turned an Ikea shelf into a Pottery Barn-esque apothecary console.
walkthrough: IKEA Cubbies into Apothecary Console
Materials Used:
- Old Ikea shelf or something similar
- 1×2’s
- 1×4’s
- 2×4’s
- 2×8’s
- Lattice Strips
- Liquid Nails
- Stain
- Foam Brushes
- Drawer Pulls
- Magnetic Catches
Tools Suggested :
- Nail Gun
- Compressor
- Table Saw
- Miter Saw
- Sander
The Console
I started by beefing up the base. I wanted it to sit higher off the floor, and also give it some variation in widths. ( It was all soooo repetitive and boxy.) I used 2×4’s.
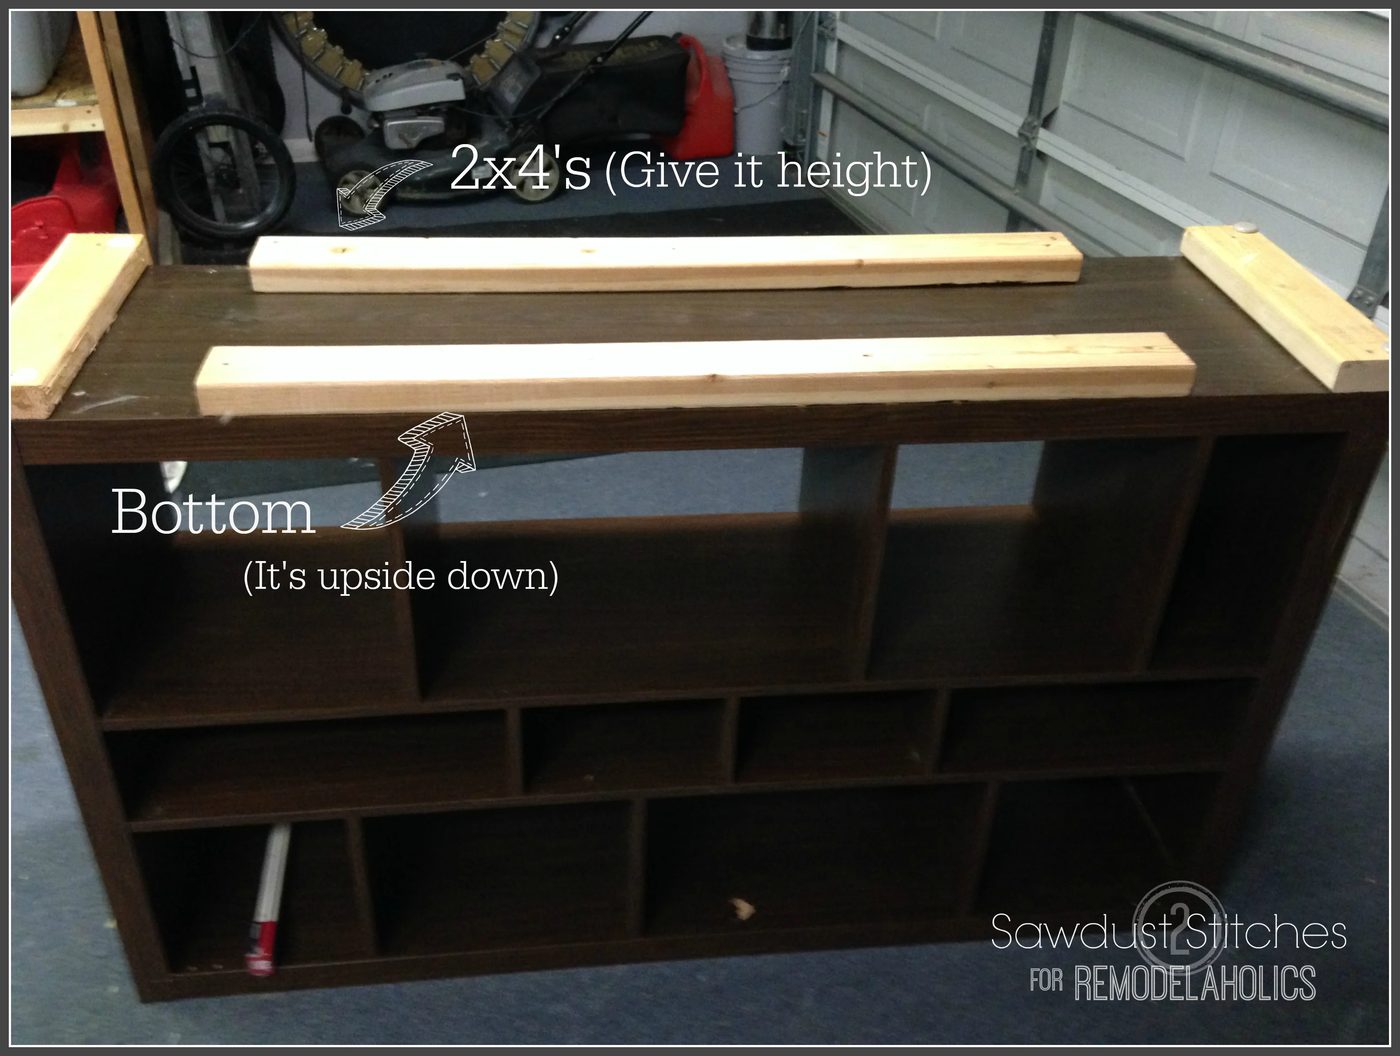
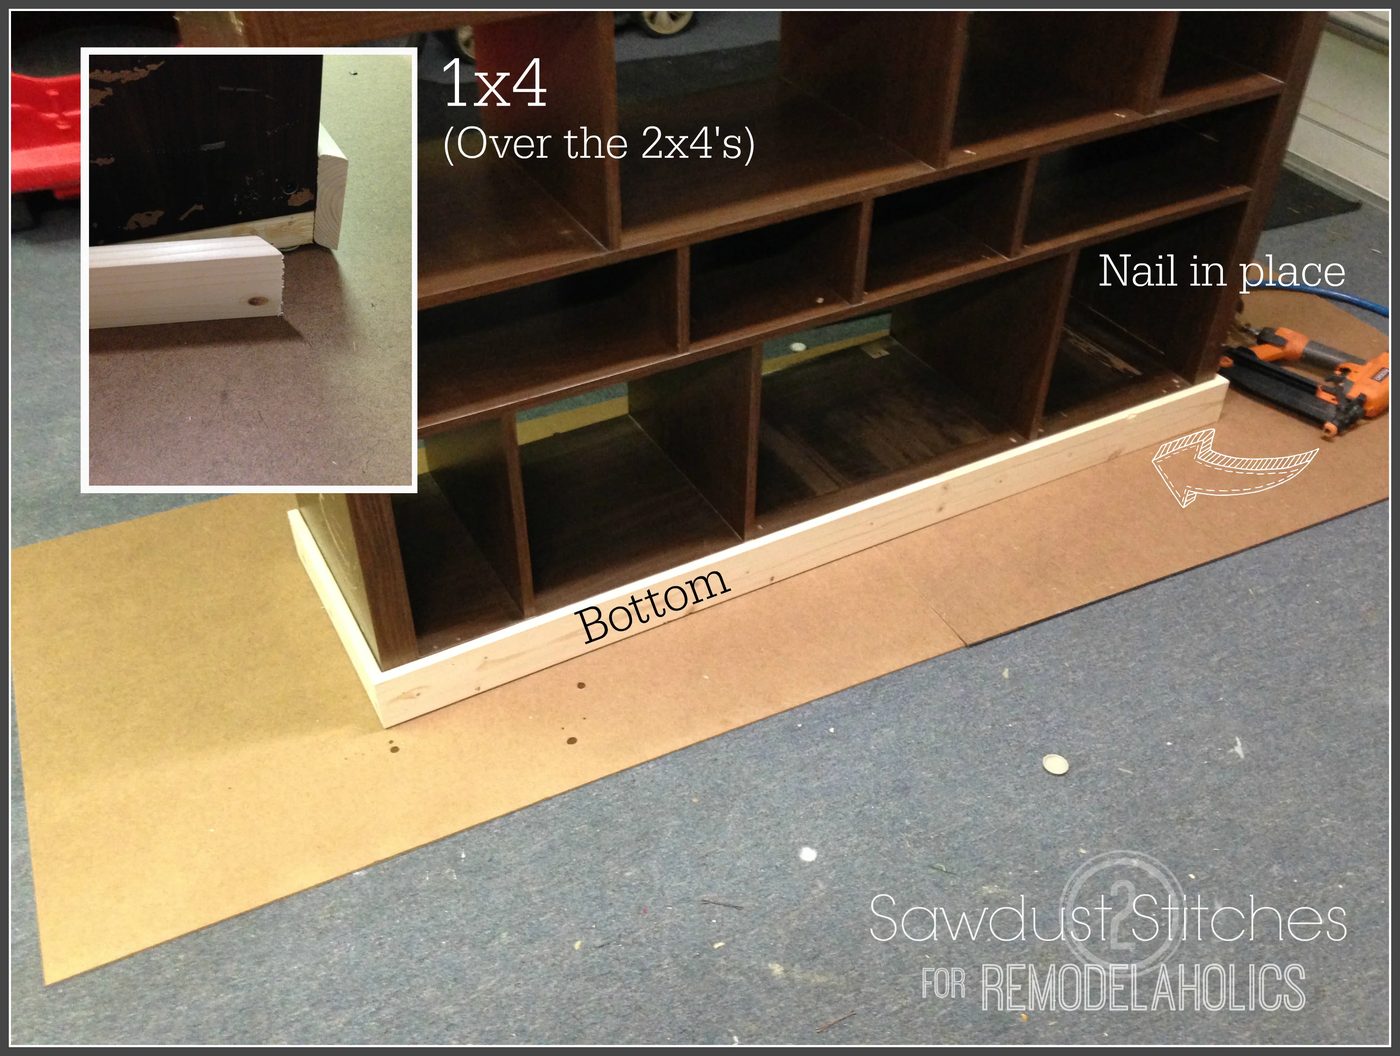
Once the 2×4’s were secured to the base with screws, I flipped it right side up. Using 1×4’s I created a base that would cover the 2×4’s and the base of the console.
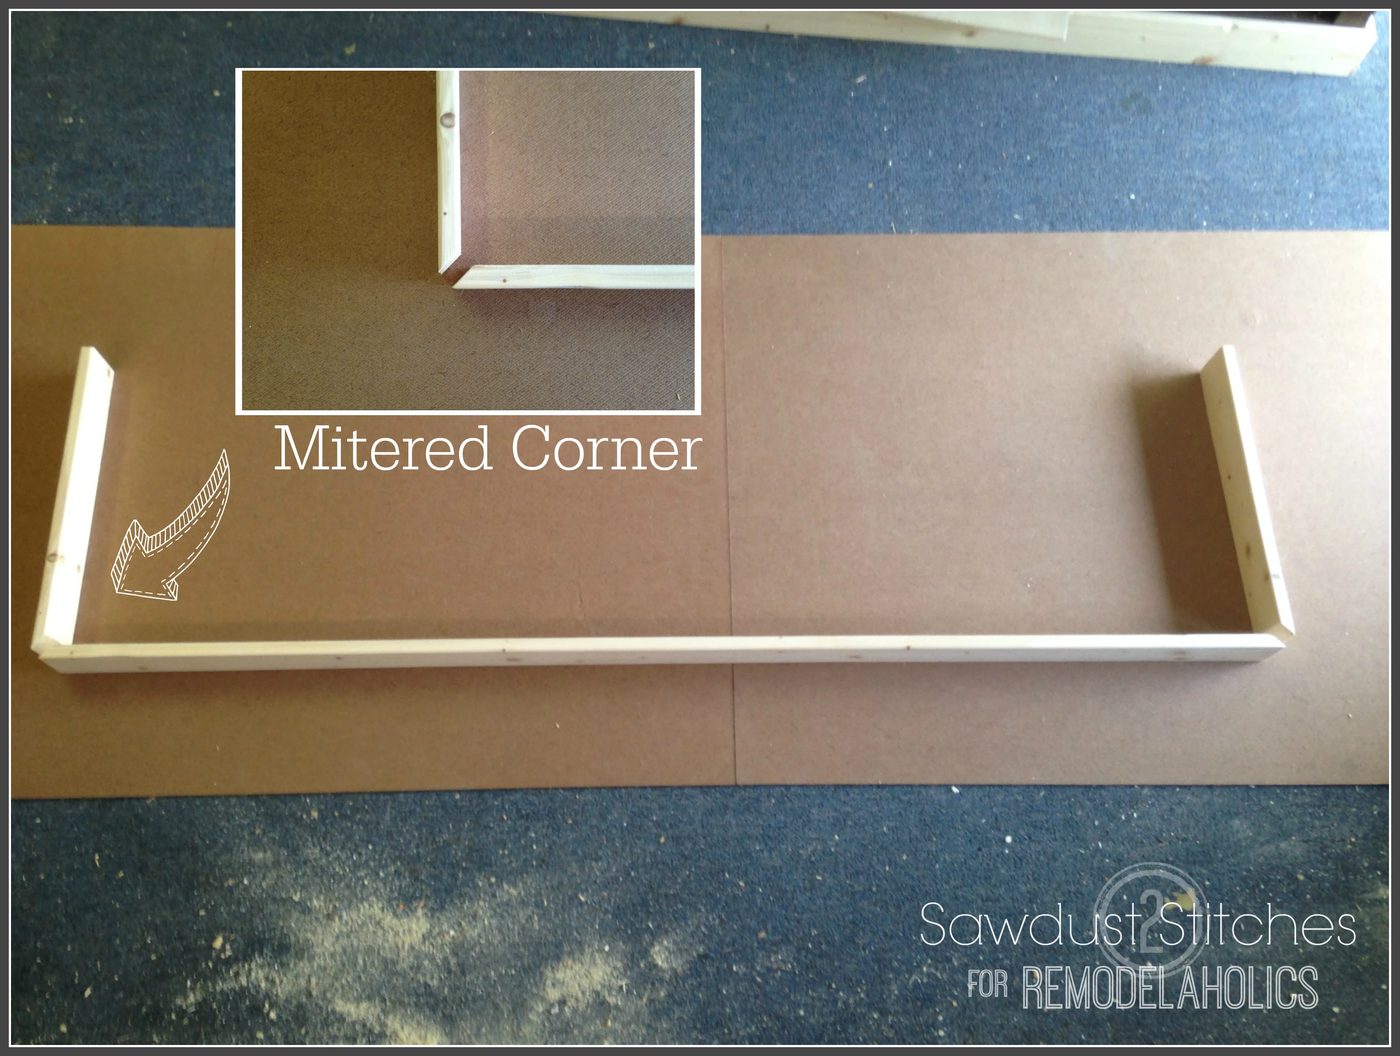
I simply tacked the 1×4’s straight to the 2×4’s! Voila, instant height.
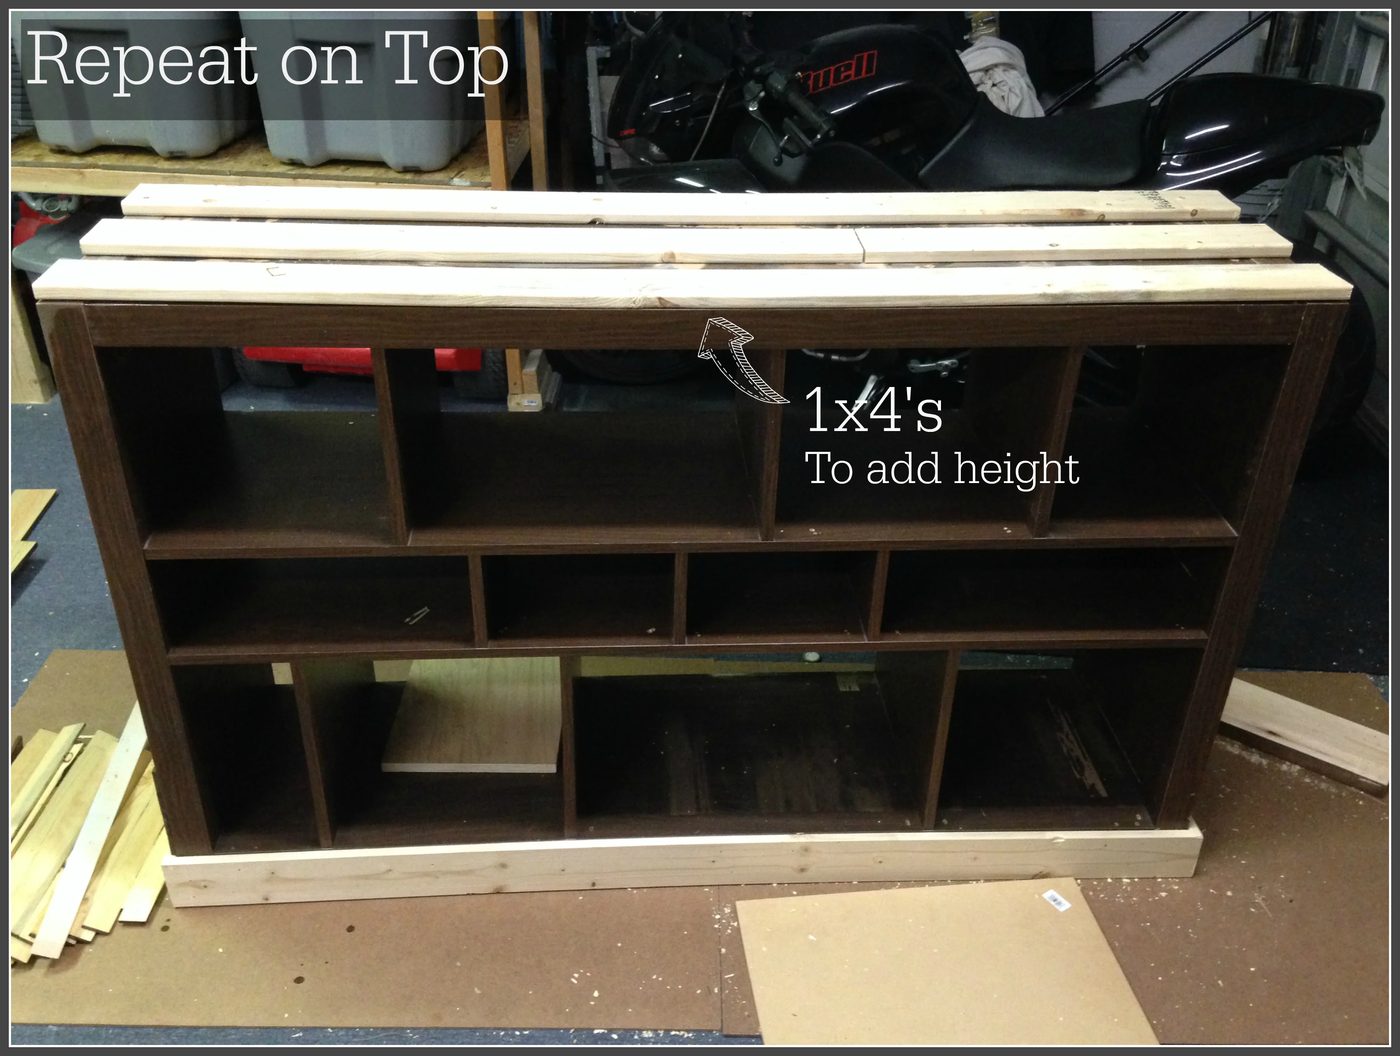
Same story for the top. I wanted to beef it up. Only this time I didn’t want it as thick as the base, so I used 1×4’s instead of 2×4’s. Again, I just tacked it in place, giving the top some extra visual weight.
For the top I used 2×8’s and cut them so that there would be a little bit of hangover on the top. Gives it a nice finished top, and looks so much more expensive than the cheapy laminate!
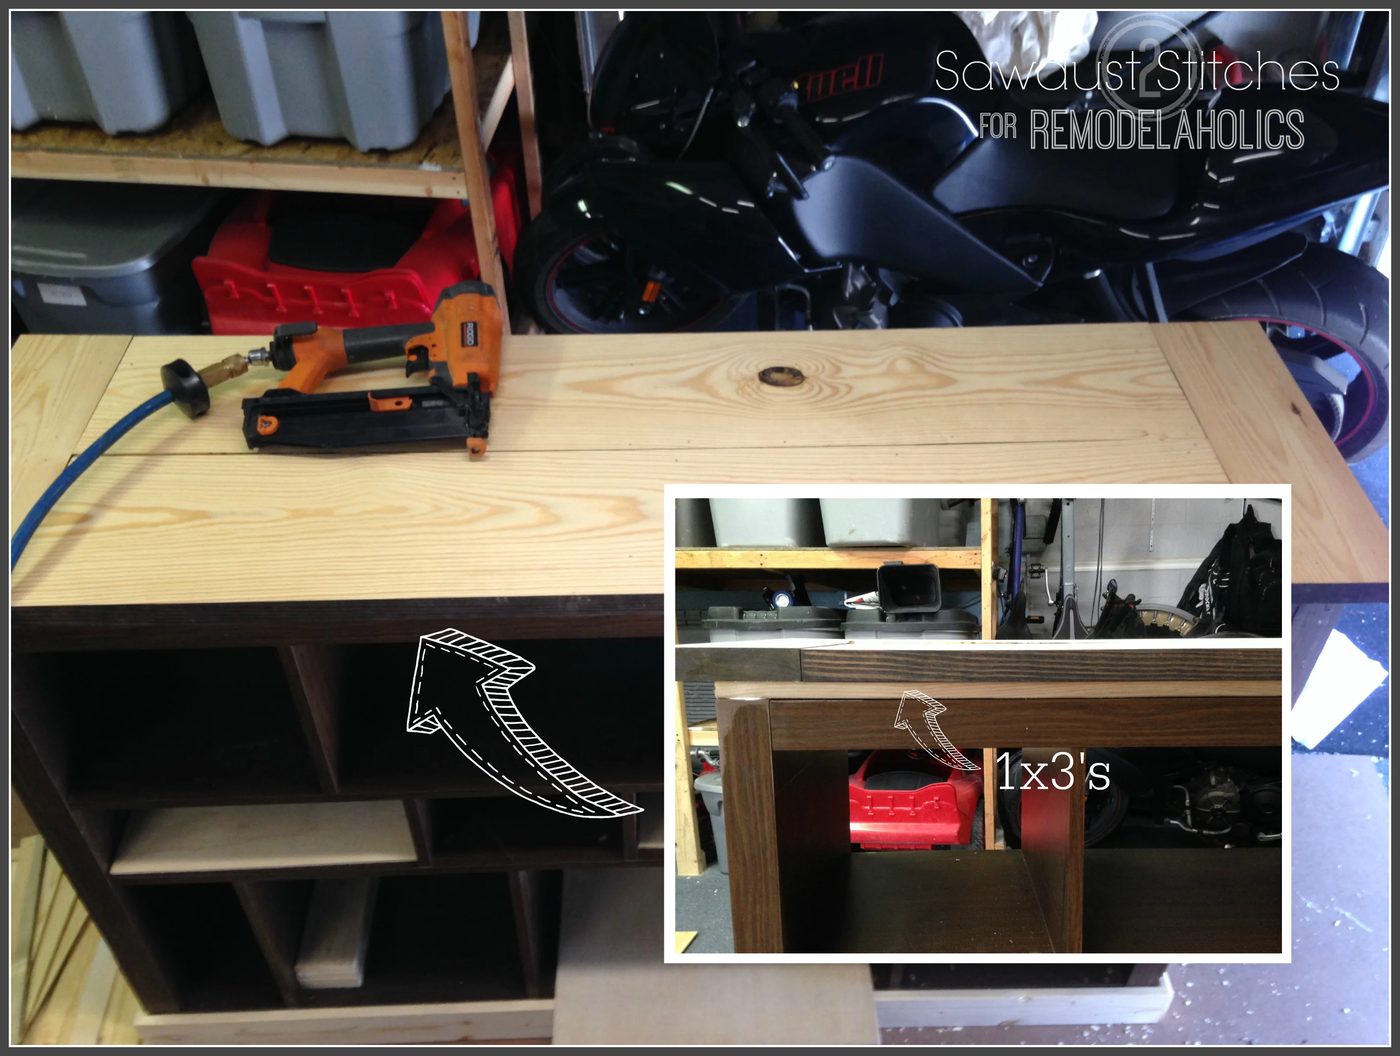
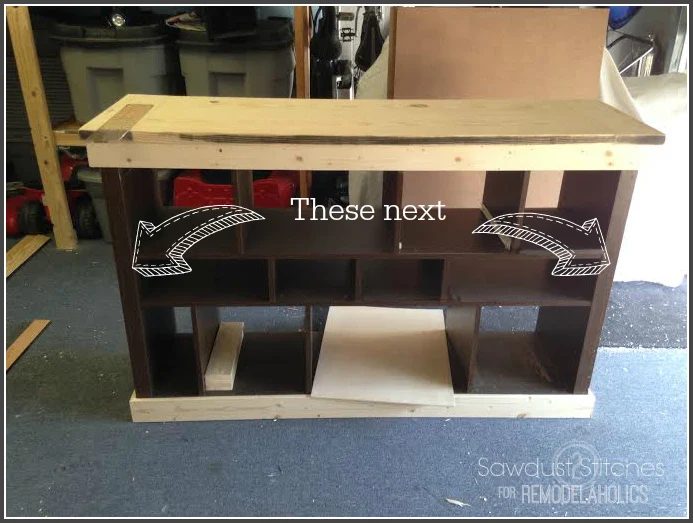
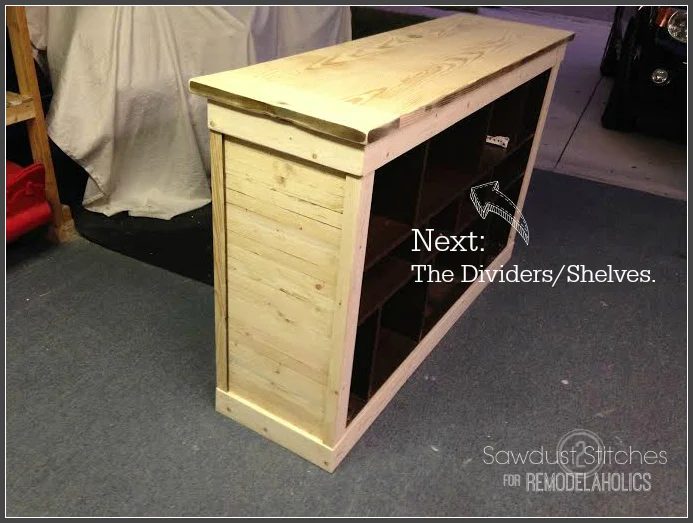
Once the top of the console was in place I trimmed out the top of the shelf. ( Basically repeating the same steps from the base. Only this time I was covering the 1×4’s.)
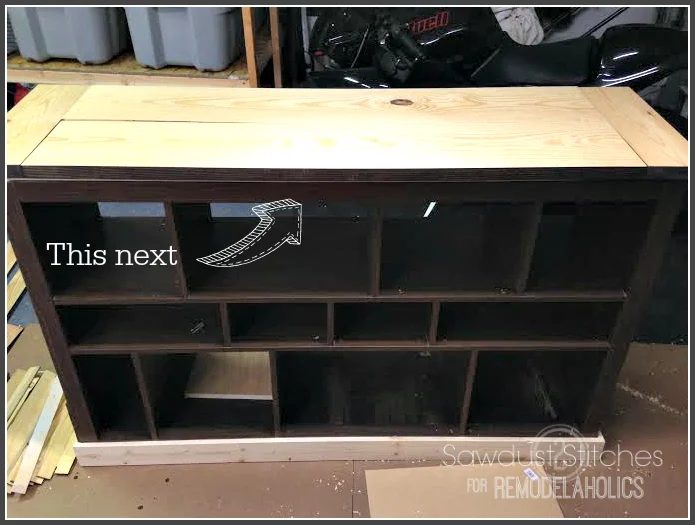
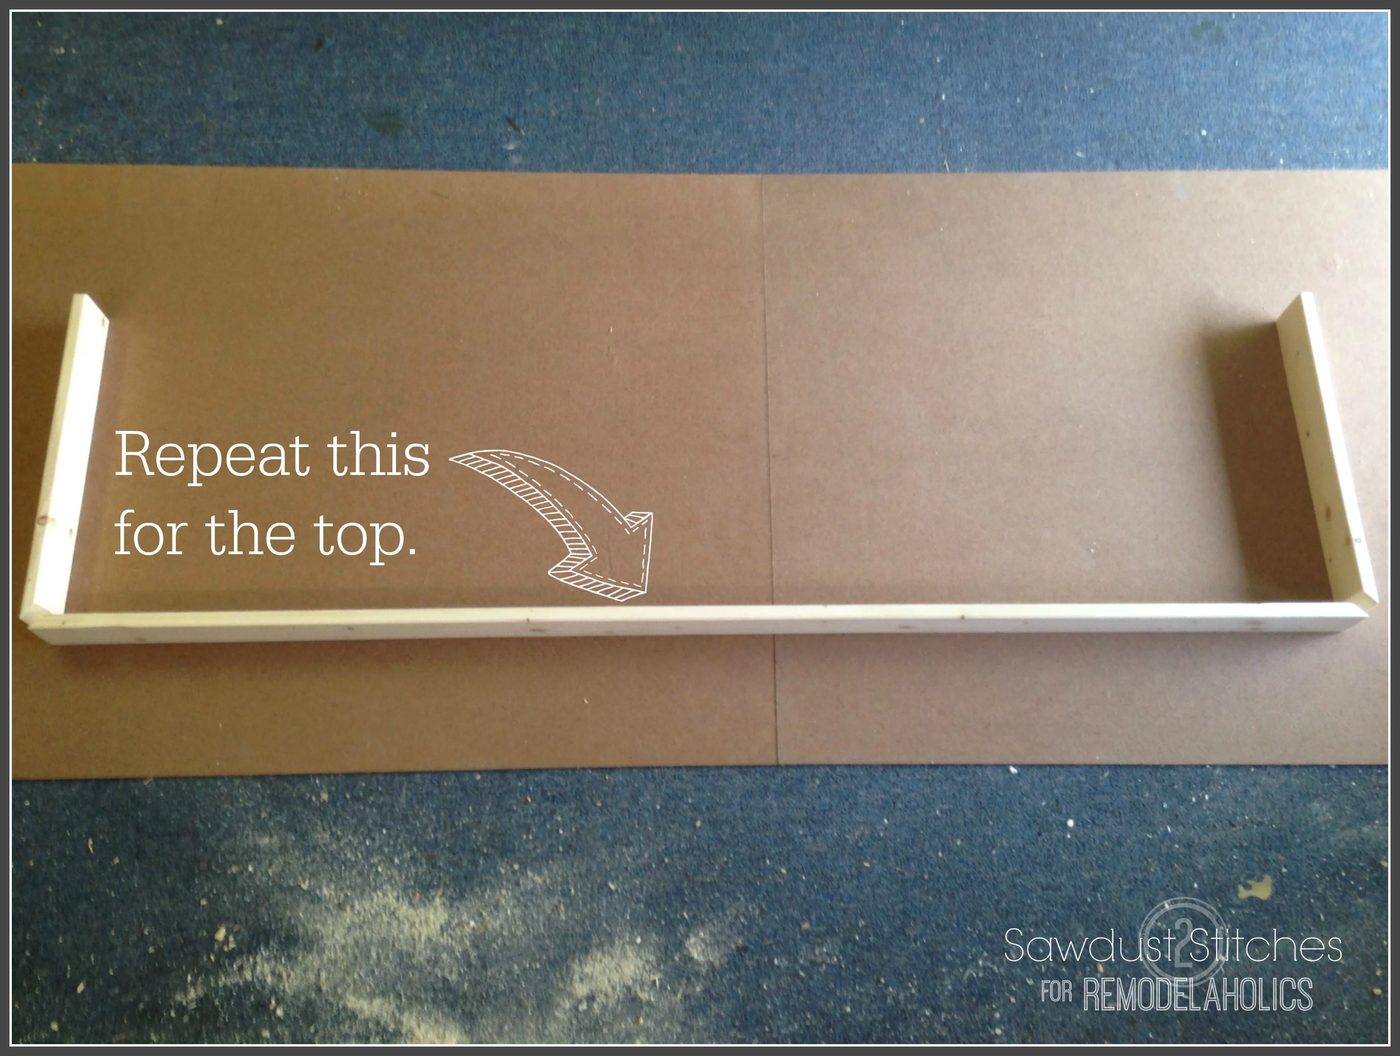
I knew I was working against gravity at this point, so I glued, and nailed the top trim pieces in place.
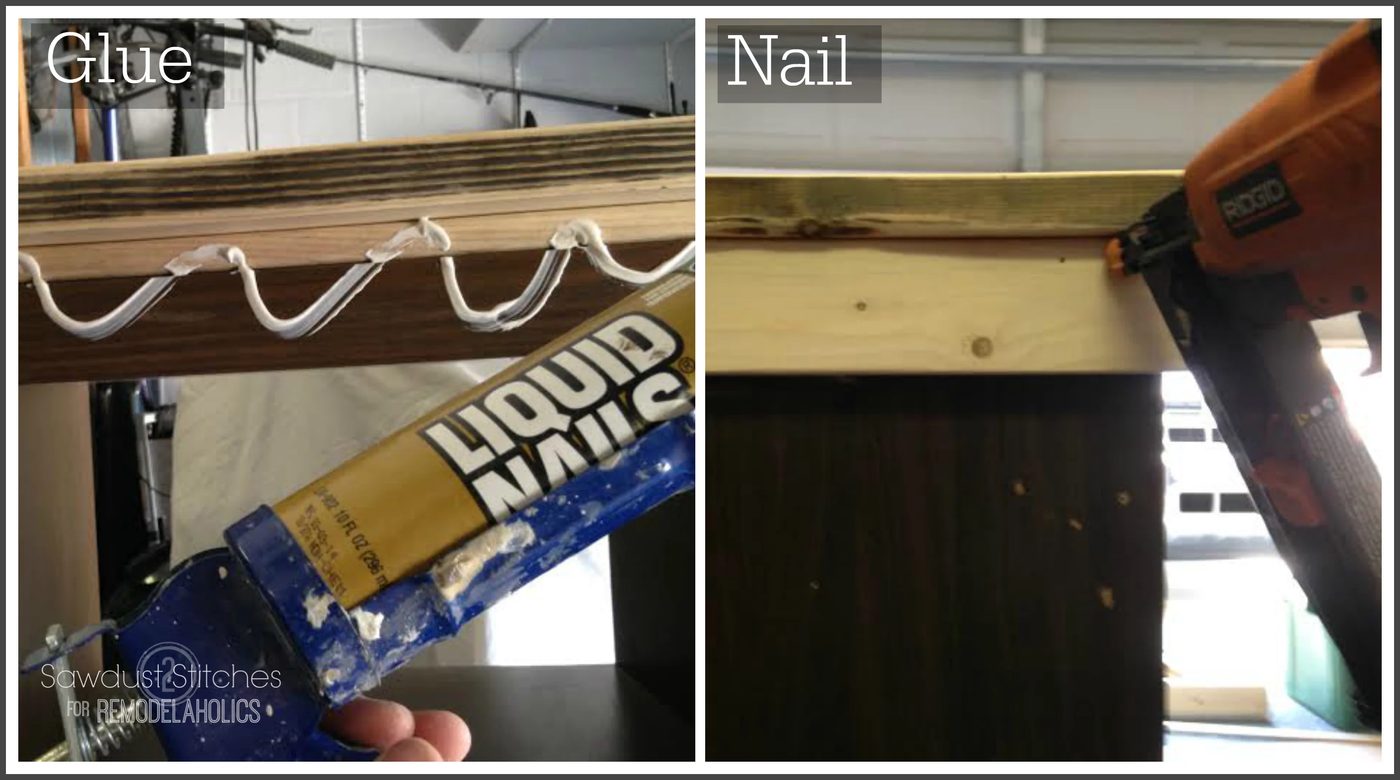
Once the base and top were completed I moved on to the sides. Starting with the corners.
I ended up doing miter corners, using my table saw. ( You can always just use a 1×3″ and 1×2″ and and have them butt into each other.)
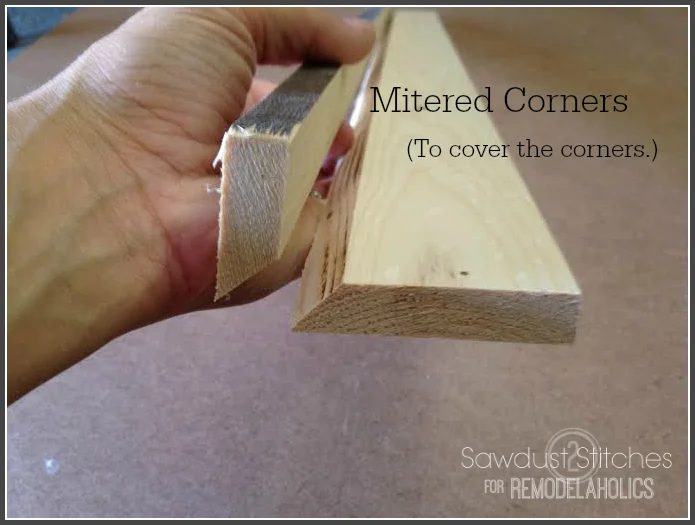
Again, I glued them in place and tacked them in place with a nail gun.
Once the corners were completed, I had to tackle the far sides…
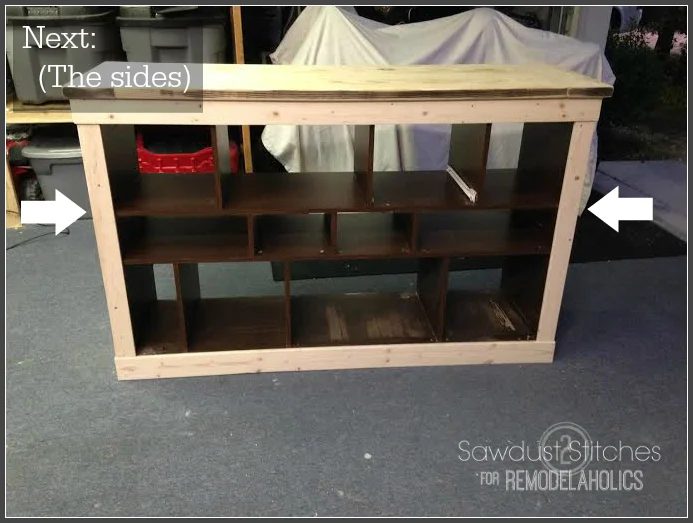
I used a 1×2 to frame in the rest of the side, leaving a large open ugly laminate area.
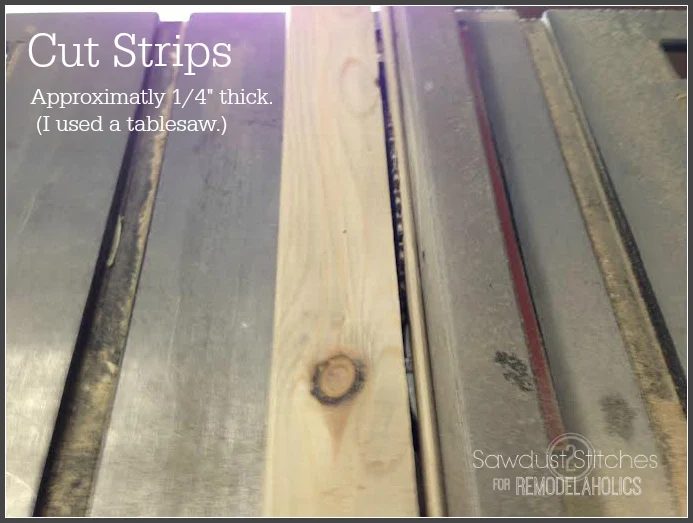
I decided to use lattice, because is has a much smaller profile and would create depth. That, and I just love the look of it, and it’s low-cost!
Using a sander I scuffed up the laminate, because I was planning out using glue to help hold the lattice in place, and everything sticks better to non-glossy surfaces.
I simply measured, cut, glued, nailed, and then repeated on both sides of the console.
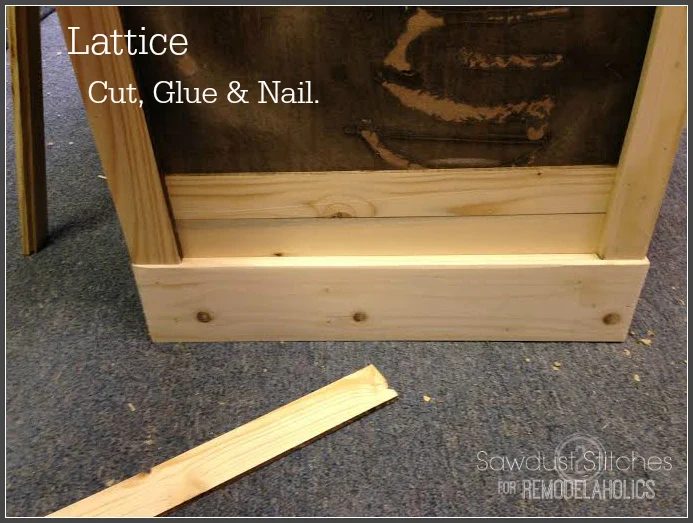
Just keep going until it looks a little something like this.
At this point you can easily call it good enough and move on to painting and/or staining. But not me. I had to go all “Corey” on it. I decided to hide any evidences of laminate. Including the the shelf fronts.
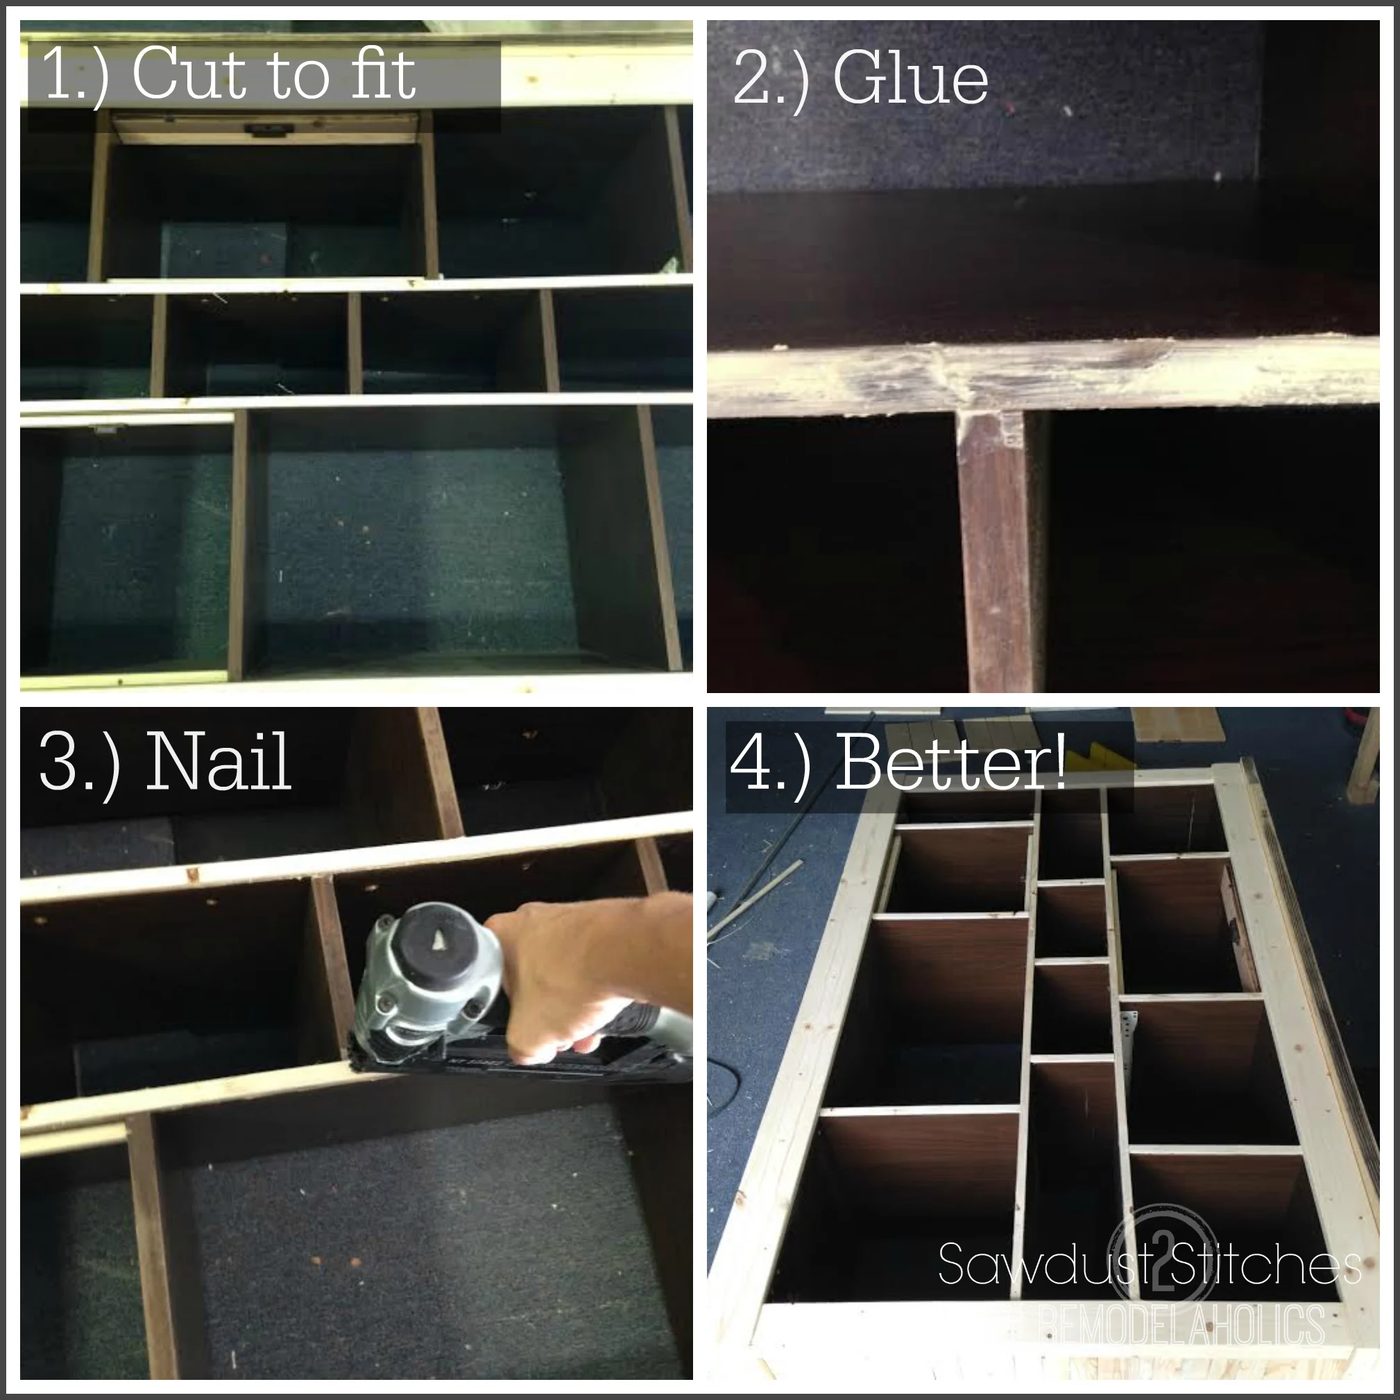 Once I had completely covered all traces of laminate, I moved on the “drawer” front.
Drawer Fronts:
I am going to warn you, these are not all functioning sliding drawers. I was planning on hiding a lot of random stuff like…
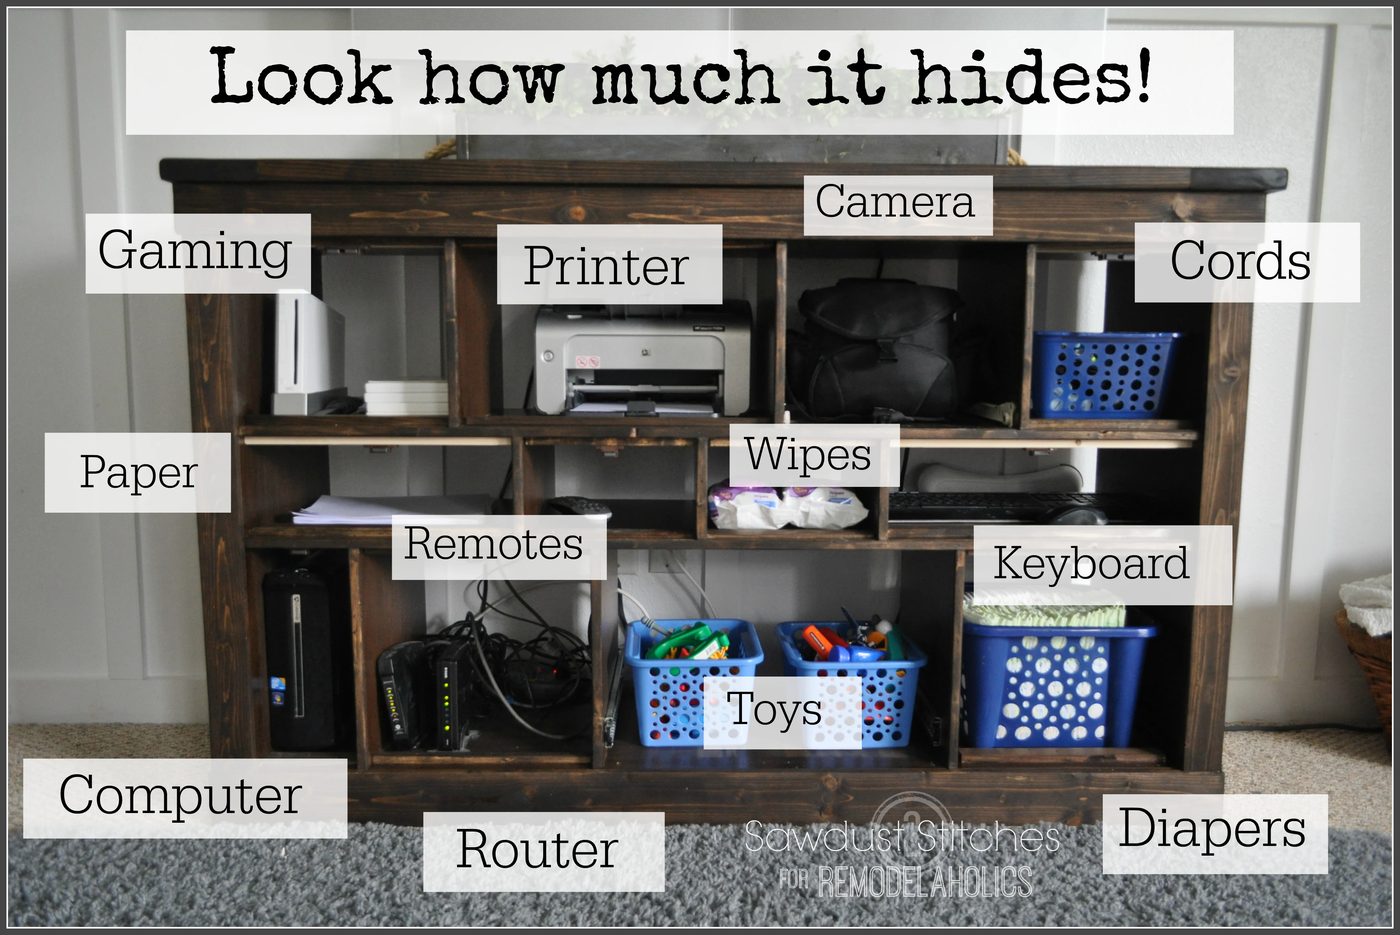 For items like printers, computers, and routers, the option of a drawer wouldn’t work, and because of the look I was trying to create hinges were not an option either. So, I will show you a short cut that I used.
I started by making the drawer fronts. I wanted variation, so some are planked , and others are solid wood. Here is an example of a planked front:
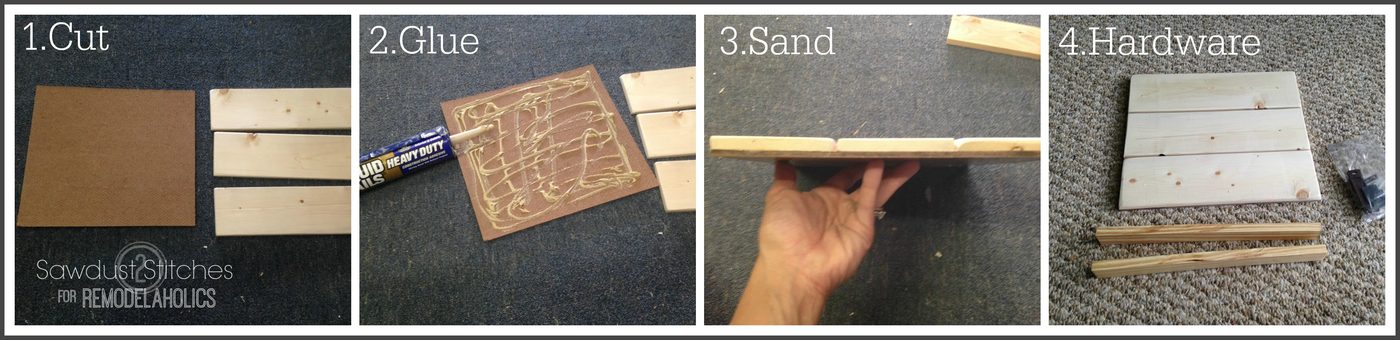
1.) I cut a piece of paneling that was the dimensions of the cubby opening. I also cut 1×4’s the same width.
2.) Using liquid nails I adhered the planks on to the piece of paneling.
3.) After it had completely dried I sanded it.
4.) It’s now ready for stain and hardware.
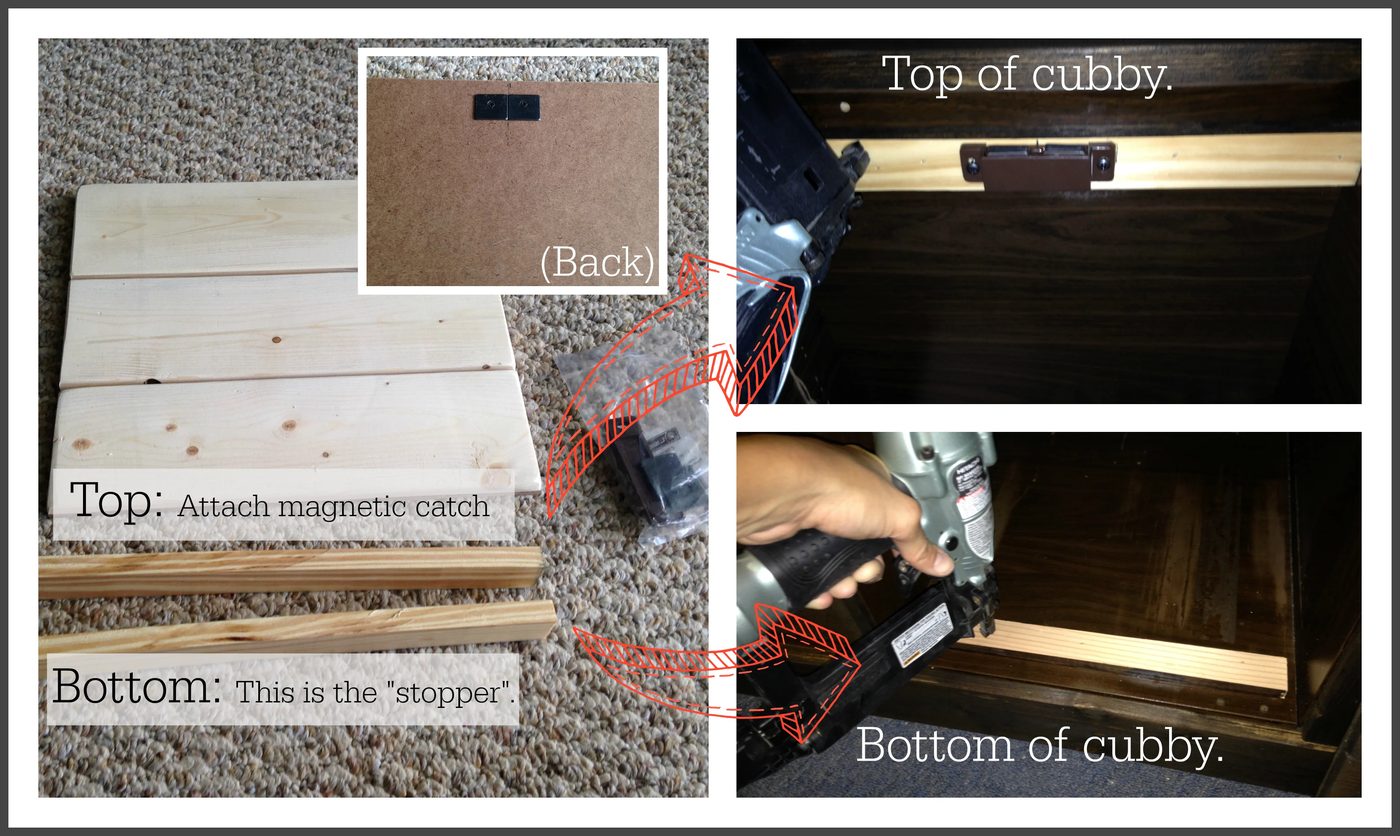
Once I had made all my drawer fronts, using 1×2’s I cut two strips of wood that were the same width of EACH cubby. (These will be used to install the drawers front. )
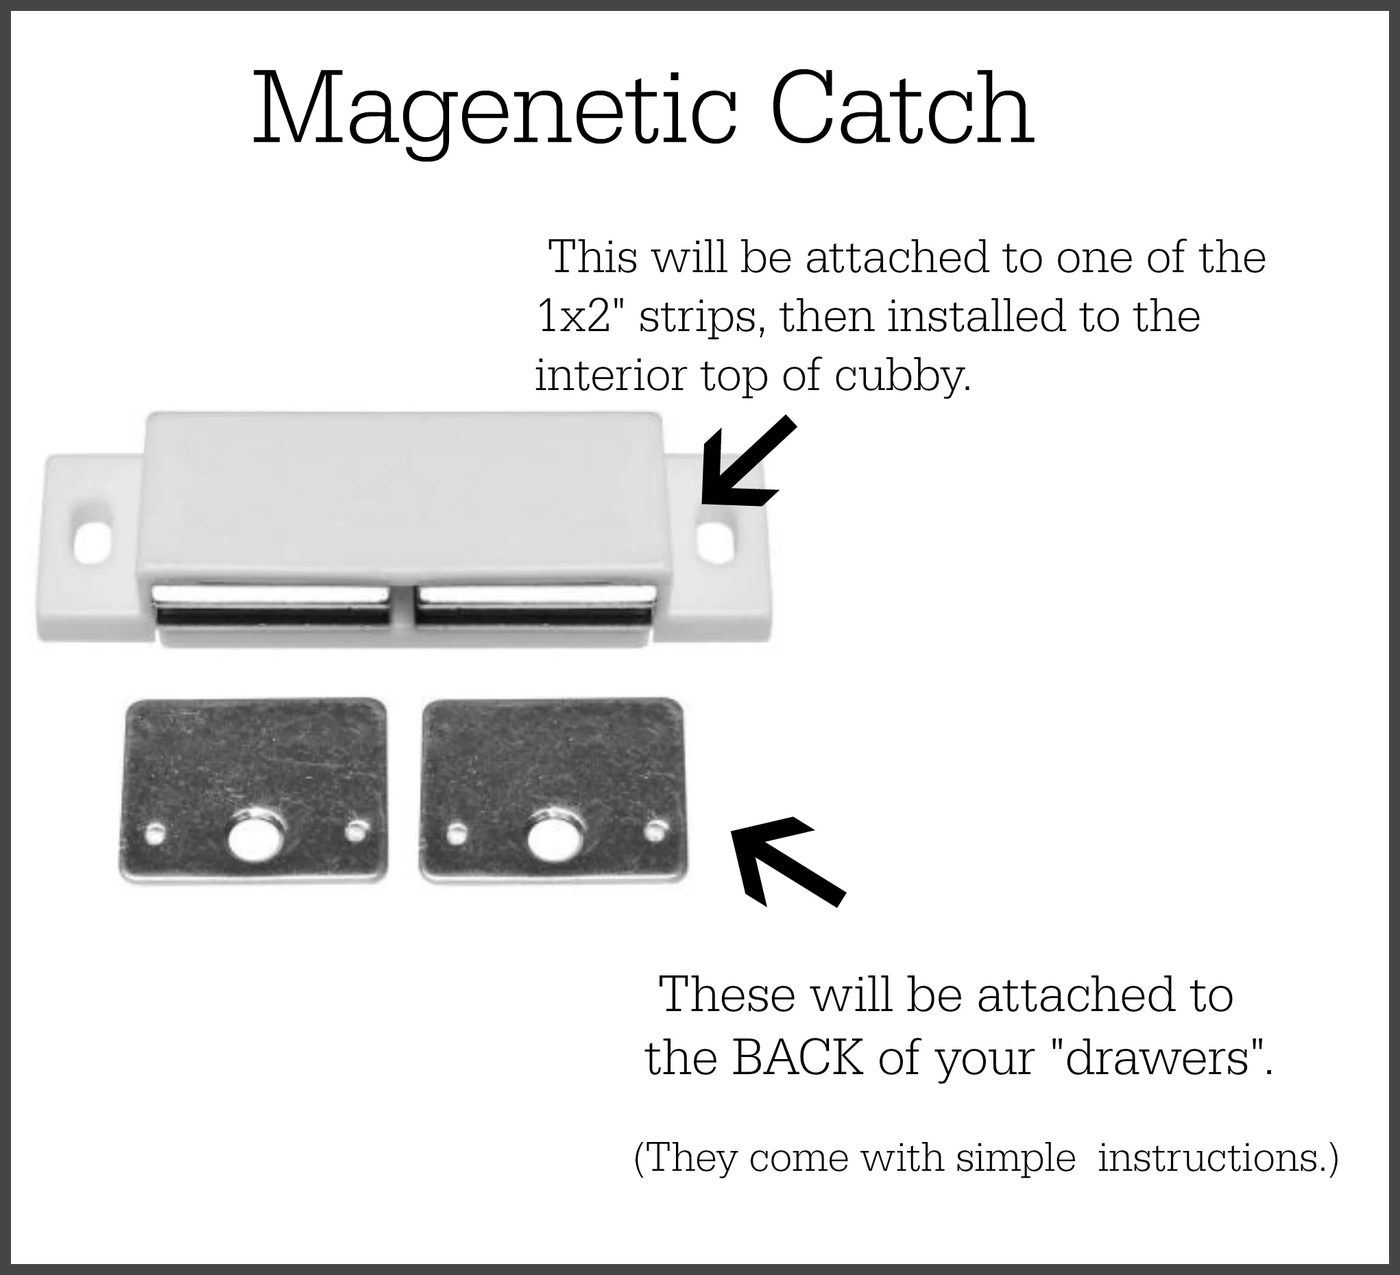
The strips of wood that I cut out of 1×2’s are used to keep the drawer front in place. The “drawer” panel will rest against the wood slats and the magnetic catch will hold it in place. This system works PERFECTLY for appliances like printers, comps, routers, etc!
I personally did make a few drawers to hold the kids toys and diapers. (I won’t be going into that today) But if you have your heart set on it, it is totally doable.
If the option of making drawers sounds overwhelming, maybe you should consider making some direct crates ? Possibly using decorative baskets ? Ikea also makes a whole line of baskets meant to fit their shelves. The possibilities are endless!
Finish Work:
Now that you have completed the wood working process, fill-in any holes with wood filler, then follow up by sanding and give everything a nice smooth finish.
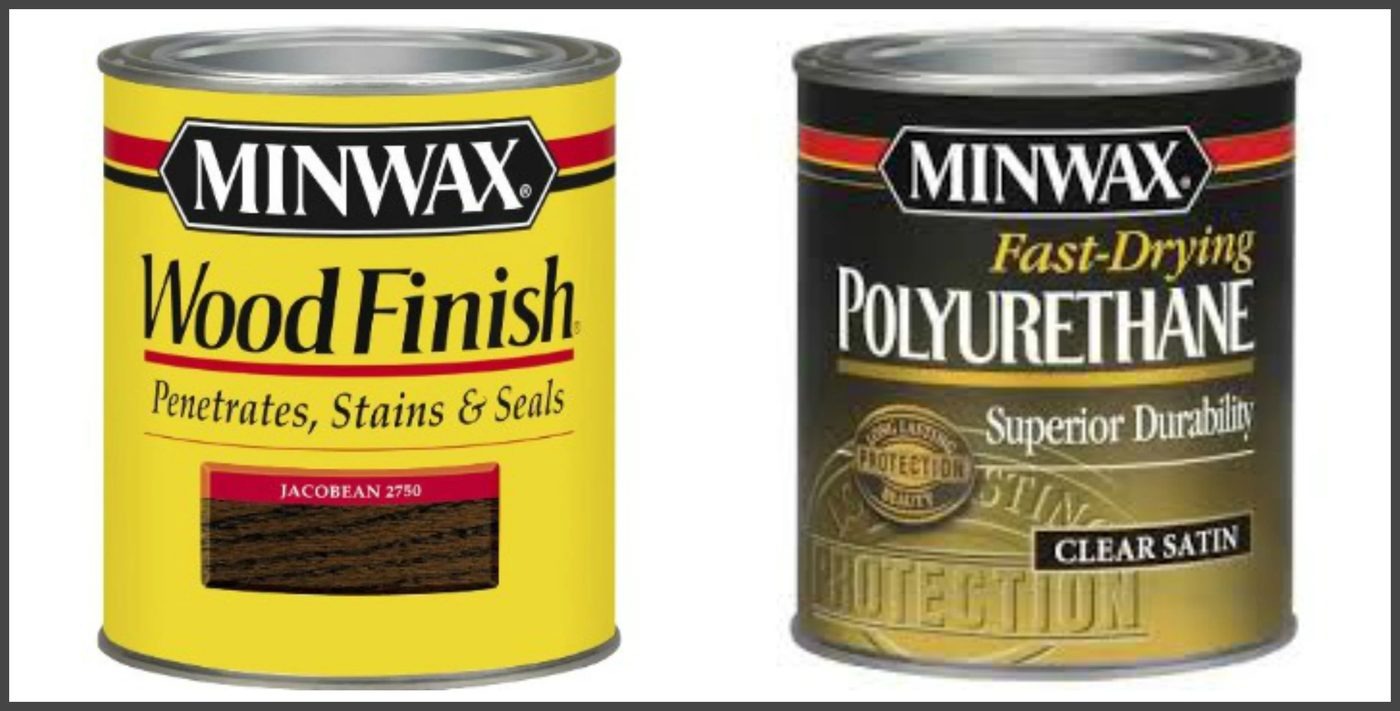
Once filled and sanded, I stained , and applied polyurethane to it.
I used:
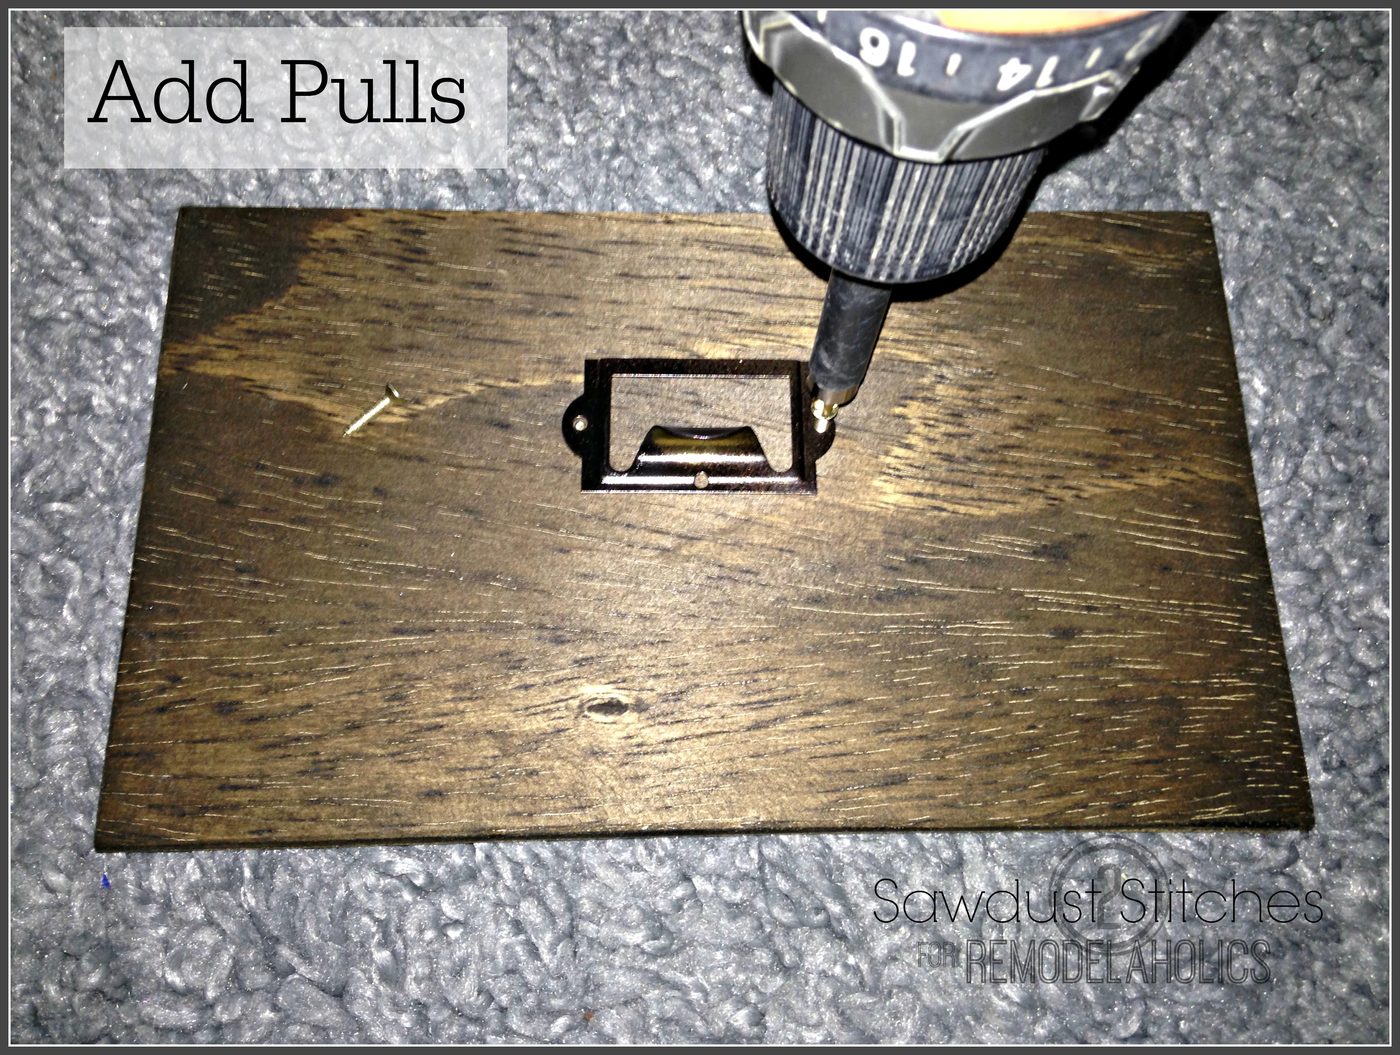
The icing on the cake is the pulls/handles/knobs. I actually found these “label” pulls on ebay!? They were dang low-cost and work perfectly for this project. They were originally BRIGHT brass, I muted them a bit but dusting them lightly with and “Oil Rubbed Bronze” spray paint.
That’s all there is to it folks! Stuff as much crap as you want in those cubbies, because no one ever has to to see that you have half your house hidden in the media center.
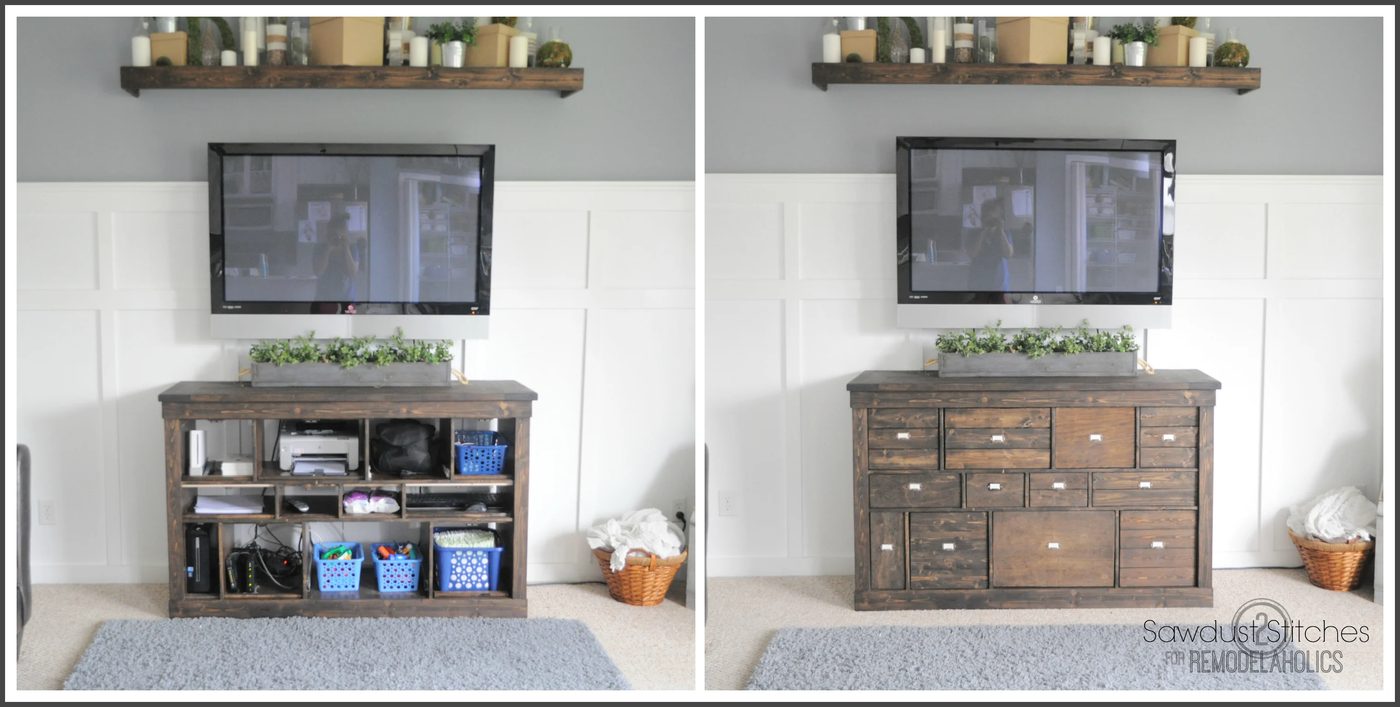
Just look at how much stuff this thing can hide! It is functional, striking, and in the same price range as an Ikea shelf! Not too shabby folks!
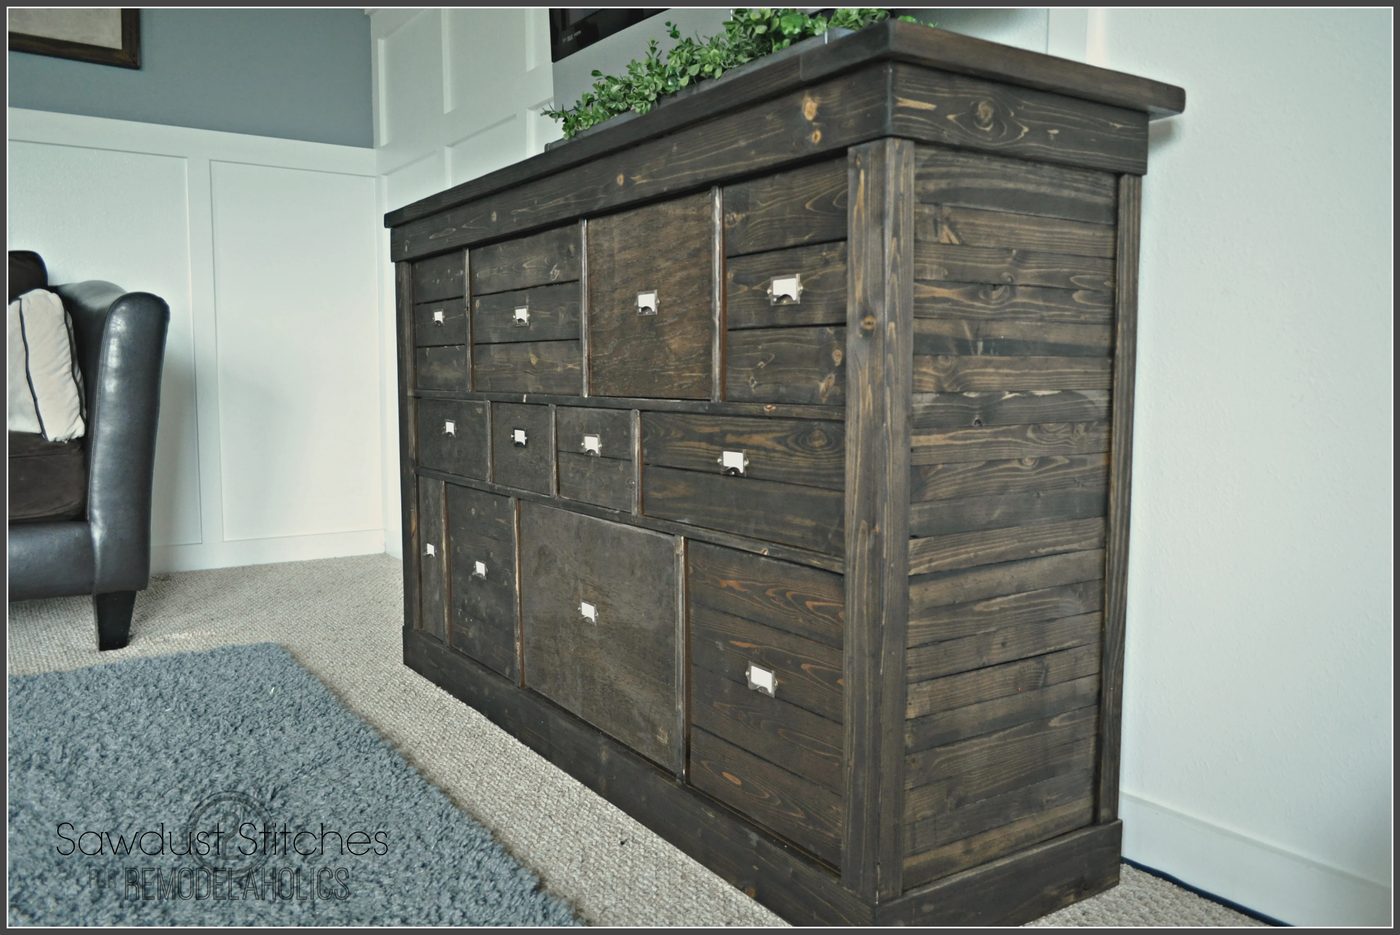
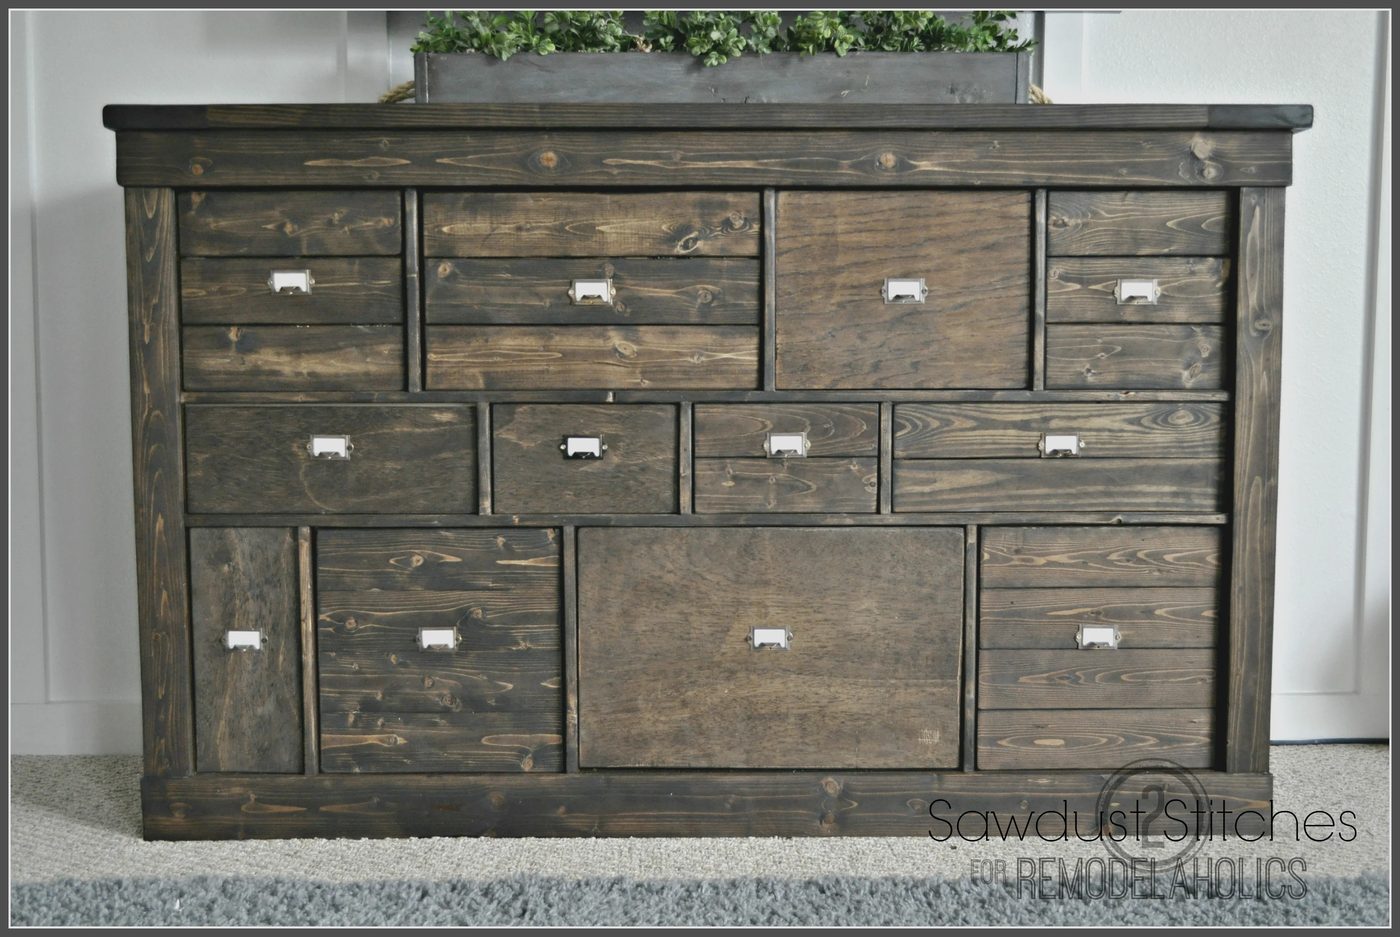
If you loved this Ikea makeover you might like this Copper Ikea Shelf makeover too!
Thanks for stopping by, and take luck!
Corey
—————————————–
IKEA’s basic furniture makes a great base for a Handmade project! look at these other projects that have started from humble basic furniture beginnings: