
Submitted By Pretend Fancy
Welcome to a journey through our home’s heart – the kitchen! Every corner of this space tells a story of transformation, creativity, and the joy of creating a beautiful home on a budget. Today, we’re pulling back the curtain to reveal the complete kitchen makeover, a project filled with DIY triumphs, clever hacks, and heartfelt personal touches. Get ready to be inspired by how we transformed our kitchen into a functional, stylish, and utterly charming space.
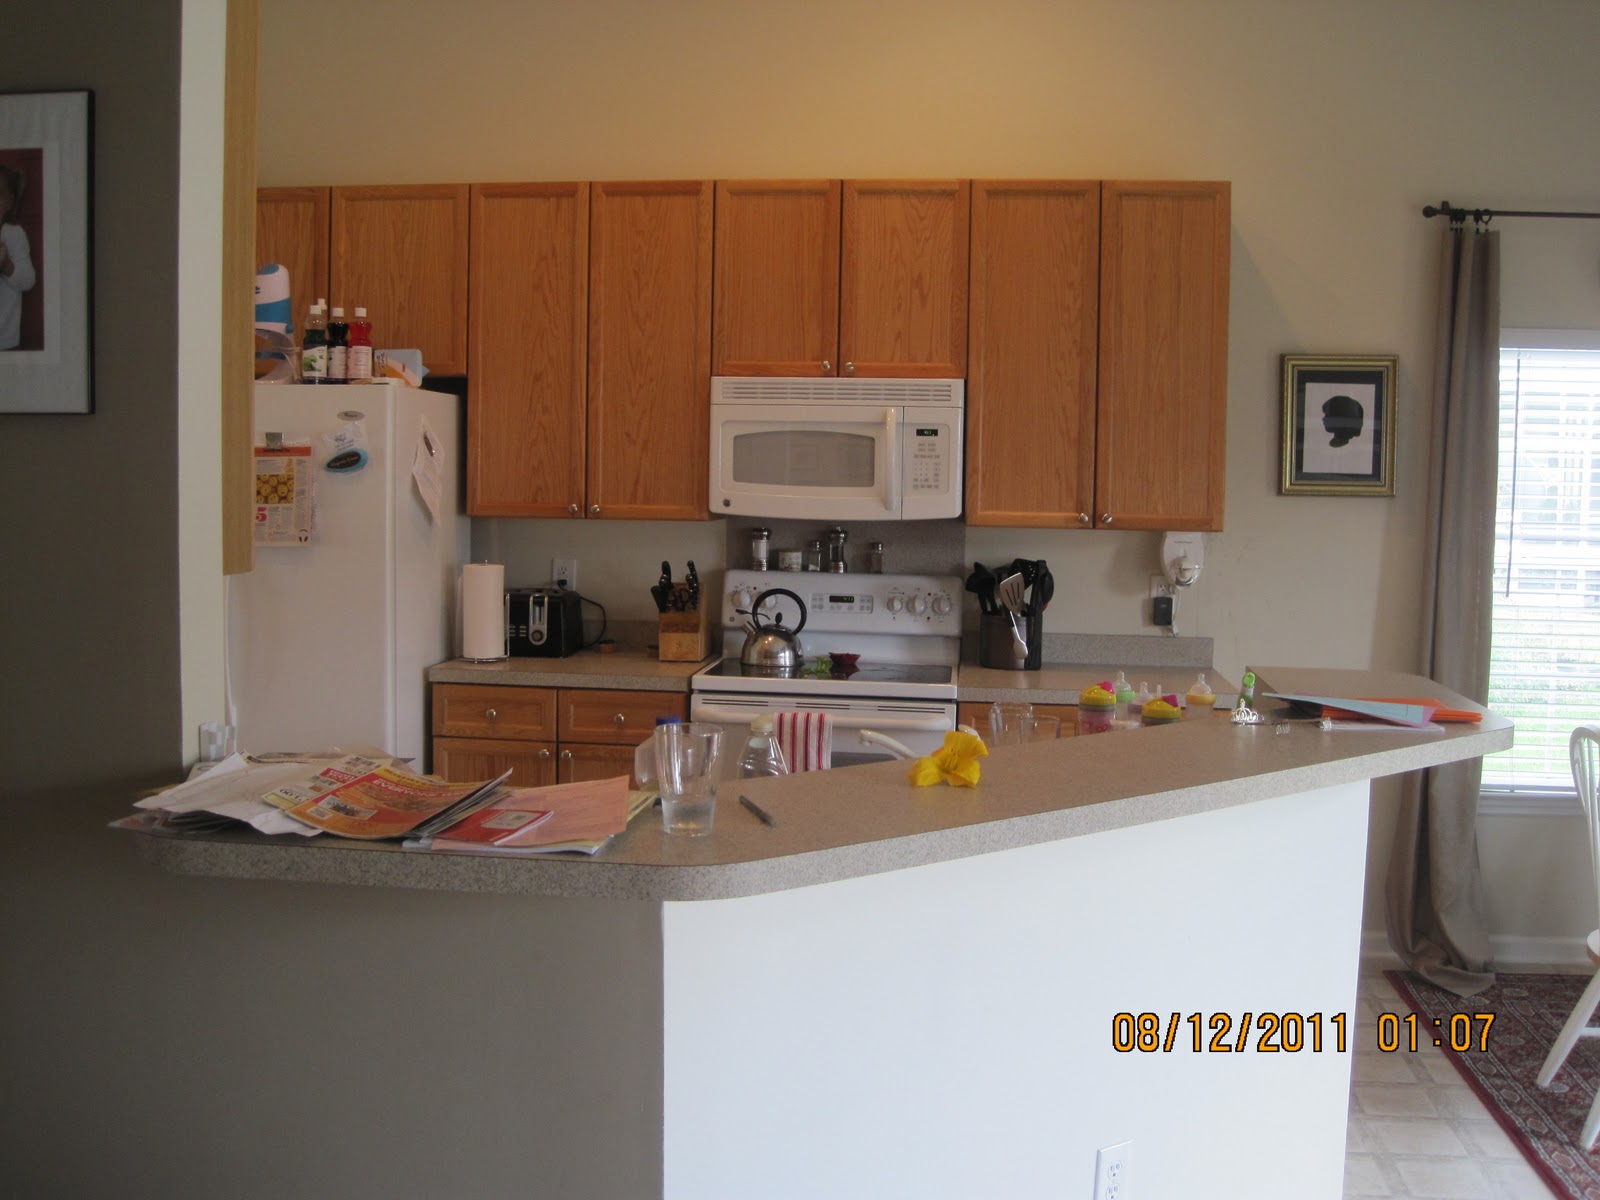
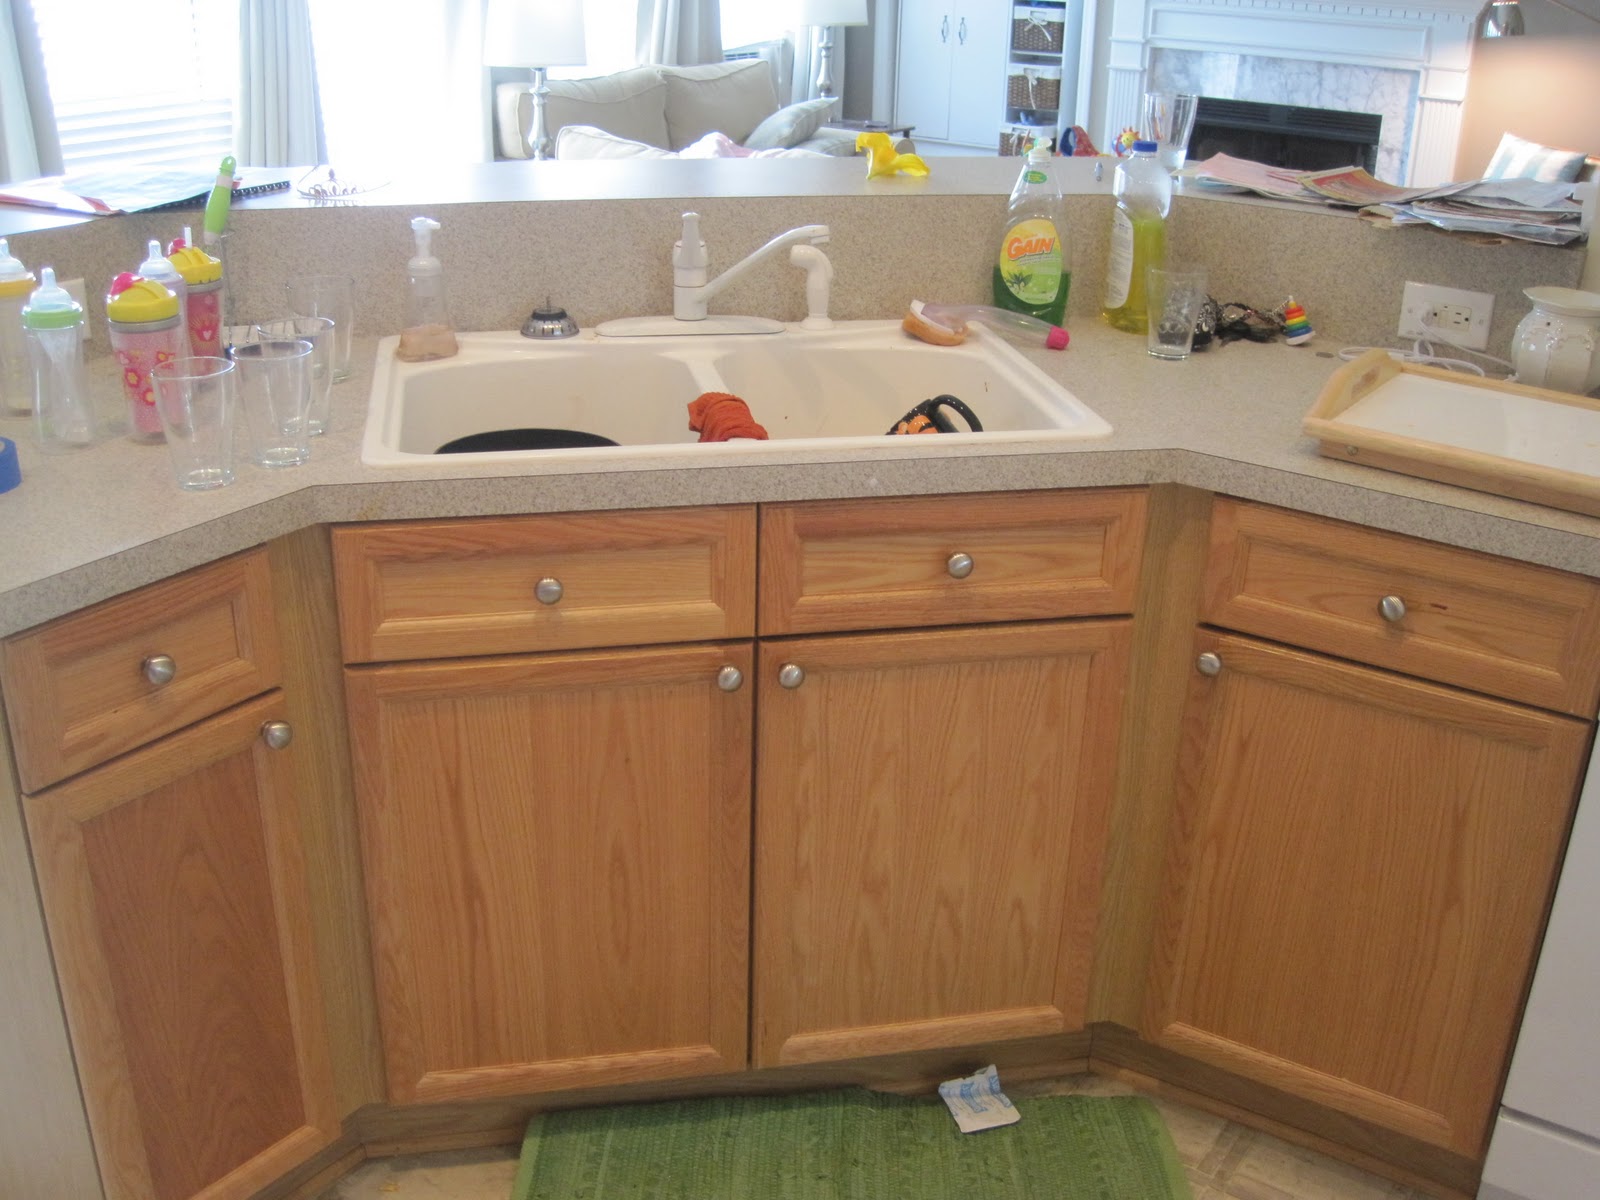
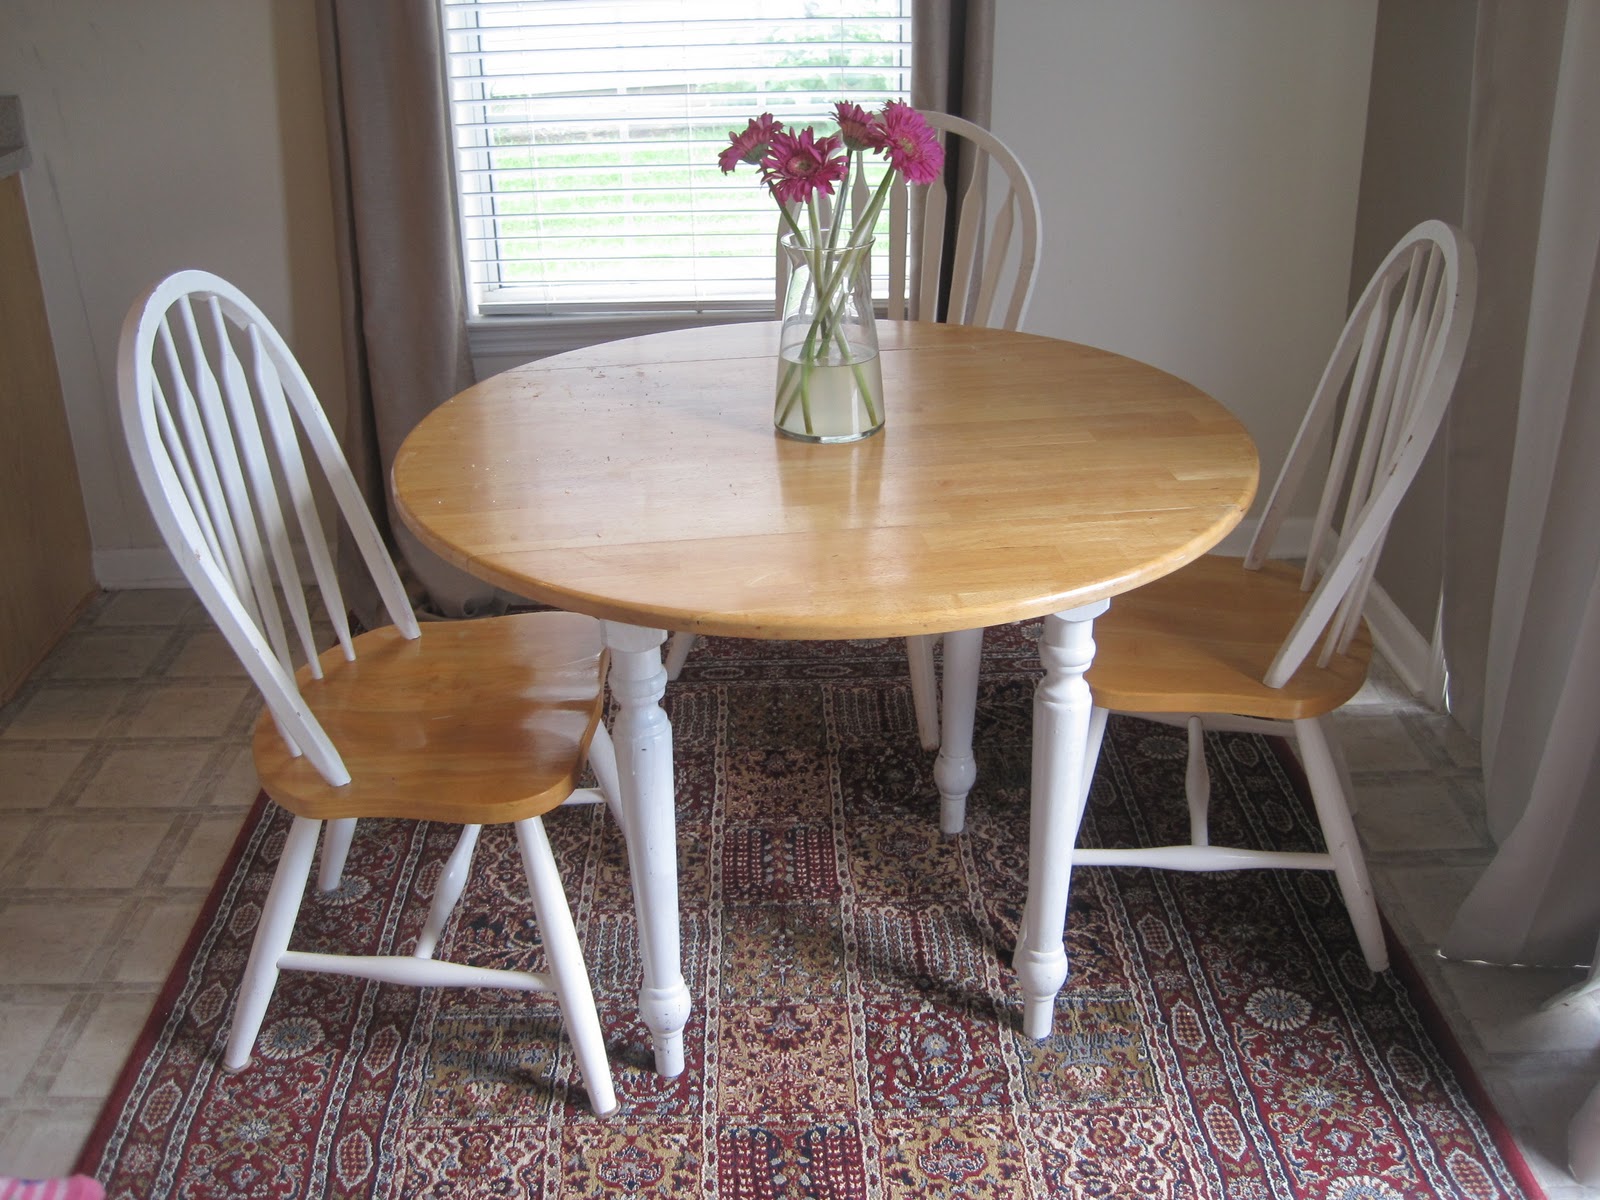
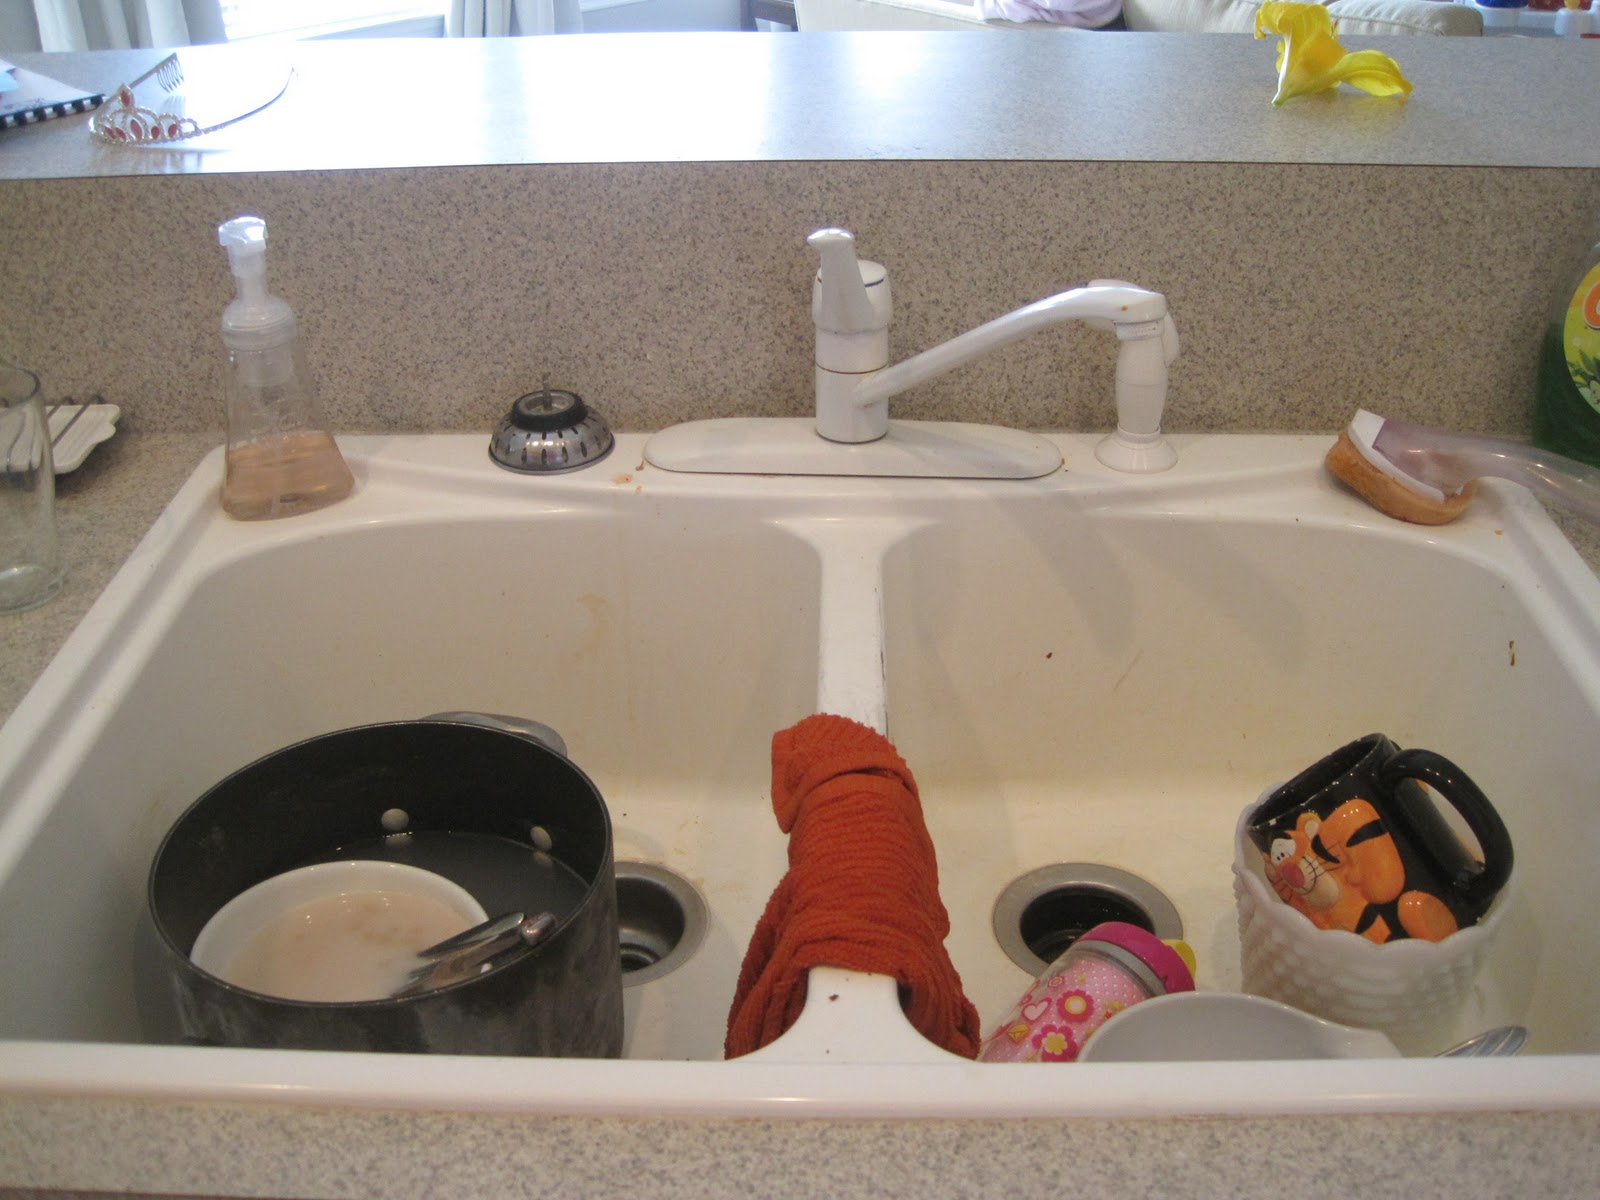
Before we dive into the delightful “after,” let’s take a quick look back at where this transformation began. Remembering the initial state always makes the final reveal even more satisfying, highlighting just how far we’ve come with a lot of paint, elbow grease, and creative thinking.
The Journey of Transformation: From Drab to Fab
Every great story has a beginning, and our kitchen’s tale starts with a vision for a space that felt fresh, inviting, and truly ours. What started as a functional but uninspired room has blossomed into a vibrant hub, reflecting our personality and passion for DIY. This isn’t just a kitchen; it’s a testament to what you can achieve with a little imagination and a lot of heart.

 |
||
|
A Breath of Fresh Air: The Dining Nook Unveiled
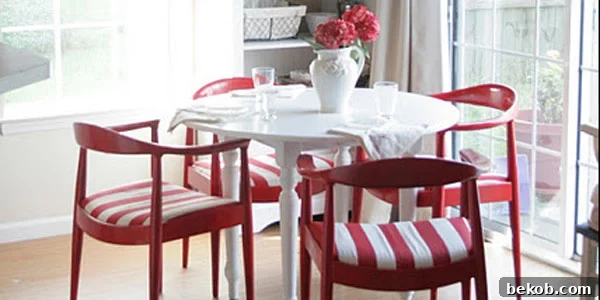
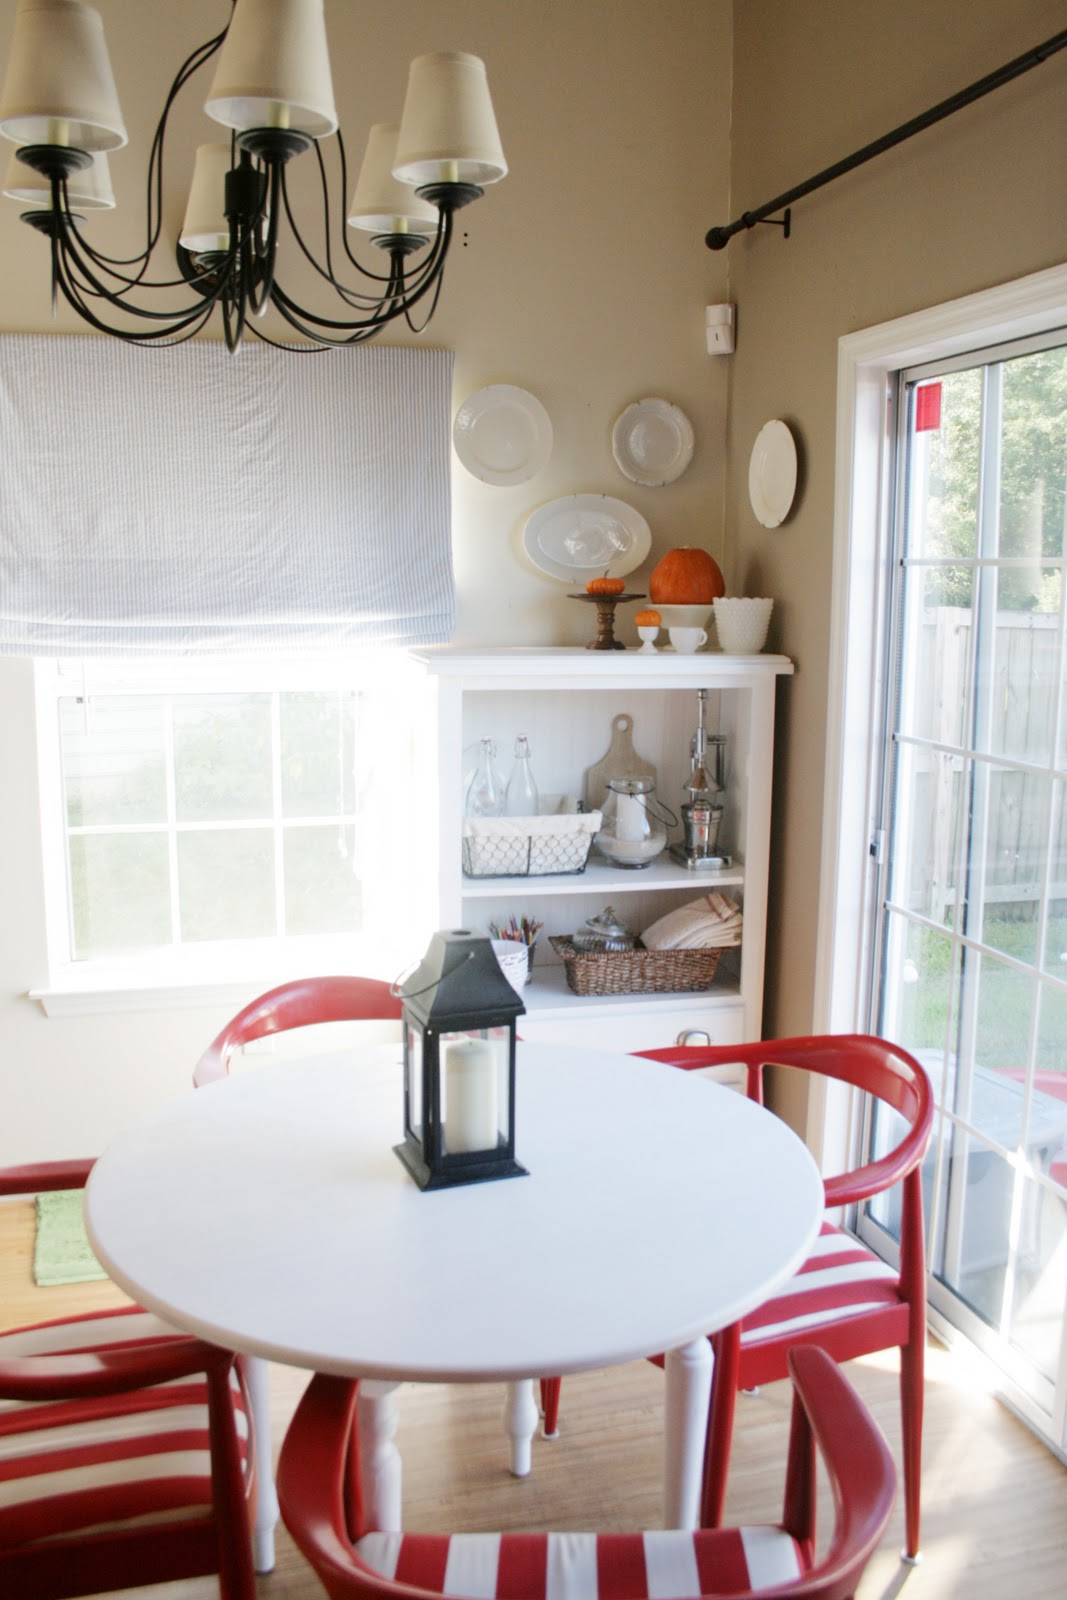
Ah, a breath of fresh air indeed! This picture captures the redesigned dining area, bathed in lovely natural light. The ambiance is immediately welcoming, a stark contrast to its former self. I applied the same beautiful paint used on the cabinets to the dining table, ensuring a cohesive look throughout the space. I’m thrilled to report that it’s holding up wonderfully against daily use, proving that style doesn’t have to sacrifice durability.
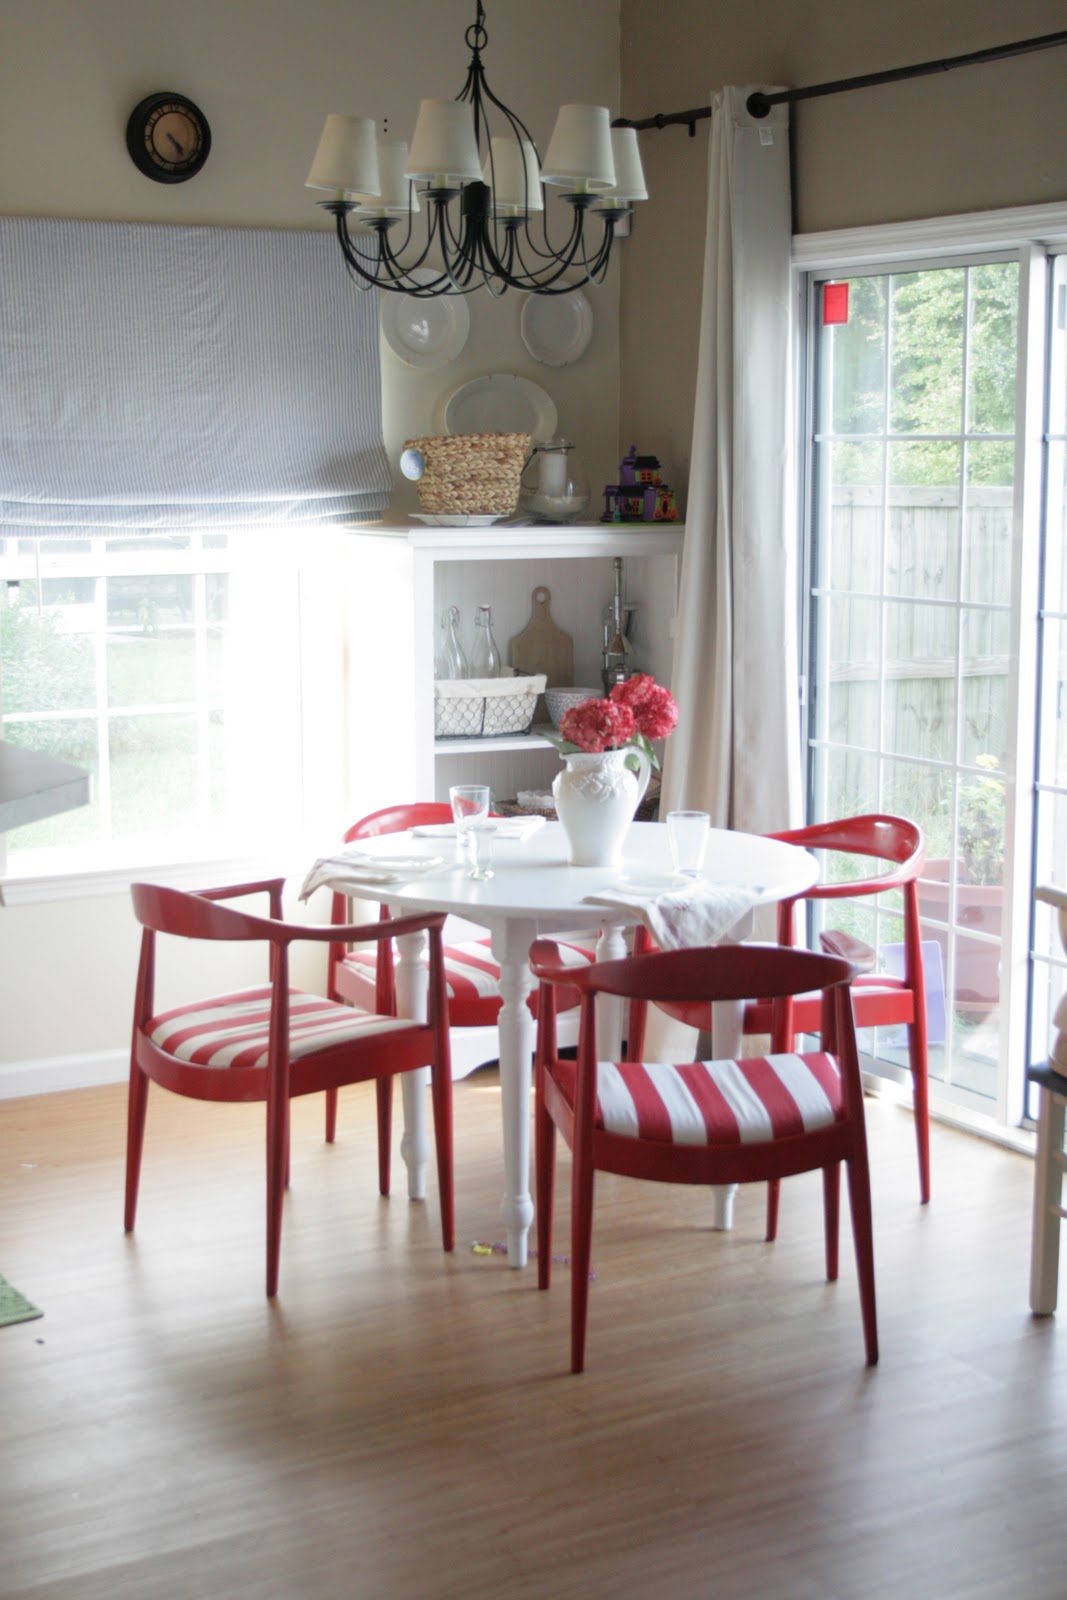
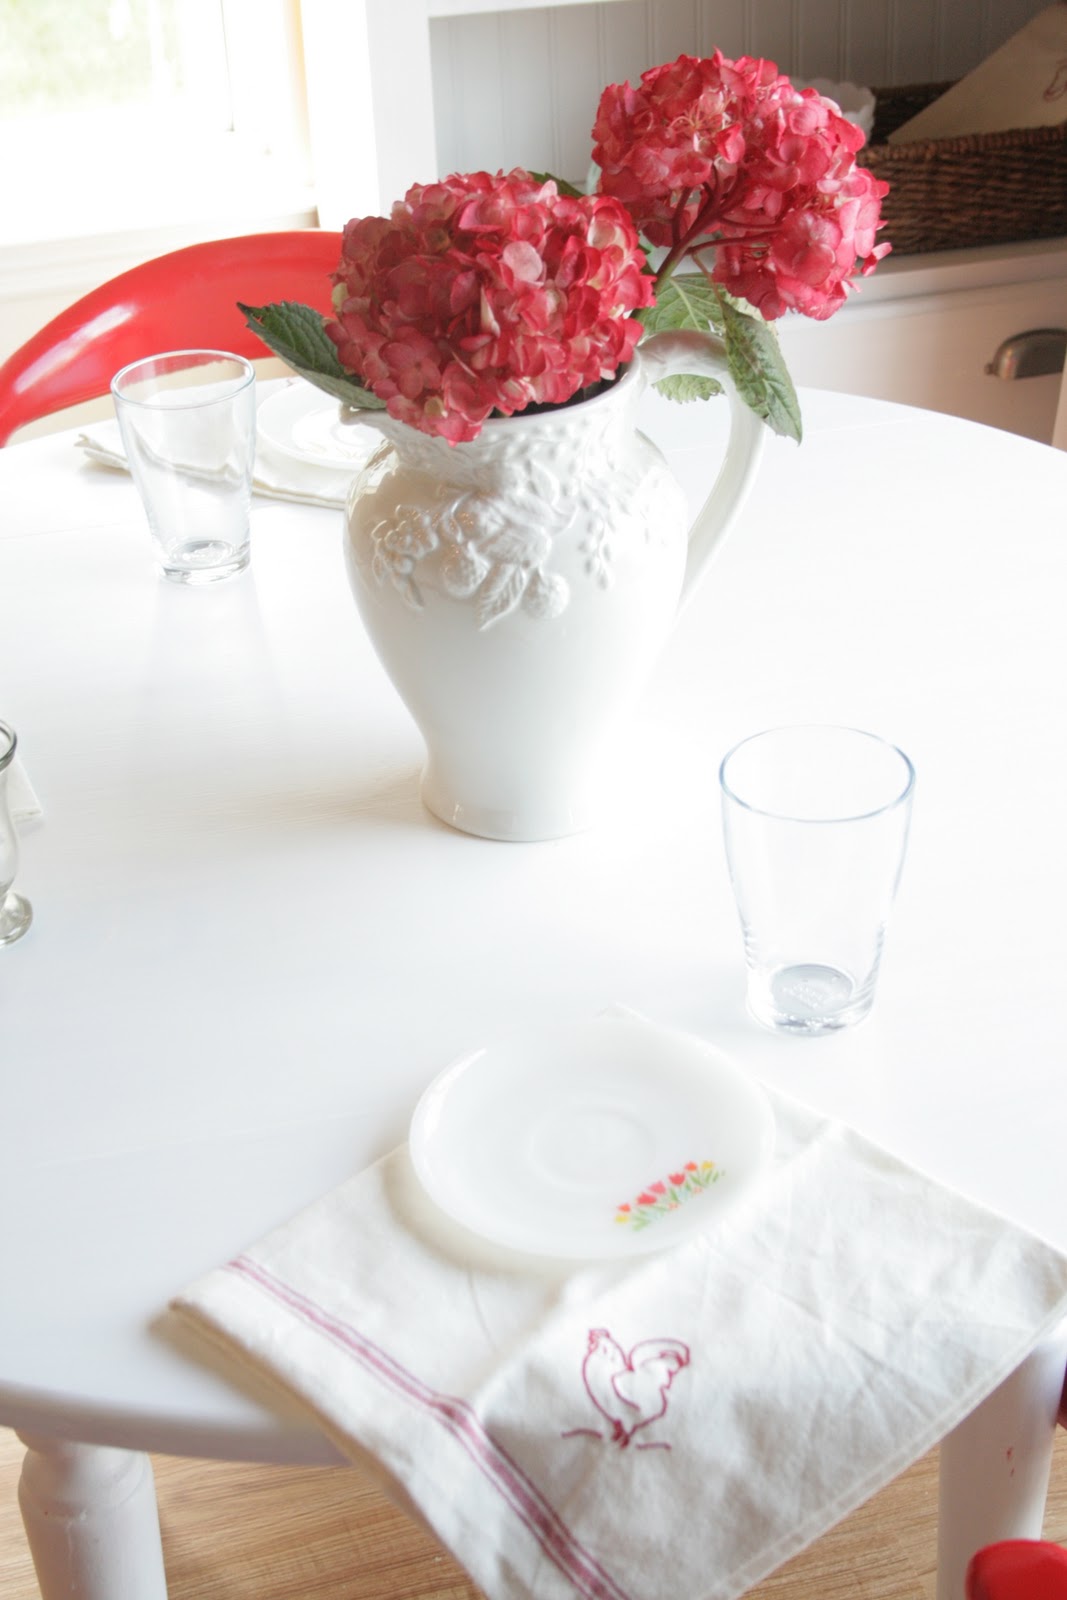
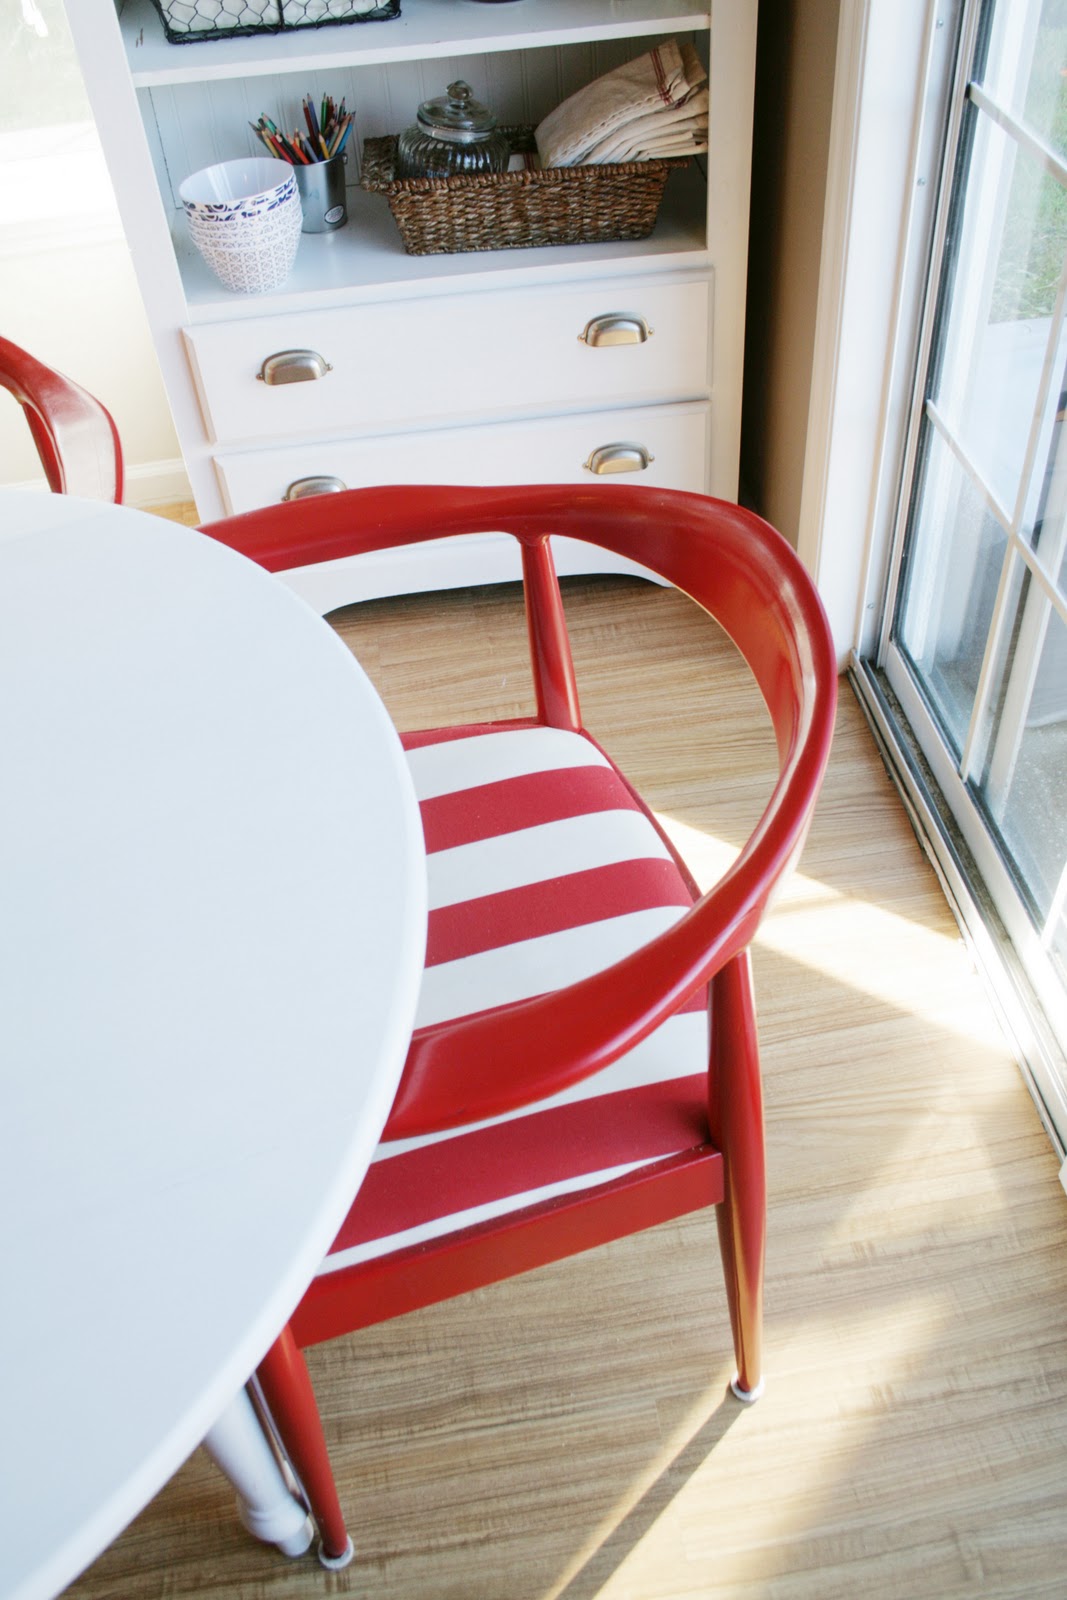
My beloved red chairs, which received their own dramatic makeover, continue to be a vibrant focal point in the dining area. Their bold color adds a playful yet sophisticated touch, perfectly complementing the refreshed aesthetic of the kitchen. If you’re curious about their transformation, you can read all about that epic journey here.
The Crown Jewel: Our Habitat for Humanity Light Fixture
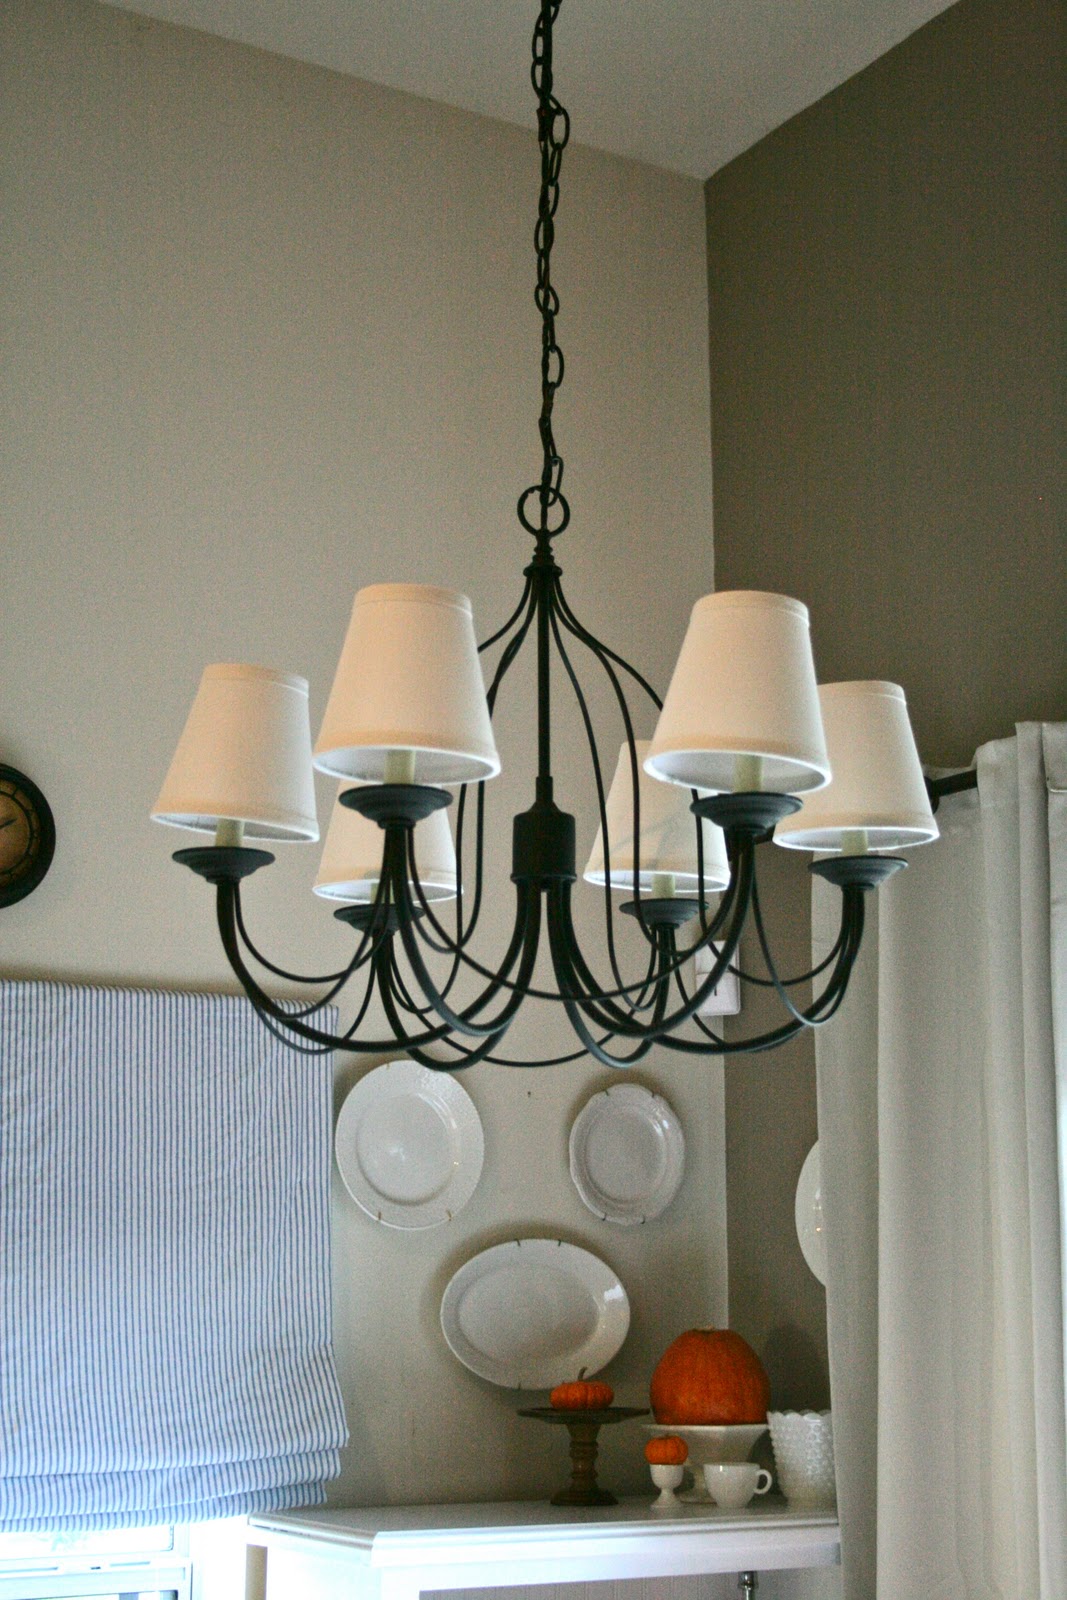
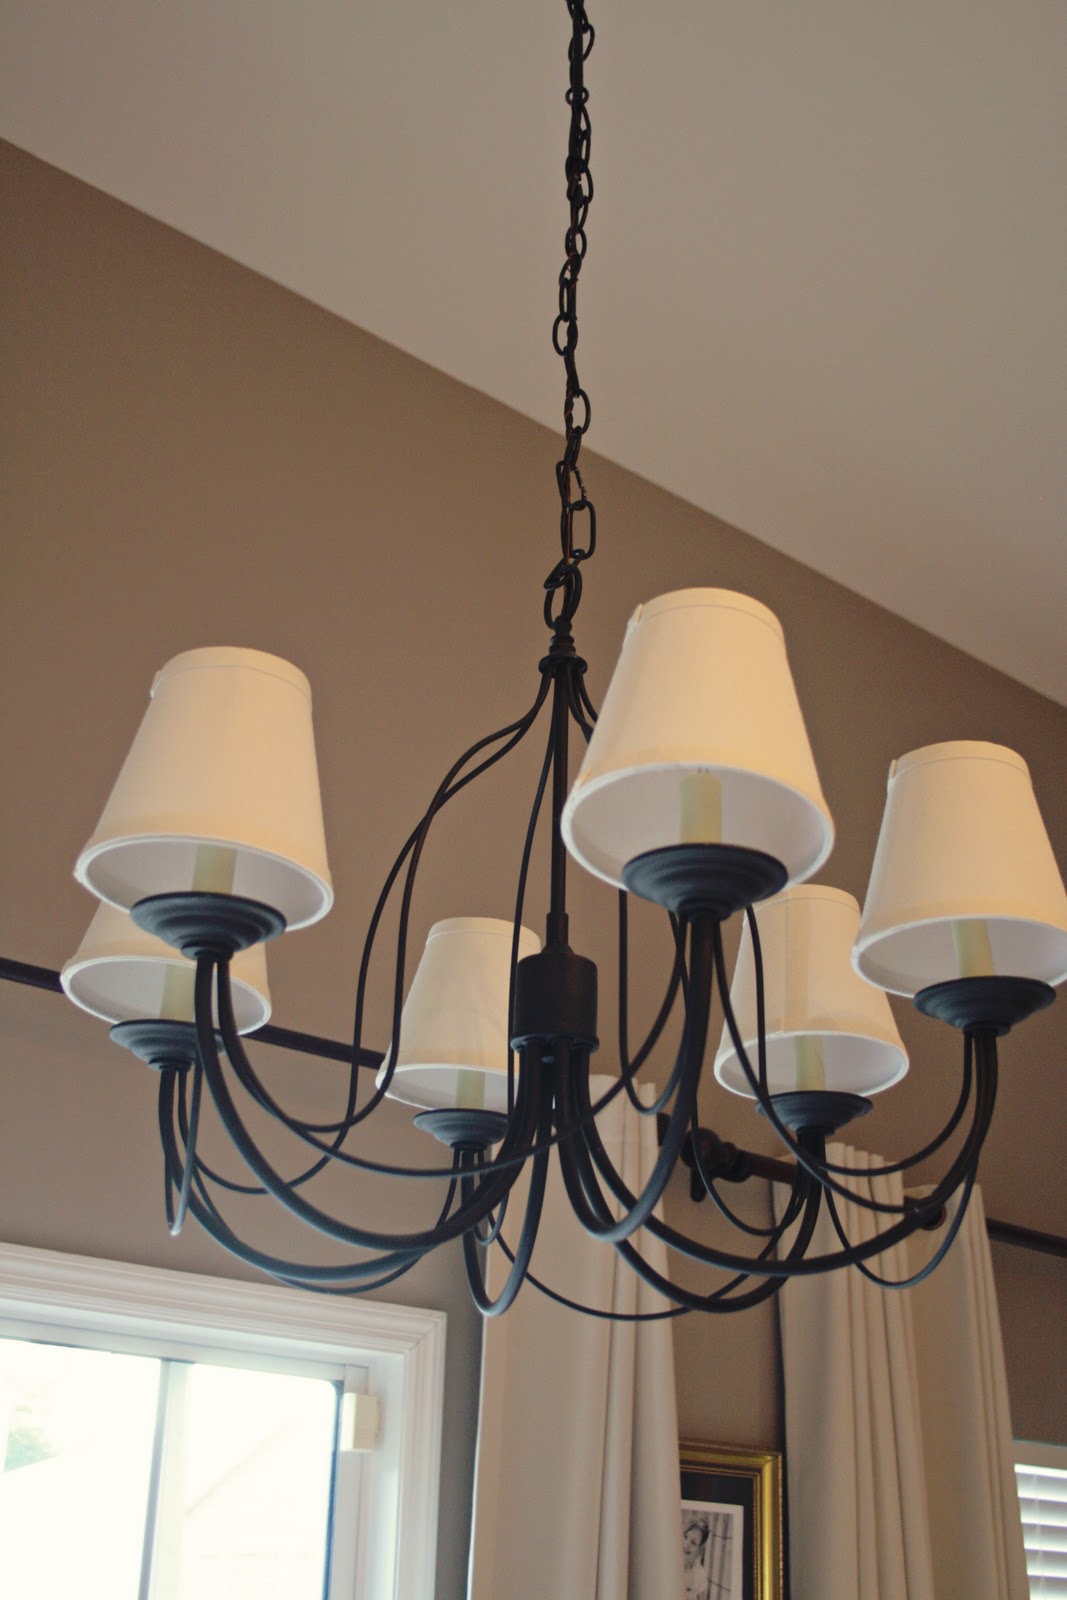
Speaking of love, are you as smitten with my new light fixture as I am? It’s a true showstopper! This magnificent piece was a twenty-dollar score from Habitat for Humanity – a testament to the treasures you can unearth with a keen eye and a bit of patience. Its unique design instantly elevates the entire kitchen, adding a touch of elegance and character that feels both timeless and modern.
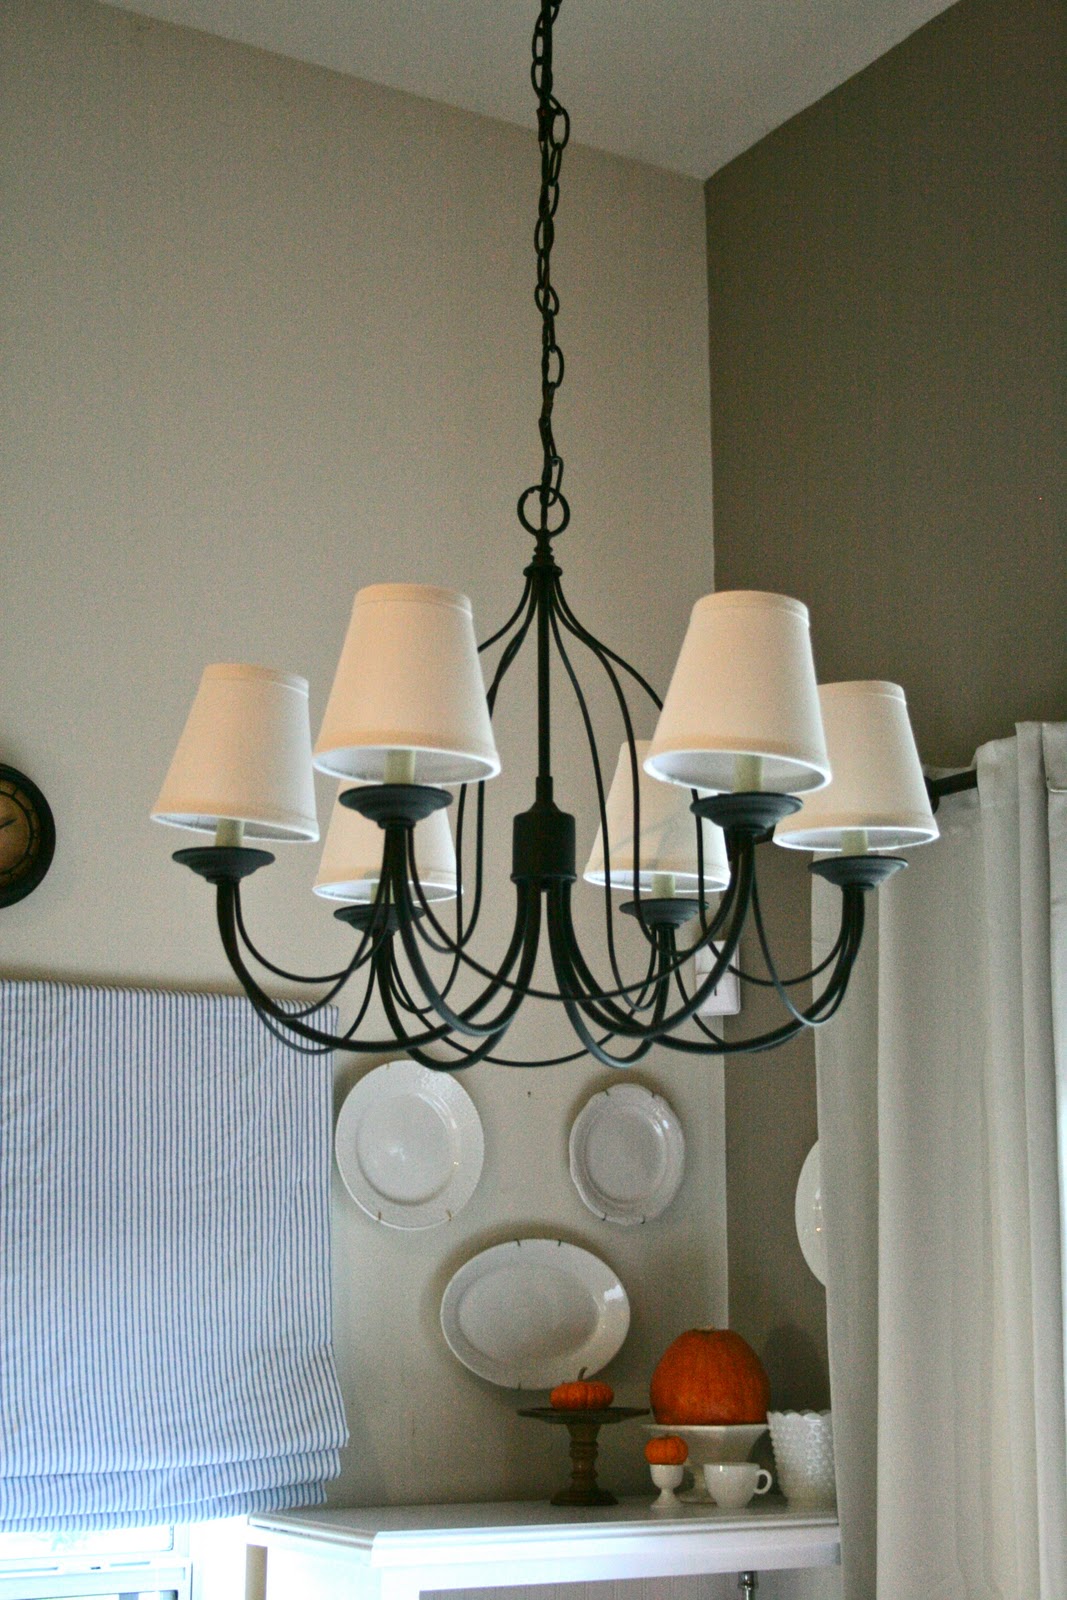
I was incredibly impressed when John, with his handy skills, managed to get it hung perfectly. Wiring and electricity are definitely areas where I prefer to call in reinforcements rather than attempting to “Do It Myself” (DIM). Safety first, especially when you consider my hair is quite voluminous already without any accidental electrical enhancements!
Upcycled Masterpiece: The Armoire Transformation
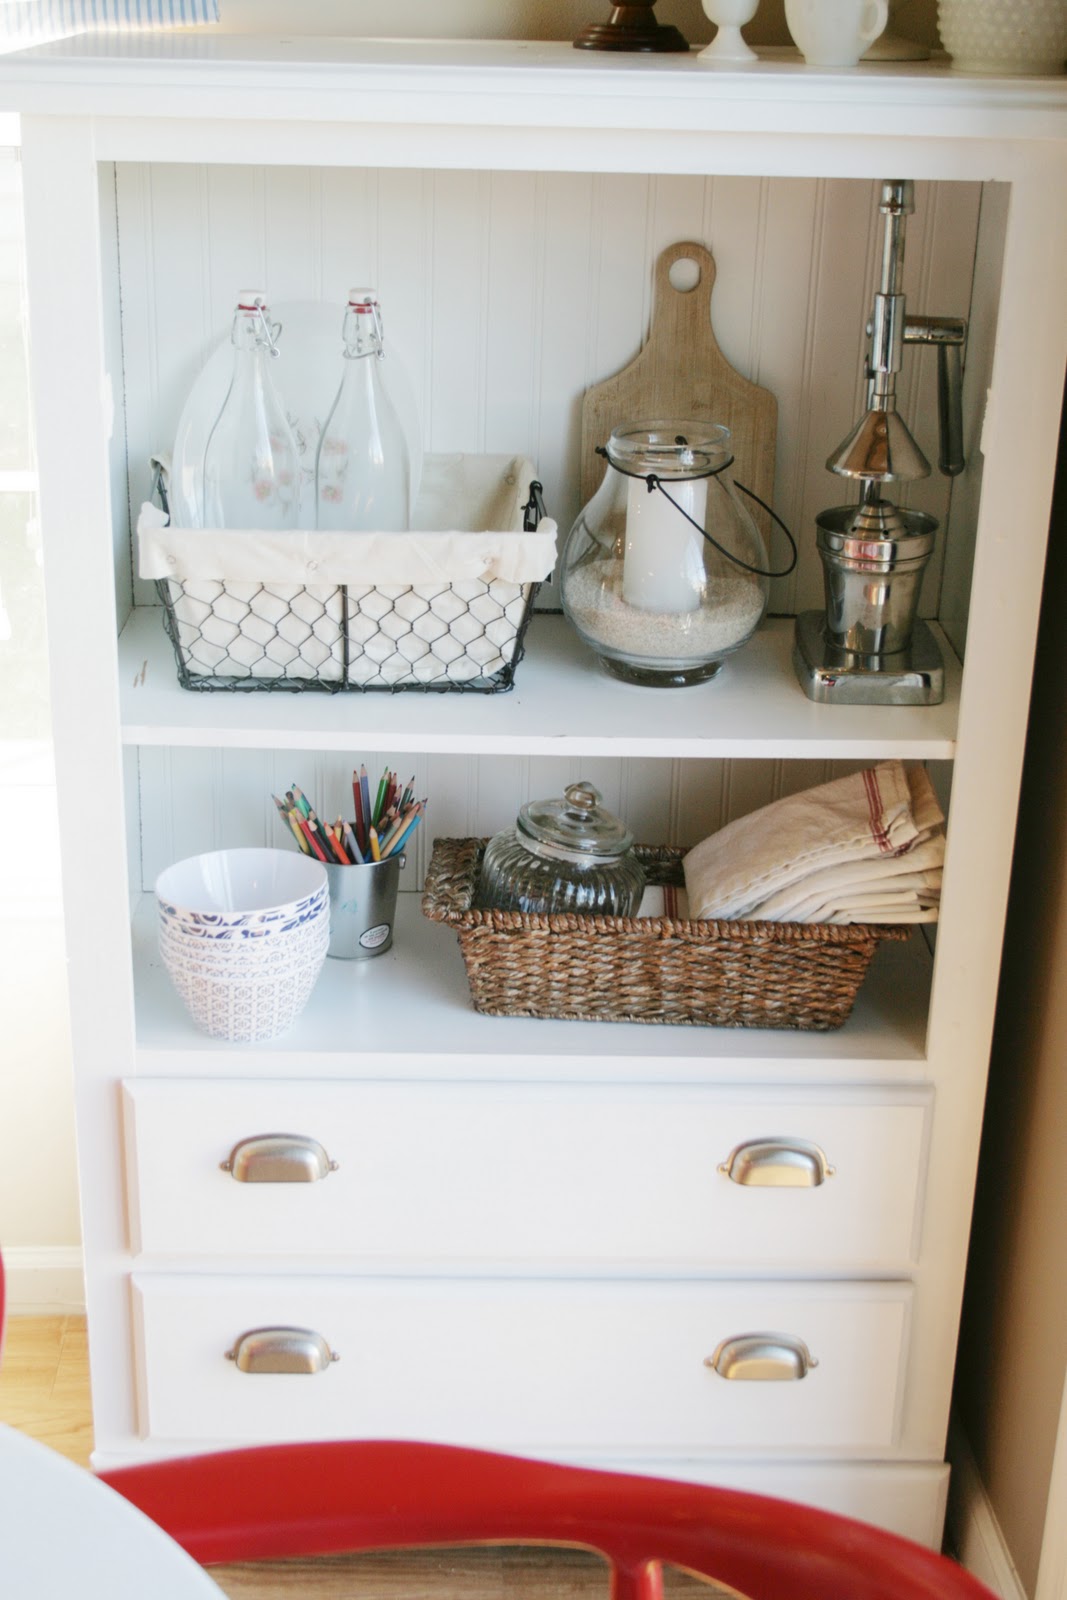
Allow me to reintroduce you to another star of our DIY endeavors: the dresser I rescued from a dumpster and lovingly transformed into a functional armoire. This piece now proudly stands, offering both storage and a touch of reclaimed charm. Its journey from forgotten furniture to a chic storage solution is another chapter in our story of giving discarded items a second life. You can delve deeper into its incredible transformation here.
Creative Window Treatments: A DIY Roman Shade Hack
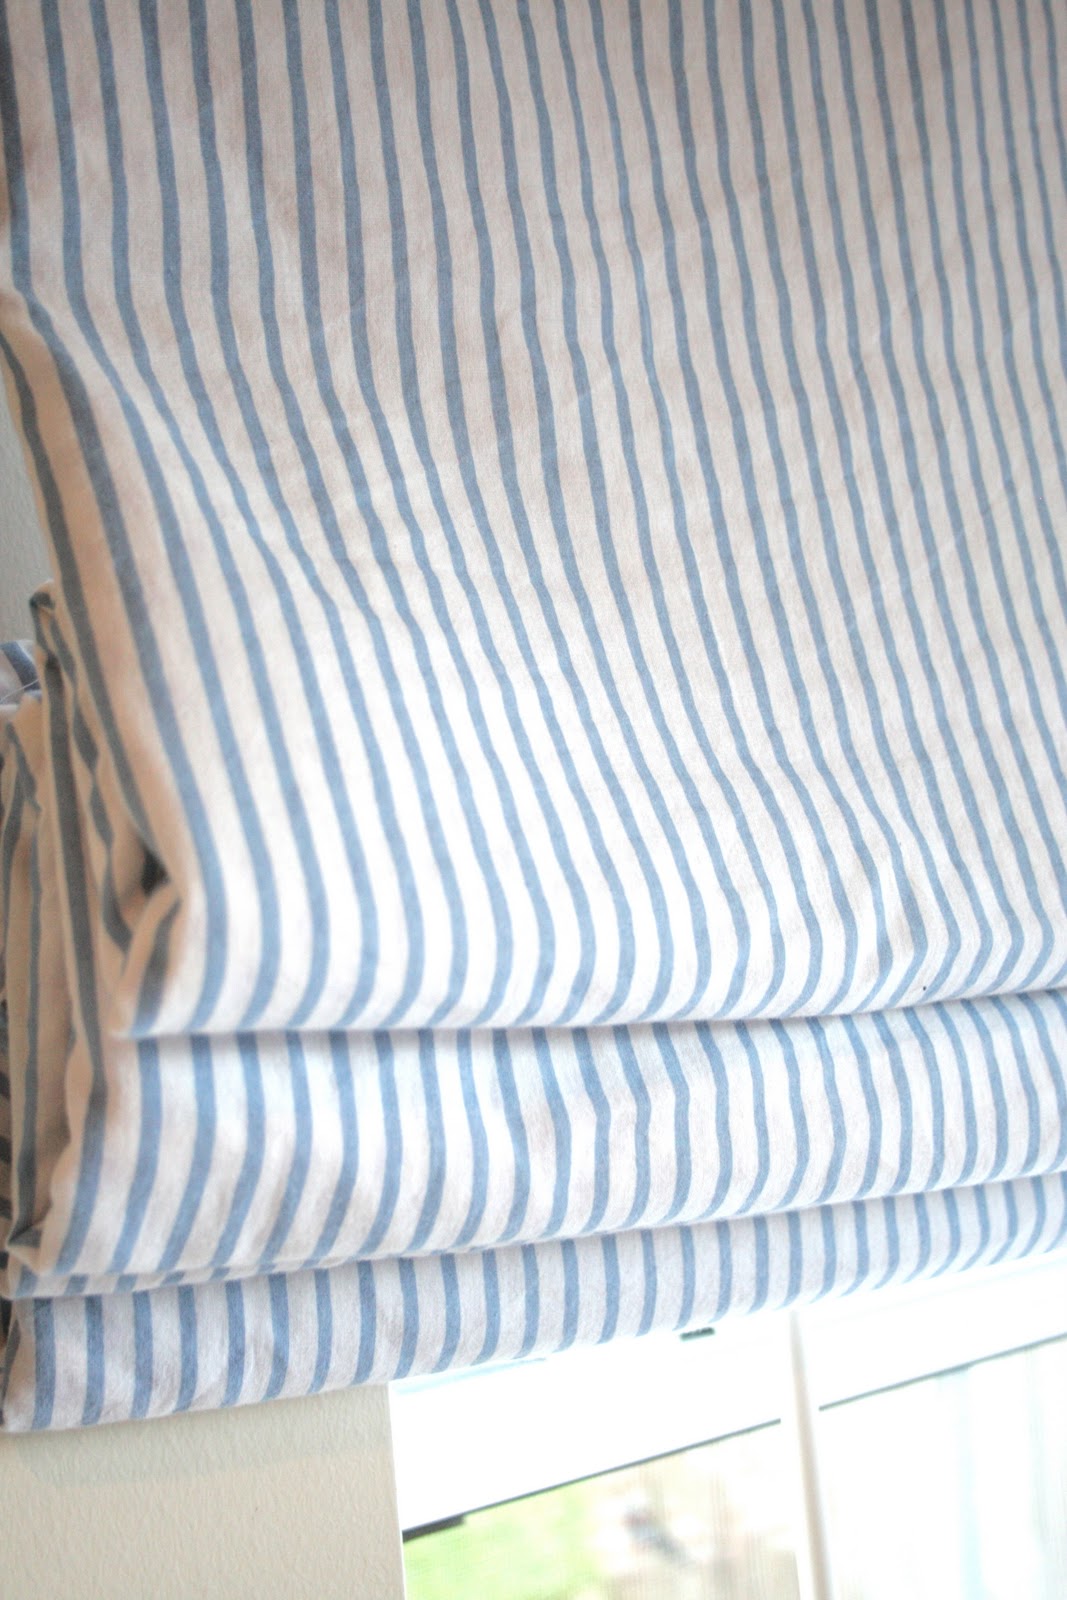
Initially, I had curtains adorning this window, but they just didn’t quite sit right with the evolving aesthetic. So, I embarked on a creative solution: I “jimmy-rigged” a cover for a Roman shade, repurposing one from Maddy’s room for the kitchen. You might get a chuckle out of this, but the fabric I used? It’s from the back of an Ikea duvet cover that had been patiently waiting in my closet! Talk about resourceful, right?
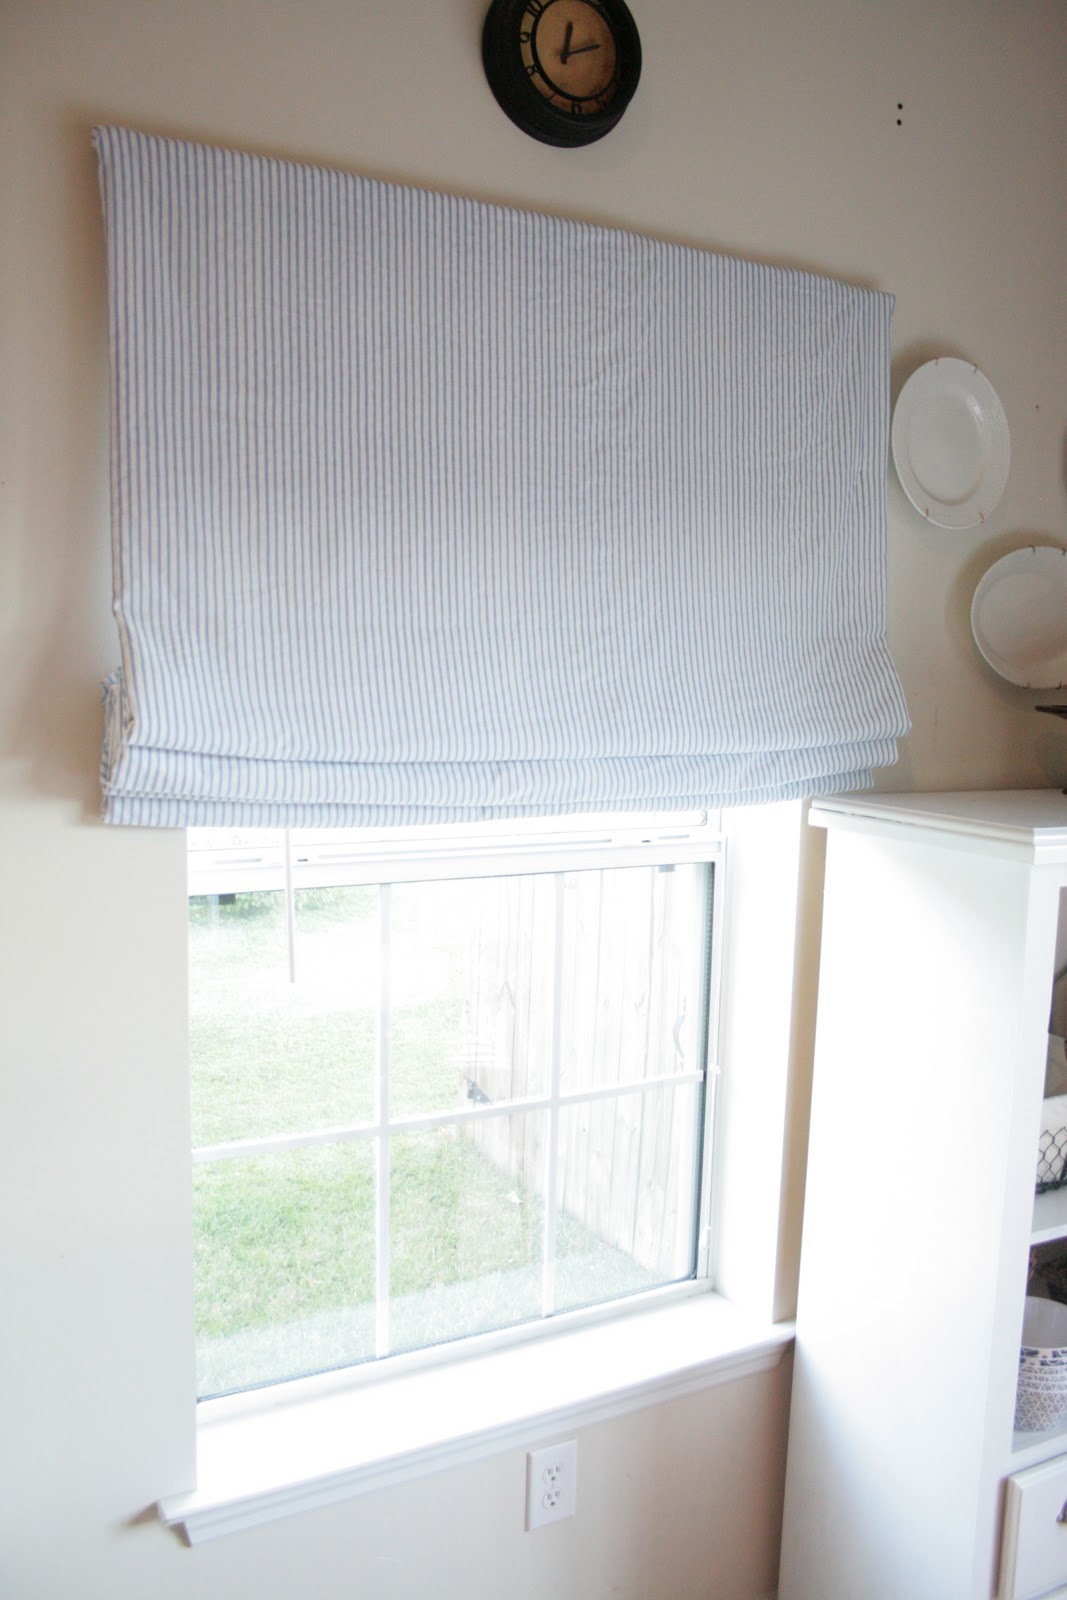
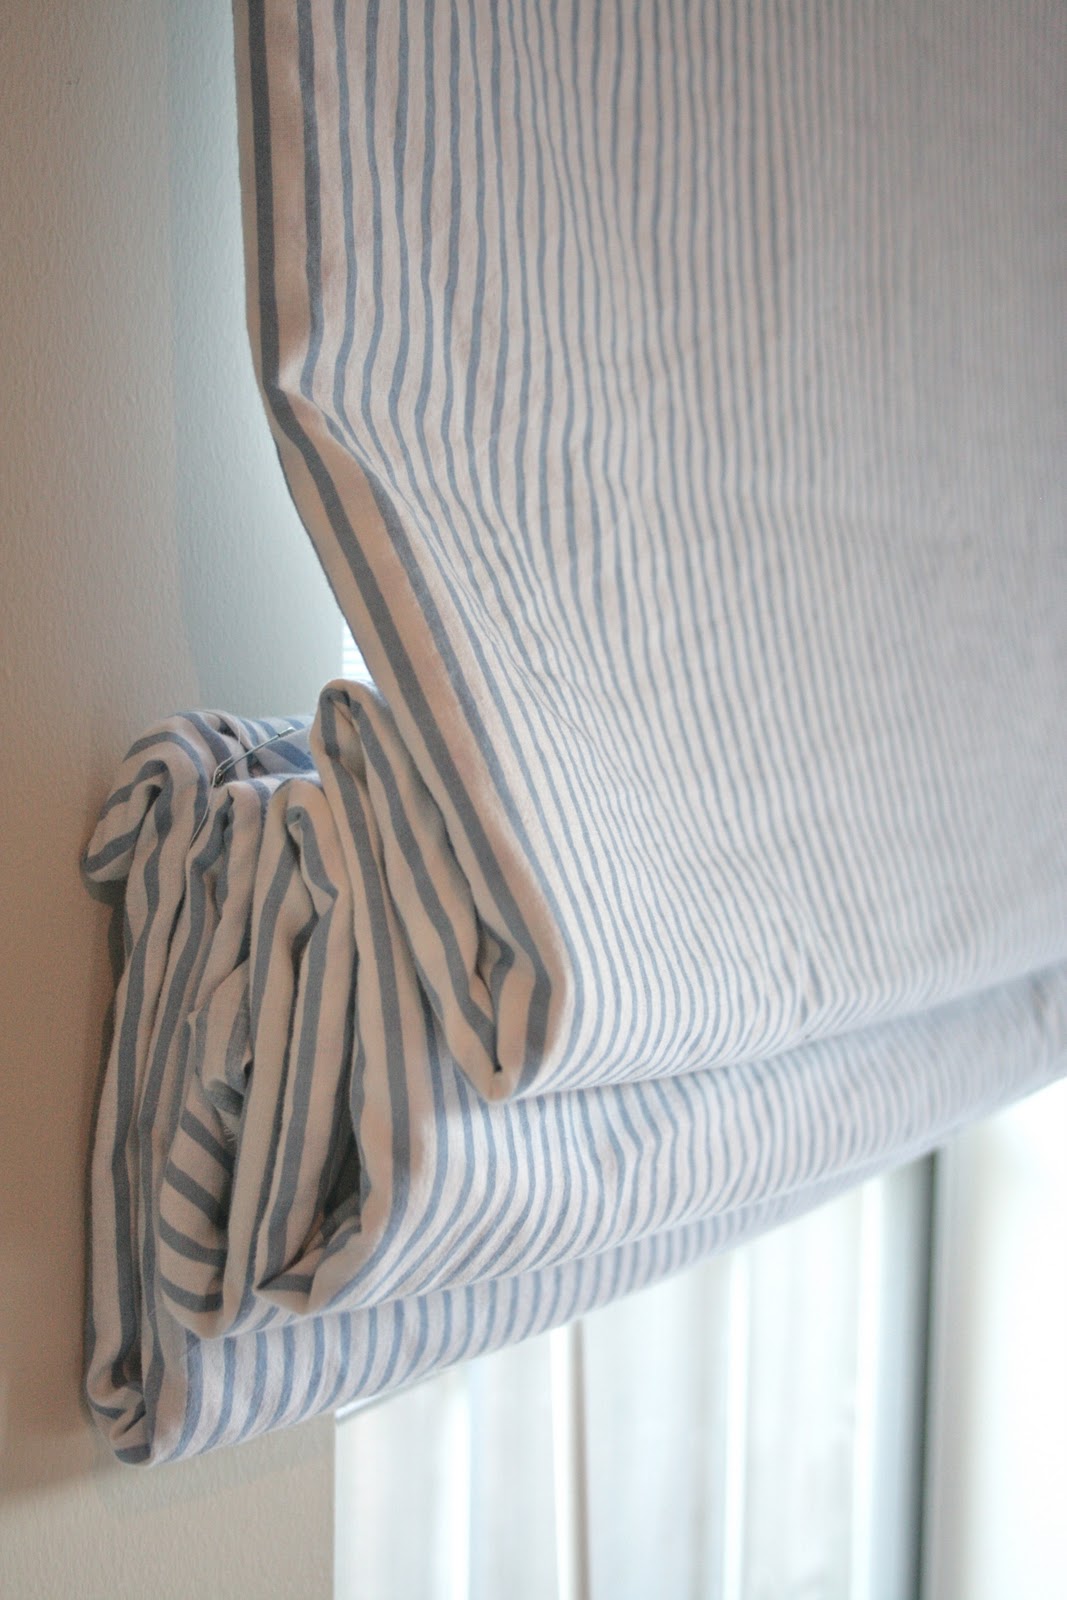
And how did I manage to attach this unique fabric to the shade, you ask? If you peer closely at the next photo, you’ll spot the answer: safety pins! Yes, you read that correctly. I’m not just known for my budget-conscious approach to decor, but also for my knack for finding quick, effective shortcuts. The result, though unconventional in its creation, is truly charming and fits the space beautifully.
Adding Personal Flair: Art and Painted Frames
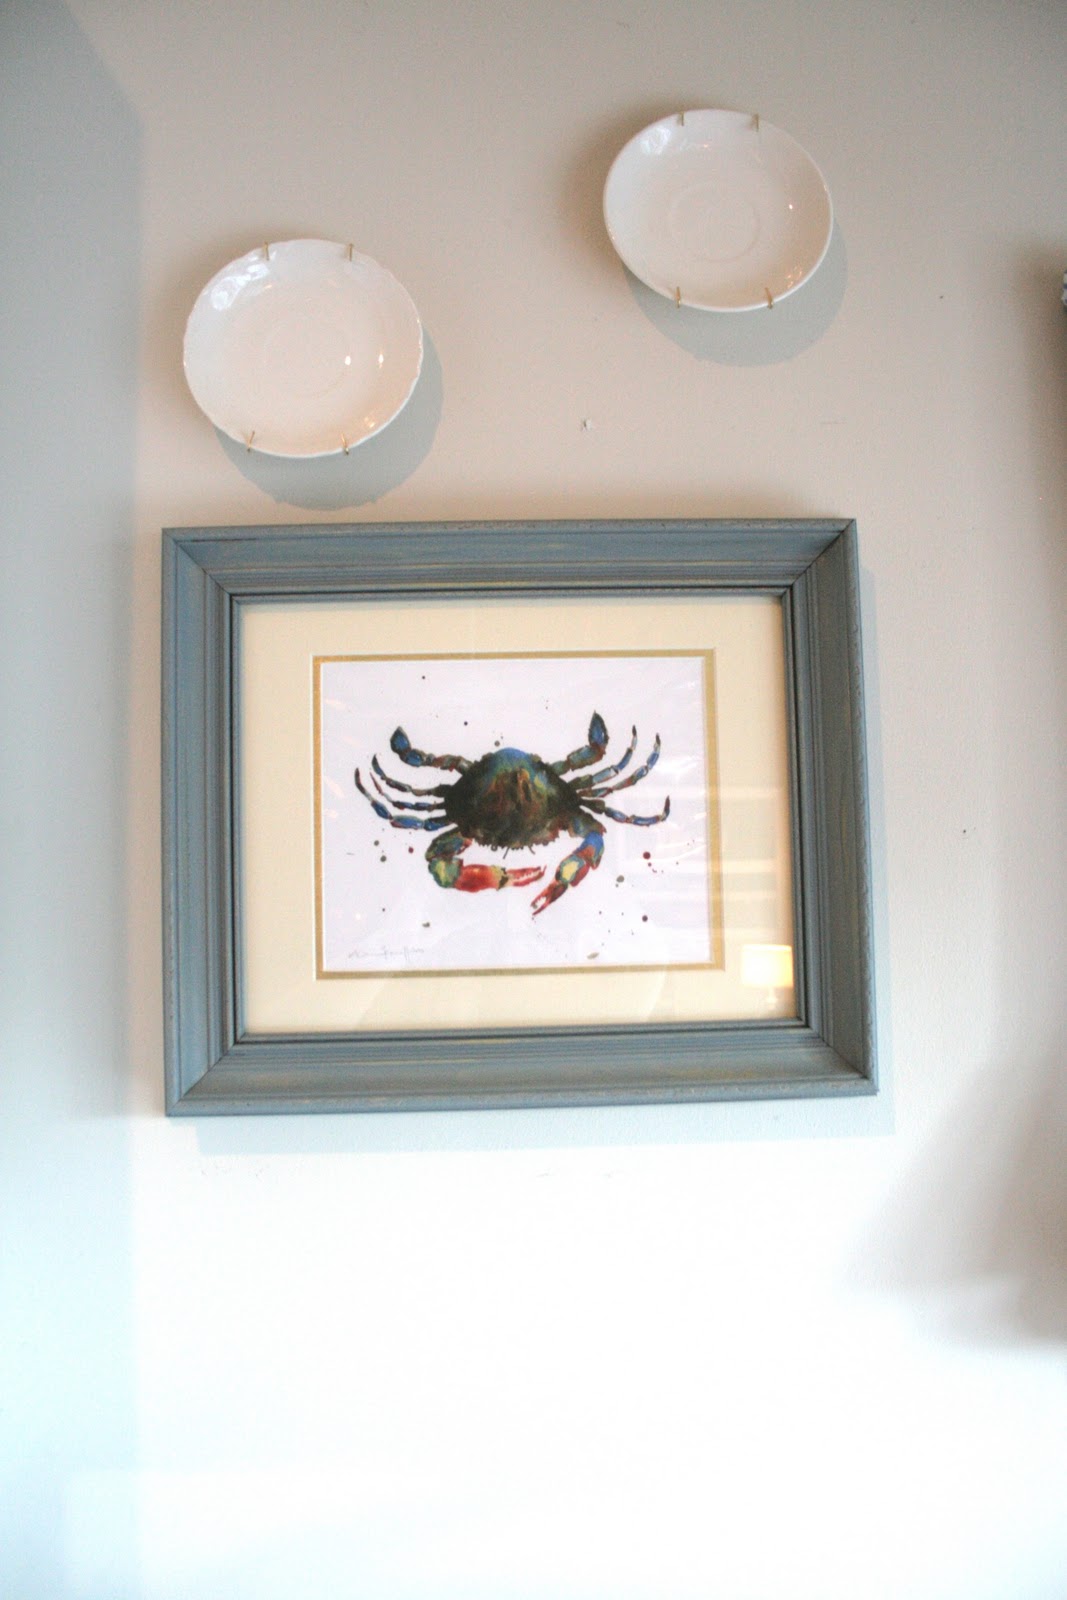
To infuse a touch of whimsical personality, I acquired a charming crab print from Etsy. It instantly brought a smile to my face! To complement it, I dry-brushed a simple gold frame using the very same paint as the lower cabinets, creating a harmonious and custom look. These small details are often what truly make a house feel like a home, reflecting individual tastes and memories.
The Heart of the Home: Our Transformed Cabinets
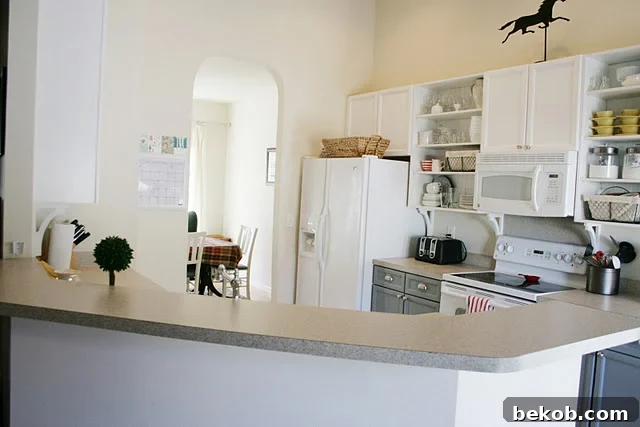
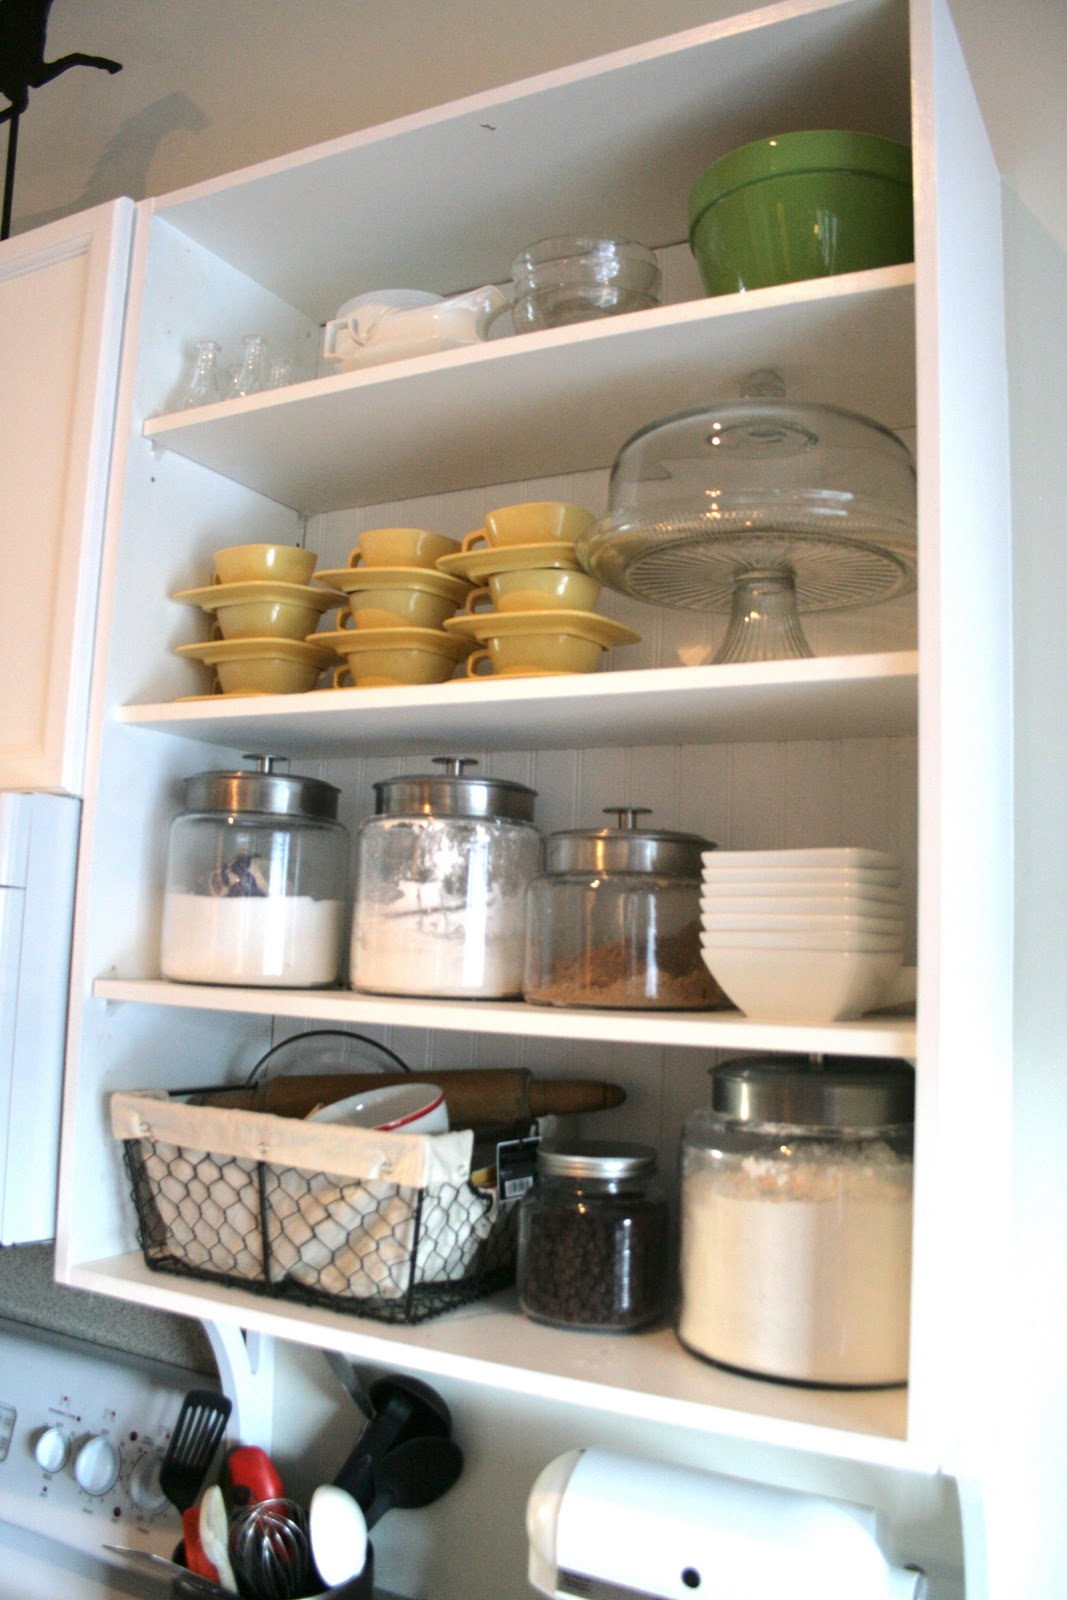
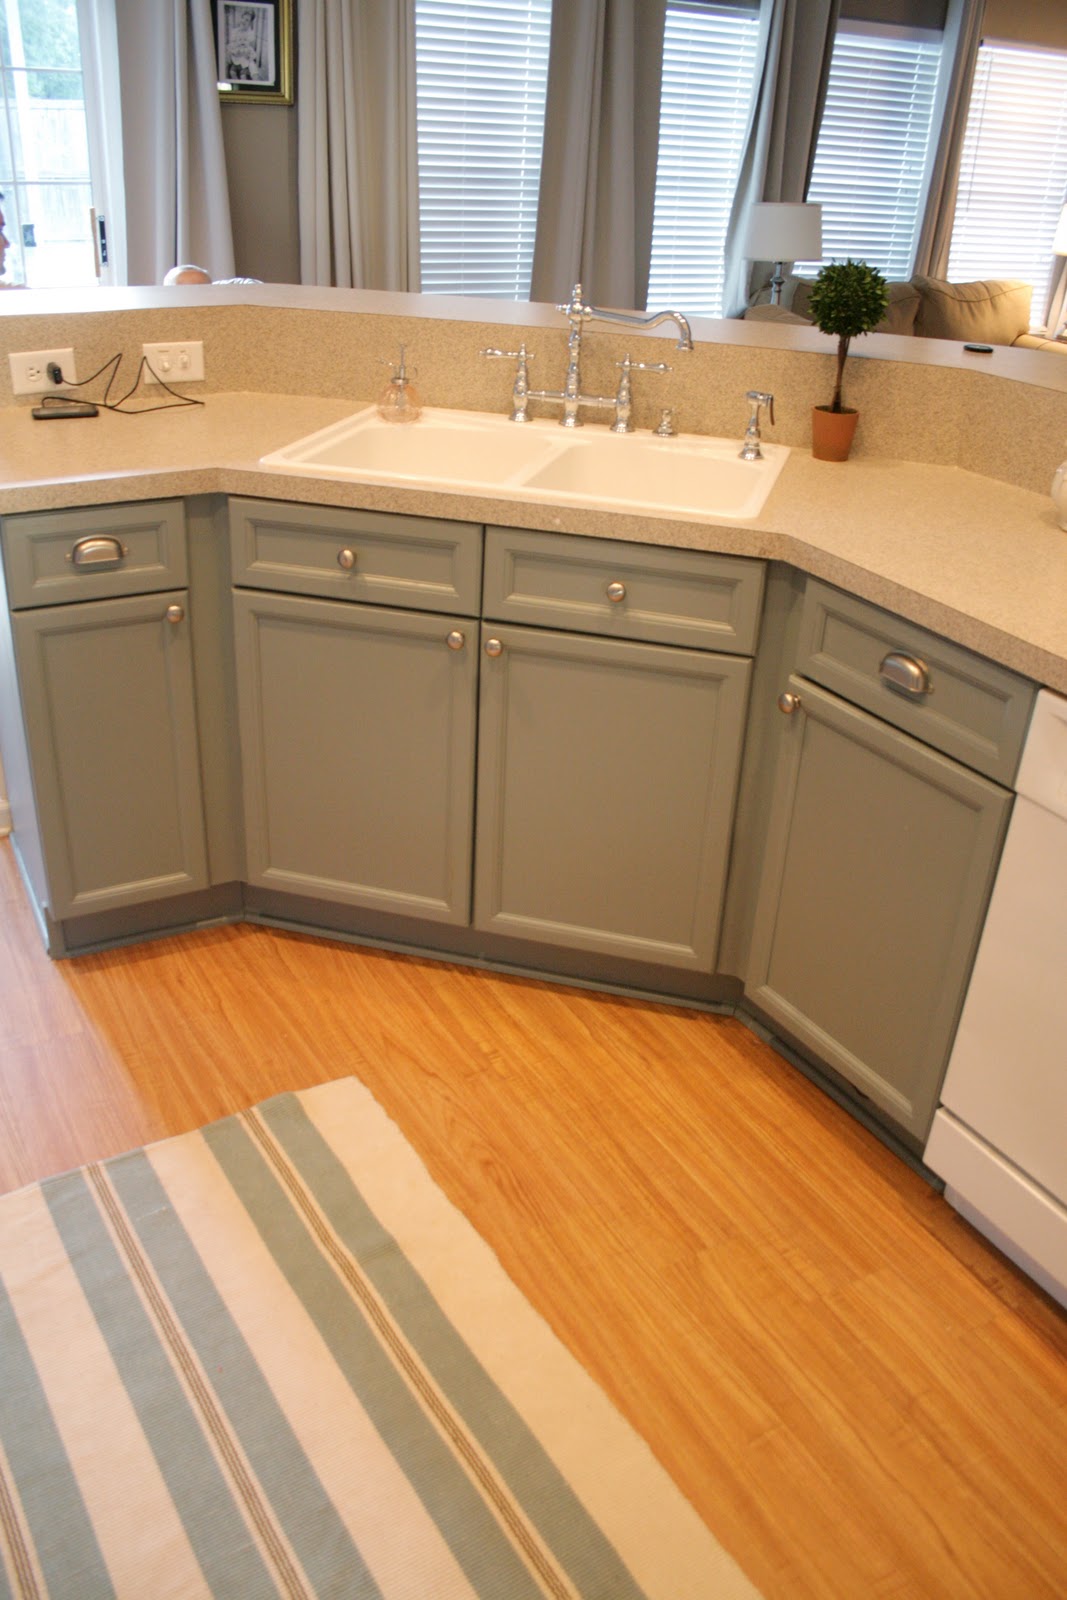
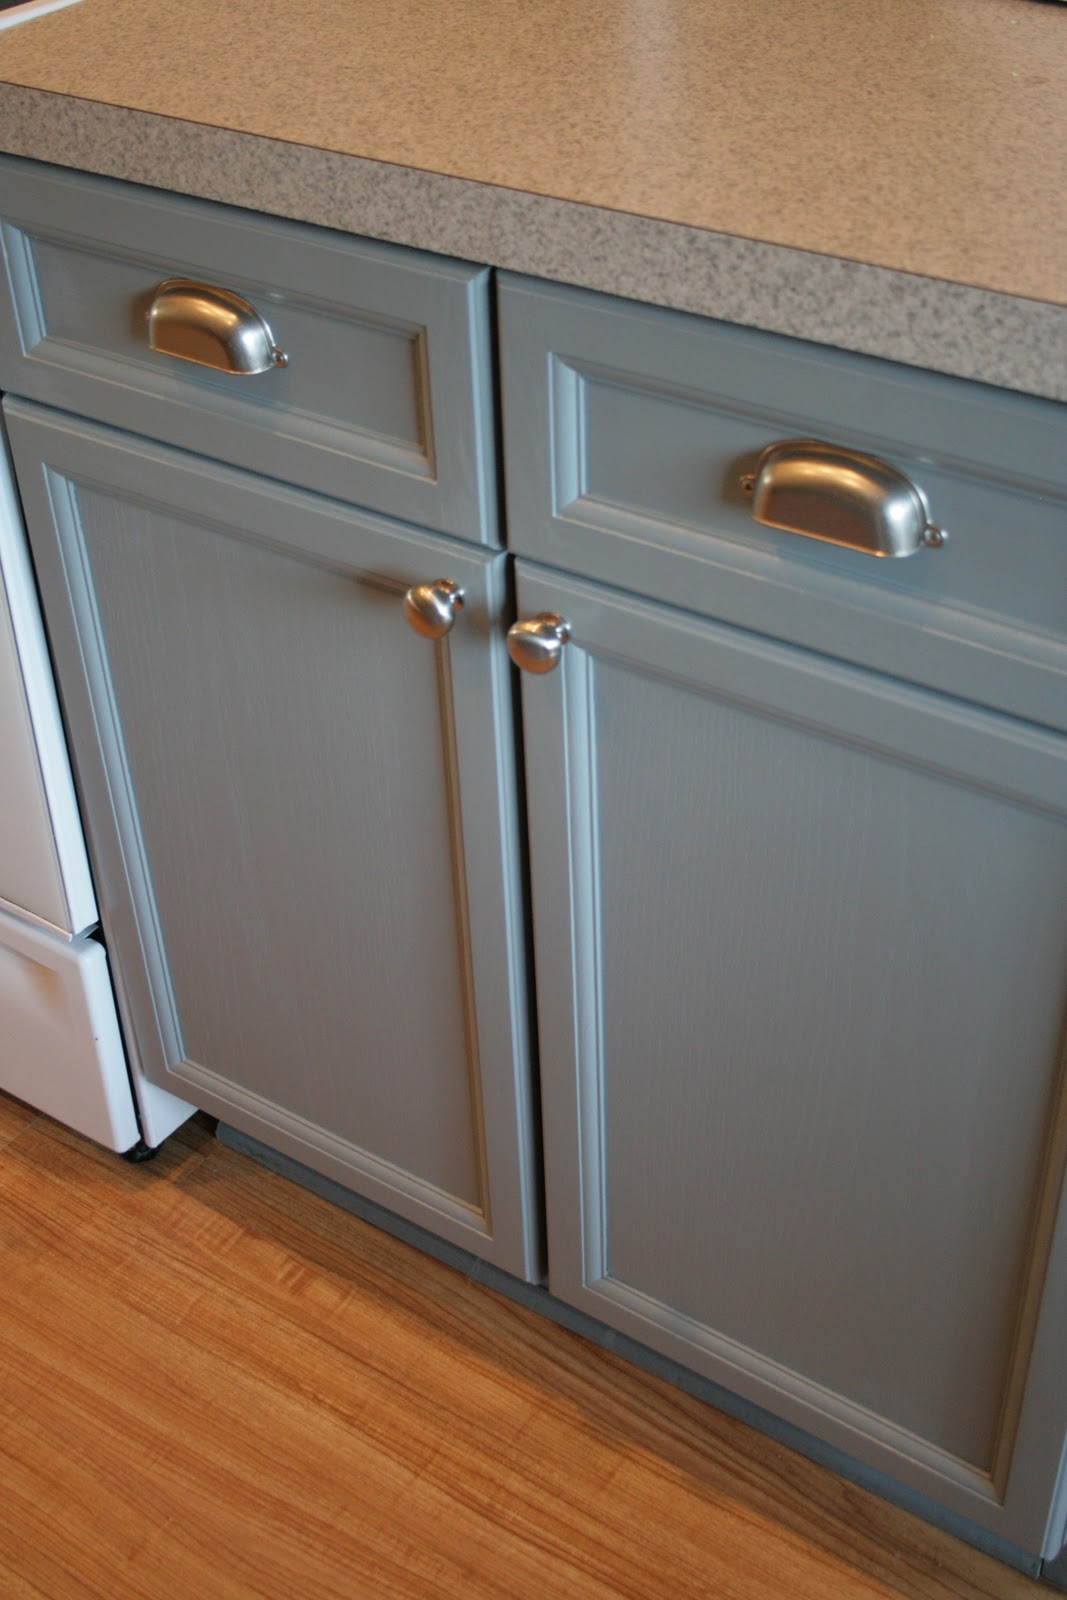
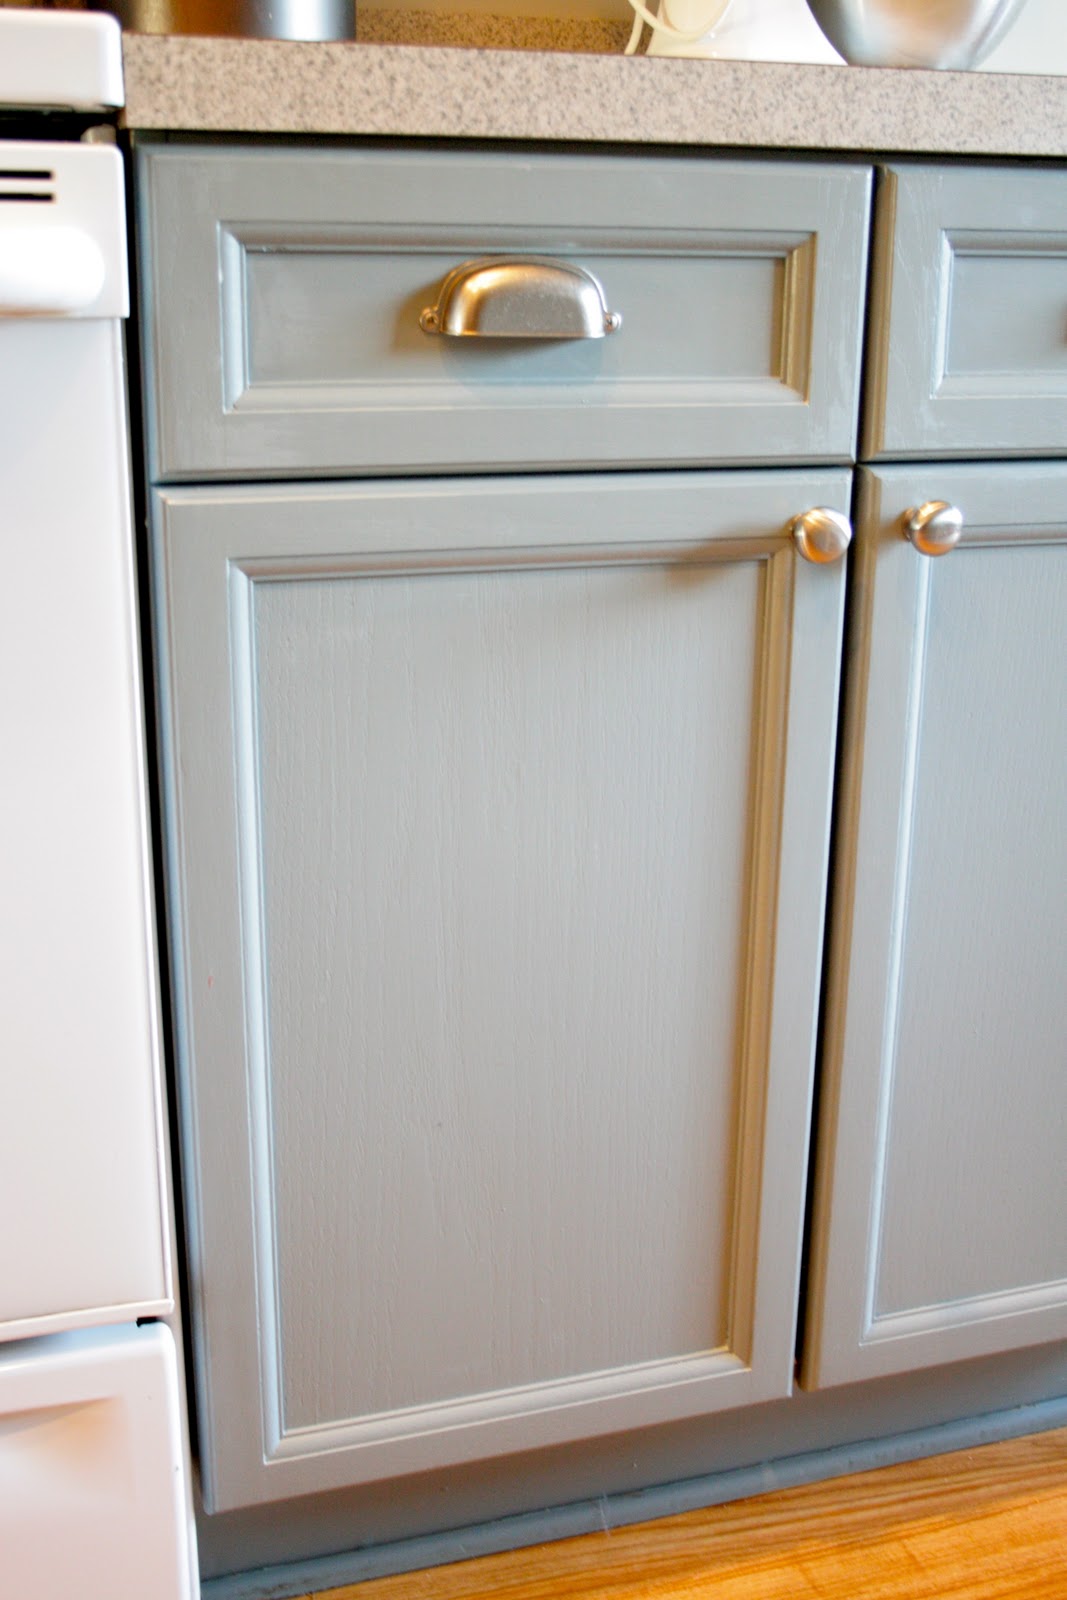
And here they are, the completed cabinets! The true anchors of our kitchen makeover. We opted for a sophisticated blue hue on the lower cabinets, creating a refreshing contrast with the upper open shelving. To further enhance their character and visual interest, I took on the task of adding beadboard to the back of the cabinets. Yes, it made the project a little more intricate, but I’ve always found joy in adding thoughtful complexities to my DIY adventures!
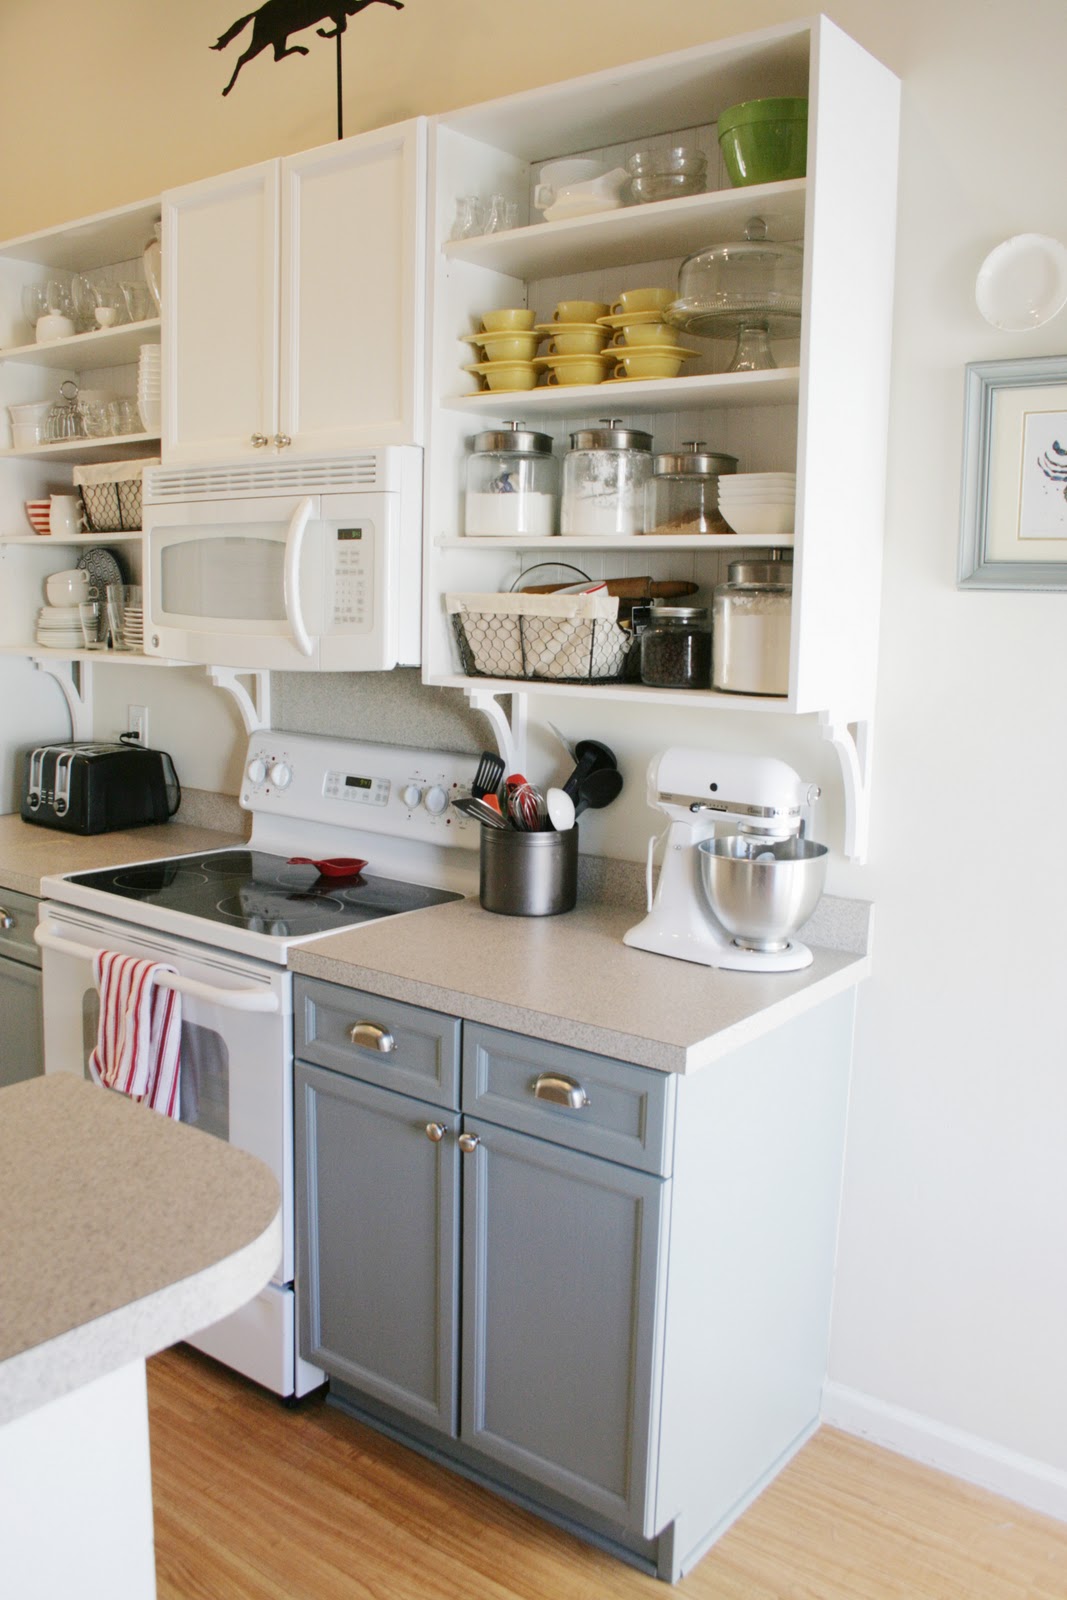
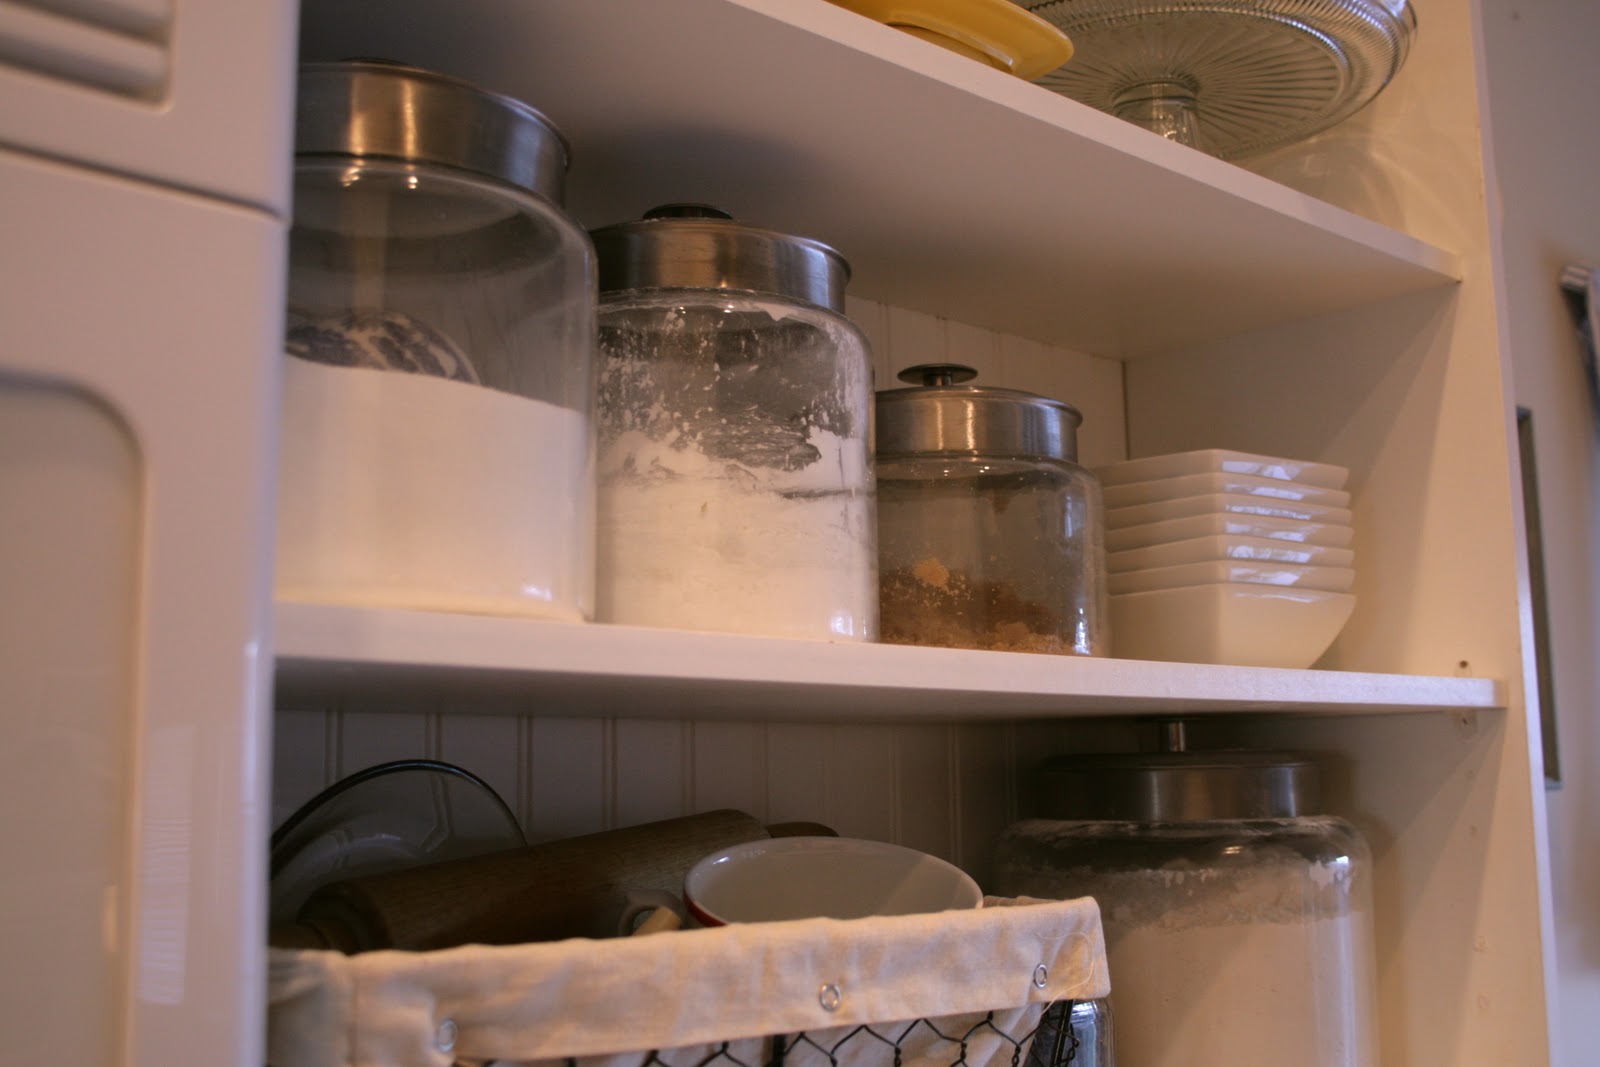
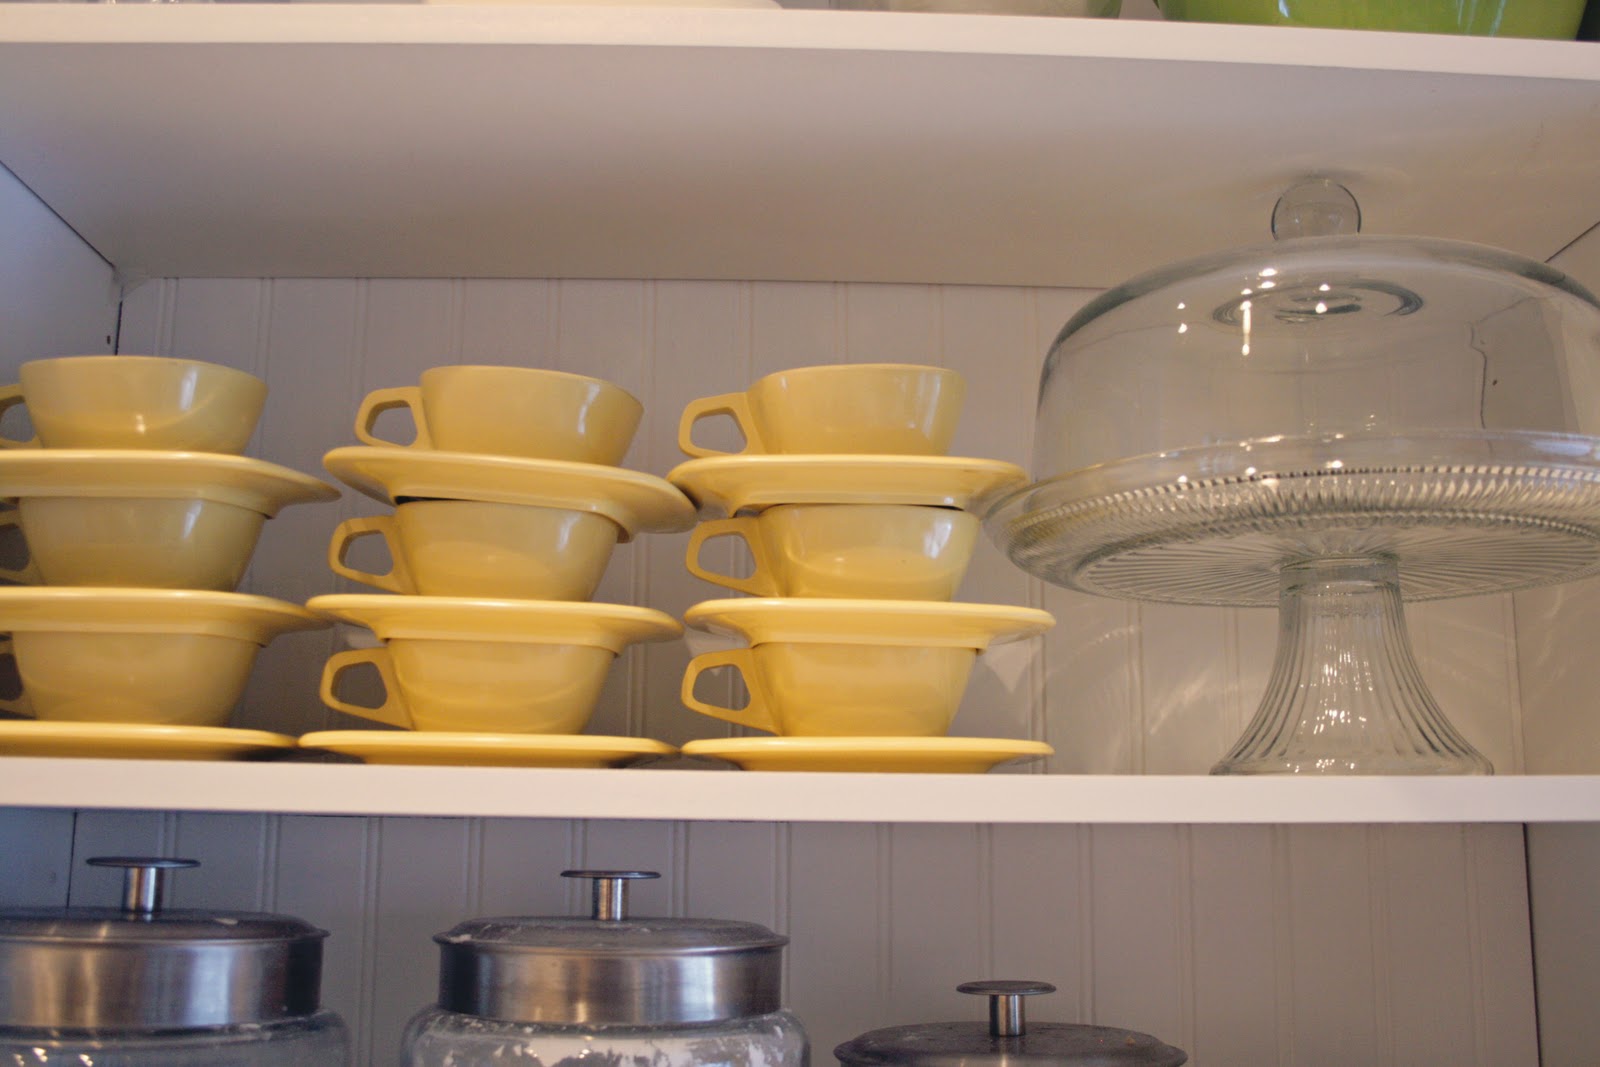
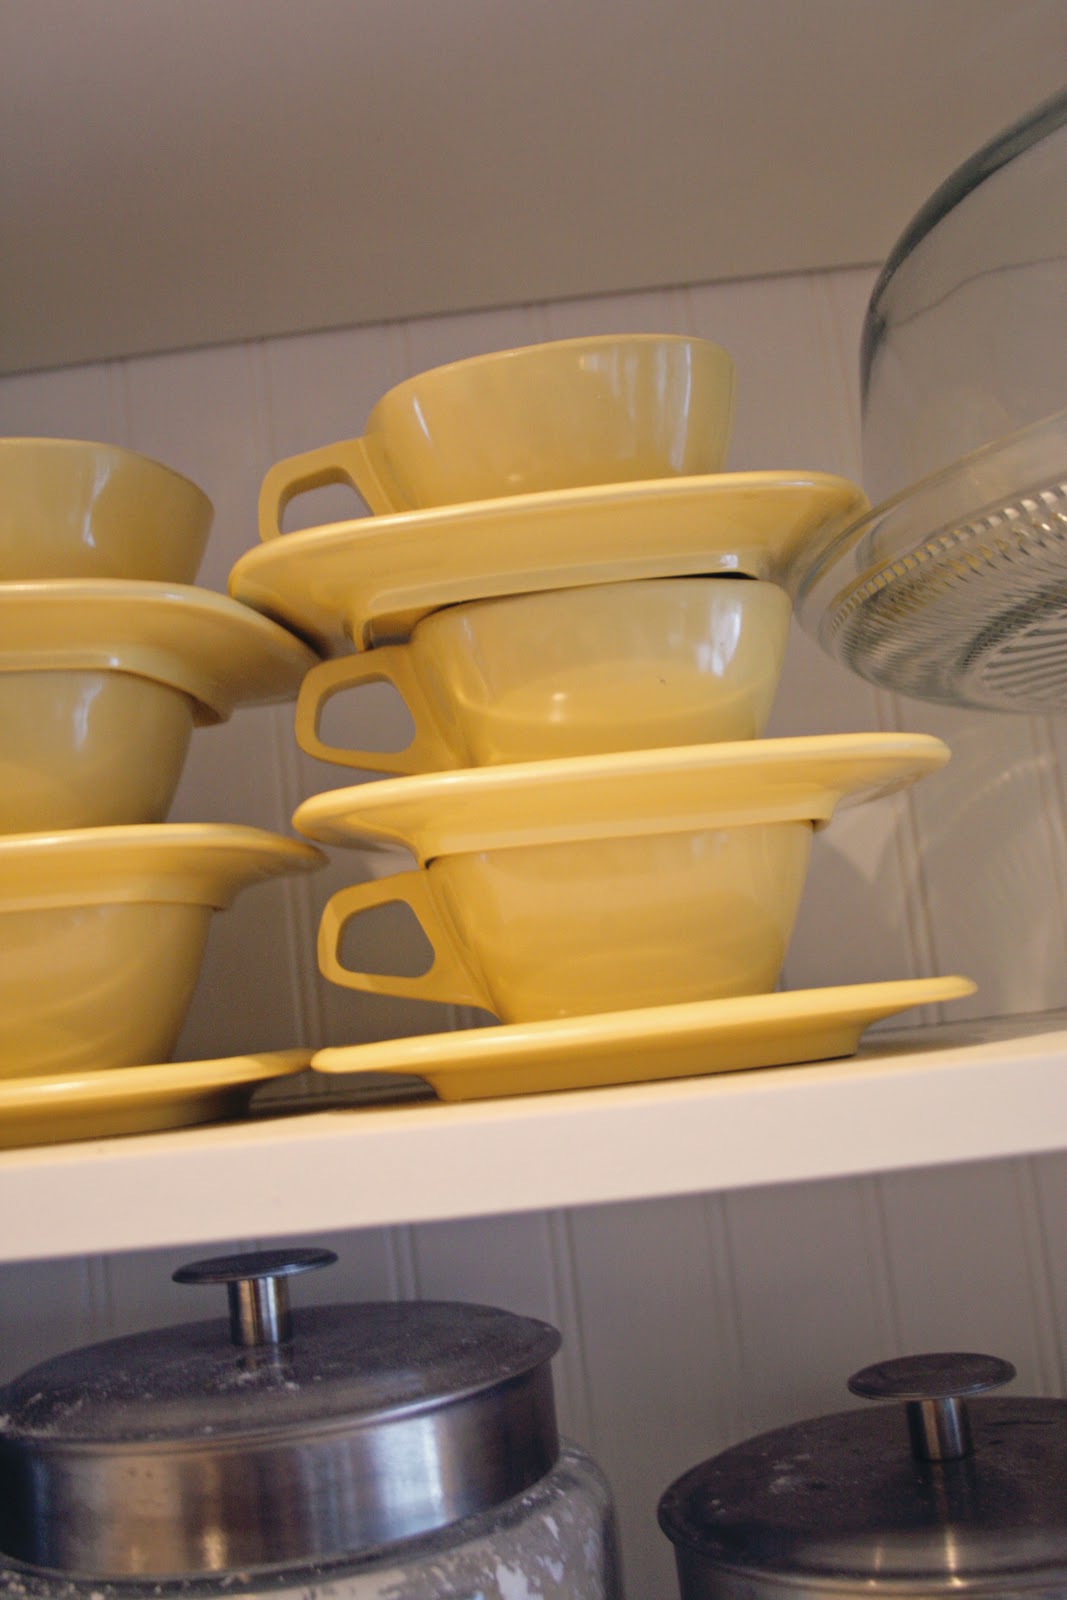
Styling the open shelves was a labor of love, requiring numerous adjustments and a few “consultations” via text with my mom and sister. We finally landed on an arrangement that I absolutely adore. Every item you see serves a purpose, from the everyday essentials to the charming decorative pieces. While the yellow teacups might see less frequent use than, say, the coffee mugs, they all contribute to a display that is both practical and aesthetically pleasing.
 |
Perched atop the cabinets is our homemade horse weathervane, crafted from foam core board and a simple dowel. This piece was inspired by a clever blog tutorial, which itself was a nod to Ballard Designs. I wanted a singular statement piece for this prominent spot, avoiding the clutter of numerous tchotchkes. While I appreciate others’ styling choices, I’ve personally struggled to make multiple decor items on top of cabinets look cohesive. This weathervane perfectly fills the space with elegant simplicity.
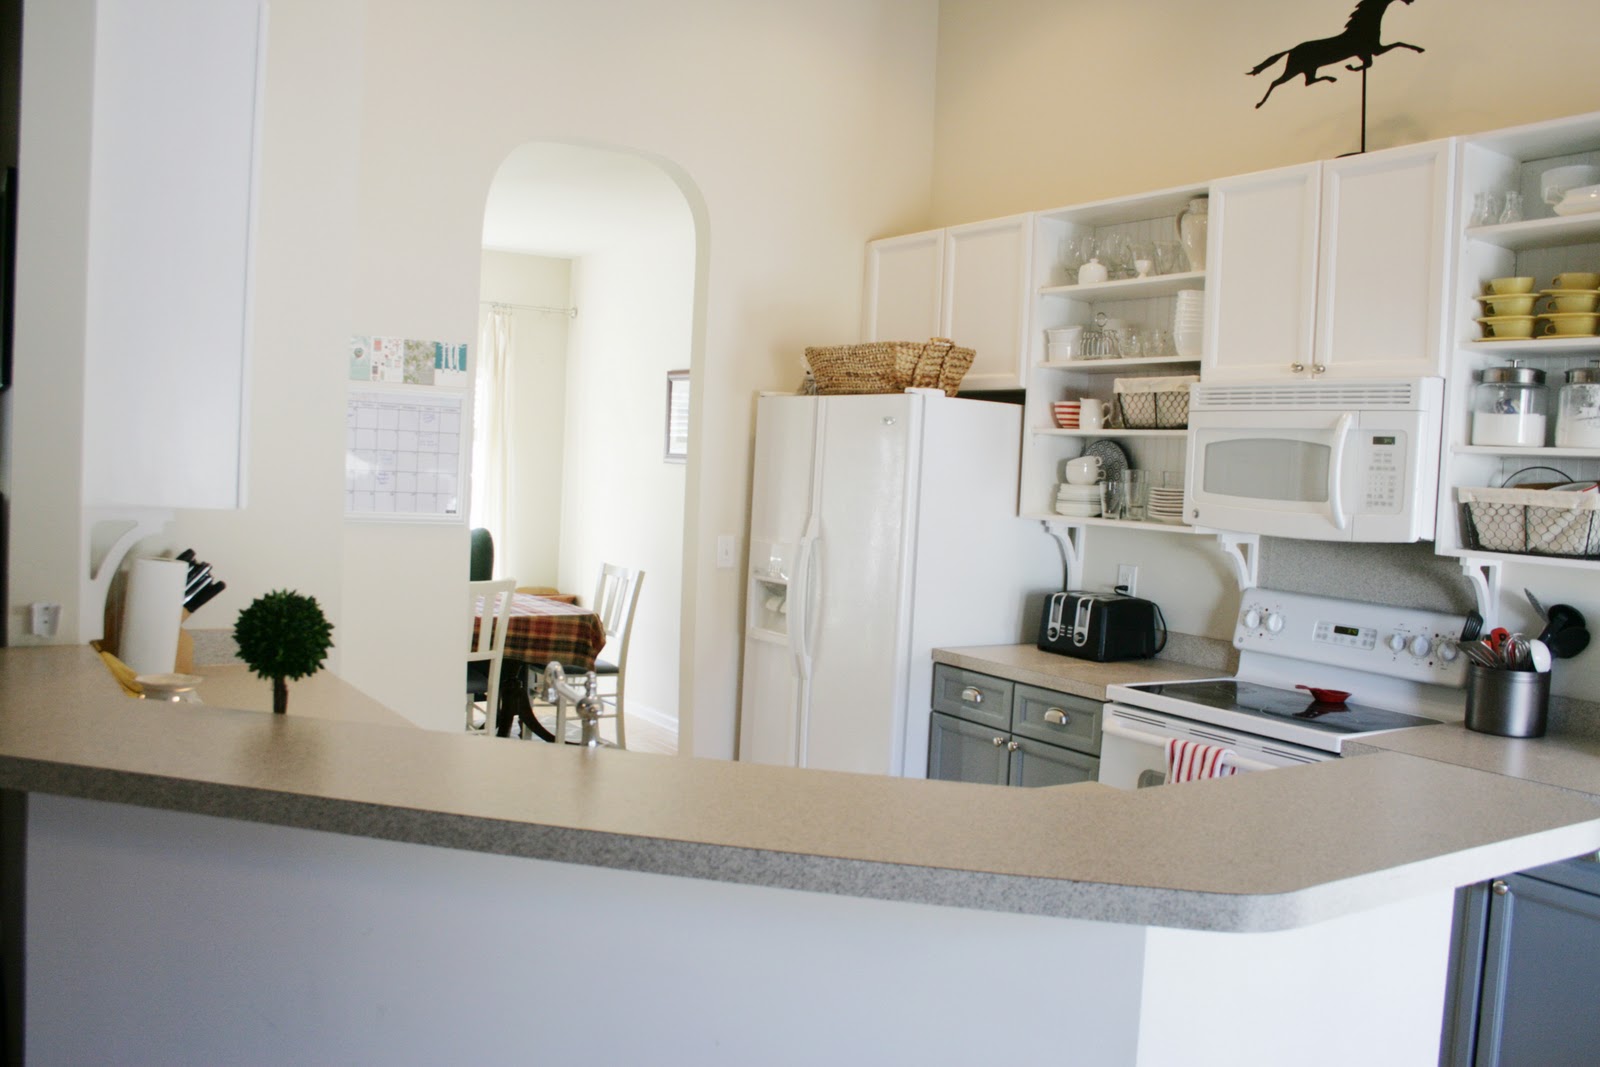
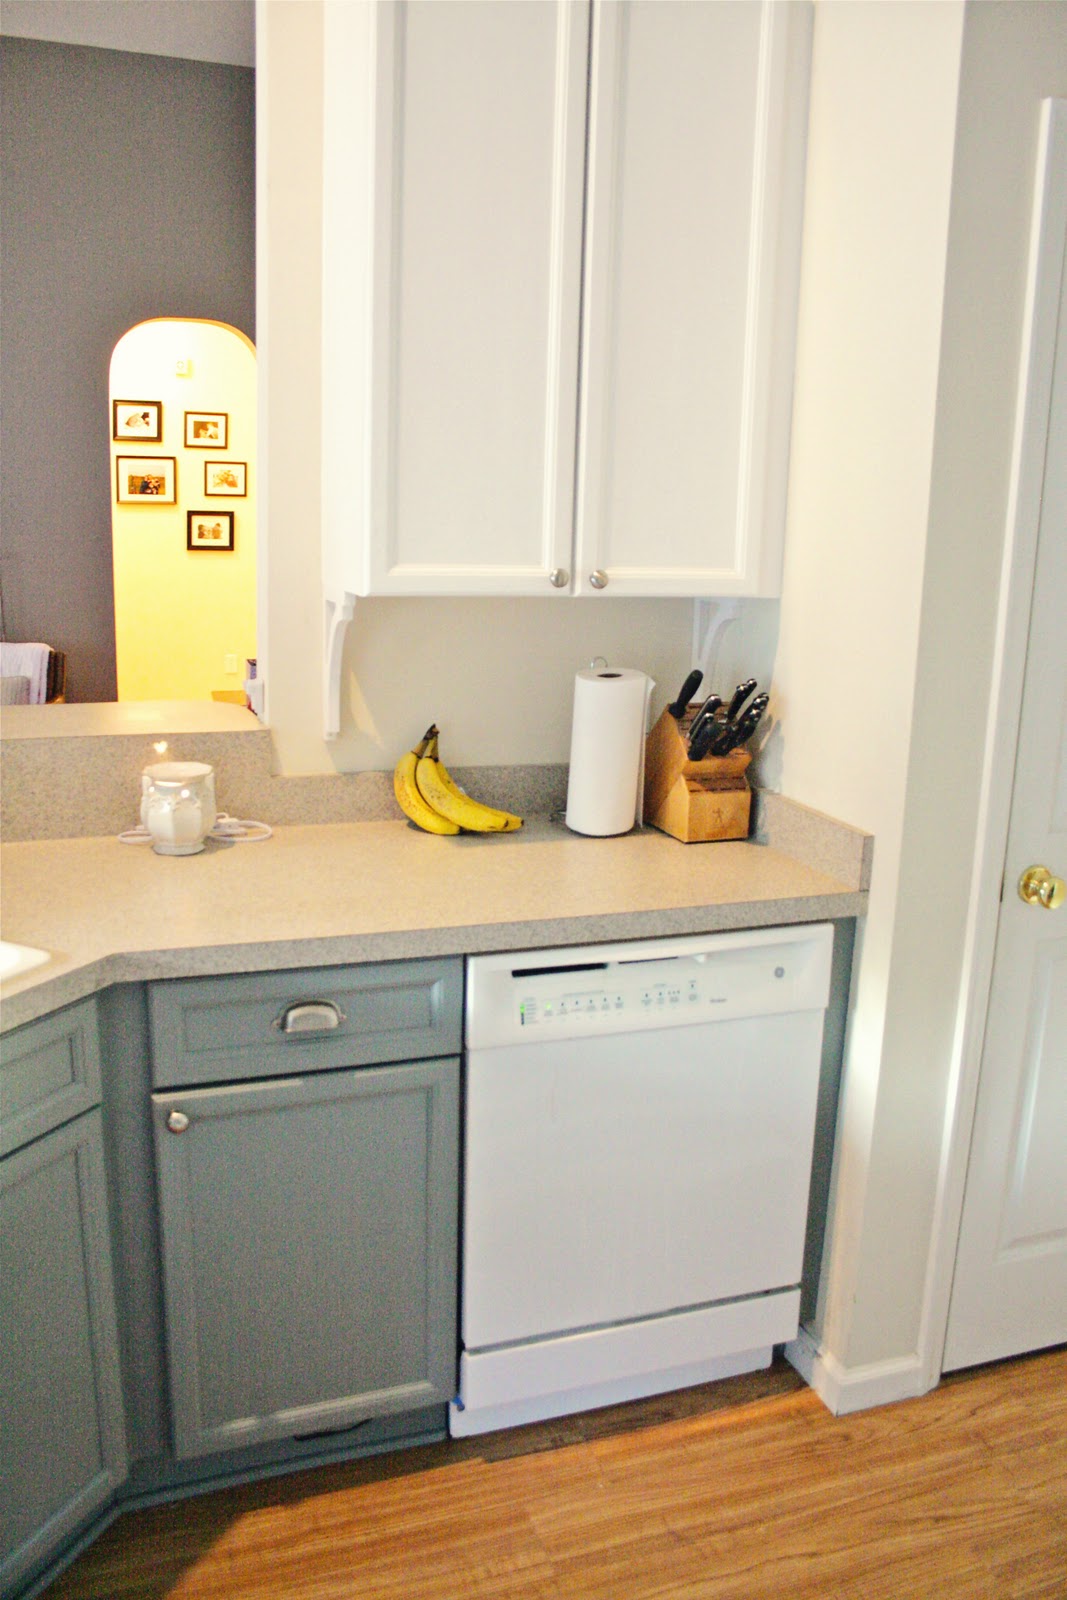
Observe how beautifully our floors contrast with the soothing blue of the cabinets – a pairing that brings warmth and depth to the room. I also installed subtle corbels beneath the upper cabinets. I intentionally chose a smaller size to ensure they wouldn’t intrude on the precious usable counter space below, maintaining both form and function.
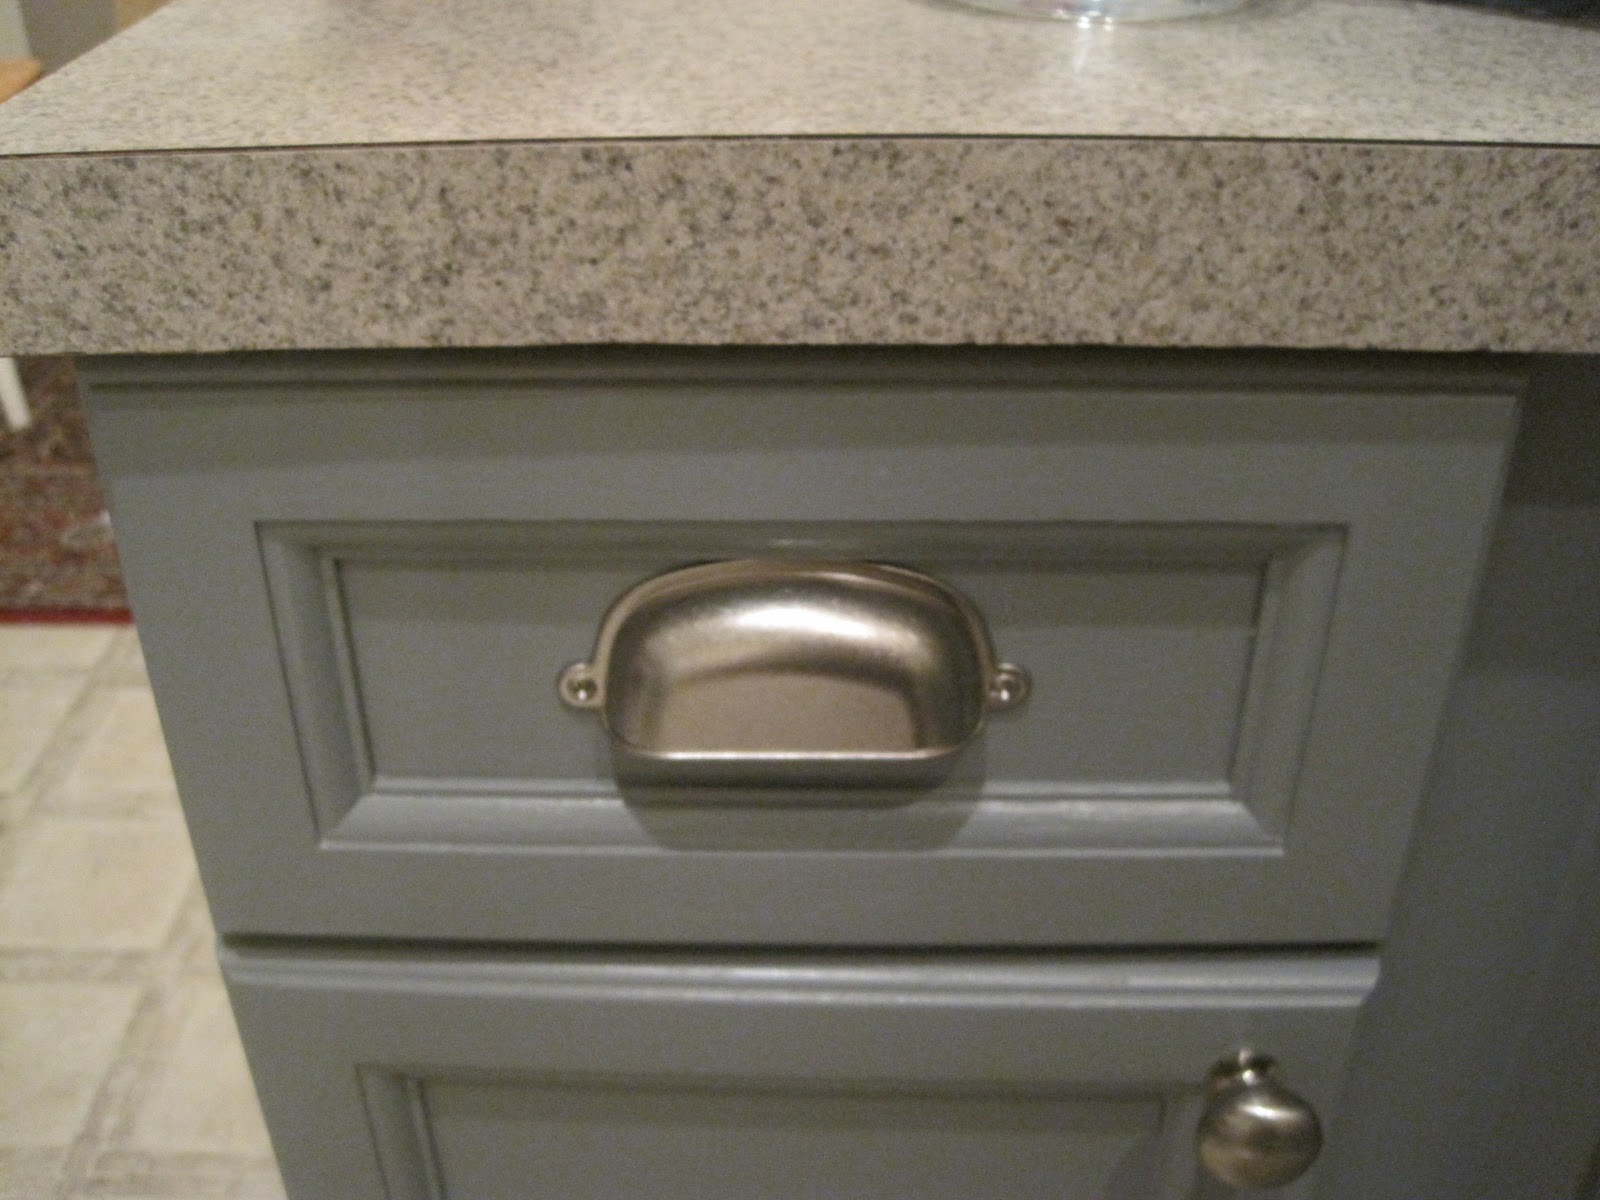
Hardware & Fixtures: Finishing Touches That Matter
To truly modernize the cabinetry, I replaced the old hardware with elegant bin pulls from Home Depot’s Martha Stewart line. These pulls were surprisingly affordable, and I absolutely adore the polished, custom look they impart. They prove that you don’t need to break the bank to achieve a high-end feel.
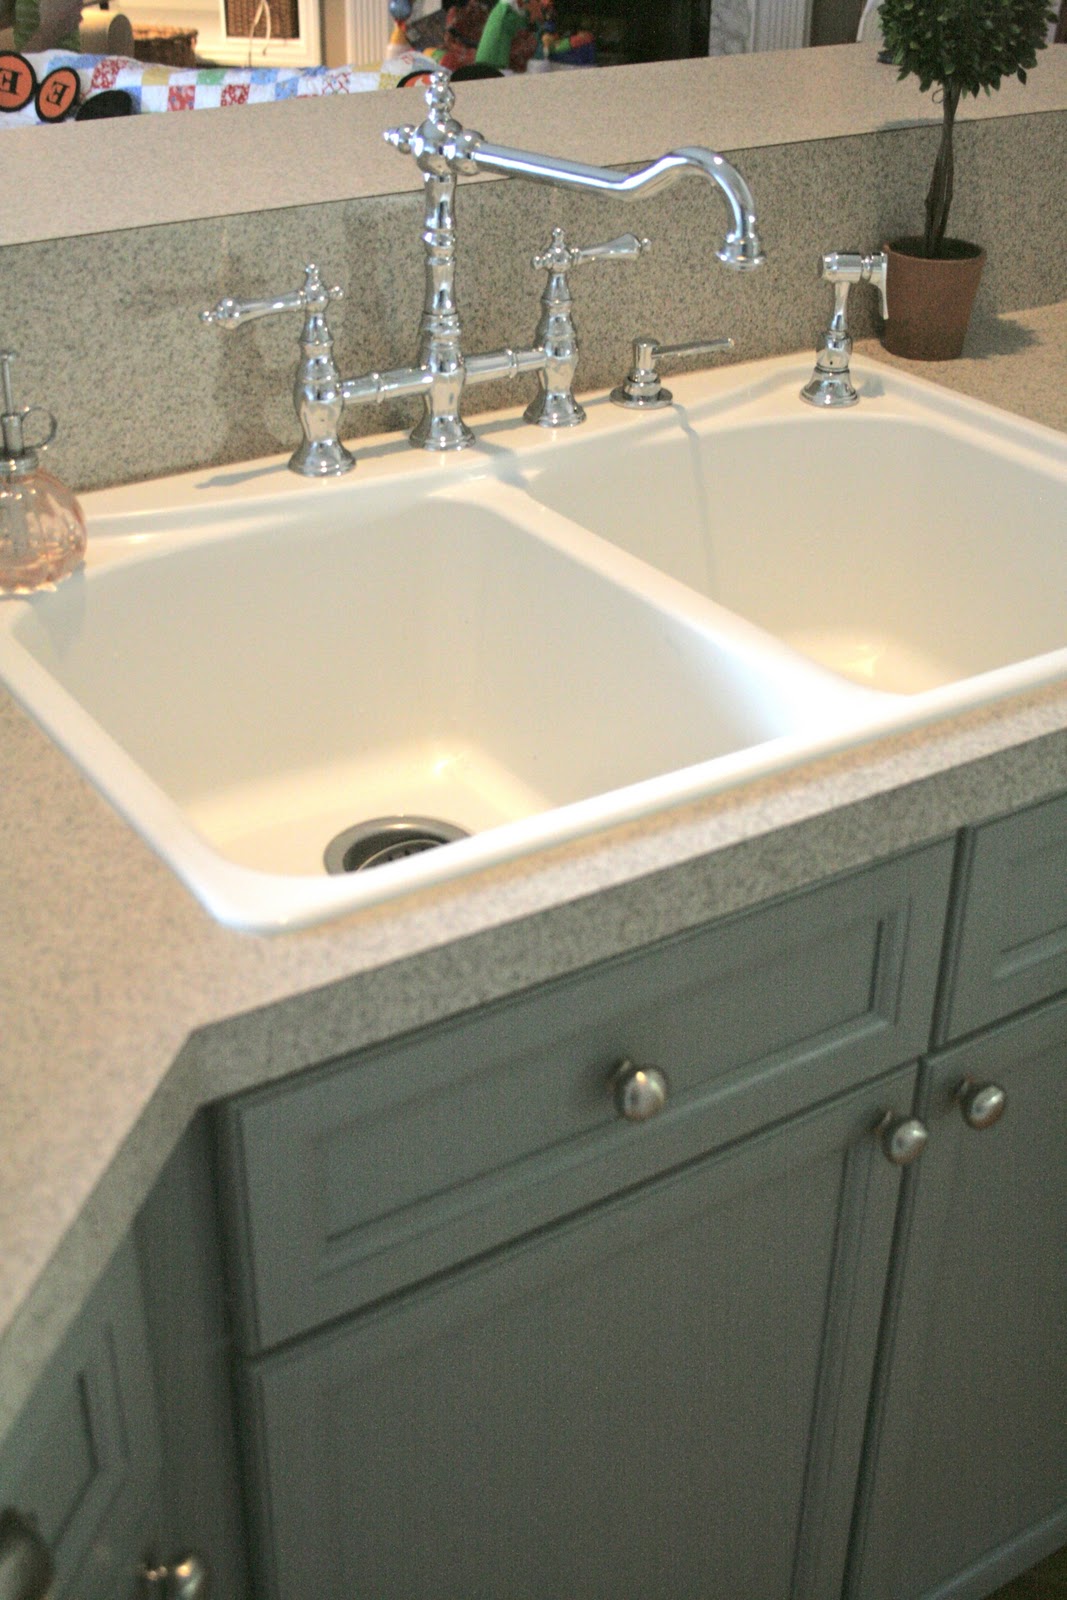
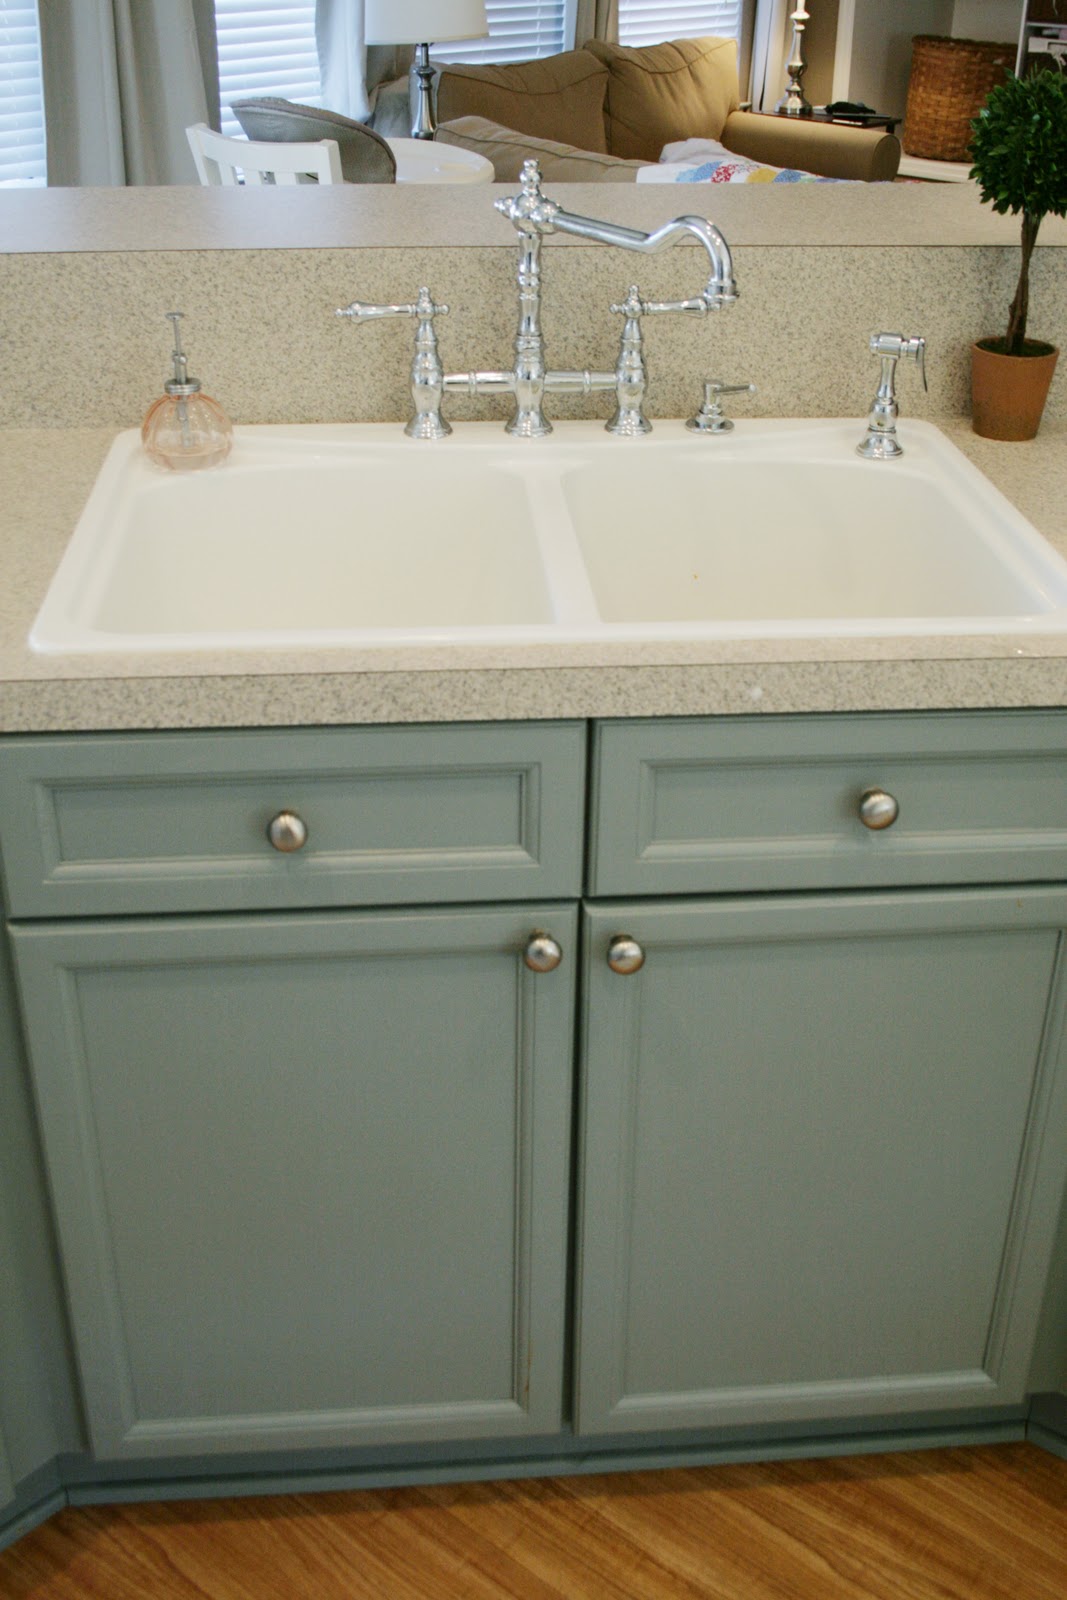
And then there’s her – the love of my life (after family, of course!) – our magnificent new faucet. She truly completes the kitchen, adding an air of effortless sophistication rather than a sense of “trying too hard.” This faucet makes everything look intentional and thoughtfully curated, an essential element in pulling the whole design together.
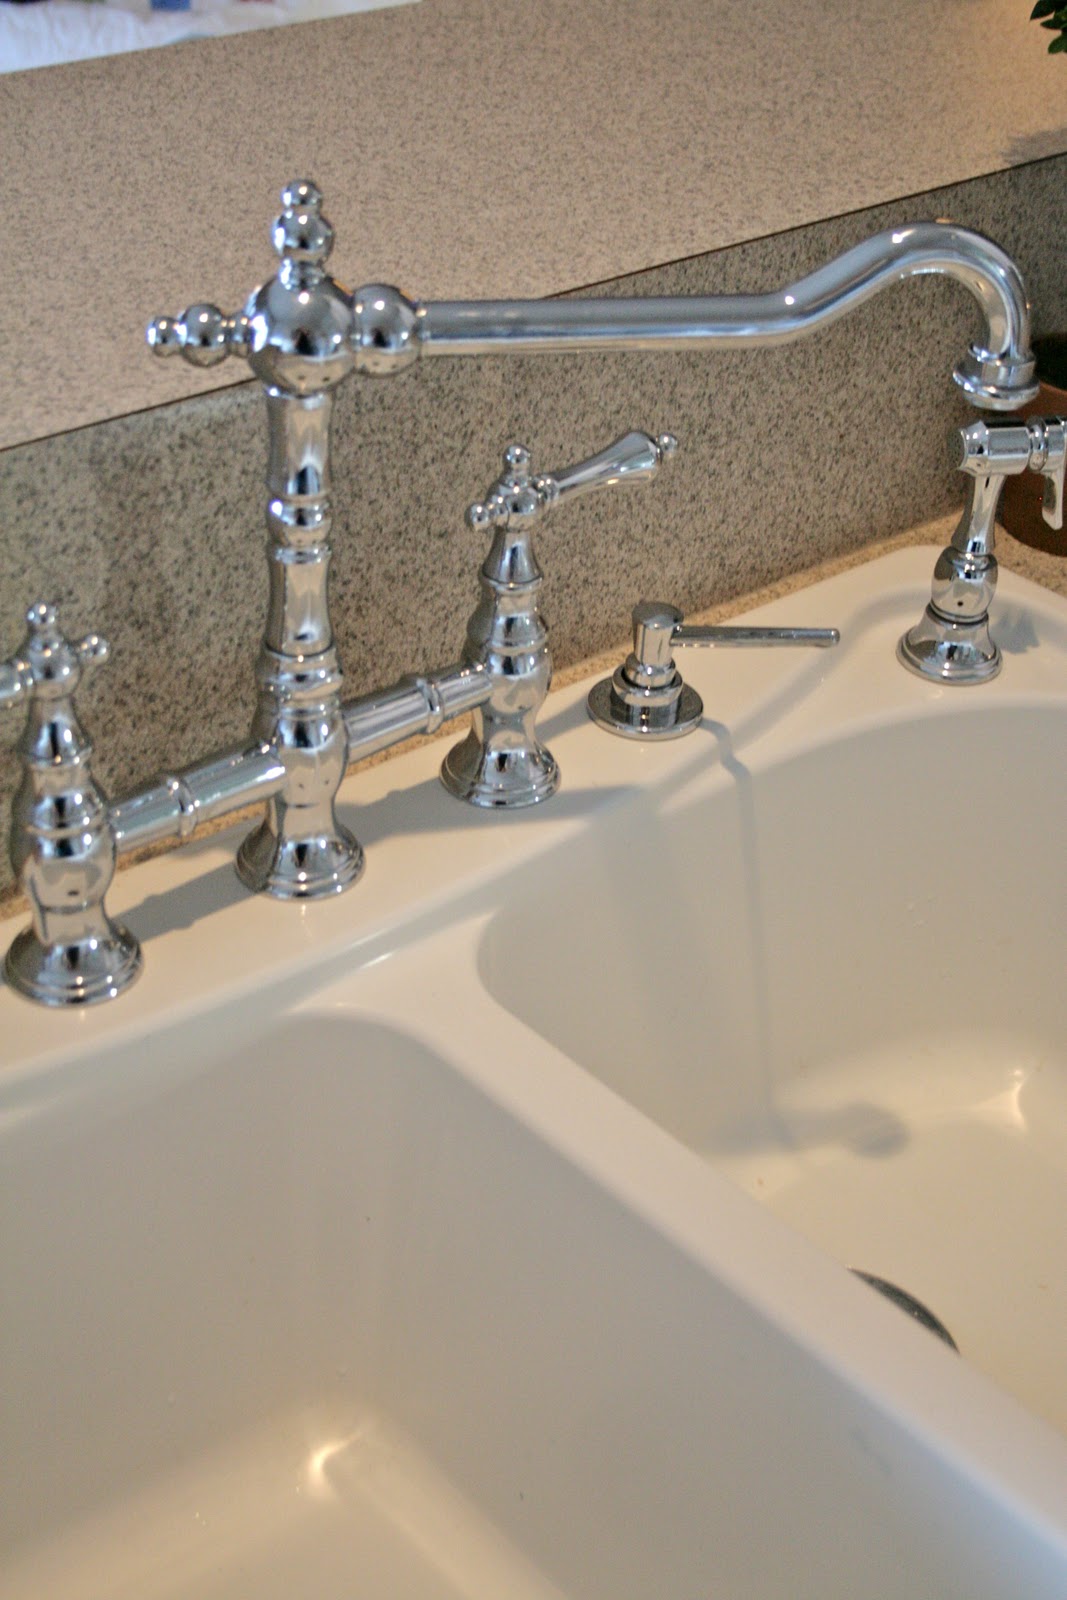
Finding this fixture on Craigslist was an incredible stroke of luck; not only did I get it for a fantastic price, but the seller was also a contractor who installed it for us! This proved invaluable, as our sink presented quite a challenge during installation. We encountered an unexpected hiccup where the faucet handle was hitting the sprayer when it was off. After some shared frustration, a brilliant solution emerged: adding a small soap dispenser in the adjacent spot, allowing the sprayer to move to another opening. It worked out perfectly, turning a momentary setback into a smart design feature!
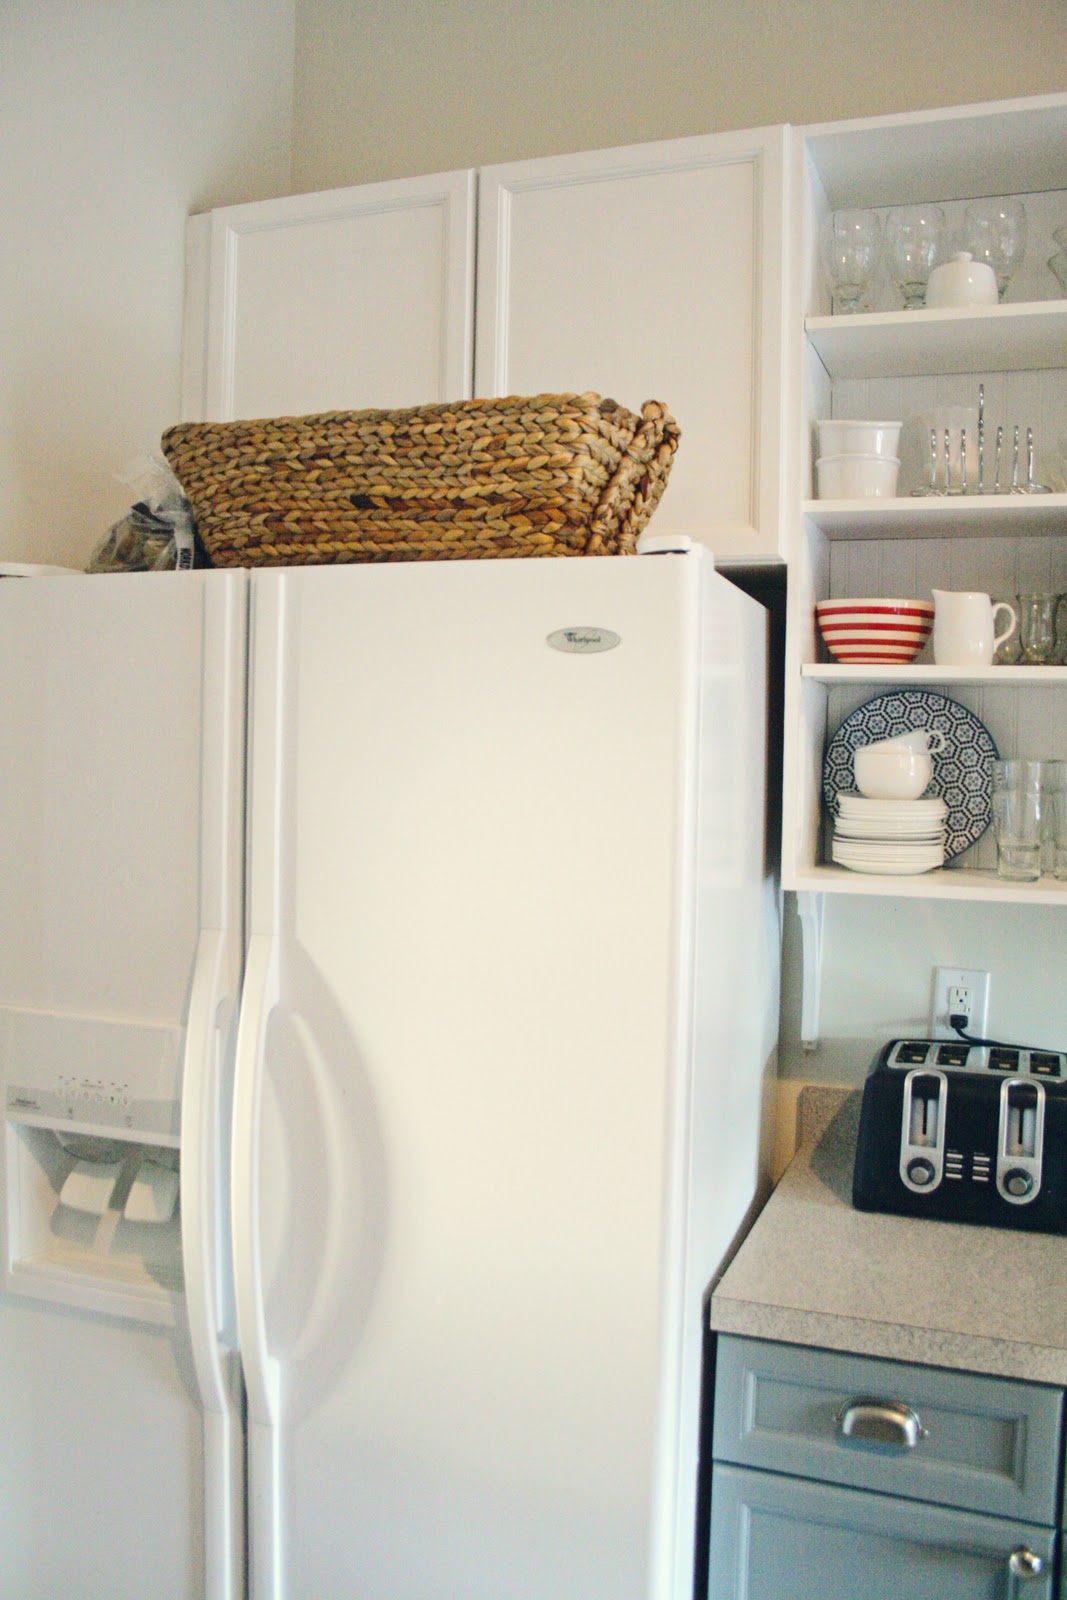
Smart Storage and Decor Elements
Above the refrigerator, I added a practical and stylish basket from Walmart. This provides excellent hidden storage for those odds and ends, while also contributing to the kitchen’s layered aesthetic.

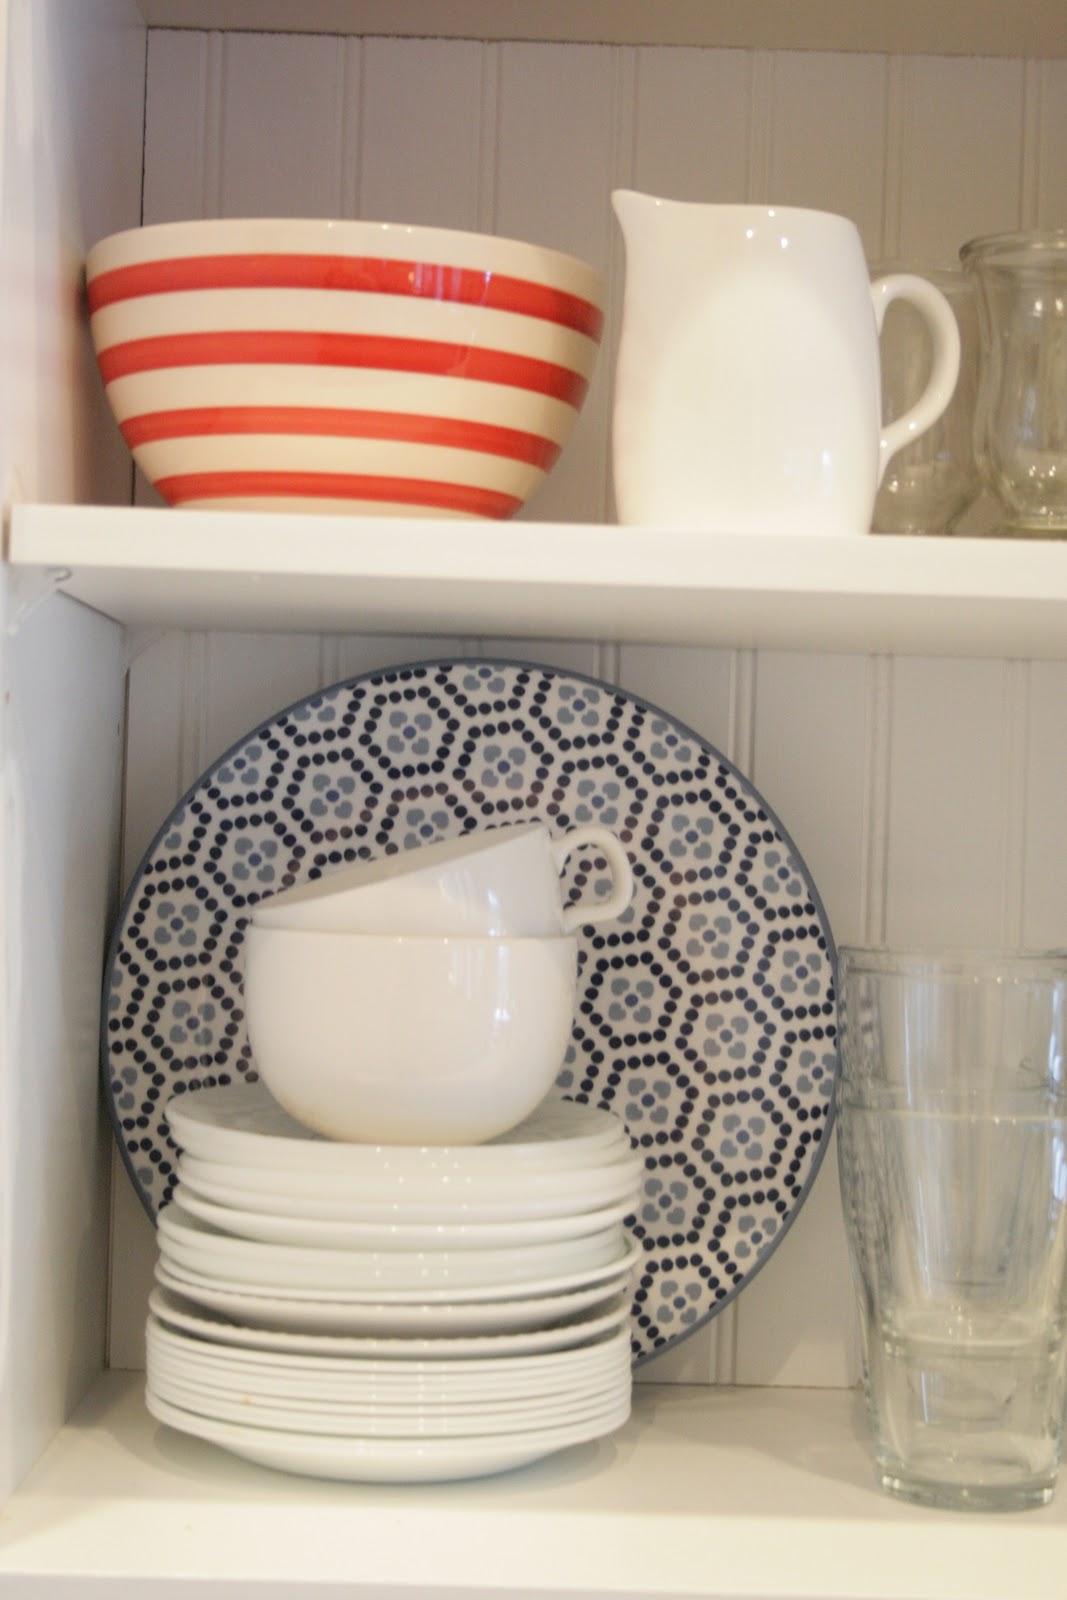
Many pieces of our kitchenware are testament to patience and a keen eye for bargains. The blue patterned plates are plastic finds from Target, the striking red stripe bowl came from T.J. Maxx, the simple cups are from Ikea, and the small plates were discovered at various thrift stores. My charming teacups were a delightful garage sale score. When I tell people how affordably I source my decor, they sometimes don’t believe me, but it simply takes time and a love for the hunt to curate a truly unique and budget-friendly collection.
The Foundation: Floors and Wood Grain
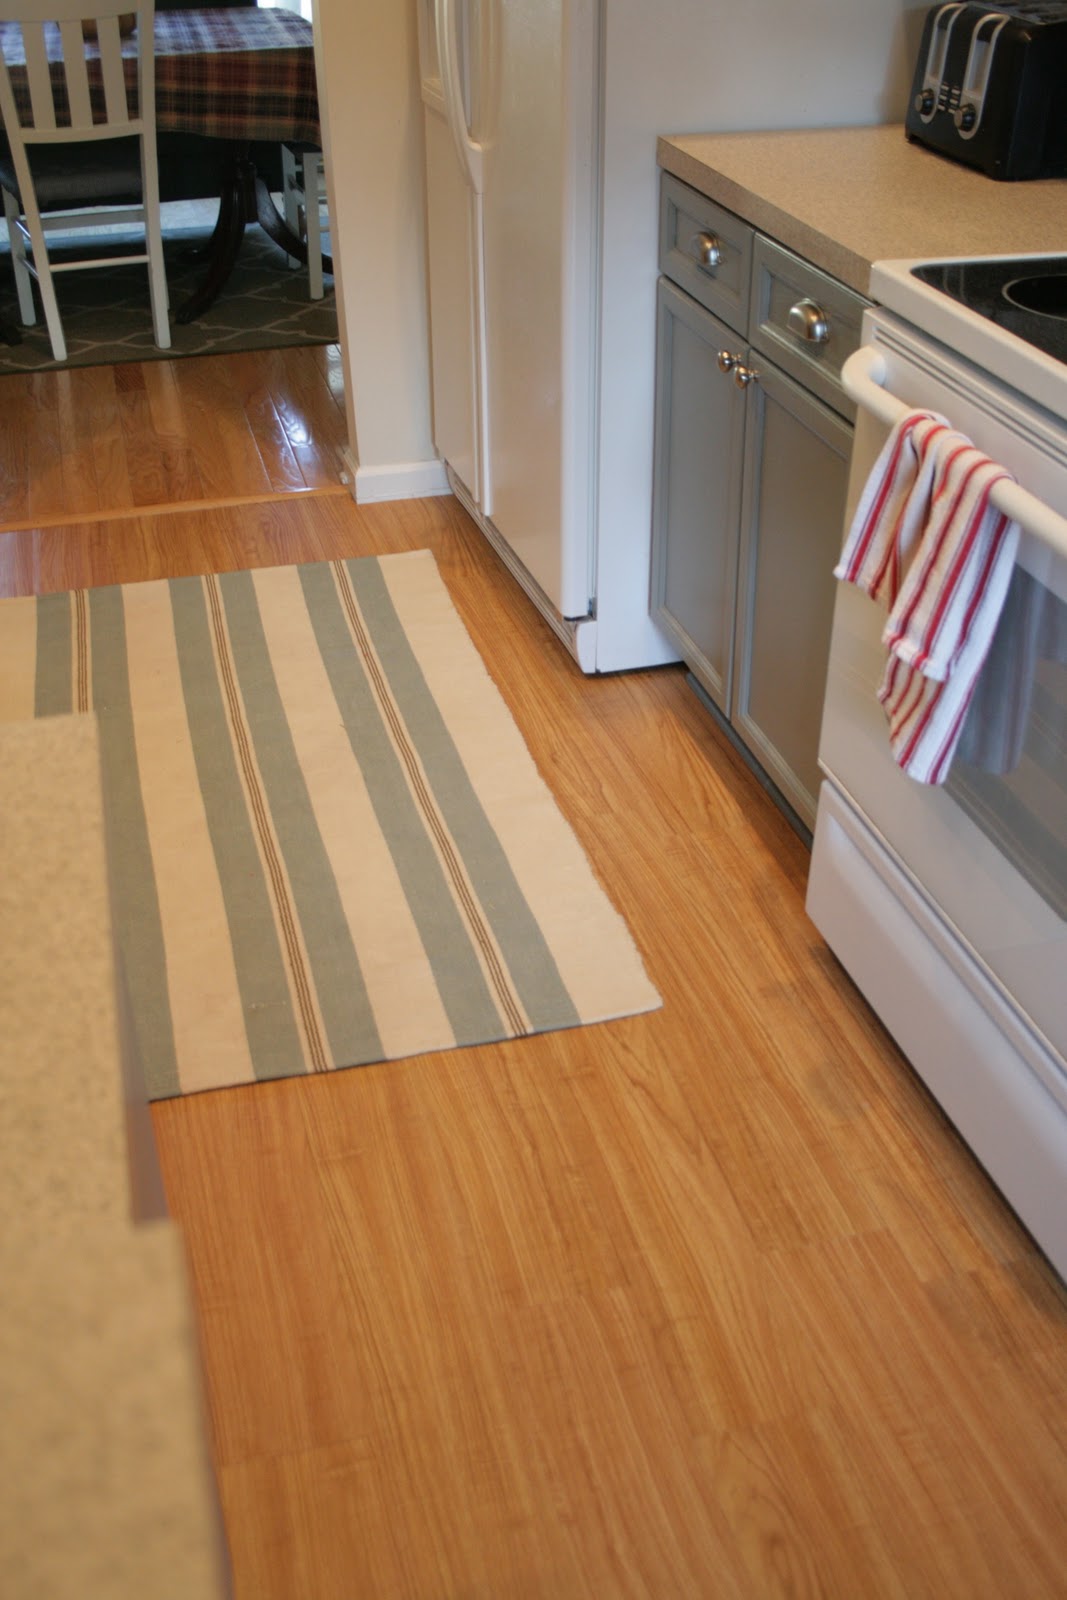
Oh, our lovely floors! To add an extra layer of comfort and define the space, I “borrowed” this cozy rug from our laundry room. It instantly adds warmth and texture underfoot, grounding the entire kitchen design. For those curious about the wood grain on the cabinets, this photo provides a glimpse. While it’s there, it’s quite subtle, adding a touch of natural texture without being overtly noticeable, which was precisely the look I was aiming for.

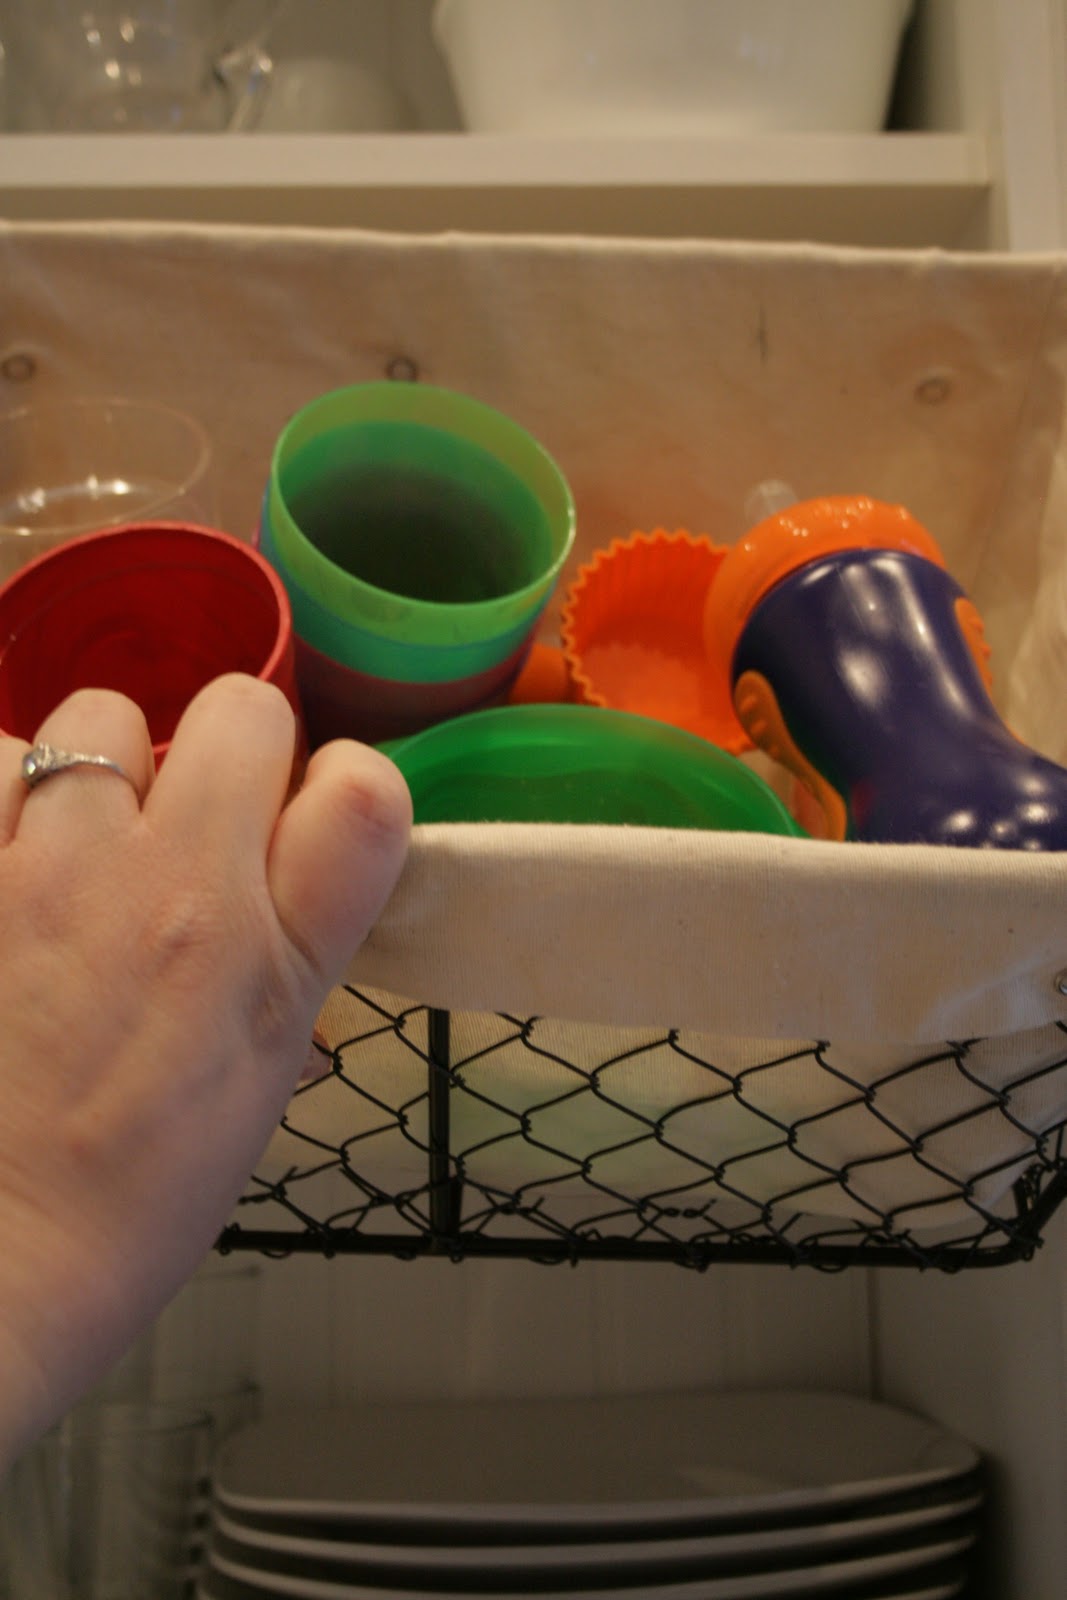
And for families with children, a genius storage solution: a basket from Target perfectly houses all the inevitable plastic items that come with kids, keeping them organized yet easily accessible. A fake topiary also finds its place, adding a touch of greenery without the fuss of maintenance.
These teacups, a precious Etsy find that my mom bought for me ages ago, are truly irreplaceable. I adore them so much that I often joke I’ll take them to my grave – you’ll have to pry them from my cold, dead hands! It’s these sentimental pieces that truly make a space feel personal and cherished.
 |
|
And there you have it, at long last – our completed kitchen transformation! I truly hope this detailed tour, filled with countless photos, was worth the wait. This project was a labor of love, brought to life through serious dedication, creativity, and yes, a fair bit of blood, sweat, and tears (and not just my own!). Every element, from the painted cabinets to the thrifty decor finds, contributes to a space that is both beautiful and deeply personal. If any part of this makeover sparks your curiosity or if you have questions about specific DIYs, please don’t hesitate to leave a comment or send me an email. Your feedback and engagement mean the world to us. We poured our hearts into this space, and we’d love to hear how much you enjoyed the journey! |