Materials and the sequence of the job sit together on this page.
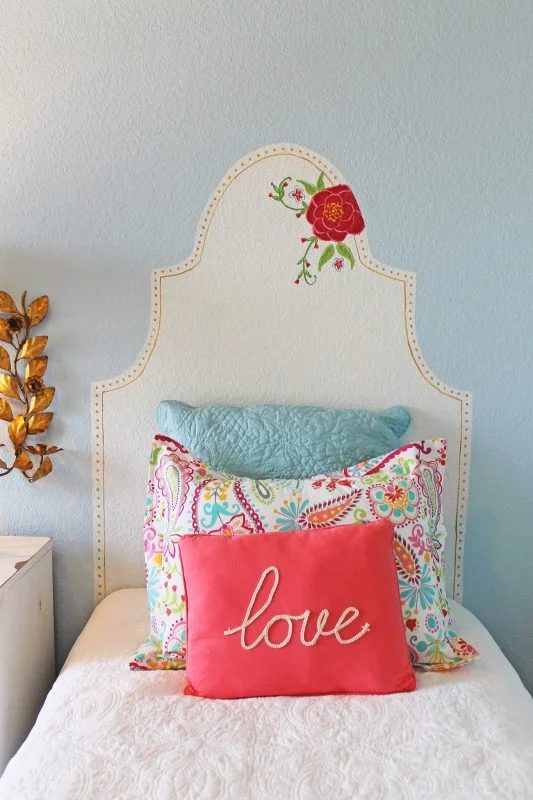
Wooden Curved Canopy Top Instruction contributed by DeCarlo WoodworksOk, this time around we’re going to make a curved bed crown. The same frame is used for all of the crowns of this type. I usually make the frames ahead of time, this way all I need to do is cut and apply the face. I have many designs but this time I’m making a new design, so you get to see how I go about making the design and the templates.
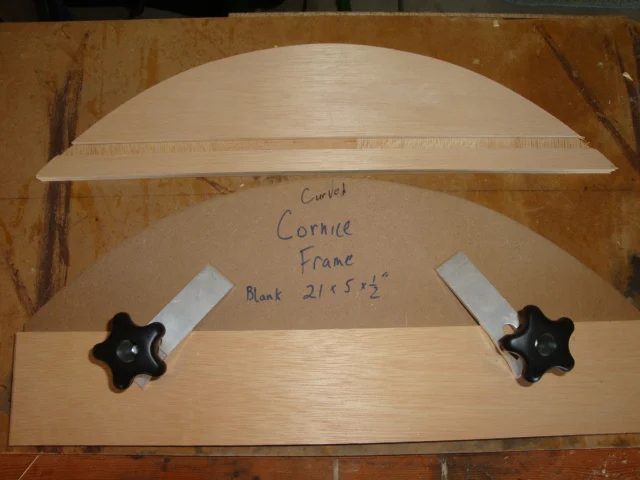
Luckily, I had the top and bottom frames cut already. Don’t worry I’ll show you how I made them. First, I cut the blanks from a sheet of 1/2 inch plywood, 21 x 5 (good thing I made notes on the jig, my memory isn’t as good as it once was). Then I place the blank in the jig and trace the arch. I take that over to the band saw and cut the waste off about 1/16 to 1/8 from the line. Then I clamp it into the jig (using the hold downs shown in the picture below) and run it through the router equipped with a flush trim bit. As you see below the arch is pretty good! The best part, every blank comes out exactly the same!
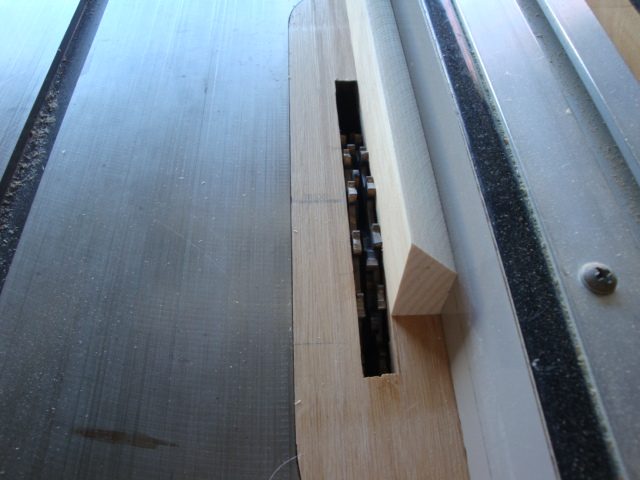
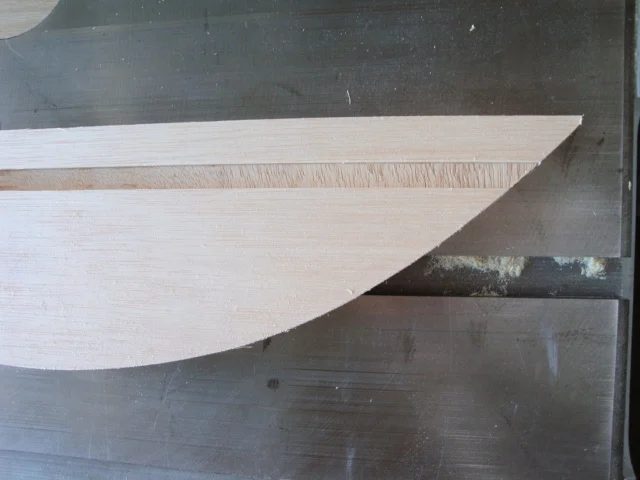
Second, I have to cut the groove for the back. The trick here is to leave a 3/4 inch space for the french cleat to fit even with the top and bottom frames. After installing the dado cutters in the table saw, I use the actual cleat to space the fence properly. So, now when I run the frames along the fence, the space will be well fitted for the cleat.
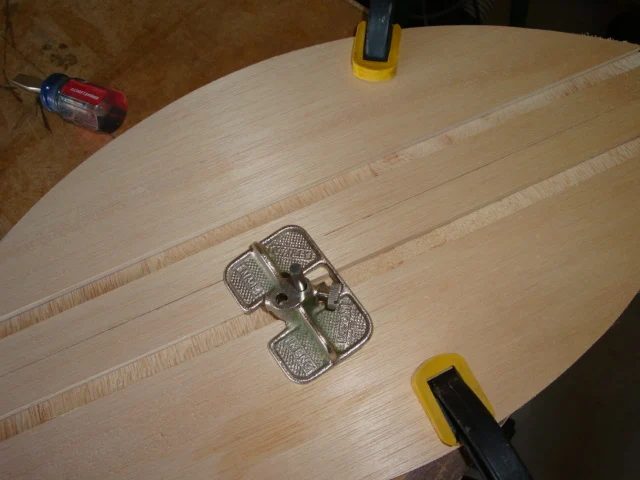
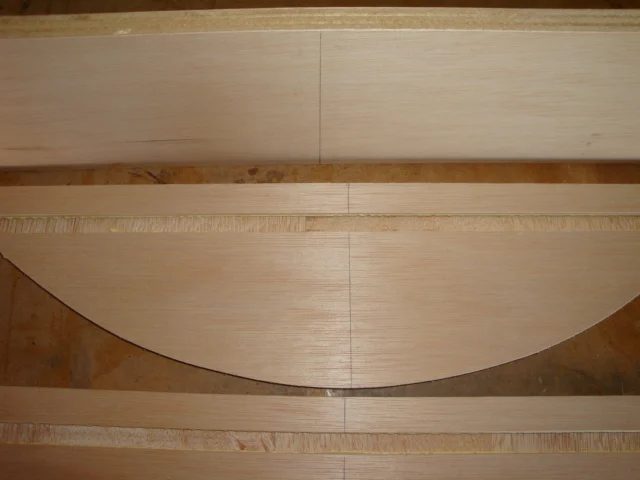
I clamped the frames together, so I can flatten the grooves with my router plane. (Kinda looks like a football next to each other.)
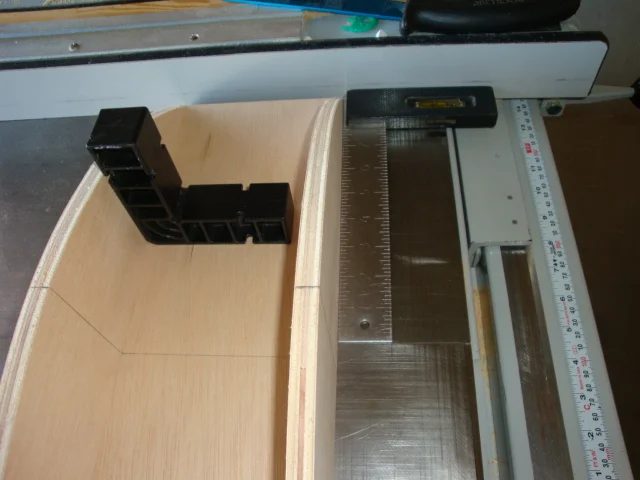
A quick check to see if everything is square. Center lines help enormously, always draw center lines! I use my table saw fence and a try square to make sure the frames are square. I also check how square the back is to the frames.
Ok, looking good so far… Its time to glue the frame to the back.
Drill a pilot hole with a counter bore bit before screwing the frame into the back. Also, make sure you drill the pilot hole as close to center as possible, for maximum strength.
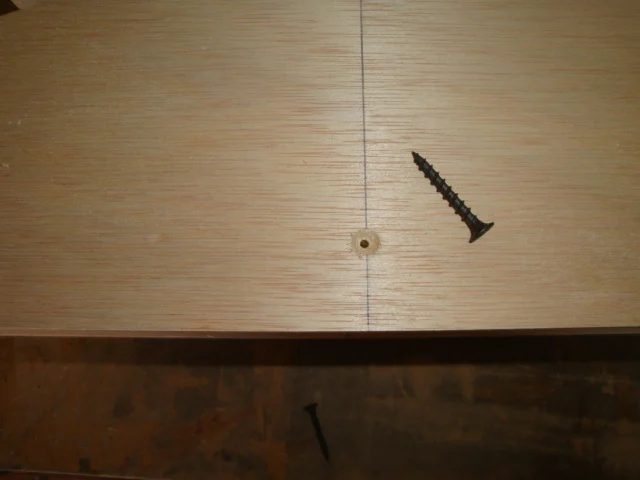
Before, (I emphasize this step because I forgot and had to remove one of the frames to perform this step), place one of the dowel support rods in position on one of the frames and mark the back with inside edge of the rod support.
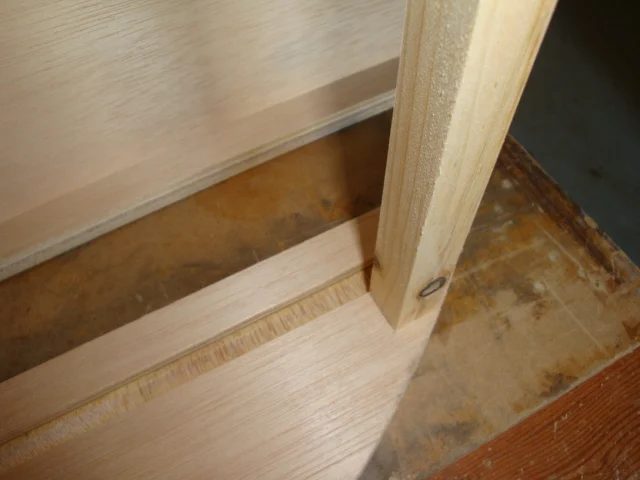
I glued and screwed the bottom frame to the back after cutting out the waste. Ahh! Nice fit!
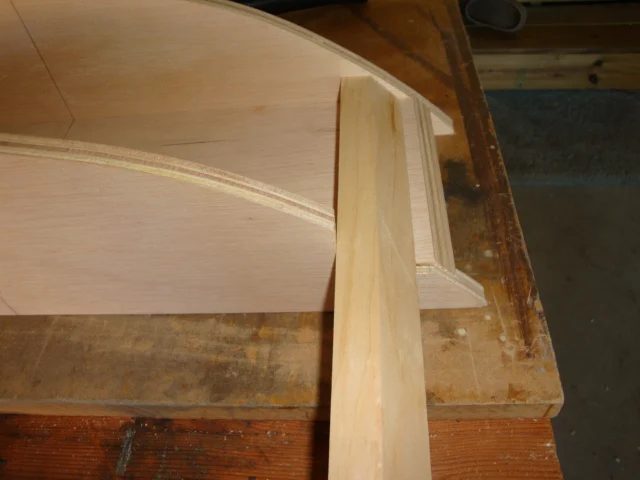
After squaring the top and bottom to the back, I take the measurement for the ribs. Looks like 5 1/16 inches. I cut three front ribs and 2 back ribs which have 45 degree bevels on one edge.
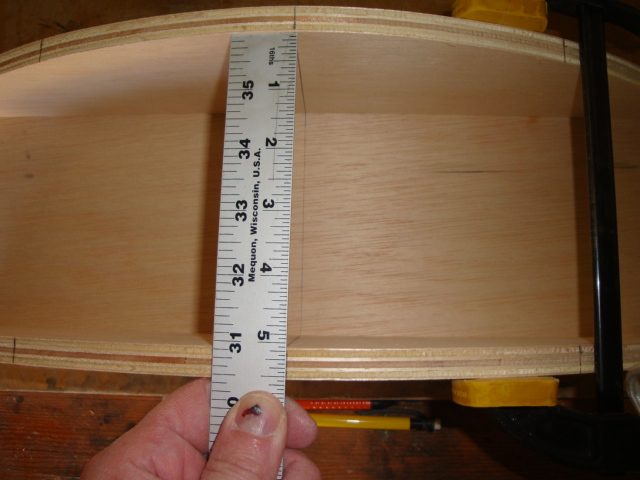
Here the ribs are dry fitted into position. Now you see why one edge of the back ribs are beveled (must follow the curve of the frame).
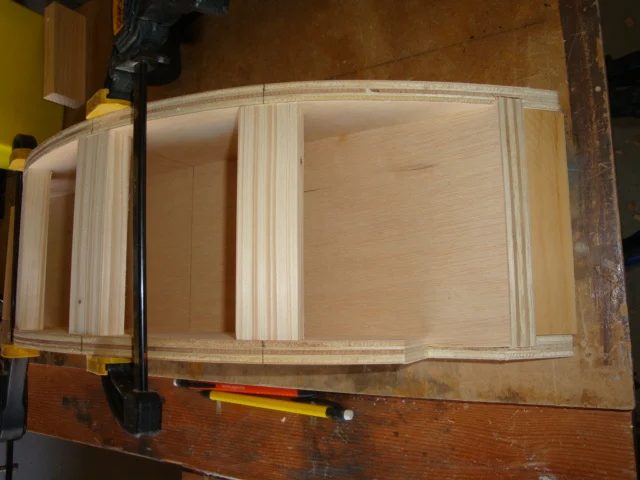
The back is starting to shape up!
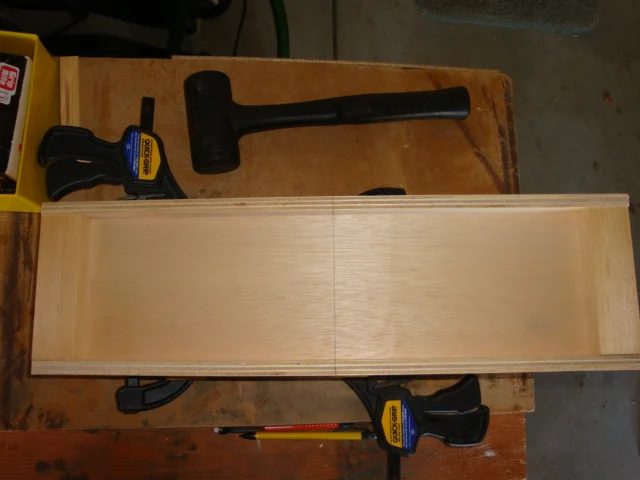
The basic frame is almost done… pretty cool, eh?!
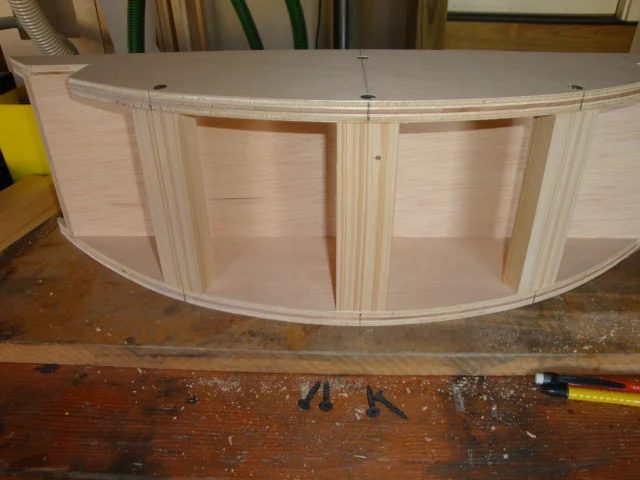
The french cleat is installed here, the 45 degree cleat is used to hang off its counterpart. Oh, make sure its attached along the top frame…
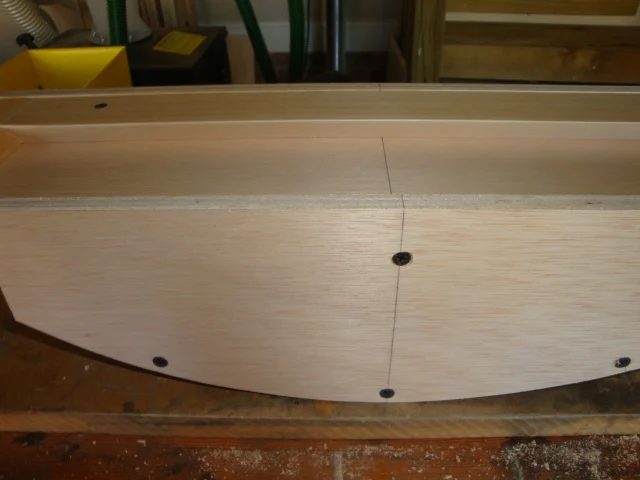
The frame is done for now. I cannot attach the dowel support rods until I cut the face design because the length of the rods varies from face to face. Since this time around I’m designing a new face, I’ll show you how I go about laying out the pattern and how I make the templates.
I thought I would try using Fibonacci’s Golden Ratio, this ratio has been used to design buildings and furniture for hundreds of years, lets see if it works… (warning math coming!)
Ok, so our face blank is 24 inches wide and 16 inches high. I make half patterns first, so 12 divided by 1.618 is 7.41 inches or 7 7/16 inches gives me the short section. This is marked by the left line in the pic below. This is the transition point. I’m going for an ogee (fancy name for an S curve).
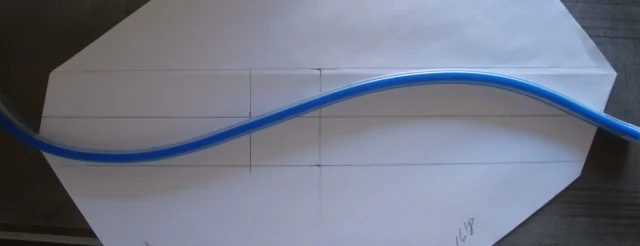
I trace the ogee using the french curve.
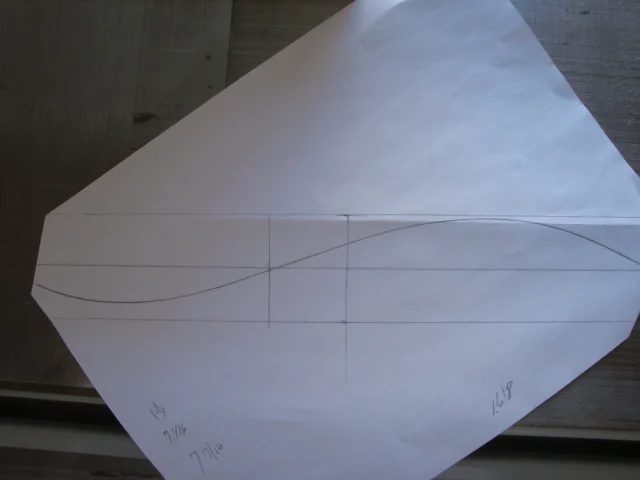
Then I cut the pattern out with sissors, very carefully!
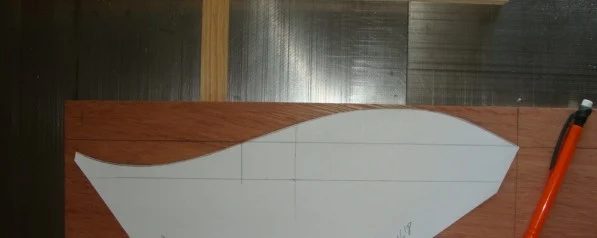
Then I trace the pattern onto a piece of 1/4 plywood, this is a template to make the final template. I like to have matching sides, so the best way to achieve this is to make a half template and use it for both sides. (Pretty tricky eh? Well not really)
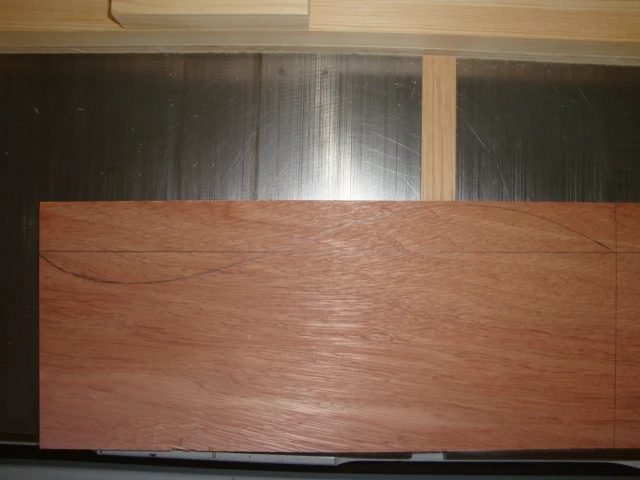
I went ahead and cut out the pattern, looks good, but still a little rough along the edges.
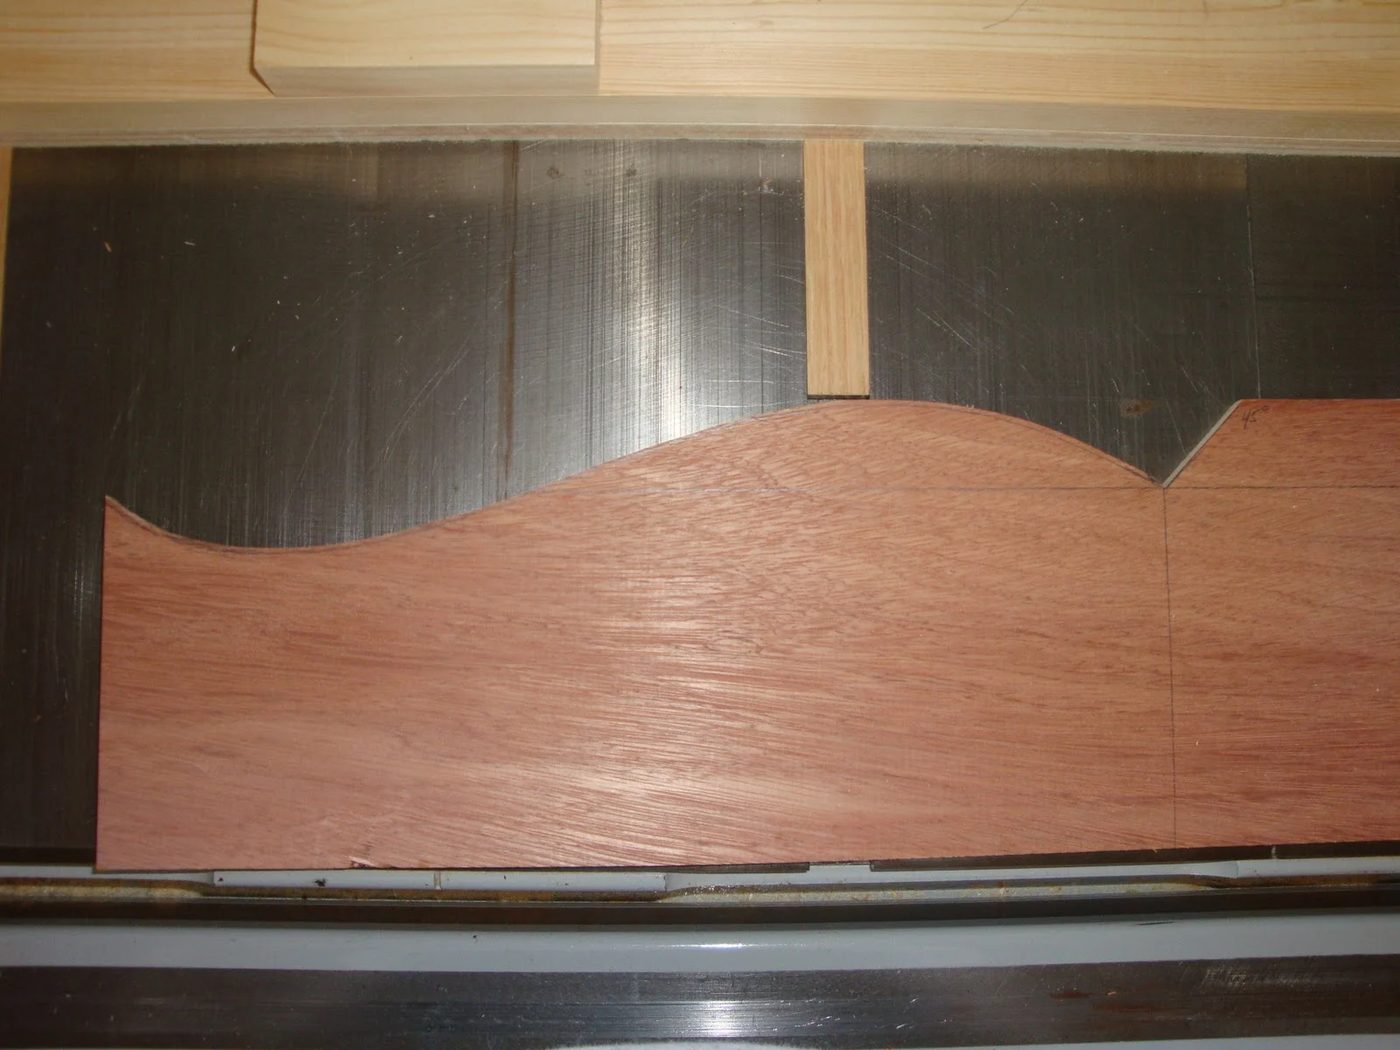
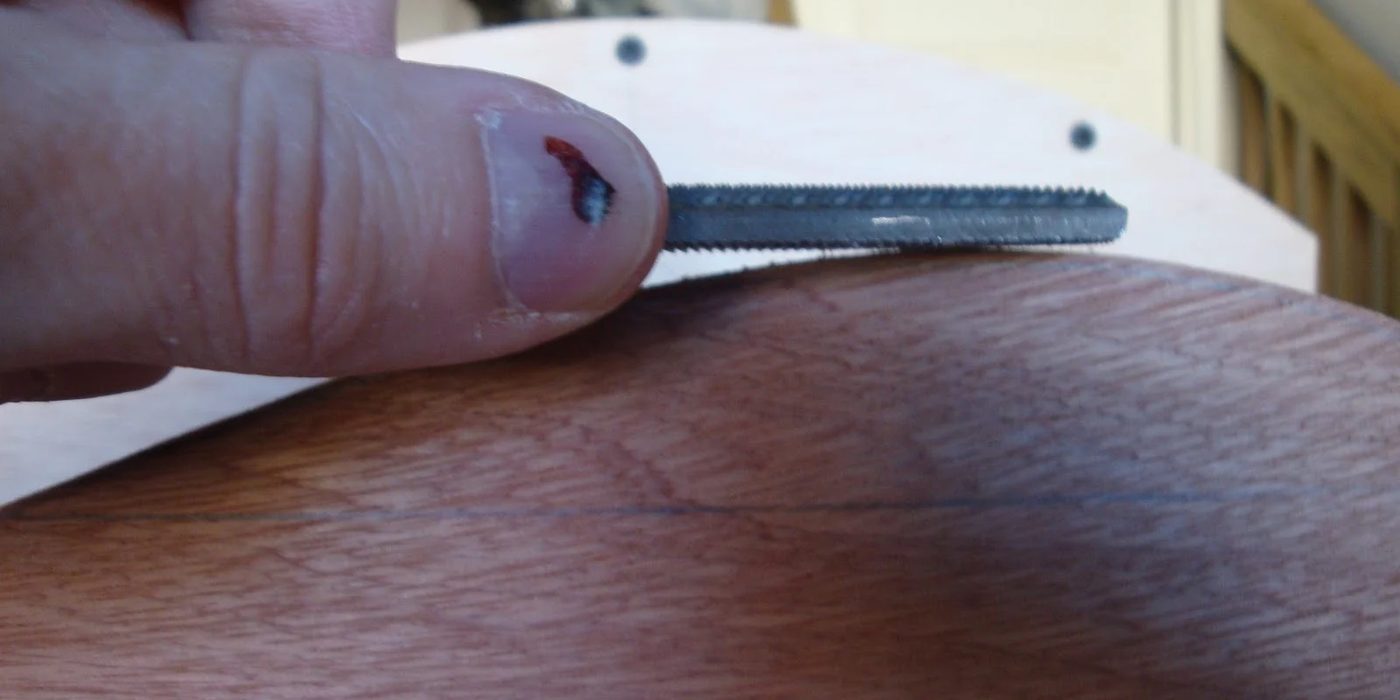
I use a fine file to smooth out the curves… man, will my thumb ever heal??
Now to make the final template, I traced it out and cut the waste leaving a little to be routed.
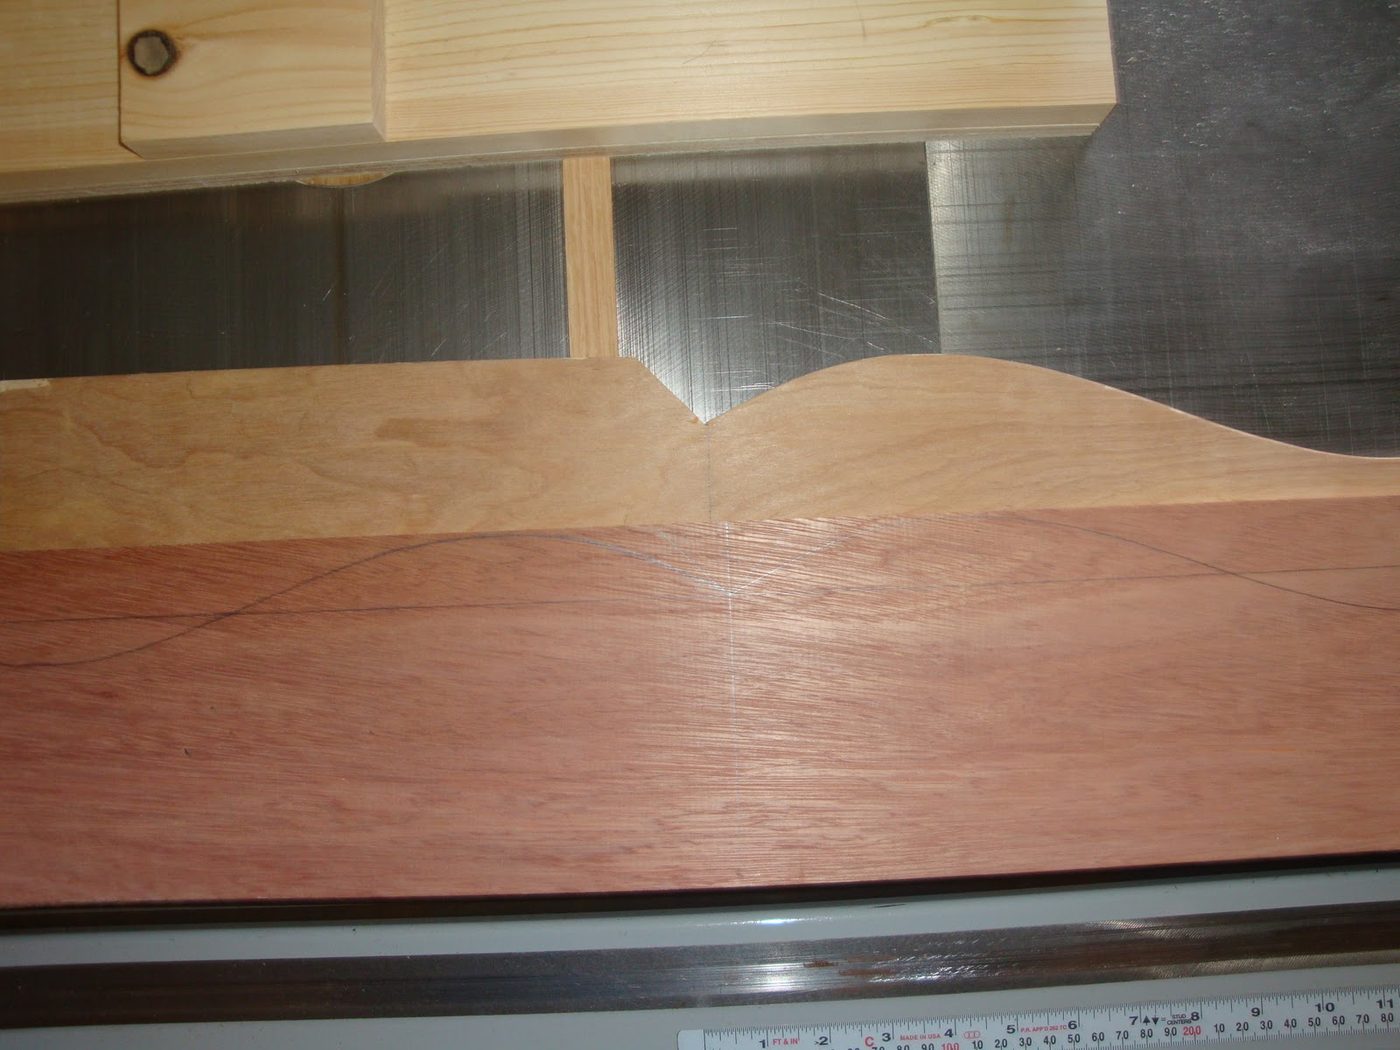
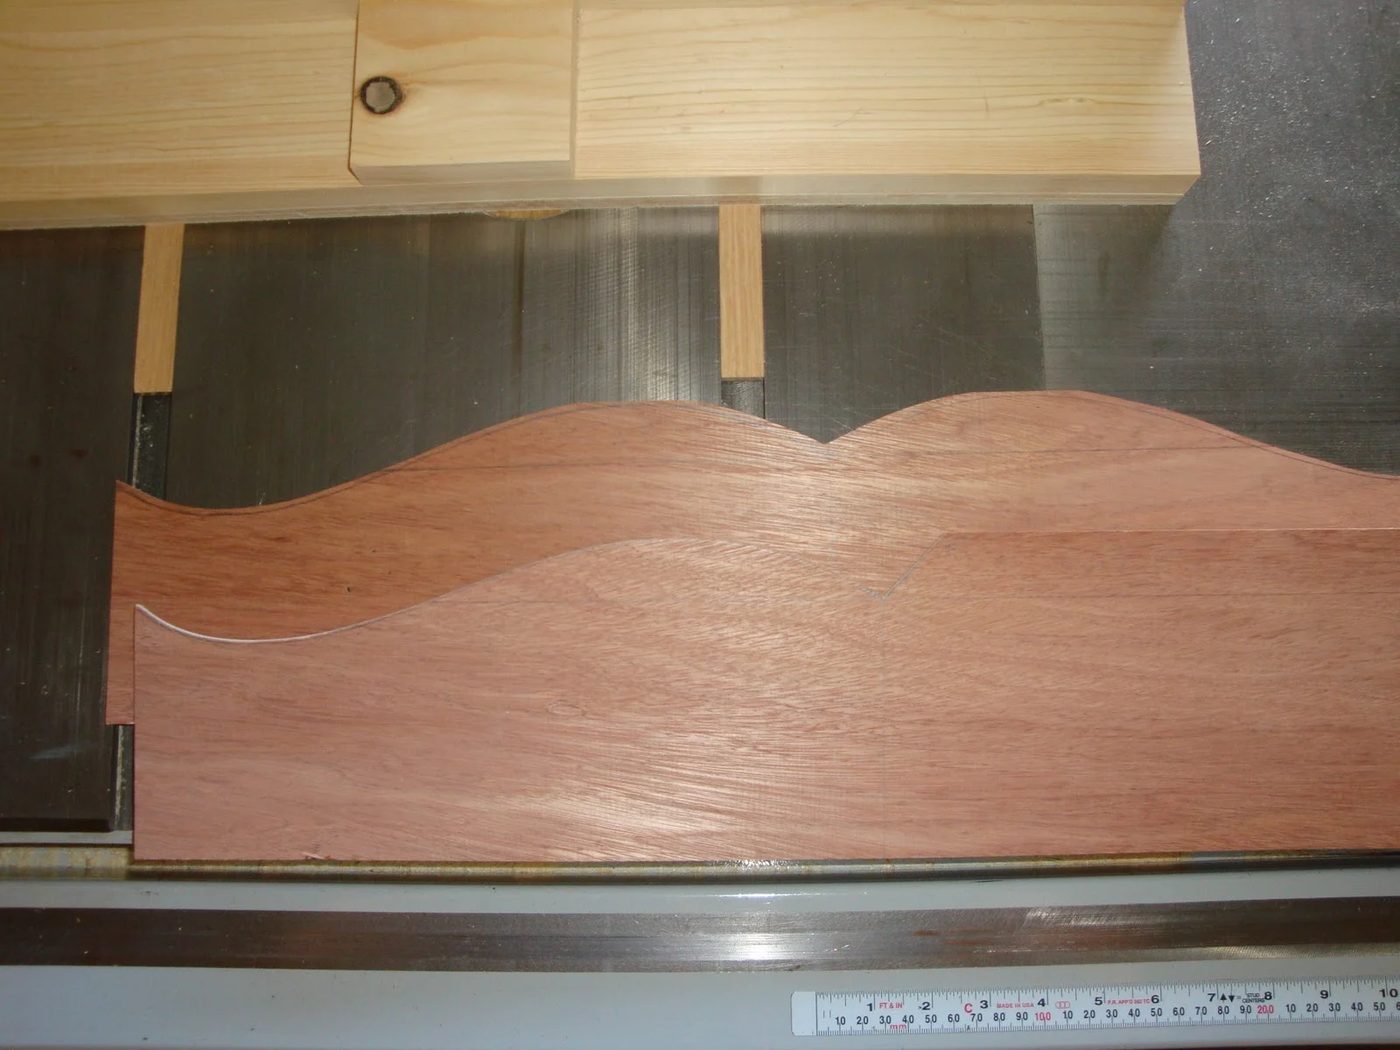
I clamp the half template to the final template and route the waste. Then I flip the half template and route the other half of the final template, leaving me with a full template to layout and route the face! Cool or what?!
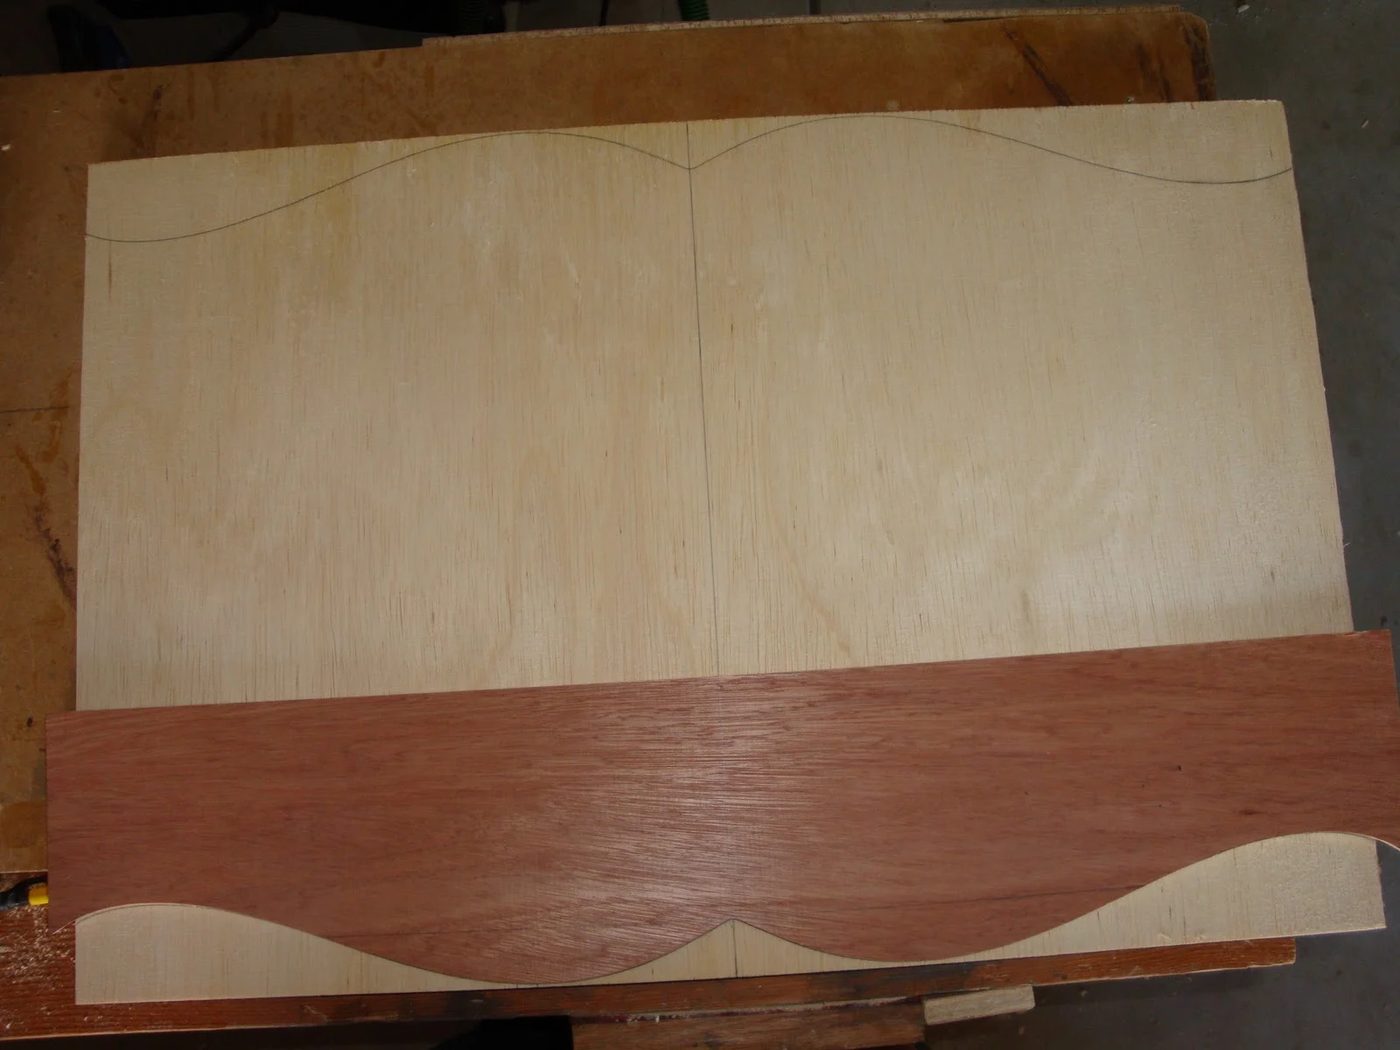
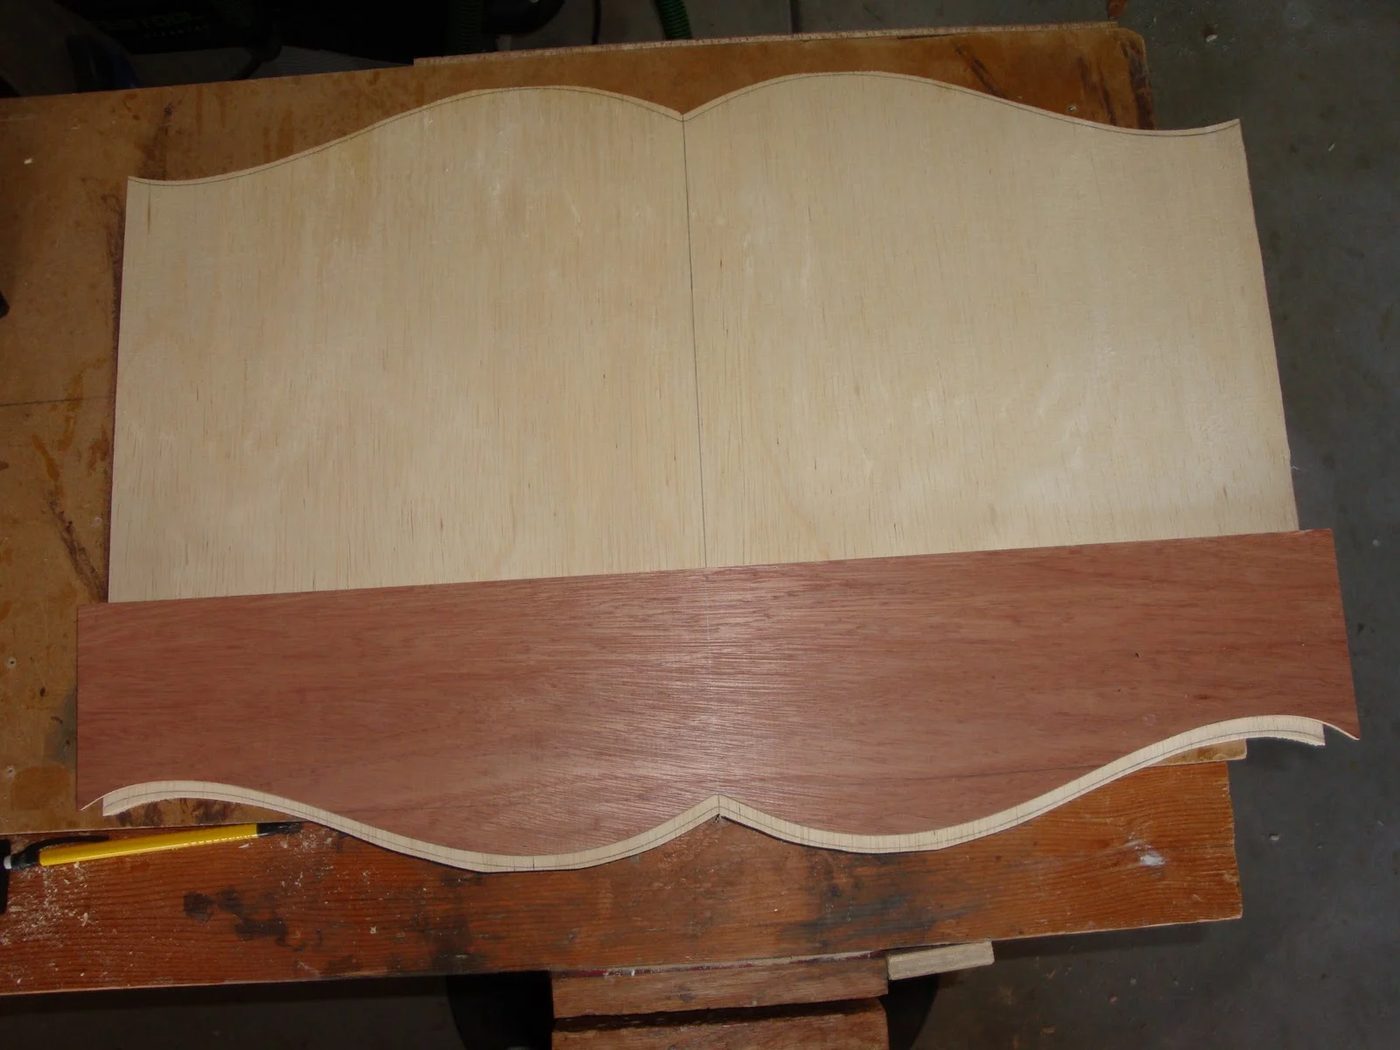
Ok, with the waste cut away, I wrap the corners with blue tape. This will prevent tear out when I router close to the edges.
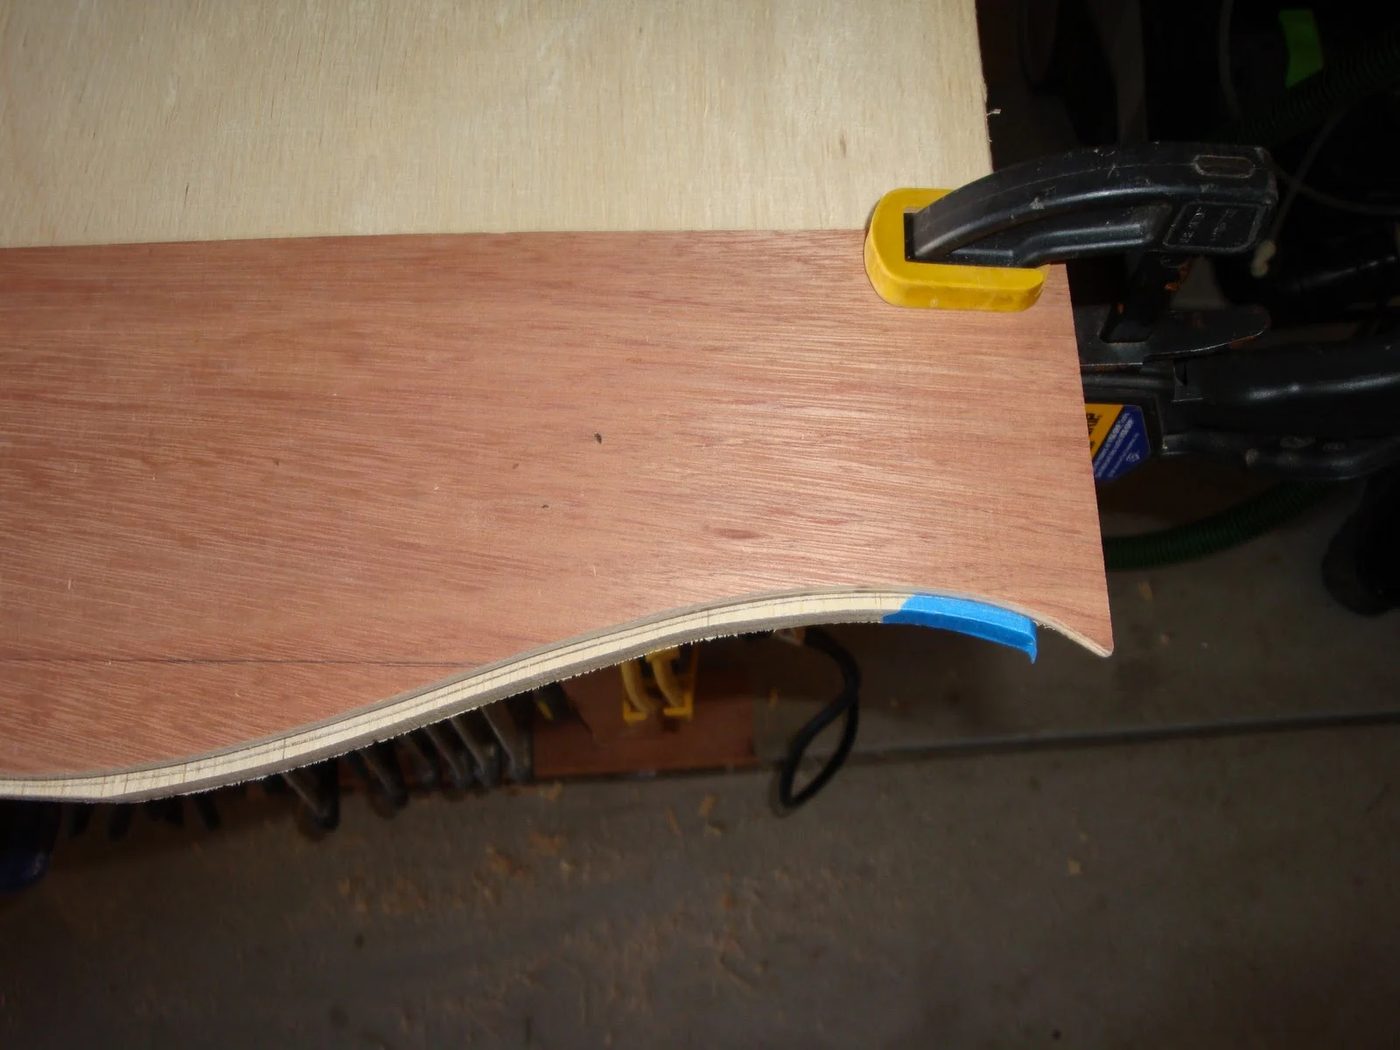
Wow, pretty clean cut! (Blue tape, greatest thing since sliced bread!)
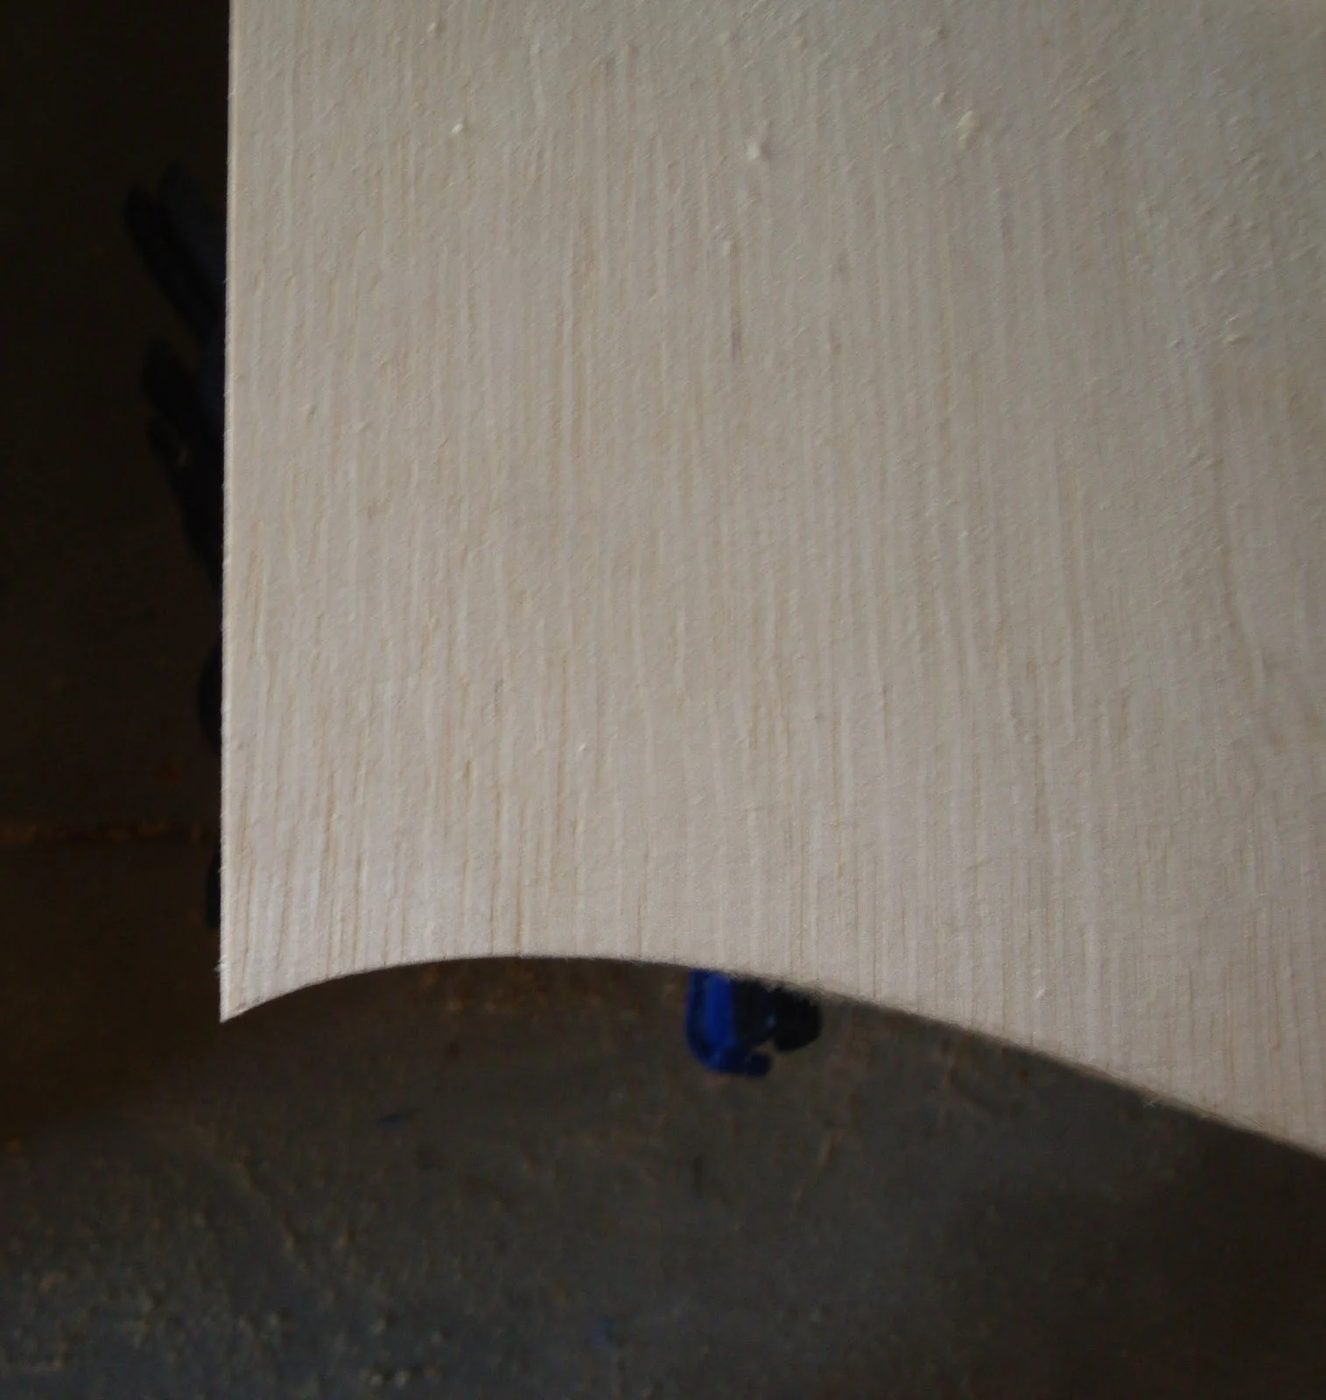
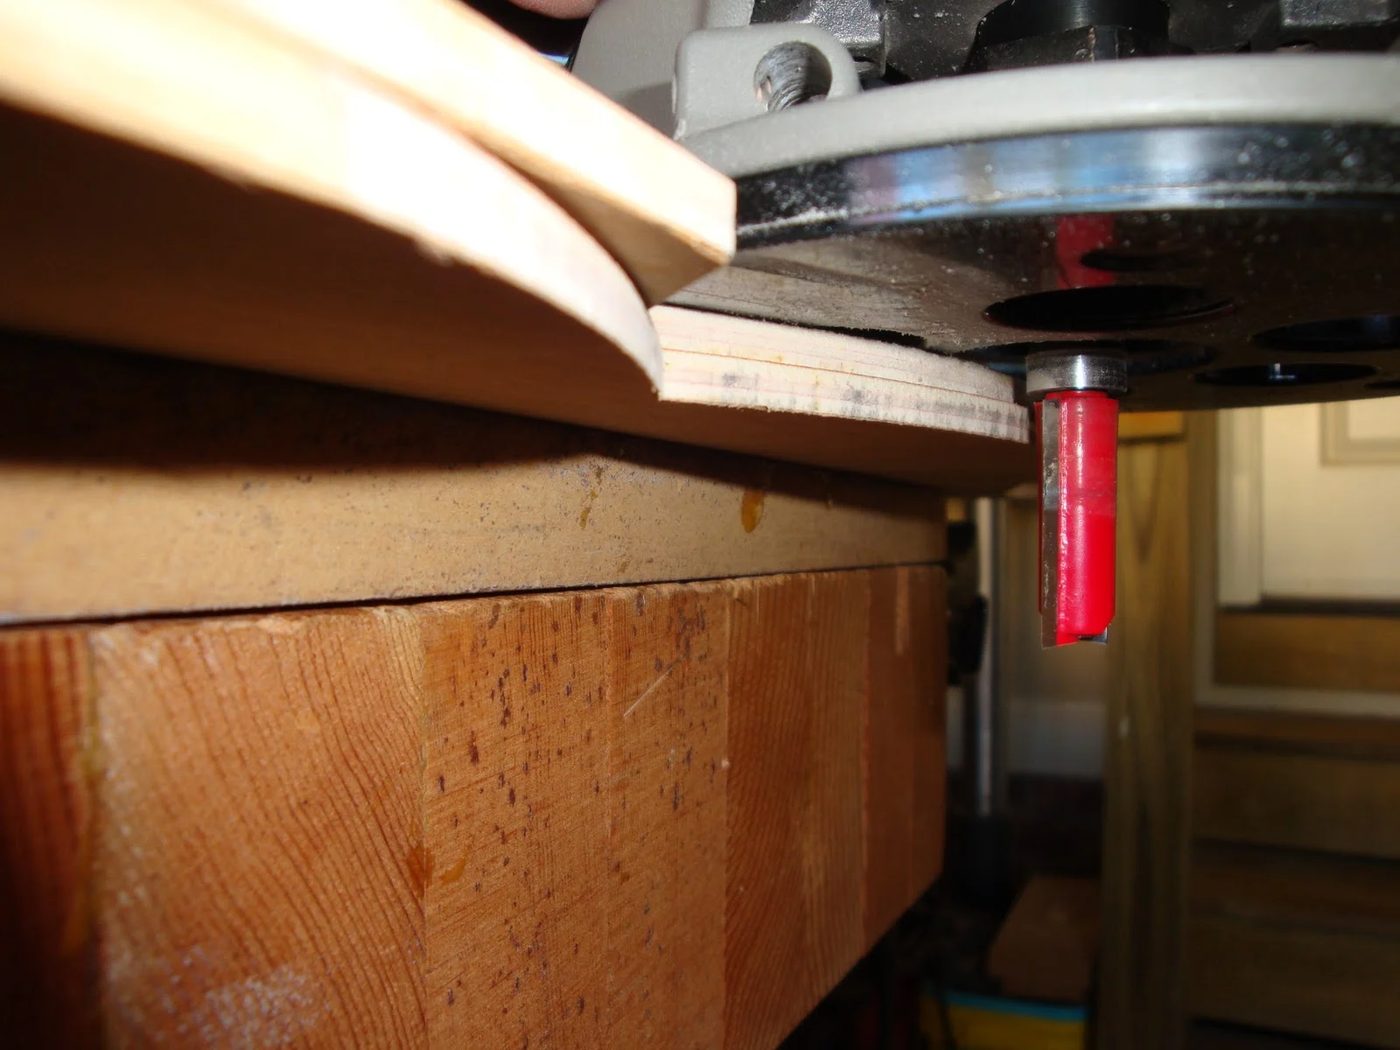
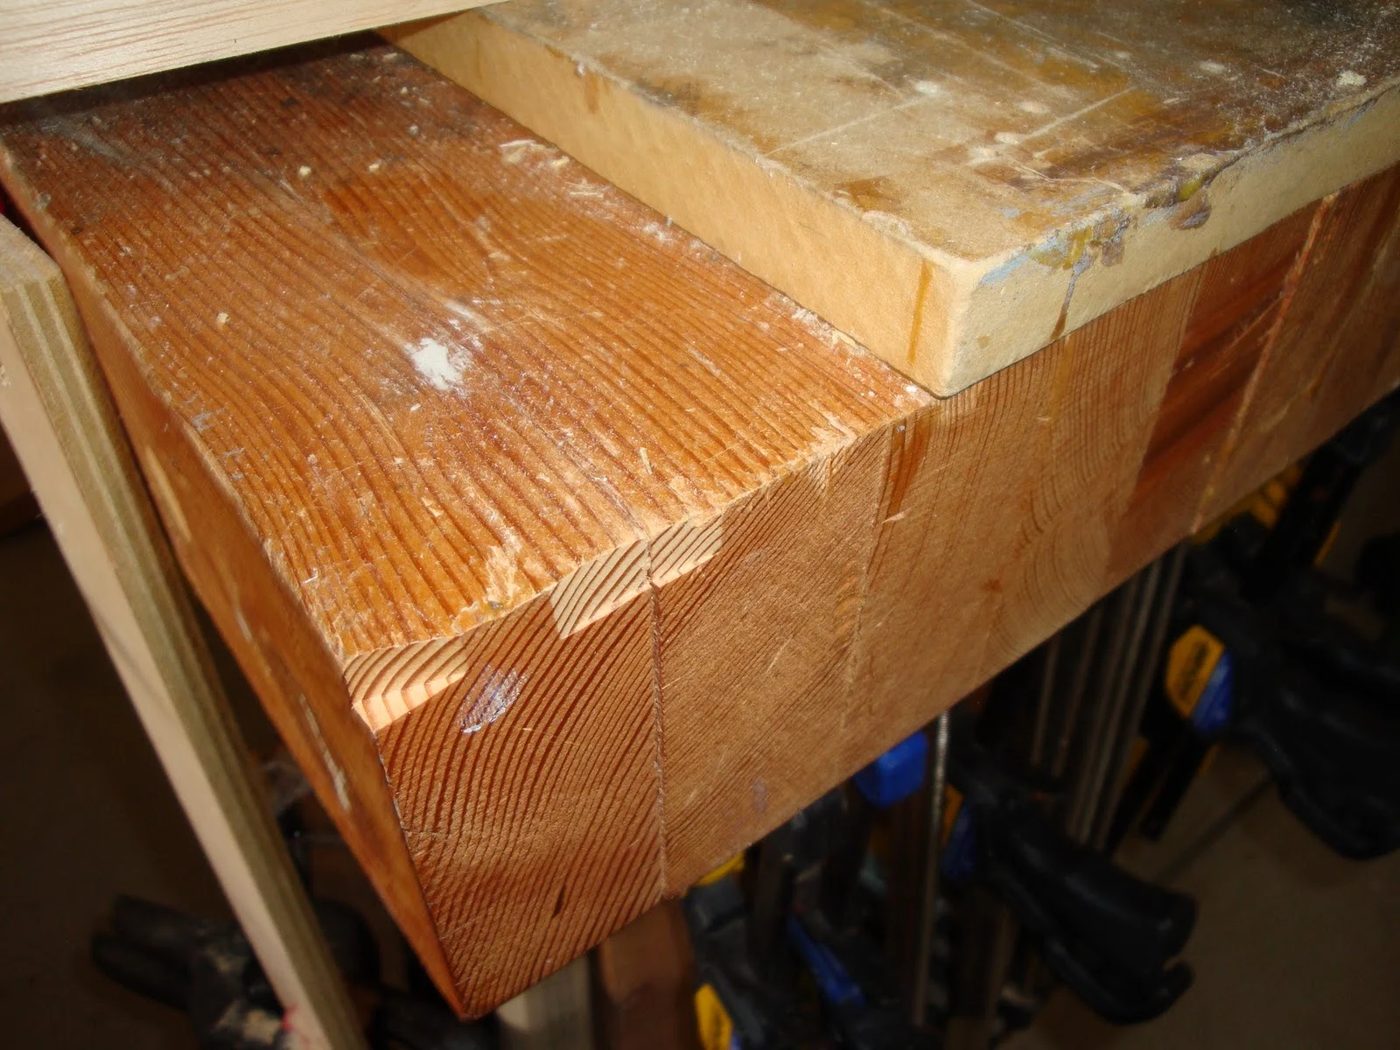
Hmm, what’s that smell… I haven’t smelled that since I built my bench from an old picnic table… Yikes! On that last router cut, I cut too close to the bench! Well, I nipped the corner pretty good… note to self, there’s a bench under there…
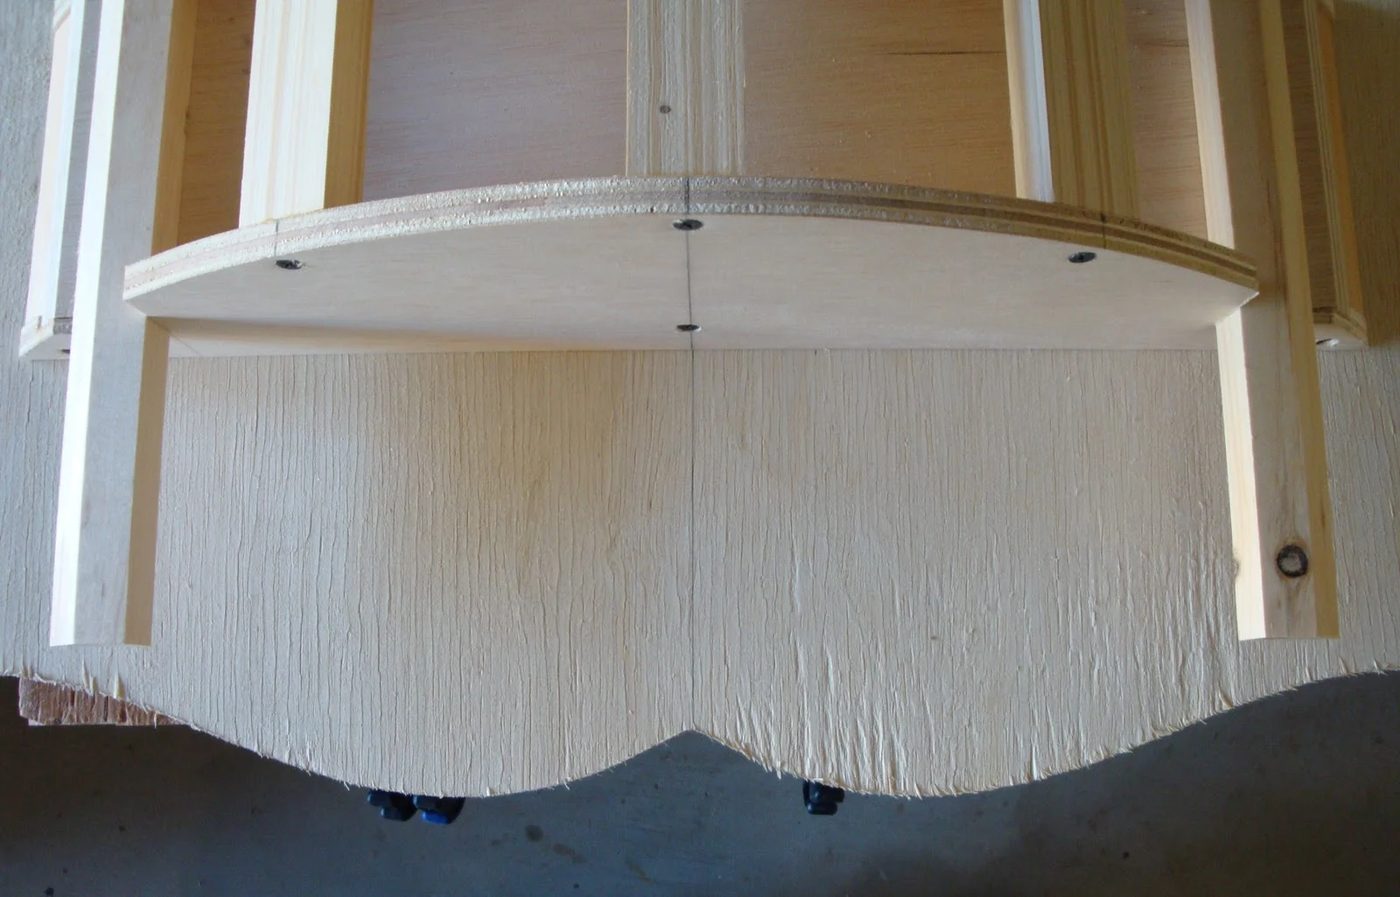
I position the frame on the face to find the final location in reference to the rod supports. The supports shouldn’t show but should be close to the edge.
I use clamps to dry fit the face to the frame. Everything is looking square!
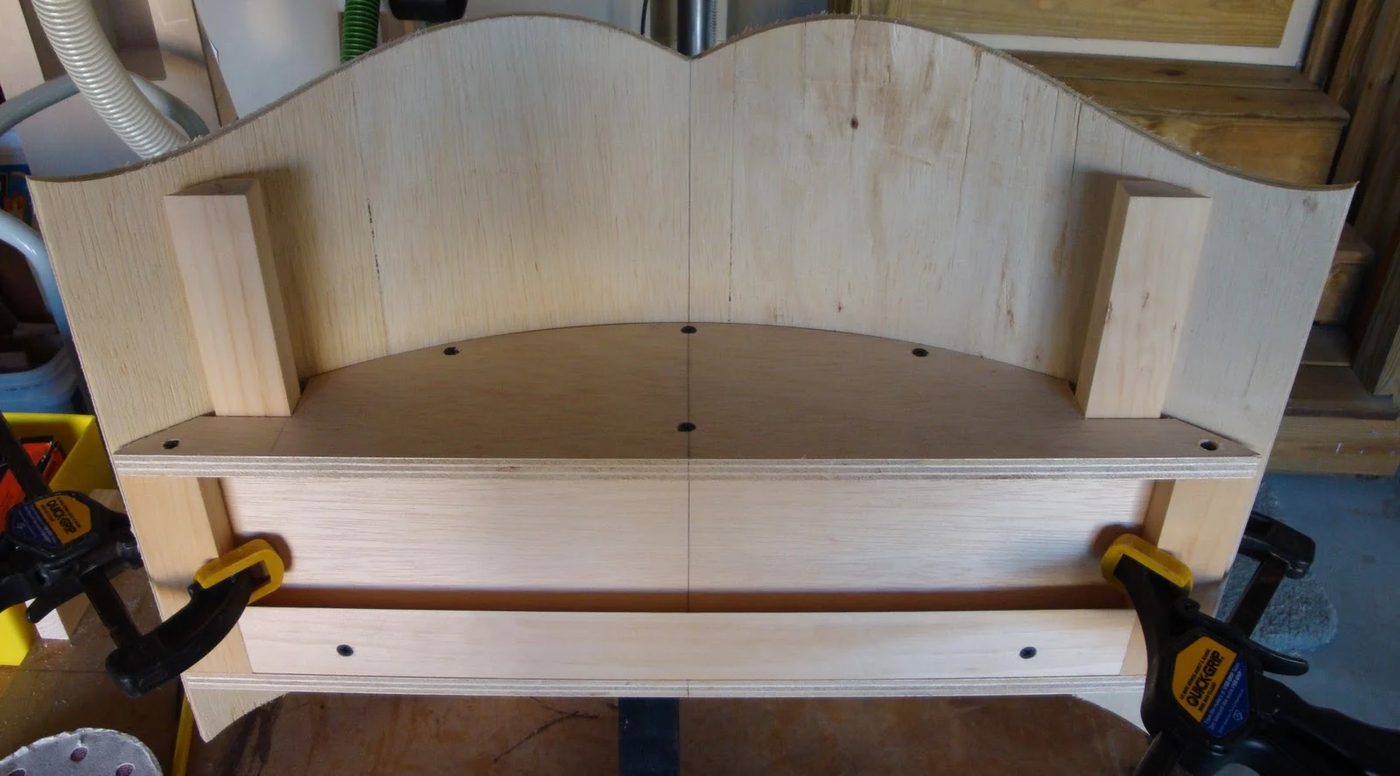
Its time to glue and screw the rod supports to the frame. I use a square to make sure they are square with the bottom frame.
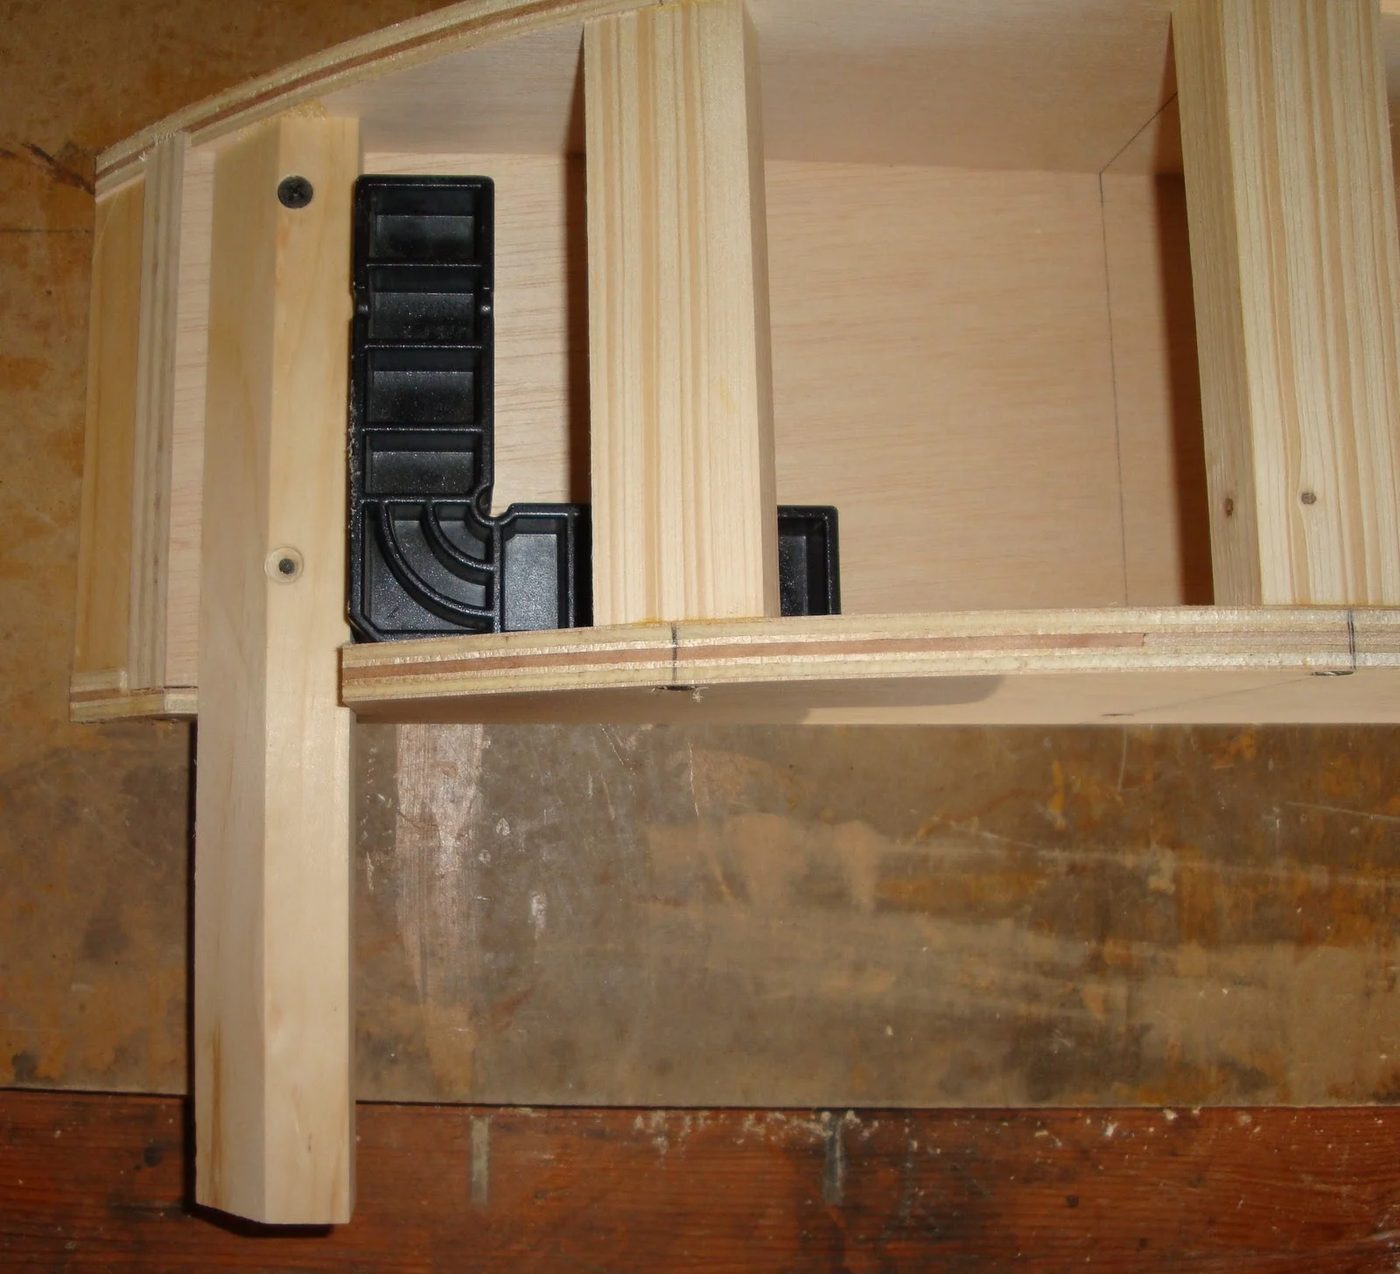
Time to attach the face to the frame. I start with one screw. I use my center lines and match them up. Then I drill a pilot hole and insert a screw.
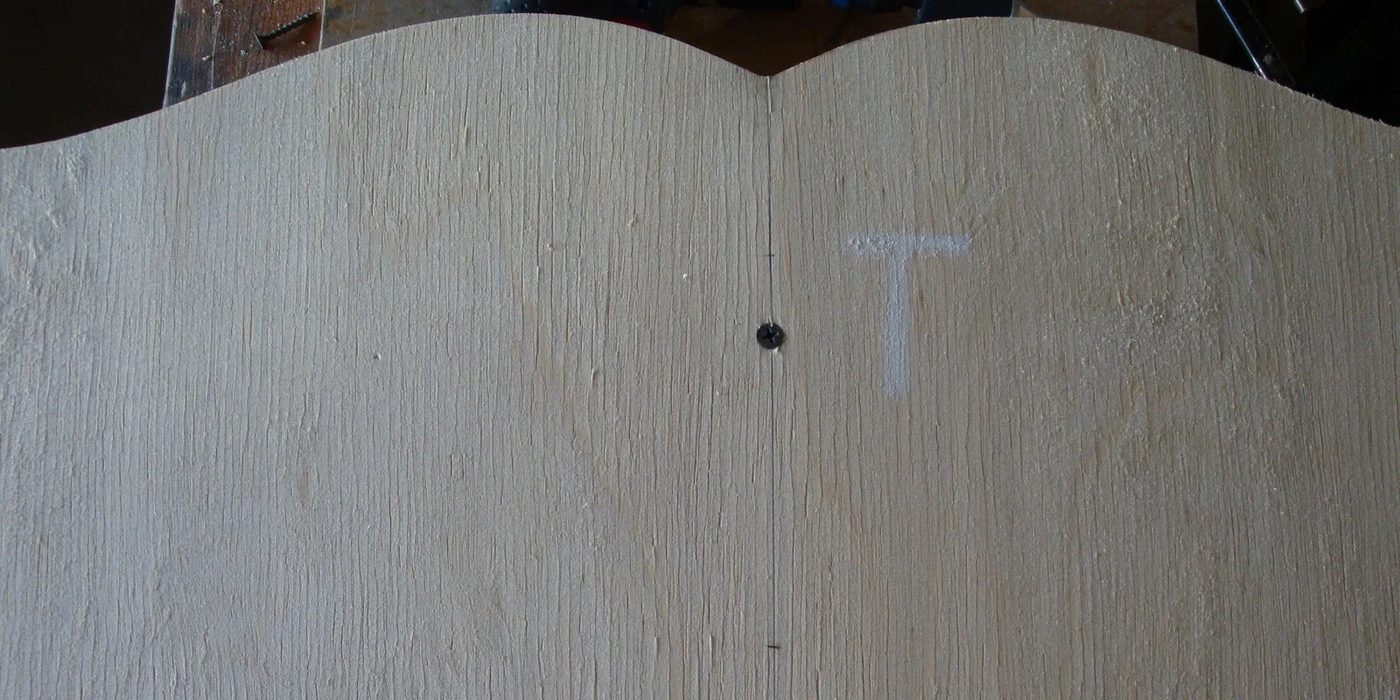
I check my center lines, one on the top and one on the bottom, they should all match up.
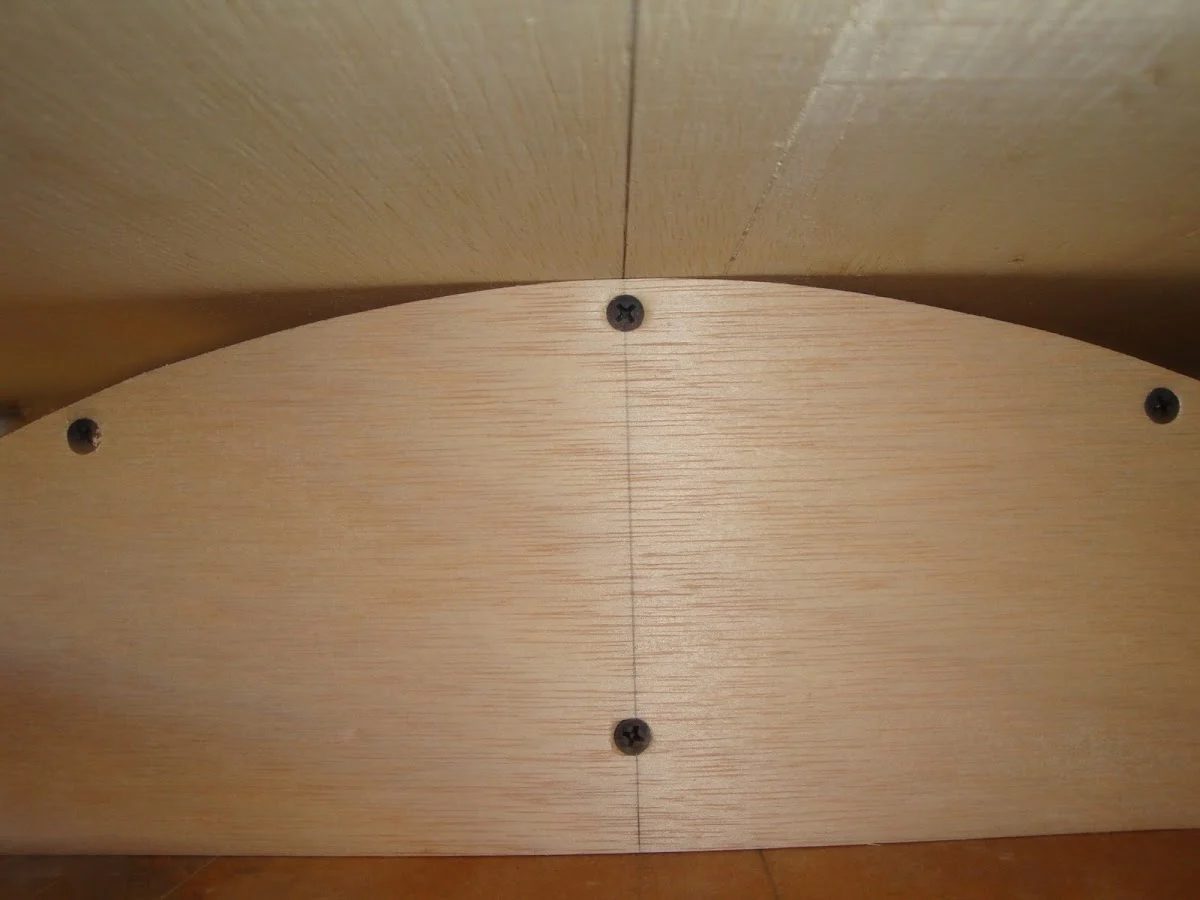
I put a second screw and dry fit the face with clamps. If it all lines up, I put the rest of the screws in…
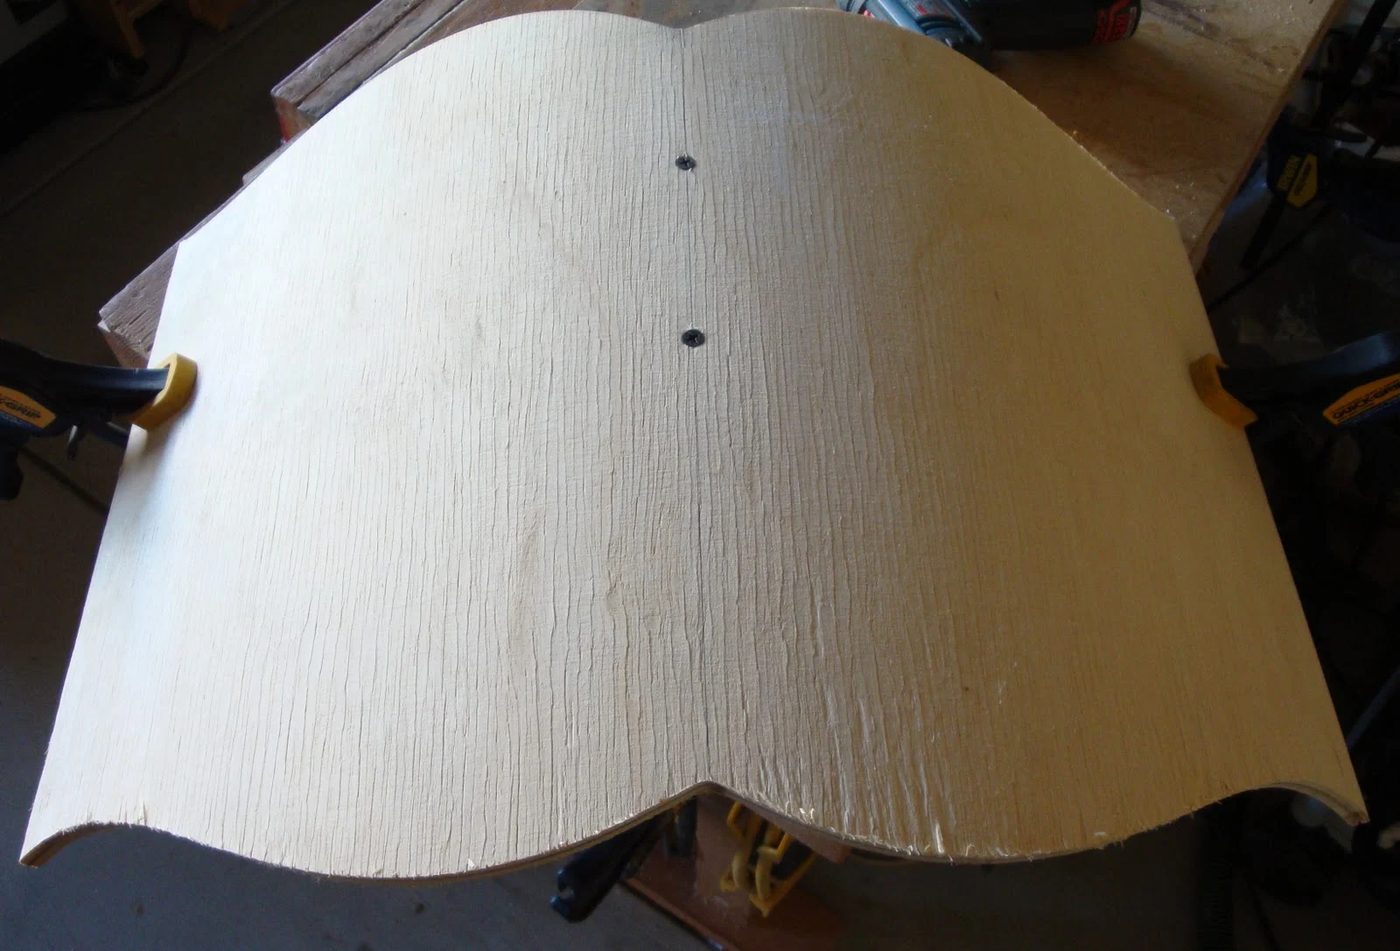
Here it is, in the rough, the curve looks even and everything looks square! Wahoo!
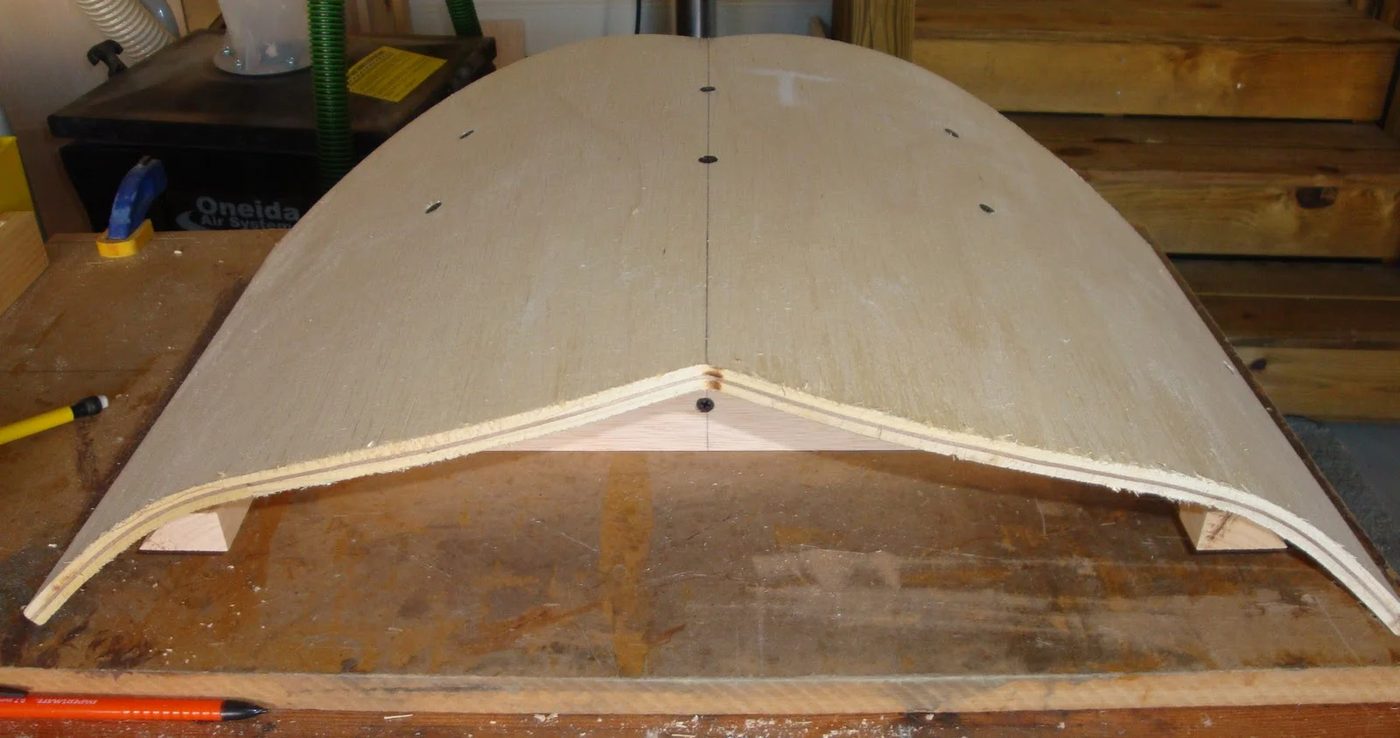
Now onto finishing the dowel supports. I cut the blanks and positioned them in place.
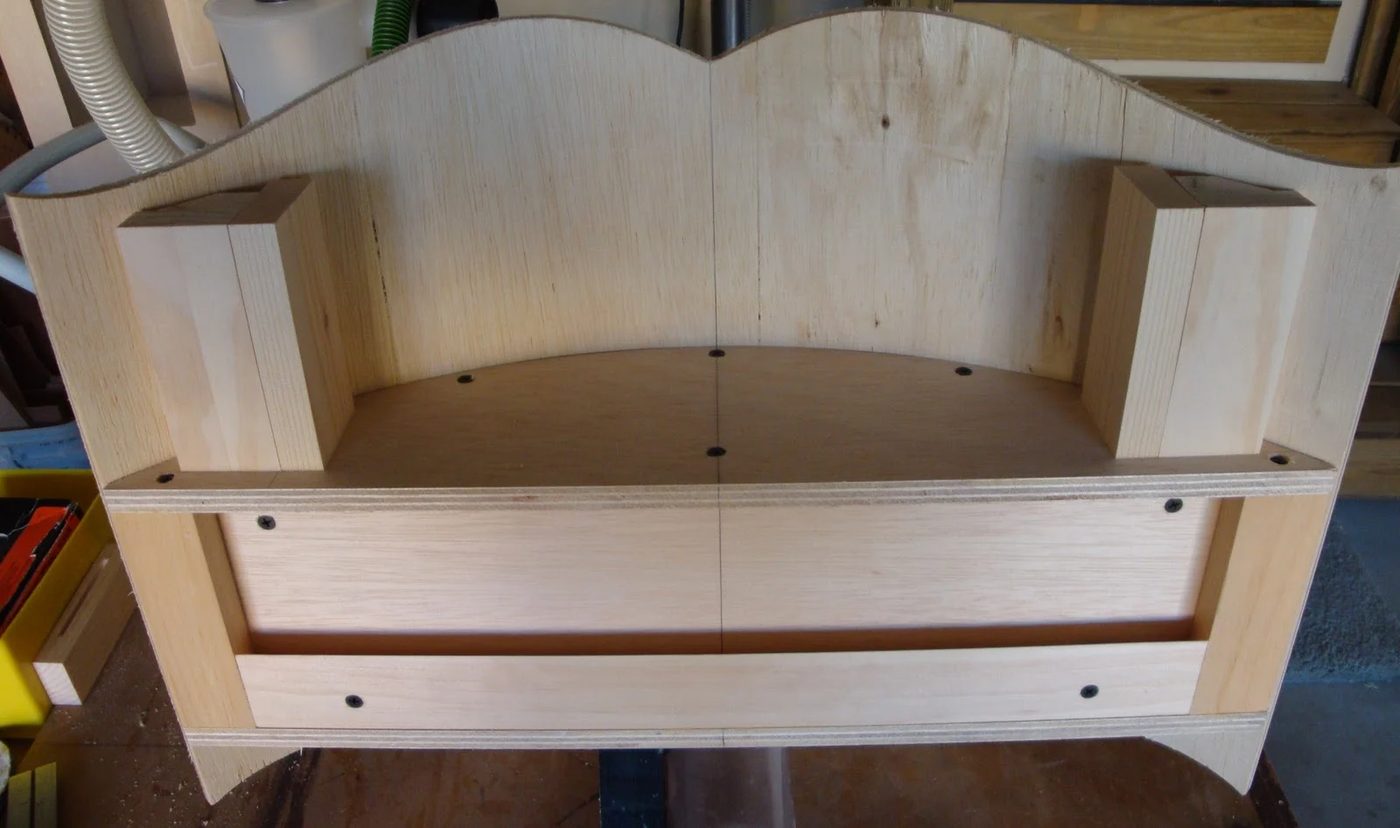
I cut the hole and the slot.
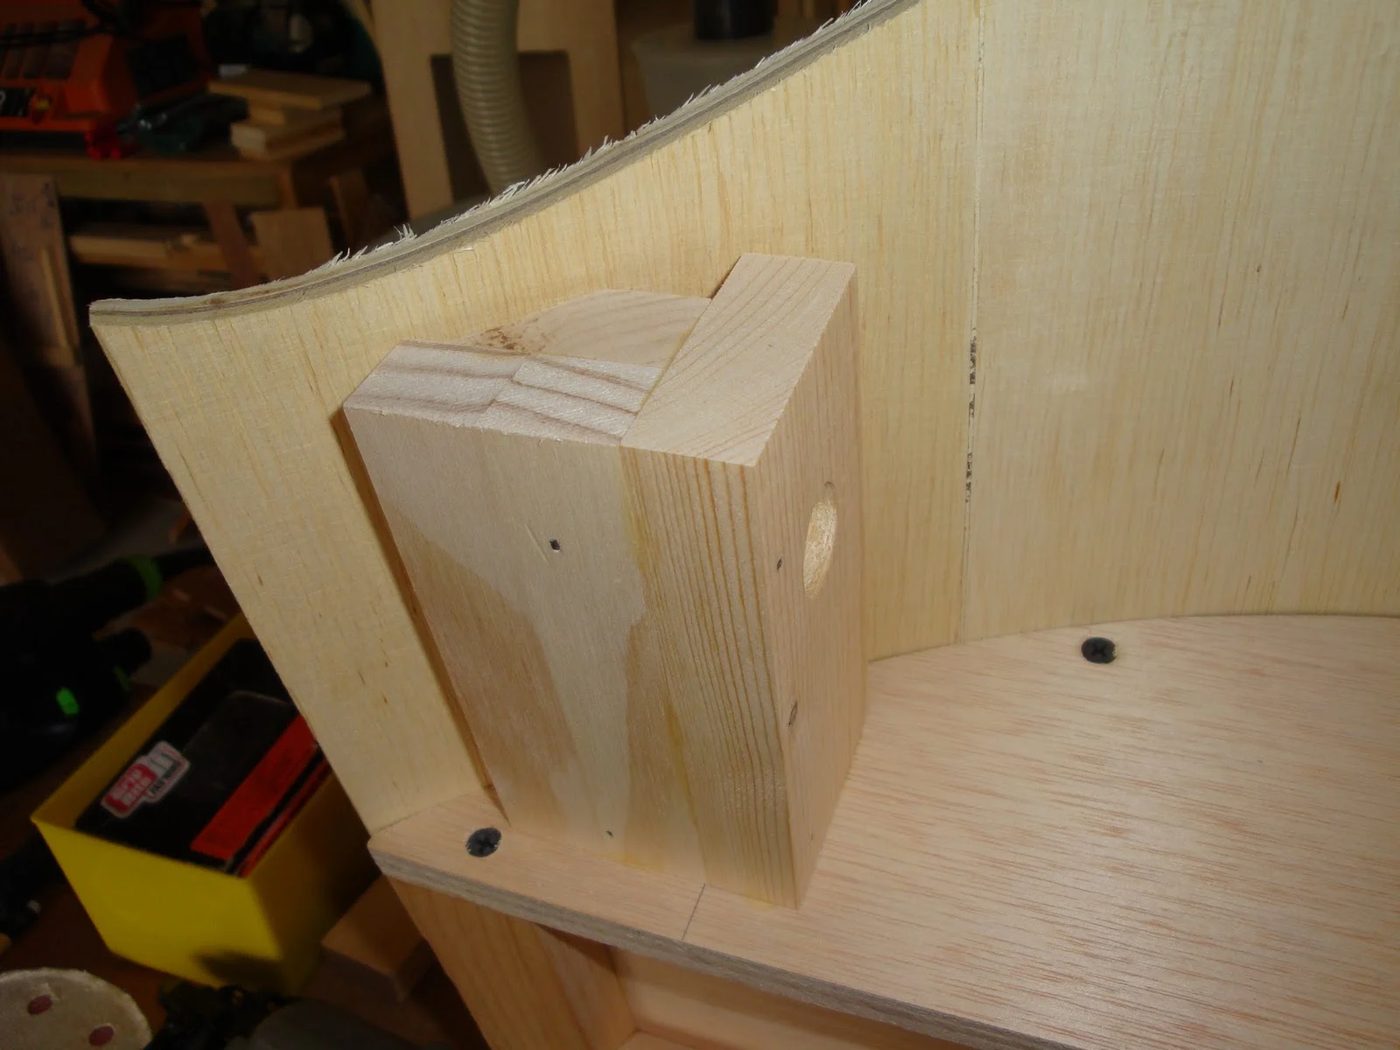
I mark the length of the 5/8 inch dowel and cut it to size on the band saw.
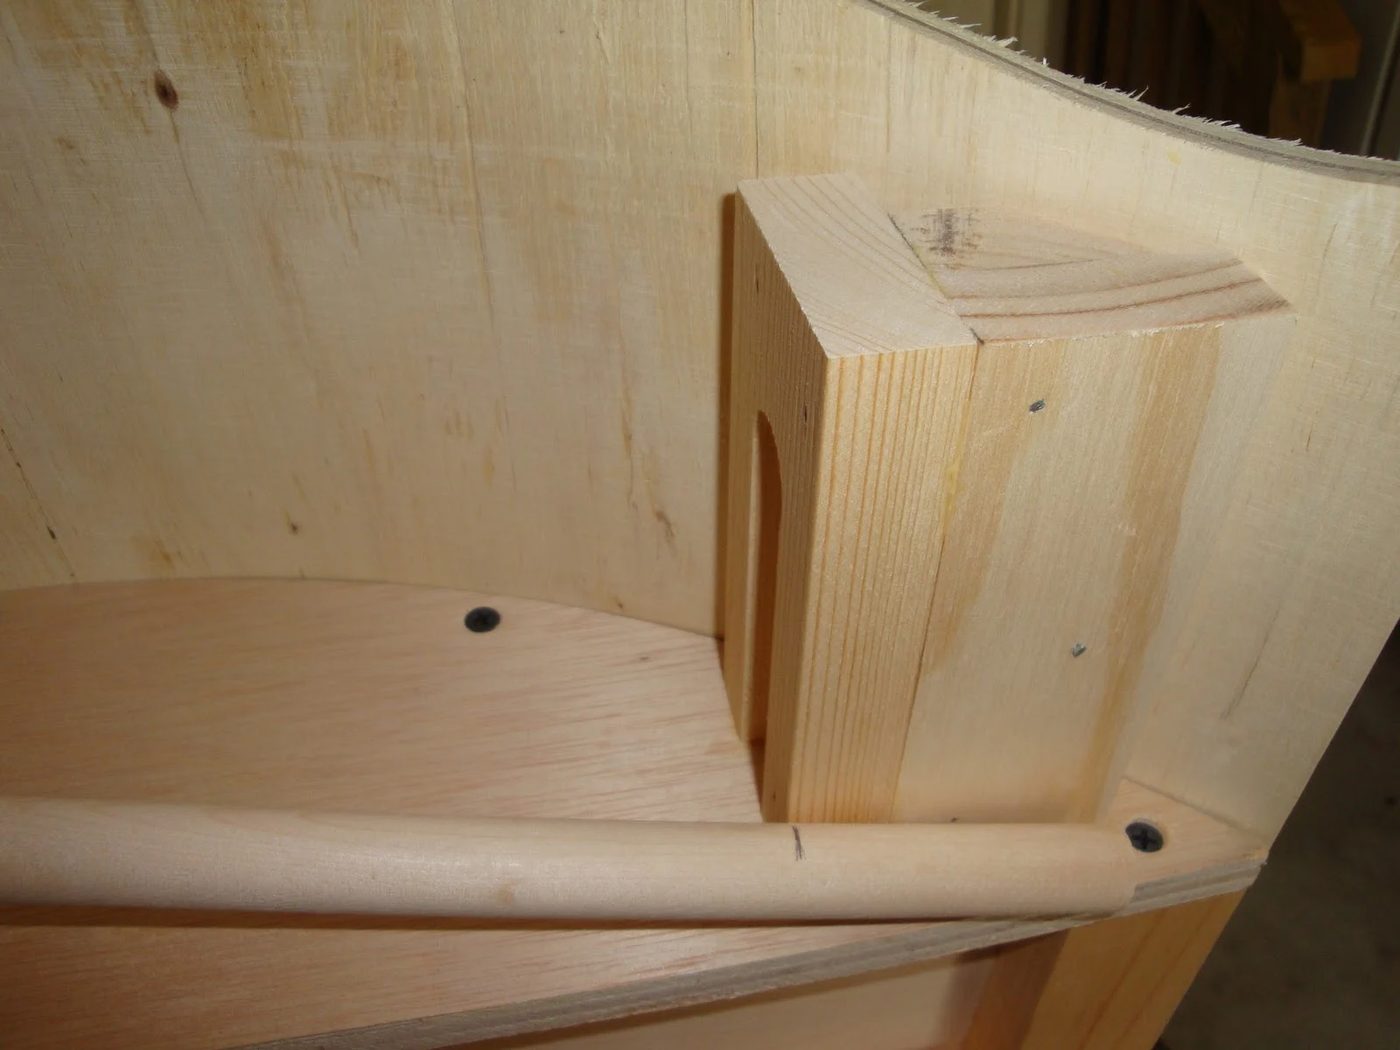
Good fit! It should just clear the round hole with the opposite end as far into the slot as possible.
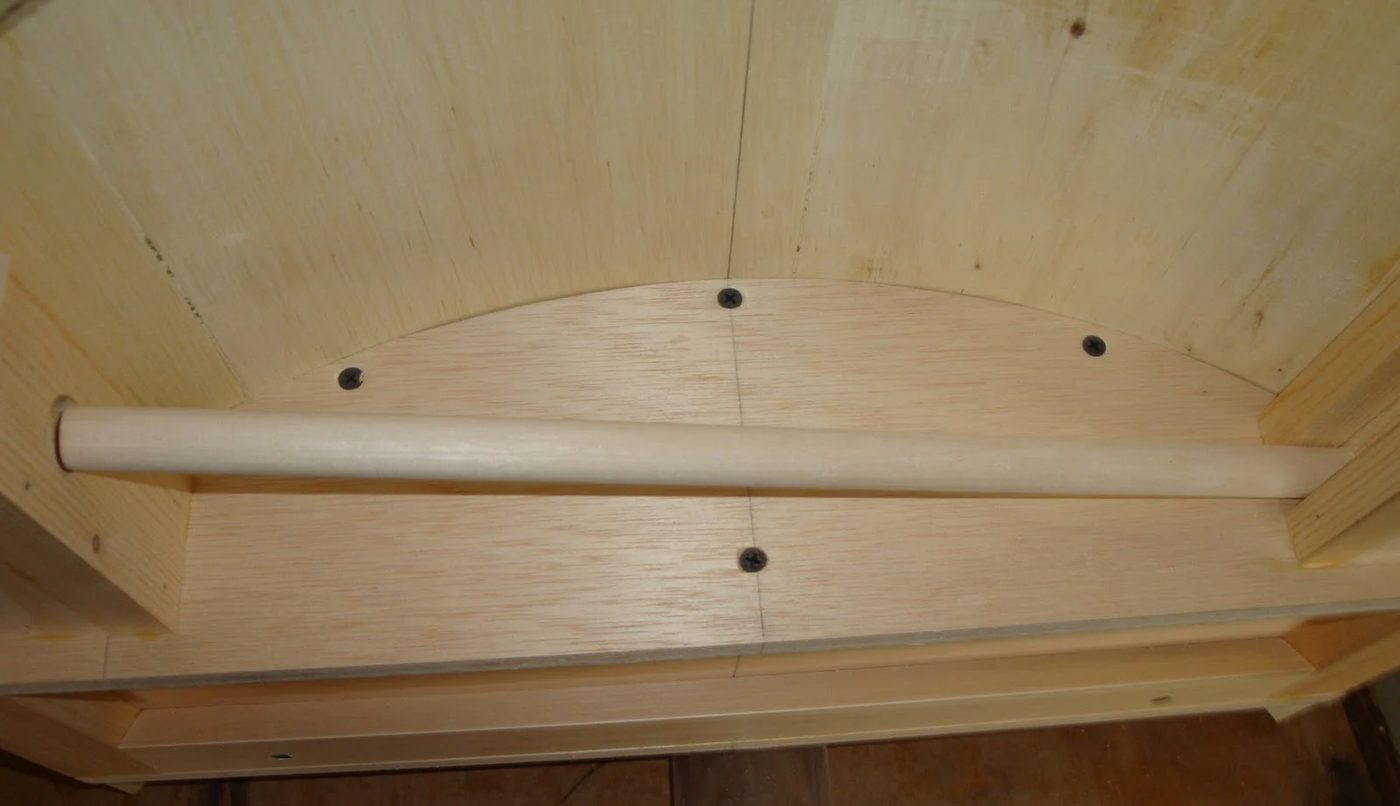
Always good to test it tho… Ahh, that’s not falling out.
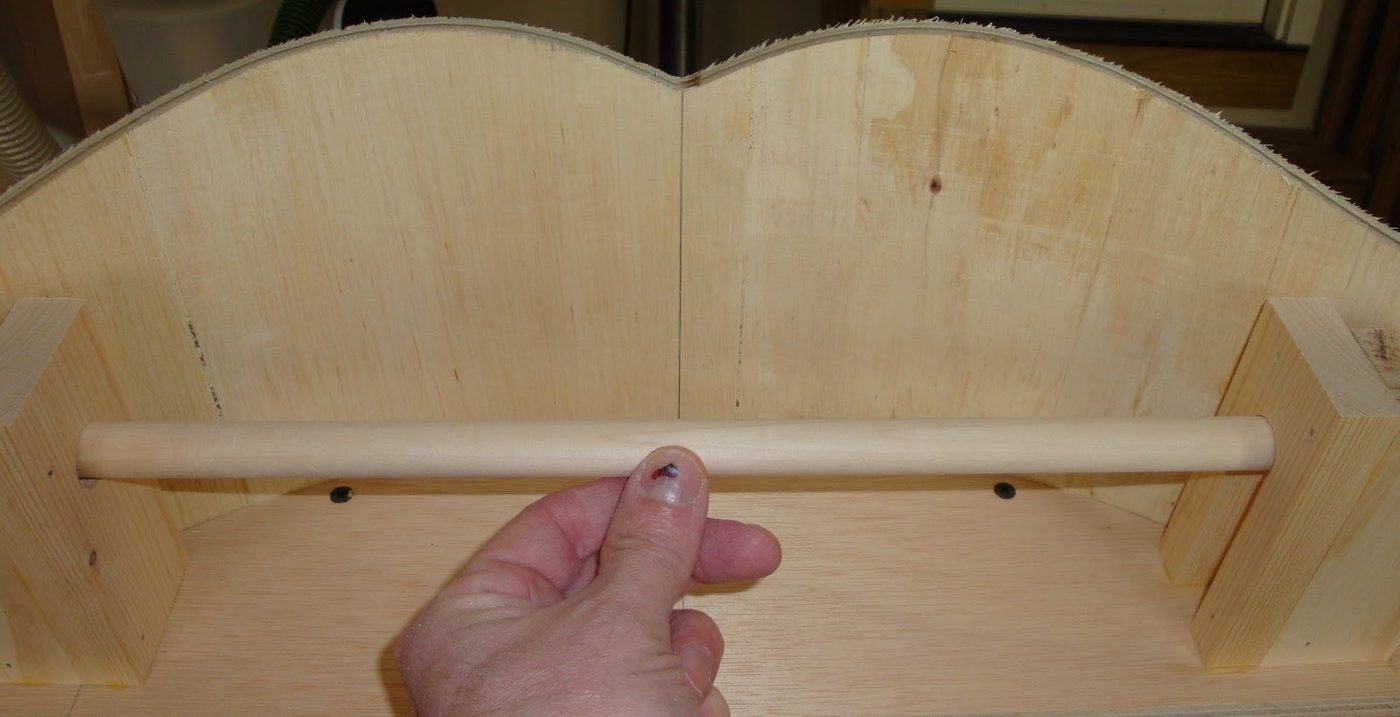
I put a screw in each after I glue and brad nail them into place… there’s no way that dowel is falling! Over engineering never hurts!
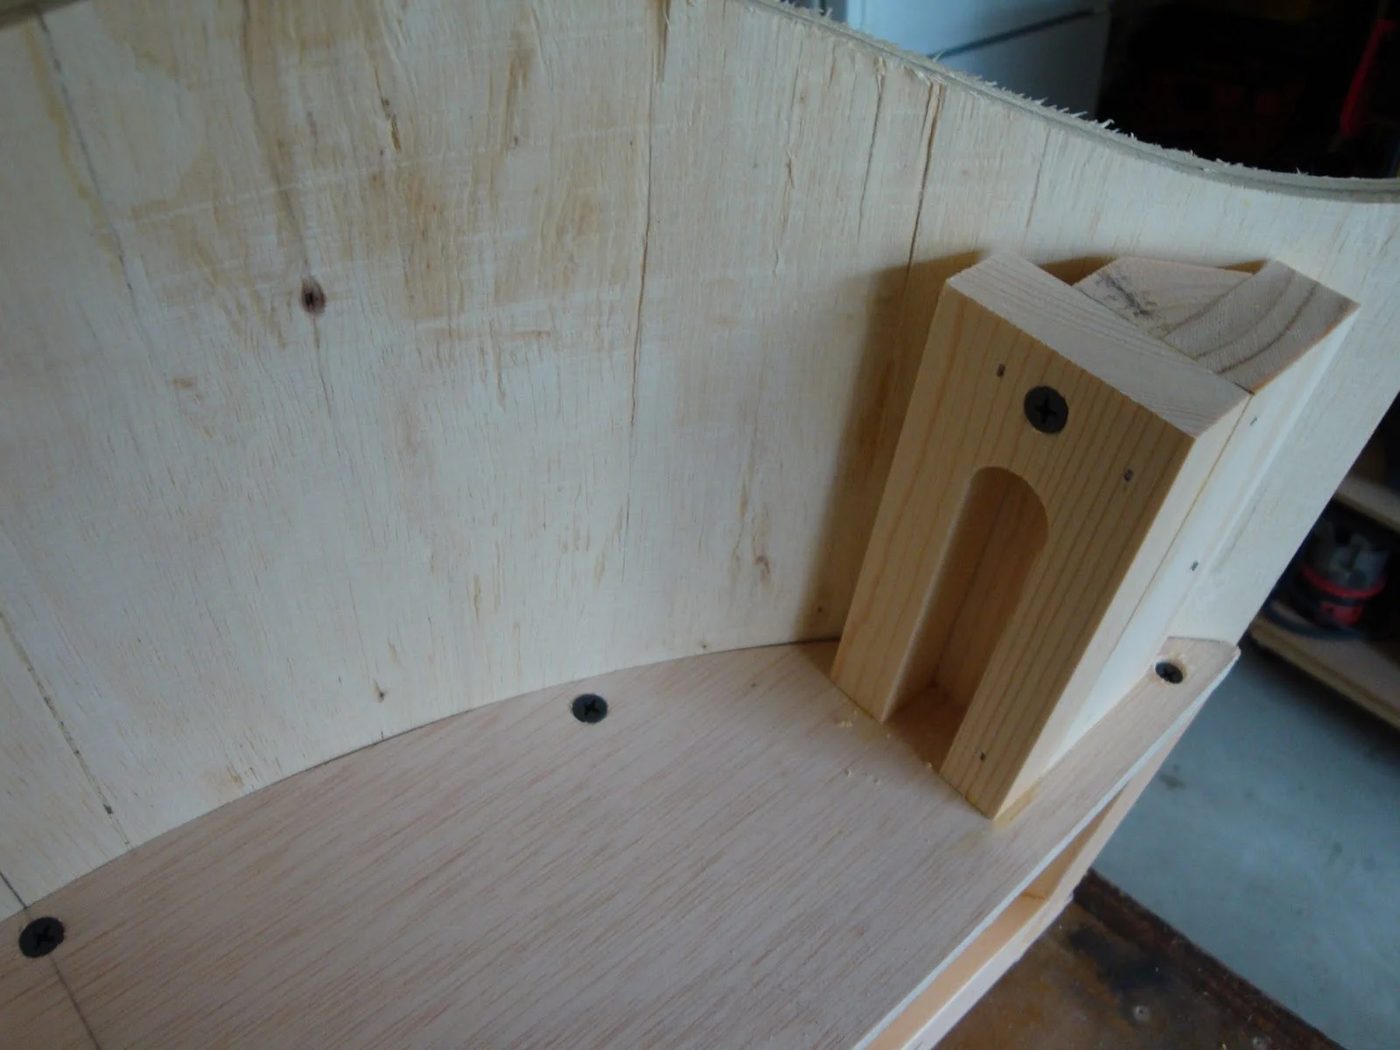
I sand all the edges by hand and fill the screw holes with joint compound. Yep, joint compound, same stuff they use to cover the drywall screws in your walls! Bondo (stuff they use on car body repairs) would work too, but even I think that would be a bit much!
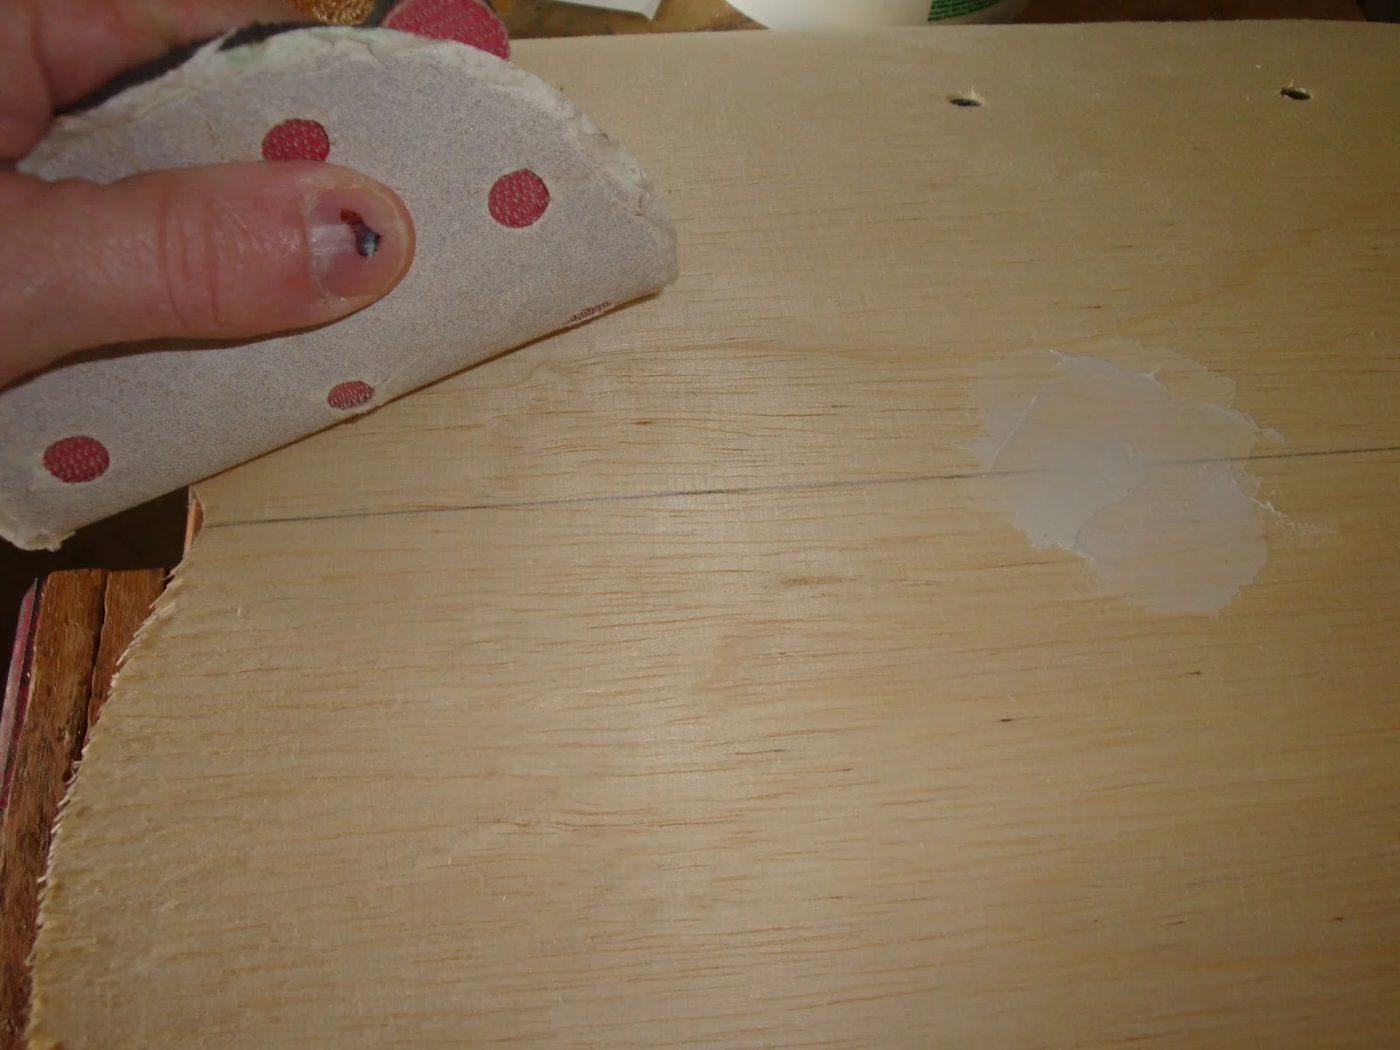
I also put a layer of joint compound along the edge to strengthen it up a bit. Most of the compound you see in this photo will be cleaned up with my Festool sander. Which is great for this because the dust extractor removes all of the dust. We all know what kind of mess you get when sanding joint compound. (cough, cough)
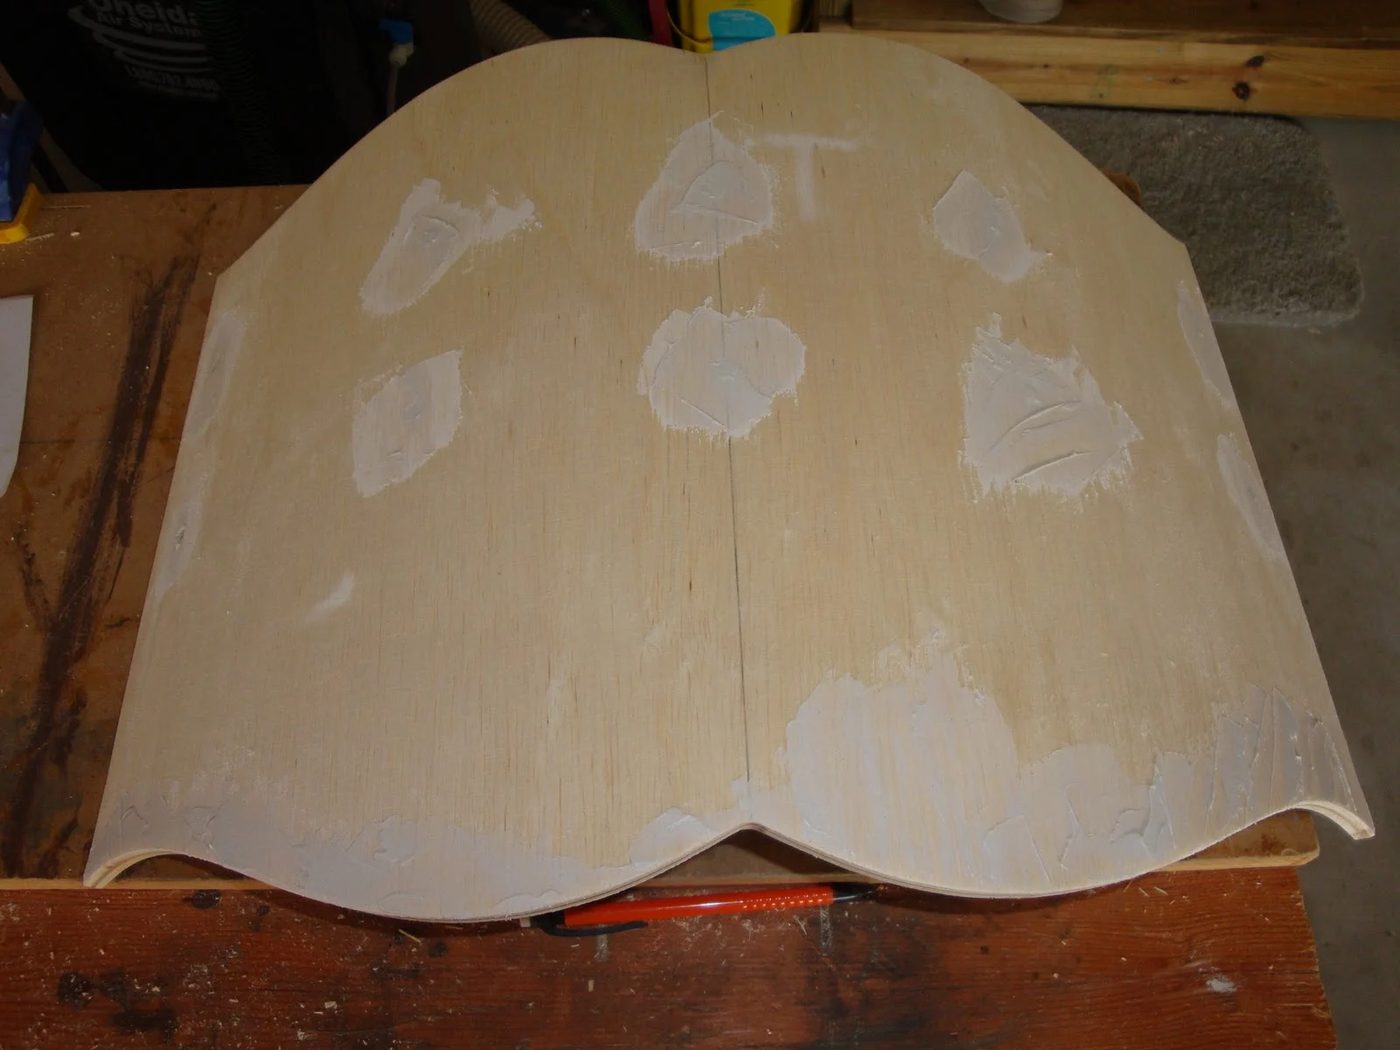
Here it is after the first sanding. First sanding? You say. Yep, I need to apply a second coat of joint compound and let that dry.
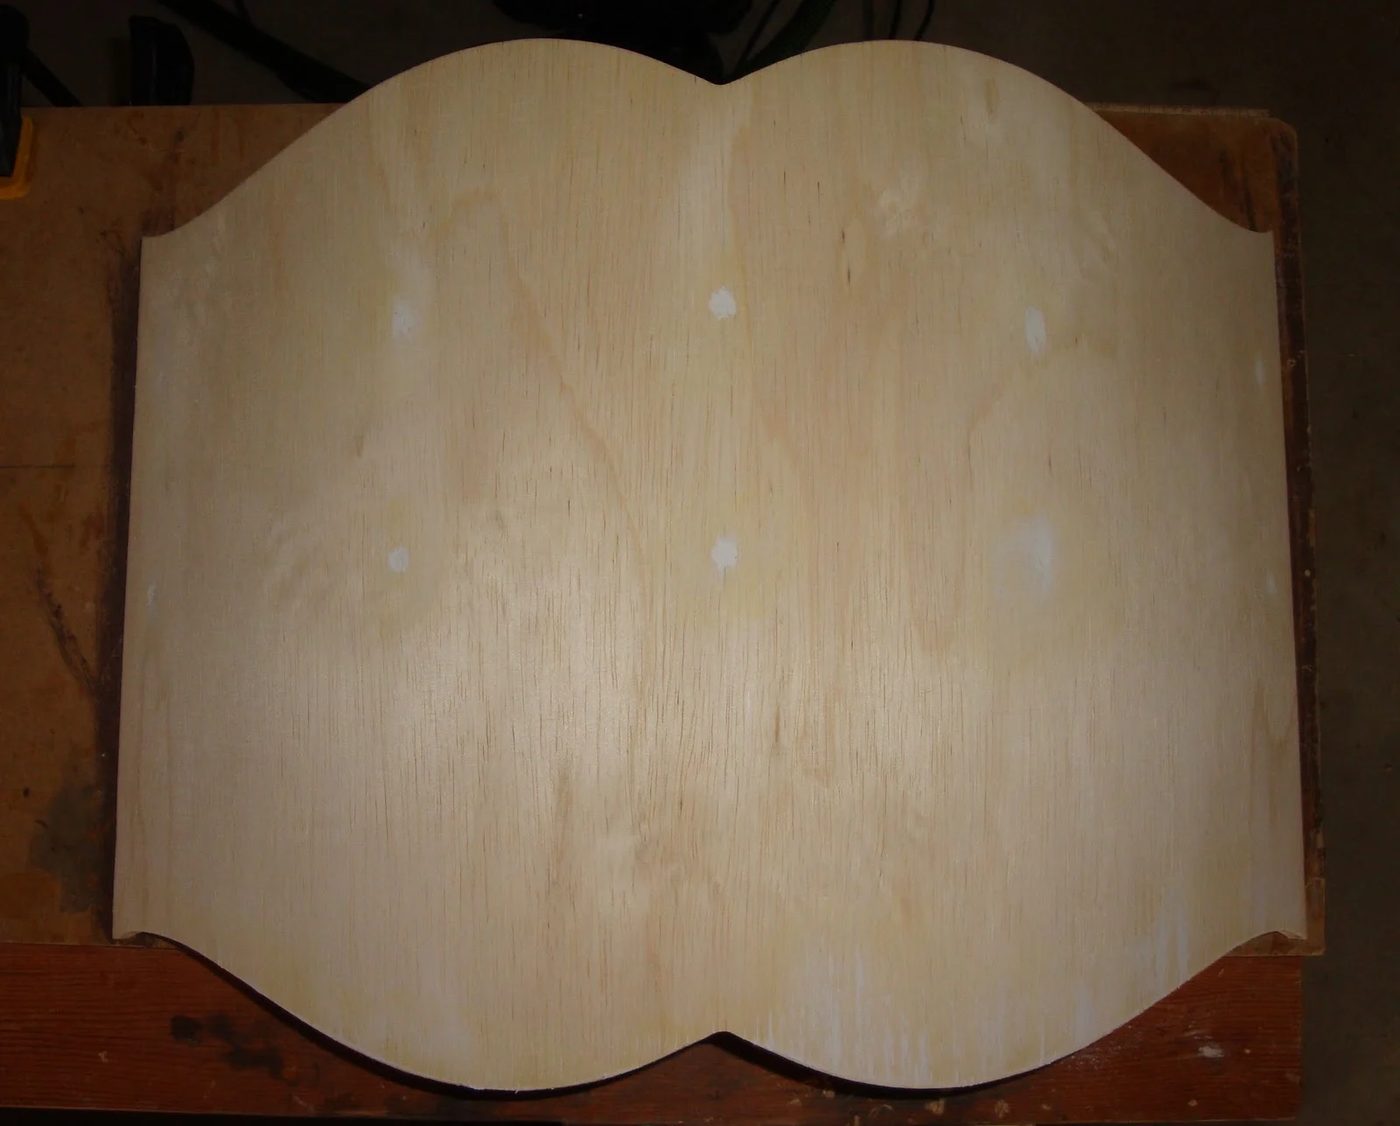
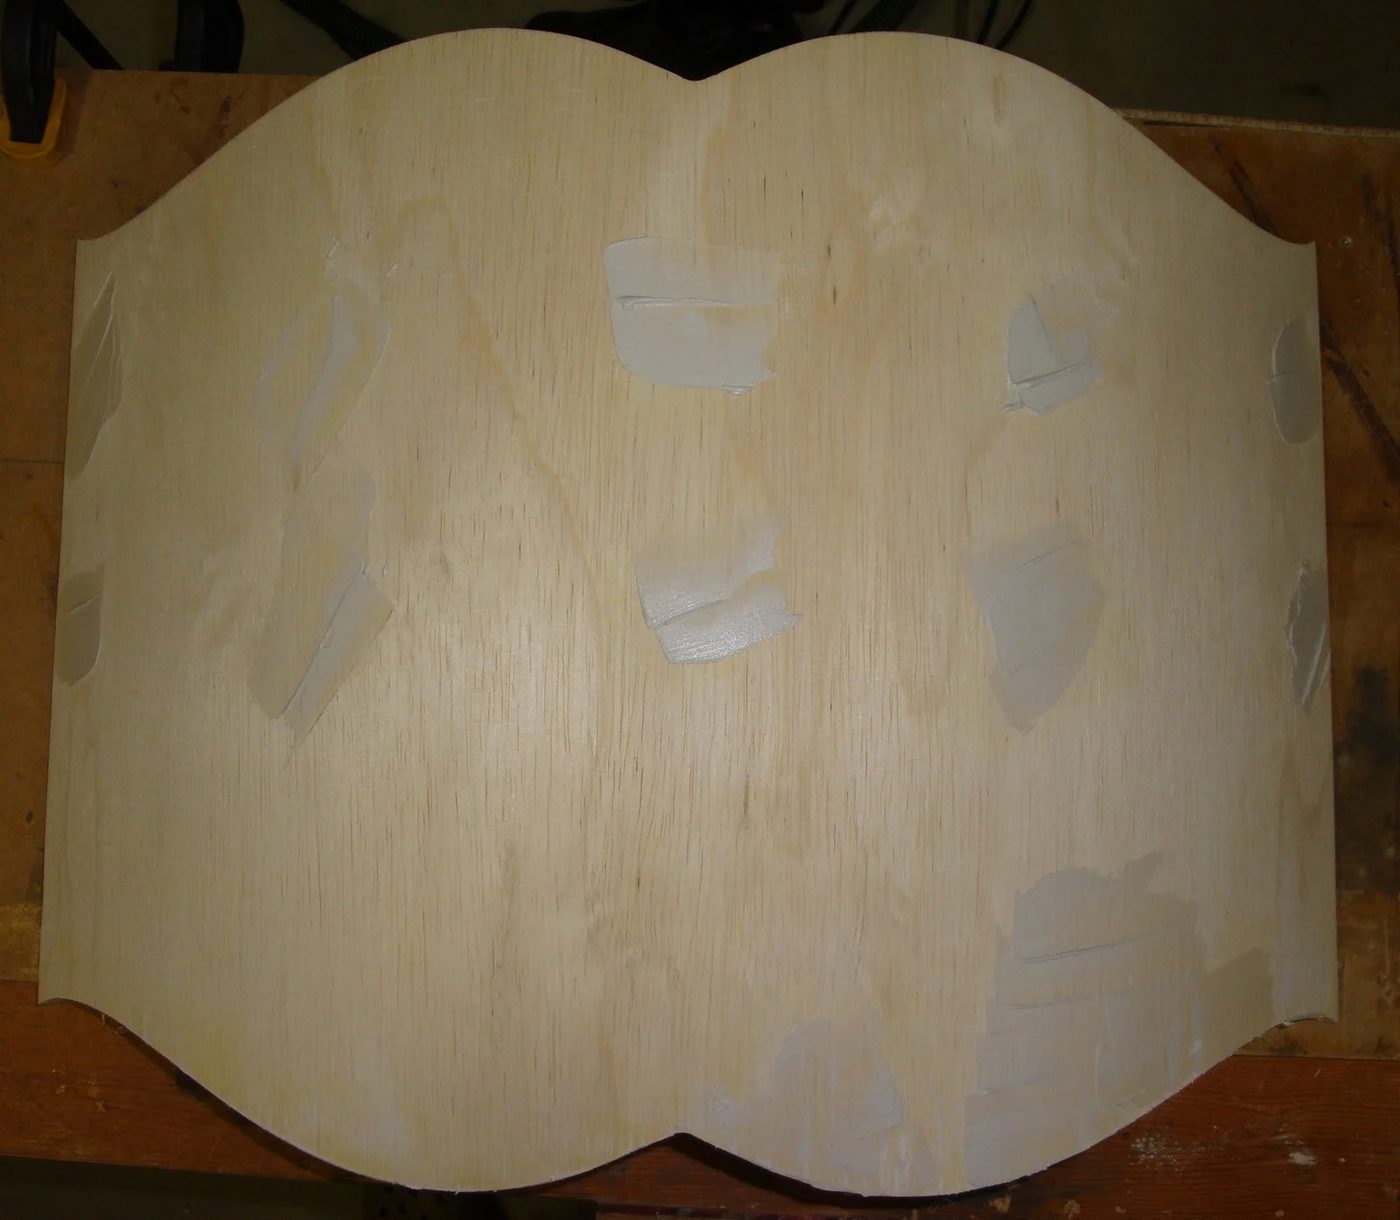
Now for the second coat of joint compound, just like the drywallers do!
Its starting to look good! Next is primer and paint. Here’s what a coat of primer looks like…
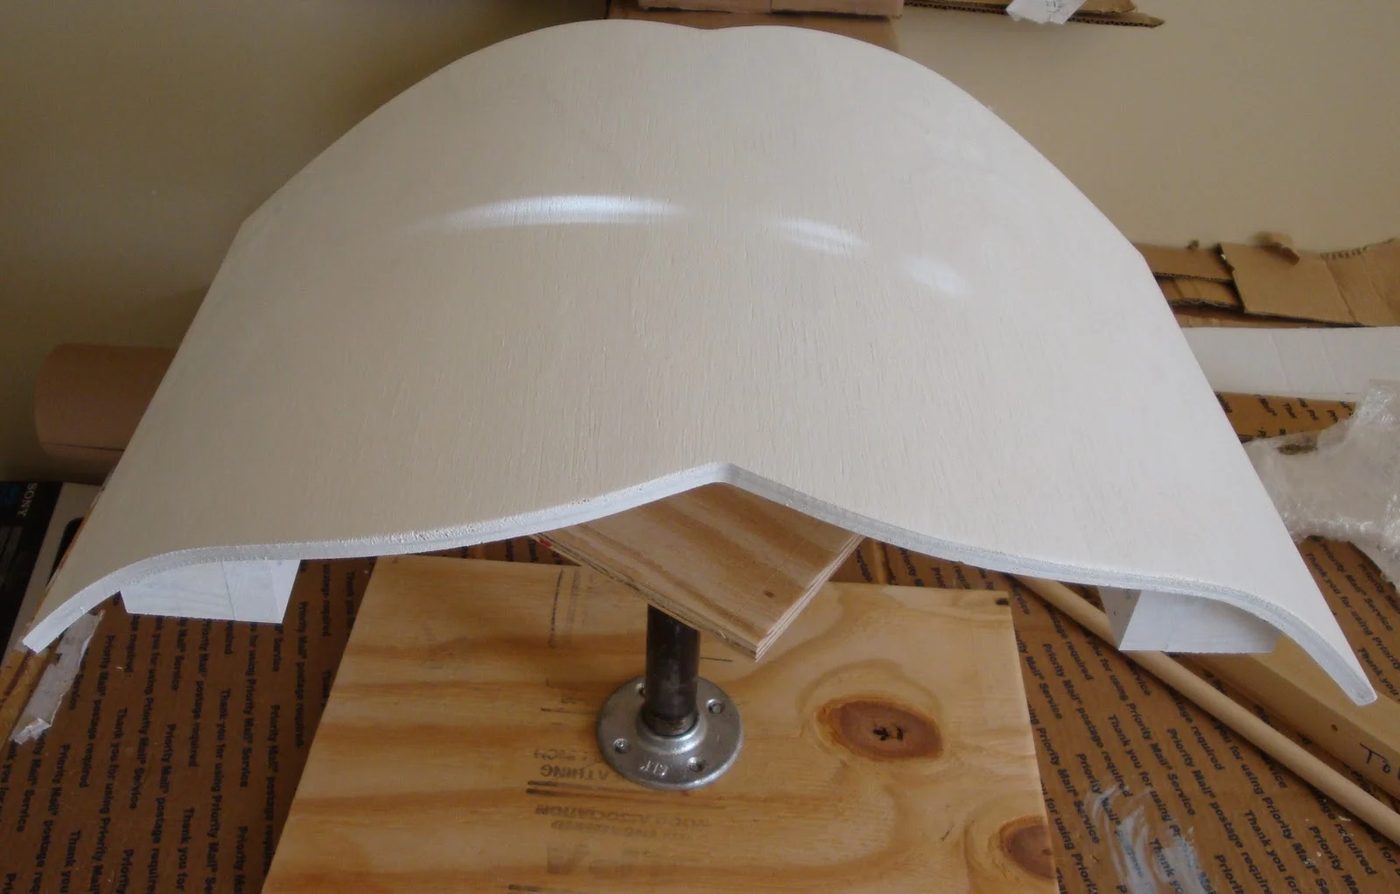
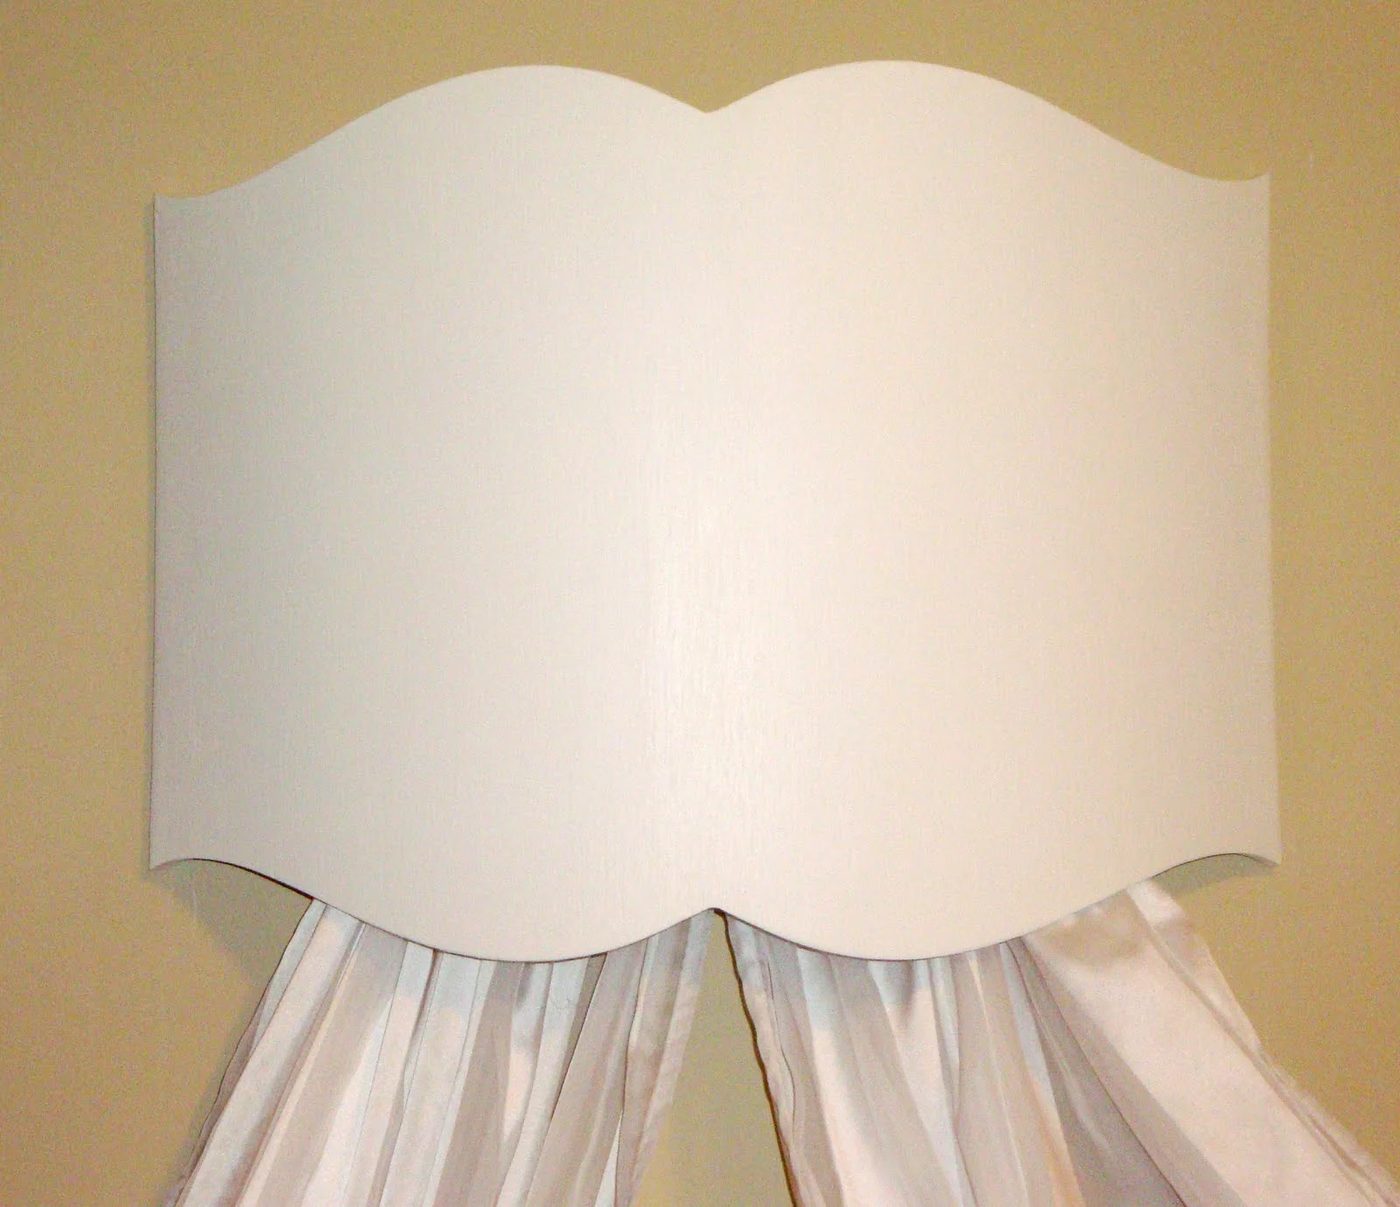
After a coat of primer and two coats of paint, its looking pretty good!
I hope you liked this post, remember feel free to leave comments, suggestions or anything else!
So what do you think? Is there any truth to Fibonacci’s golden ratio?