Read the sequence from the top before cutting, painting, or moving pieces.
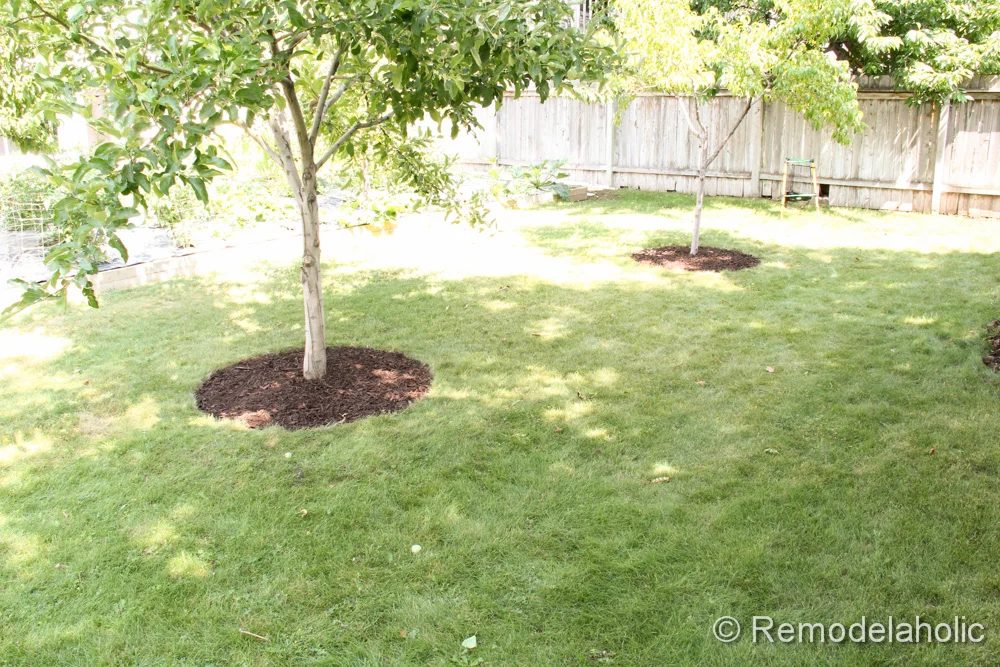
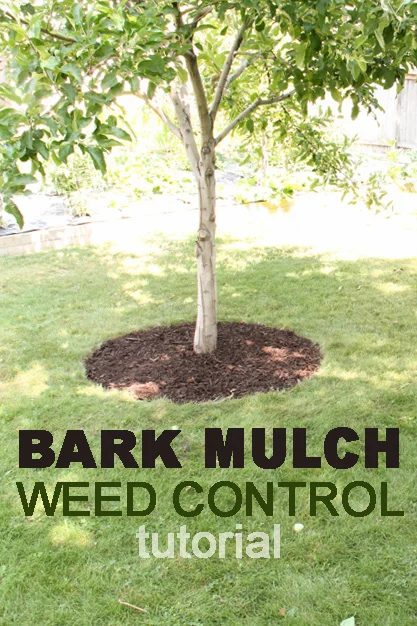
We have 6 fruit trees in our back yard, three of which are just in the middle of the grass. I was so tired of the weeds and having to trim the grass right up against my tree trunks, so I installed weed barrier and bark mulch. This is a great thing not only for the trees health, but for the look of the yard and the ease of maintenance around it. But you have to do it the right way or it can hurt and possibly kill your trees!
I looked up a bunch of good sites online to make sure that I was doing it right. Here are the sources that I came across that were very helpful. They have a lot of good information.
- NC State University: Mulching Trees and Shrubs
- Trees Are Good: Proper Mulching Techniques
- All About Lawns: Mulch Around Trees for Weed Control
Some Benefits of Mulching Around Trees in Lawn Areas.
- Improve the look of your lawn area.
- Reduce weeds around the tree.
- Keep lawnmowers and grass trimmers from scaring tree trunks.
- And many more benefits in the articles listed above.
Tools Needed
- Shovel, spade or flat or both. Use the shovel to cut out the grass around the circle edge.
- Rake for leveling the ground and mulch.
- Wheelbarrow to place the cut sod in and any weeds.
- Spray Paint for paint the tree ring.
- Hammer for setting the staples.
- Gloves
- Sod knife (optional) for cutting the sod and use in other parts of your yard.
Materials Needed
- Weed Barrier Fabric for under the bark mulch. $10 for 50 feet.
- 4″ Garden Staples to keep the weed barrier from moving. You can get a ten pack for under $2.50 or cheaper if you buy in bulk.
- Bark Mulch. I used a dark brown chocolate color. For one tree with a 2 foot radius there is a total of 12.56 sq ft. At a depth of 2 inches you would need 2 cf of mulch. You can buy 2 cf bags of mulch for under $5 at most garden centers.
Step One
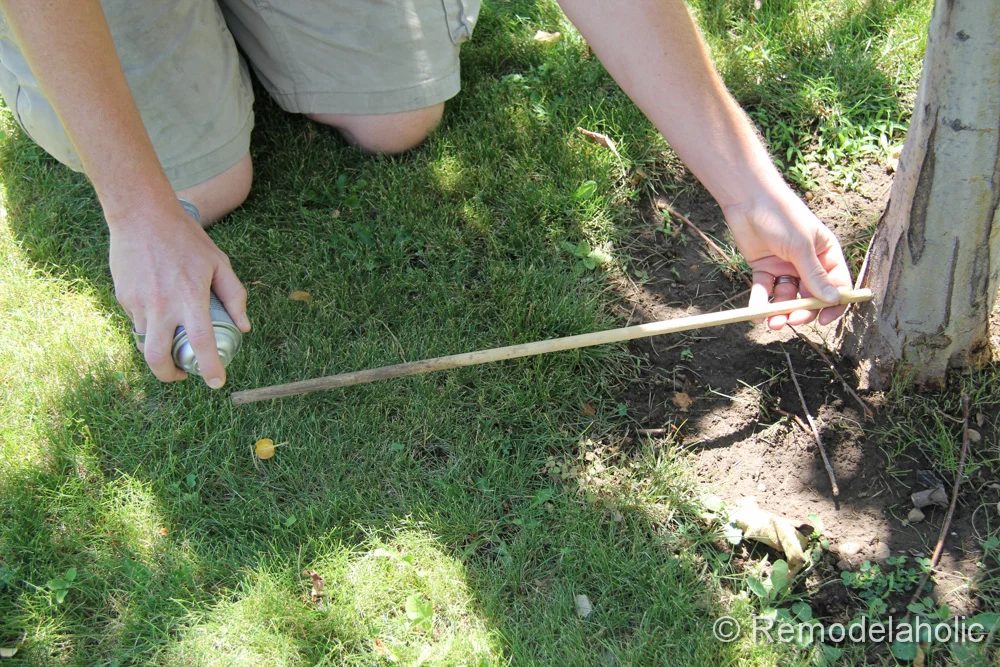
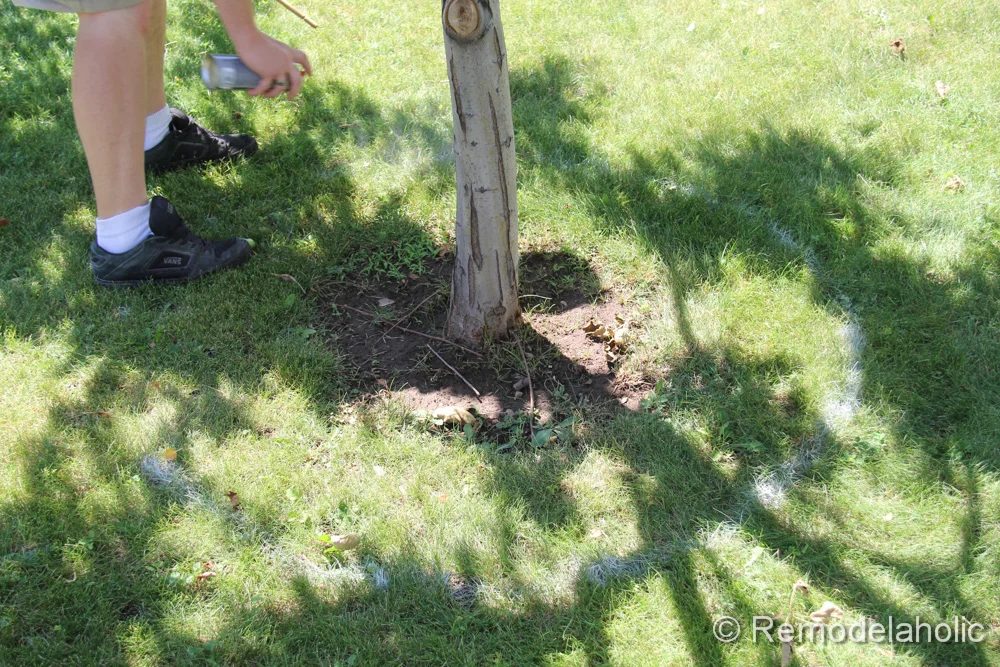
Paint a ring around the tree. Make sure to make a large circle around the tree. The wider the circle the better. We decided to do at least 2′ around these small fruit trees. We used a 2′ stick to keep the circle uniform.
 |
 |
Step two
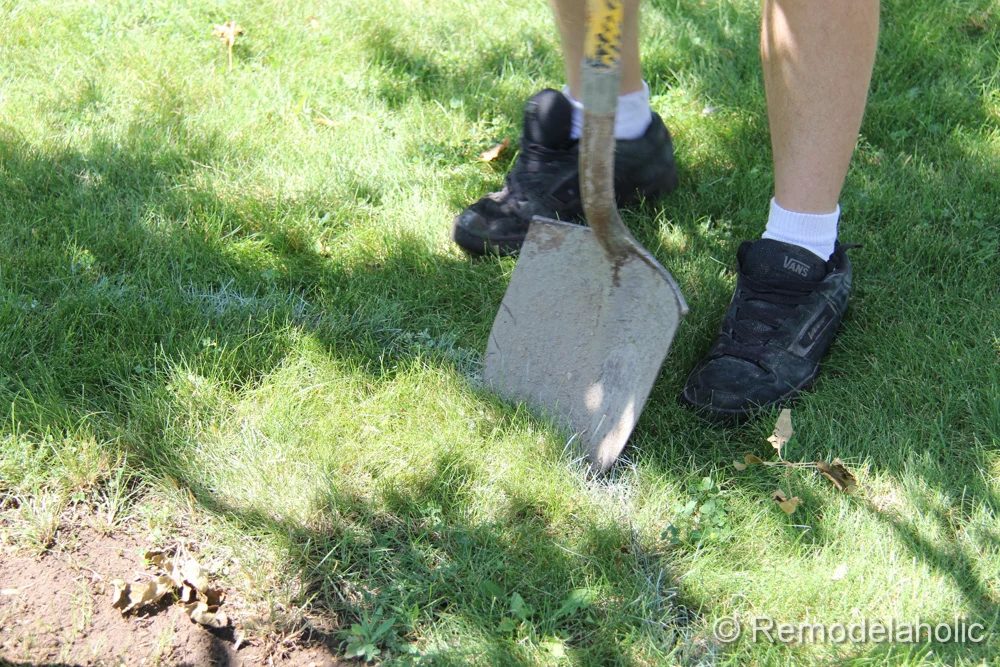
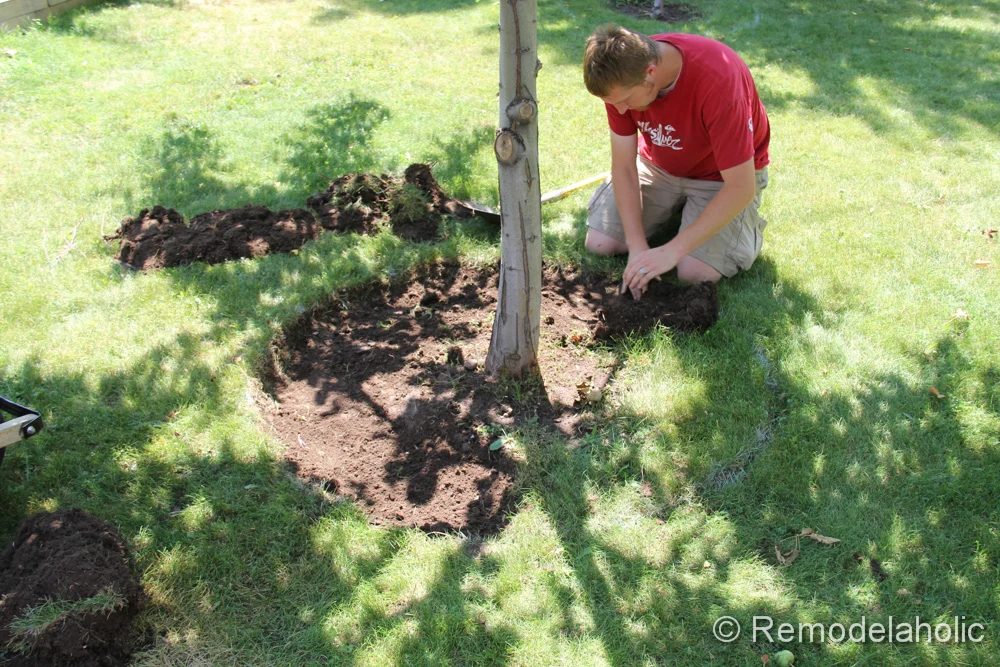
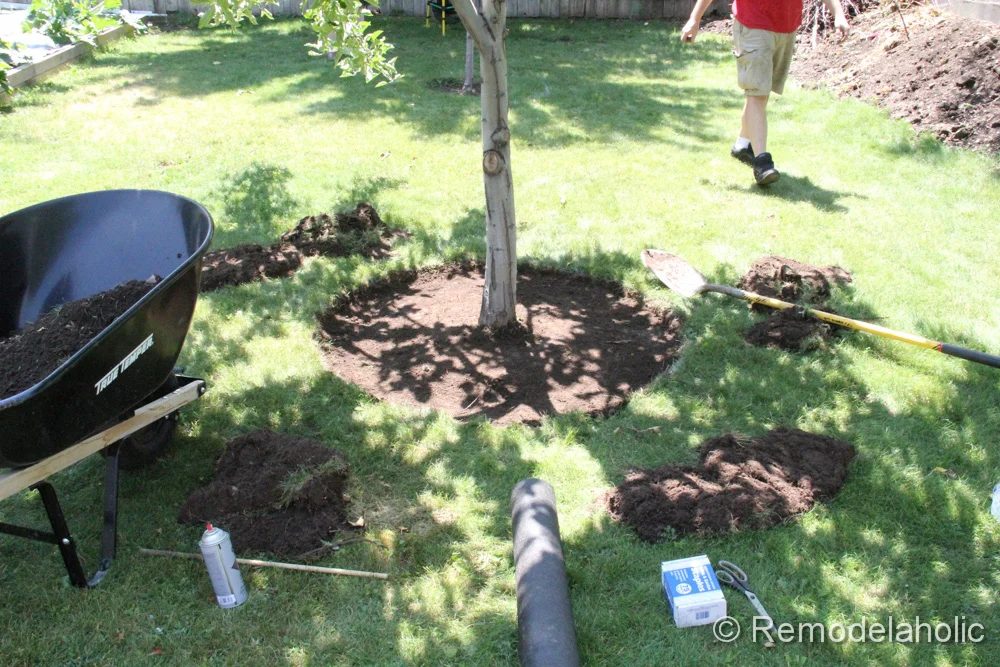
Remove all the grass and weeds from around the tree. Use your spade shovel to cut straight down into the grass where you painted. The flat shovel was good for cutting under the roots of the grass to keep the sod in big pieces.
 |
 |
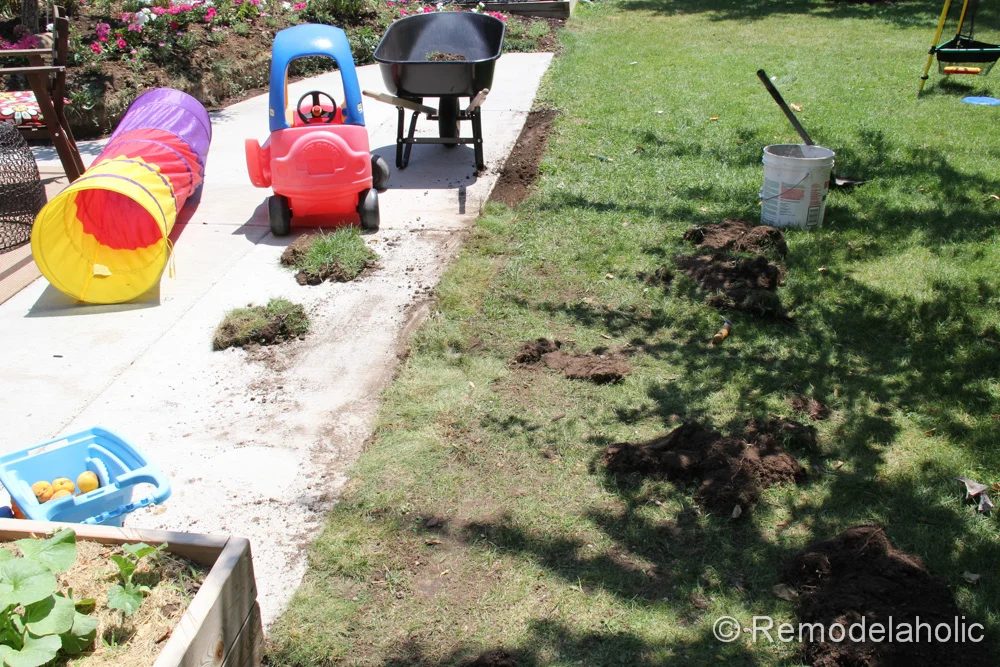
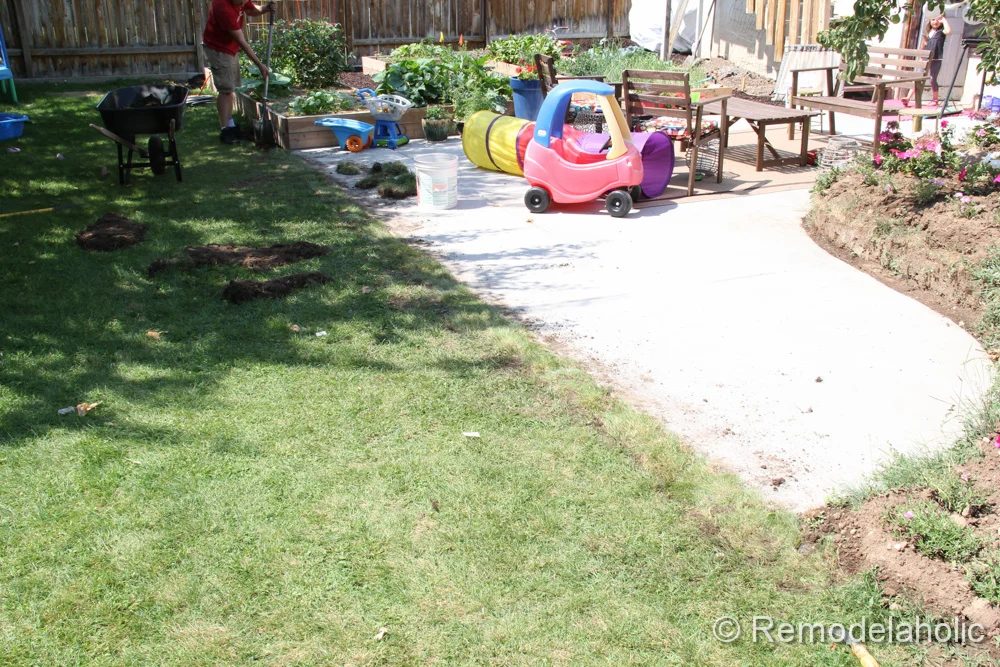
We wanted to save the grass for some patch work around the new patio and around the yard. It worked out perfectly.
 |
 |
Step three
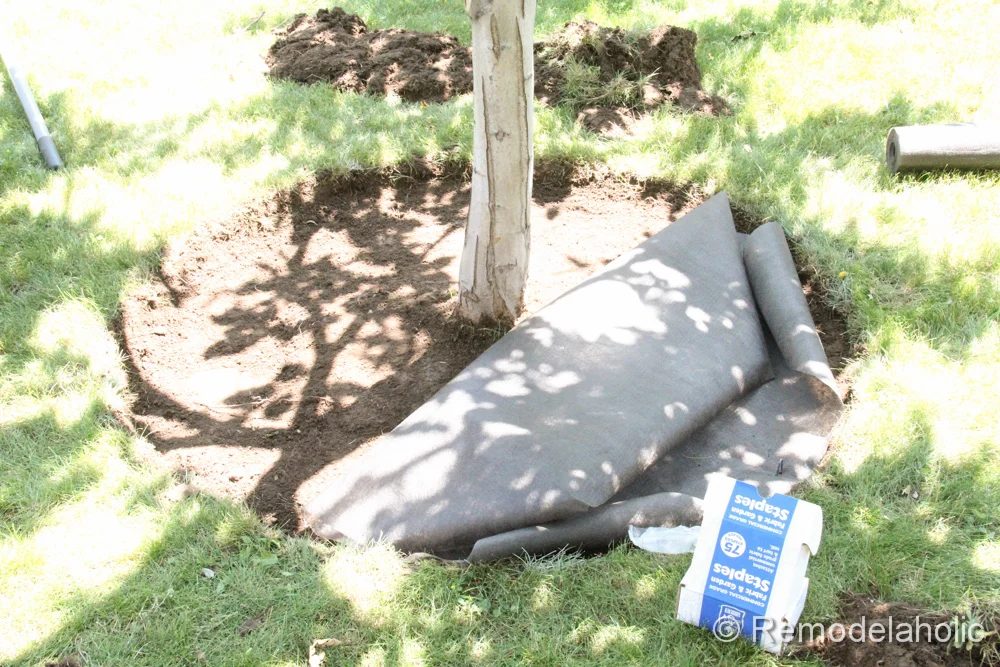
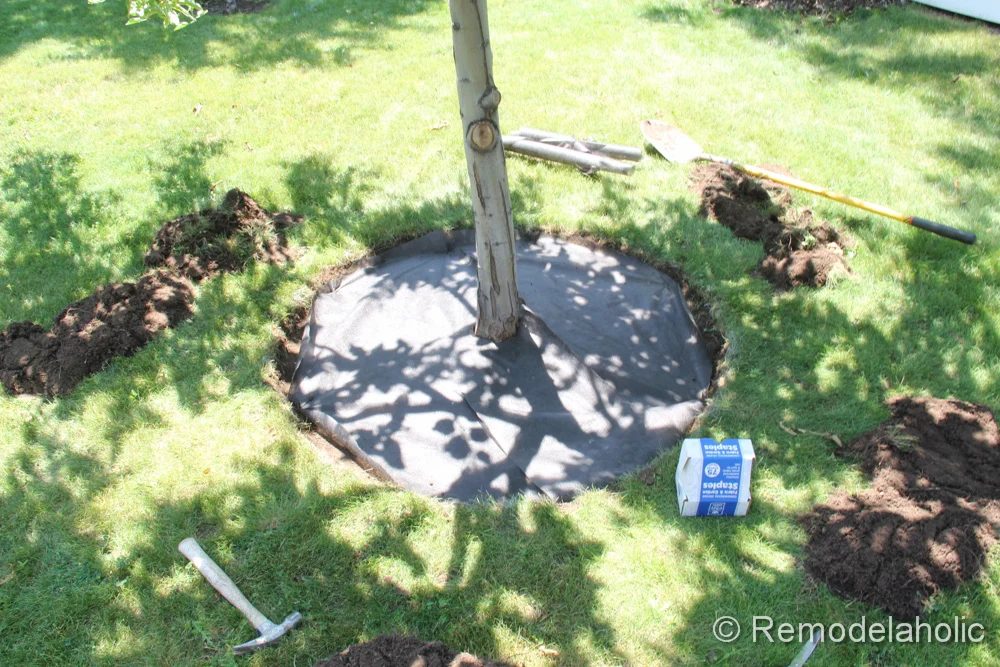
Cut out the fabric weed barrier and staple it in place. I think we used about 5-10 4″ garden staples. Just enough for the keep it from curling up while we poured the mulch on.
 |
 |
Step four
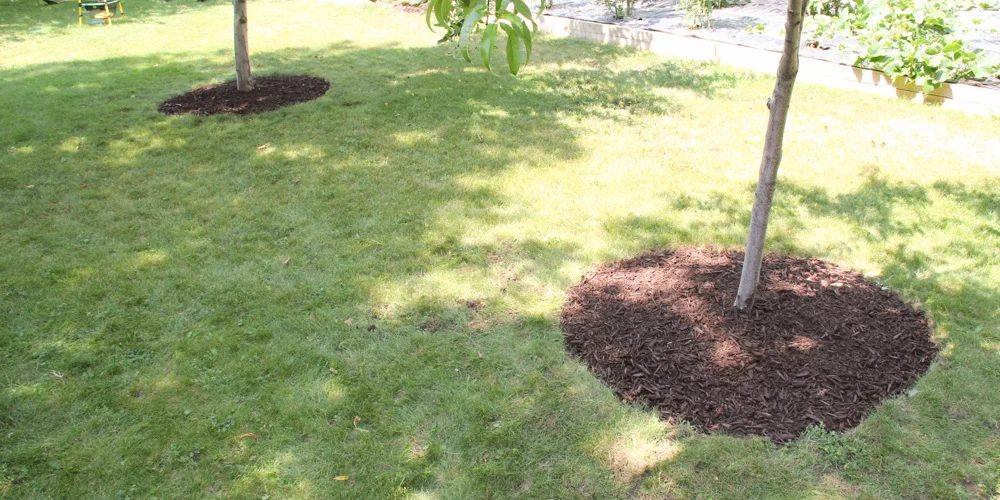
Spread out a layer of mulch. Just keep in mind not to cover up the root flares of the tree. Here is a good example of how the root flare should look. This particular tree doesn’t have big root flare, but bigger trees will. Any part of the tree that has bark should not be covered up. Trapped moisture could cause damage to the tree. This was about 1-2″ deep around the edges and not as deep by the trunk.
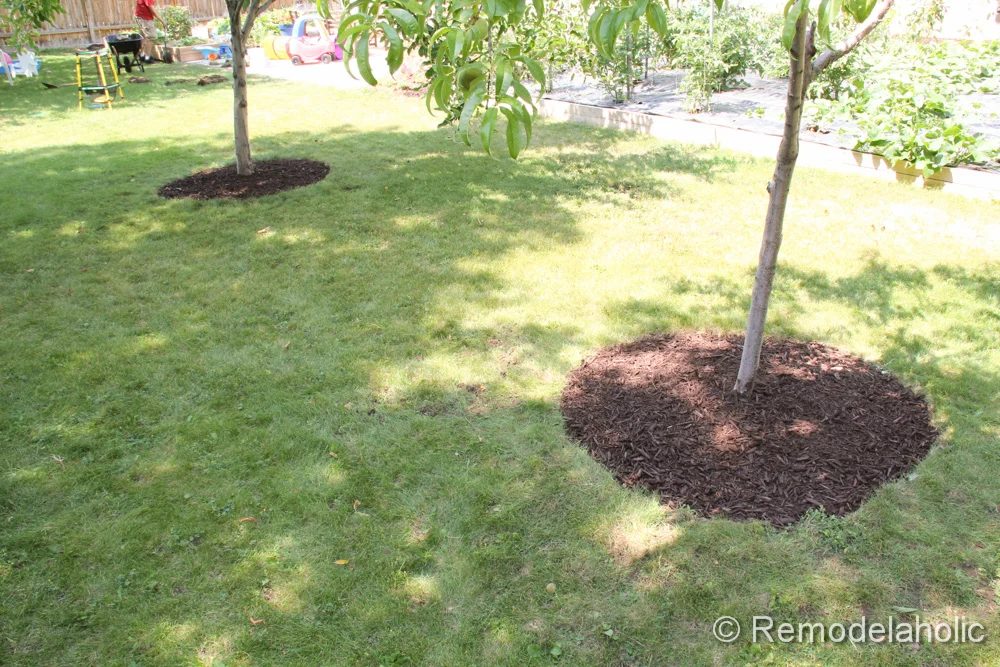
Doesn’t that look much better? The tree on the left is finished and the tree on the right will be next. This is the same mulch that we used on the paths in our raised garden box area. It’s nice to see the same material throughout the yard.
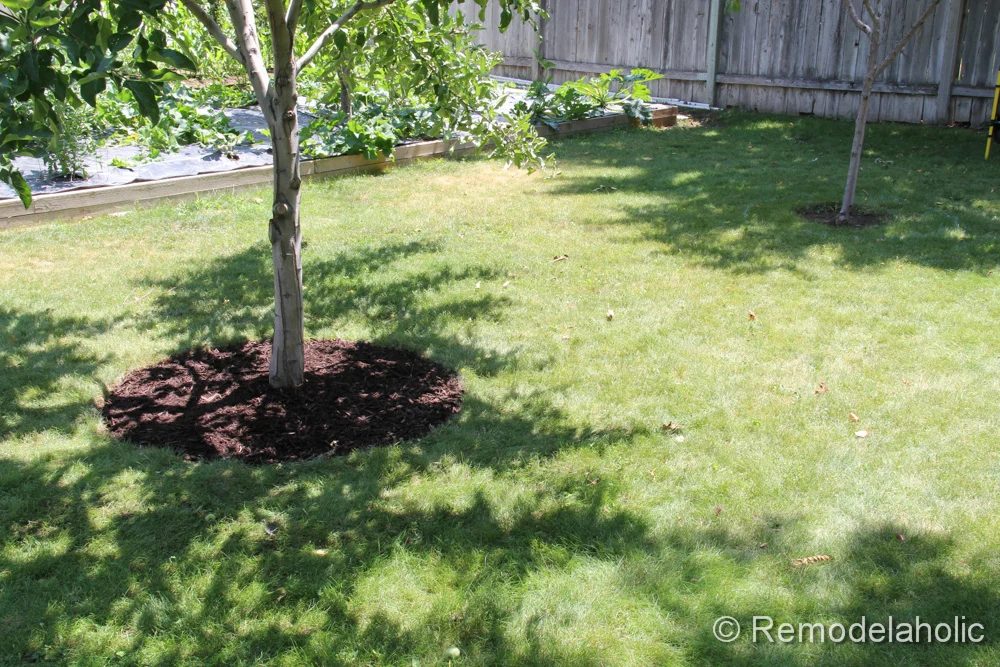
Now they are both done. This will make it a lot easier to mow around, causing damage tot he tree and I won’t have to trim at all.