This builds walkthrough stays in the order the work happens.
Now that you have seen our prep work for the Handmade concrete patio, we wanted to show you how we mixed, poured and finished the patio. Also, in case you didn’t see the plans for the backyard or the raised garden boxes, just follow these links.
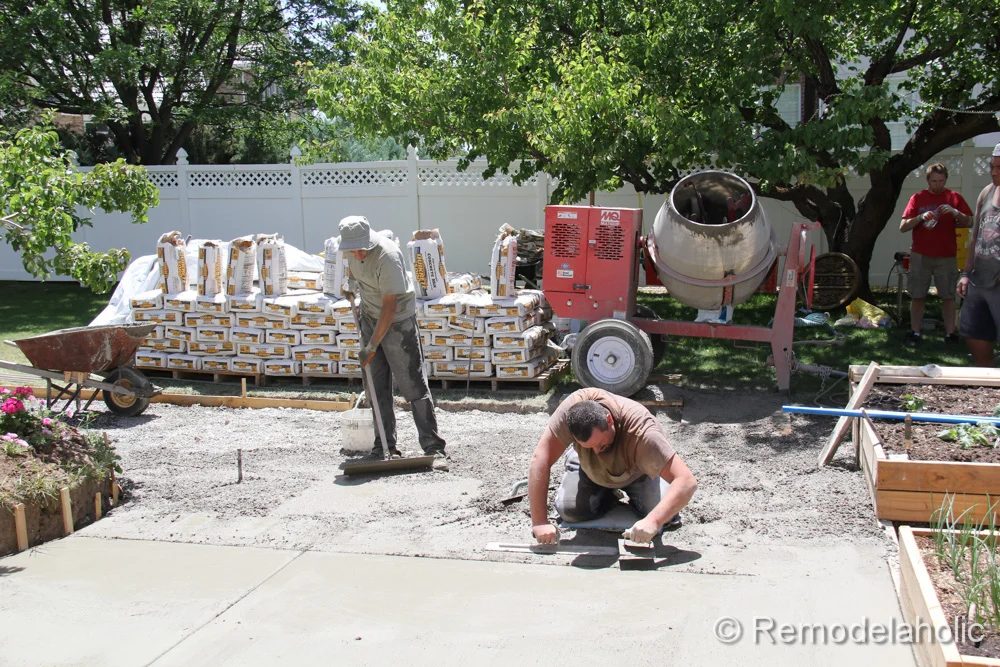
We decided that we wanted to try and pour the whole patio in a day. We didn’t want to have to rent the mixer longer then we had too. That meant that we had to get up early and do some final prep work, then start mixing. Dallin (my new concrete buddy) was confidant that we would be able to pull it off. Well, after the final prep work, we ended up starting to mix at about 8:30 am, let the LONG day begin!
Tips for Mixing, Pouring and Finishing the Handmade Concrete Patio
- Get a hose and nozzle ready, so you can turn the water on and off as you need it while mixing.
- Make sure that you can get the concrete mixer to the project site. Ours was in the backyard and luckily our side yard was wide enough to wheel the mixer back there(just barely). The wheel base for our mixer was 42″.
- Place the concrete mixer as close as you can to the project. We placed it on the gravel near the bags of concrete, so it wasn’t too far to carry the 80 lbs bags to the mixer. It also helped to keep it off the grass to keep from destroying it. Toward the end of pouring, we did have to move it on the grass. We wished that we had laid a tarp down(so lay down a large tarp under yours!! It was hard to clean up the concrete off the lawn afterwards.
- Buy gasoline for the mixer, so you have more fuel when it runs out of gas. We only filled it up once in a day, with about 2 gallons of gas.
- Wet the gravel before pouring the concrete. This will help it not to cure too fast while pouring it.
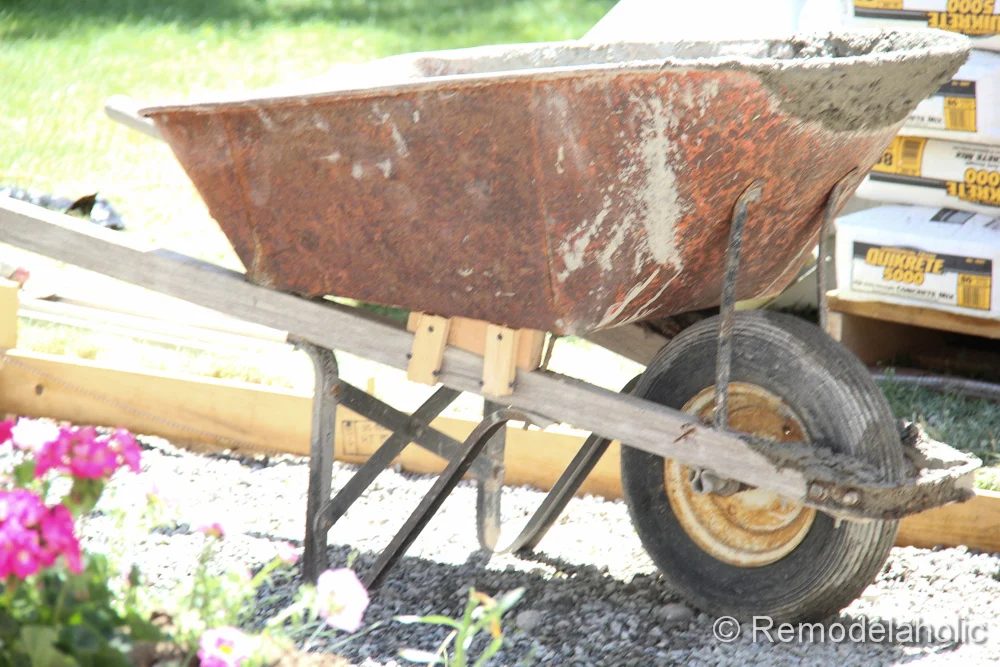
- Use a heavy duty wheelbarrow. Use one that can handle holding at least 200+ lbs of concrete at time. We had an old wheelbarrow that was great for concrete, but needed a little bit of love. We had to reinforce it on one side because it was so old.
- Wear work clothes. You will get really dirty mixing and pouring concrete, so wear something that you won’t mind getting concrete on.
- Wear a Mask. For those helping mix the concrete, wear a dust mask and safety glasses!!
- Wash off your tools and mixer often. Don’t let the concrete dry on your tools. It is really hard to remove when it dries. Also with a rental mixer, it would be best to wash it out often, through out the day. We didn’t wash it out enough through out the day and it was a pain to wash at the end of the day. There was concrete that had dried on the mixer that wouldn’t come of straightforward. We even used a power washer to try and get it off. I ended up washing it more at the Home Depot rental place, (with their higher powered power washer) because I didn’t want to pay a large fine for taking it back dirty.
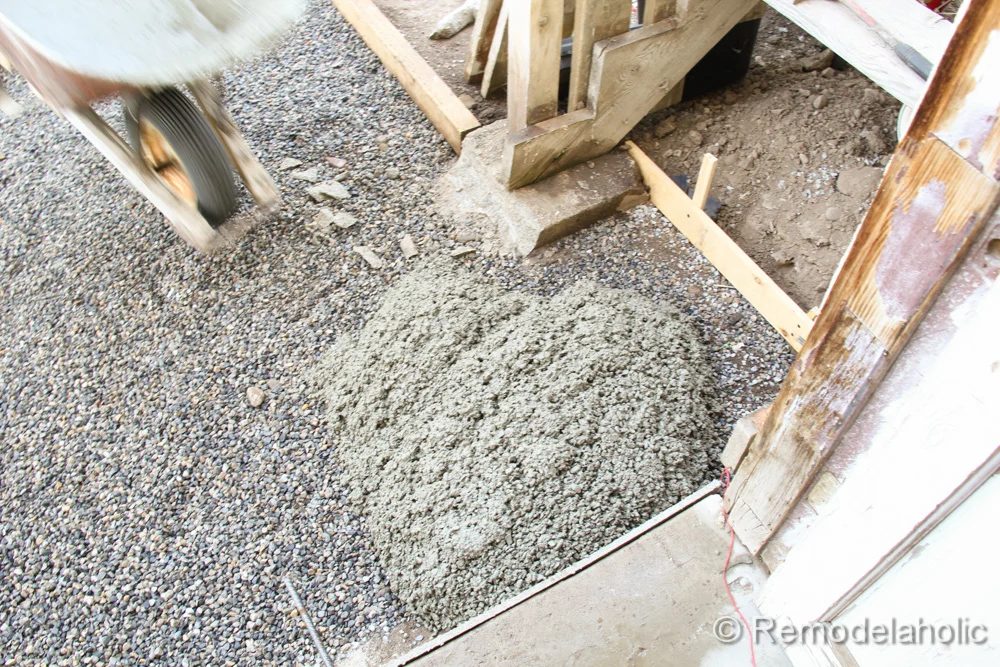
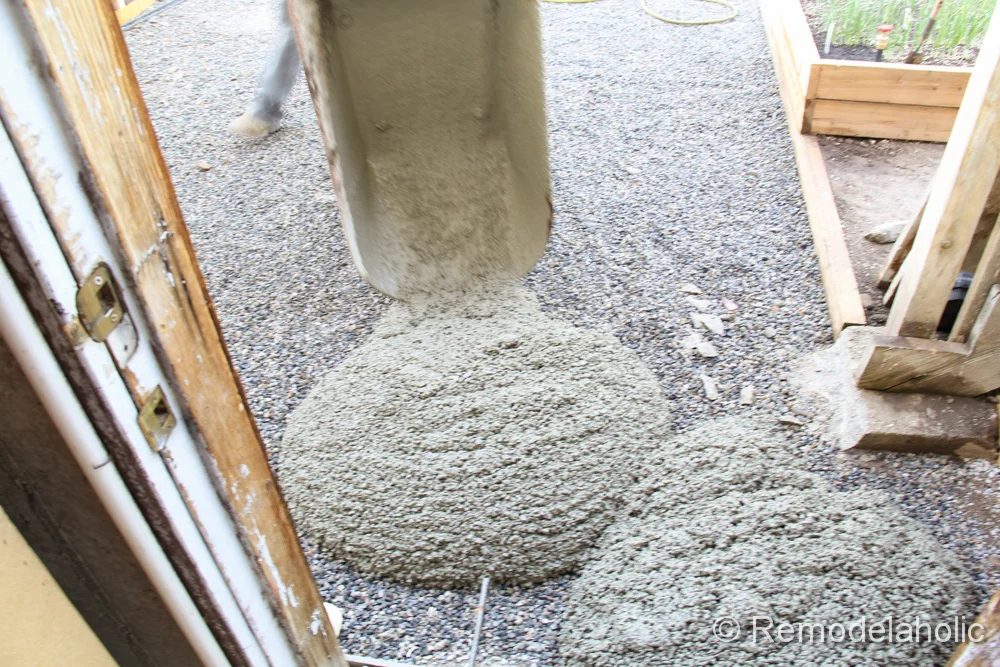
- Mix the concrete to a chunky oatmeal texture. Follow the water amounts. There is a formula for the right consistency of water located on each bag. Since Dallin had experience with knowing when it was just right, he would check it and let me know when it was ready. The mix was ready when it looked and flowed like lumpy oatmeal.
- Take breaks from the heat. We had to take breaks often in the shade, because it was so hot that day.
- Drink lots of water. Because it was so hot we drank tots of water to stay hydrated.
- Keep pointy patio furniture off the concrete for at least a week. You don’t want to damage the new concrete before it cures enough.
Tools Used
- 16 Horse Power Gas Concrete Mixer. We rented from The Home Depot.
- Heavy Duty Wheelbarrow
- Flat and Spade Shovels
- Garden Hose
- Hose Nozzle at the end of the hose to control water flow.
- Hand Float for the final leveling touches.
- Bull Float with long handel for big projects
- Concrete Placer This was used to push the concrete in place and tamp it level.
- Steel Edger for rounding and finishing the edges
- Water Bucket used when finishing and washing your tools.
- Concrete Broom for finished texture.
- Board to kneel On while finishing the concrete.
- Face Mask. Wear this while mixing. You don’t want concrete dust in your lungs.
- Gloves that are made for getting wet but still provide a grip.
- Floor Scraper to knock off some of the sharp edges that formed from the broom finish after it dried.
Materials
- (275) 80 lb bags of Quikrete Concrete Mix
- Water for the concrete mix
- Gasoline for the mixer
Mixing and Pouring the Concrete
First thing that we had to do was get the gravel wet. Once that was ready we started to mix.
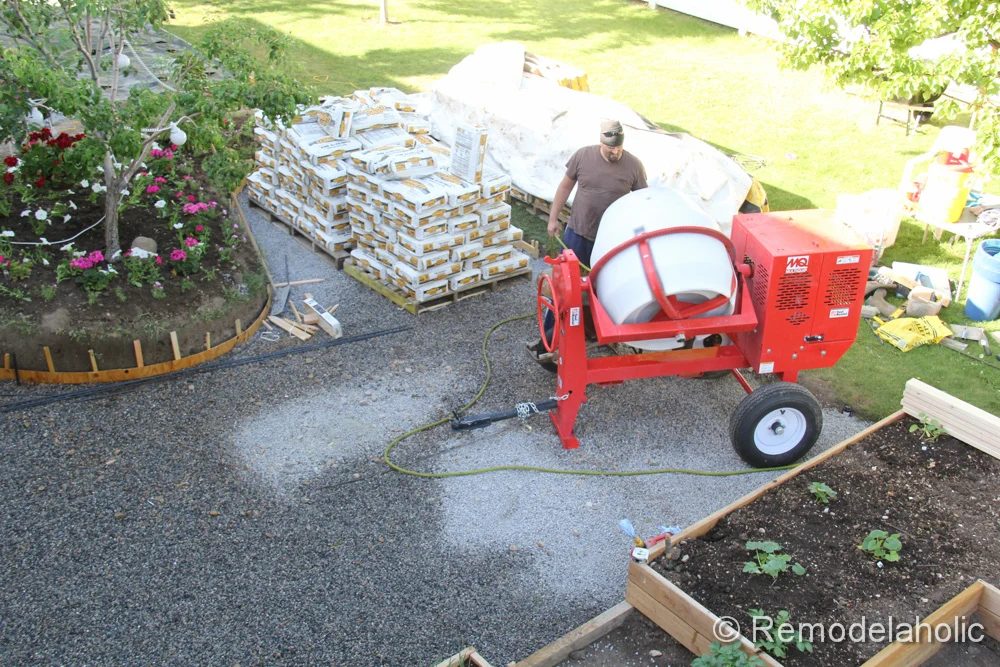
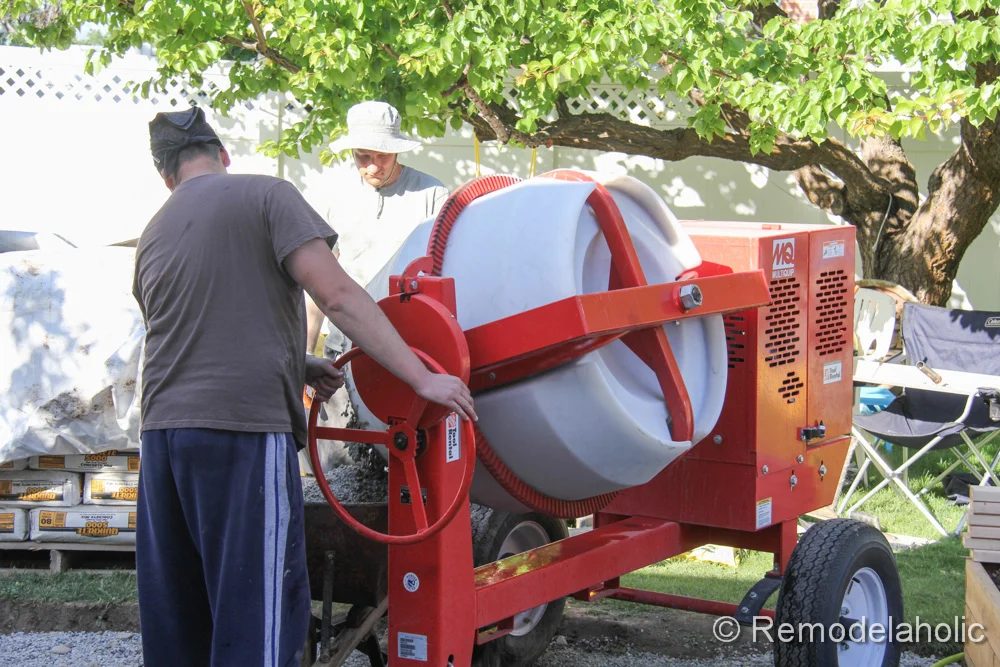
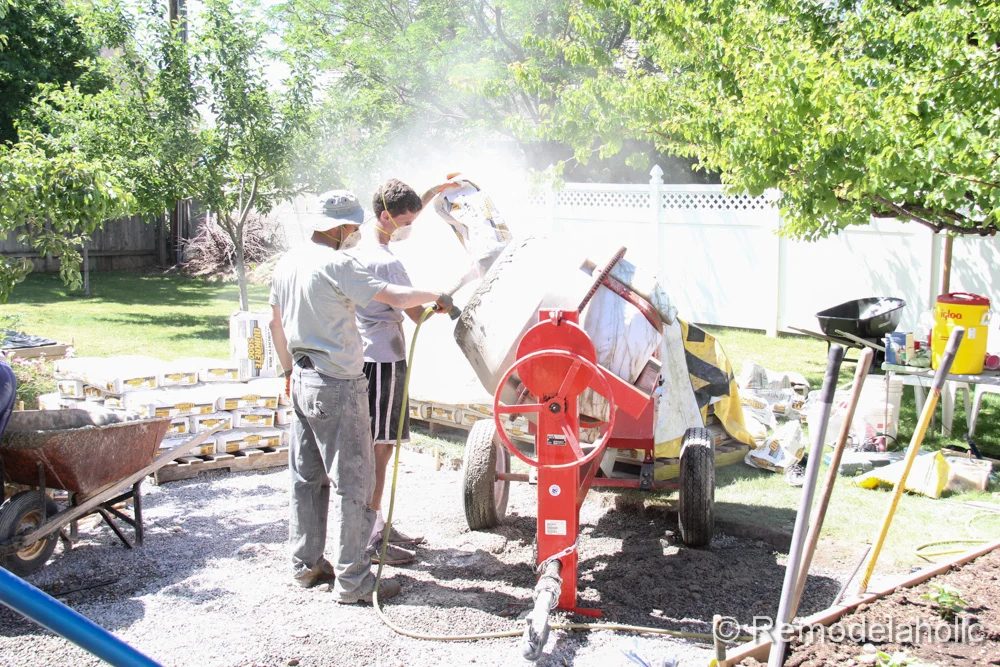
This is the big mixer that we rented. This bad boy was on all day long. We only had to fill the tank once with about a gallon of gas, during our lunch break.
It says that the mixer can hold up to 16 bags at a time, but we decided to do half, about 8 bags to get the texture just right. We added one bag at a time while spraying in the water. It took about 15 min. to get it to the right texture. Once it looked good, we loaded up the wheelbarrow and started pouring it in place.
 |
 |
Here is the repair that we had to make to the wheelbarrow. This was a good old wheelbarrow. Um, VERY old, but it was very sturdy. We loaded about a third of a batch in the wheelbarrow, then wheeled the mix to the spot. We started with the farthest end of the patio, away from the mixer and worked our way toward the mixer.
Most of the morning we were pouring in the shade, which was right up against the house. When pouring concrete, pouring in the shade is best. As the day went on though, it got sunnier and hotter, which made mixing and pouring concrete more challenging to beat the heat, and finish it before the set had set the cement.
 |
 |
 |
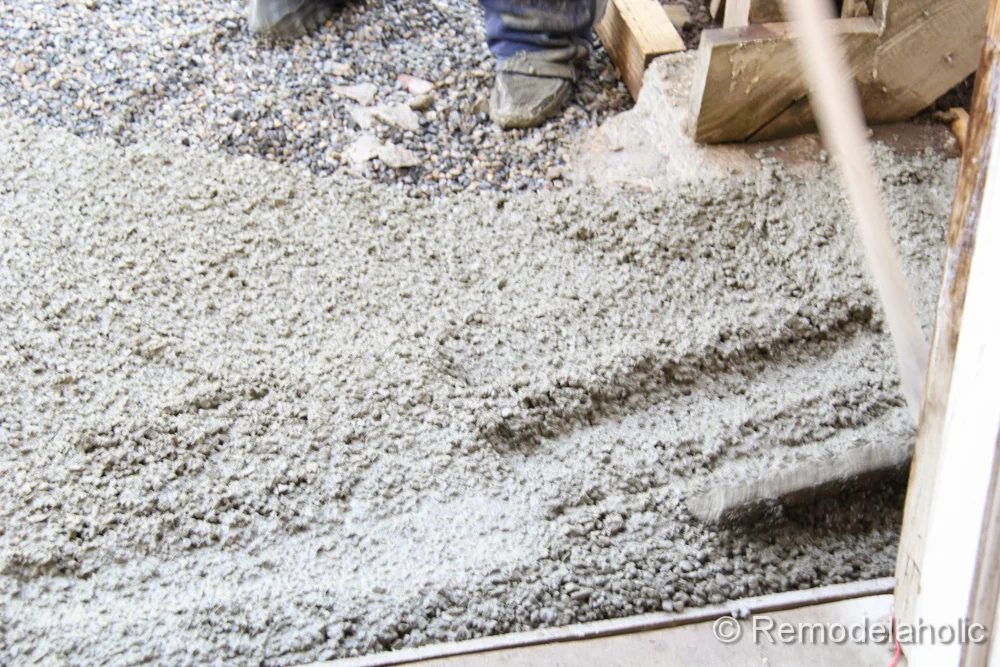 |
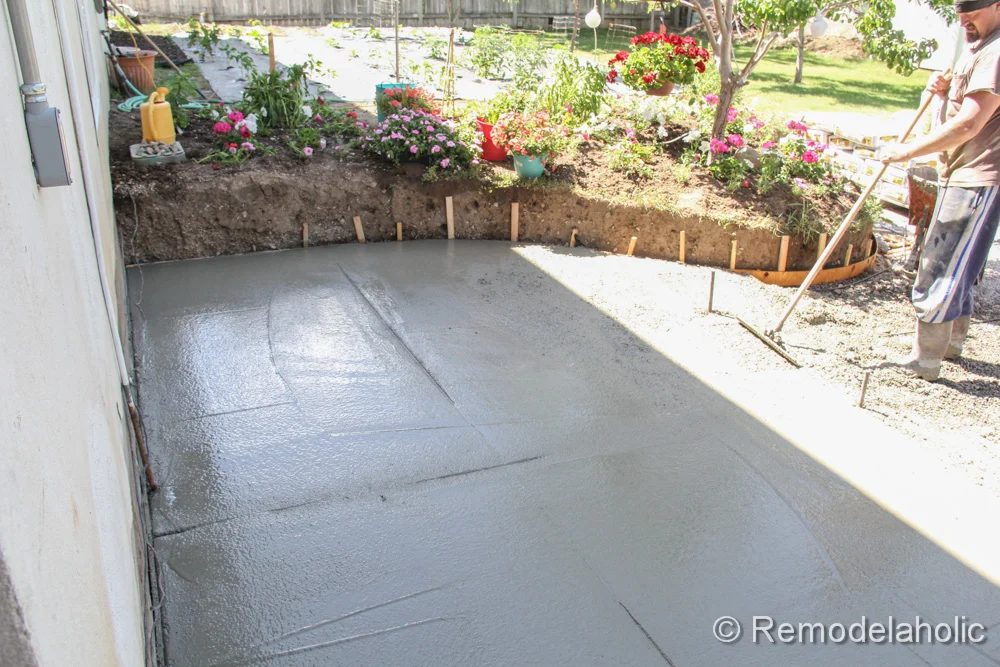
Here you can see it roughly leveled out and the control joints started. We were getting close to half way at this point.
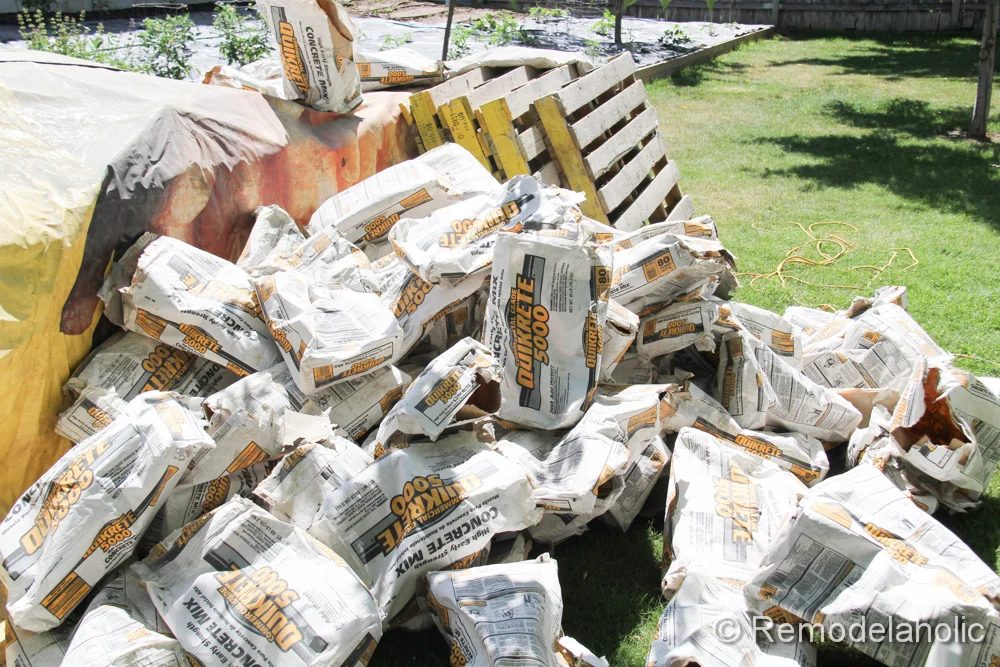
Lots a mixing and lots of trash!
 |
 |
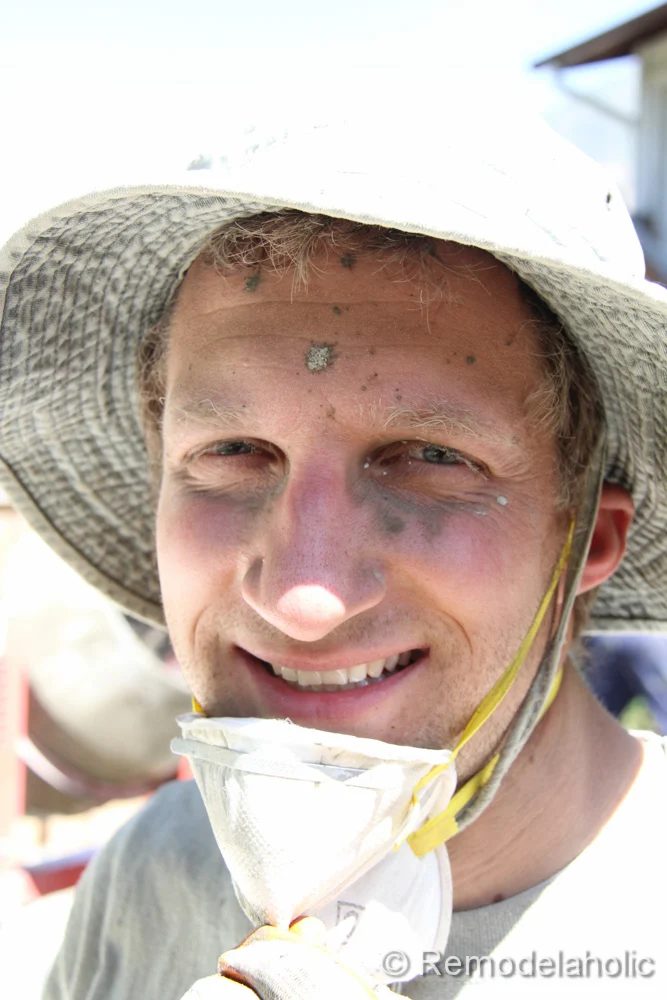
I was glad for the mask on a day like this.
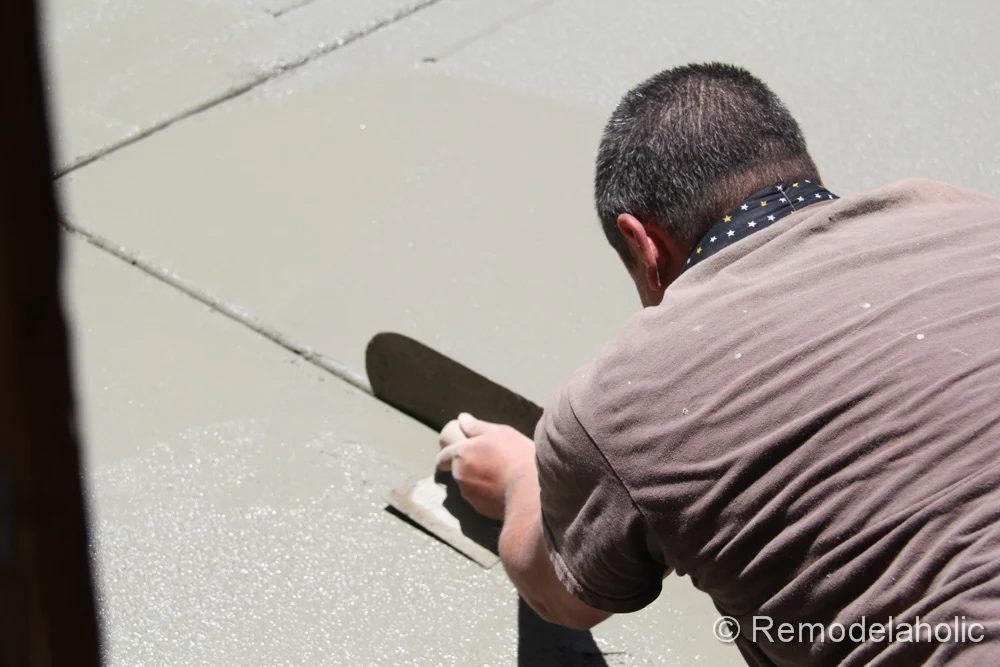
Dallin did great with the finishing work. It was nice that he had all the right tools to get the job done right. He is finishing the control joint at this point.
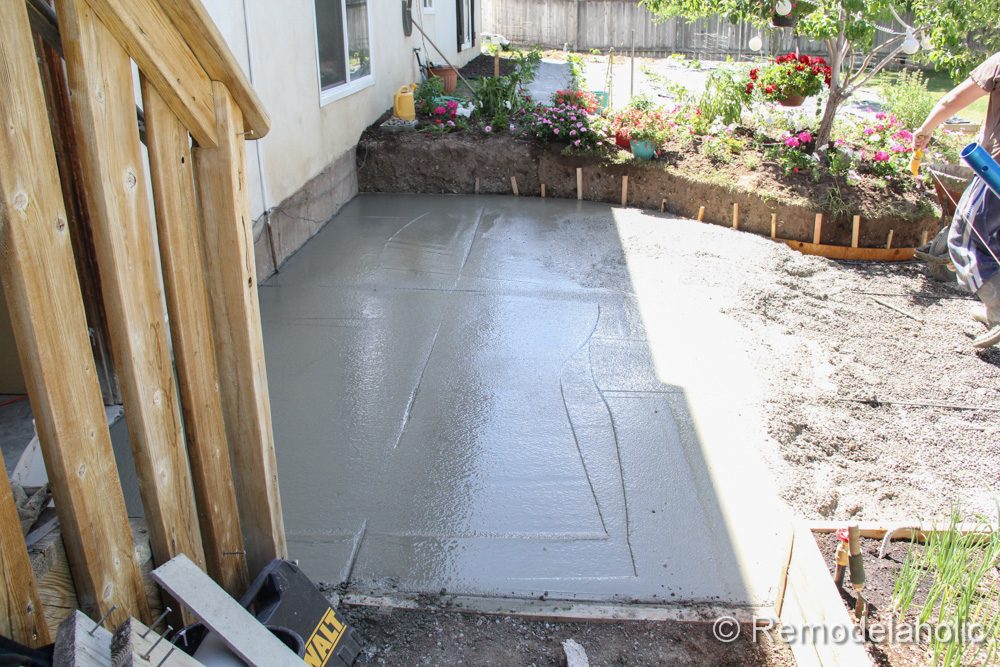
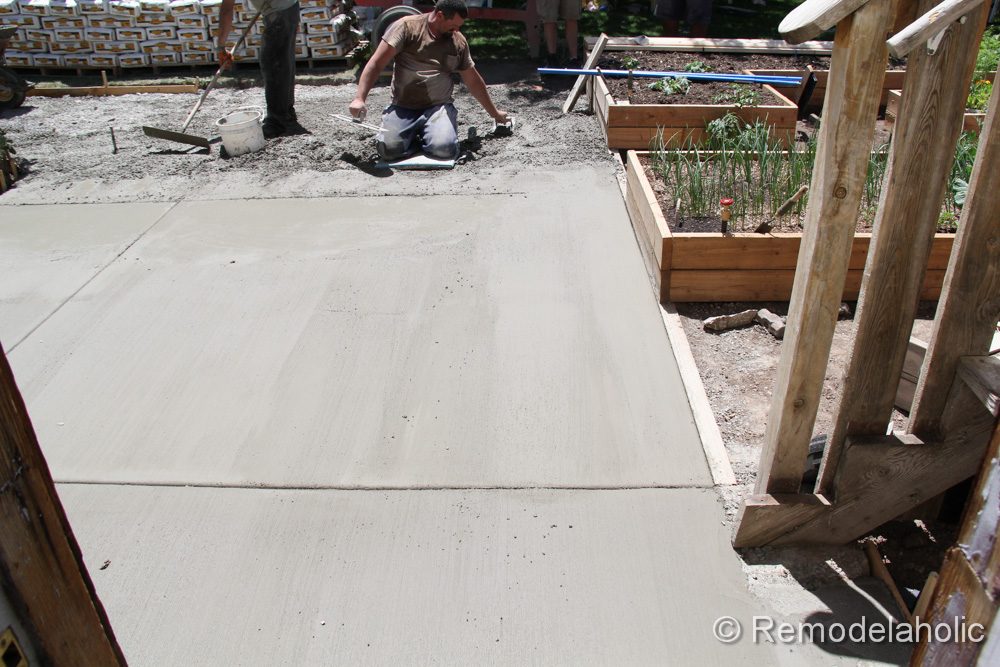
Now we were more than half way done and Dallin was able to finish this section off completely. We decided that a broom finish was going to be the best and easiest finish on our patio. It would give a nice texture and will help keep people from slipping when the concrete is wet. (and since this is a place for our girls to play, we want it to be safe!)
 |
|
Our little princesses kept coming out to see the progress. They were so excited for their new patio. They were just dying to step on it.
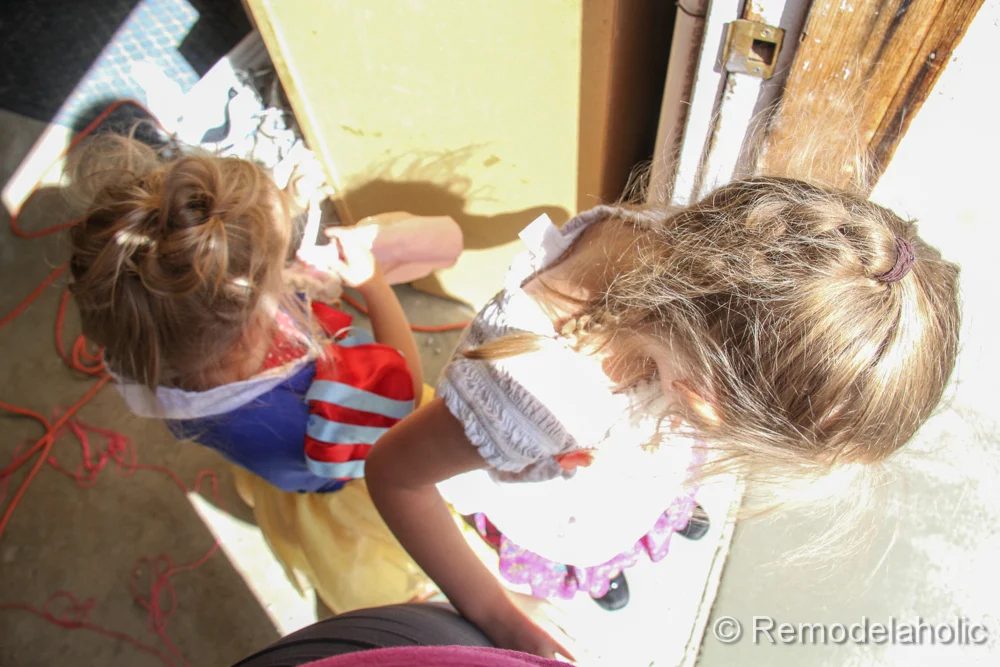
It took about 10 hours to finish pouring the concrete and about two more hours to finish it of completely. It was a really long day. We where glad when it was over and glad that we didn’t have to do it again the next day. (a special thanks to Dallin! He did the hardest work! We were so thankful!
The next day, the color of the concrete changed from gray-green to a light gray. The surface of the patio was all dry and we were able to walk across it. Because we poured it all in one hot day, the finish was not quite as smooth as we had hoped it to be. We asked Dallin if it was okay to scrape off the top to make it smoother to walk on. He said that it was a good option and it was best to do that early before it hardened even more.
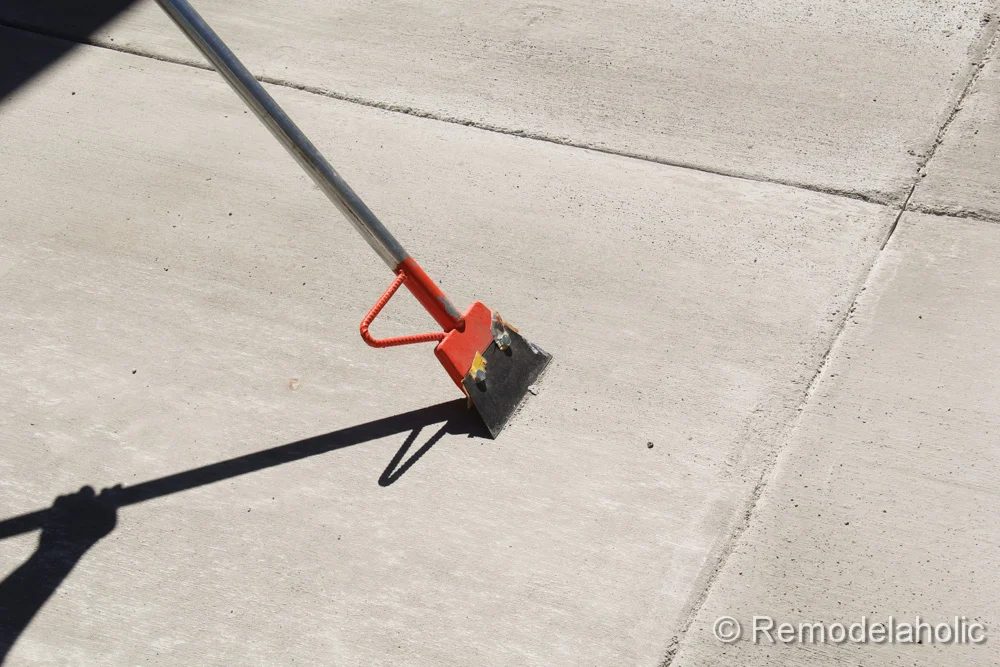
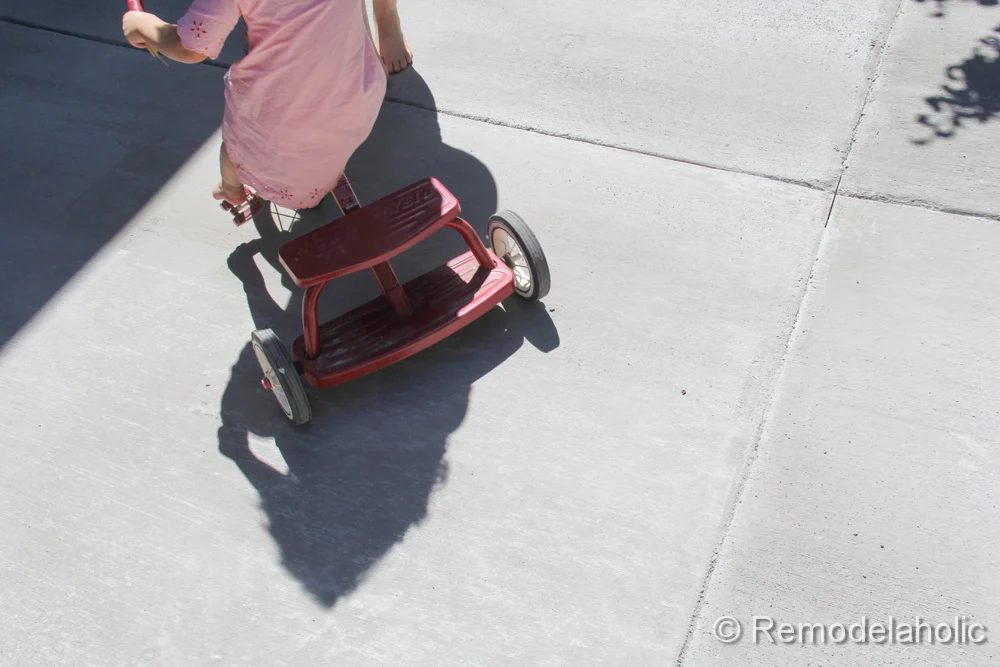
After we scraped it and hosed it off, the girls saw the well fitted opportunity to ride their toys on the new patio.
 |
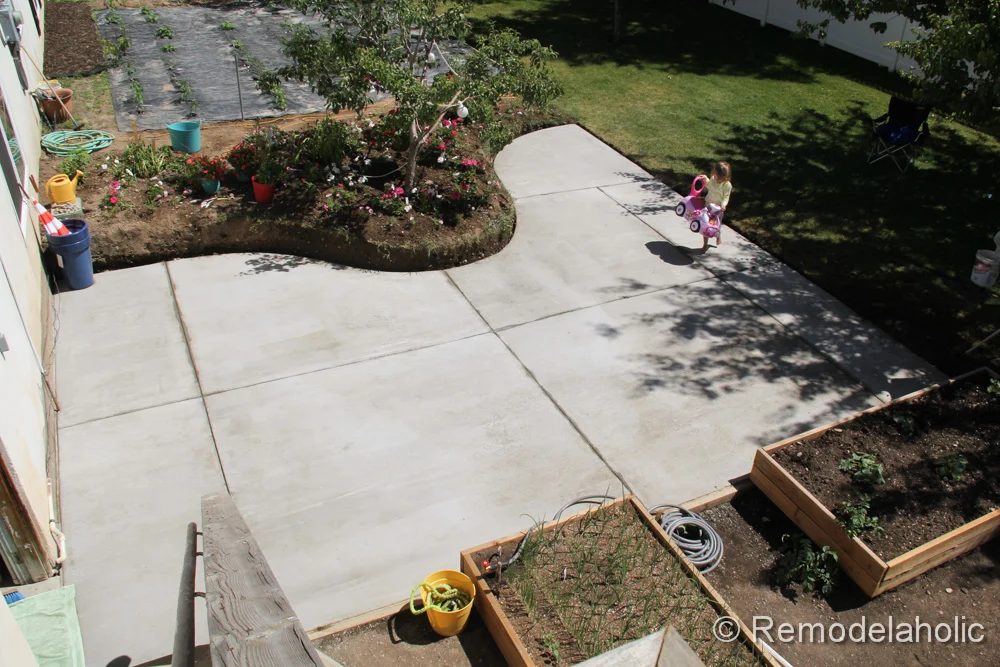 |
Moments like this, where Etta took here first ride across the new patio, made all the hard work and time, worth it.
There was some clean up that we had to do on the lawn, after all the mixing. We had to have the mixer on the lawn for a couple of hours toward the end of the day and it made a mess. We took a rake and had to scrape off the spilled concrete, so the grass would grow back. Next time we will lay down a tarp under the mixer for a easier cleanup.
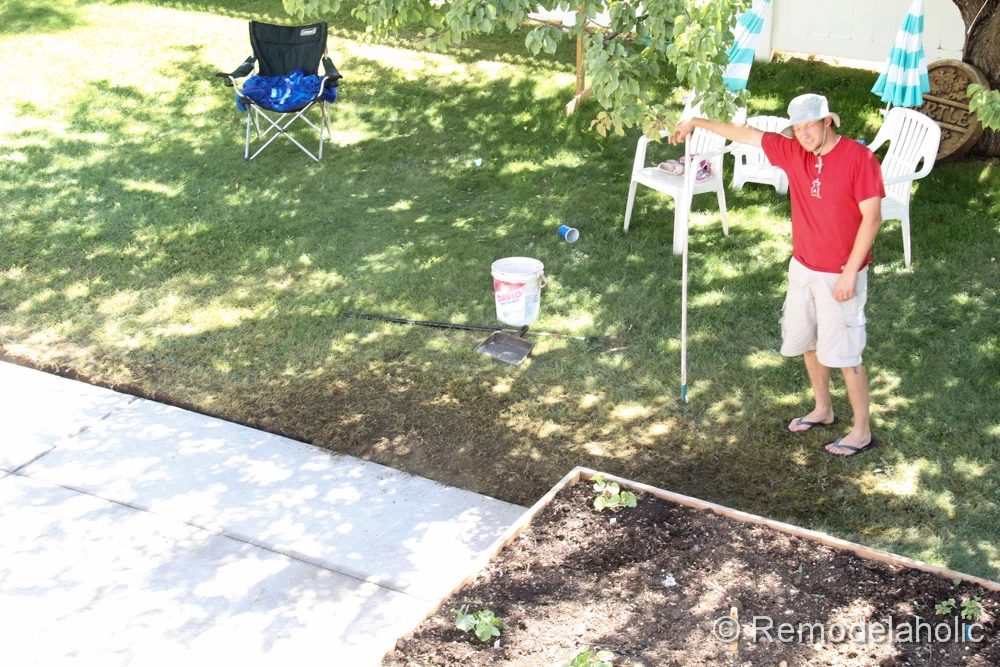
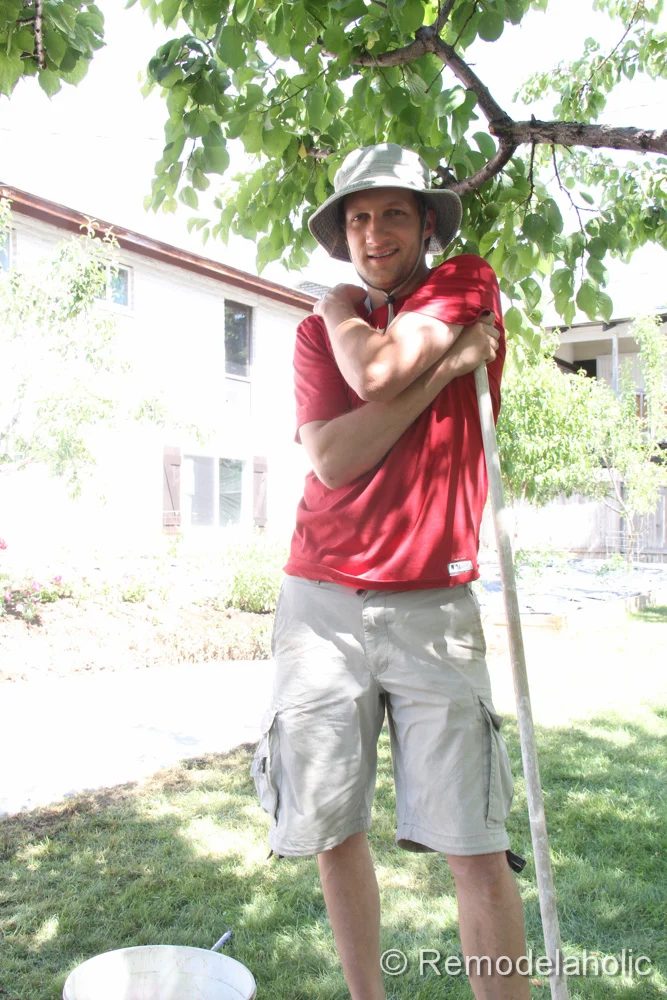
I personally was glad when the project was done. It was a big project, but well worth all the time and effort that it took to get our new concrete patio.
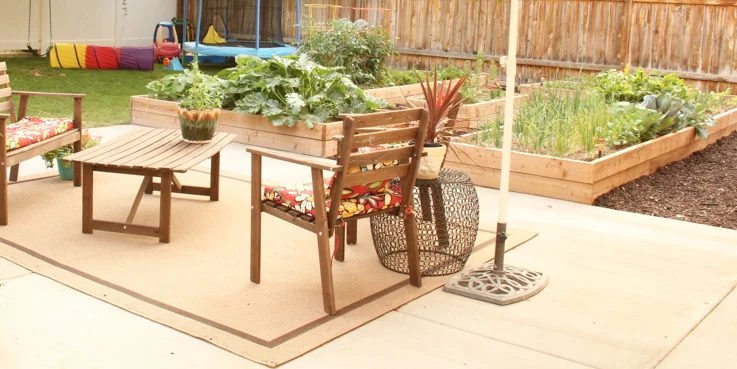
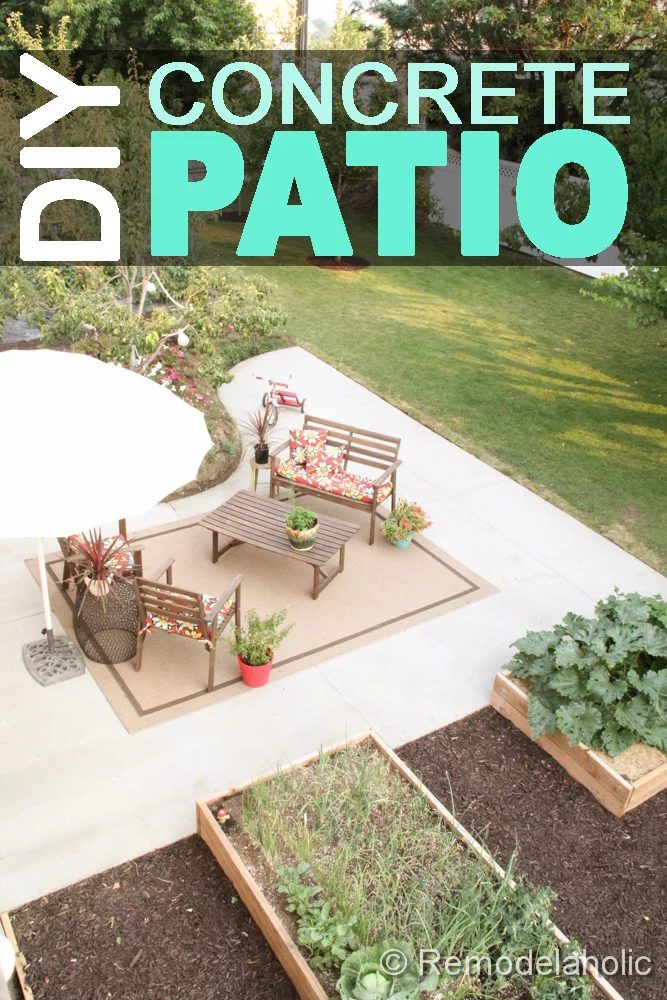
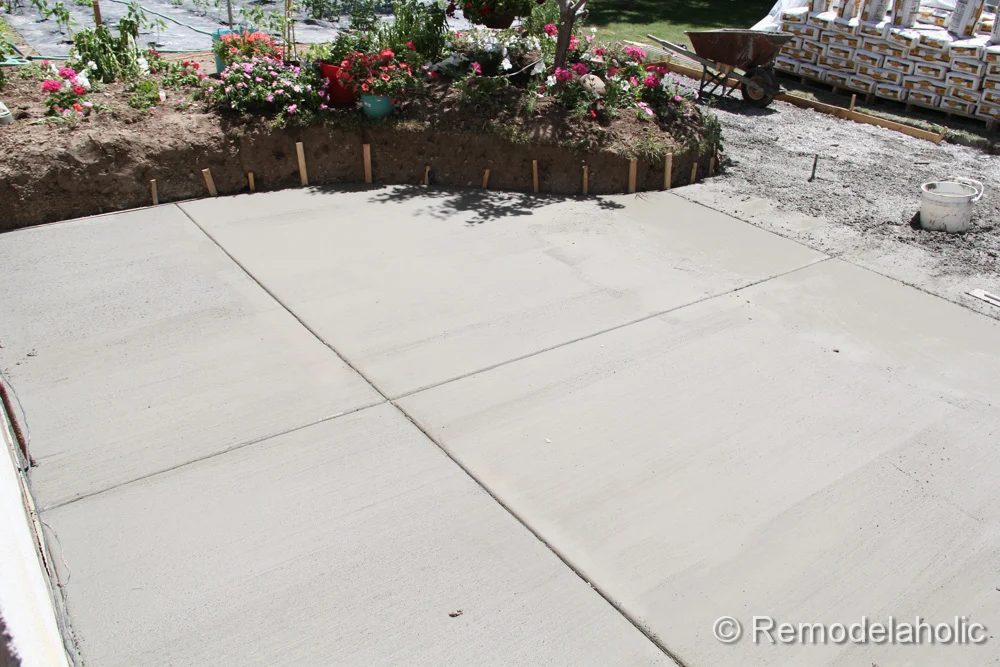
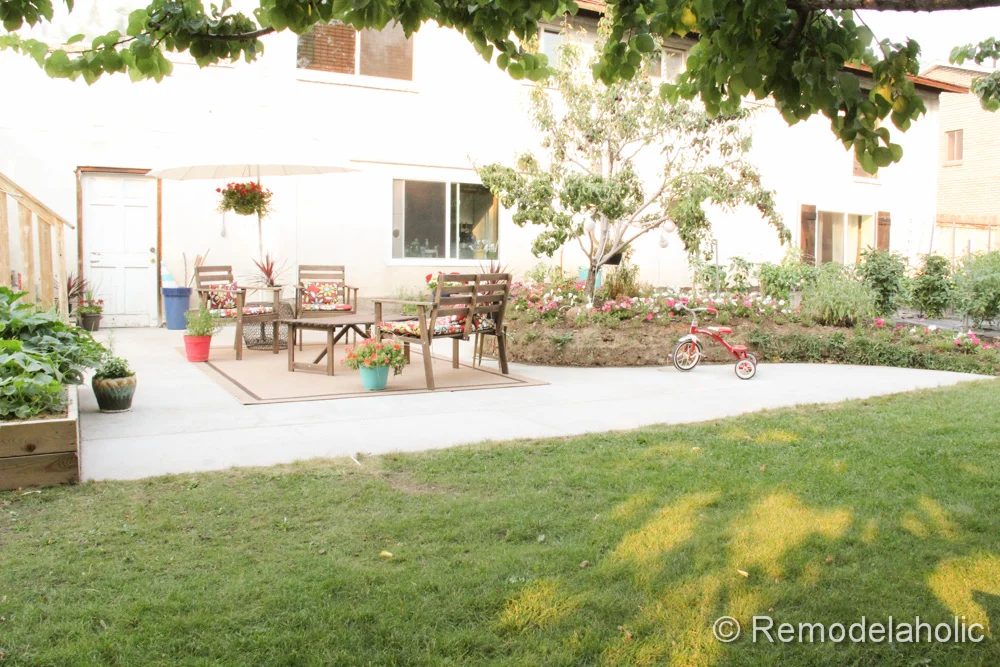
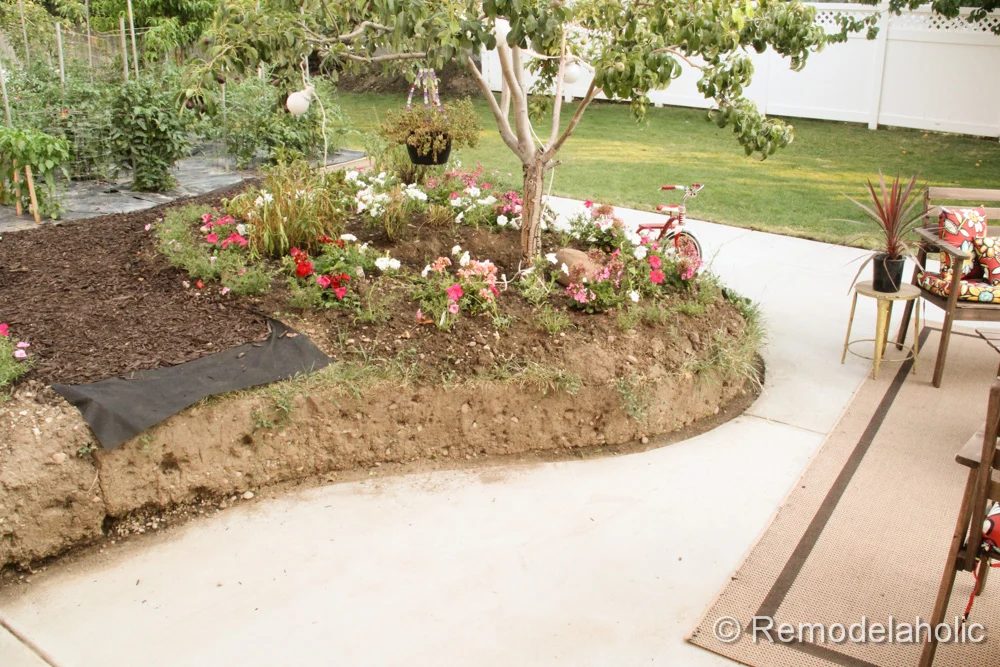
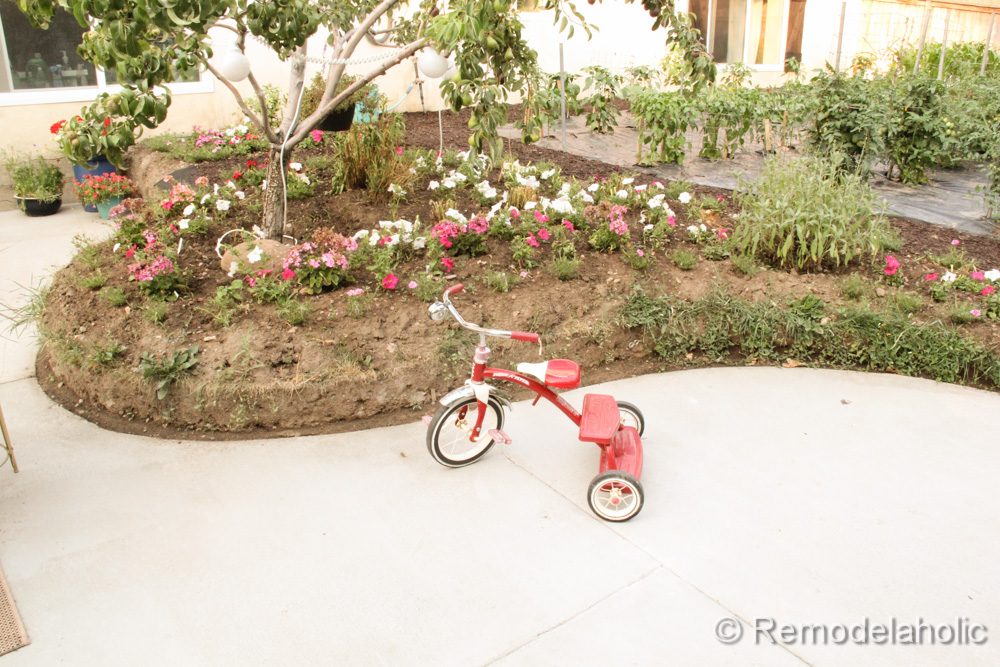
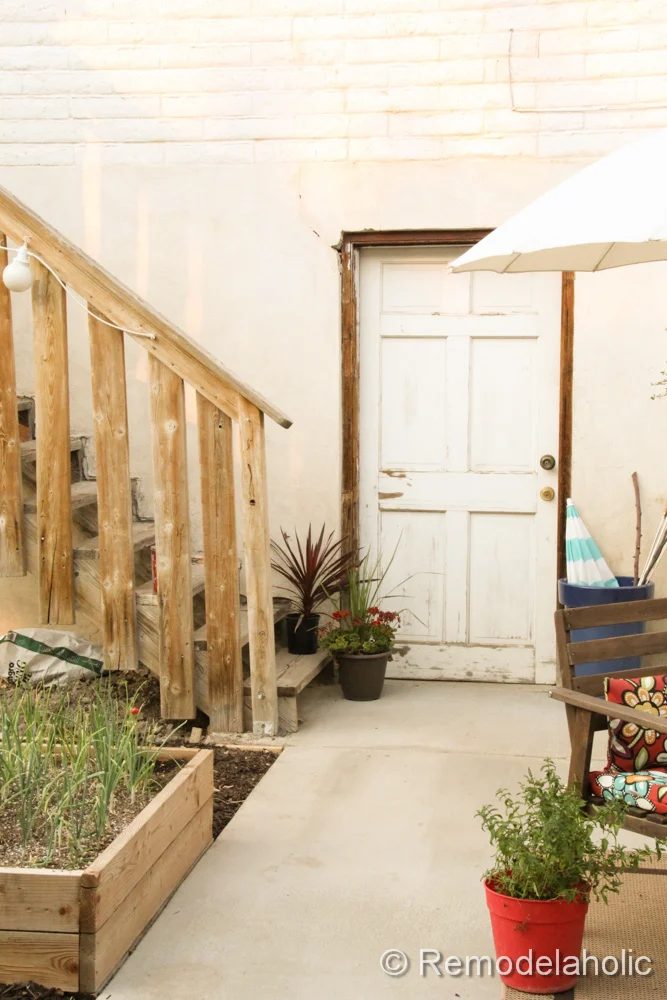
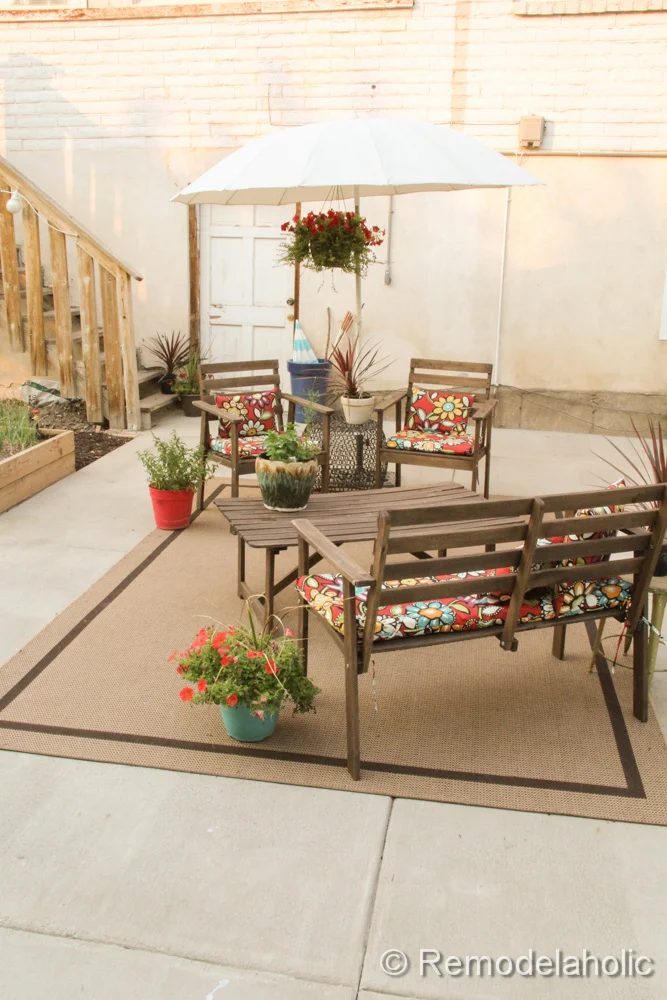
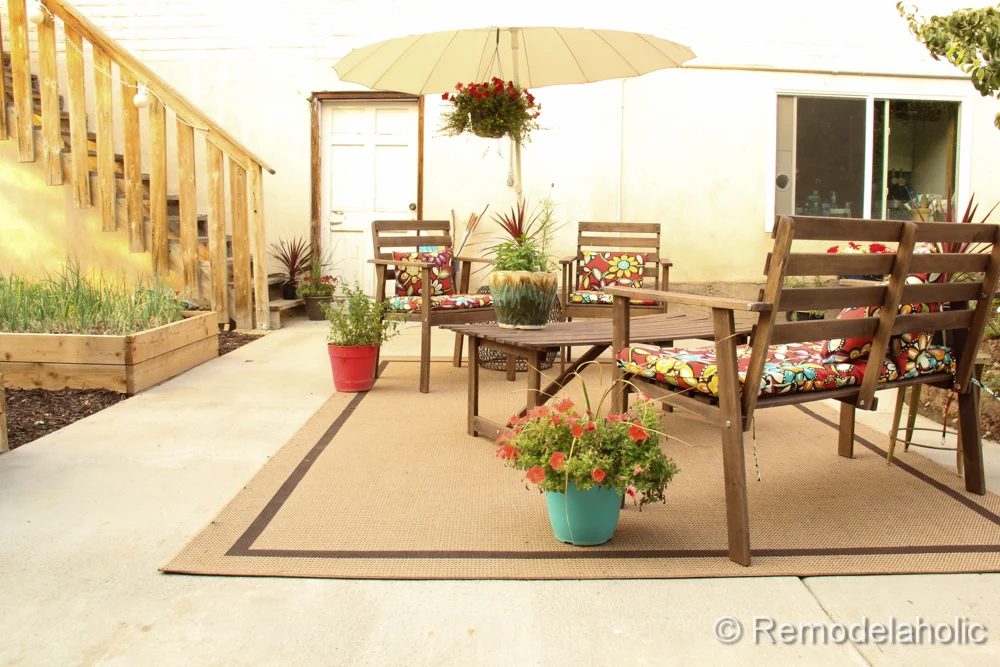
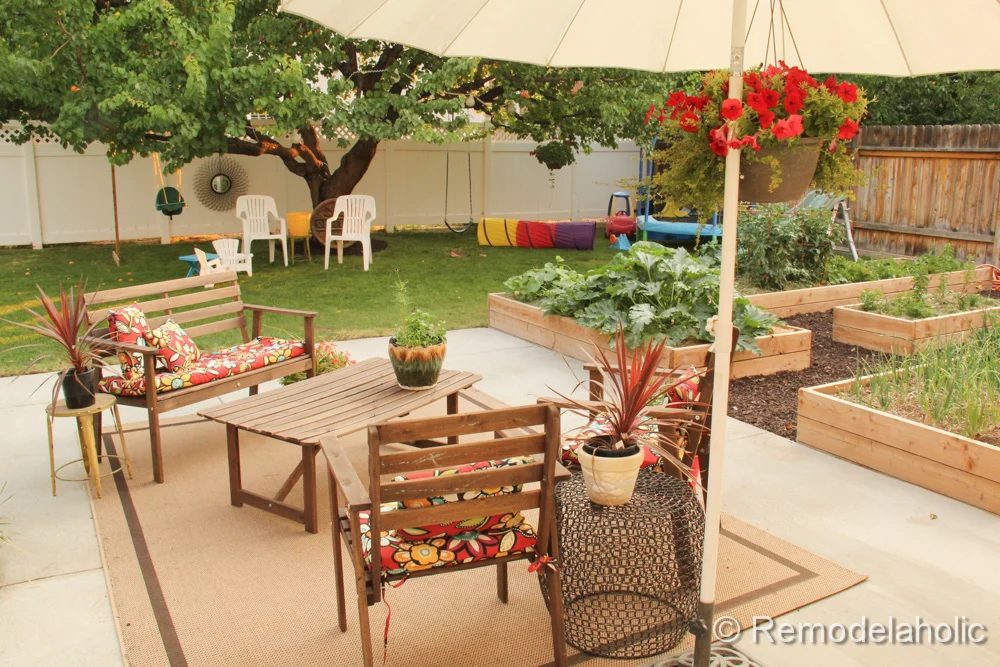
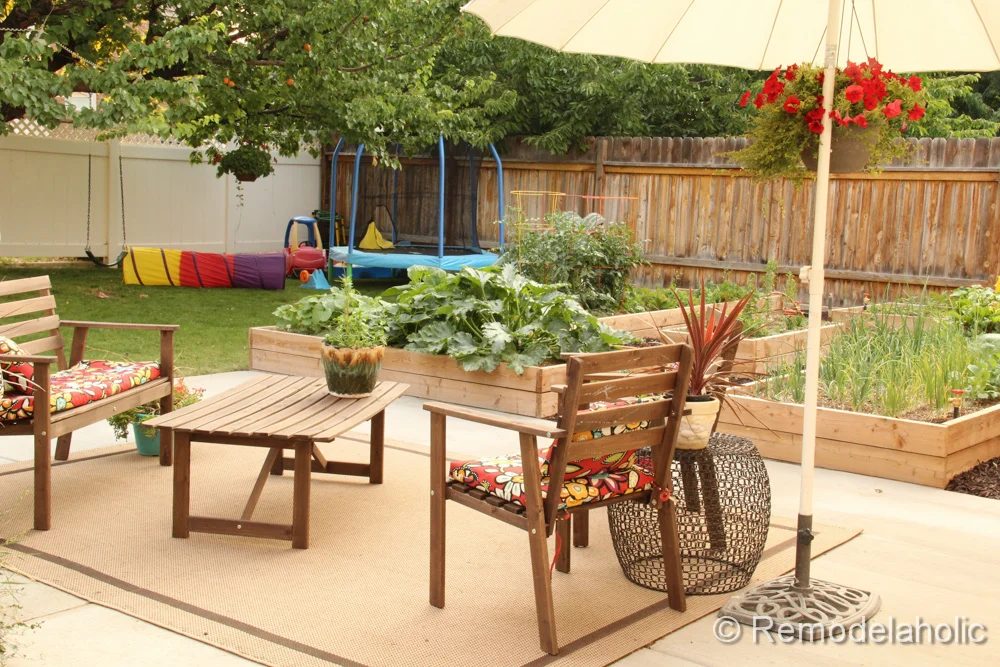
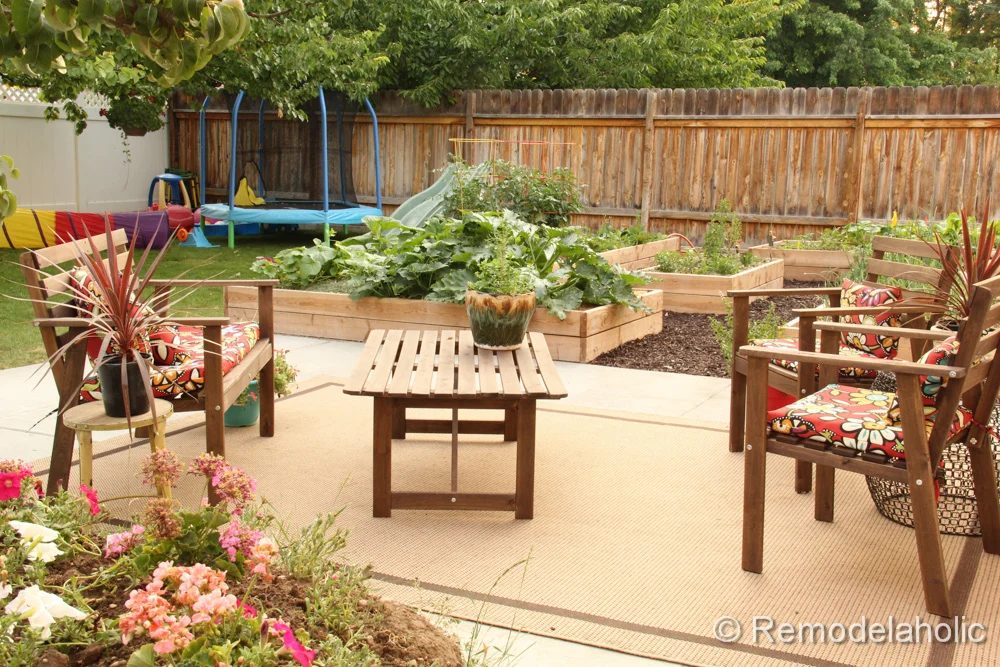
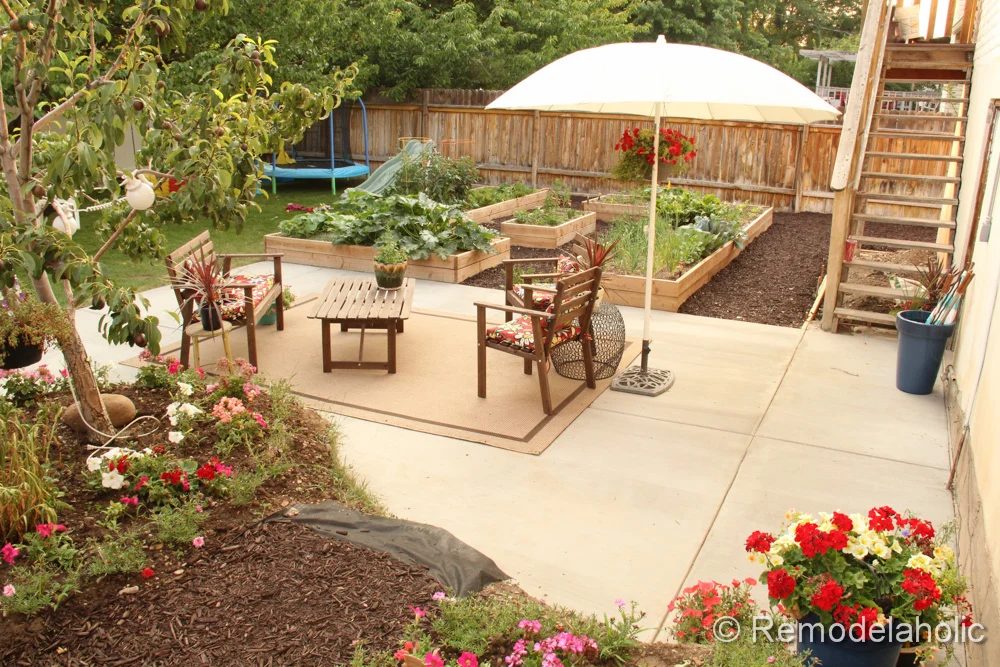
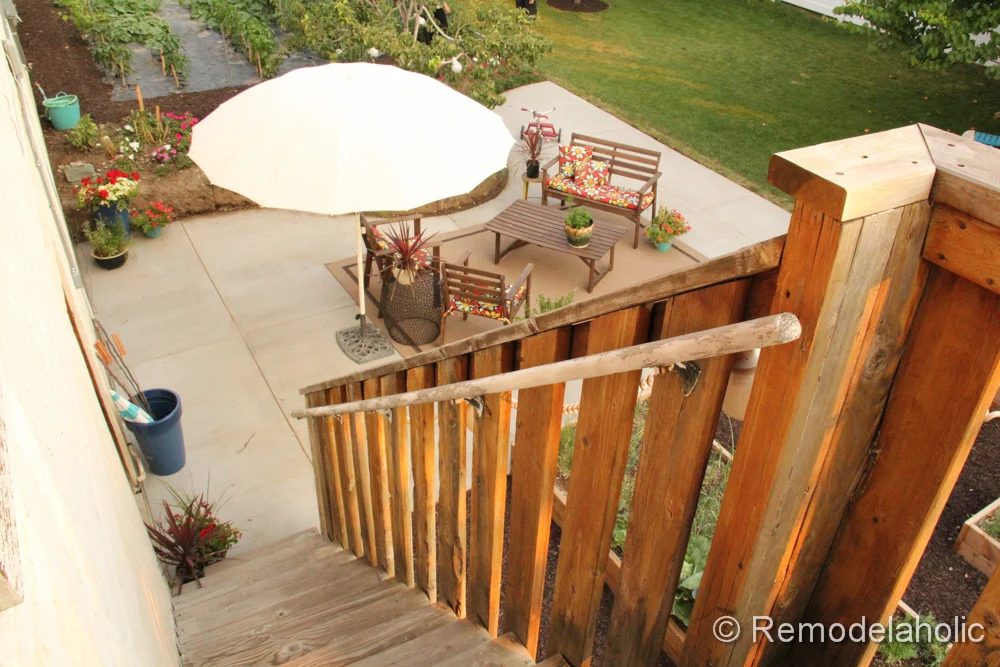
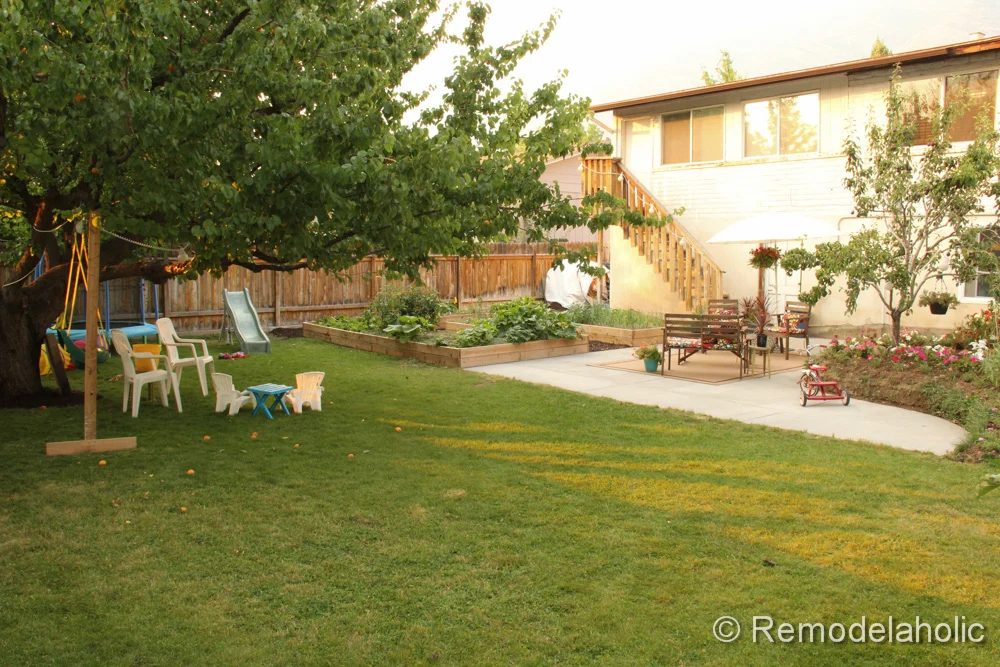
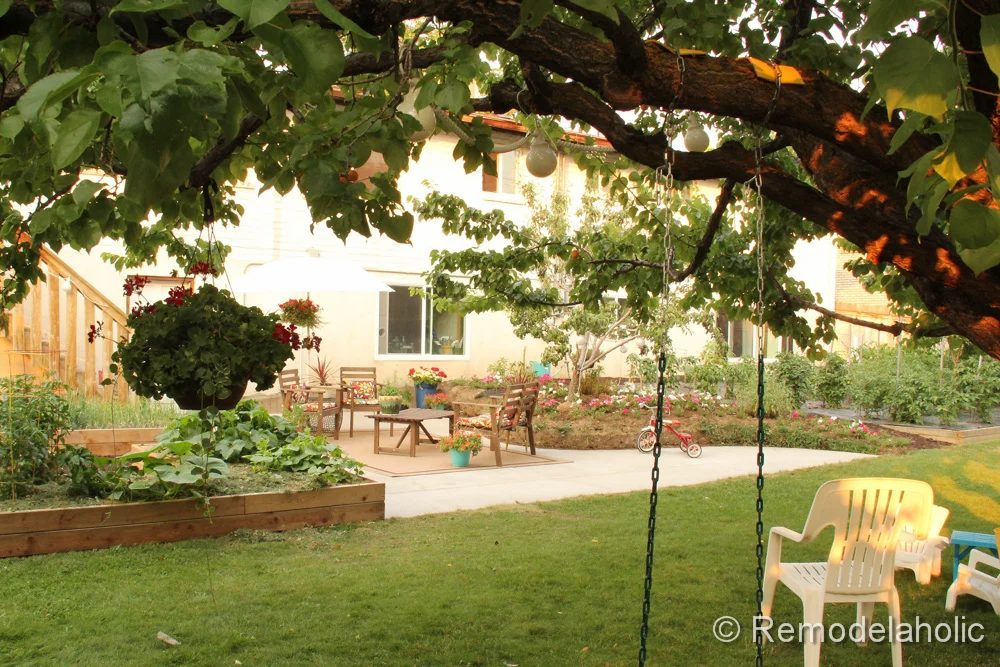
This is how it looked about a week later. We finished off the patio with flowers and patio furniture.
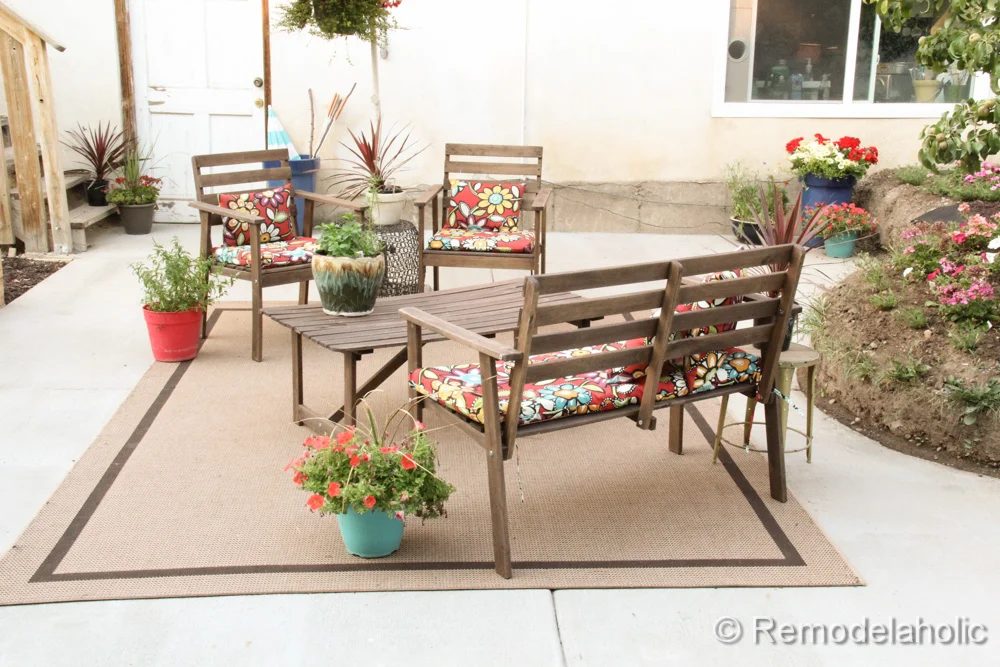
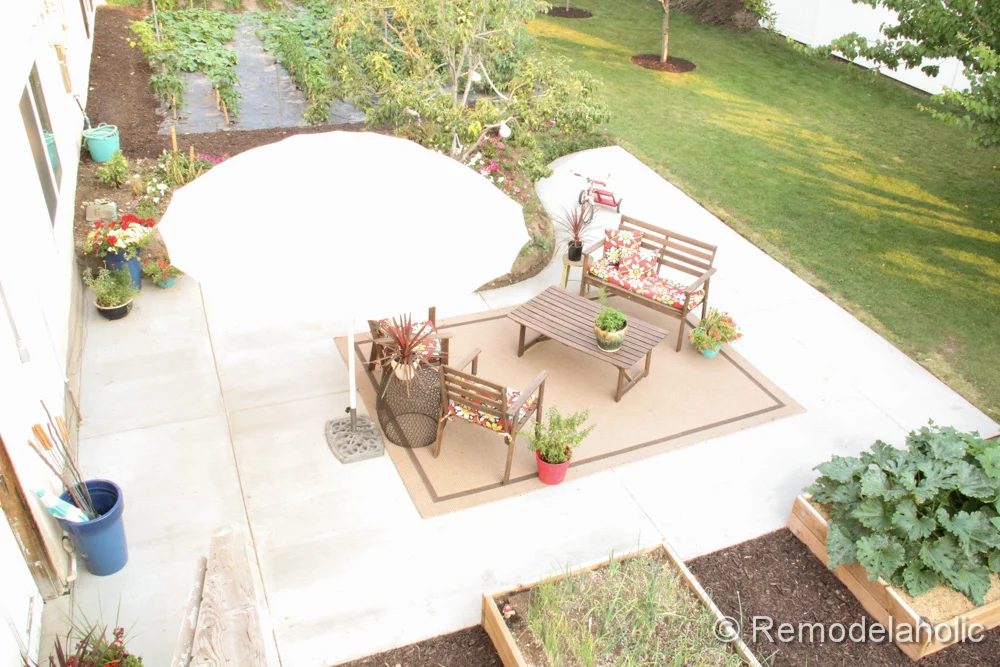
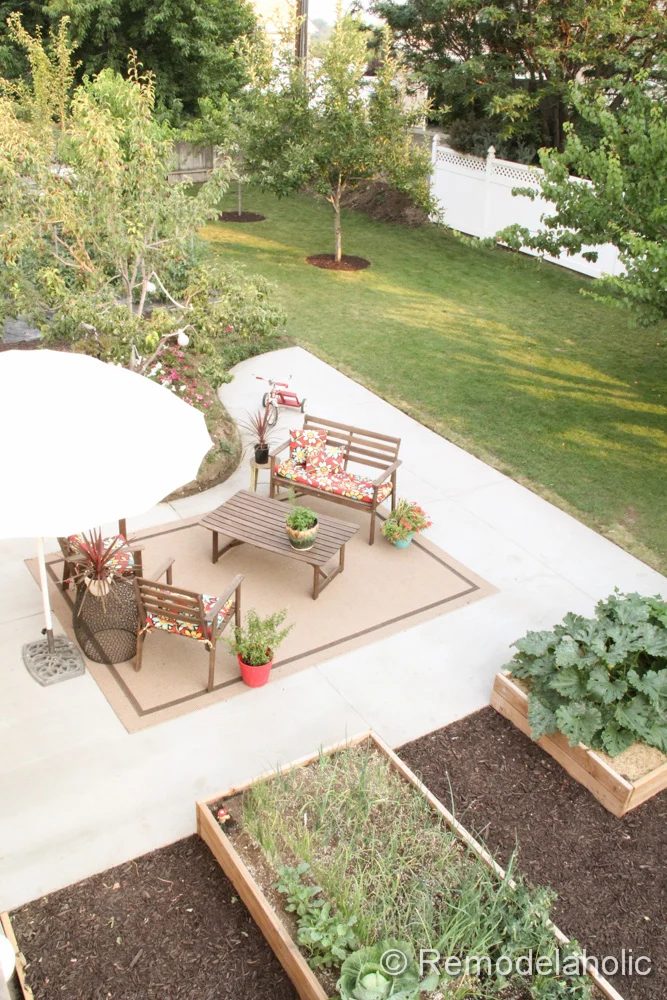
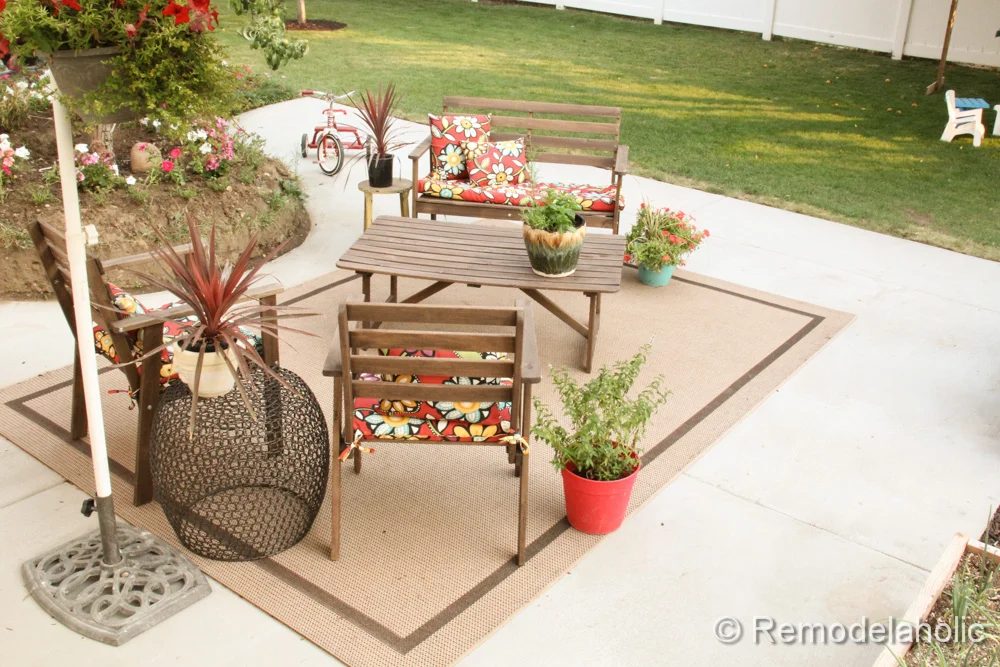
We are planning on a stone retaining wall from Pavestone that will be come soon. Luckily the clay soil is holding it up all by its self, until we can get the wall in. There will also be a set of stairs that will take you up to the other garden area.
 |
 |
 |
 |
We hope that you like the project! Let us know what you think.
Thanks again to Quikrete who sponsored the concrete portion of this project. All other supplies and materials were purchased by us, all opinions are our own.
We can’t wait for the new wall that we will be installing soon, along the flower bed.