Materials and the sequence of the job sit together on this page.
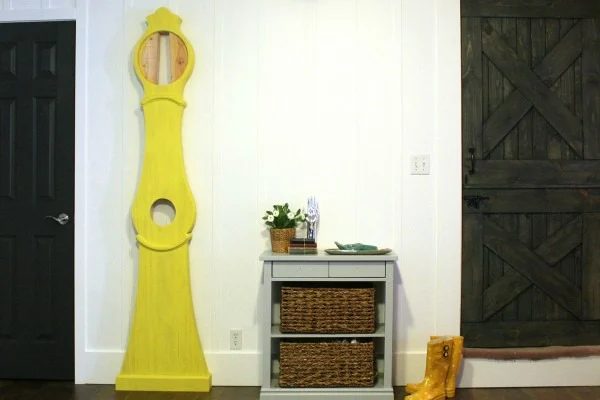
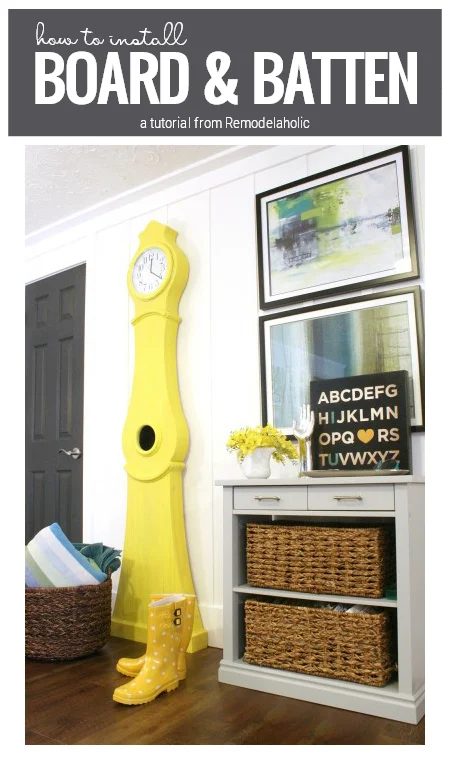
Learn how to install a Board and Batten wall. We’re here to help you do it yourself with professional-looking results!
Come see how to build the bright yellow Swedish Mora Clock and the Dutch Barn Door / Baby Gate, too!
Handmade Board and Batten Wall walkthrough
Materials for Installing a Board and Batten Wall:
- Boards for Base Molding: We chose 1×8 MDF
- Boards for Crown Molding: We opted for a direct rather than ornate look and chose 1×4 MDF. We ran one on the wall and one on the ceiling to create a wrapped-corner look.
- Battens (vertical boards): In the past we have used 1×4 or 1×2’s that are the same thickness as the upper and lower molding, but this time I wanted the battens to be small and insignificant to create a light texture. At our local Home Depot they had some 3 3/4″ x 1/4″ thick unpainted MDF strips called MDF Bender boards. They were in the lumber isle near the plywood and NOT with the moldings. They were a great price and just wide enough to be ripped (cut length-wise) in half to create the subtle look I was going for.
- Table Saw
- Nail gun and nails
- Caulk and Hole Patching Compound
- Paint
Board and Batten Step 1: Install Base Molding
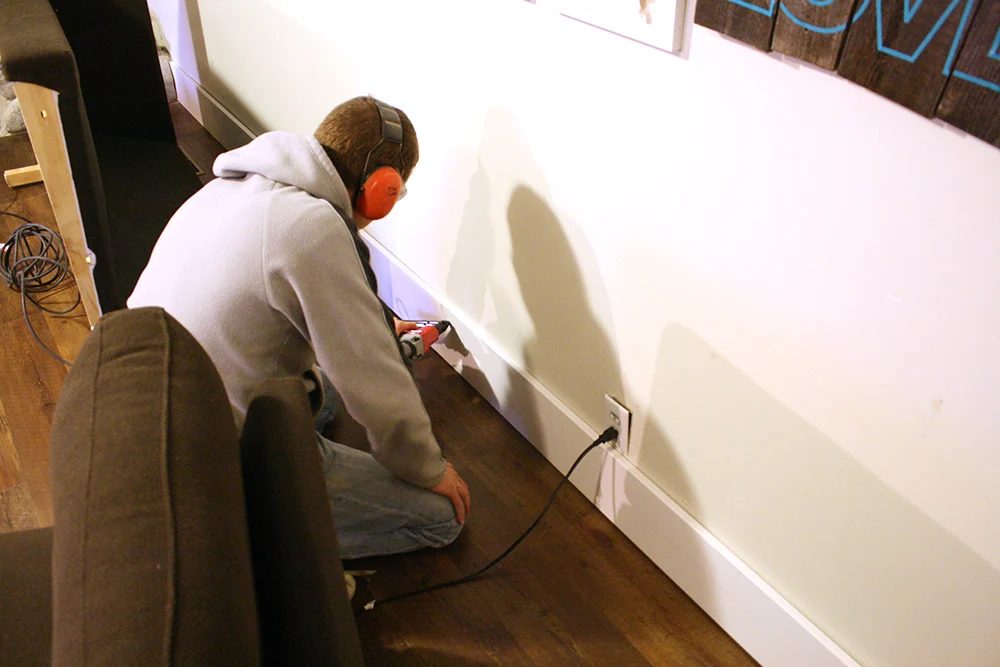
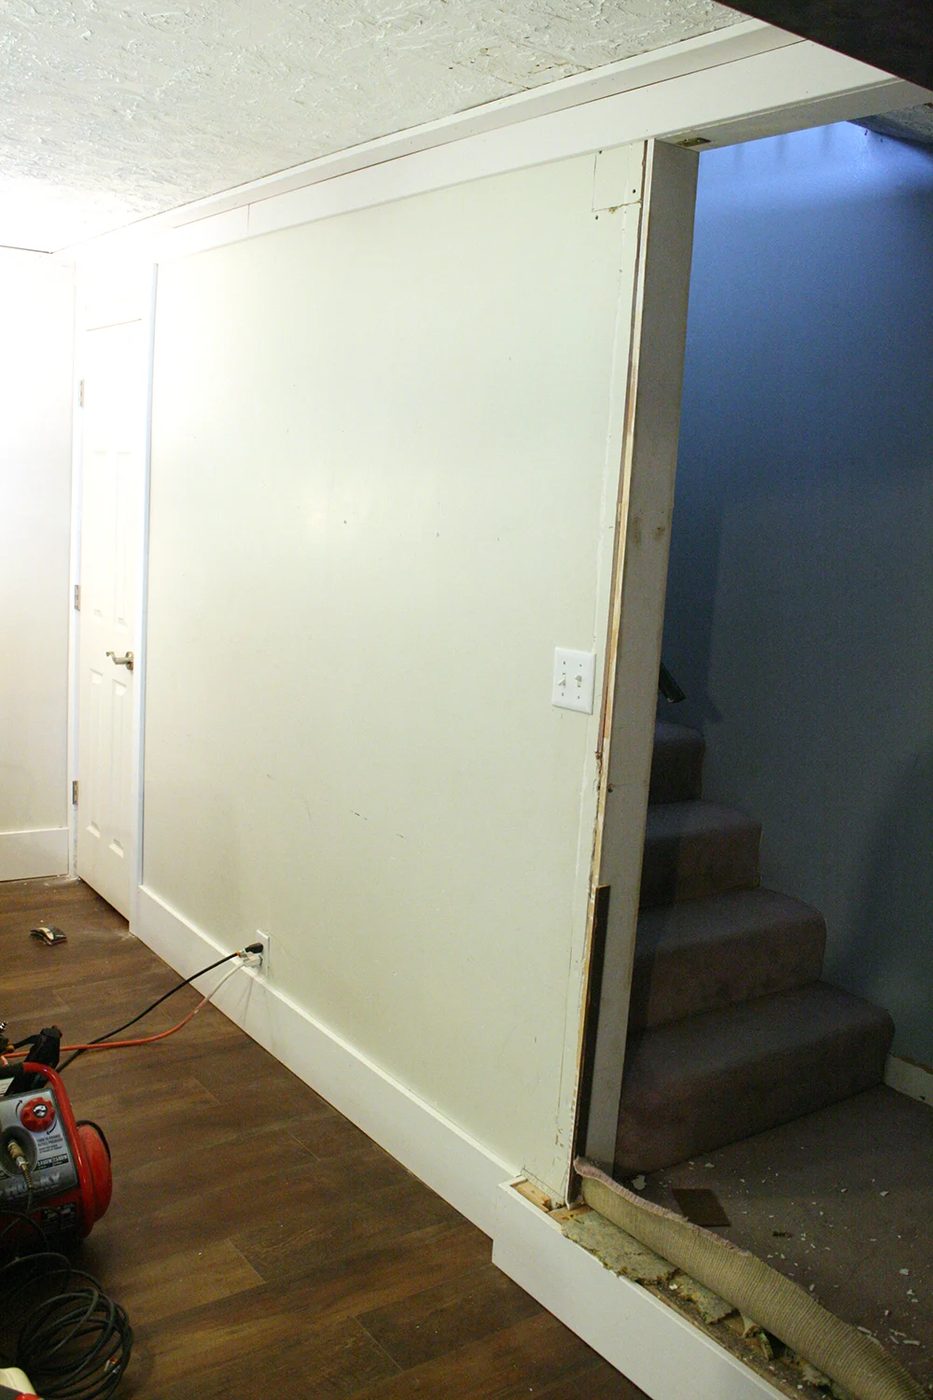
Measure, cut, and install the base molding.
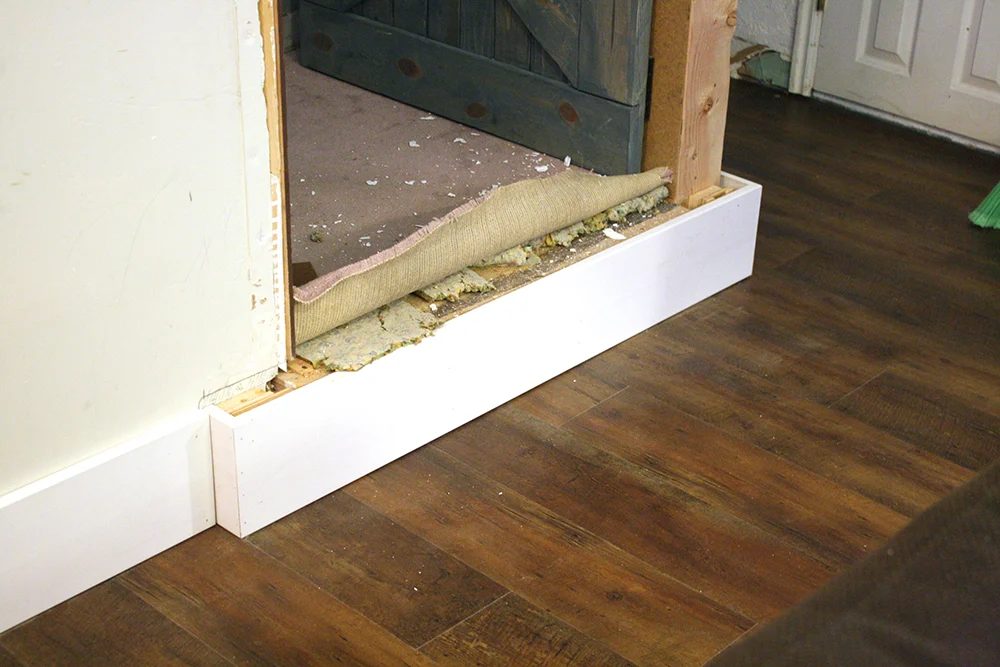
The stair used to be wrapped with carpet, but we wanted to avoid that and clean up the look. We built out the stair a bit and then wrapped it with the MDF. We got lucky and the MDF was the exact same height as the stair!
Board and Batten Step 2: Install Crown Molding
Measure and cut your crown molding pieces. Using the ceiling piece as a spacer, push the wall piece up to the ceiling piece (you will need a helper to do this, which is why we didn’t get any pictures) and nail in place.
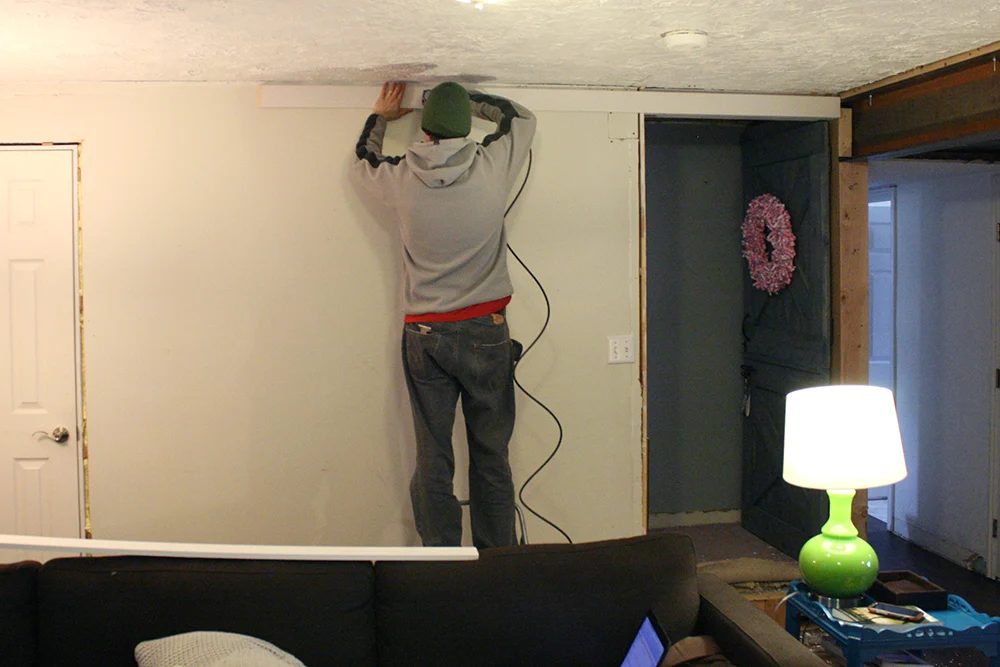
Next install your ceiling piece.
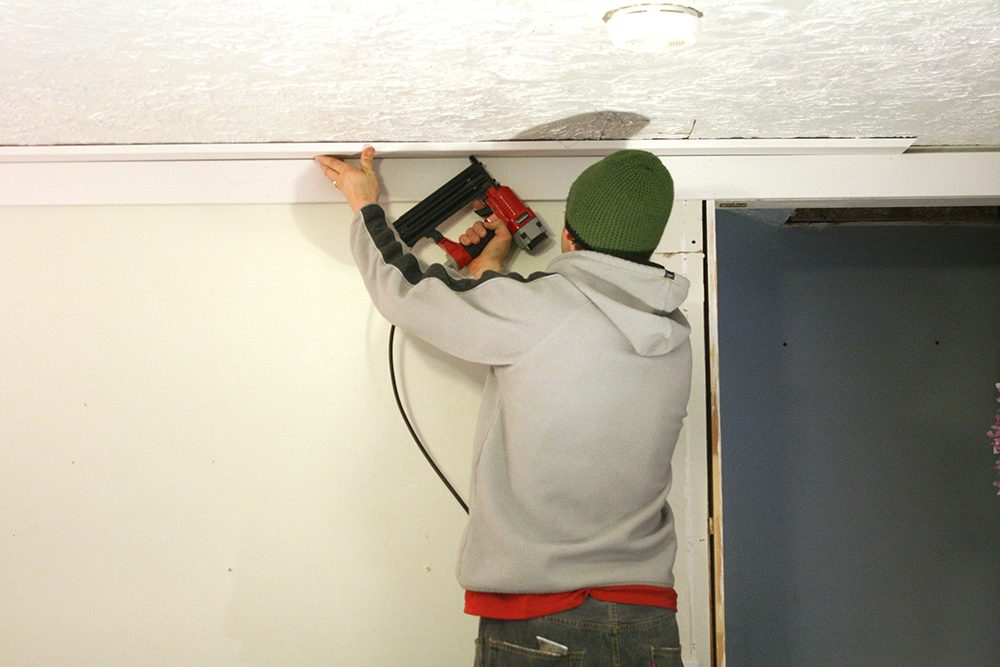
*TIP* We didn’t have joists to nail the crown molding to on this portion of the ceiling. You can use anchor bolts for a LOT of extra work or you can do what we did: to keep the board in place, put in 2 nails at a 45 degree angle to the right and then immediately turn your nailer the other direction and add two more in a 45 degree angle to the left. The “v” created by the nails acts like an anchor. I wouldn’t do this with heavy beams, but for a lightweight molding, it works well.
Board and Batten Step 3: Rip the Battens (if needed)
Our battens needed ripped in half, remember.
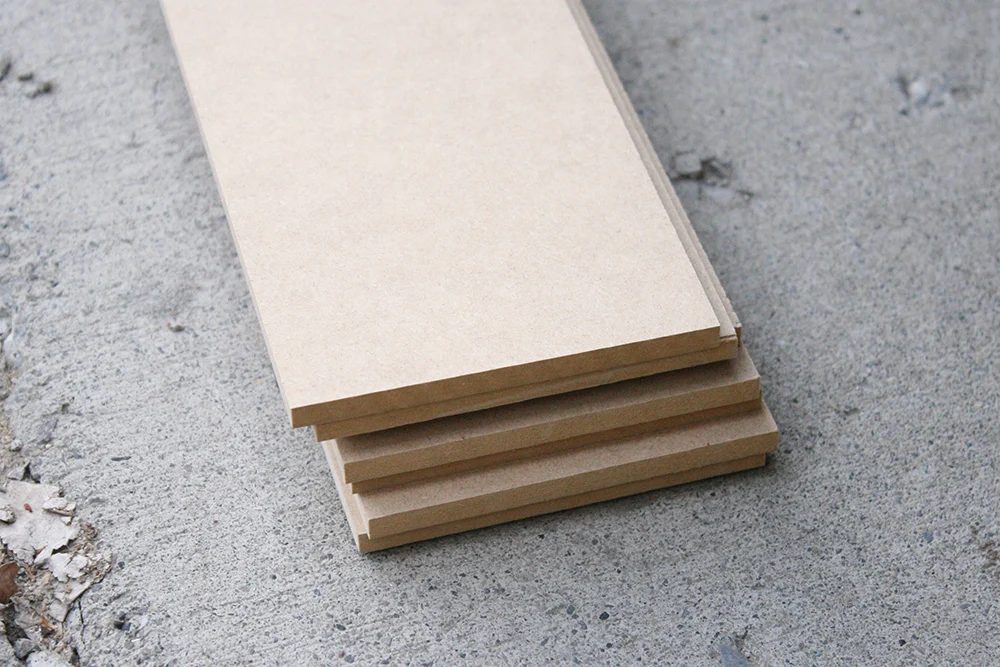
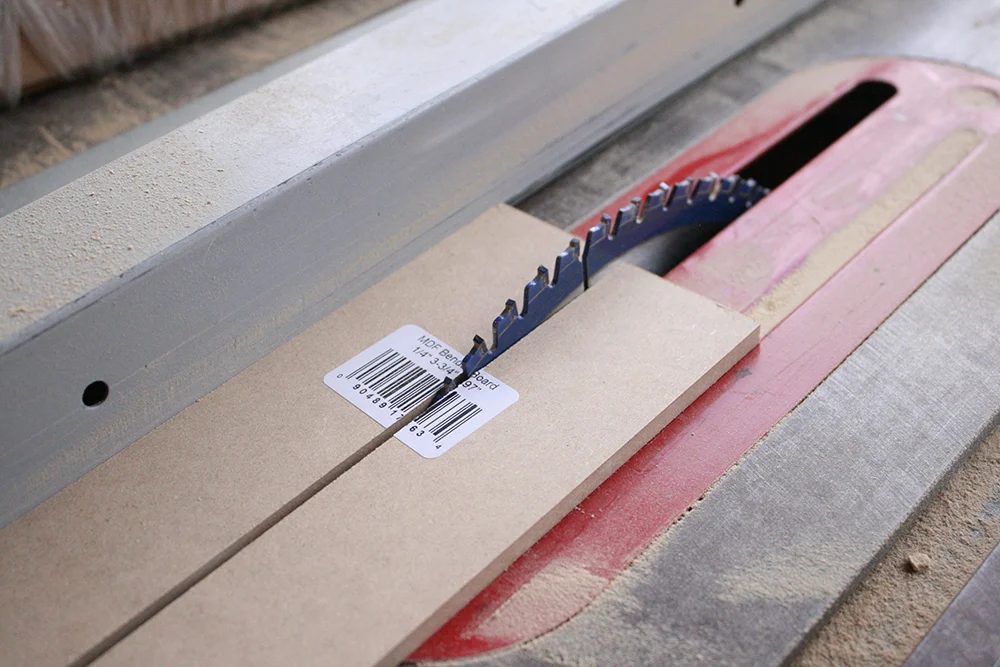
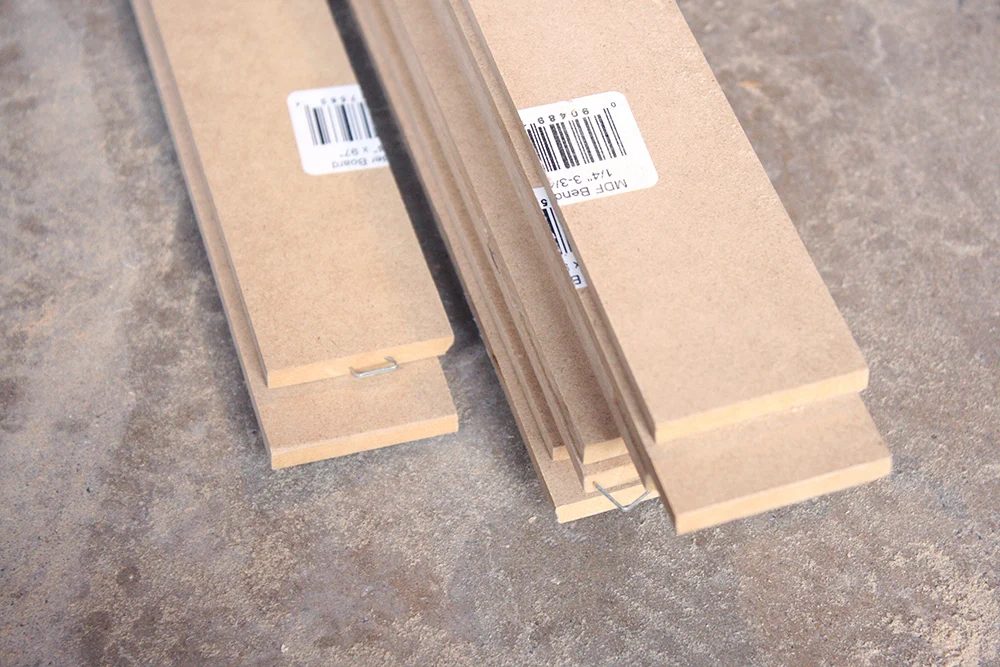
And because we cut ours, we took the time to sand down the top two edges of the board to ensure that the edges were clean and that all imperfections were sanded down.
*TIP* Cut edges of MDF always need sanding. Because MDF is so smooth, the imperfections will be very apparent once you paint. Don’t skip sanding!
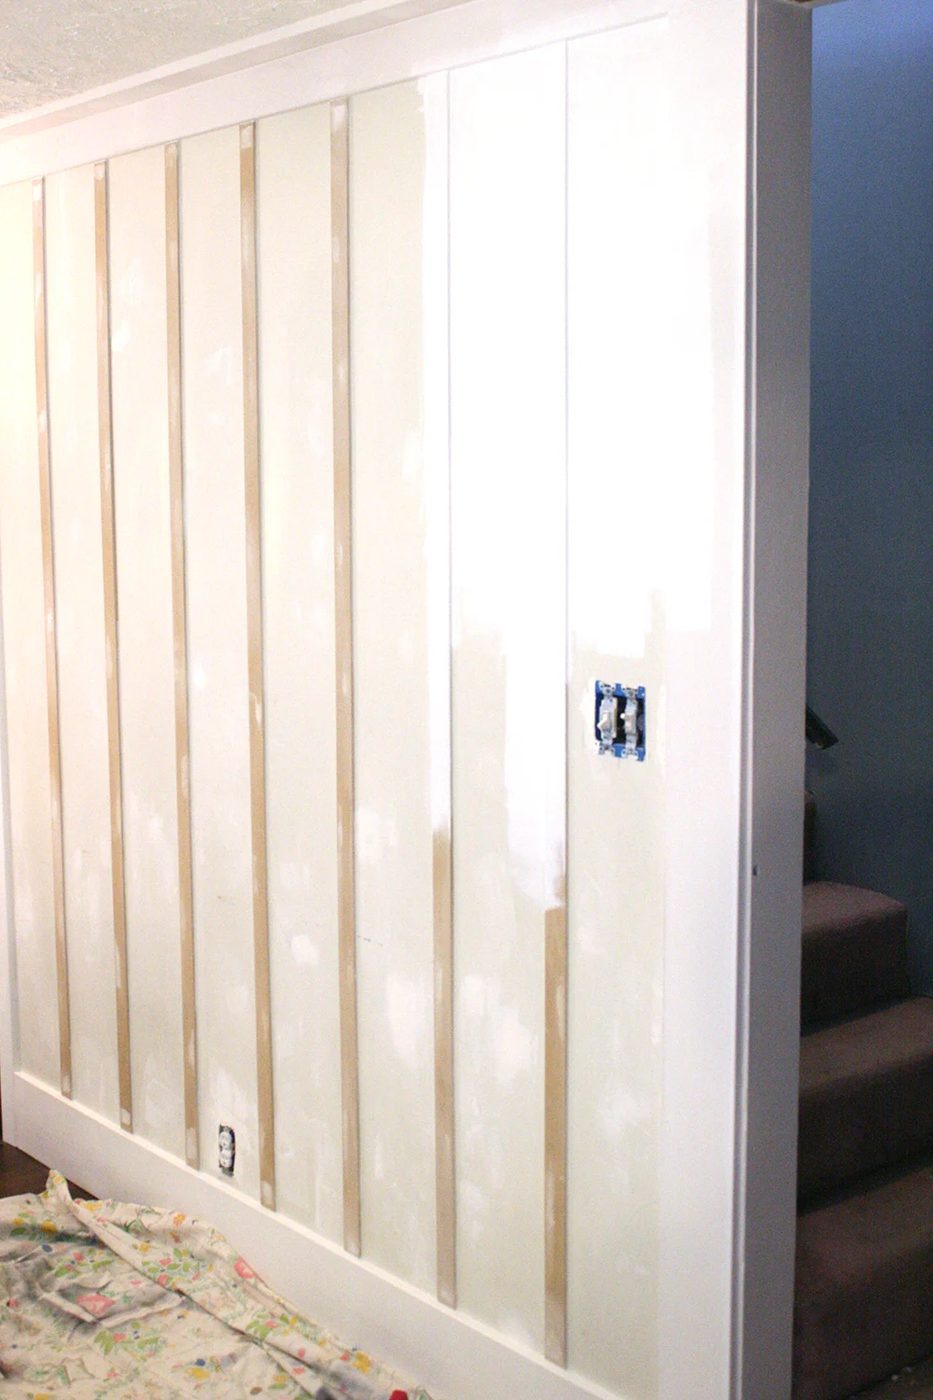
Board and Batten Step 4: Install the Battens
Be sure to make your spacing well fitted. Follow this board and batten spacing walkthrough and you will end up with the professional-looking results you want!
1. Mark out the spacing.
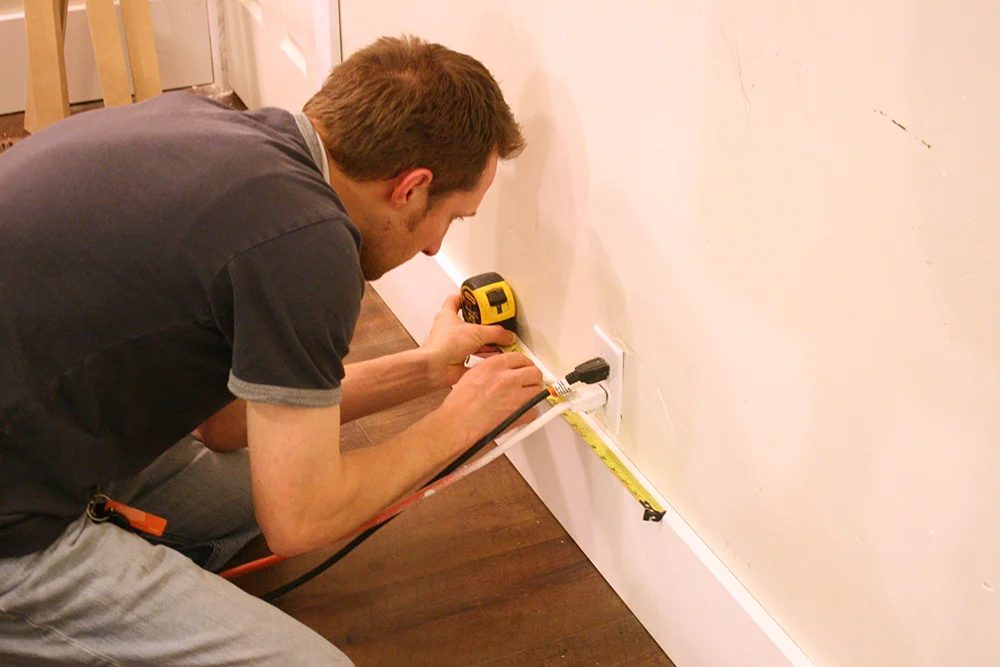
2. Measure the height you will need for that batten in that place. Cut your batten. (Do this for each batten, as ceilings and floors are not as level as you think!)
3. Place the bottom of the batten at your spacing mark and nail once near the bottom of the board to hold it in place according to your spacing mark.
4. Place a level on the side of the batten board and adjust the board until it is perfectly vertical.
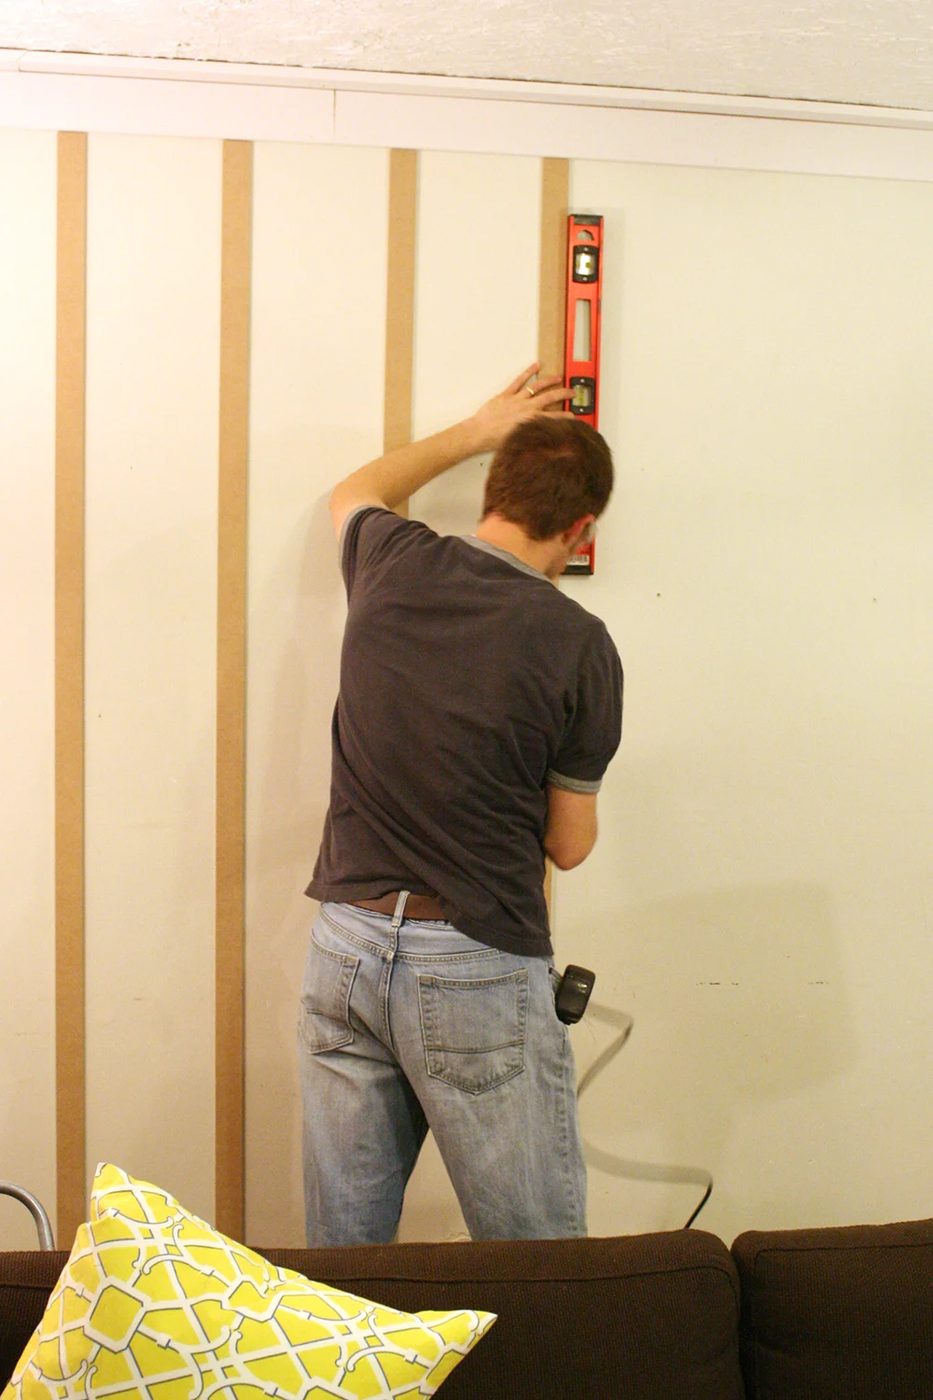
5. Nail once near the top then secure it to the wall with a few more nails in the middle.
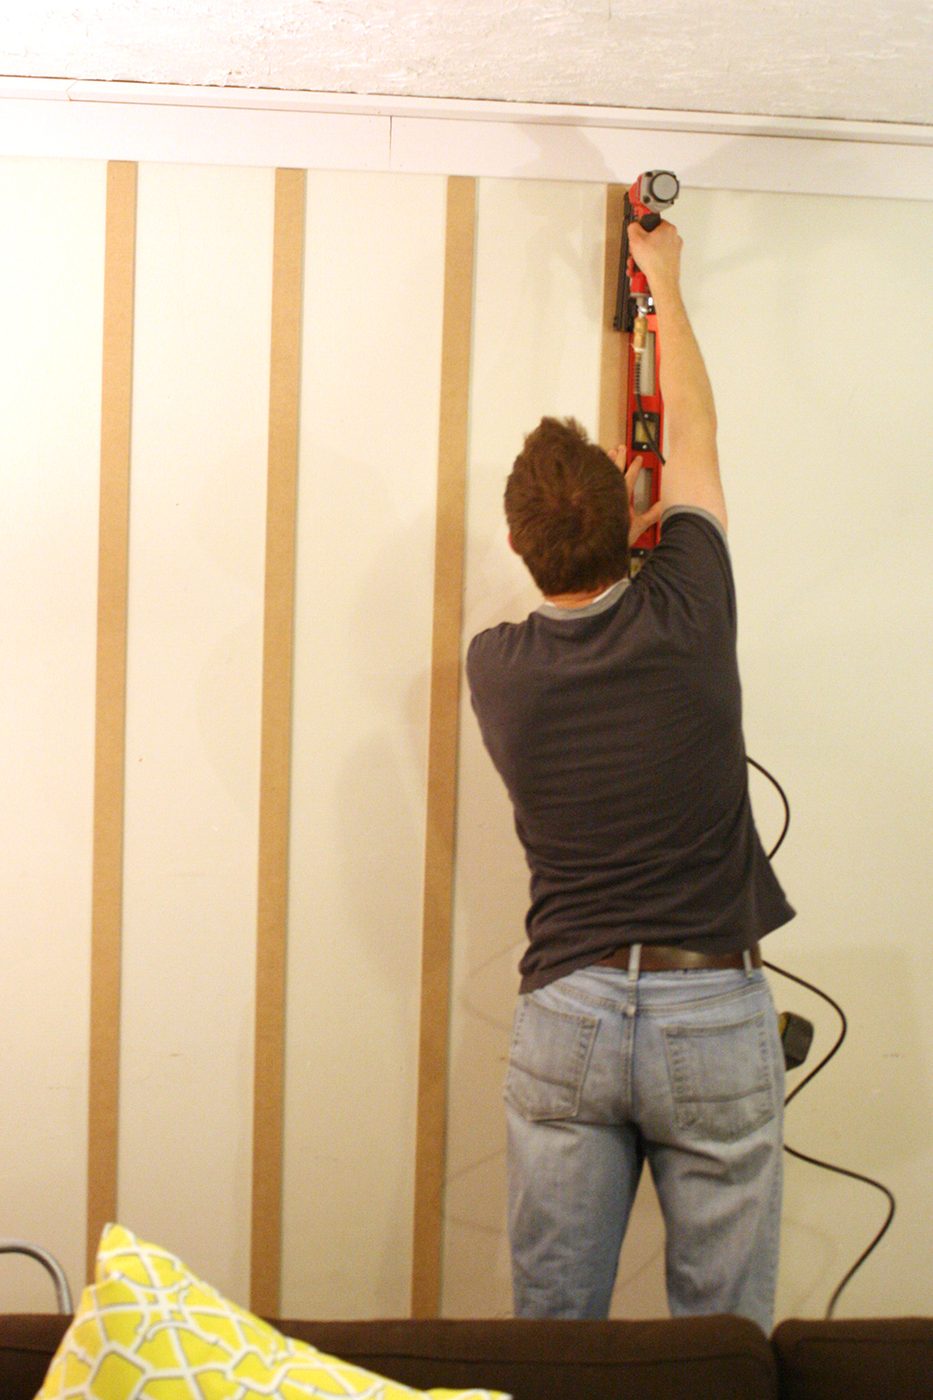
6. Repeat the process with each batten.
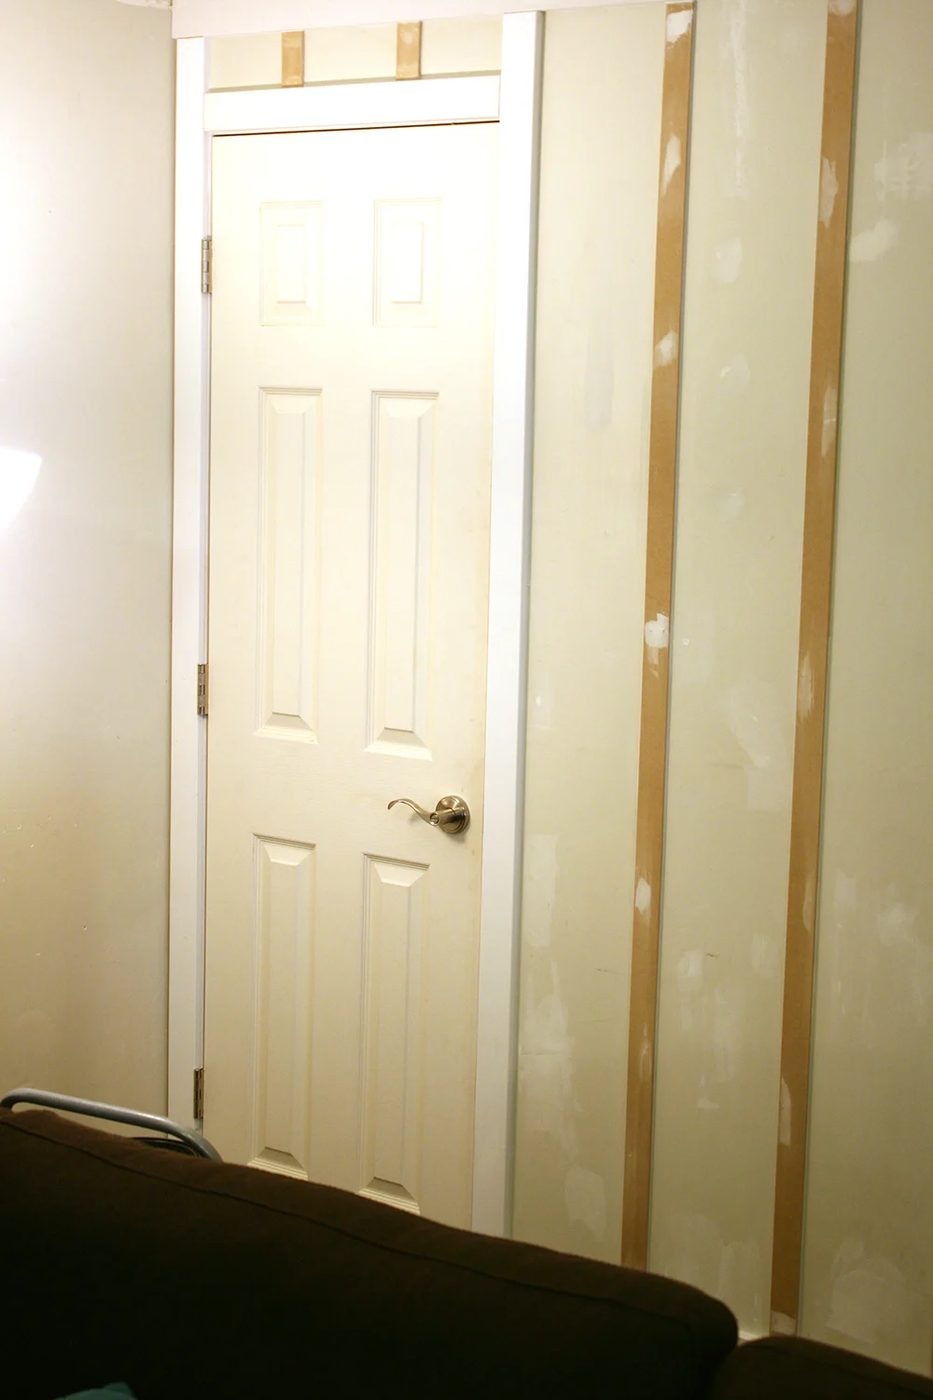
Board and Batten Step 5: Patch the nail holes and caulk all the seams
Patch the nail holes and caulk between the boards and the wall to fill the gaps.
Board and Batten Step 6: Paint
We chose Sherwin Williams High Reflective White, and, oh, the difference the paint makes! Make sure to inspect your paint job from the left and right to ensure every inch of the battens is covered in paint. It’s straightforward to miss the thin side next to the wall!
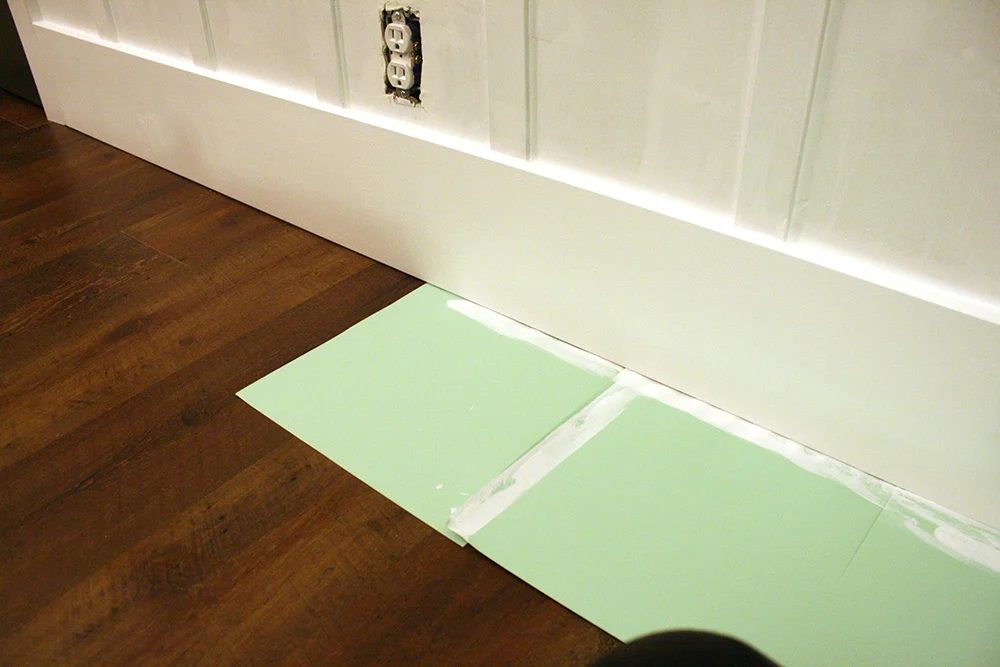
For painting the molding next to the floor, I used heavyweight scrapbook paper as a “drop cloth” of sorts. It moved along easily and slid under the gap of the base molding perfectly with no taping required!
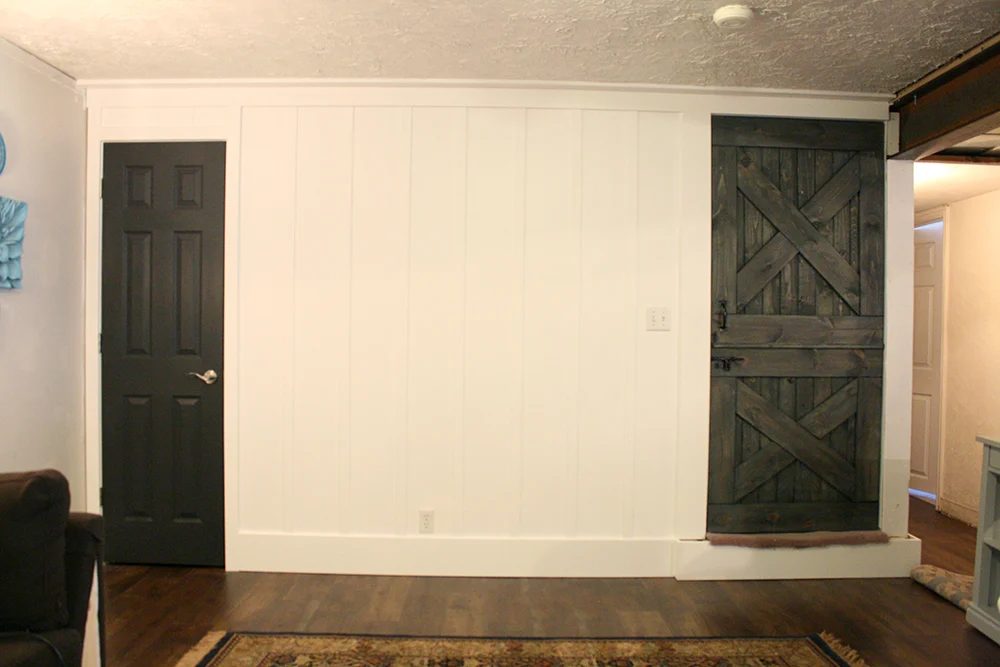
And we’re done! See how the battens just sort of melt into the wall? They offer a slight texture and pattern but they are not the focal point — exactly the subtlety we wanted!
If you’d like to see more of our projects at the Canyon House, browse through them here and follow us on Facebook and Instagram for more inspiration and tutorials.
More Handmade wall treatment tutorials:
- How to Build a Pallet Wood Wall
- How to Handmade an Elegant Paneled Wall
- How to build a Shiplap Plank Wall
- Installing Trim: A first-time’s Guide
This post originally published 05.04.2013 // Updated 03.06.2020