The steps below follow the order of the work for this decor project.
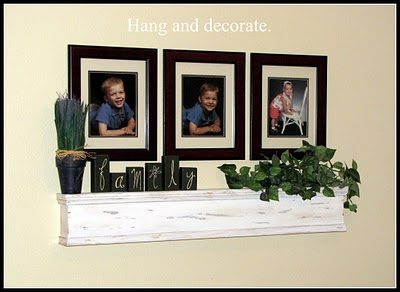
Build Your Own Rustic Shelf walkthrough Submitted by clearly Saturday Crafts and More I have been trying to find something to fill up my wall in my living room. I saw this fun shelf at Faded Country and I knew I had to make it. I love the blogging world. There are so many fun things to make! Here is my shelf project. Materials: (1) 1x4x8 (cut the board in half so the wood is 4 feet long) (I had Home Depot cut my boards) (1) 1x6x8 (Cut the board in half so the wood is 4 feet long) Trim for top and bottom. Wood Glue nails (I used my brad nailer) Something to hang it to the wall Calking Opps! Just imagine the picture turned.After I had the trim on, I put calking on the trim and in the nail holes. Let it dry.
To get the distresed look, sand the board down so the stain shines through. I actually put extra stain on the white paint to give it more of an antique look.
The hardest part of this shelf was the trim. I have a hard time thinking about angles and putting them together. I went through a lot of trim to get it right. My husband does well at the angles, but I wanted to do it all by myself. If I can do it, anyone can. My husband did help me hang it.
This project was contributed by one of our fabulous readers! We love to share your projects with this great blogging community. So, if you have projects from kitchen renovation options to small bathroom remodels, overhauled and repurposed furniture, spray paint updates you name it please send it in! Thanks for reading Bekob! If you like this project check out these other great projects too: White Book Shelves with Black Interiors Spruce Up Your Built-in Book Shelves With A Fabric Backdrop Kitchen Remodel, Removing Upper Cabinets for Shelving Fireplace with Built in Bookcases New White Book Shelves and Cabinets