Read the sequence from the top before cutting, painting, or moving pieces.
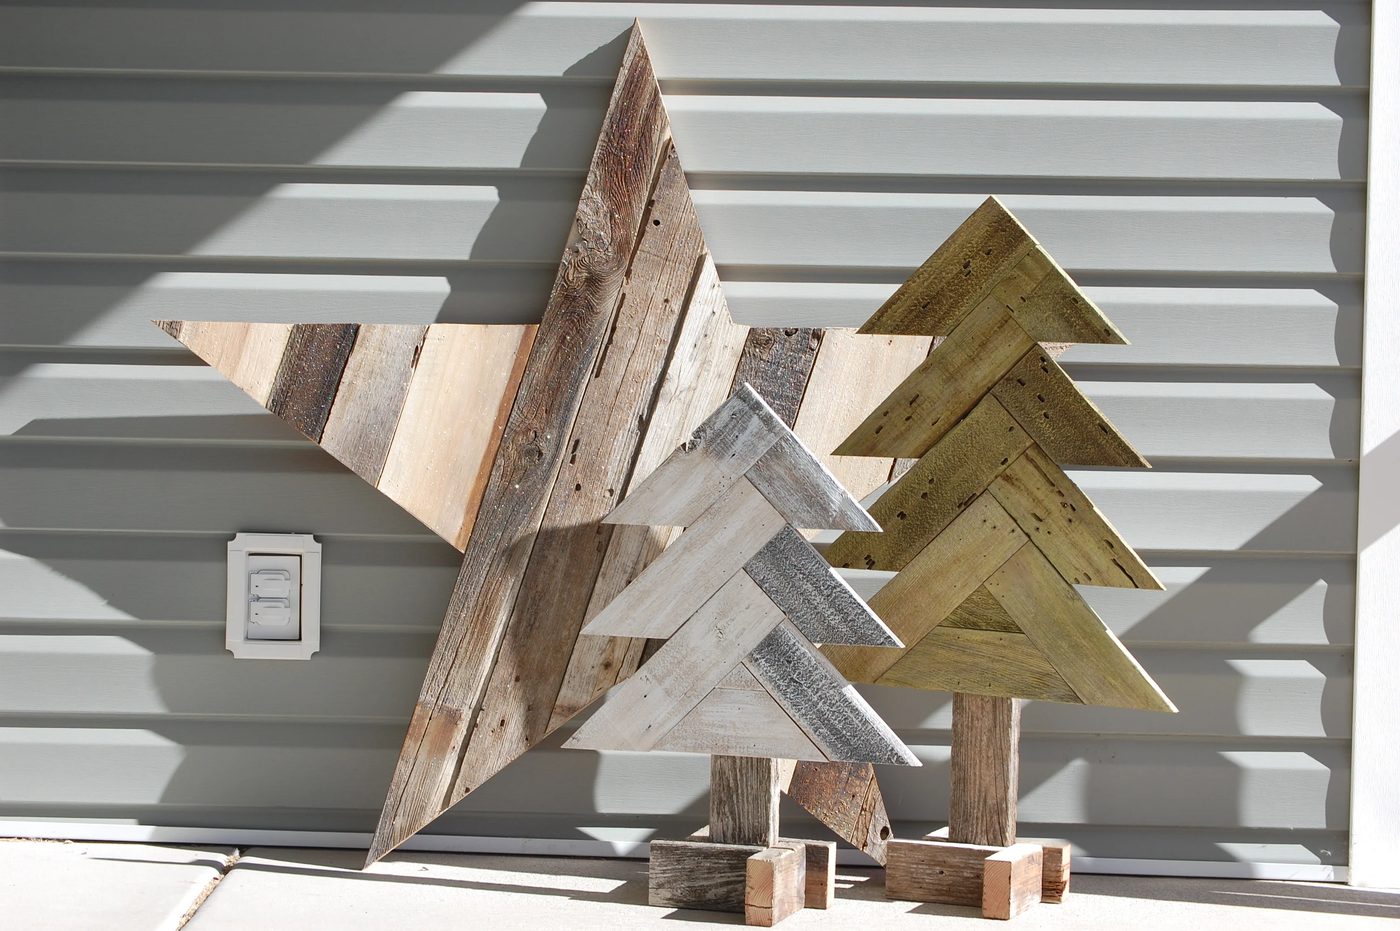
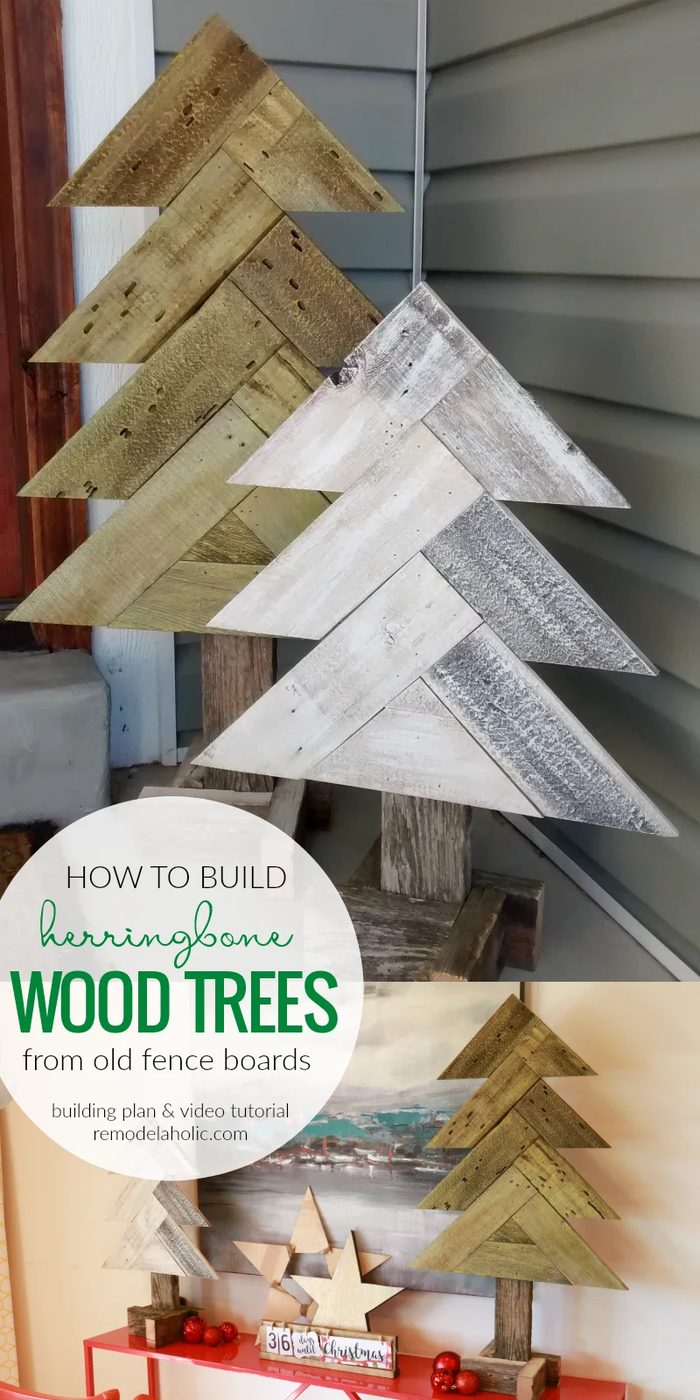
Remember a few days ago when we teased you with a photo of these in Krista’s 3D wood tree walkthrough (and the wood Christmas stars walkthrough)? Tease no longer — it’s time to show you how to build these rustic herringbone wood Christmas trees!
These will look so cute on your porch from November to February (or longer!) or they’re a great size to use in an entryway, too. Watch the video to learn how, and download the printed instructions below.
Handmade Rustic Herringbone Wood Christmas Trees
open this to purchase the herringbone wood tree printable woodworking plan
or click here for the instructions for the 3D stacked trees shown in the video
Bundle and save! This plan is also available in the Wooden Christmas Tree Woodworking Plan Bundle. 4 plans, save 30% over buying individually!You can build these cute sturdy trees for your front porch in no time! Here’s what you need
Supplies
- 2-3 Weathered fence slats (3 1/2 inches wide)
- 2 Weathered 2x4s
- 16 gauge 1 1/4″ finish nails
- 18 gauge 2″ finish nails
- Paint
Tools
- Miter saw
- Air compressor
- 18 gauge finish nail gun
- 16 gauge finish nail gun
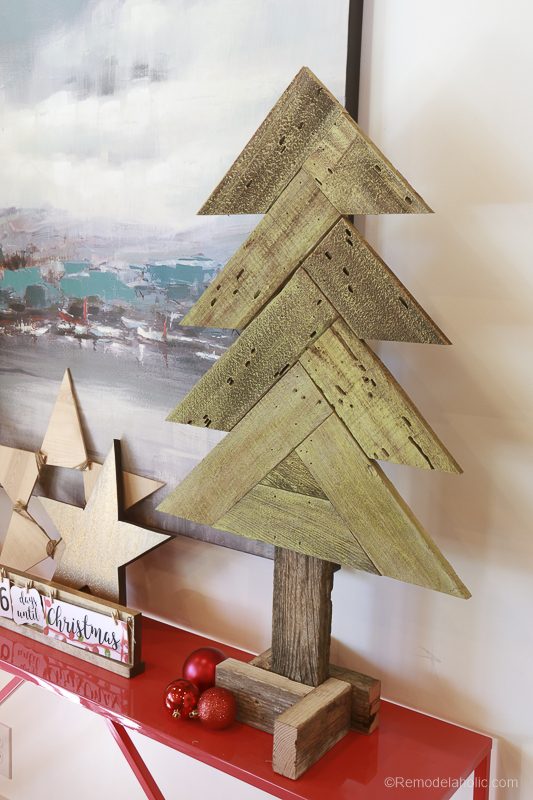
Herringbone Wood Tree Building Instructions
Download the printable building instructions here.
The 6-page printable woodworking plan contains a detailed cut list, with tips for reducing lumber waste, and assembly instructions for both the small wood tree (~24″) and the large wood tree (~37″).
Tips for Painting Weathered Wood Trees
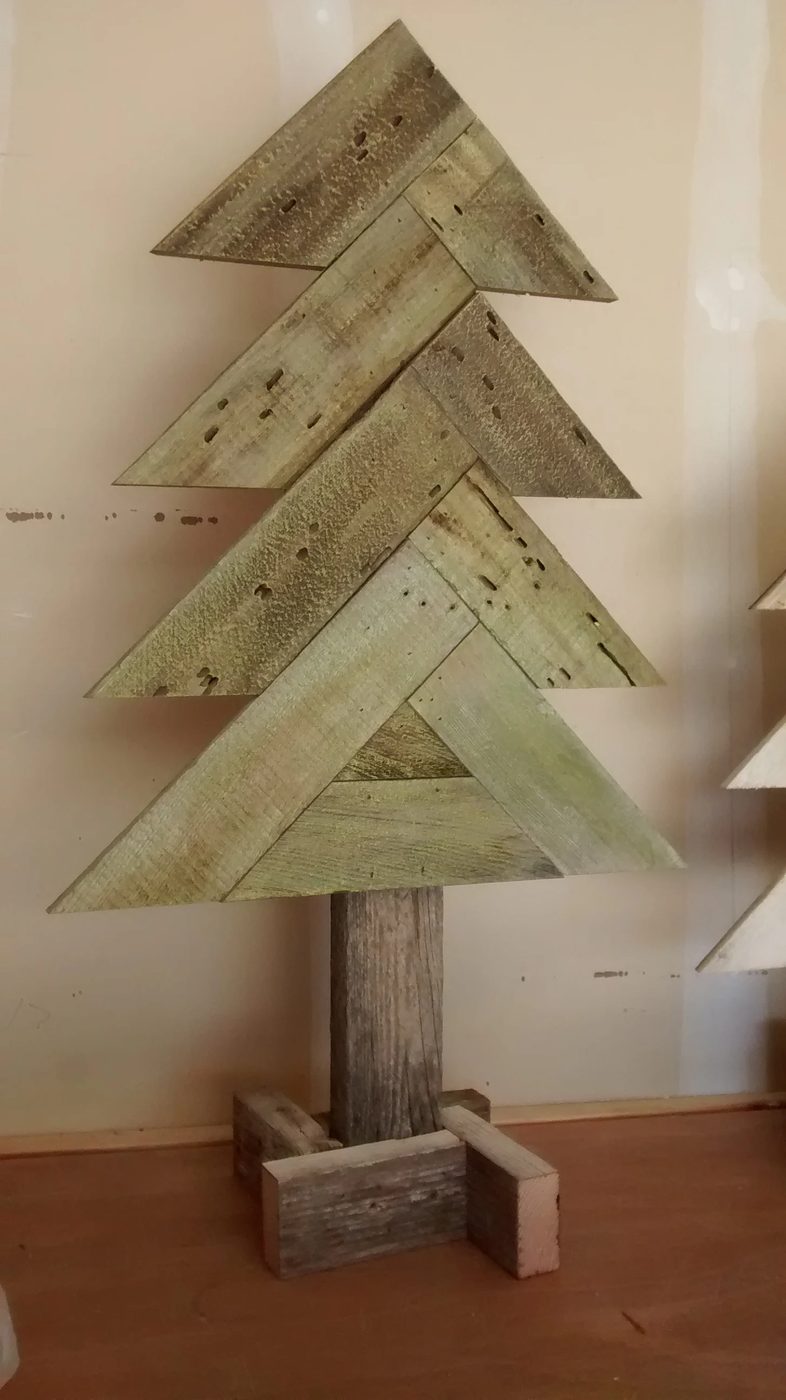
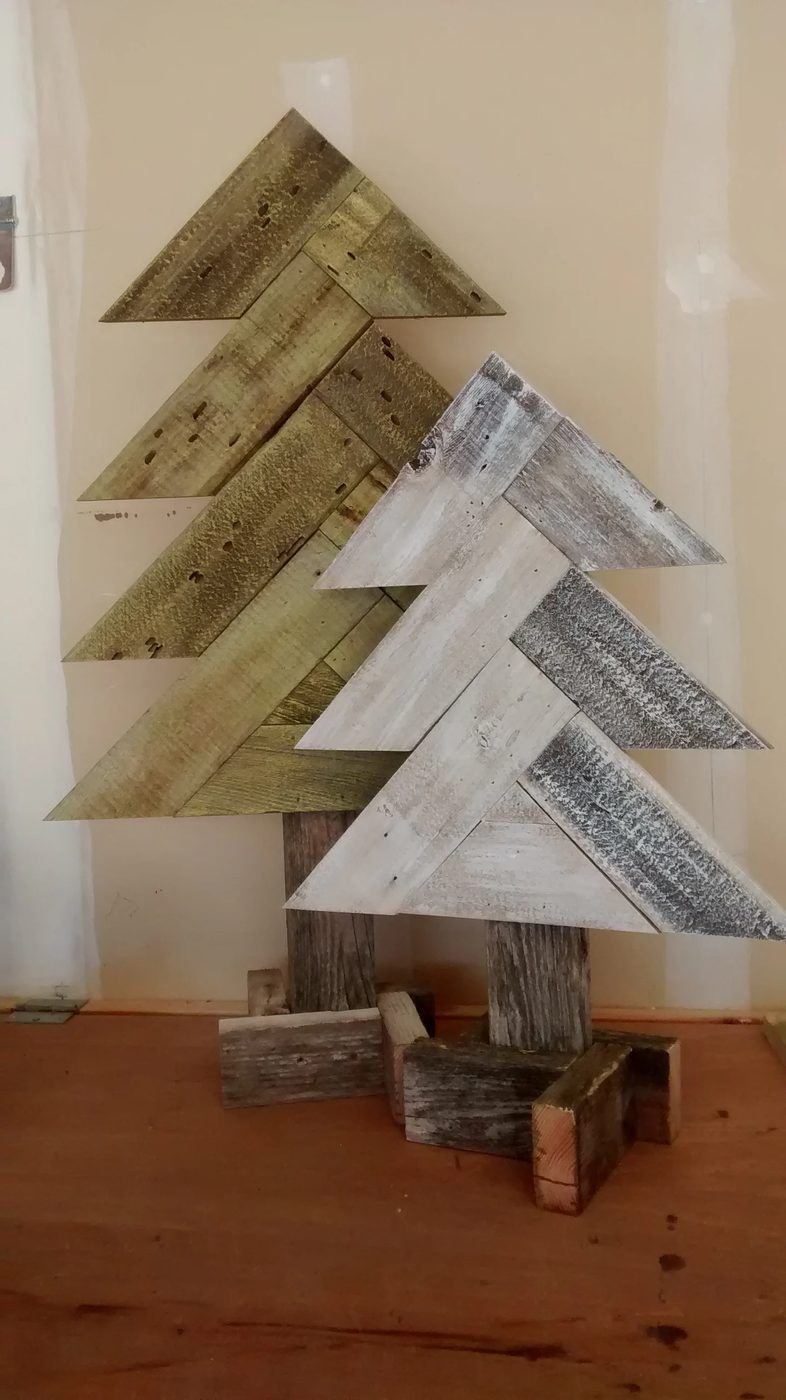
I used a dry brush technique to paint both of these trees so that you can see the character of the weathered wood beneath the paint.
I used acrylic craft paint with a metallic sheen for the green tree, and a non-metallic white for the other.
The key to dry brushing on weathered wood is keeping your brush mostly dry, not loaded with paint (thus the name “dry brush”). Dip the tips of the paint brush in the paint, then use a paper towel or other surface to remove most of the paint, so the paint will be “dry” and keep the rough weathered texture.
If you are using fresh wood, or smooth sanded planks, you could also use Cassity’s go-to colorwashing technique to stain wood any color you like.I think you’ll love these trees, and use them year after year! Let me know if you enjoyed this build! and that rustic star walkthrough will be coming soon is available here!
——————–Reader Update, February 2019——————–
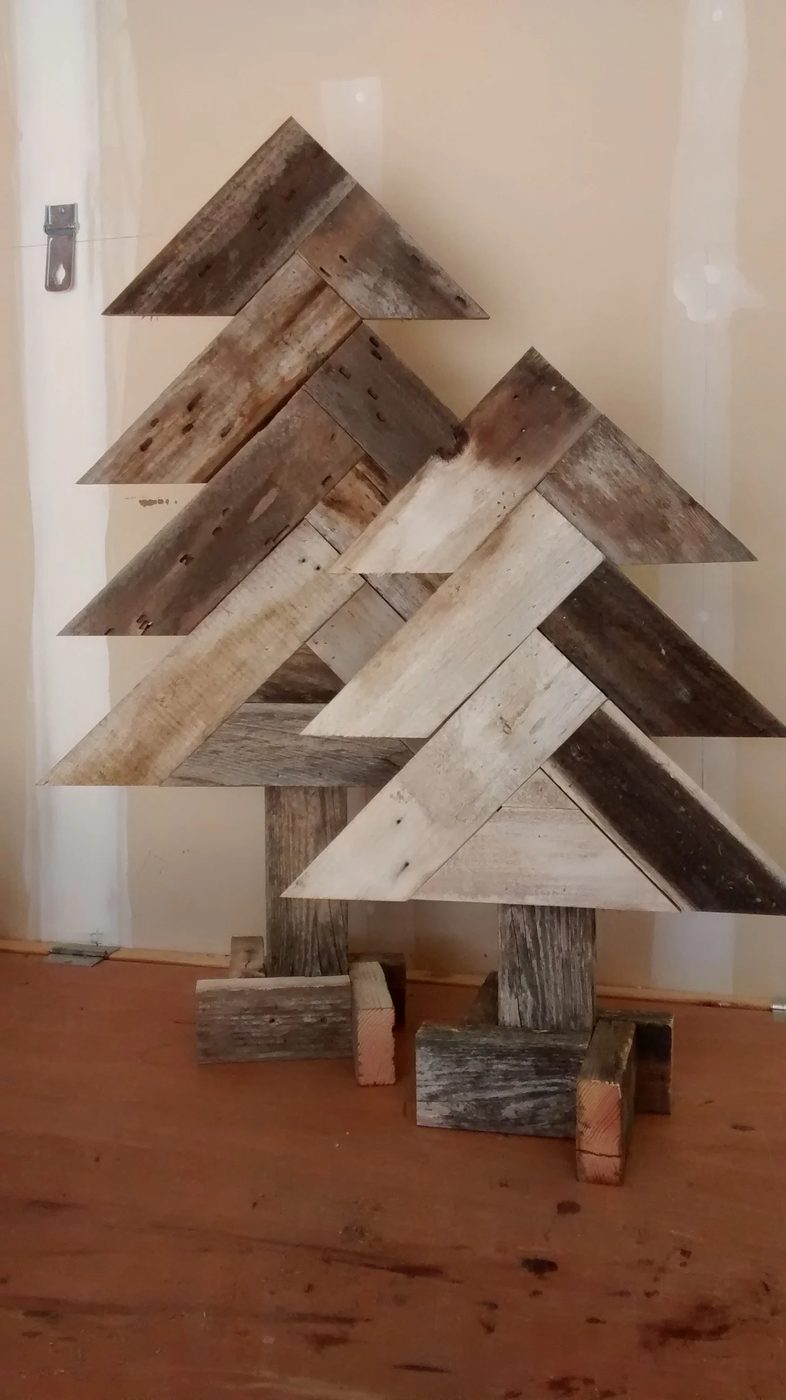
Our reader, Lori, used these plans to build the trees for her front porch. Look how changing the type of wood creates a different look!
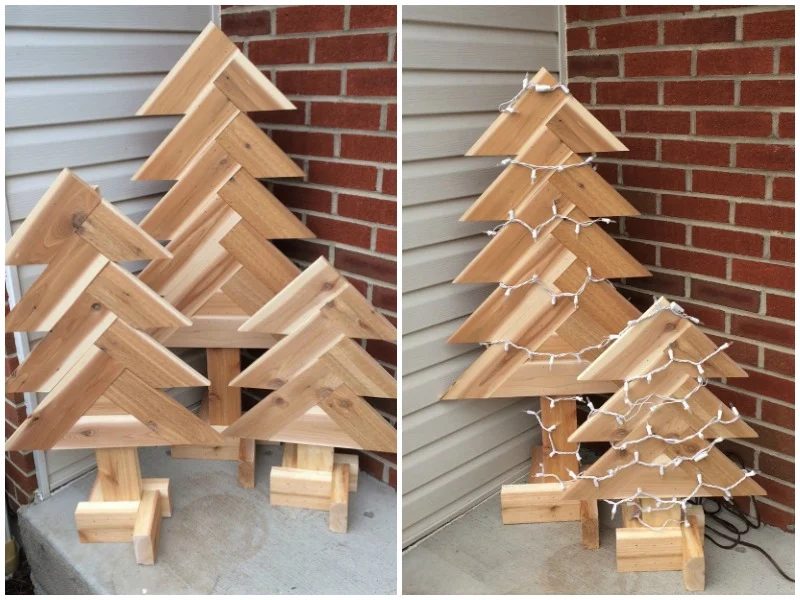
Lori says, “I made the trees out of rough cedar purchased from the home improvement store. I made the small and the large, and then decided to make an even larger tree. I used the smallest and largest together at the front door and put some lights on them. Looks great!
And we agree: they do look great! Thank you for sharing, Lori!
————————————————–
Keep building with more Creative Christmas projects
and be sure to subscribe by email or RSS and follow along over on Facebook, Instagram , and YouTube with #CreativeChristmas so you won’t miss any of our new Christmas tutorials, recipes, and printables!
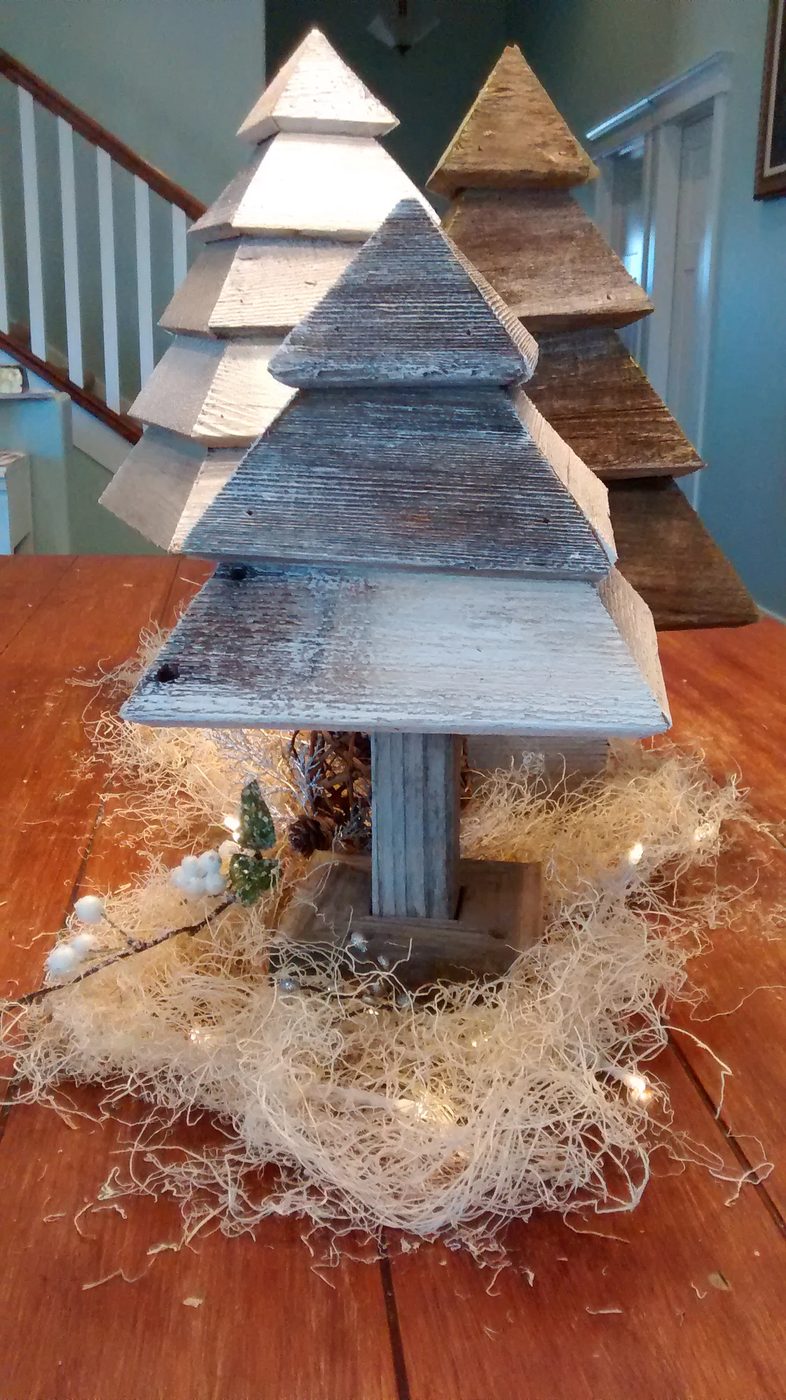
3D Wood Trees
straightforward Handmade Wood Christmas Stars, 5 Ways
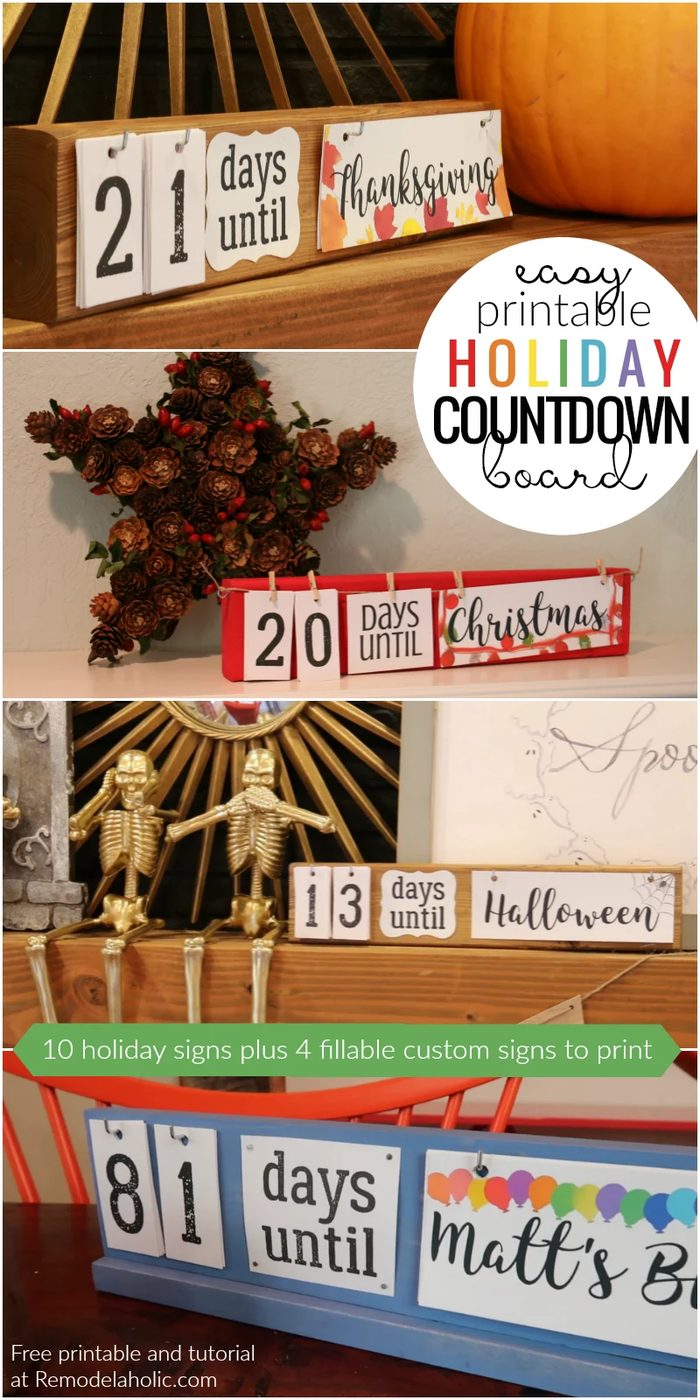
Handmade Christmas and Holiday Countdown Board