The steps below follow the order of the work for this furniture project.
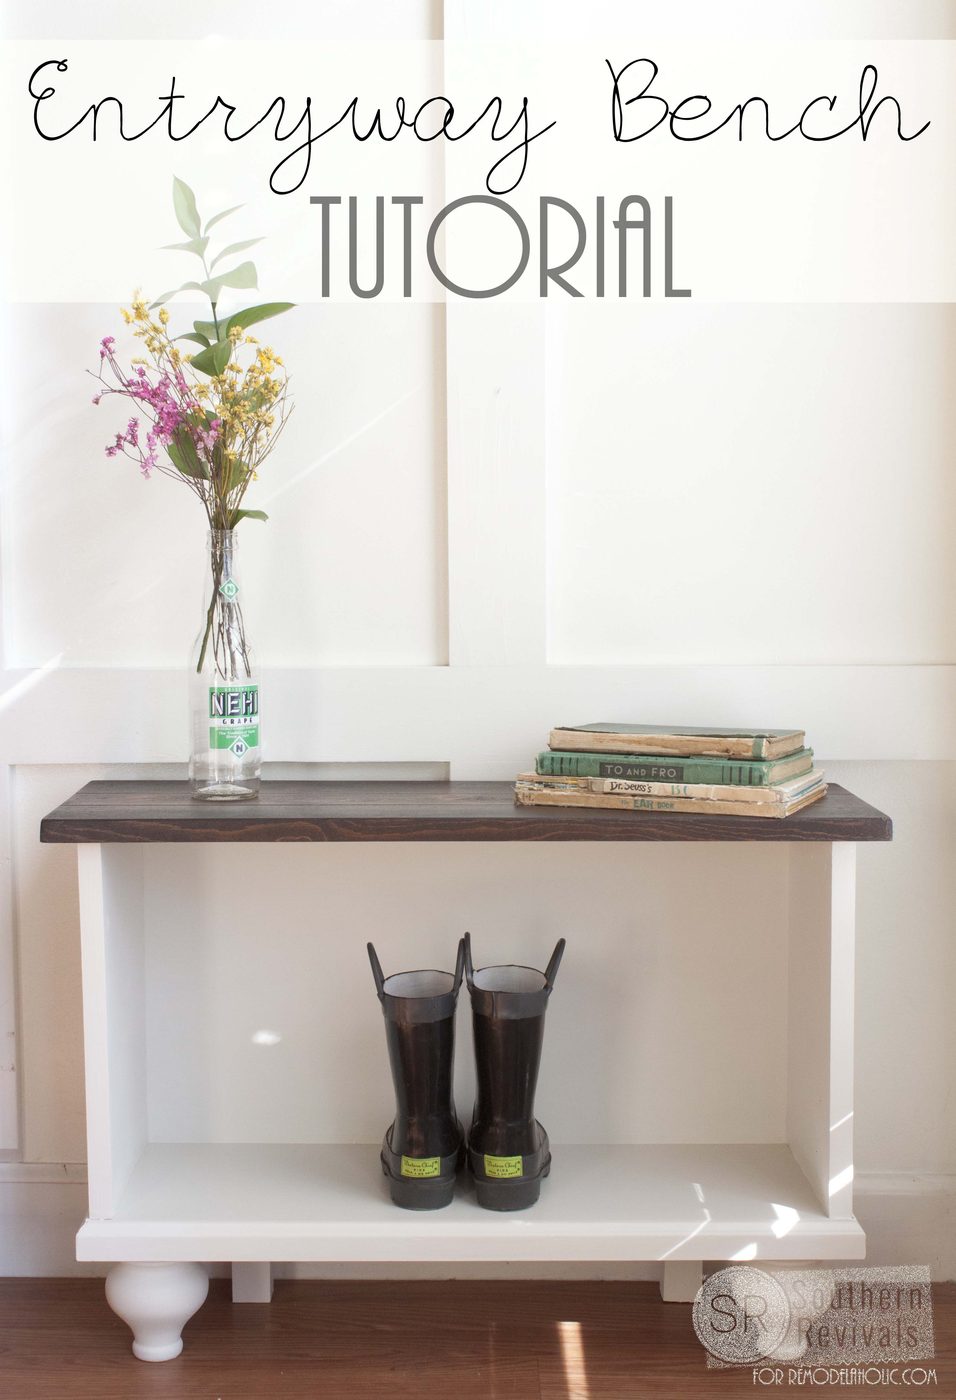
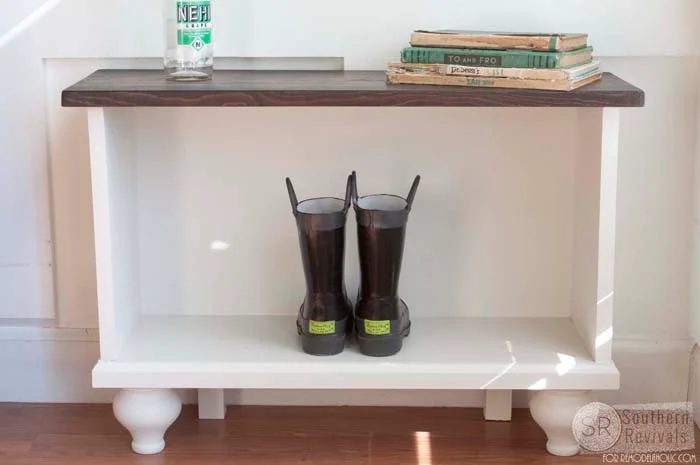
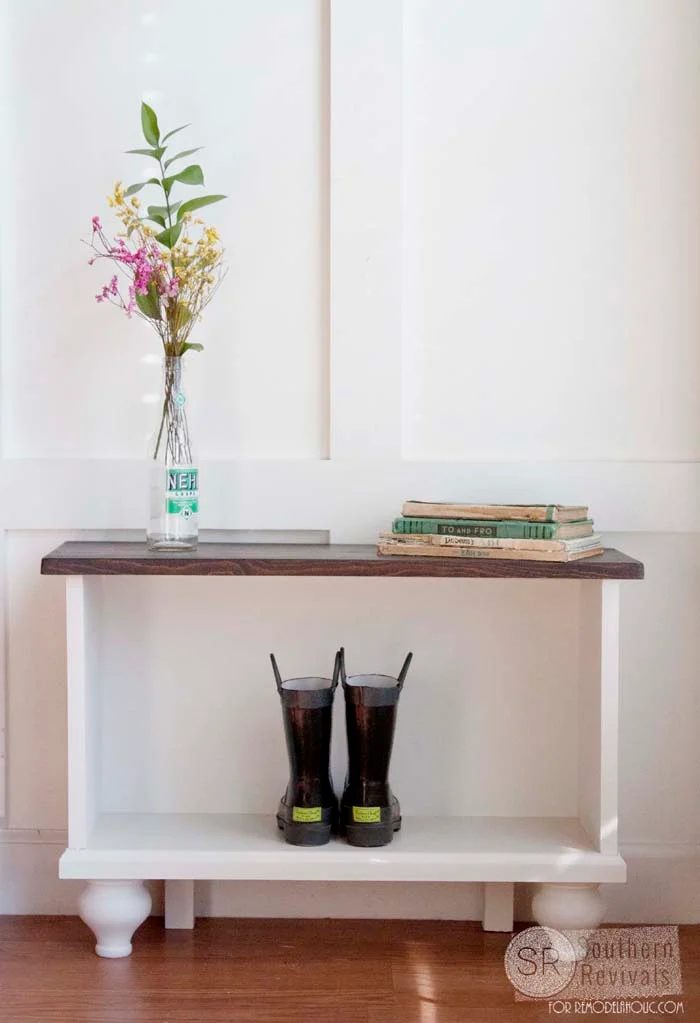
Originally this entryway bench was commissioned by a client of mine who had a need for a place to store shoes, a seat to sit down on while taking them off and a piece that could tackle all of that without taking up too much space. It may sound like a tall order for this small piece but it’s big on functionality and even bigger on personality. And I’m here today to teach you how to build your own Handmade bench.
How to Build a direct Entryway Bench
This post contains some affiliate links for your convenience. Click here to read our full disclosure policy.
Supplies:
- 1- 1x8x8
- 1 – 6′ stick of pine trim moulding
- 1 – 4×8 sheet Tempered Hardboard
- 2 – Tulip style bun feet (for front legs)
- 2 – Bracket plates (for attaching bun feet to your piece)
- Wood scraps for back legs (I used a ripped 2×4 and cut them to match the length of the front feet, remembering to take into account any additional height the brackets will add to the front feet)
- Table Saw/Skill Saw
- Miter Saw (for mitering moulding)
- Steel square
- Measuring tape
- Drill
- Countersink bit
- Staple/nail gun
- Wood screws
- Paintable & Stainable Wood Filler
- Wood glue
- Paint
- Stain
Optional: Router & 1/4″ V groove router bit
I wanted the top of the bench to look like planks but actually be a solid piece of wood. When you’re using individual planks you have to worry about getting them to attach securely, not just from one side to the other but down the center, too. Otherwise they can buckle or even sag. Since I didn’t want to have to brace the top from the underside or have to worry about the look of piece with the braces taking up too much space inside the cabinet, I made faux planks instead with my router.
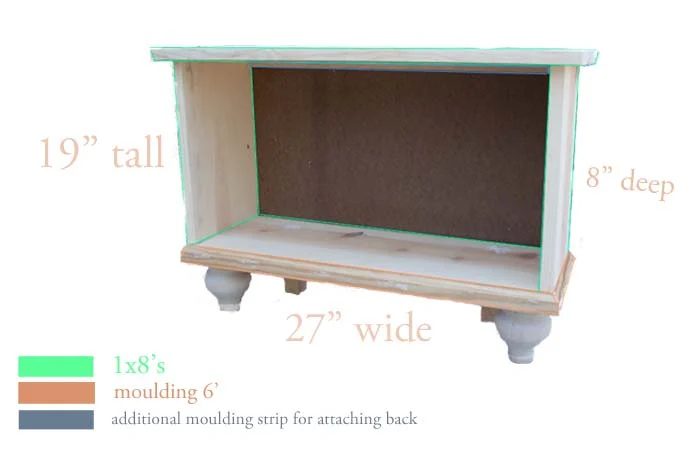
Since this was a custom build I was working with specific measurements. Feel free to modify these to your needs.
You are basically building a rectangular box and adding feet and a back. A steel square is great to have on to help ensure your piece is square.
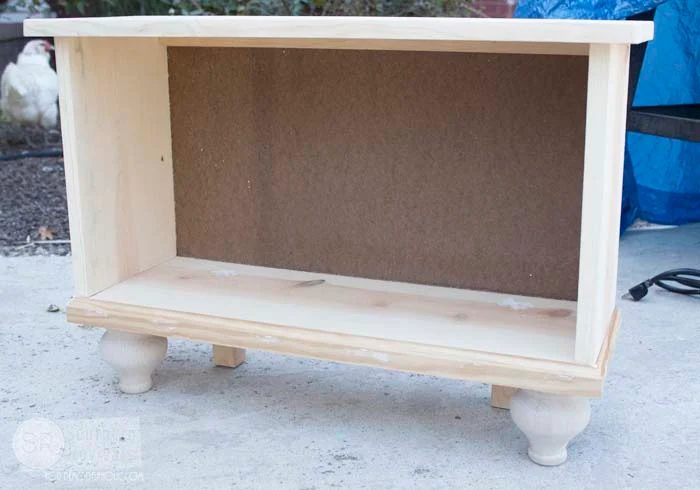 Average bench height is approx 19″ tall. Taking into account that the bun feet are 4 1/2″ tall and that your bench seat adds approx another 1/2″, you’ll cut both sides of the piece 14″ = a total of 19″.
Cut List
- 2 Side pieces (from 1×8) cut to 14″ in length
- Bottom piece (from 1×8) cut to 27″ in length
- Top (seat) piece (from 1×8) cut to 30″ in length (go give it a 1 1/2″ overhang on each side)
- Moulding side pieces 8″ in length with one end of each cut to a 45 degree angle
- Moulding front piece cut 27″ in length with each side cut to a 45 degree angle
- Hard board back piece cut just shy of 27″ and just over 15″ (see below for more detail)
You’ll start by attaching your side pieces to your bottom piece using wood glue and wood screws. I screwed my side pieces into my bottom piece from the underside so the screws would not show. I pre-drilled pilot holes where my screws would go to avoid splitting. Be sure to check that you’re square with your steel square.
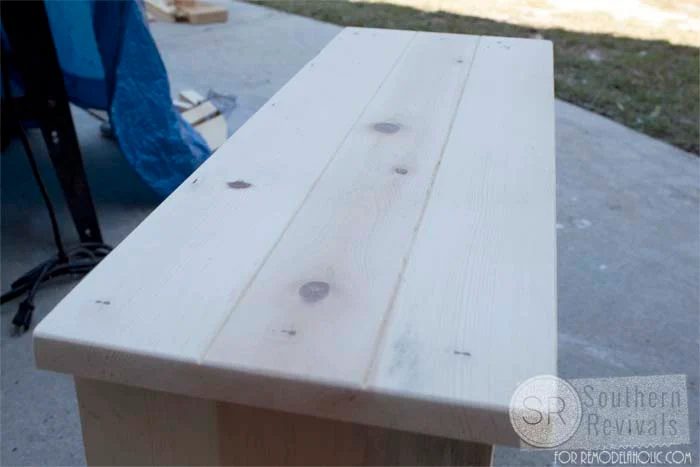 Now it’s time to add your top. If you choose to router your board to give the look of individual planks it’s easiest to do it prior to attaching it to your piece but it can be done afterward. In addition to wood screws, I always glue each of my pieces together being careful not to get any wood glue on areas I will be staining.
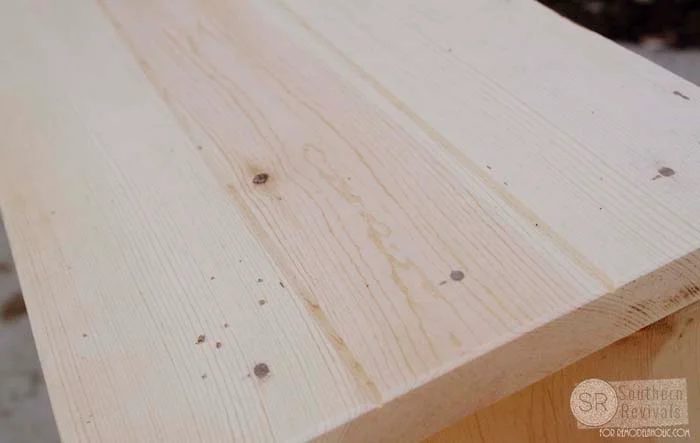 I used a countersink bit to hide the screw heads. I covered these holes later with stainable/paintable wood filler.
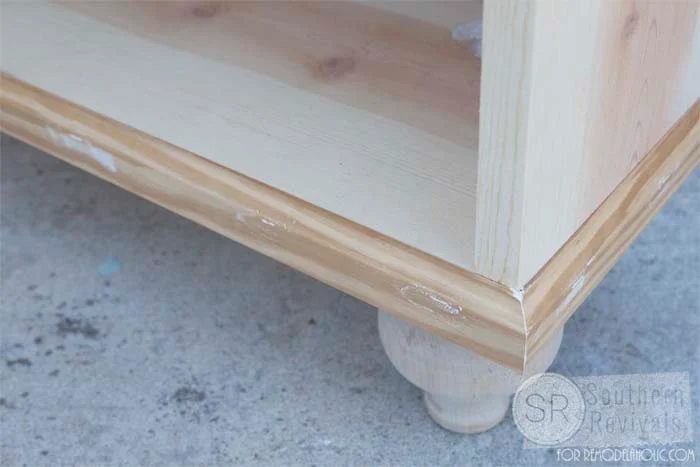 Once the top was securely attached I added the moulding around the bottom edges. I also added the leftover length of molding to the back of the inside so that I’d have more than just the back of the seat to staple the back into. This gives is better stability but is completely optional. I used my nail gun and wood glue to pop these pieces on quickly then covered the holes with filler.
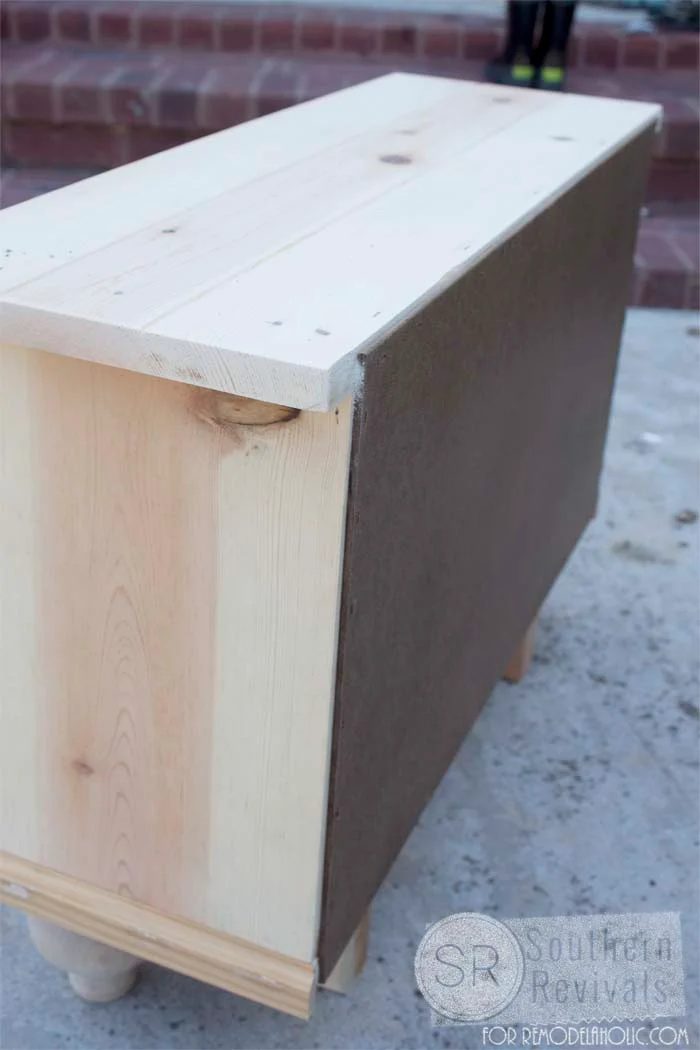 Finally, I added the back piece. This was cut just shy of my the width of my piece so that it wouldn’t show from the sides and just over the height of my side pieces so that it would attach mid way at the back of the seat and mid way to my bottom piece.
I allowed this to dry and ensured it stayed square along the way before adding my legs. The bun feet were added with brackets. The back feet were screwed in from the top of the bottom piece, using my countersink bit and filler to hide the holes. I also used wood glue for extra security.
You could always use bun feet for both the front and back legs. I did it this way because my client desired the bench to look like a built in without having to permanently attach it to her wall. Using the legs I did for the back and insetting them the way I did allowed the bench itself to sit over her baseboards making the bench flush to the wall.
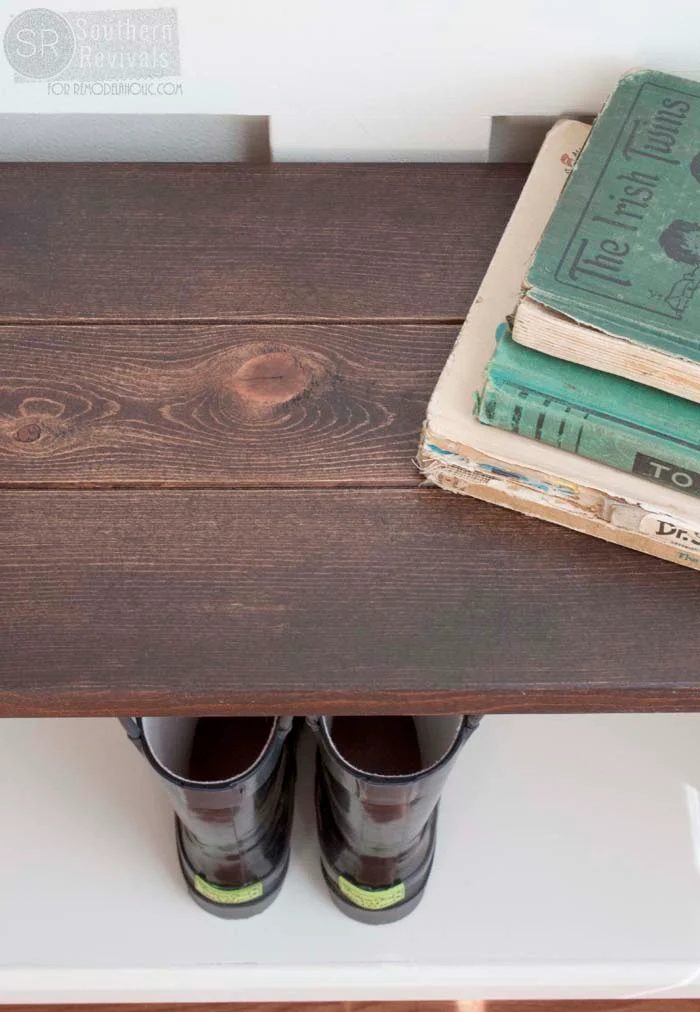 Once your piece has had ample time to dry, you are ready to paint and/or stain your piece.
Want more fun DIYs?
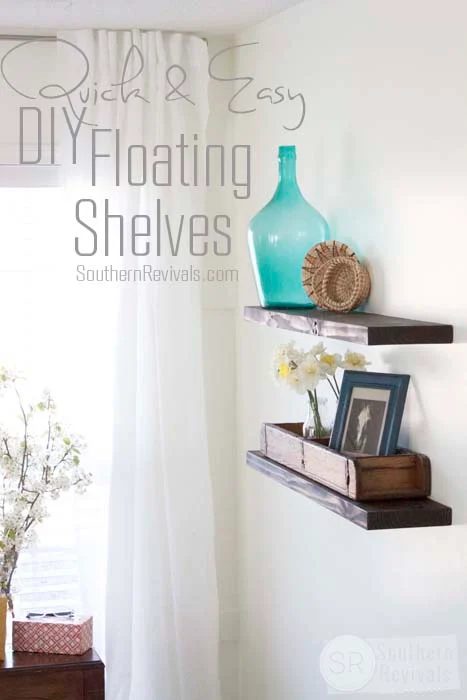 Handmade Floating Shelves for $5 ea NO BUILDING REQUIRED
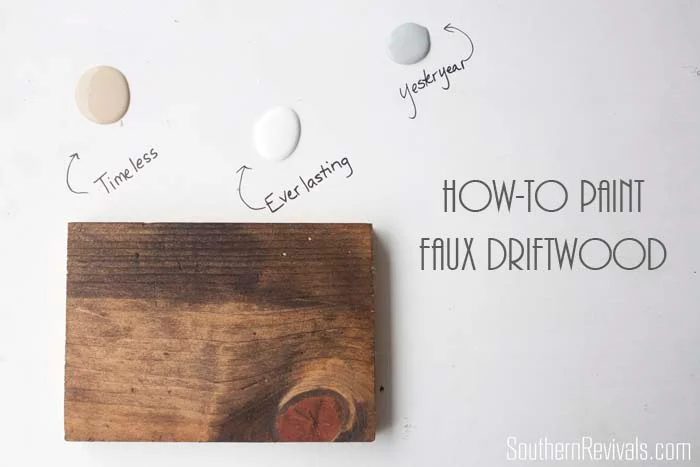 Faux Driftwood Restoration Hardware Paint Finish walkthrough
—————————————–
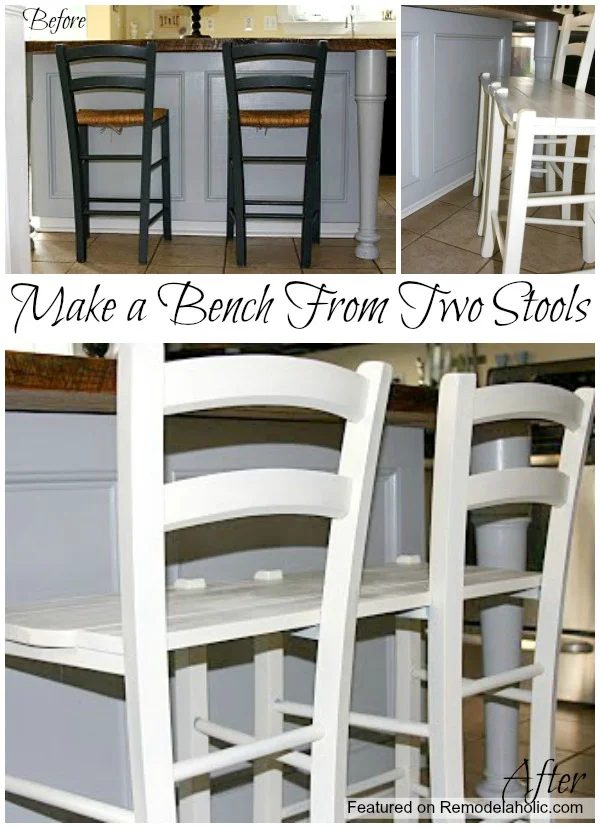
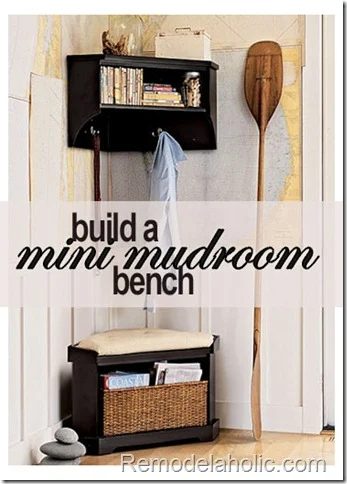
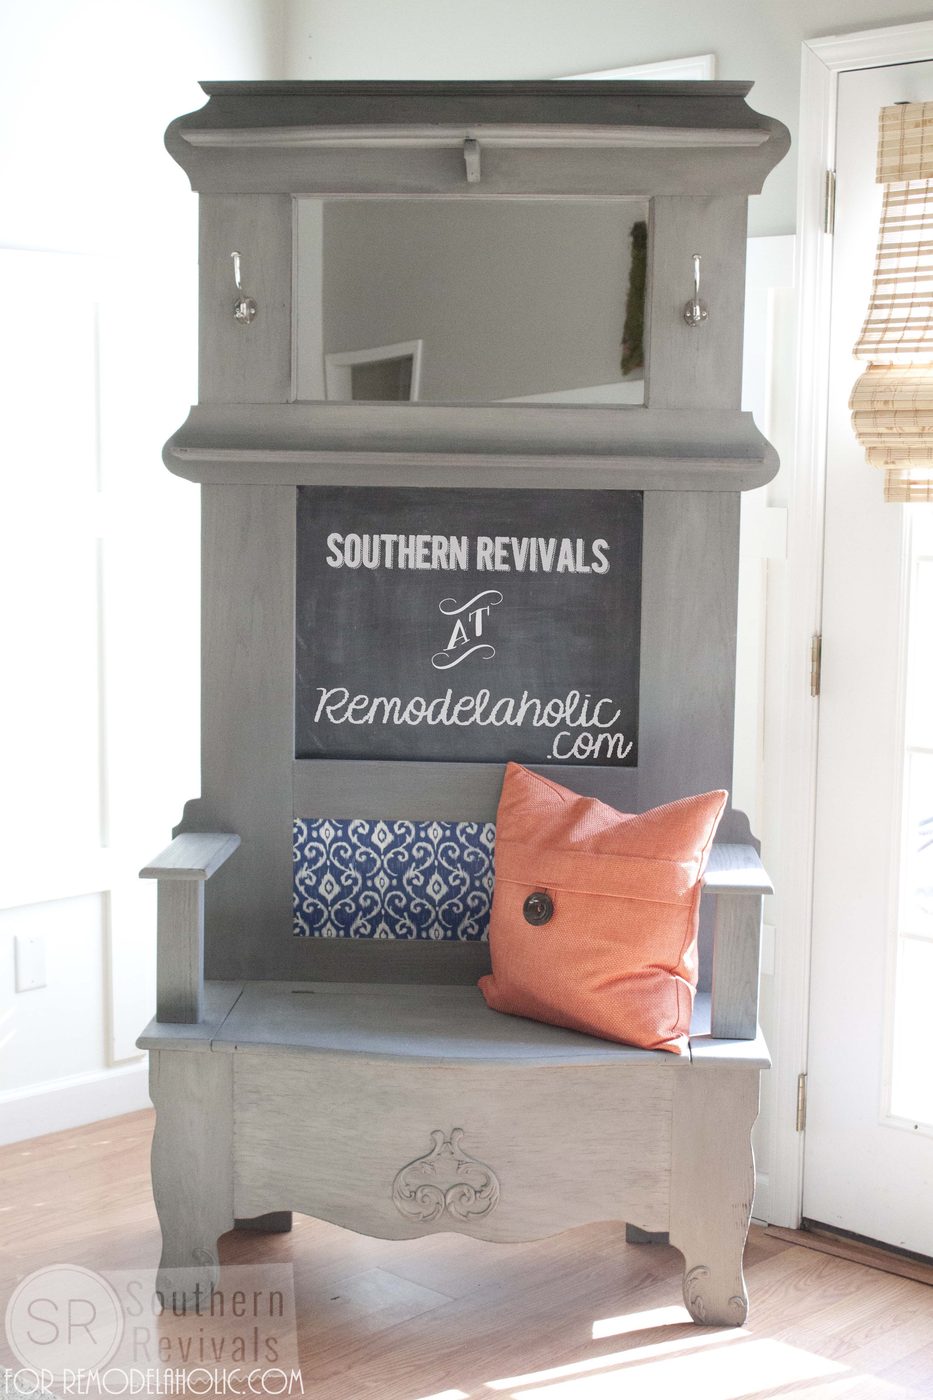
Looking for more benches? Try one of these!
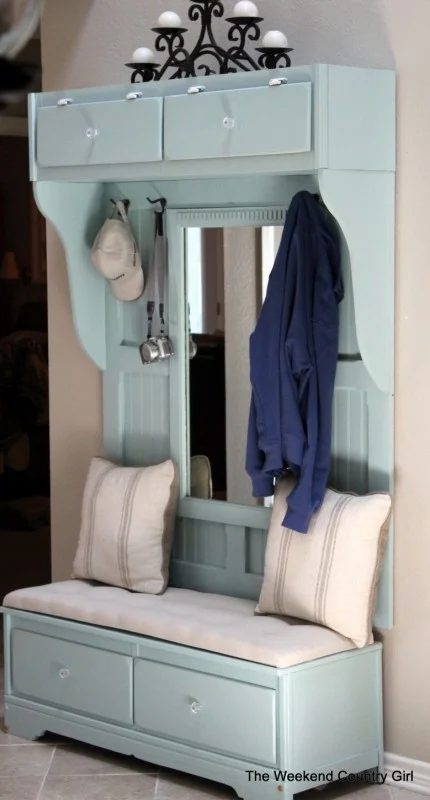
Hall Tree + Bench from an Old Dresser