This project plans walkthrough stays in the order the work happens.
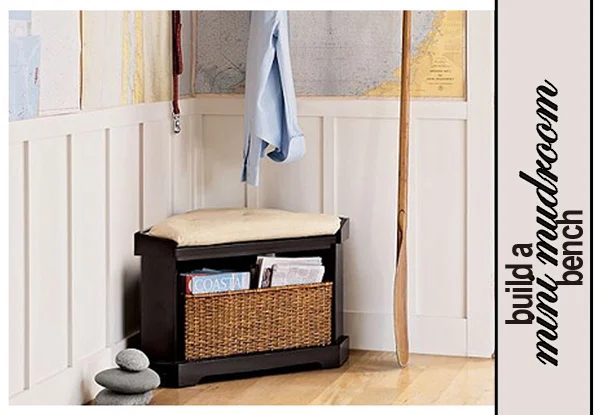
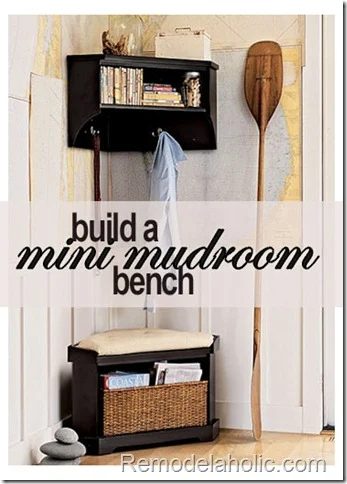
We’ve been showing off lots of mudroom and laundry room options this month in our “Home Sweet Home series… For example some great magazine inspiration and blogger’s homes inspiration. And while I wish I had a ton of extra room in my house, none of my homes have really ever had a mudroom. So what do you do when all you have is a small corner? You make a “mini” mudroom… “the little mudroom that could” if you will… and I am here to help with some corner storage bench plans. (Update: you can also get the corner storage shelf plans here.)
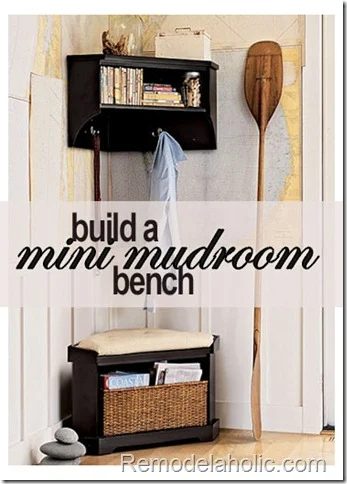
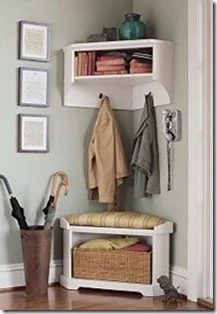
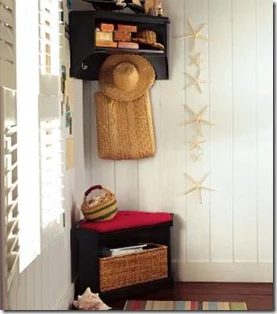
First some mini mudroom inspiration…. click on the picture for the source, or see below.
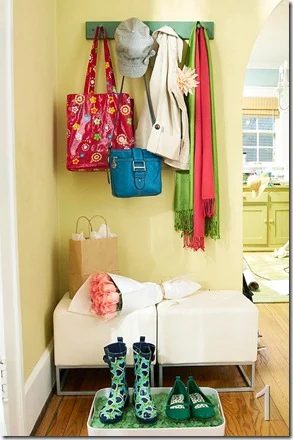
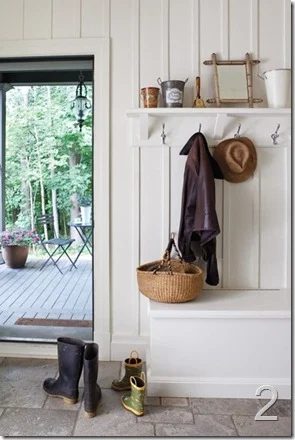
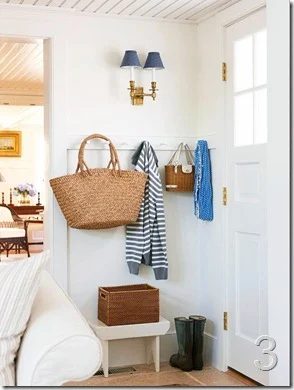
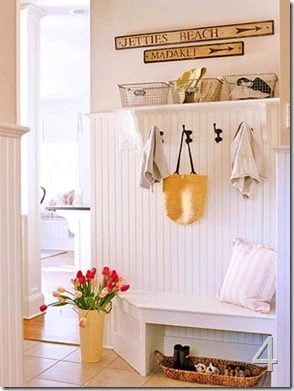
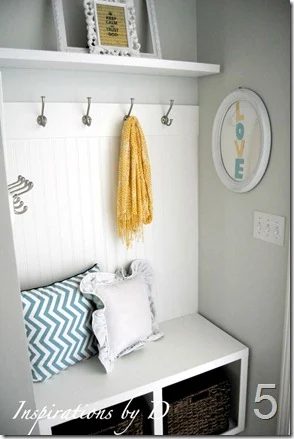
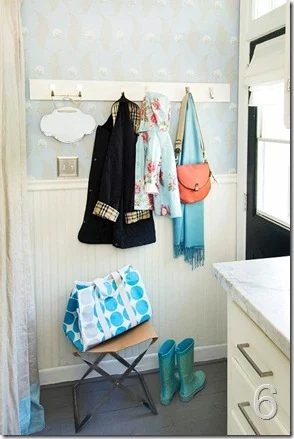
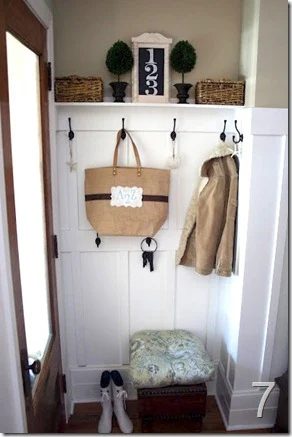
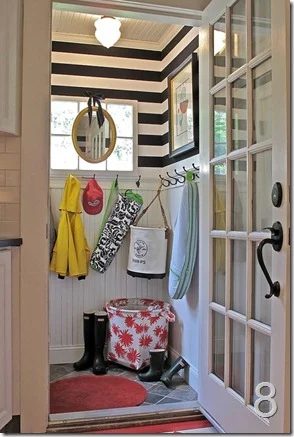
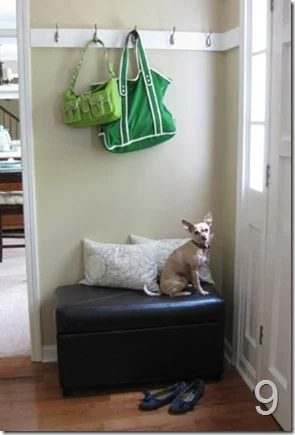
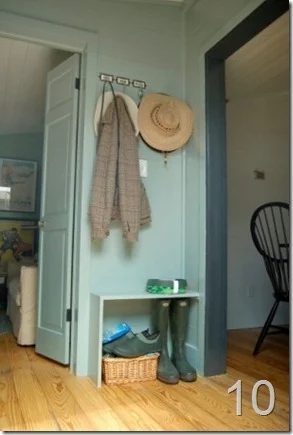
Image Sources: 1 Better Homes and Gardens, 2. It’s Overflowing 3. BHG 4. Classic Homeworks
5. Inspirations by D 6. BHG 7. Home Stories A to Z 8. Decorpad 9. Young House Love 10 Houzz
Those great mudroom options all had one thing in common they are small spaces, well that and a lot of the solutions were temporary furniture- a small bench, chair or trunk. So this project we are sharing with you today, will fit perfectly in a small place, and it is direct to build win-win!
You can also get the corner storage shelf plans here.
open this to Get a Free Printable Version of this Building Plan
List of Tools:
- table saw (for cutting miter edges on long edges)
- miter saw, circular saw or hand saw (for cutting miter edges on small pieces)
- jig saw
- pencil
- compass (to layout the curves on the front base)
- nail gun or hammer
- nail set
- putty knife
- sander block
- sand paper
- paint
- paint supplies
Notes:
- I decided to make the plans using 3/4” Medium Density Fiberboard (MDF)that would be painted.
- The width may vary depending on wood material you choose, make adjustments to the plans as needed.
- All dimensions are finished dimensions
- For additional support, wood glue can be applied in-between all the wood joints where nails are used.
List of Materials:
- Medium Density Fiberboard (MDF)
- finishing nails
- wood glue
- wood filler
- paint of your choice
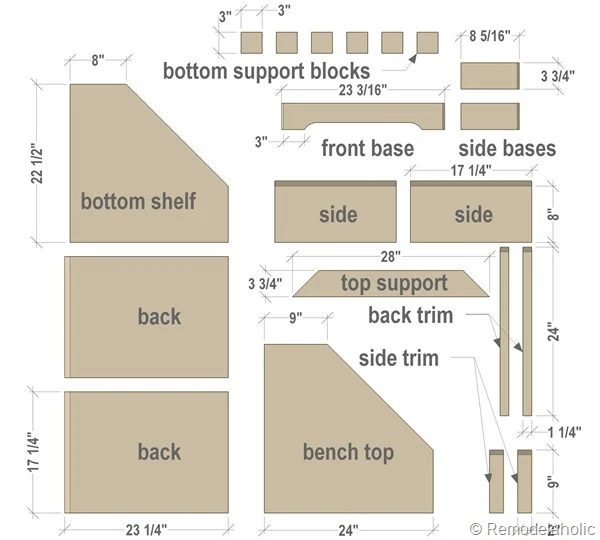
Cut List:
- (2) Backs– 17 1/4” x 23 1/4”
- (6) Bottom Support Blocks– 3” x 3”
- (1) Bottom Shelf– 22 1/2” x 22 1/2”
- (2) Sides8 3/4” x 17 1/4”
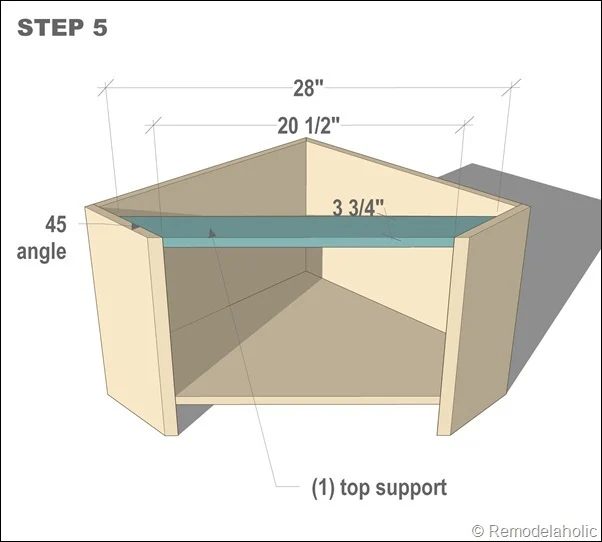
- (1) Top Support– 3 3/4” x 28”
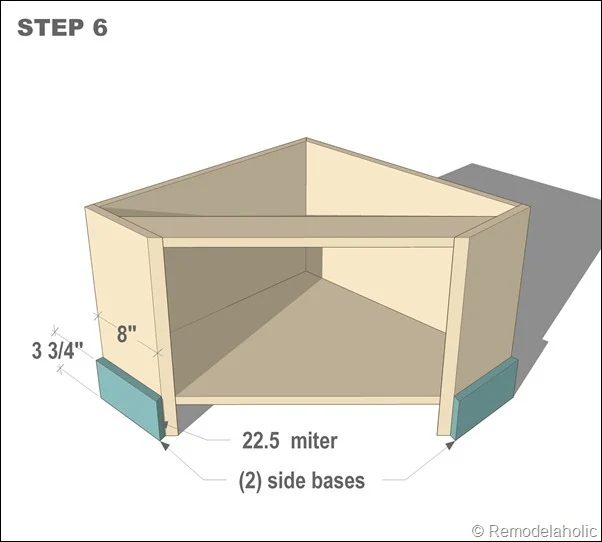
- (2) Side Bases– 3 3/4” x 8” (length is measured along base of the cabinet, the opposite mitered edge will be slightly longer at 8 5/16”)
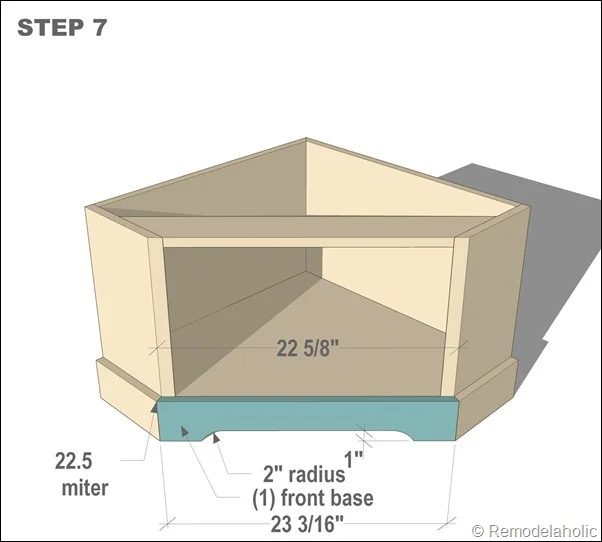
- (1) Front Base– 3 3/4” x 22 5/8” (length is measured along base of the cabinet, the opposite mitered edge will be slightly longer at about 23 3/16”)
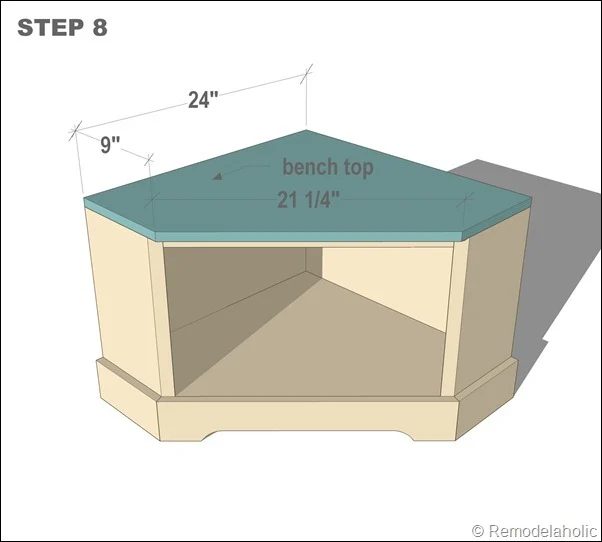
- (1) Bench Top– 24” x 24”
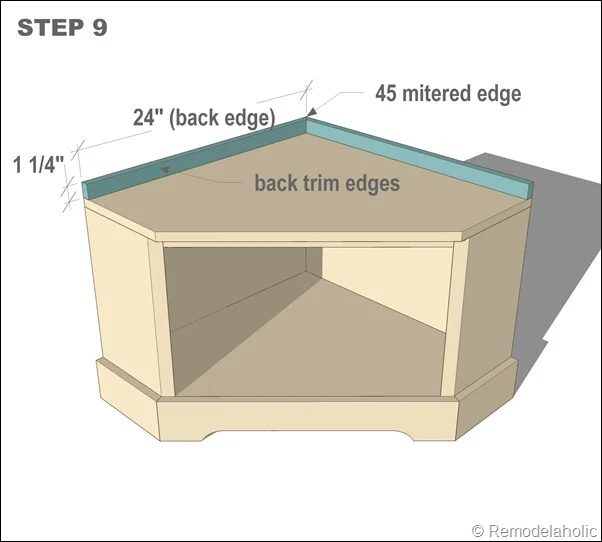
- (2) Back Trim Edges– 1 1/4” x 24” (length is measured along the longest side, 23 1/4” on the short side)
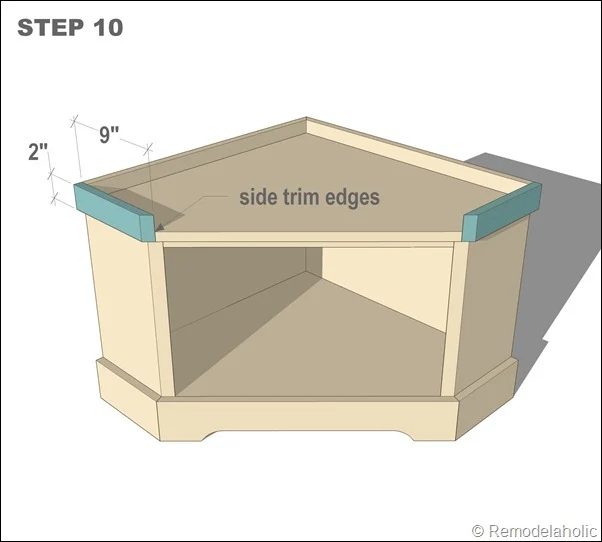
- (2) Side Trim Edges – 2” x 9” (length is measured along the side of the cabinet, short side would be shorter)
Step-By-Step Instructions
1. Cut the backs to the length and width with a 45 degreemitered edge on the back corner using a table saw or circular saw.
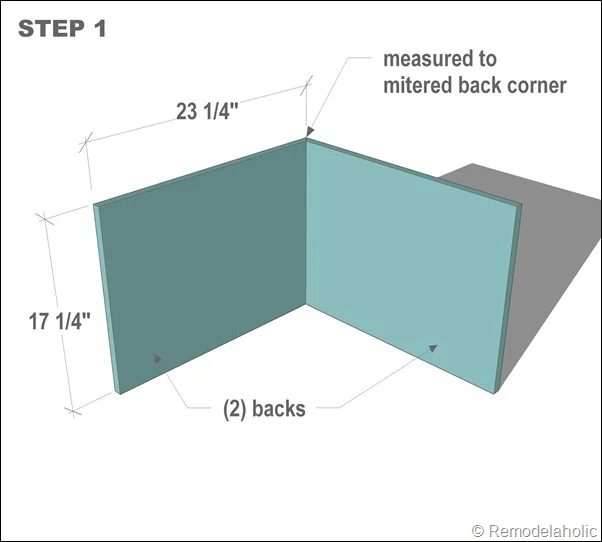
2. Cut (6 ) bottom support blocksto 3” x 3”. Nail the them together to make an “L”, then nail them flush with the inside base of the backs.
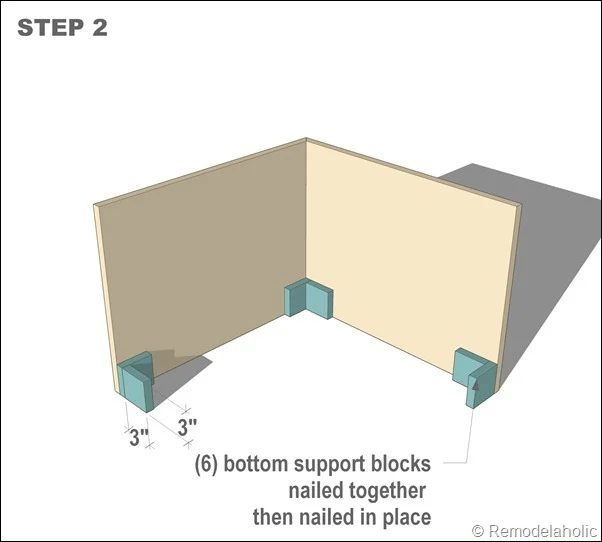
3. Cut bottom shelf. Nail the bottom support to the support blocks and from the back of the backs into the bottom support.
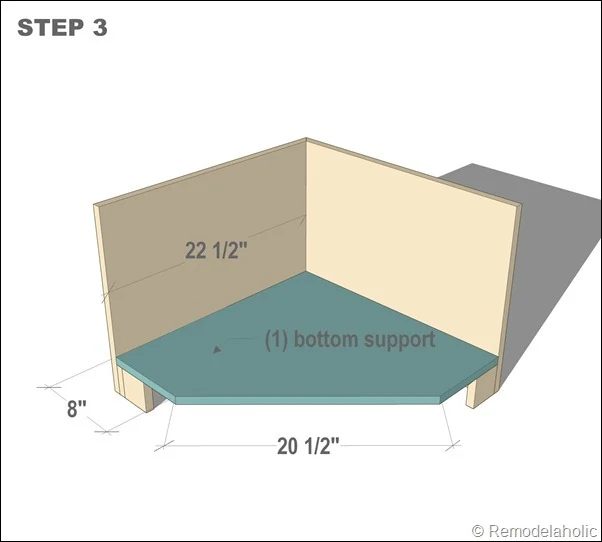
4. Cut out sides.Use a table saw or circular saw to cut out the 45 degree mitered edge at the storage opening. Nail the sides on to the bottom support and the backs.
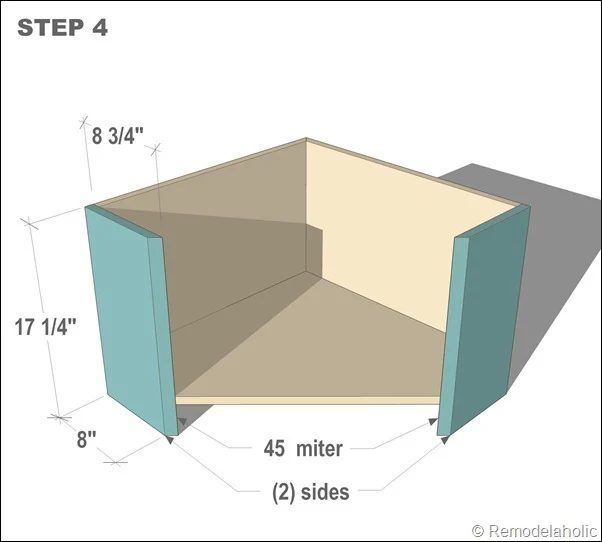
5. Cut top supportand nail to the top of the sides.
6. Cut side basesand nail to the bench sides.
7. Cut front base and nail to the front.
8. Cut bench top and nail to the top of the sides and top brace.
9. Cut back trim. Nail miter corners together, then nail to top of the sides. Be careful when nailing through the 3/4” portion of wood. you might need to drill a pilot hole, then hammer in a finishing nail by hand.
10. Cut side trim edges and nail to the top of the sides. Keep the mitered edge flush with the edge of the bench top.
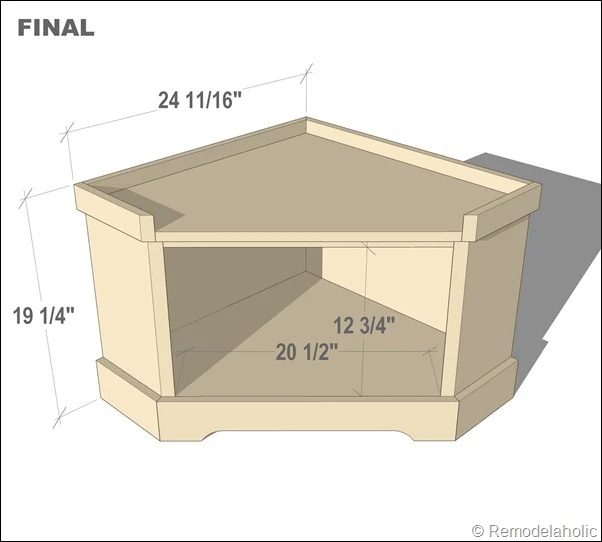
Final corner storage bench
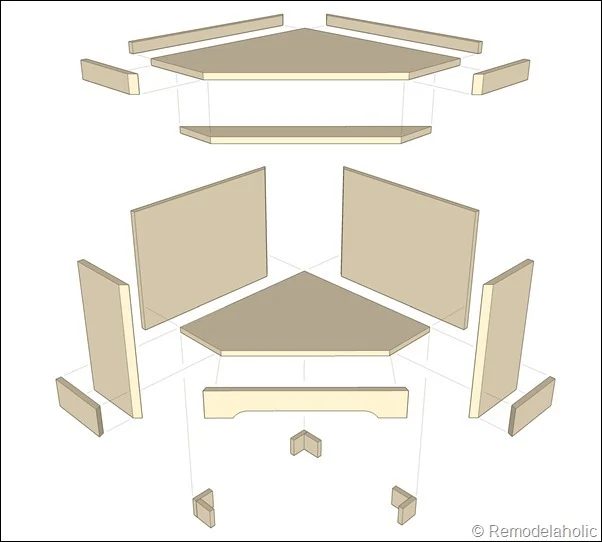
Exploded Assembly View
This great corner storage bench is a great way to provide a place to sit while changing your shoes and singing “Won’t you be my neighbor…”
I would love it if you’d pin this!