Materials and the sequence of the job sit together on this page.
Okay, last time I showed you a whole bunch of the beginning, now I am gonna show you the middle… (since the final isn’t actually available at the moment!)
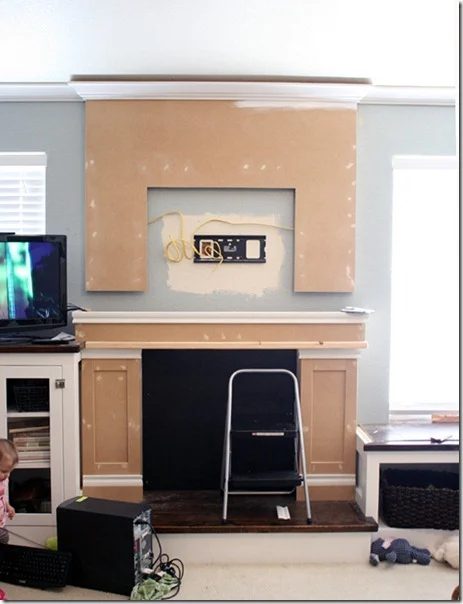
Once the “legs” or pillars were installed (yes I just Googled the anatomy of a fireplace cuz who the heck knows all the names for the parts of a fireplace.. actually now I do! Thanks Google!) …we started on the header (or undermantel, wow I fell so smart using these big words and all!)
Since the built-ins have a “counter” that runs along almost the entire length of the wall, we decided to carry that element into the fireplace header, only it would be painted white. This little piece caused Justin a bit of stress, there was a bit of cutting to do, twice. (Just cuz I am picky!- sorry but THANK you honey for fixing it, twice) I am happy to say we were both happier with the result once it got cut down a bit.
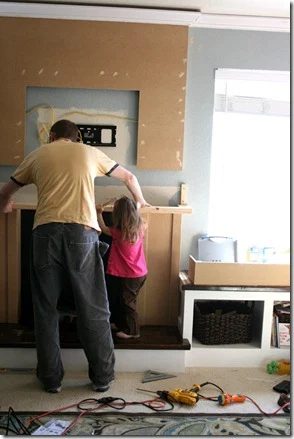
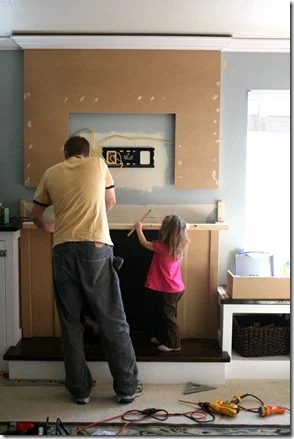
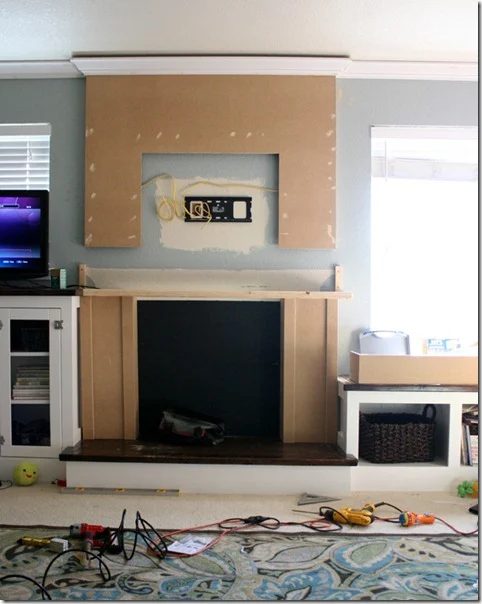
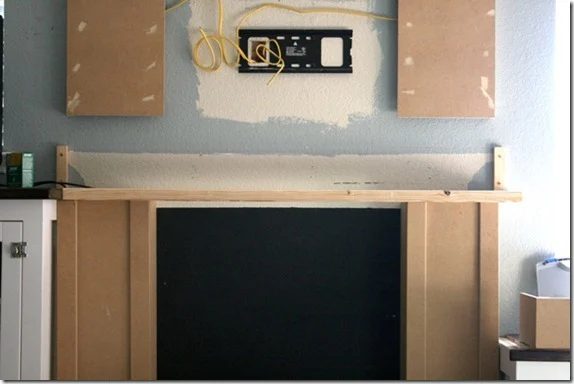
The next day we had the whole undermantel built. I caulked patched and sanded quite a bit and started painting (while watching Downton Abbey of course, cuz that is the fun show to watch online right now… speaking of which I need to go watch the next episode)
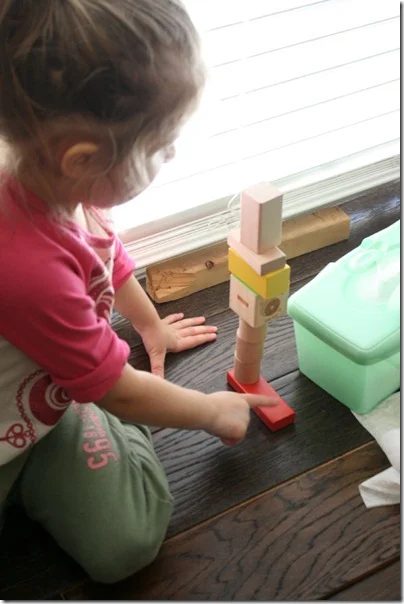
Etta was busy doing some building of her own, and I think it is rather impressive, can’t believe it was still standing!
Now that everything was painted (at least once), we started fitting the mantel. We got it all sized and cut properly, then Justin took it outside to stain and poly so we wouldn’t have to deal with the fumes. This took us at least 2 weeks to get it all done. Justin got busy at work and there just wasn’t time to finish.
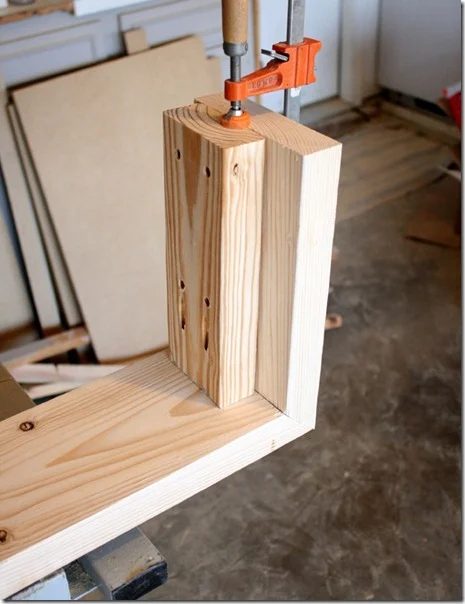
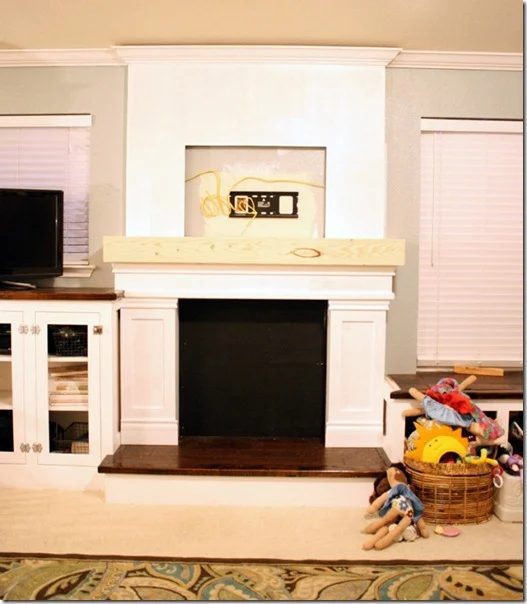
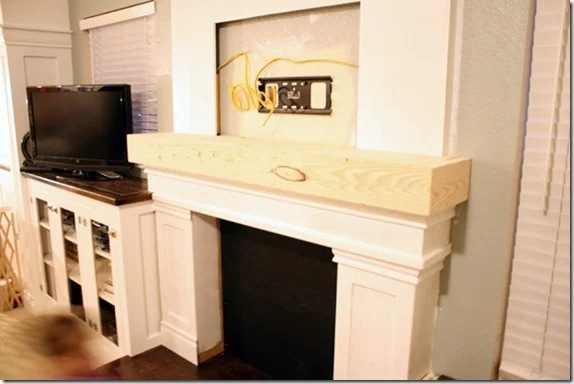
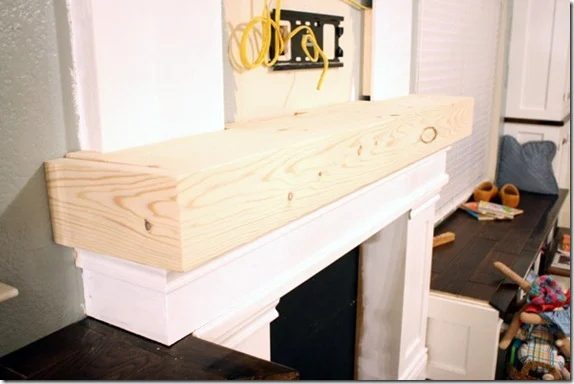
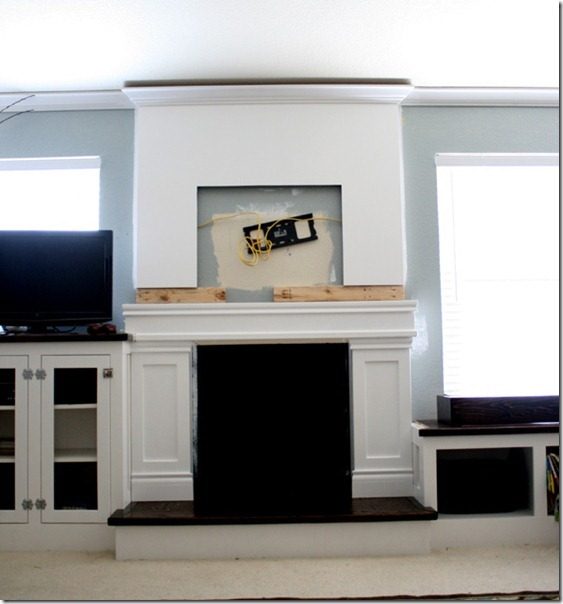
On top there is a little hole that will be behind the TV that the cords can travel through, the front piece of the mantel top is removable, so if we ever need to fish something through it will be rather straightforward! Yea!
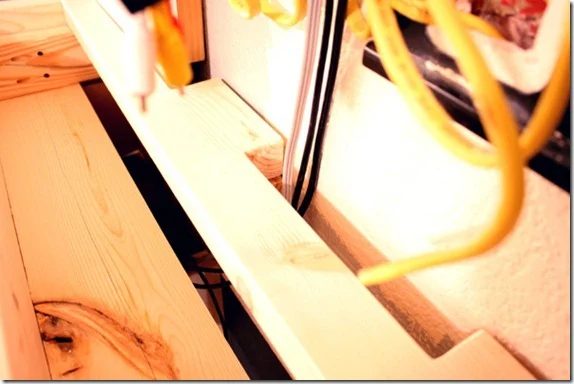
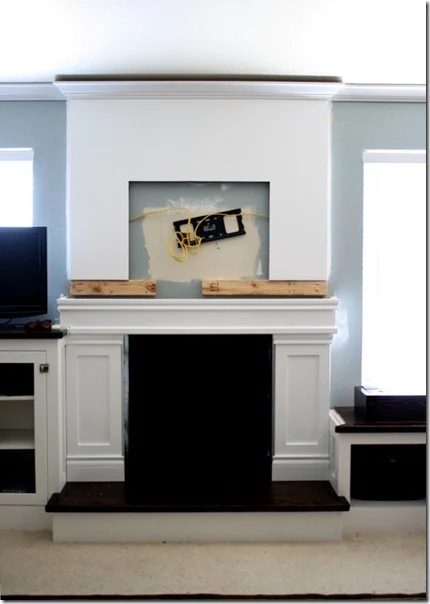
…then it won’t look like this otherwise know as Cord Central.
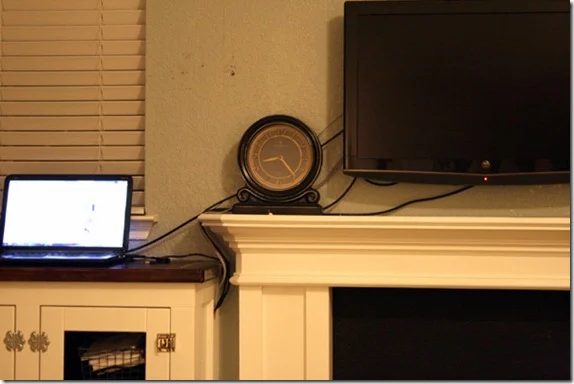
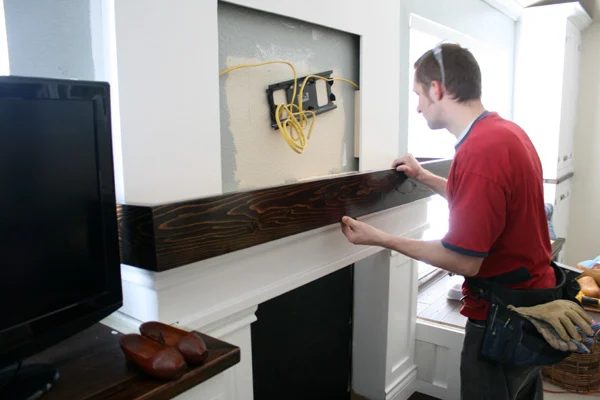
The 2 x 4’s on the wall are for supporting the mantel (when it is installed) But you can see below how it is finally coming together!
Lydia, watching the process… I love those little bellies!

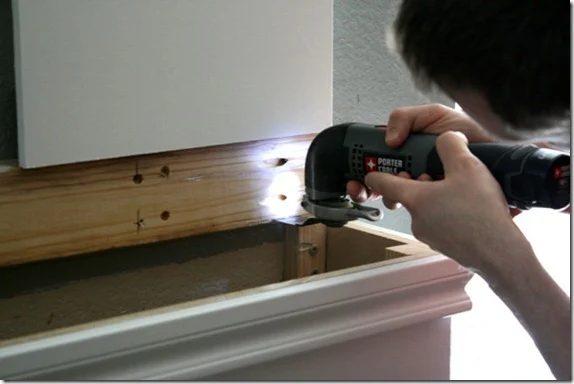
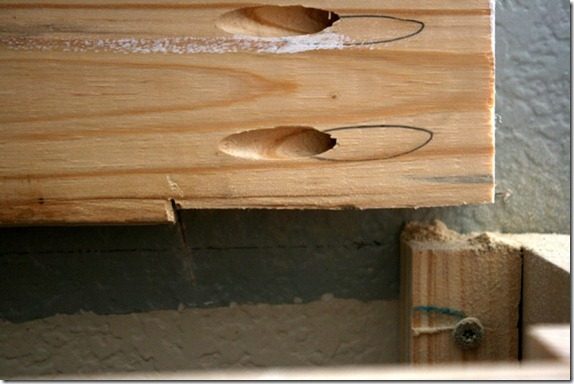
One of the mantel boards ended up being about an 1/8th of an inch too big, so we used one of our handy dandy tools! … it was so nice to just make a quick cut and move on!
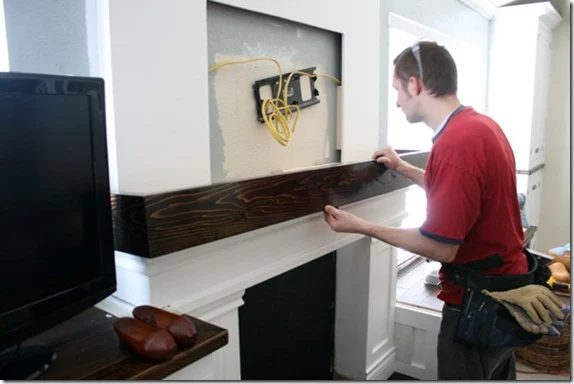
Here was the mantel all put together and ready to be installed!
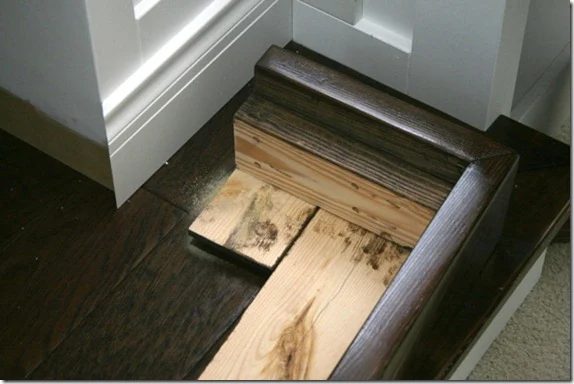
All he had to do was just slide it in place and secure it with a few screws, cuz he is just good! Way to go honey!
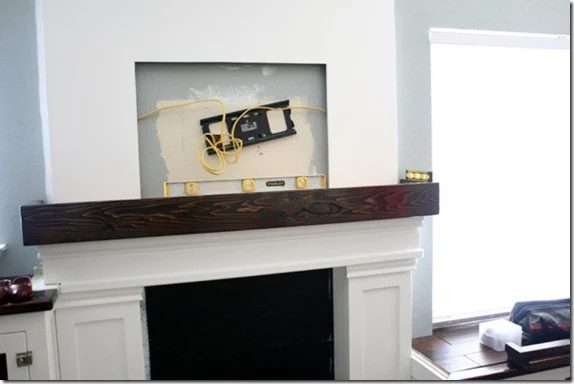
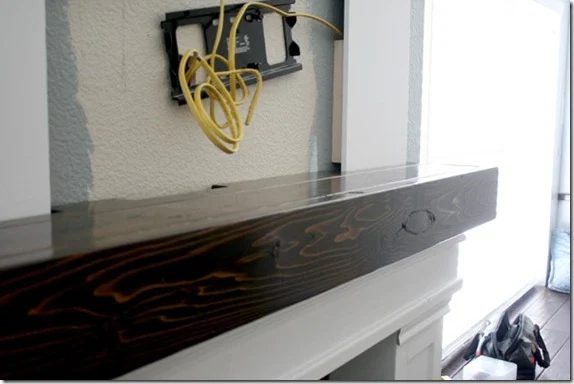
There is the little hidden cord access again, yea! (can you tell I am excited about not having to see the cords anymore… I REALLY am!)
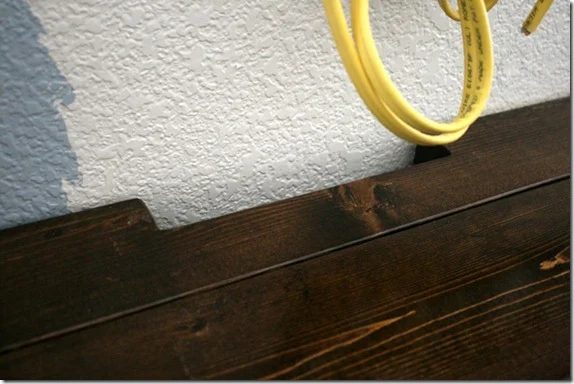
Since the legs of the mantel, created and empty void on the side of the built in’s we added a little filler piece. Obviously it still needs to be painted and caulked!
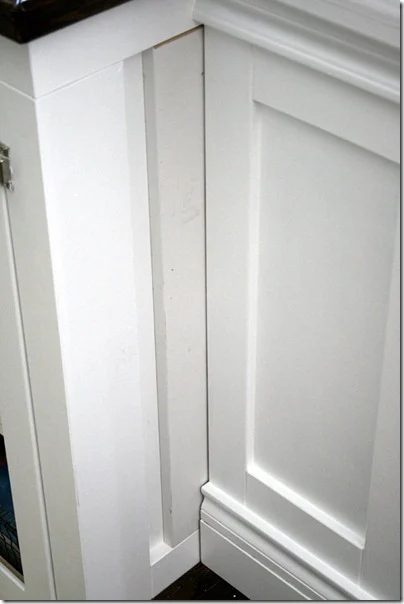
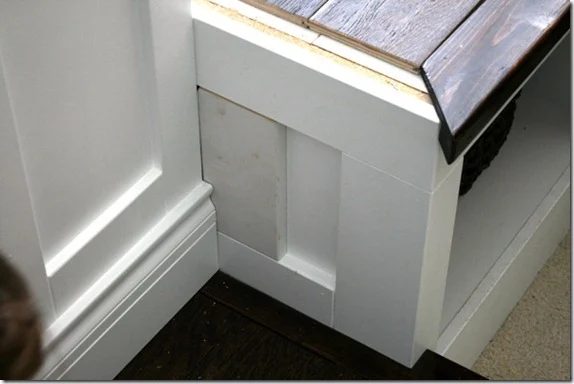
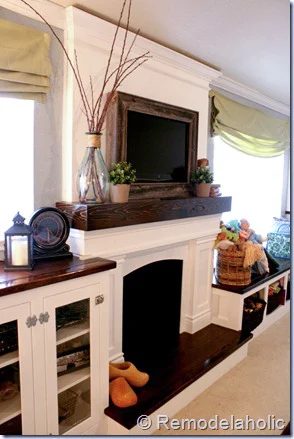
No big final picture… I know. I will put in a repeat, cuz I don’t think I have a final (whoops)…! More to come people, more to come! What do you think, do you like how the plan is coming to life?
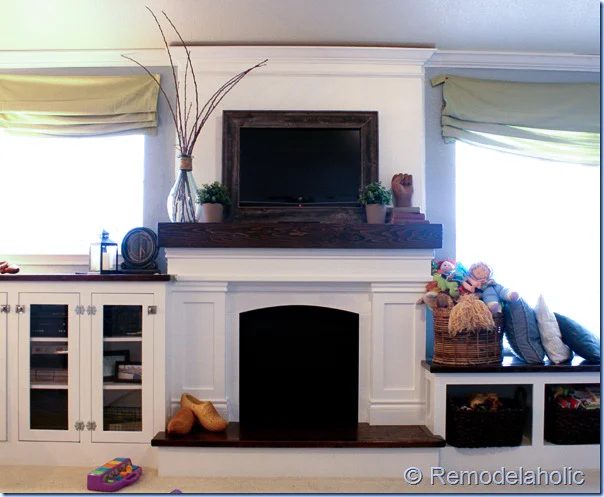
And here is is finished!
If you like this please consider sharing it on Facebook or Pinterest please! I will talk to you a little more about window covering options tomorrow!