Materials and the sequence of the job sit together on this page.
Since Justin and I just finished the stair makeover in our home a few months ago, when ever I see wood stair transformations I just can’t help but see if I can show them off! Be ready to have your socks knocked off when you see this one.
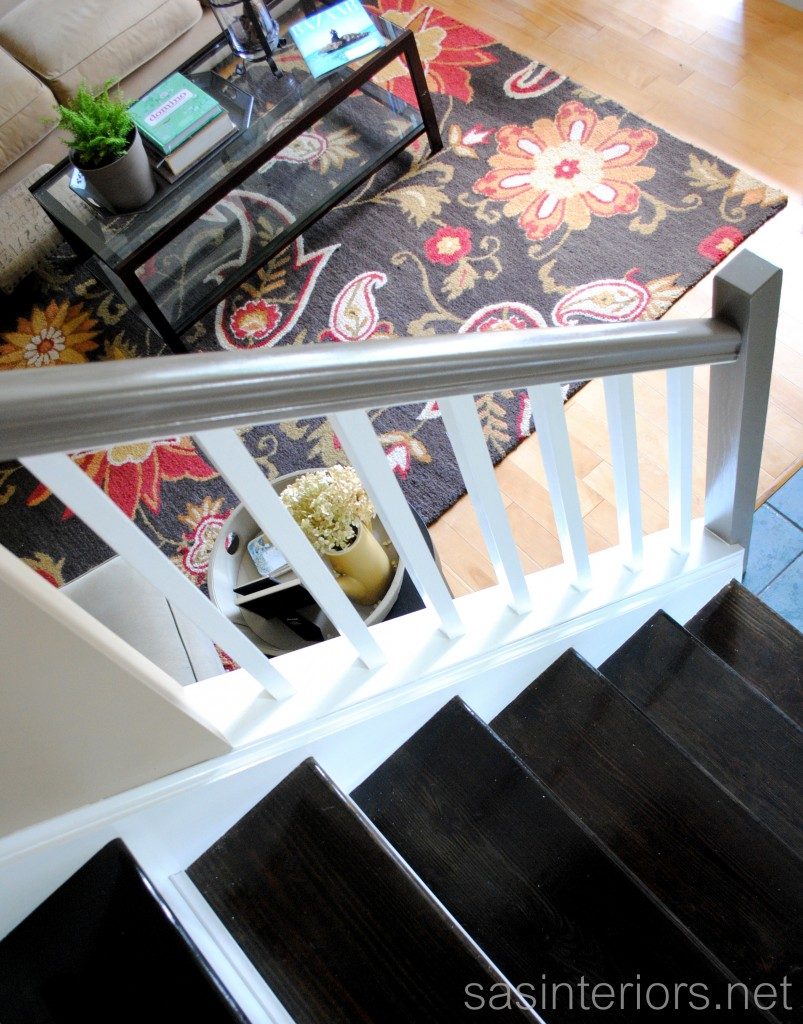
Submitted By: SAS Interiors
Jenna is a creative bargain-hunter, Interior Designer, and Writer of NY-based Interior Design firm & Home Decor Blog, SAS Interiors. Jenna delivers smart, stylish, and sophisticated design solutions for the home and strives to inspire others to think outside-the-box. She has a passion for Handmade projects and loves sharing many of her trade-secret decorating tips! Connect with Jenna at SAS Interiors, as well as Facebook, Twitter, and Pinterest.
It all started with removing the carpet! I love how they took each stair off individually to keep the project more manageable and avoid the extra mess! (for greater step details check it out here).
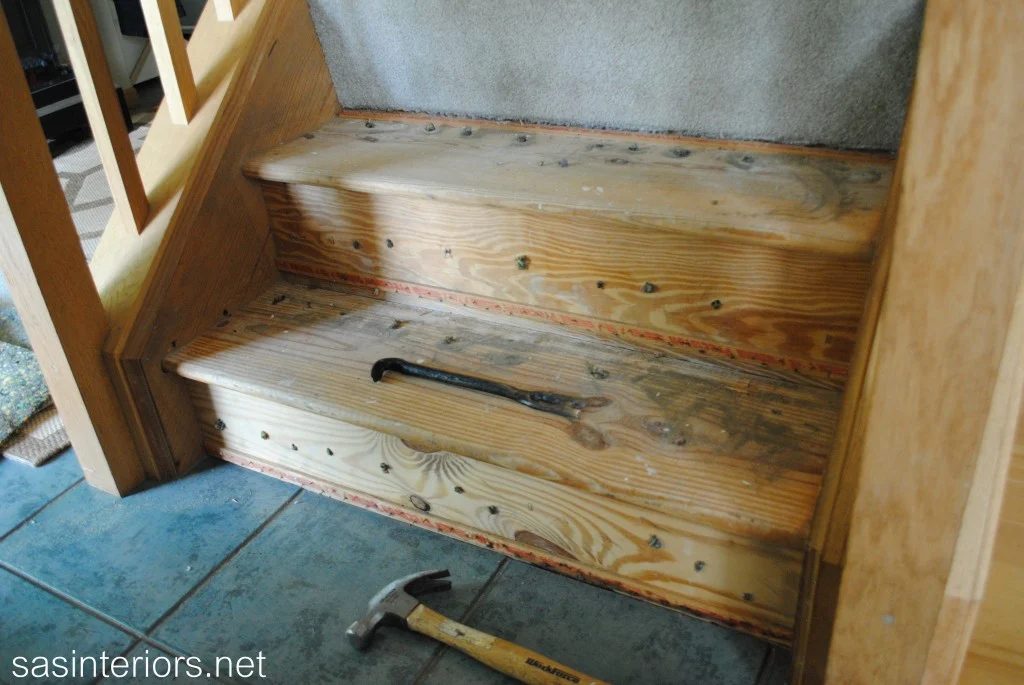
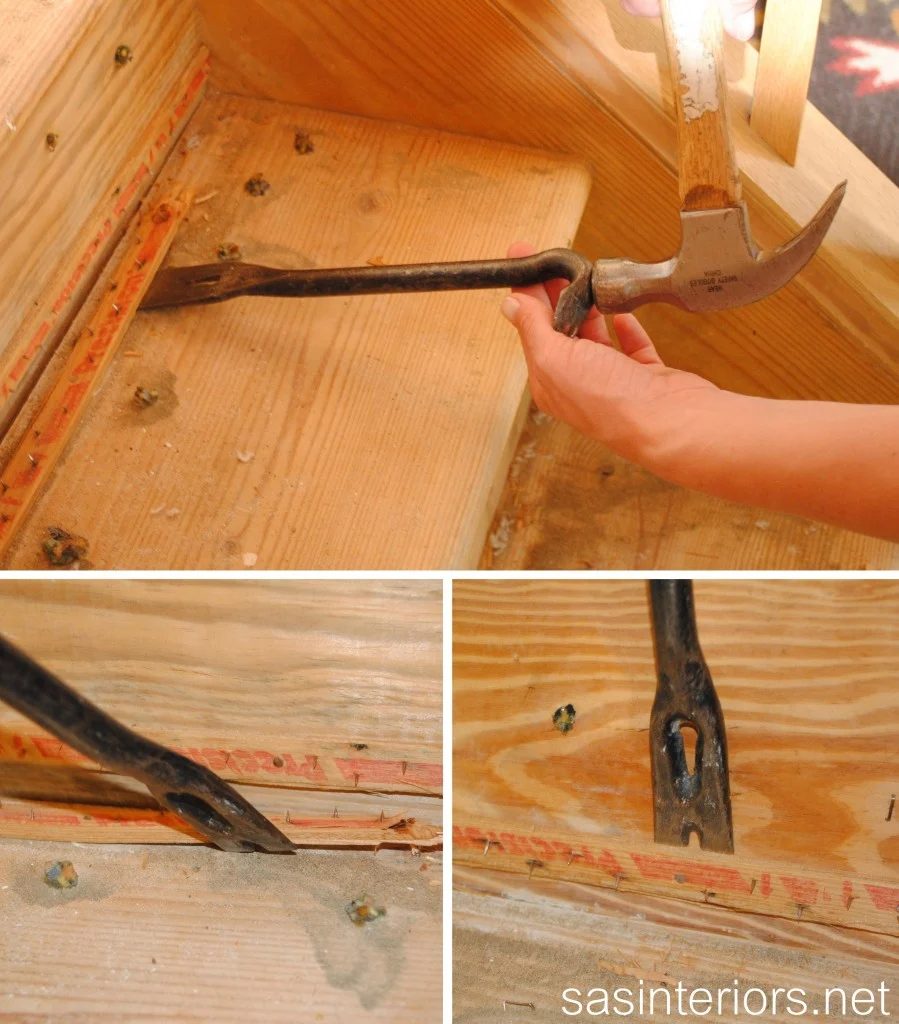
To avoid damage to the wood stairs they used a cat paw and hammer to gently remove the tack strips. And then they had to work on removing the staples! Cuz no one wants to step on those! OUCH!
The transition to the carpeted stairs was straightforward but important! Jenna shows you how she did it here. The result was a clean transition from wood to carpet… SMART!
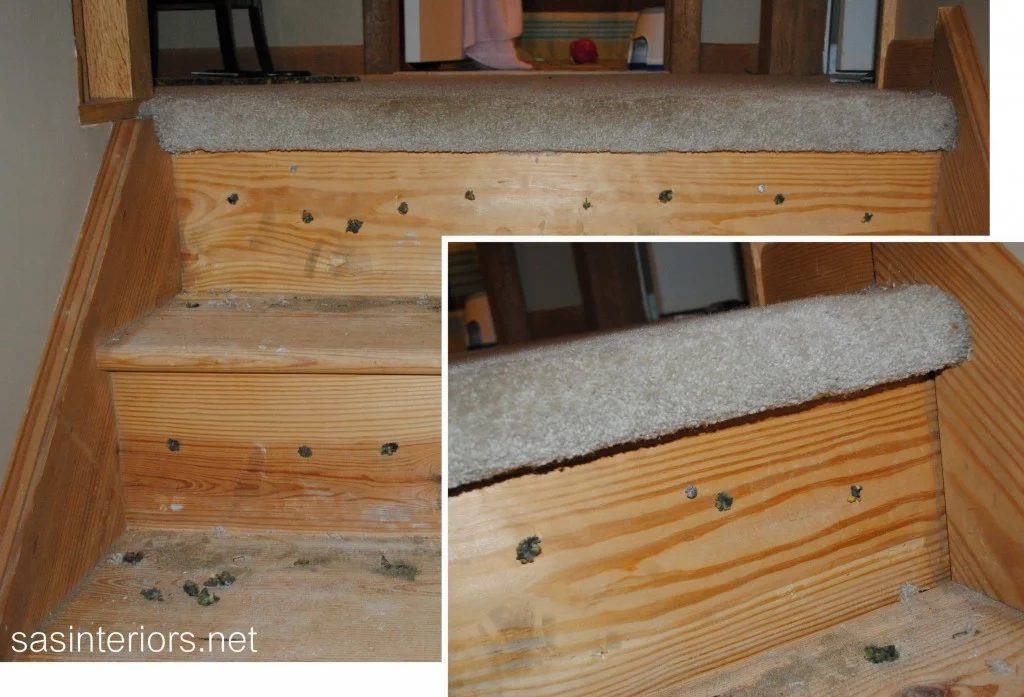
The second phase of the staircase makeover had a ton more work. Including sanding the stairs, filling the gazillion holes from the carpet tacks and staples, and staining the treads. So let’s jump right in and get started!
What the sanding did for the stairs? A LOT!
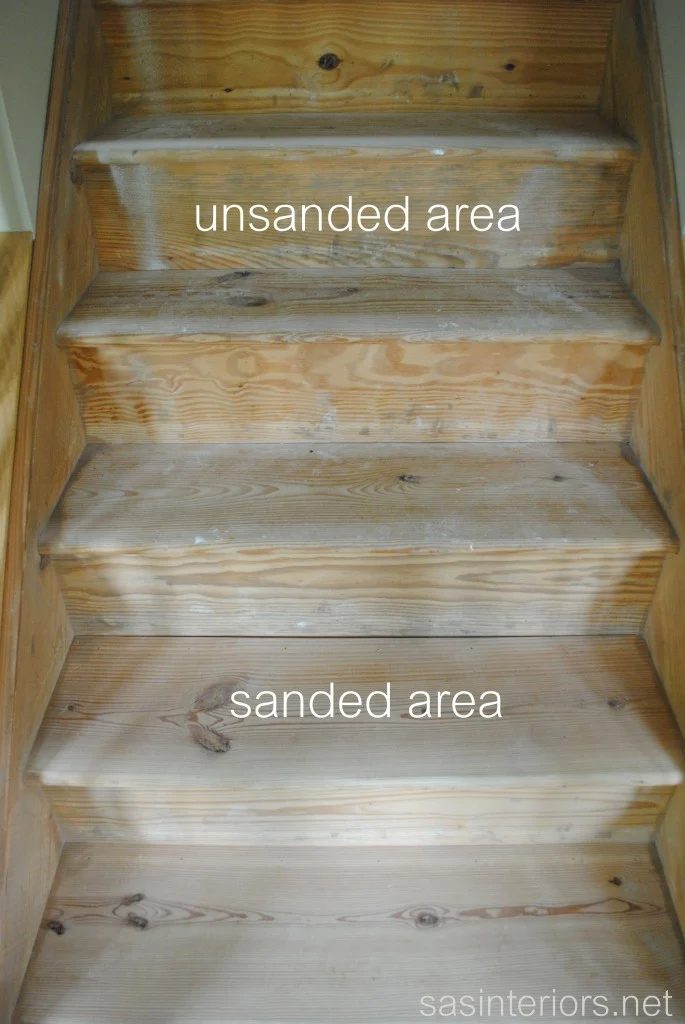
Once the stairs were smooth she filled any holes with a stainable natural wood filler. and sanded again.
Staining, came next, it seemed a little scary at first but she learned just how straightforward it can be… Stain used Minwax Wood Finish in Ebony (3 coats!) with Rustoleum Polyurethane (water-based) in a gloss finish. Because they still needed to be able to use their stairs, she stained every other stair… (which is what we did too!)
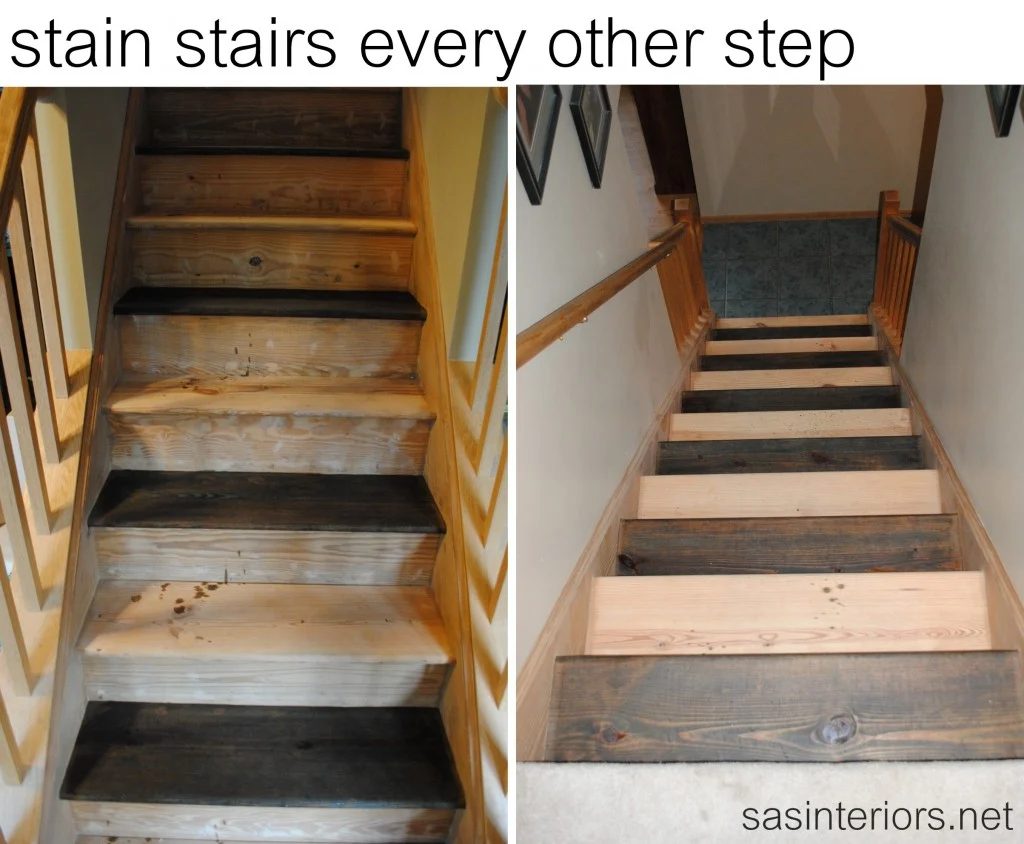
Once the third coat of stain was complete, she sealed the stairs with polyurethane 2-3 coats of polyurethane. Next she primed and painted… and painted… and painted, (remember a few thin coats is better than a thick gloppy one coat mess!)
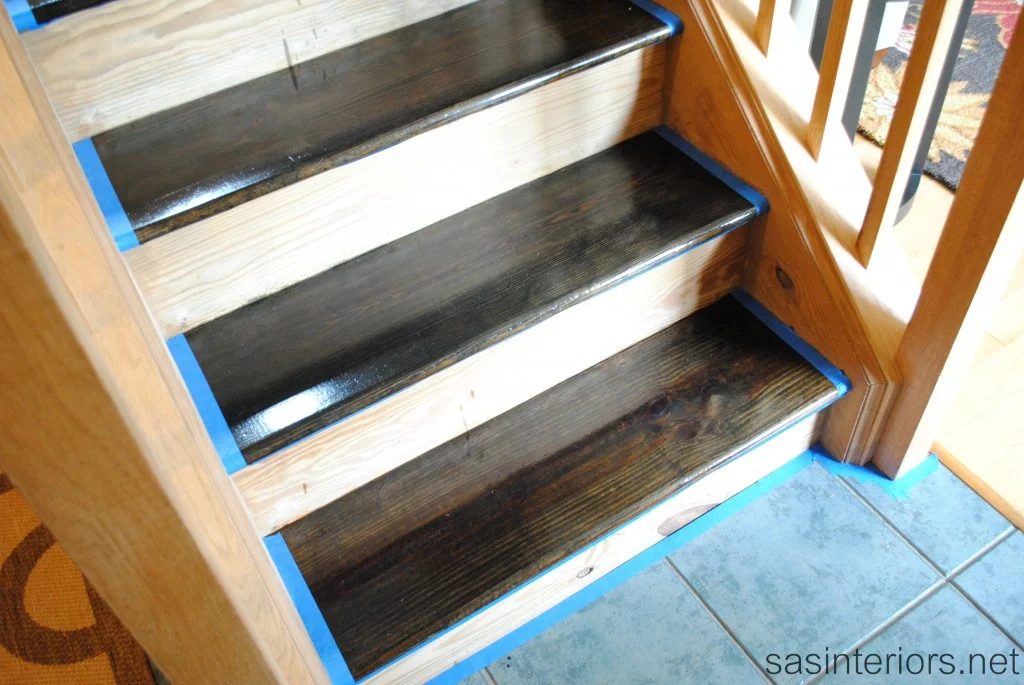
Once she taped everything she primed it all with a thin coat of stain blocking Benjamin Moore Fresh Start Primer. All primed and ready for paint! Once the primer was dry, which didn’t take long, it was time for the 2 coats of Benjamin Moore Aura paint in Snowfall White.
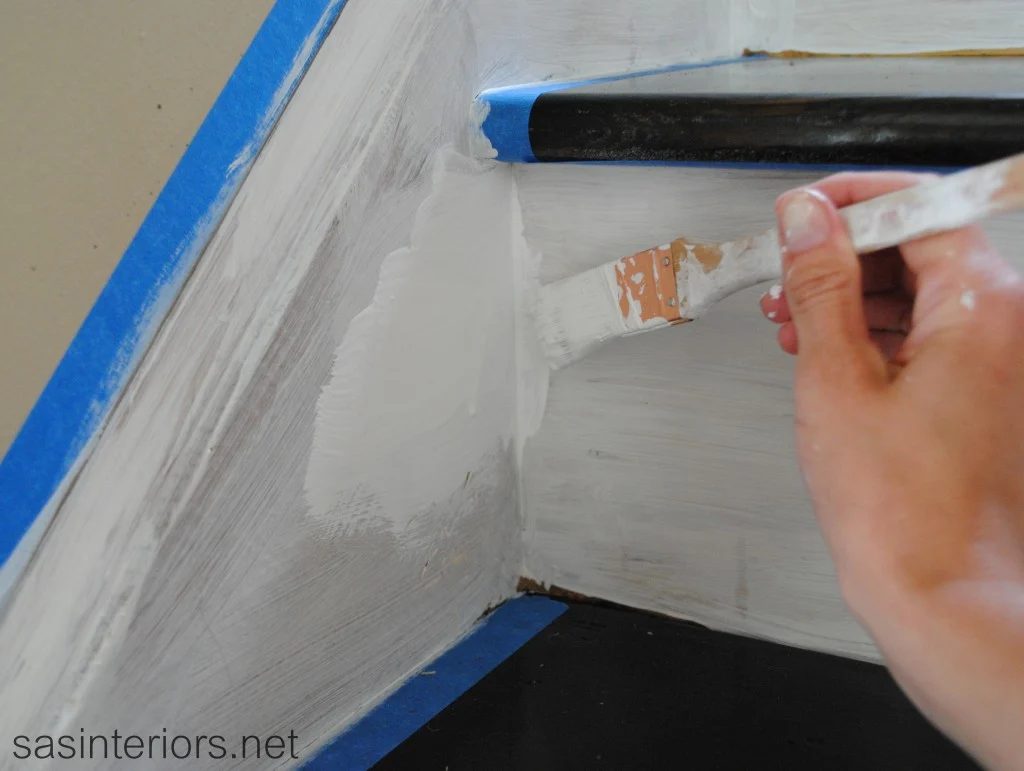
I love her advice for avoiding drips… “to avoid fast drying paint so you can fix those drips, it’s important to use a paint additive like Floetrol. Learn more about that from my post on Tips for Painting Furniture.” I’ve never used that… I am trying it next time!
She painted the handrails and newel posts Benjamin Moore Texas Leather.
To hide the small gaps where the riser and runner meet, she added a small molding. Voila, the gap was hidden!
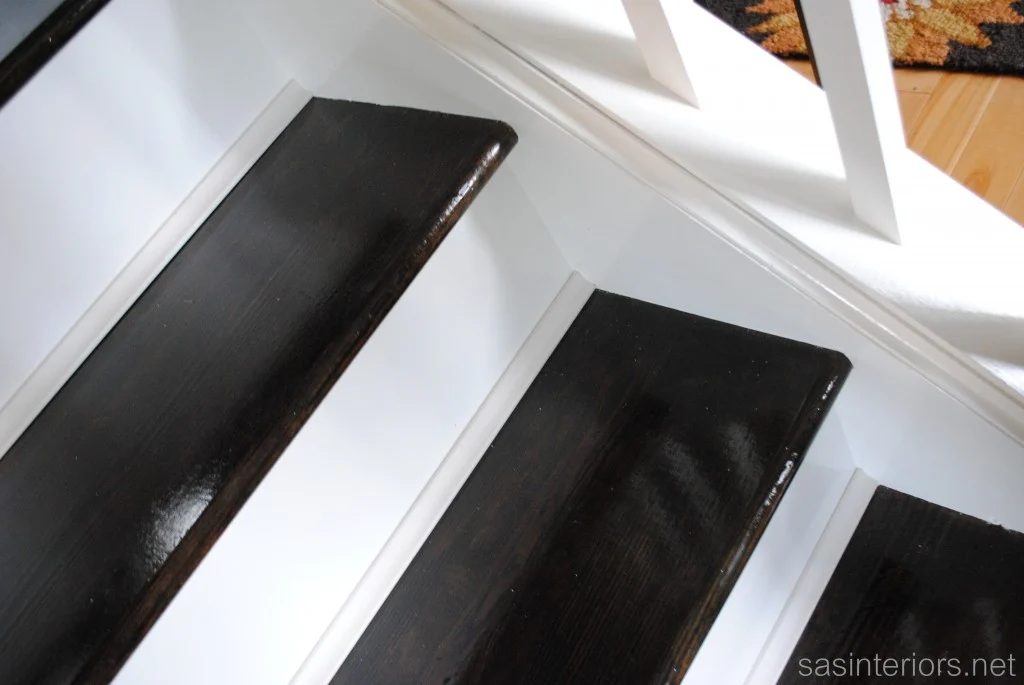
Once the tape had all been removed, the stairs were basically done – lets look back at the progress shall we?!
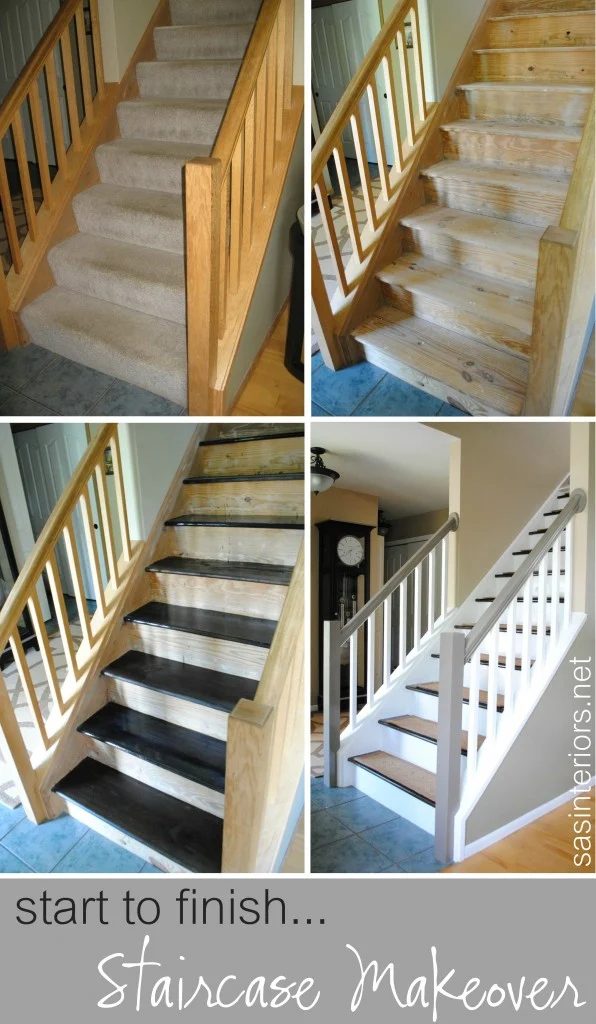
And now the reveal!!
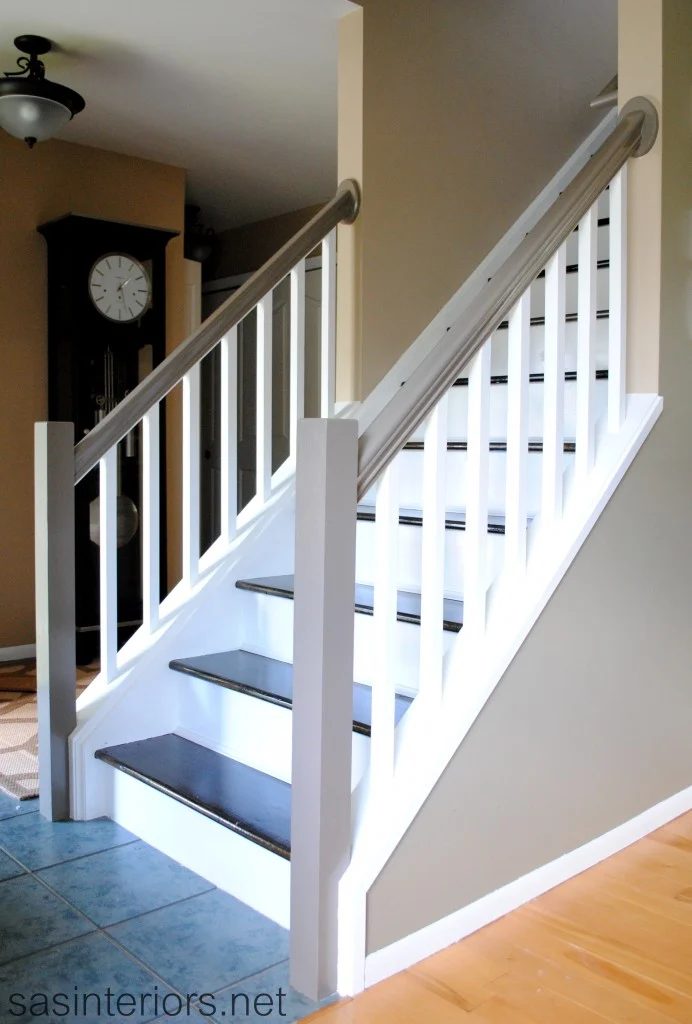
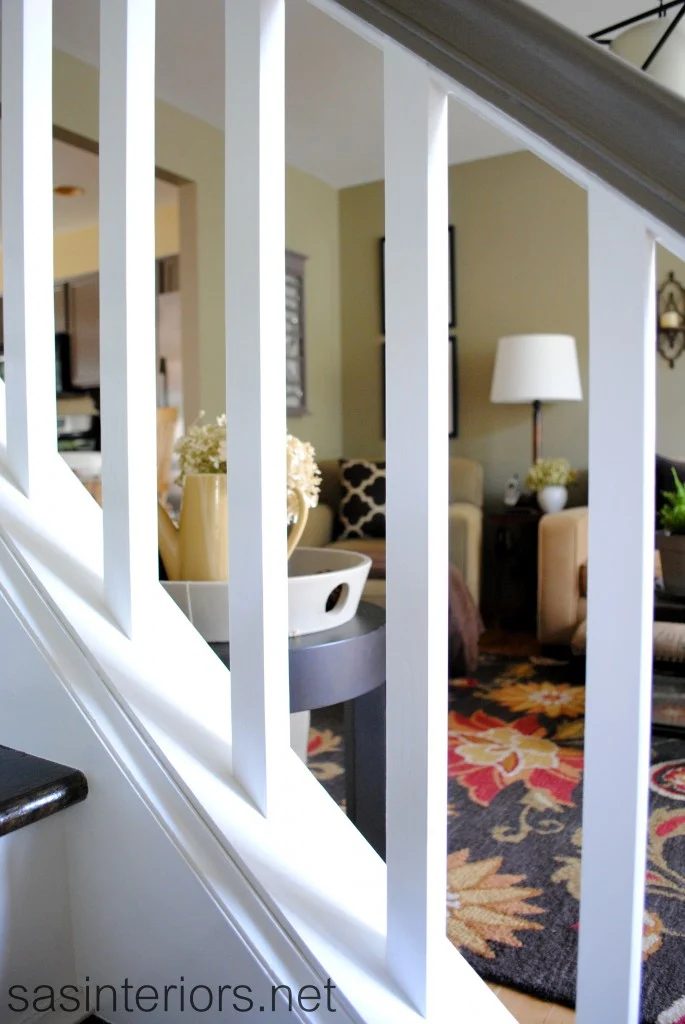
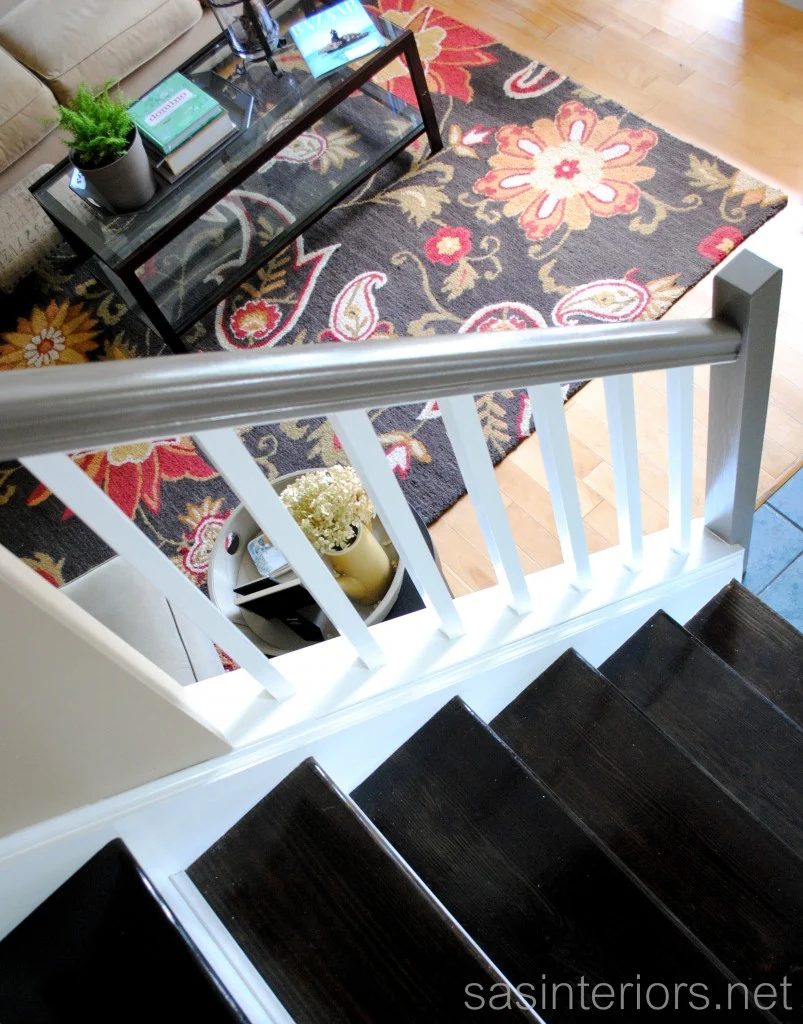
Jenna was a little worried about the stairs being to hard and possibly slippery for her family. She came up with an solid solution. Sisal carpet treads with velcro backings to hold them in place!
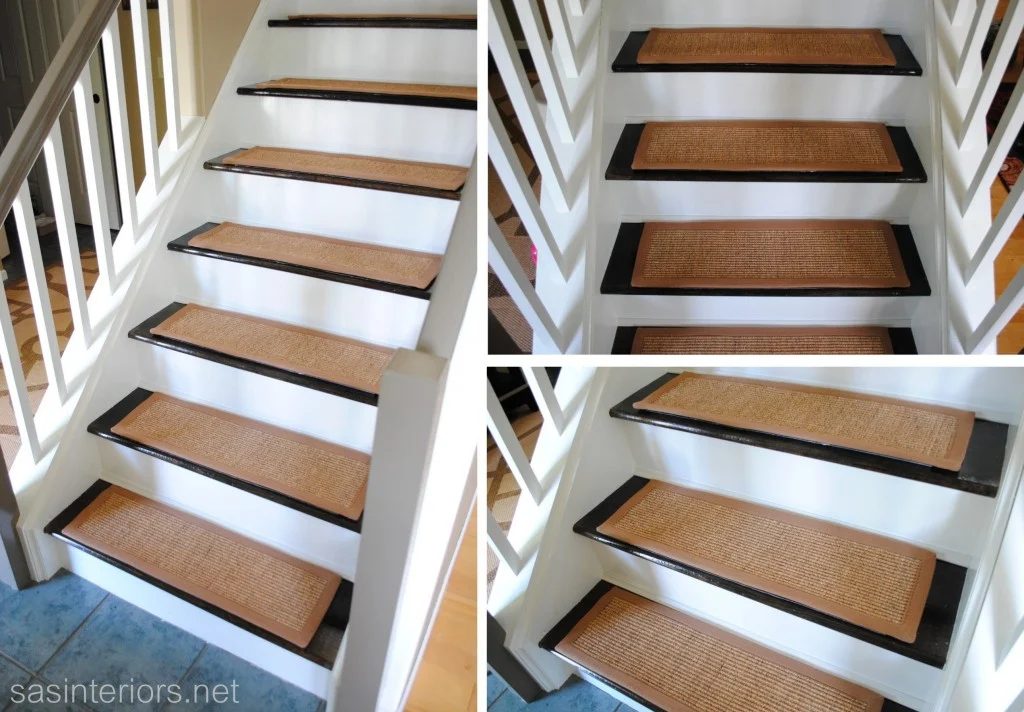
Sisal Carpet Treads! I love how she used the natural area rugs to keep the stairs from being slick. More info on the rugs here. I absolutely love the look of these rugs!
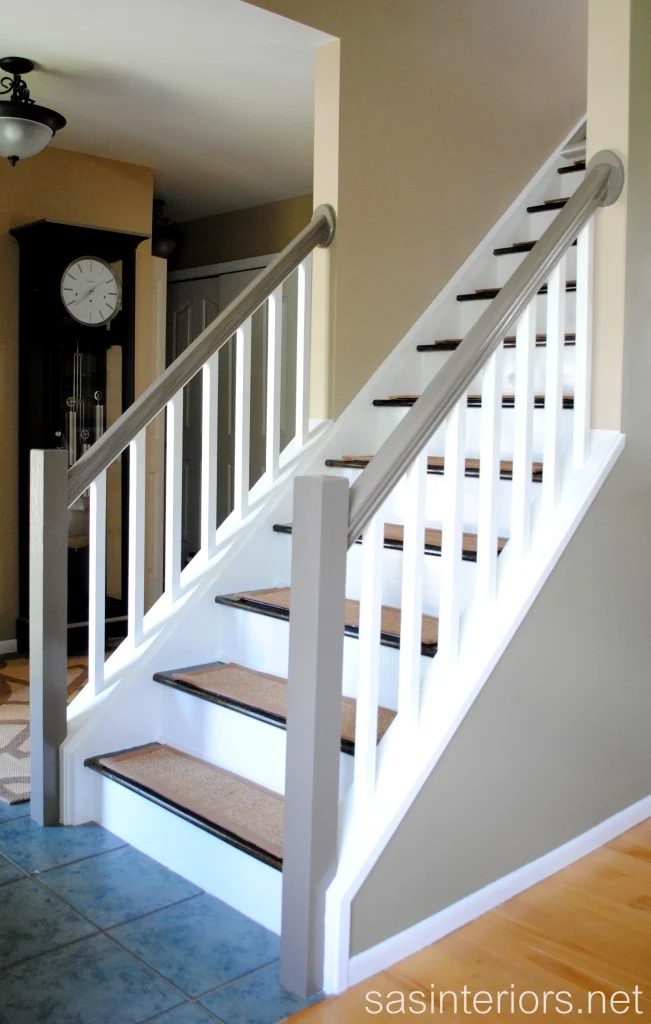
Didn’t she do a great job!?!
If you are interested in doing this to your stairs be sure to look at these other stair remodels – including mine!!!
And it’s complete! What do you think? Have you ever considered giving your stairs a makeover?
Be sure to look at these carpet to wood stair transformations!