The steps below follow the order of the work for this furniture project.
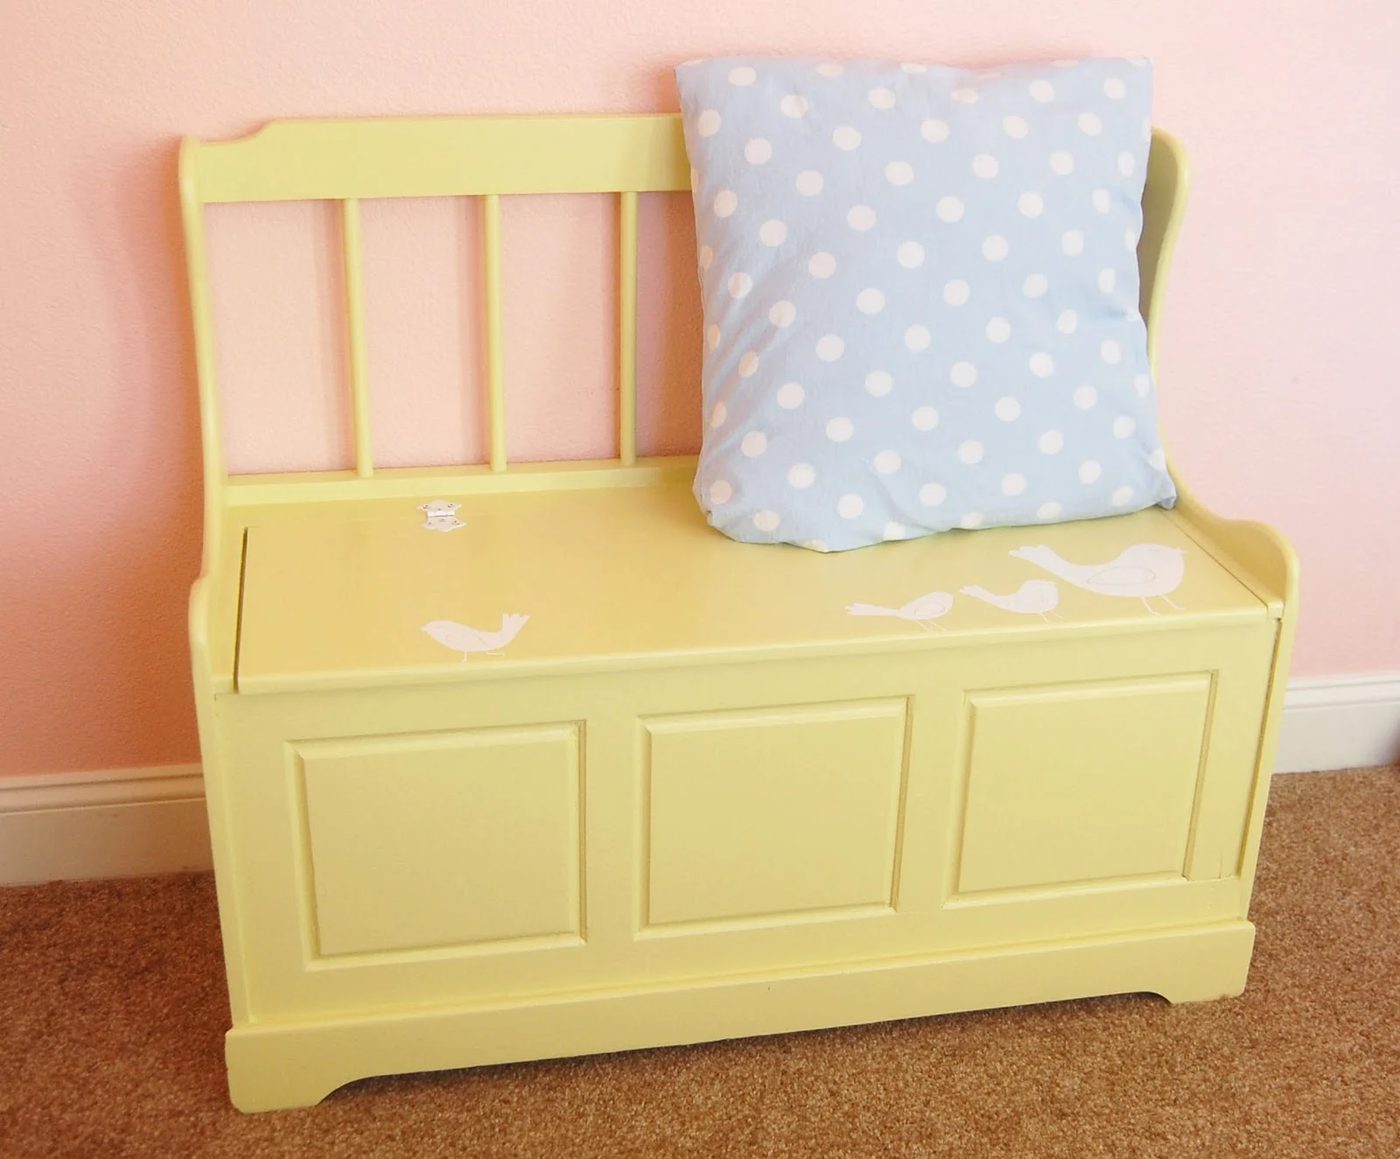
Toy Box Bench Make-Over contributed by All Fresh and Clean I picked this toy box up for $6 at the thrift store a few weeks ago. I liked the design and knew I could make it adorable. =) The first thing I did was apply paint stripper. It worked really well, except for the parts where all those darn stickers were! If anyone can explain the mess under this pink paint, please do!!! lol So first was the pink, then red and purple finger paints (?) then bright yellow, then white. I sanded for hours. And gave it a good scrub down with Basic H. I wanted to make sure the paint color was ok, because when I bought the paint they were out of some of the mixer colors, so the paint guy just winged it! UGH, I had a florescent green! Luckily I had a gallon of yellowish beige. I mixed the two and it came out well fitted. yay!!! I cut some little vinyl birds with my cricut for the finishing touch! Before and After