Materials and the sequence of the job sit together on this page.
This straightforward craftsman style trim requires NO confusing angled cuts, so it’s straightforward for anyone to do, even a first-time, and it makes a HUGE impact.
Don’t stop at window trim, make your own curtain rods, add window boxes outside, and even some wood shutters outside!

Hi, friends! It’s Lauren from Bless’er House, and I’m thrilled to be back sharing more Handmade goodness from our latest house shenanigans.
If you’ve never visited my little corner of the web, my husband and I are on a mission to bring lots of character and charm to our very basic builder box house.
This time two years ago, our living room looked like this:
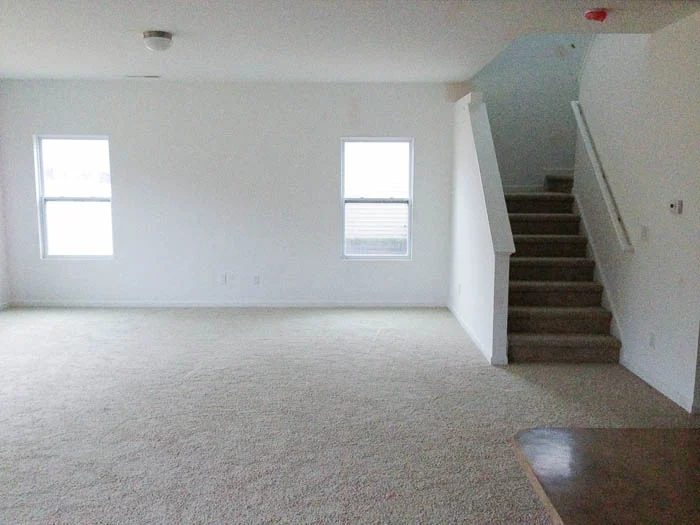
Since embarking on our home owning journey, we’ve discovered that the top three ways to transform a space in a huge way is with paint, long curtains, and architectural details.

We already tackled the paint and curtains part last year, and when we threw our Handmade faux fireplace into the mix, the space suddenly looked 10 times bigger! But one thing it was missing in the character department, our trim-less builder grade windows- window trim.
So we decided it was time to fix that.
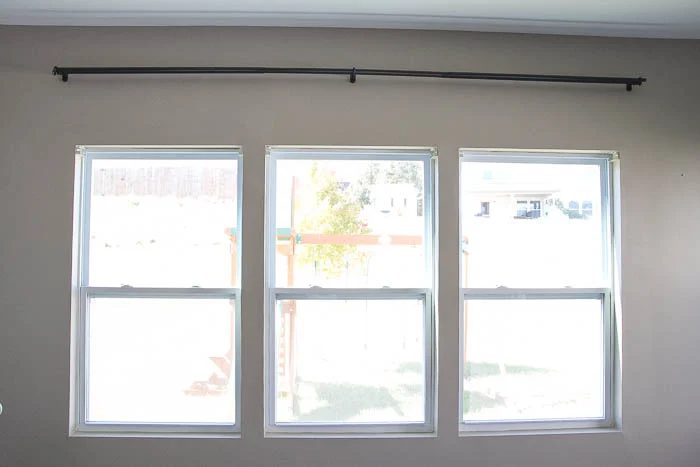
Craftsman-Style Window Trim Video walkthrough
Start here and watch how this project came together, then come back for more of a step by step craftsman window trim process. But remember this not only works on an interior window, but without the window sill this walkthrough also works well for a trim out of a front door.
Can’t see the video? Get it on our YouTube channel here (and subscribe while you’re there
Supplies List
(The below supplies are what you’ll need for one standard 35.5″ x 59.5″ window.)
- 1″x2″x8′ board
- 2- 1″x4″x8′ boards
- 1″×6″x8′ board
- 2-in brad nails
- Trim Head Screws (for wood)
- Wood glue (optional)
- Combination square tool
- Pencil
- Hammer or nail gun
- Drill
- White trim caulk
- Wood filler
- Fine grit sandpaper
- Paint (I used Sherwin Williams Pure White to match our fireplace and baseboards.)
- Jigsaw
- Circular saw or table saw
We had five windows to add trim to, so we had quite a bit more lumber than what is in that list. The best part though is this requires very elementary carpentry skills. Let your diyer days begin, because this is an excellent project if you’re a first-time at home improvement. No complicated angled cuts!
Trim Installation walkthrough and Instructions
Get this craftsman window trim look in your own home with these tips, tricks, and instructions.
Head Casings:
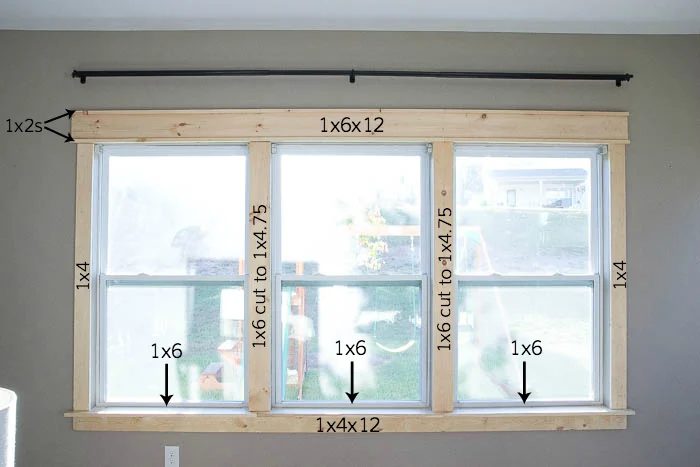
1 – We started out by building the header first and measured the top width of our window opening or window frame then added 10 inches to that measurement to allow for a 5 inch overhang of the trim pieces on each side of the window.
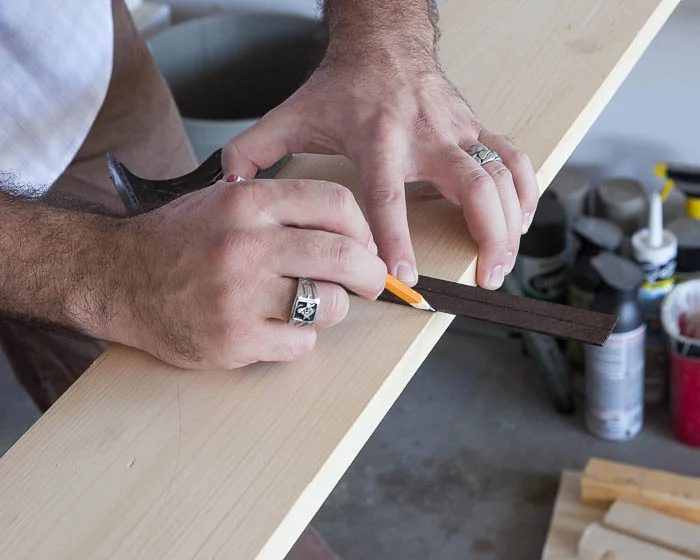
We marked that measurement on a 1″x6″ board using the square tool to mark a straight line.
Then, using our circular saw, we cut the 1″x6″ board.
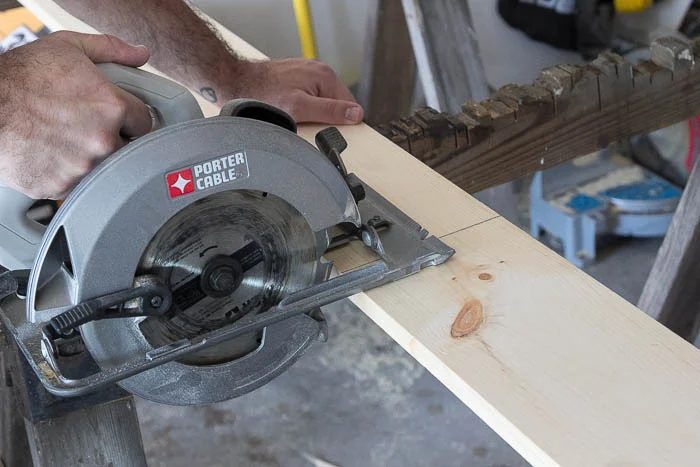
We used the same measurement from our 1″x6″ to mark and cut two pieces of 1″x2″ boards. Since we had three windows clustered together to make one large window trim unit. We worked from a 12 foot length board.
Once the 1″x2″s were cut, we attached them to each side of the 1″x6″ board with wood screws (as shown below). You could run a bead of wood glue between the pieces too if desired. * Remember to avoid wood splitting it always helps to pre-drill the screw holes.
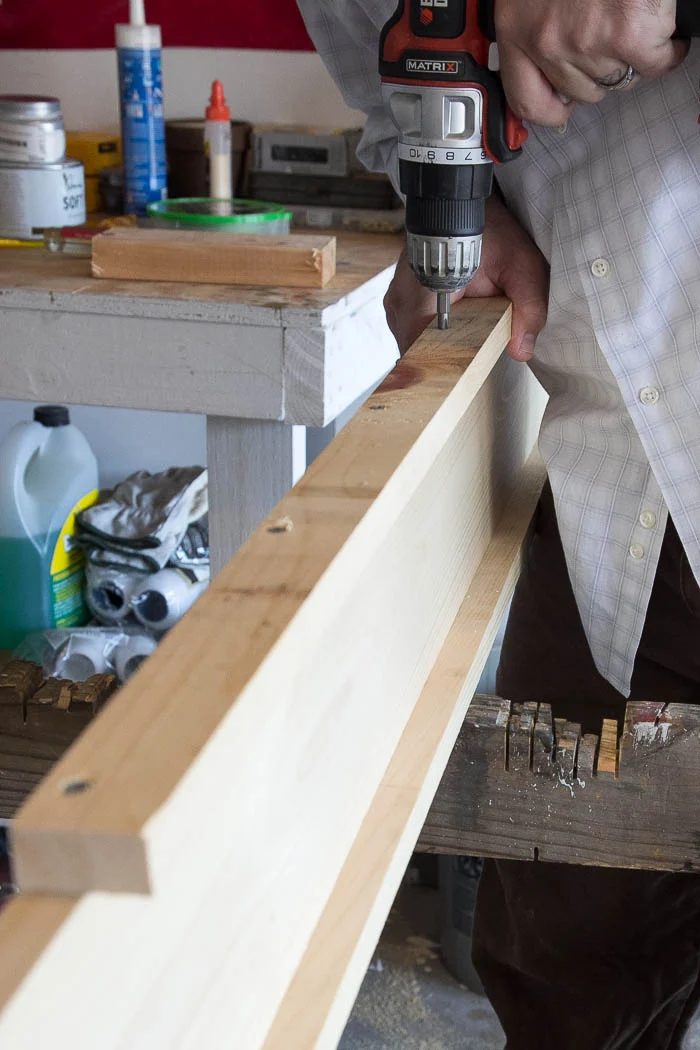
Our header had to be very long for our large window, and since we couldn’t find 1″x2″x12′ boards, we had to cut and attach our 1″x2″s in 6 pieces to the longer 1″x6″x12′ board.
Note: If you have access to a tablesaw, you could rip down the 1″x2″ boards from a larger single board that is the right length to avoid to many joints.
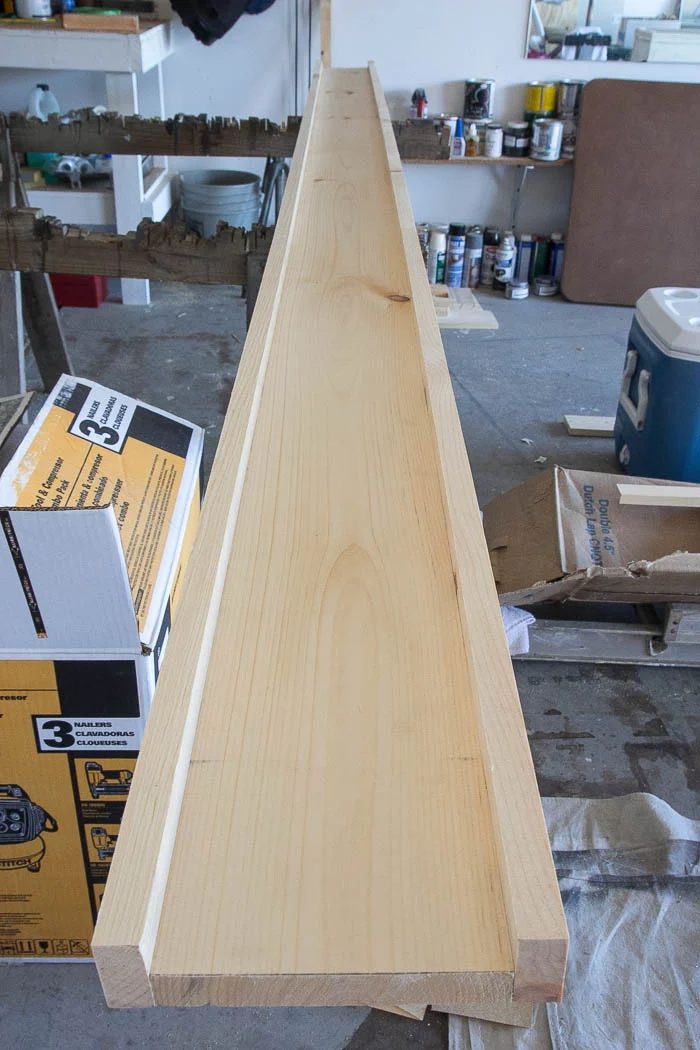
Then we had our header!
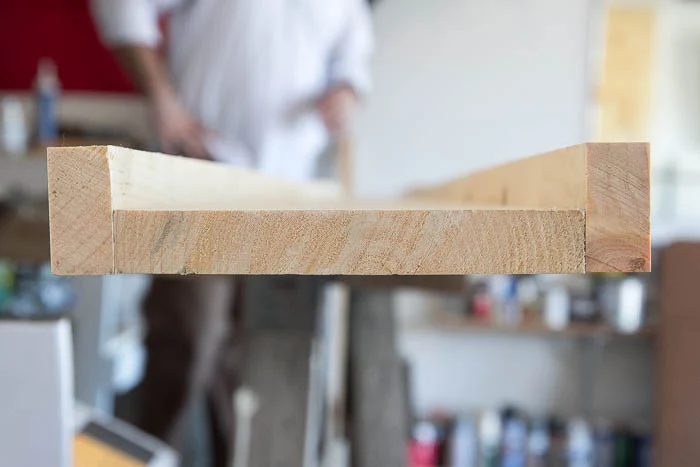
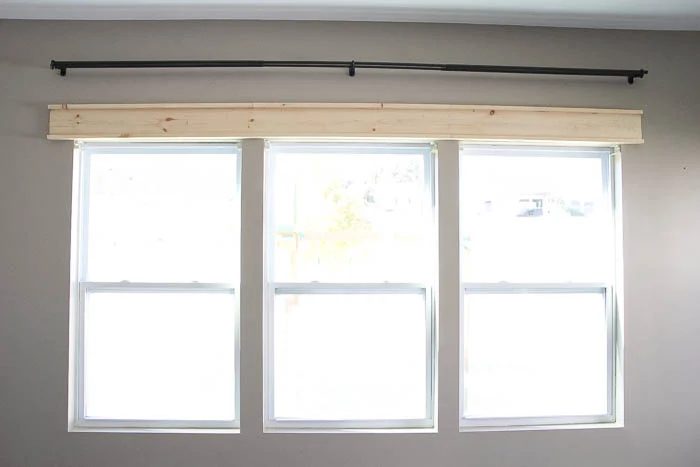
Once we centered our new header over the windows, we nailed them into place right through the drywall into the studs. We used a good ol’ fashioned hammer since the size of our nails wouldn’t work in our nail gun.
Window Sills
2 – Next section was the window sill. We worked on this larger window in thirds too. Your entire window sill should be the same length as your header was.
We marked the width we needed for the sill on another 1″x6″ board and cut using our circular saw.
Then, using the newly cut 1″x6 “board, we marked on the wall where the sill should end (using the same 5 inch overhang) and held up the board to mark the window’s edge.
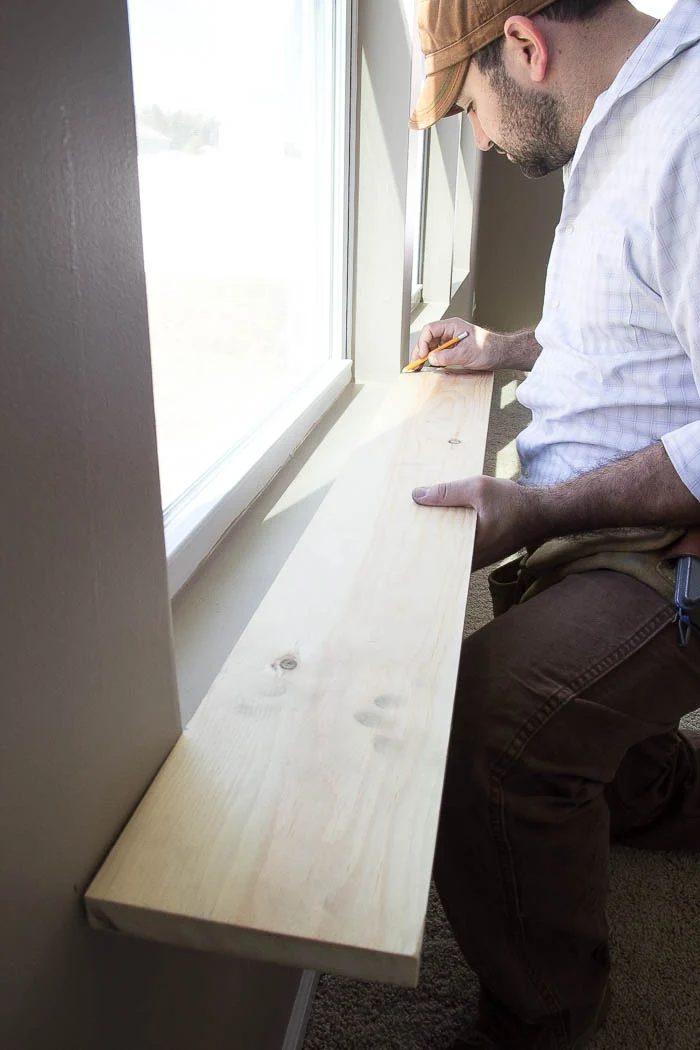
We measured the window’s depth too.
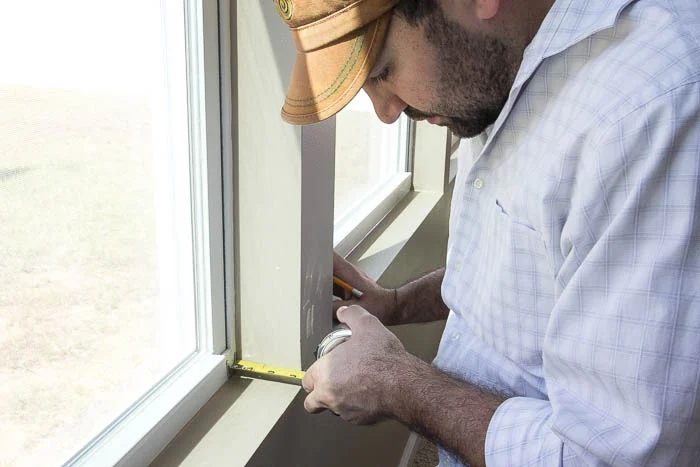
We marked those two measurements (the window’s width and depth) on the 1″x6″ board.
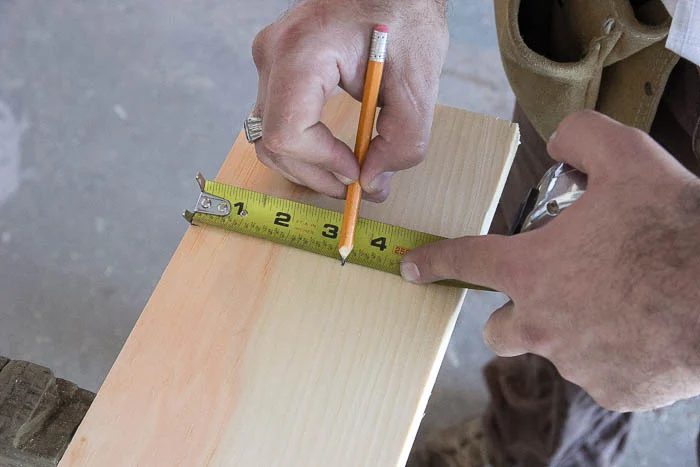
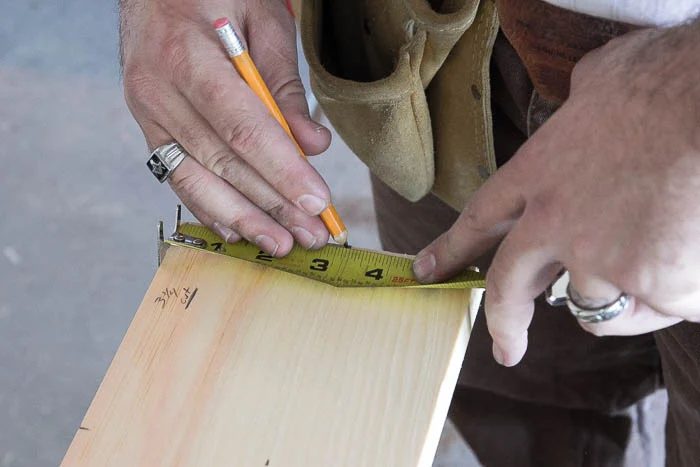
Using our square tool again, we marked the straight lines between the measurements.
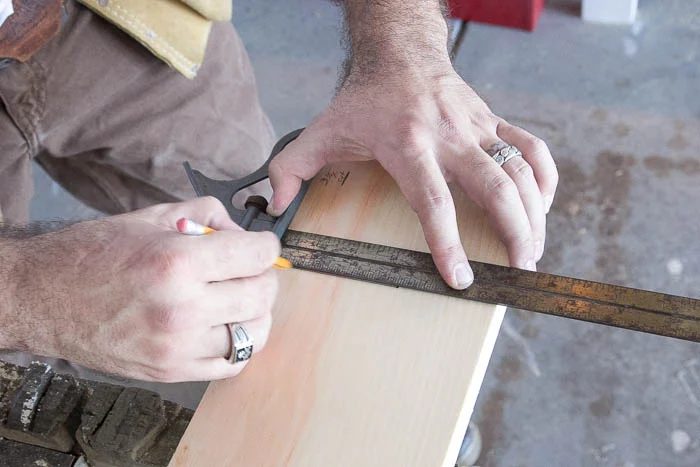
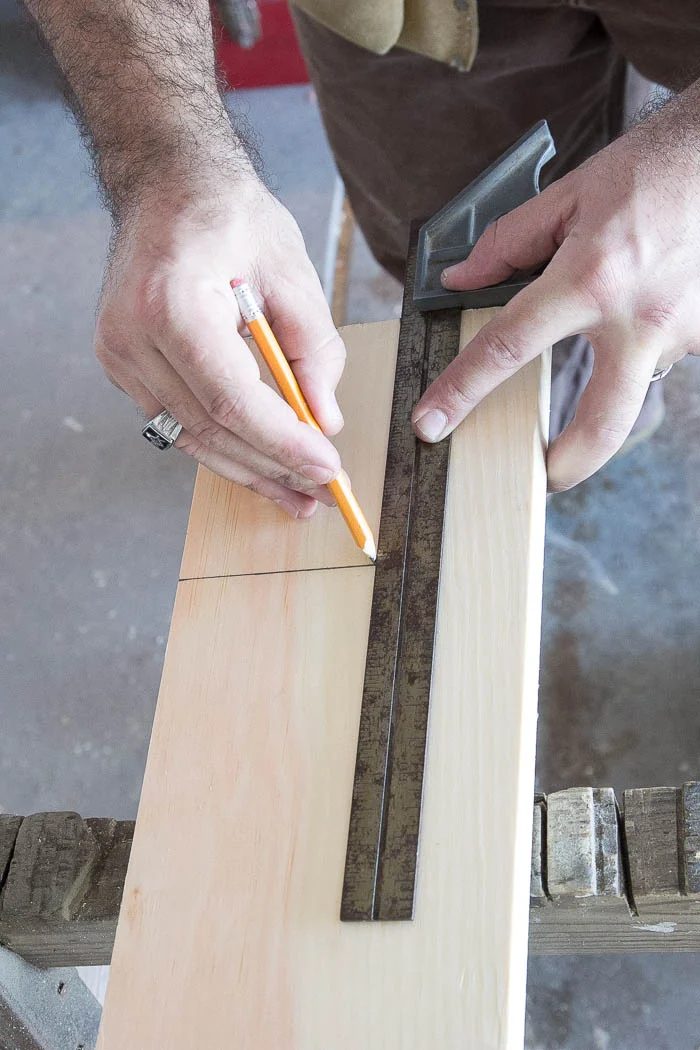
Then cut it out with a jigsaw.
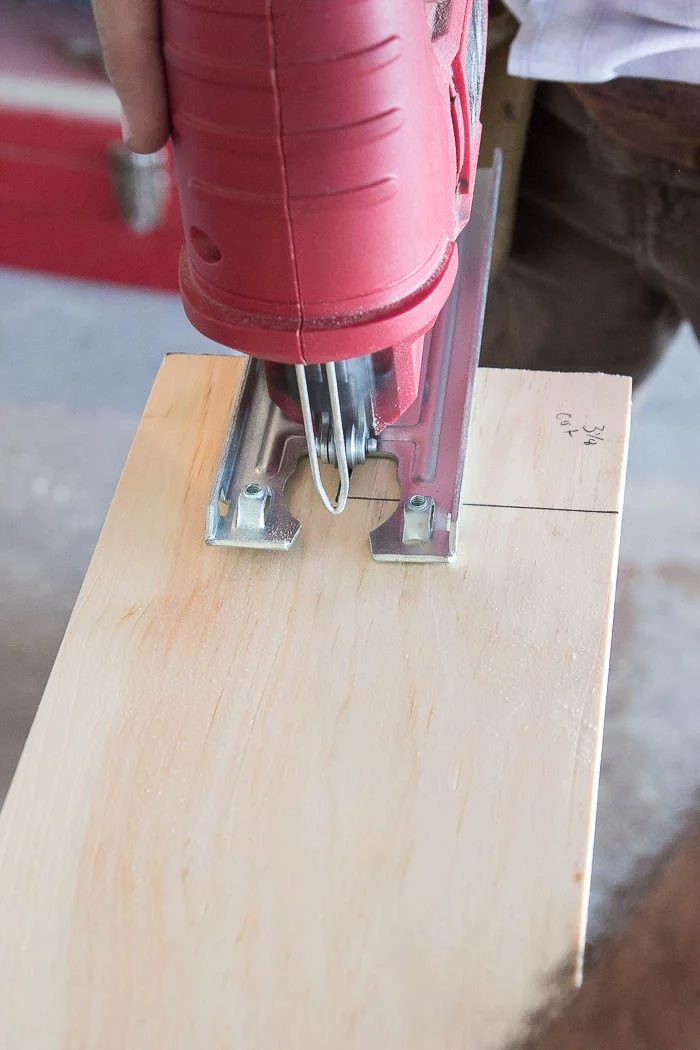
After our cuts, here’s what our 1″x6″ board looked like.
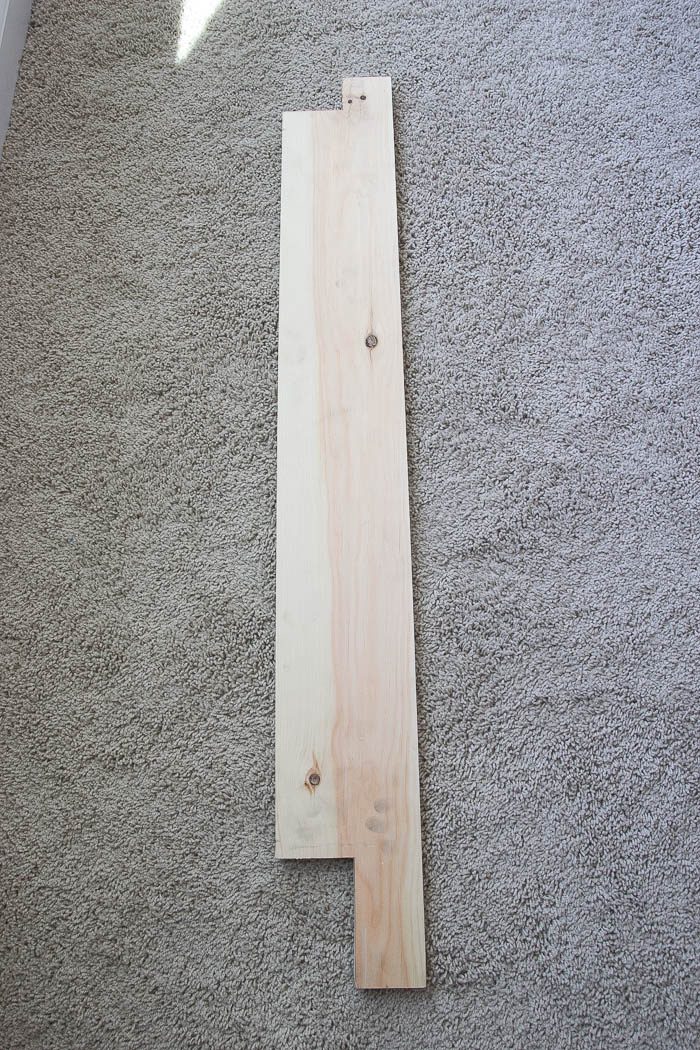
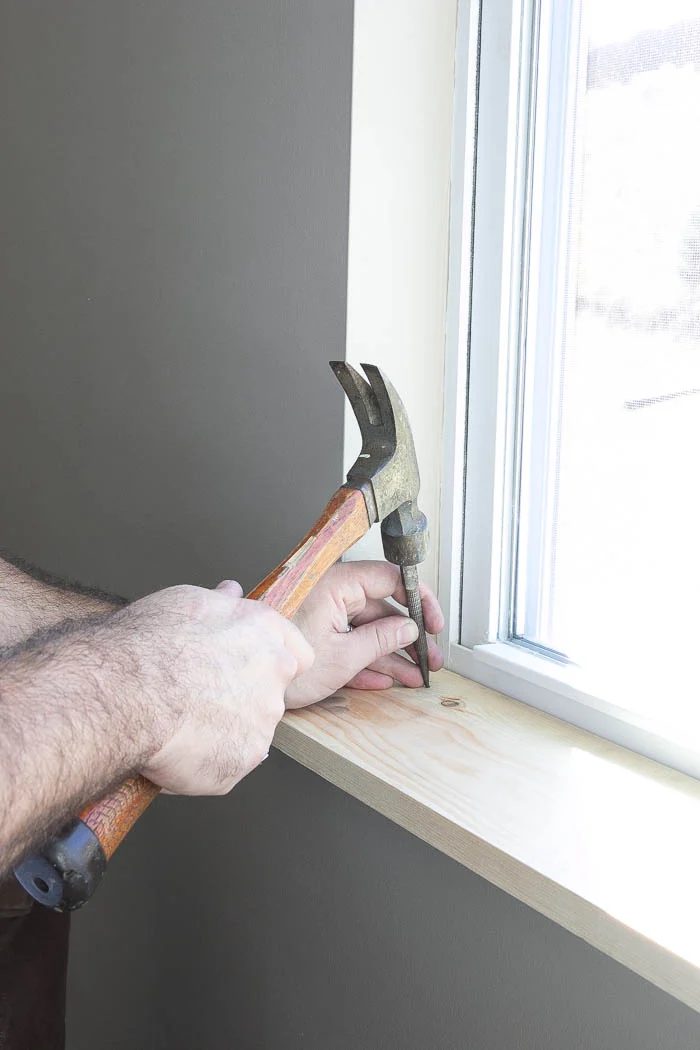
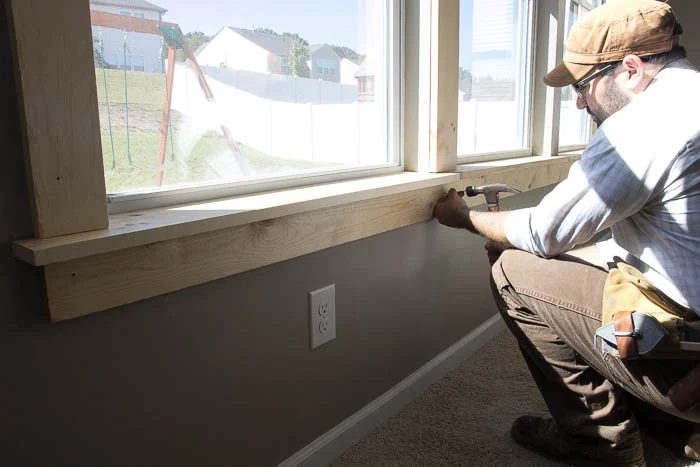
We fit our newly cut 1″x6″ board into place and nailed it in to form our window sill. You could add a bit of construction adhesive if desired.
Side Casings:
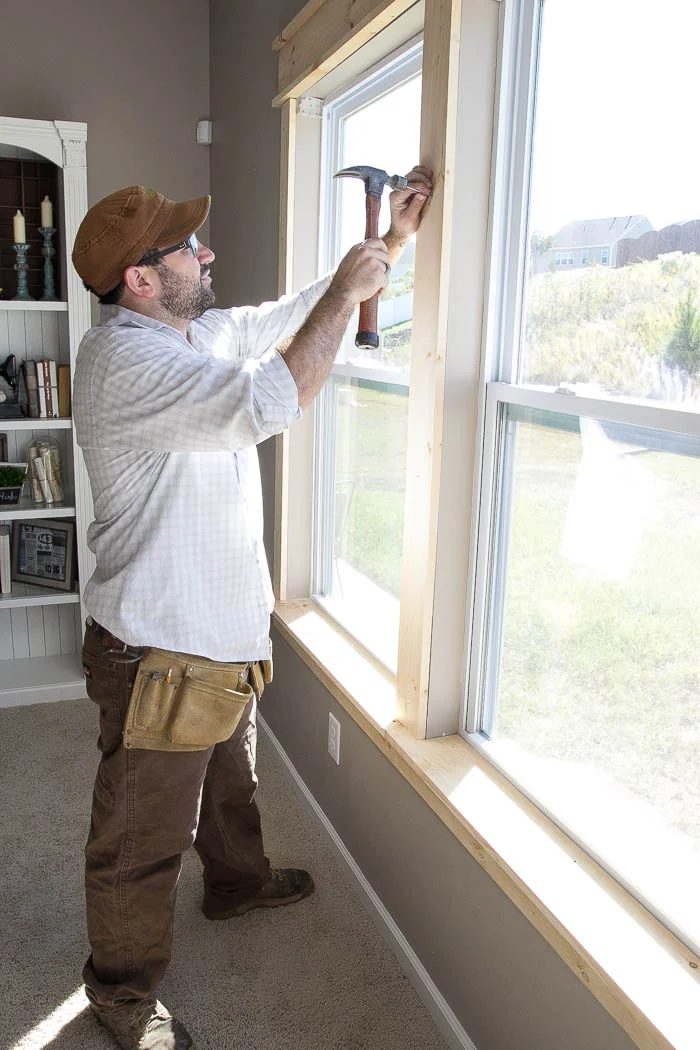
3 – To make the sides of the window, we used 1″x4″ boards.
We just measured the height between the bottom of the header (from step 1) and the top of the sill (from step 2) to know at what length to cut the 1″x4″ board.
In working with our large window, the two sections in the middle of our three windows were a little wider than a 1″x4″ board at 4.74″. So we had to cut two 1″x6″ boards lengthwise to make them the exact width we needed.
We lined the sides up on the edge of the windows and nailed them into place.
Apron:
4 – For the last carpentry step, we added our apron (the wood piece underneath the window sill).
We measured the width from the outside edge of the 1″x4″ side piece to the other outside edge of the 1″x4″ side piece to find how long to cut the 1″x4″ board for the apron.
If you’re a visual person, this might help to show you how we built this trim style for our larger window.
Caulk, Patch and Sand
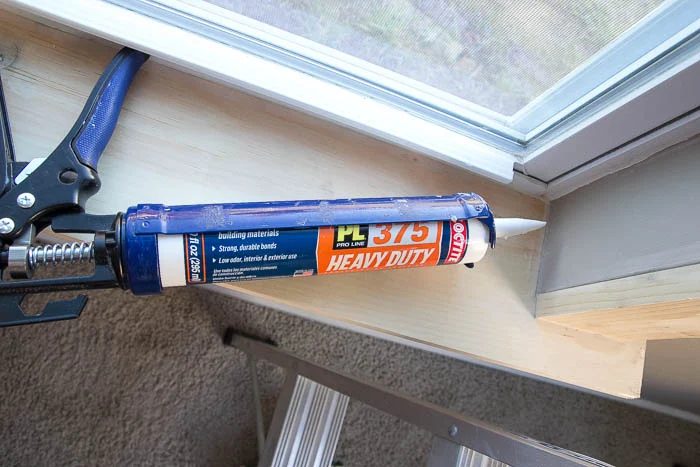
5 – Then caulk like crazy! Also known as a carpenter’s best friend.
Read tips for a well fitted caulking job here and more tips (including a video) here.
Caulk all of the seams and fill the nail holes and knots with wood filler. Let dry and sand until smooth.
Paint or Stain
6 – Finally, paint all of your new trim. We did two coats of primer+paint in one.
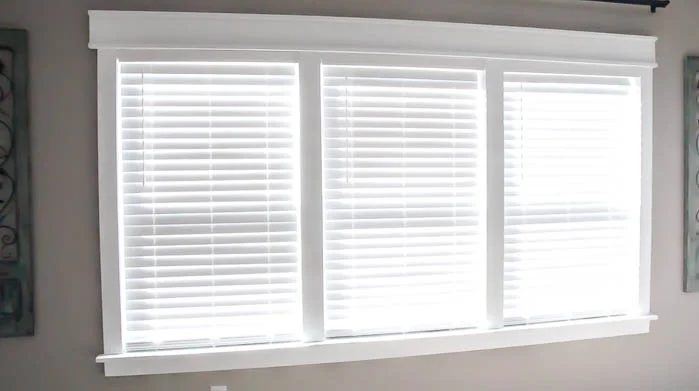
After we put our curtains back up, I was amazed at the difference it made! It’s like our windows were destined for Craftsman style window trim all along.
Our windows look striking with our fireplace too. Very soon, we’ll be putting an area rug in here to make this space finished. And I hope to put beams on our ceiling eventually, but I might be pushing my luck there.
You can see more sources and DIYs from this room over on Bless’er House.

What do you think? Something you might attempt? Trimming out windows really is a big room changer. I can’t wait to tackle the rest of our upstairs windows with it.
Questions and Answers:
What is Craftsman Style Window Trim?
This is a style of window trim that was part of the Arts and Crafts movement. It originated in the early 1900’s. It was all about comfort, simplicity and natural materials. Sort of fighting against all the new fangled machine made items available at the time.
What is Craftsman molding?
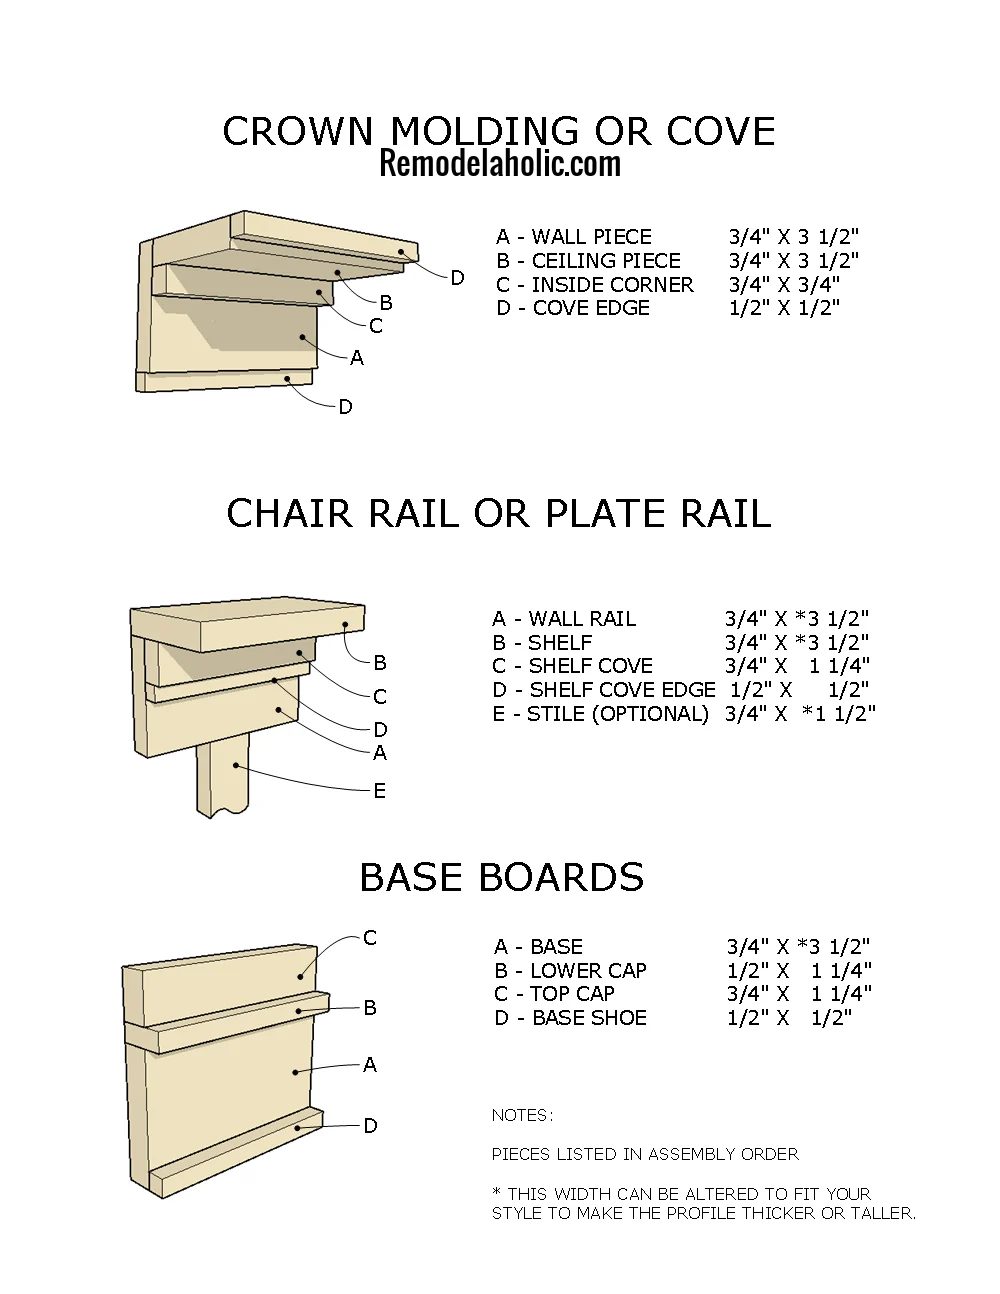
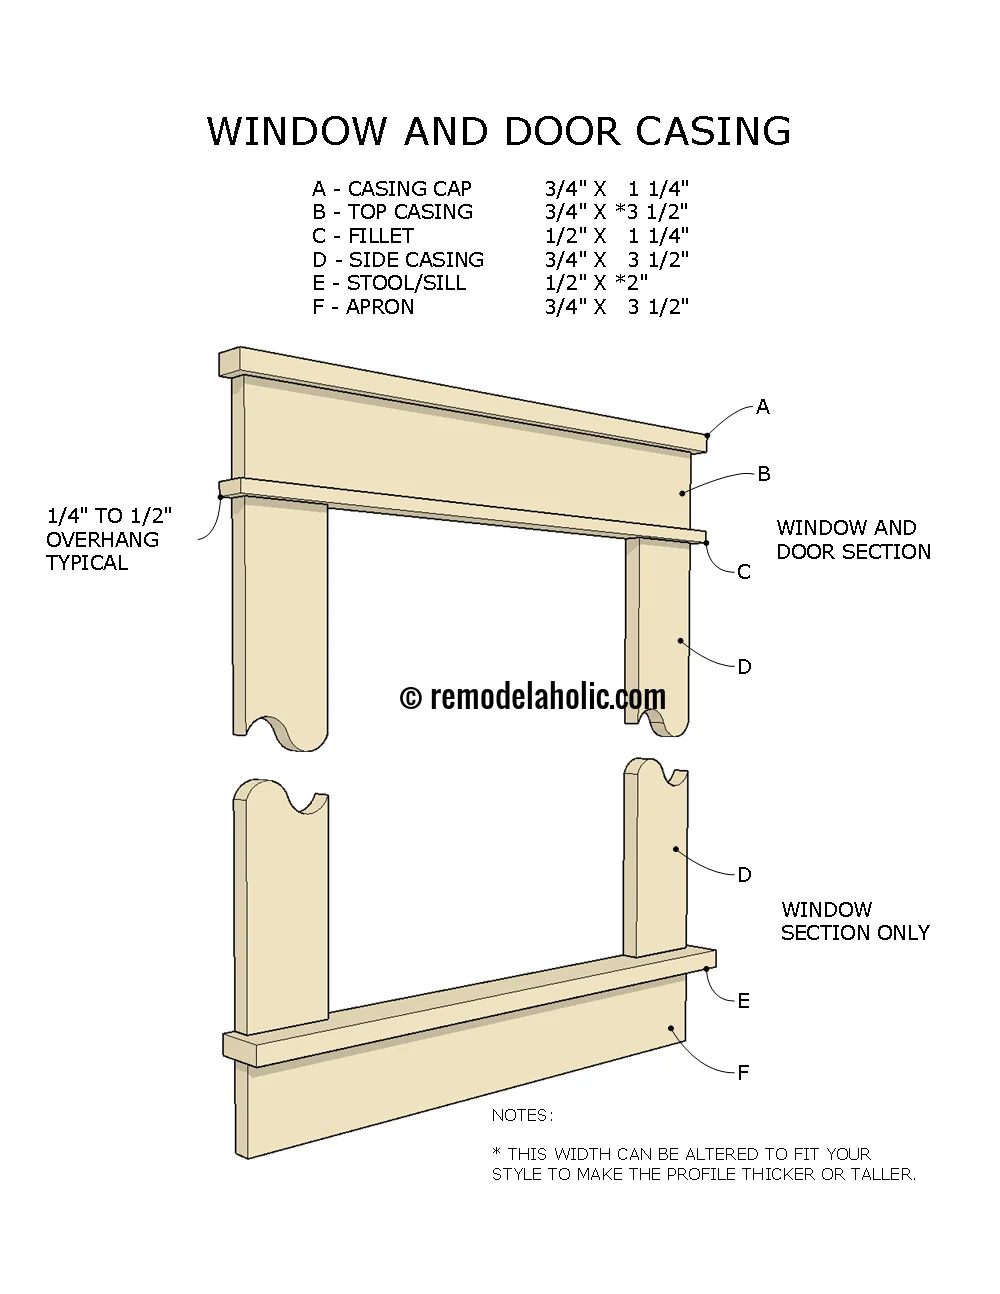
It might be easier to look at this diagram of the main elements of Craftsman style trim to understand what craftsman style molding looks like and how to build it.
How Wide is Craftsman Trim?
This is entirely dependent on the look you are going for.
You can have wider headers than the side casings or apron if you like that. Or you could have a wide header and apron. Often what will determine the size of your molding is the materials available to you locally.
What material is used for window casings?
This really depends on the final look you are going for. Originally craftsman trim was often made of oak in a style called Mission oak that focused on direct vertical and horizontal lines. Hence the simplicity of the molding style.
Buying solid oak now has quite a high price tag, and the look of stained wood trim isn’t for everyone, so what are some other options?
Nowadays there are endless options of wood, from regular or select pine, like Lauren used, to poplar, maple, plastic moldings, to MDF that is readily available at most home improvement stores.
A word of caution in rainy climates you may want to avoid MDF as it is damaged easily by water (they do have a waterproof sheet good of MDF, but it is usually only available at specialty wood stores.
Painting trim is a great choice and if that is your goal, then any material you prefer should work well.
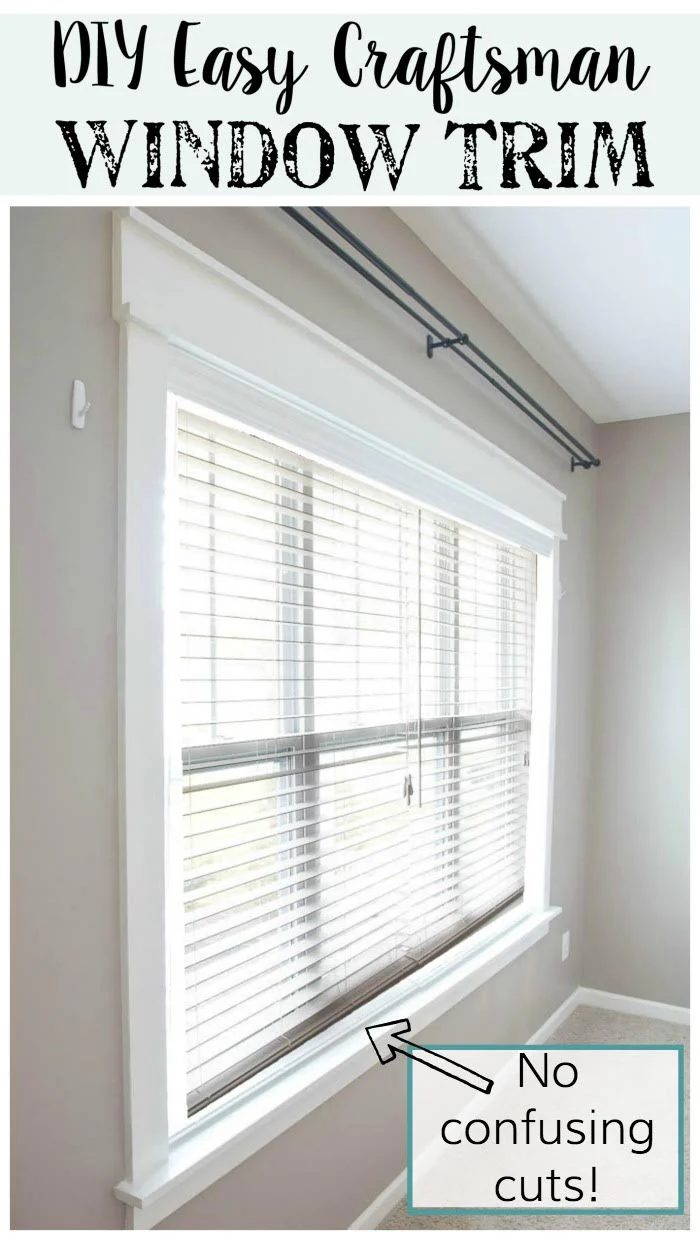
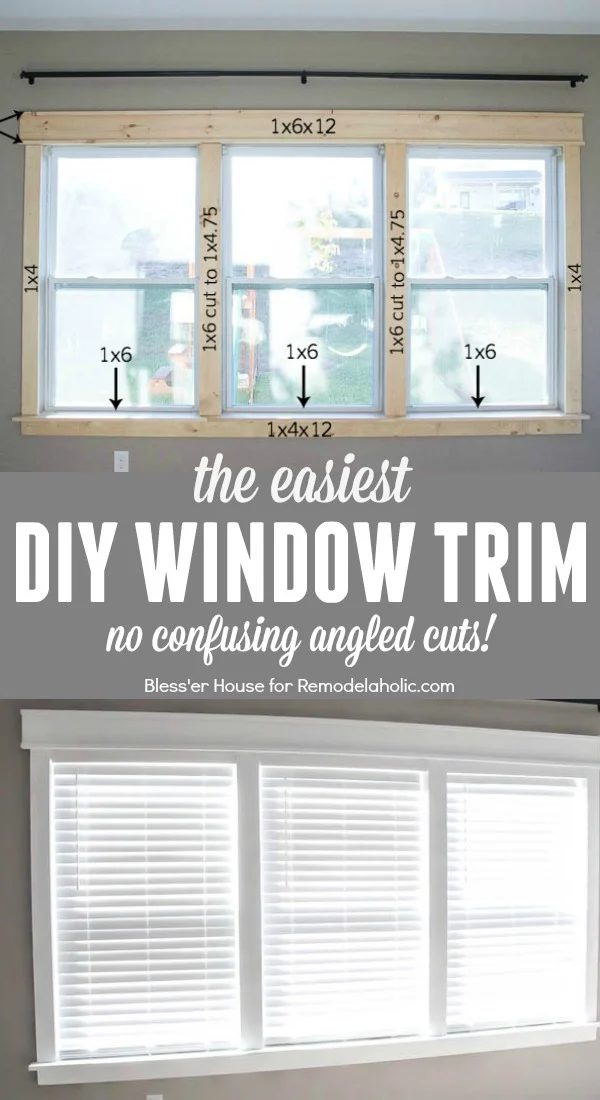
Be sure to pin this post for later:
More tips and options for Handmade window trim jobs:
Start Caulking! Tips and Tricks, How to Add Trim to Arched Windows, More top tricks and tutorials for trimming windows: plus more tips and tricks for installing trim and molding.
Originally posted 1.23.2016 // Updated 2.26.2020 // Updated 1/12/23