Read the sequence from the top before cutting, painting, or moving pieces.
All I could say is, “Wow!” That looks vivid. I am a sucker for architectural details. This wood stained coffered ceiling turned out to be very striking. I can’t wait until we can do some thing like this in our house.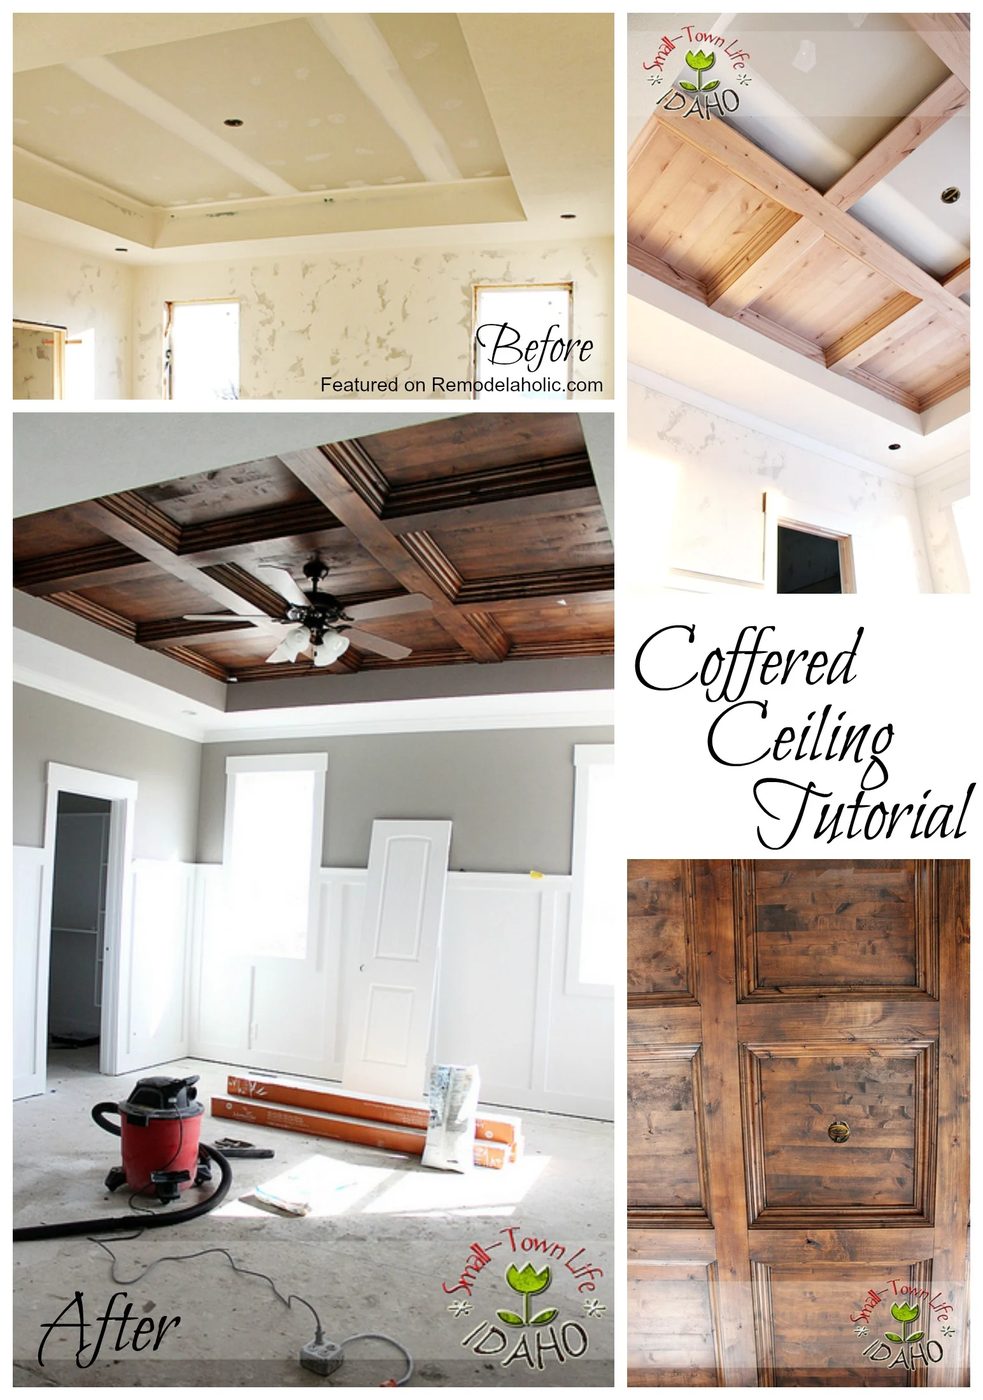
Submitted By Our Small-Town Idaho Life
See how Andrew and Rachel accomplished this task with their 7 steps below.
Here is the master bedroommany moons ago. Our coffered ceiling started with direct drywall.
1.) Andrew first took 2×4’sand created a grid pattern.
2.) Next, he took four-quarter knotty alderand nailed it over top of the 2×4’s in the same grid pattern.
3.) Then using quarter-inch alder, he filled in all of the grids.
4.) To give it a finished look, Andrew wrapped each grid in crown.
5.) Then he used a maple-to-alder spray stain and a coat of lacquer.
6.) Next, he used a water-based rusty old glaze that was wiped on and off. This is what caused the knots and grain patterns to pop.
7.) After letting it dry for 30 minutes, it was lacquered one more time.
It was vivid, but it looked shockingly stark against the white walls. I was anxious to get everything taped and painted. If you notice, we painted the walls AND inside the coffer itself with the SW Pussy willow color.
Here it is with the tape and plastic removed (and on the floor). It all looks more complete and gradual this way.
Second perspective.
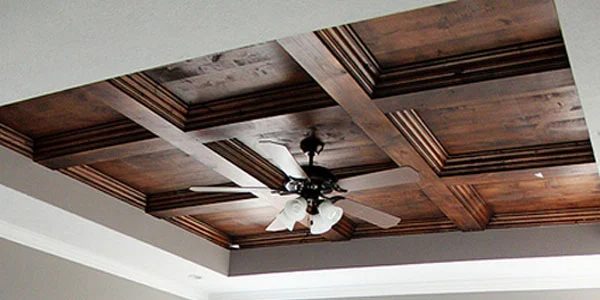
And finally, here it is finished with the ceiling fan in the center and the can lights installed along the outside edges of the coffer. This room is just waiting for carpet and vent covers!