Materials and the sequence of the job sit together on this page.
Hey All! It’s Corey back from Sawdust 2 Stitches. If you already follow along on my blog you may have seen my most recent bedroom makeover. It turned out phenomenal (if I do say so myself)! It included shiplap, weathered wood, AND my feature of today; custom art work!
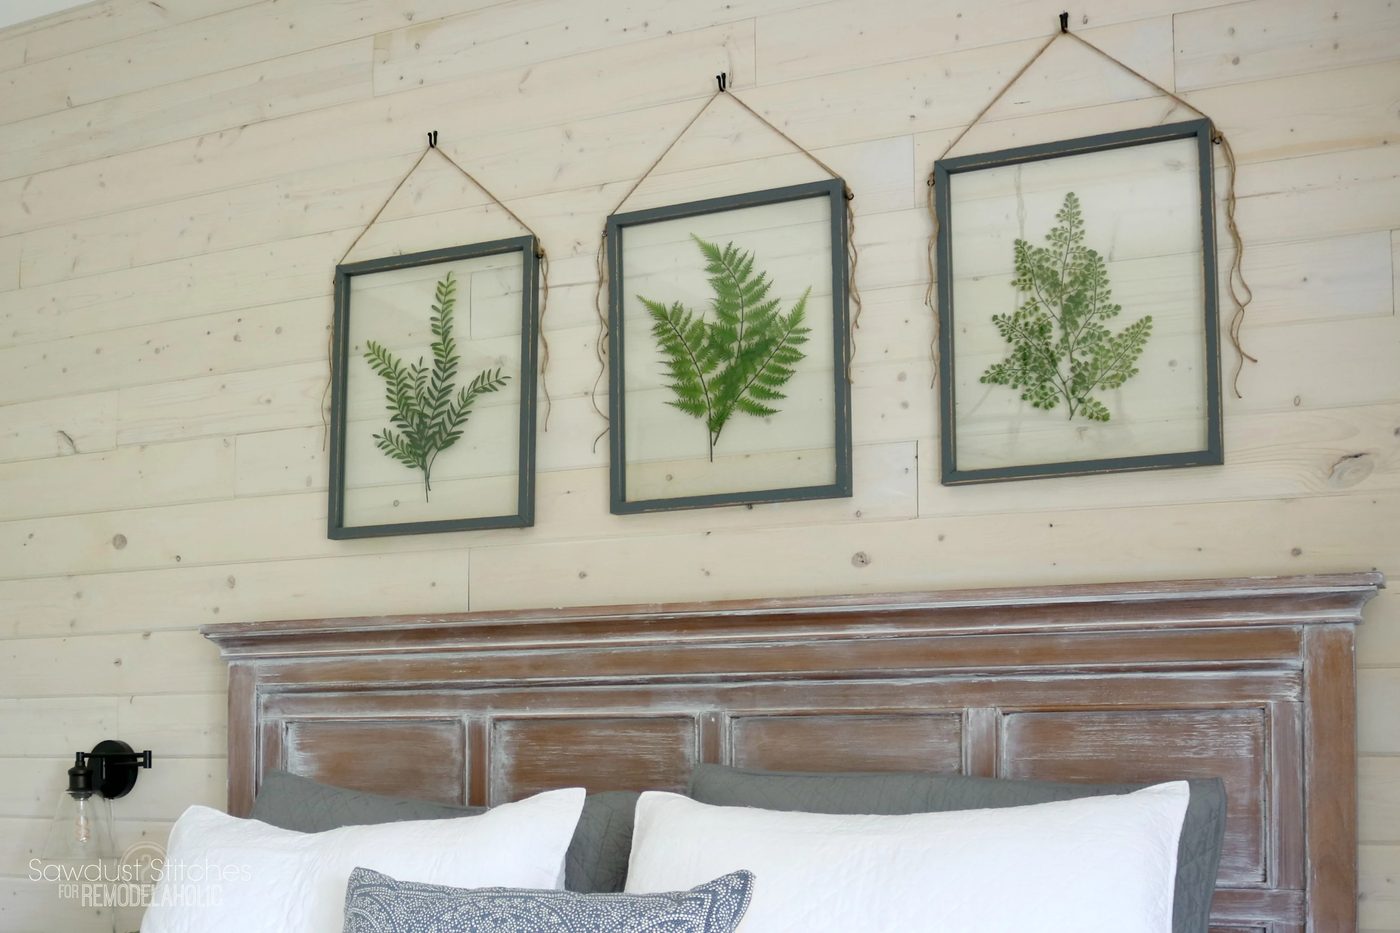
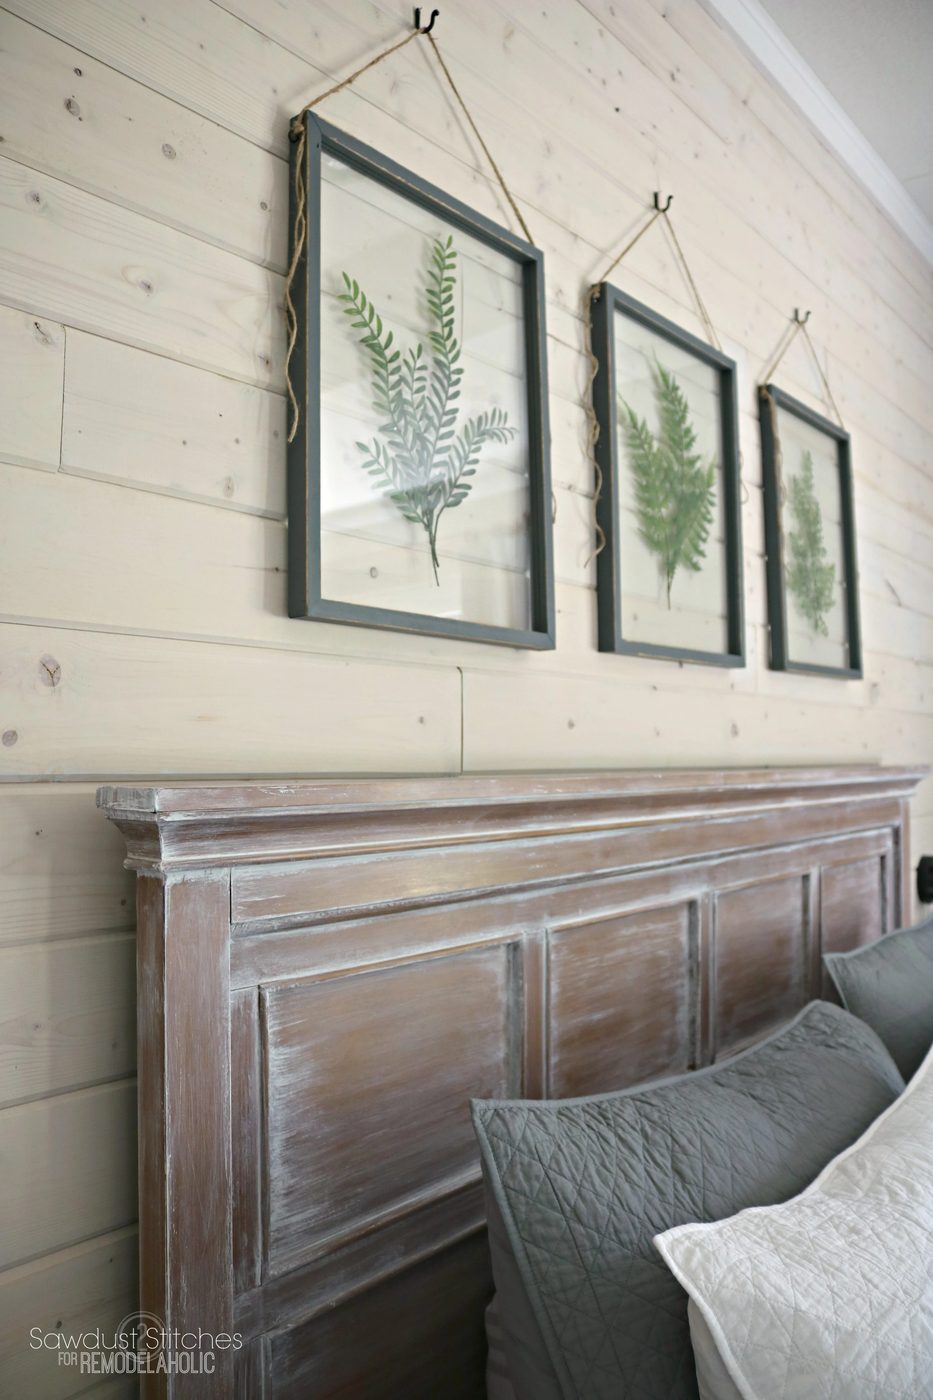
When I was designing my room I was really struggling coming up with a way to fill the space above my headboard. I didn’t want to make it visually heavy, but I also didn’t want to cover up all my striking new shiplap wall. So what’s a girl to do ? Handmade it of course. I dreamed up an option that would allow the wall to be the backdrop but still have a high impact! I give you my “Pressed Plant Frames”!
Okay let’s dive in.
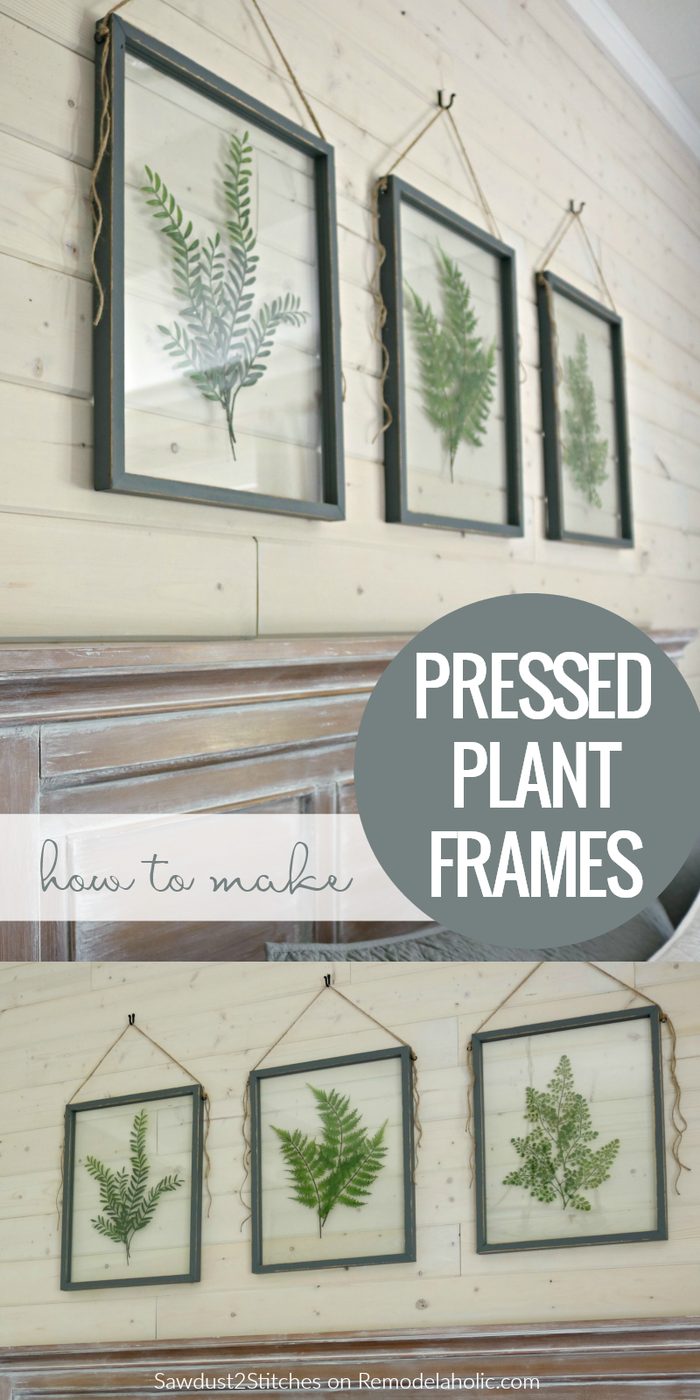
How to Make Handmade Pressed Plant Framed Art
This post contains affiliate links for your online shopping convenience. Learn more and read our full disclosure policy here.
Tools Suggested:
- Table Saw
- Finish Nailer
- Drill
- 1/8″ Drill Bit
- Counter Sink Bit
Supplies Used:
- 1″x 2″ Select Pine Board (1 board per frame)
- Wood Glue
- Eyelet Hooks (Eye Screws)
- 1 1/4″ Wood screws
- 2″ finish nails
- Glass Panels (2 per frame)
Decorative items for using in the frames:
- Faux fern stems
- Hot glue gun
BEFORE YOU BEGIN: Let me preface this by saying THESE are not exact measurement build plans. These are steps that will show you how to make a double pane glass frame that you can customize to your own needs (or more than likely your glass dimensions.) You can purchase plain panes of glass at most any hardware store. After doing some pricing I found that it was cheaper to buy to low-cost frames from Walmart and use the glass from them. I used a frame that was 16″x 20″ . (Again you will need to base your build off of your glass size, because the way glass/frames are cut will vary.
To see more Handmade videos, subscribe to the Bekob YouTube channel and follow on Facebook.
Step by Step walkthrough
Step 1. Rip Boards
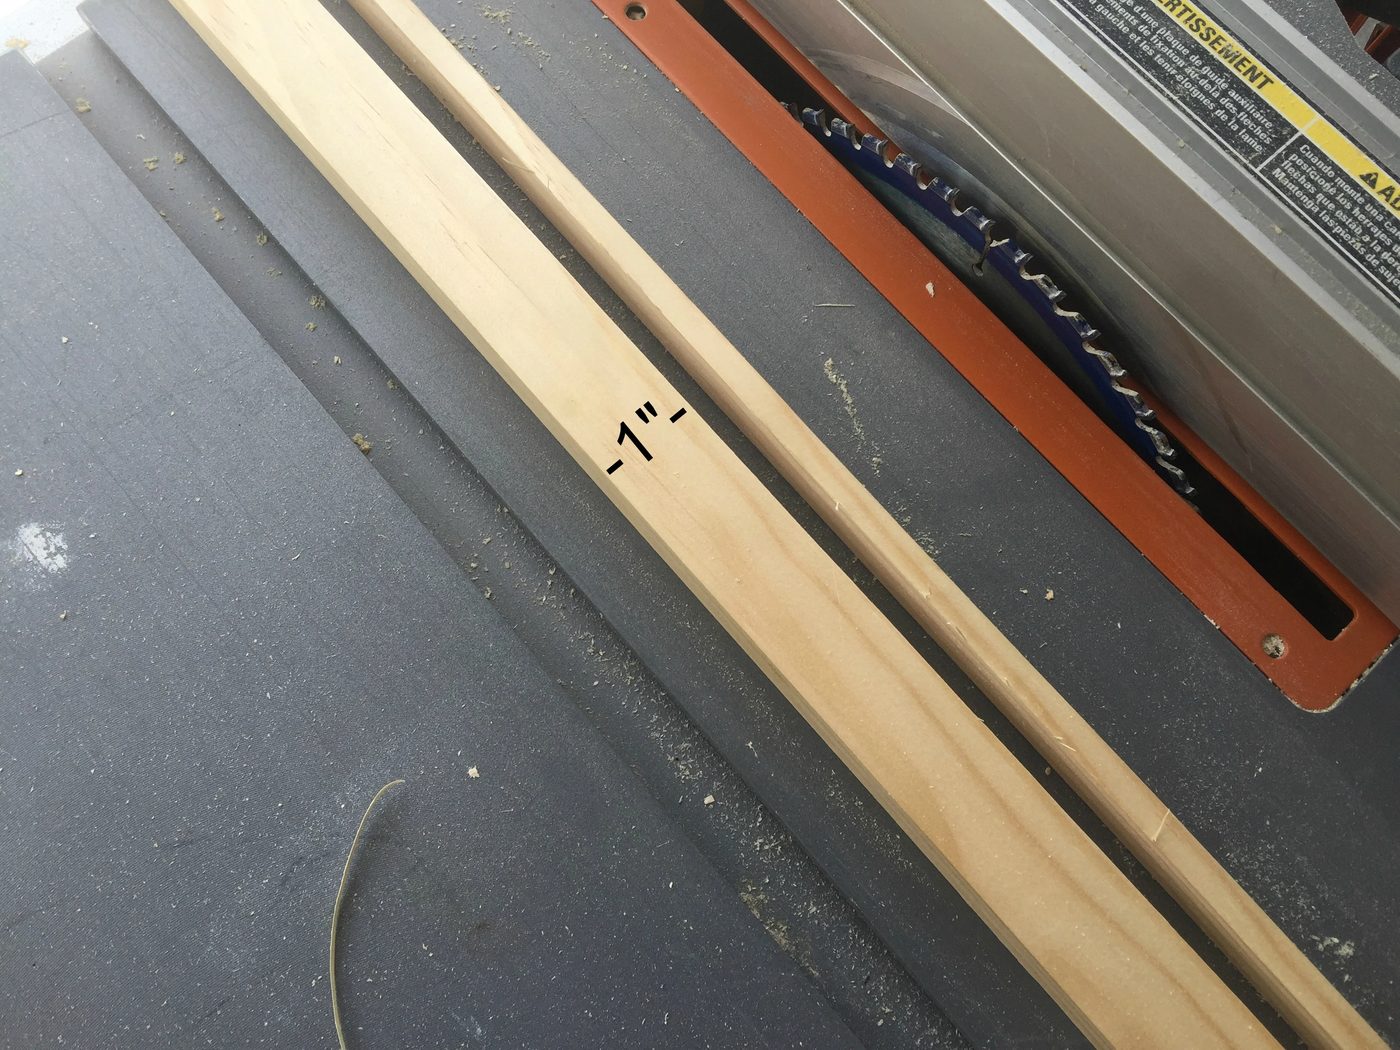
“Ripping” a board basically means that you are going to cut it length wise. This is typically done on a table saw. I ripped a 1 x 2 “Select Prime Pine board” (This just means a nice board) . I ripped the whole board so that it would be a 1′ “x 3/4″x 8′ board.
Step 2. Cut Dados
“Dados” are grooves or trenches cut into a board, typically they are used for holding shelves, or in this case glass panes. I cut my dado (trenches) 3/8″ deep.
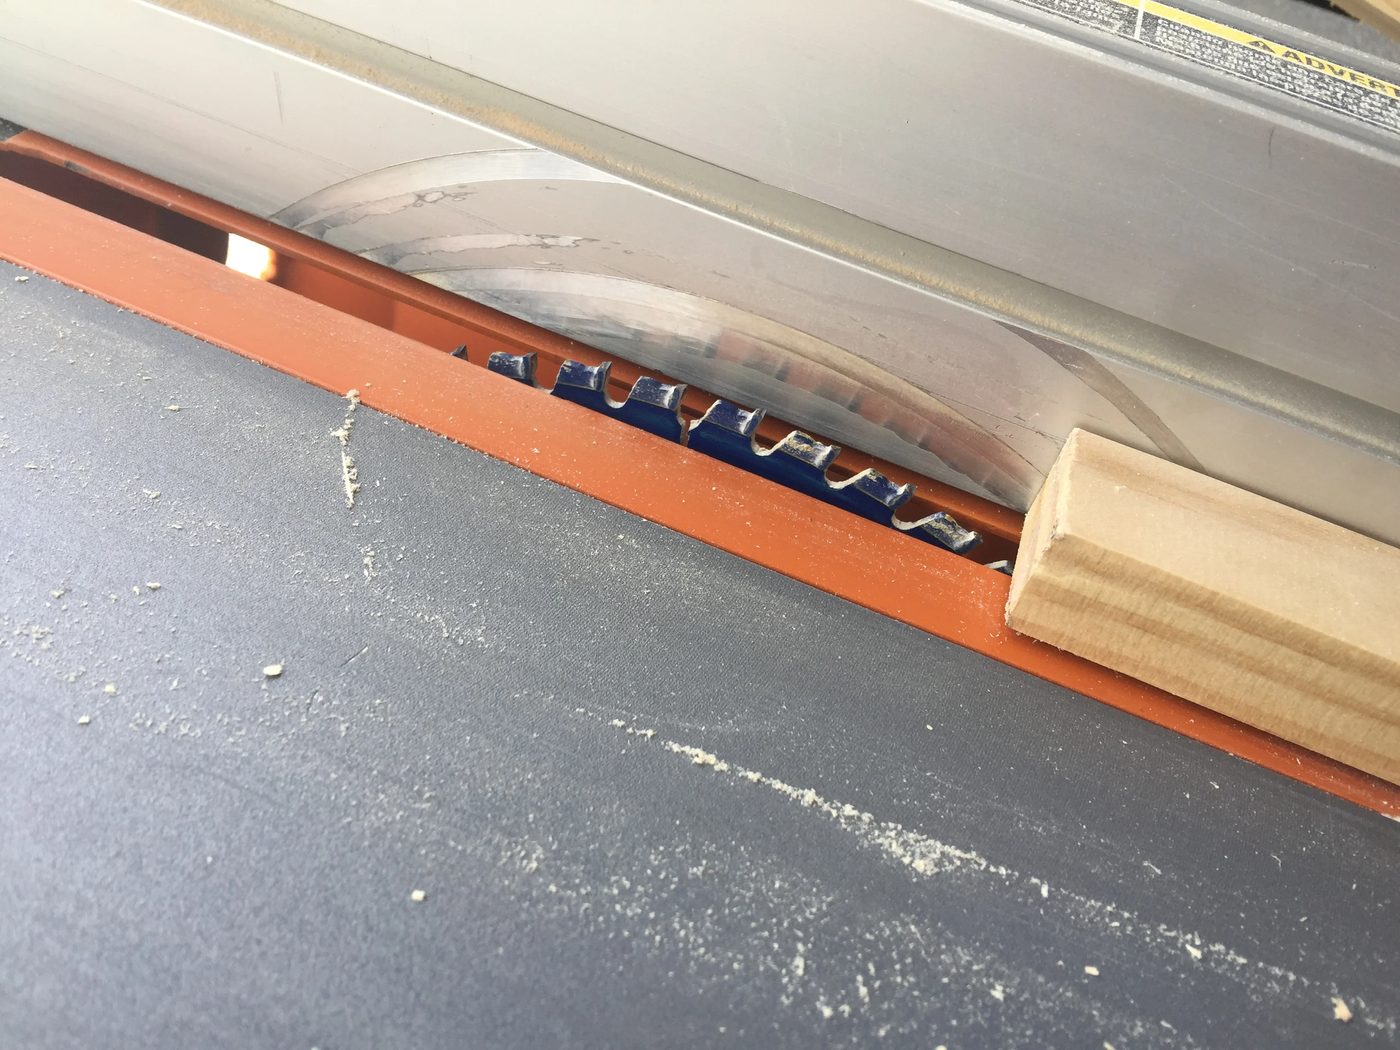
I cut my first Dado 1/4″ from the back edge (on the 1″ surface side) . Now before moving on to the second dado, double check that your glass pane fits in the dado. My glass was very thin and was able to fit in the 1/8″ dado. You might need to widen your dado cut depending on your glass pane. It’s really straightforward, just move your fence on your tablesaw just a hair over and run your board through again.
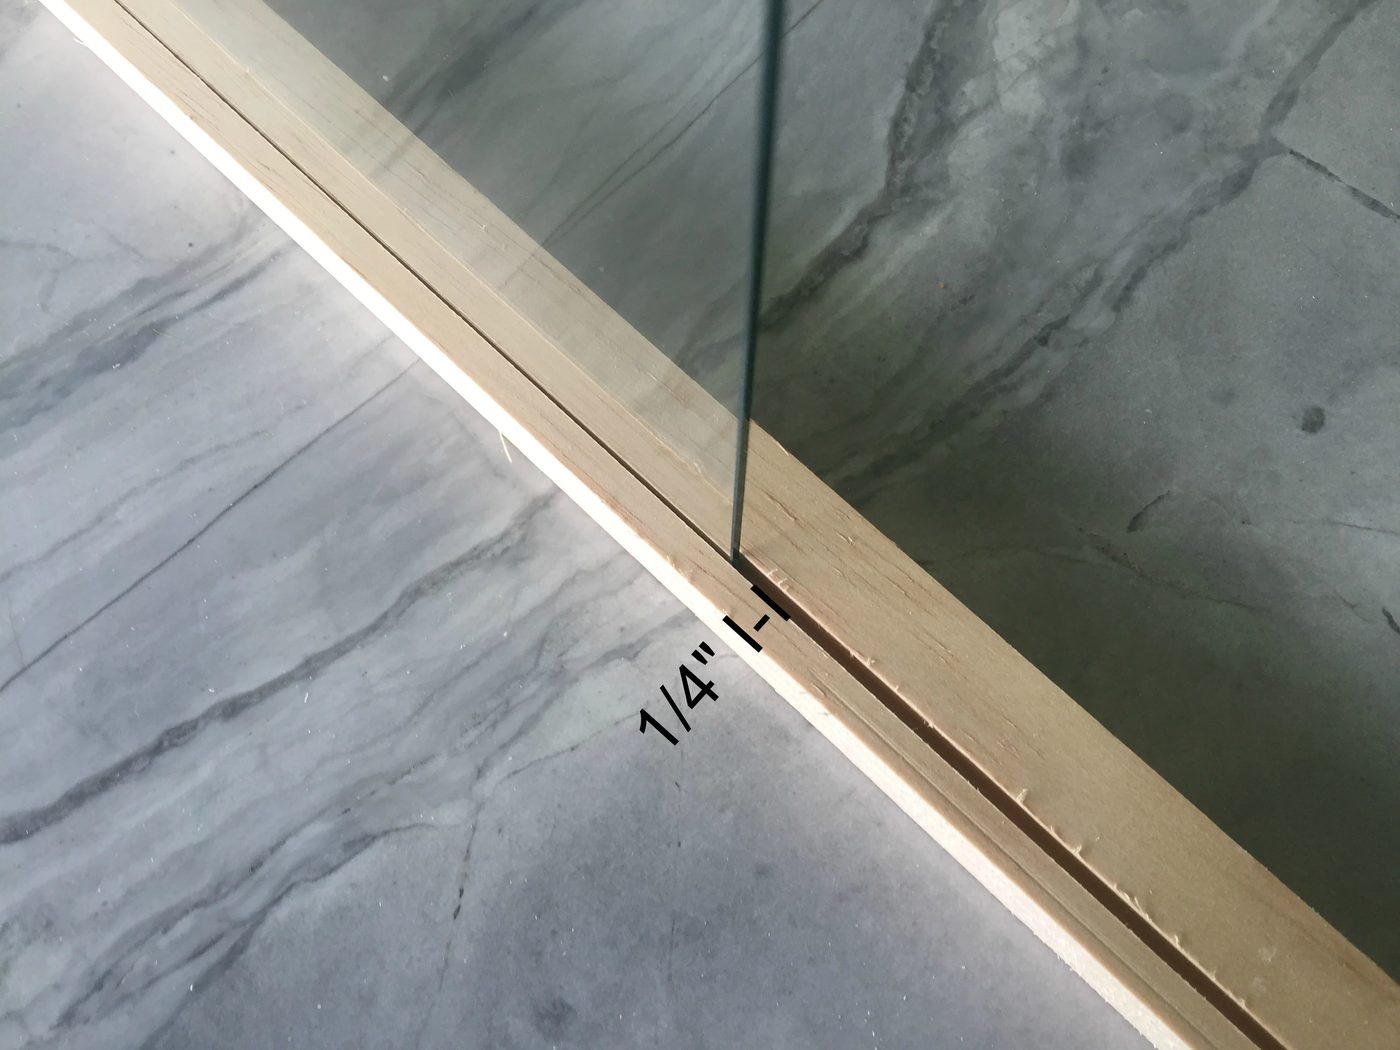
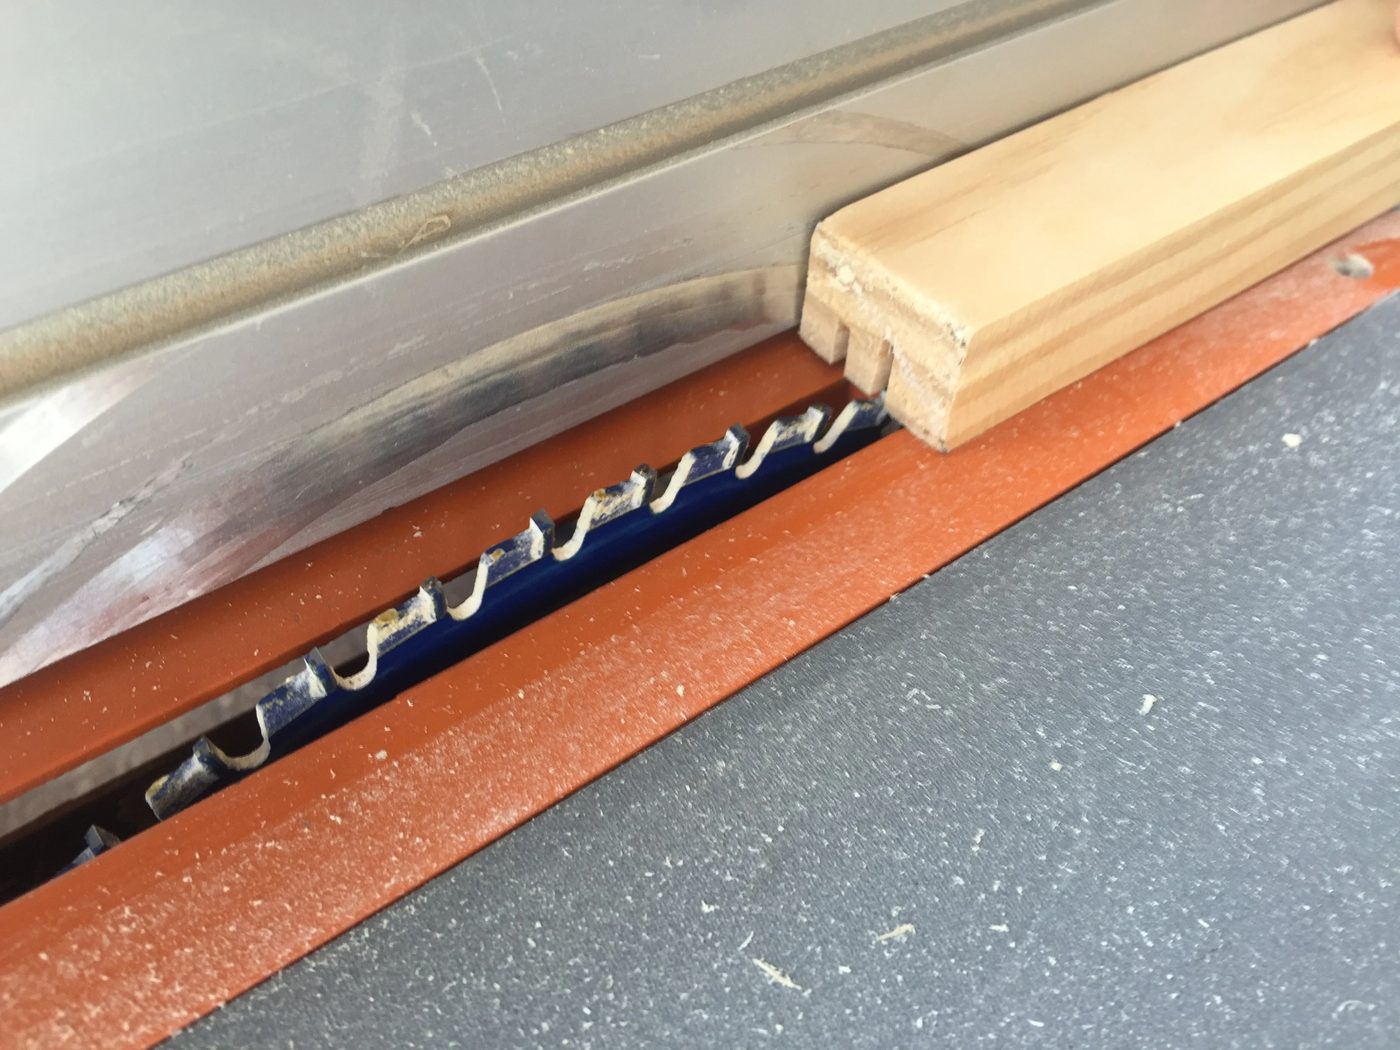
Once you are certain your glass will fit, it is time to cut the second dado. The second dado I placed about 1/4″ from the front of the frame. So all you need to do is flip your board around and run it through the tablesaw on the other side of your board . (See image below)
Step 3: Miters
Again, the measurement you use will vary based on your glass size! I am using a 16″x 20″ pane of glass and will be basing the measurements off of that. (As a general guideline you will add about 1 1/4″ to the width x height of your glass pane. So for instance my glass is 16″x 20″ my finished frame ended up being 17 1/4″ x 21 1/4″)
In order to construct the frame you will need to cut sides, and a top and bottom. As explained above, I needed to make these boards approximately 1 1/4″ longer than my glass dimensions. So I cut (2) boards at 17 1/4″ with 45 degree cuts on both ends. For the sides I cut (2) boards a 21 1/4″, again with 45 degree angles on each end.
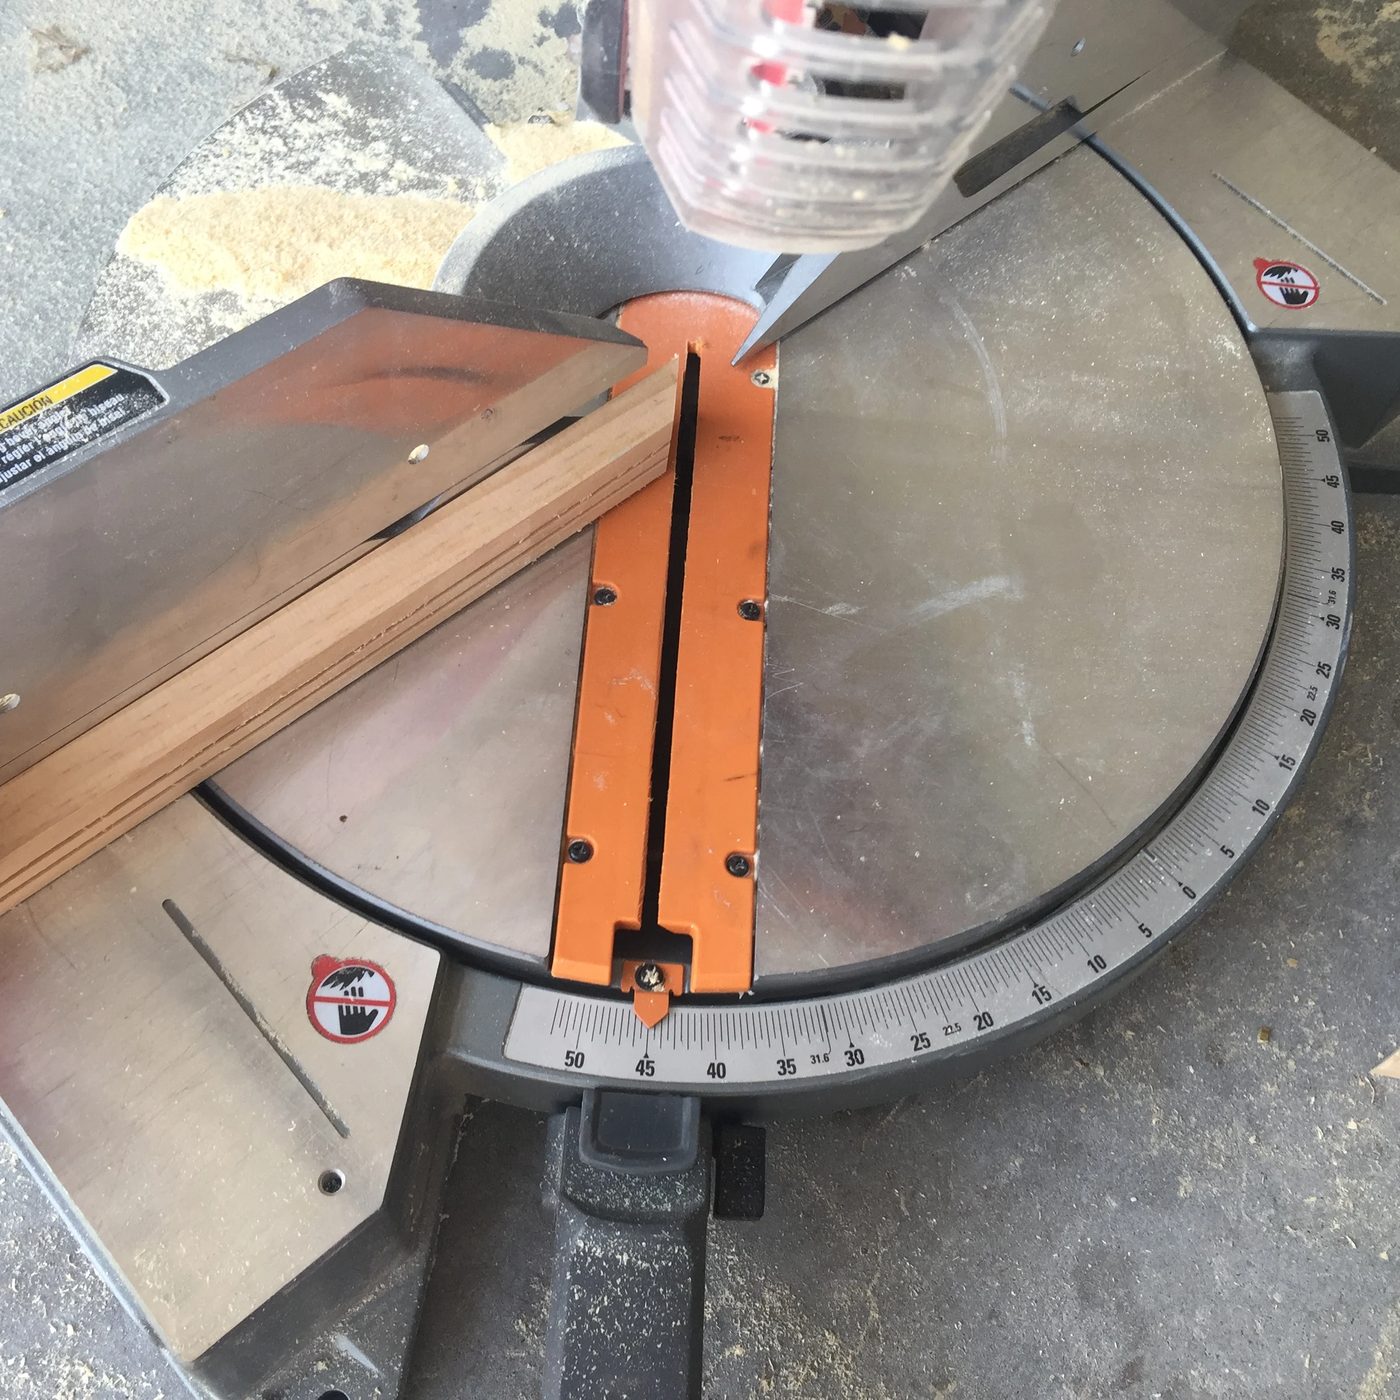
I was making three of the frames at once, so I obviously had a lot more boards to cut.
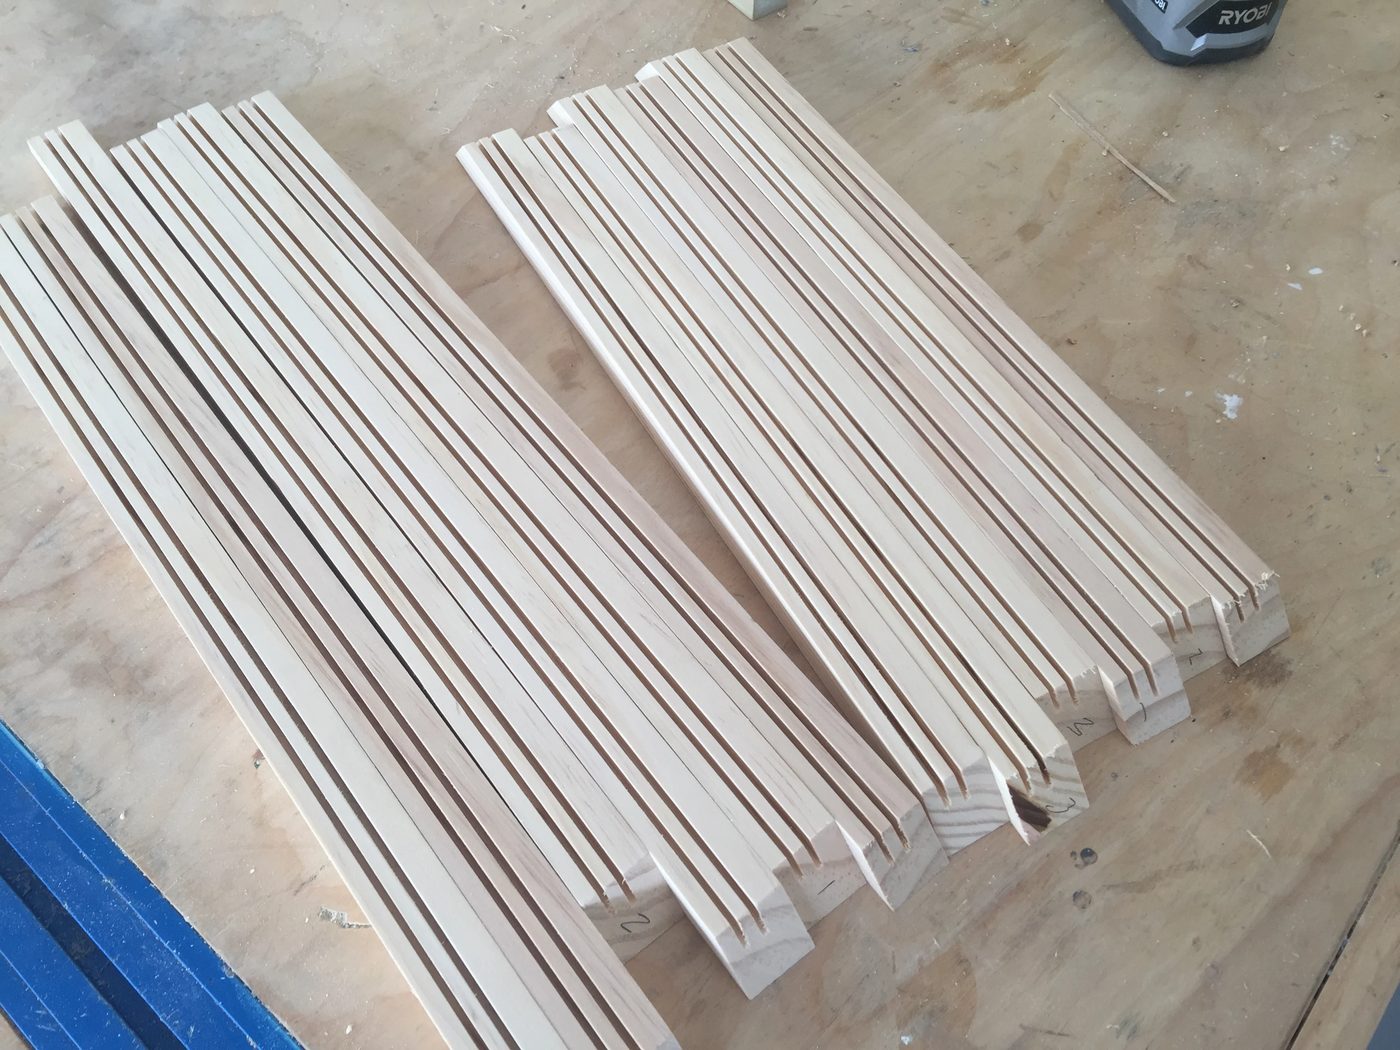
Step 4: Assembly
Next I partially assembled the frames. I began by using wood glue on the corners. Using wood glue will allow it to hold up long term.
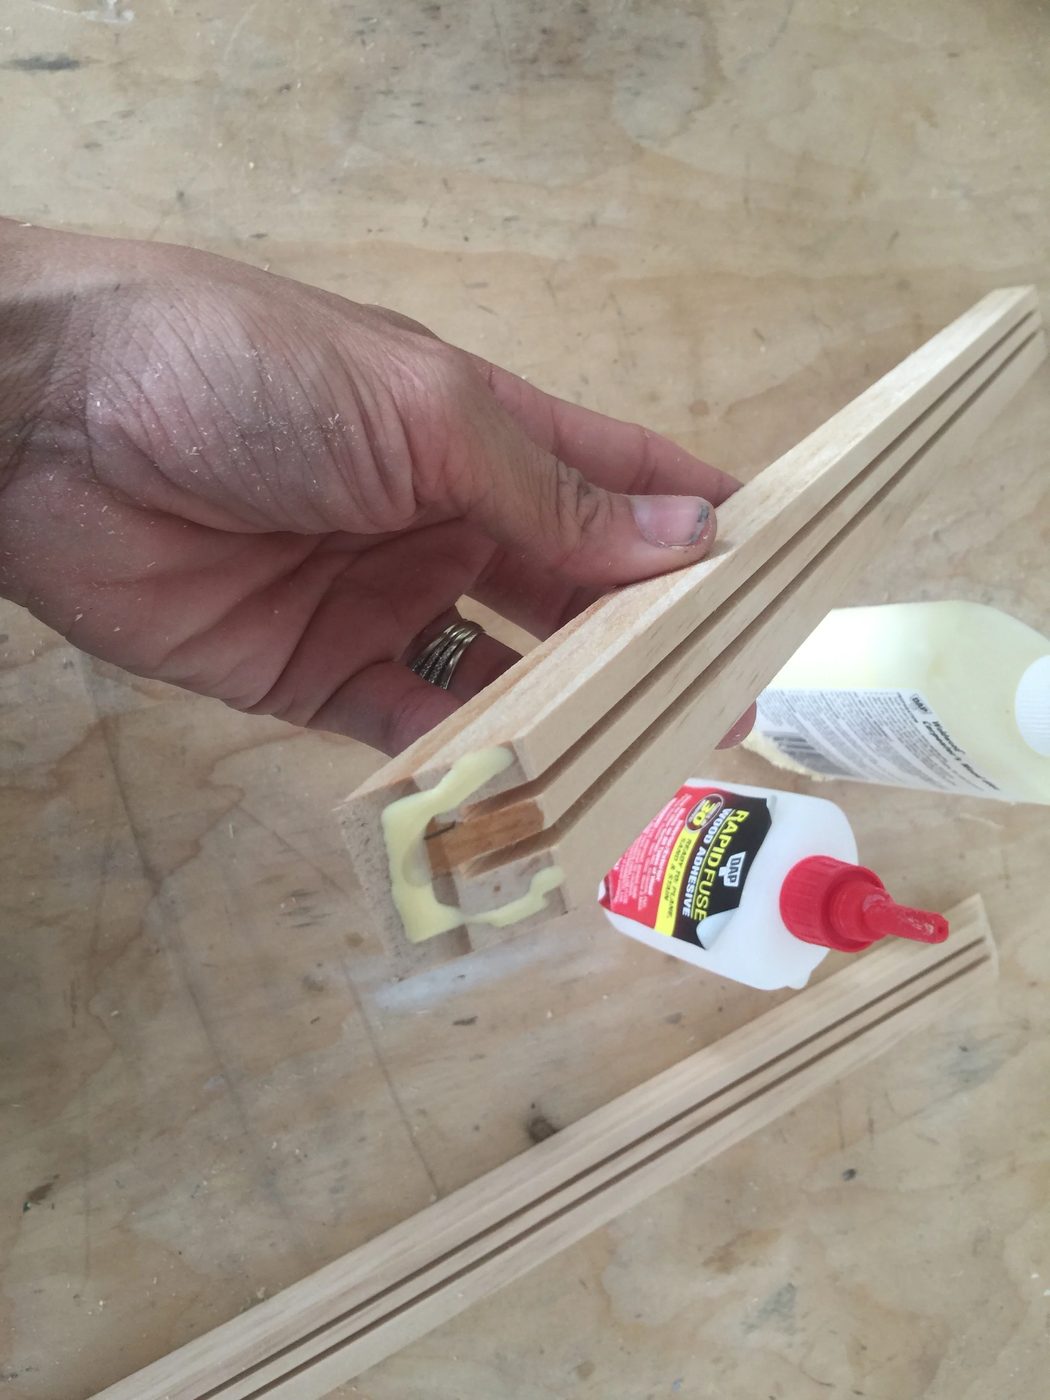
However, I am not a patient person so I immediately reinforce my joint with a 18 g 2′ finish nail so that I can continue working. This will hold it while the wood glue dries and cures.
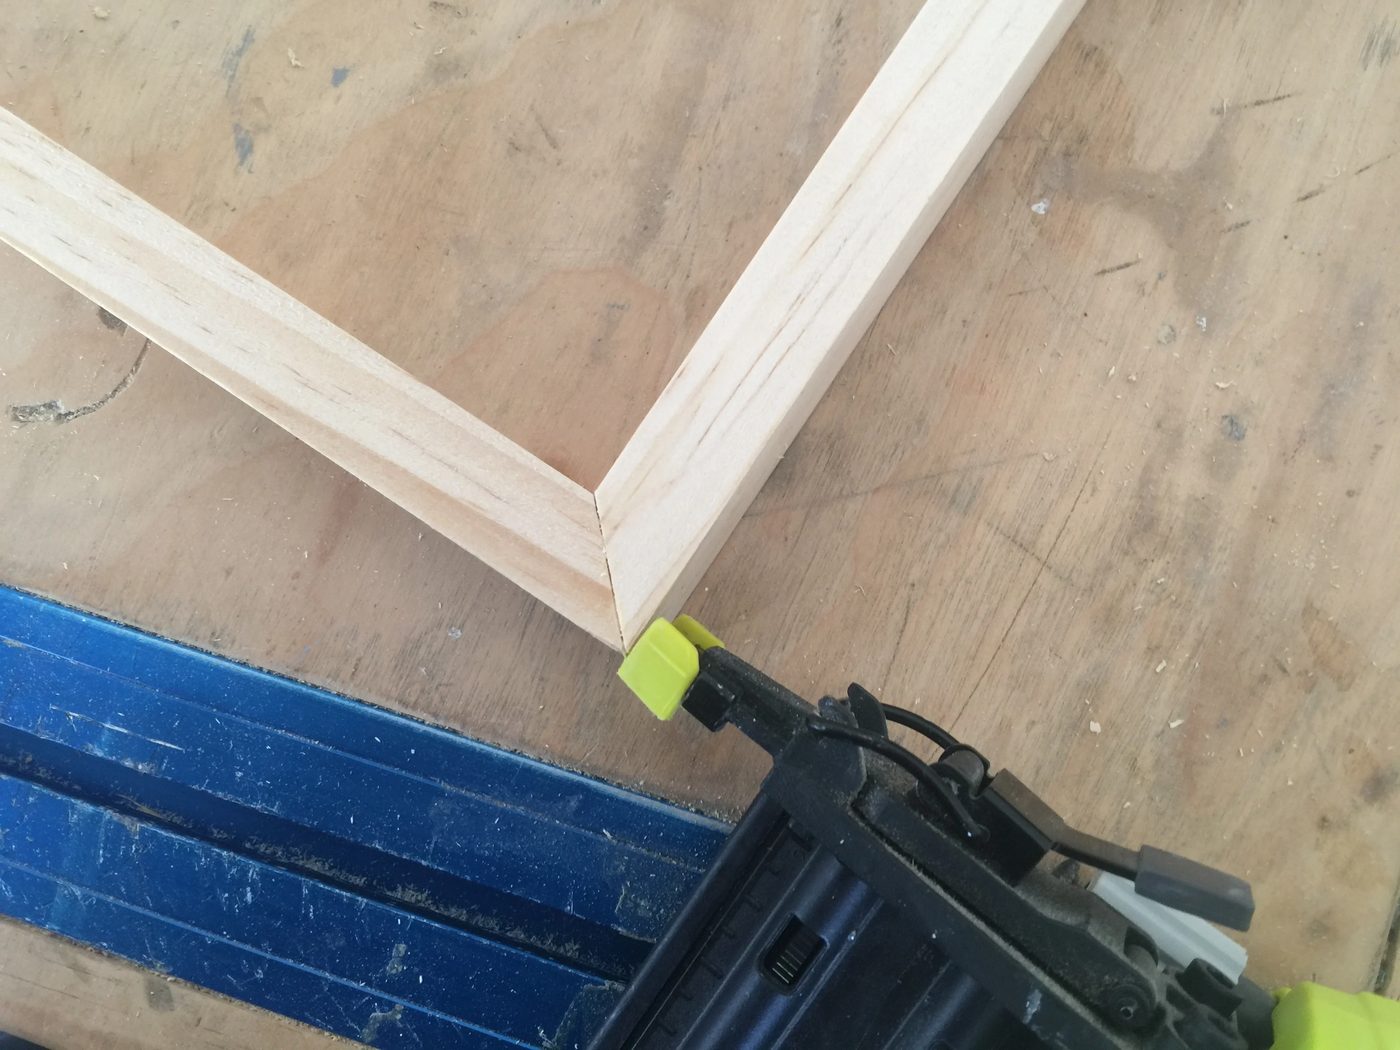
P.S. Make sure your dados all line up! If they are off and don’t match perfectly it makes it really difficult to make a delicate piece of glass fit!
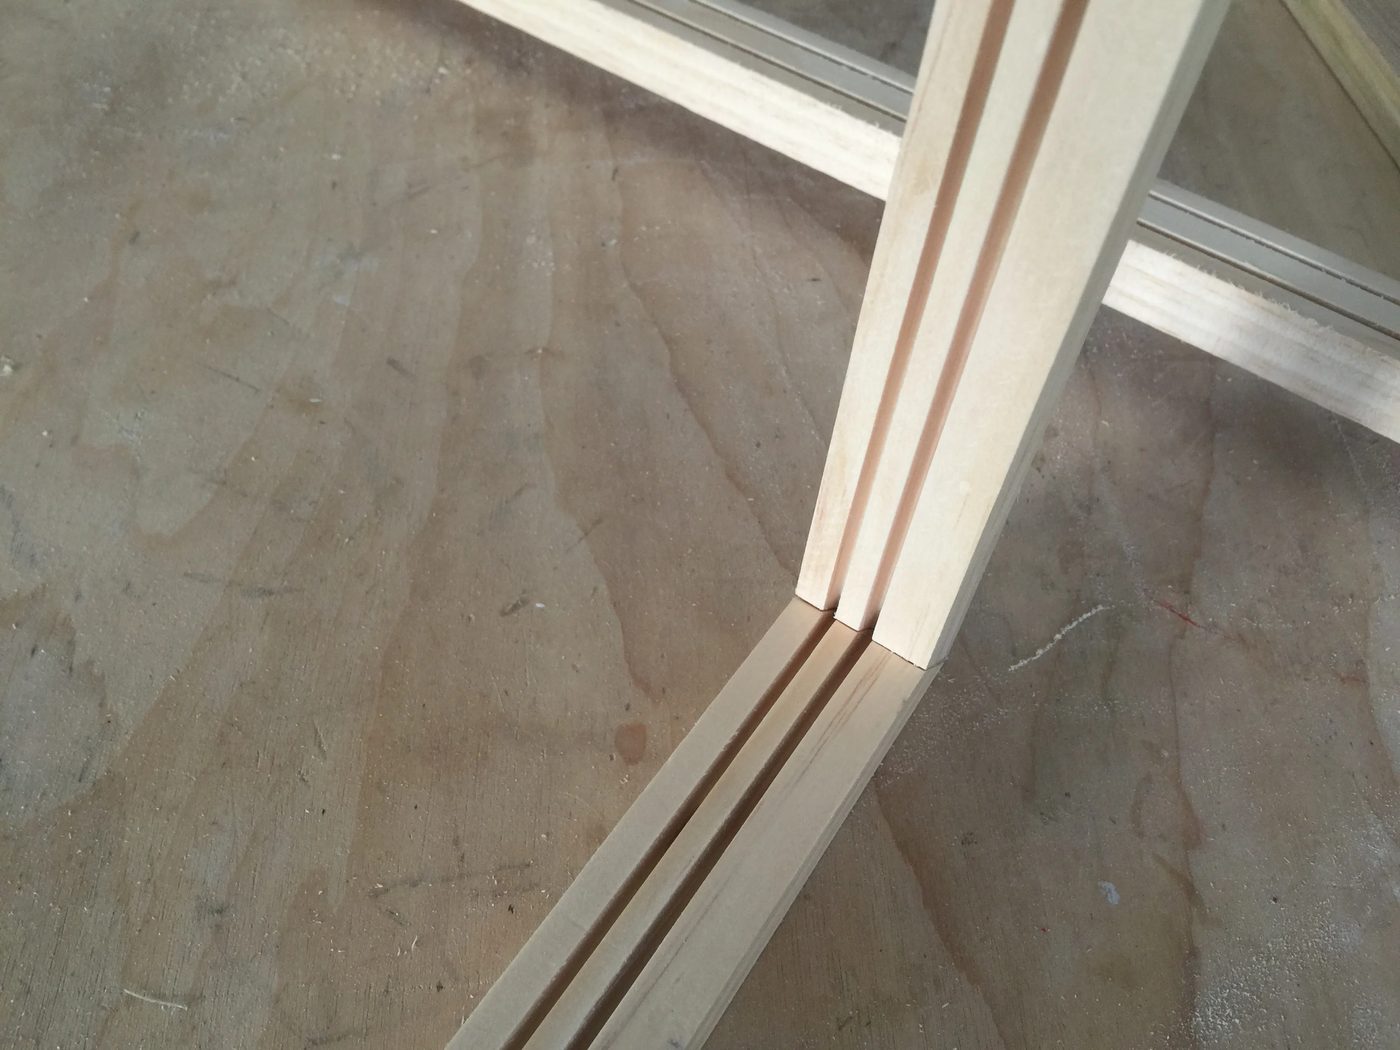
Ok, Let’s imagine there is a picture here… ( how do I always manage to forget to take a picture of one of the steps!? ) I digress… you will glue and secure THREE of the sides.NOT FOUR! You will want to leave the top of the frame for last. Reason? We still need to be able to add the glass!
Step 5: Removable Top Piece
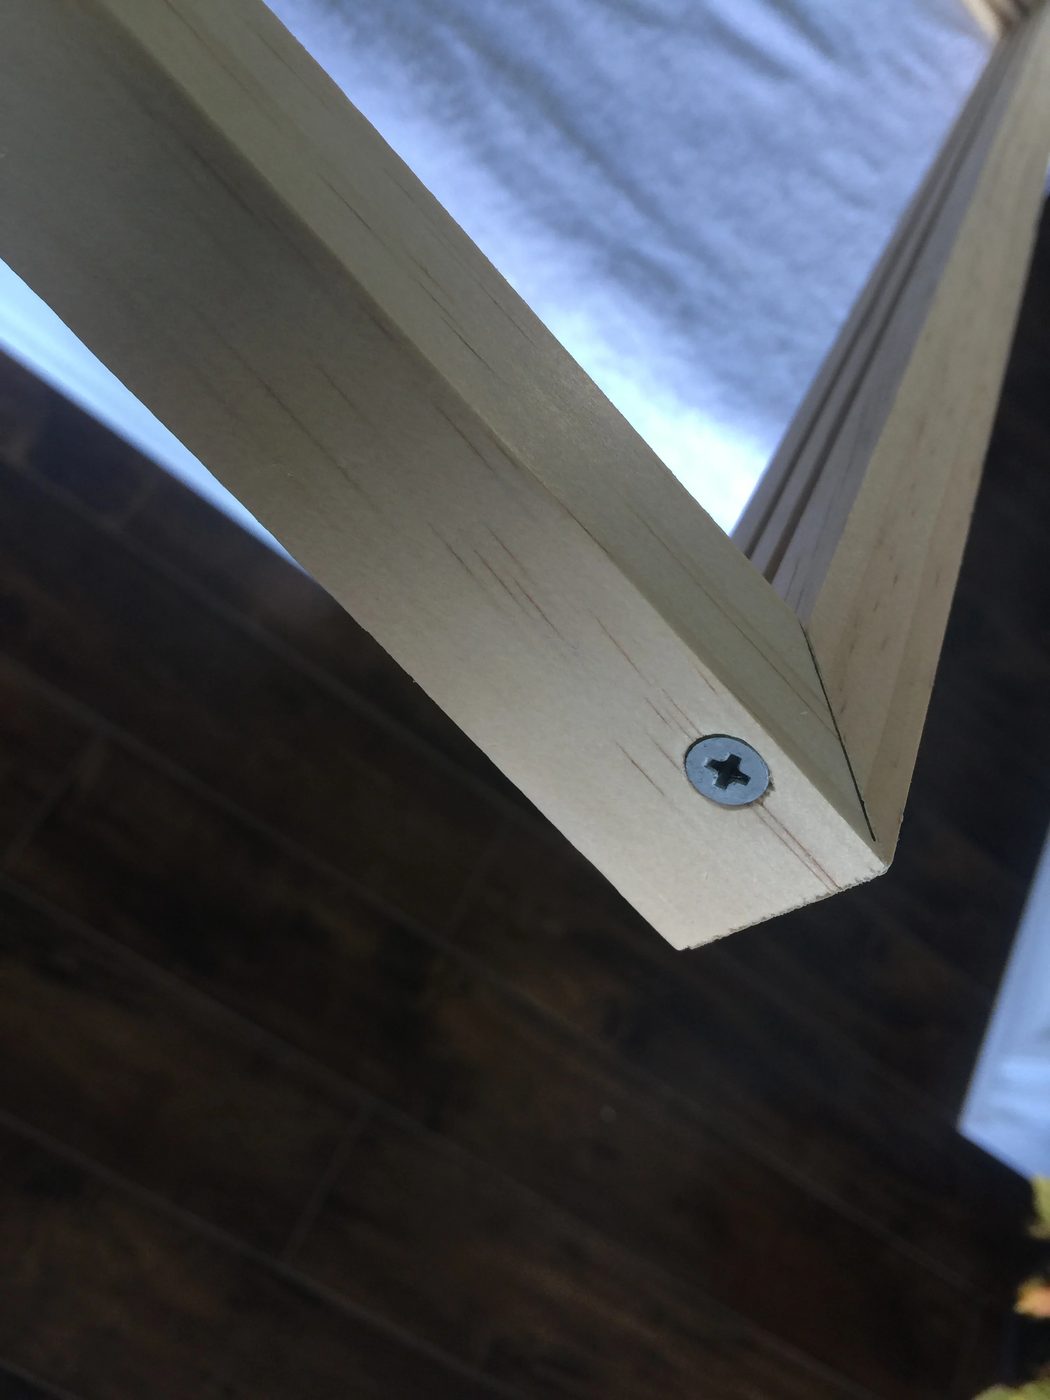
For the top piece we prep it a little differently. In the very top back corner (of both ends) we are going to use a counter sink bit and drill out counter sink holes. (This will allow us to add a flat top screw and it will be less visible.)
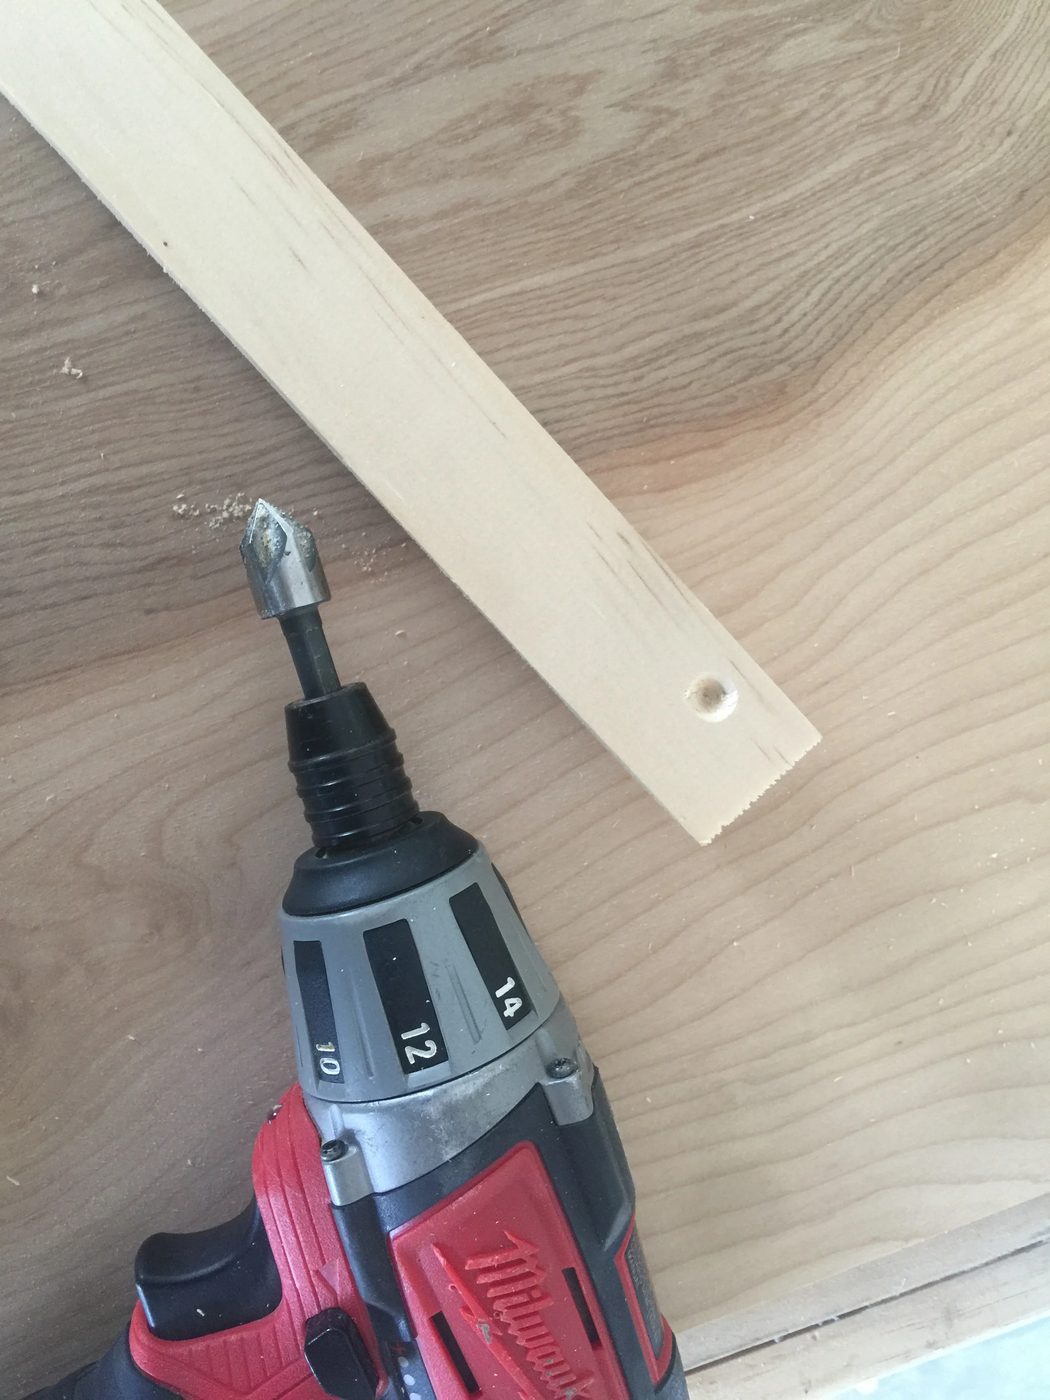
In the same spots we used the counter sink bit we will pre drill (using and 1/8″ bit) through our top board. We will need to do this on both ends. (Might I suggest holding your top piece in place on your partially constructed frame so that you also pre-drill the board that the screw will go into as well.)
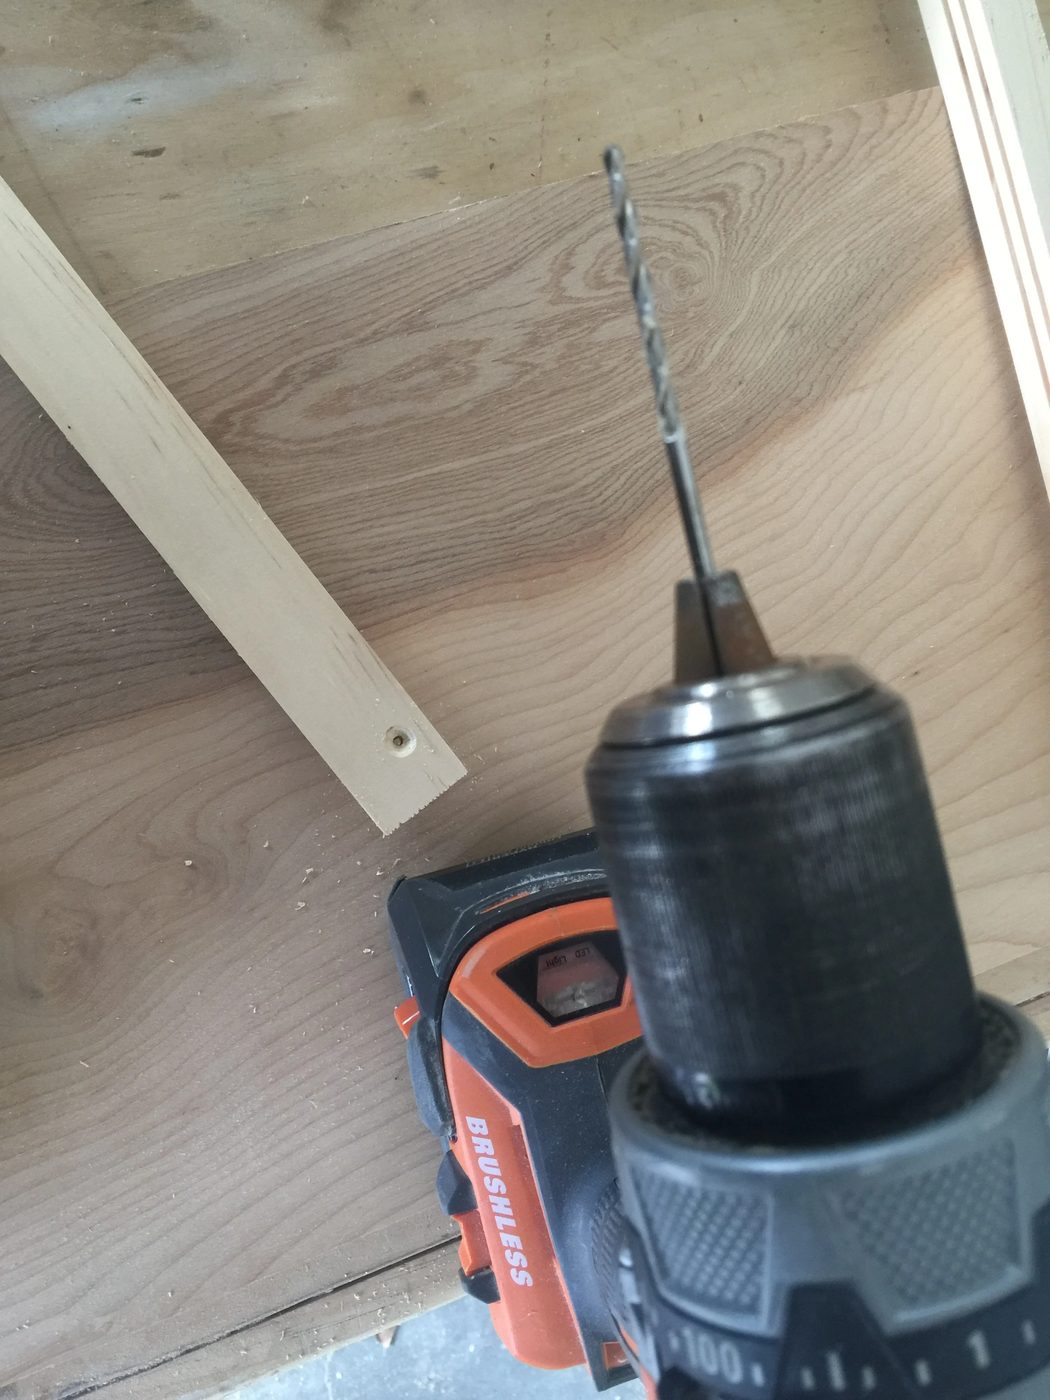
This will allow the top piece to be removable so that we can add our glass panes, and if ever needed adjust the plants in the frame.
Step 6: Paint and or Stain
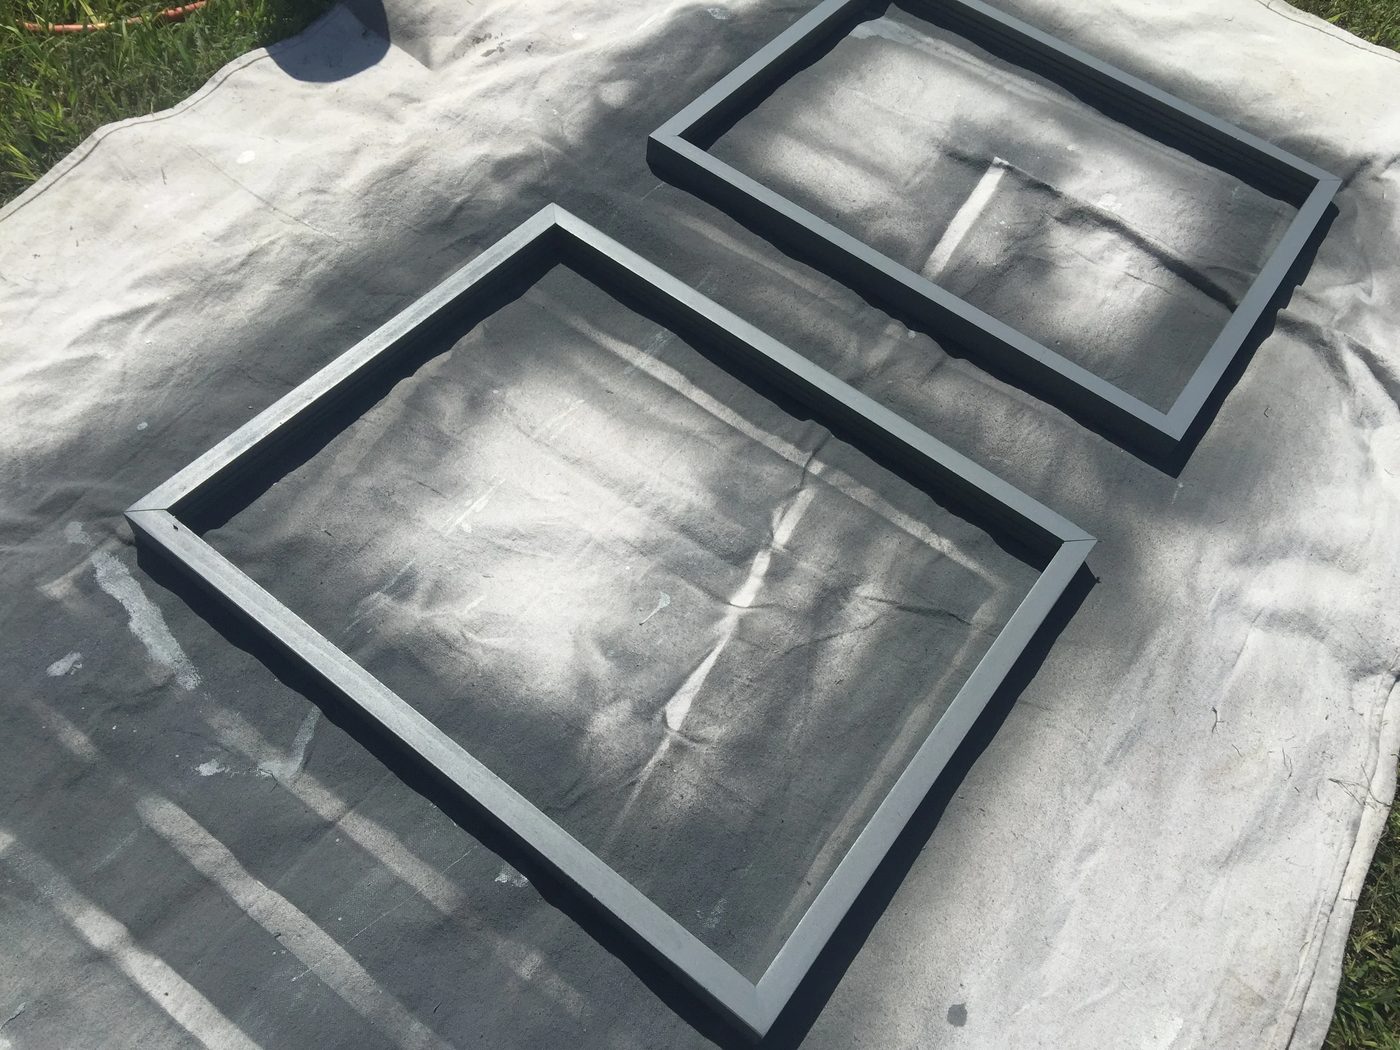
I used a layered distressed paint style on my frames. If you want to see how I layer my paint/stains you can look at this walkthrough here.
Step 7: Add Plants
In order to keep my plants from moving I adhered mine to the glass. It is fairly direct, just layout your FAKE plants in a pleasing way. Then using hot glue gun gently lift the edges of the plant enough to add a dab of glue. You don’t need to go crazy with this part, just enough to keep the plant in place.
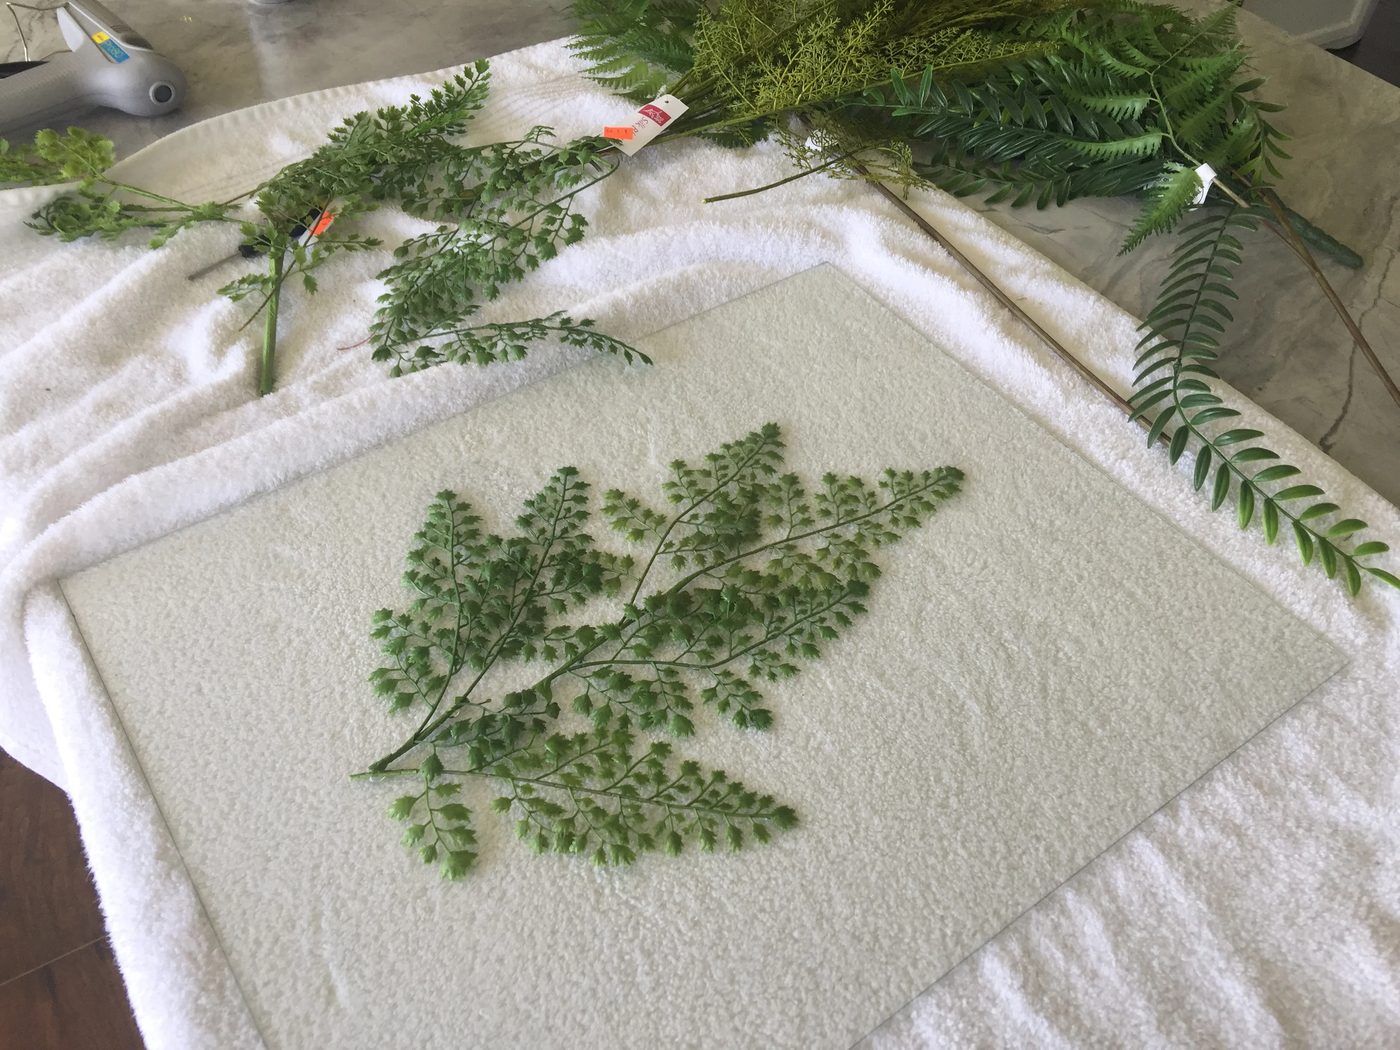
Step 8: Slide Panes In Frame
Remove the top piece. Then be patient. Haha, no but seriously, you are going to need to slide both panes into place at once. (It just makes it easier trust me!) It will take a little finesse but just slide it into place… that’s what she said.
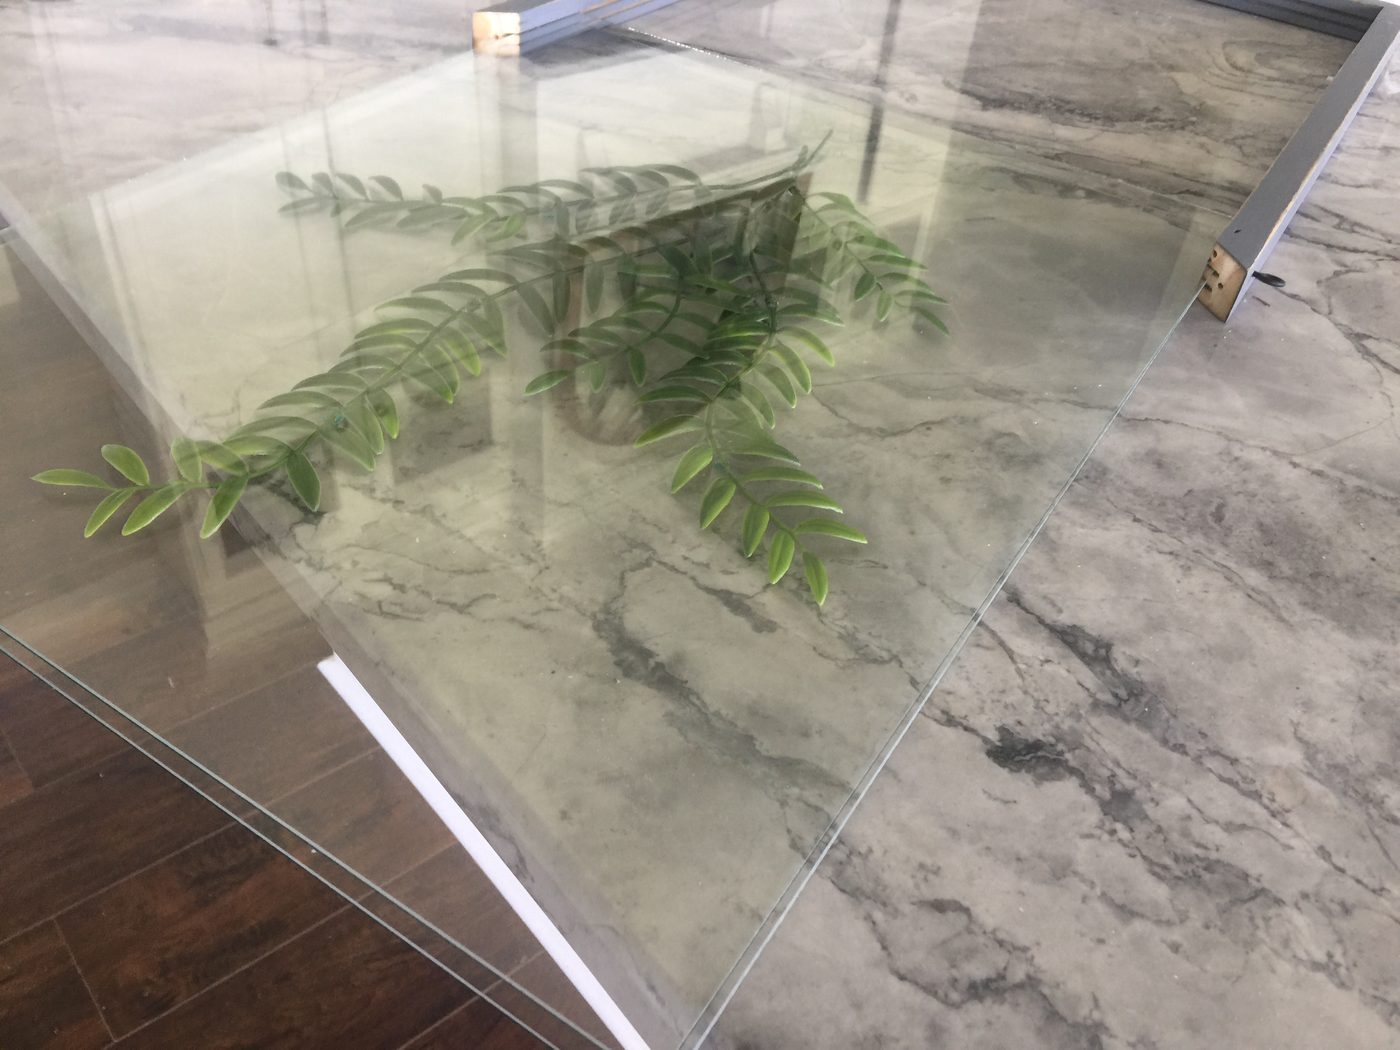
Step 9: Replace Top
Once both panes are in place go ahead and replace the top and screw in place.
Step 10: Adding Hardware
I decided I wanted to hang my frame using twine, so I needed to add eyelet hooks. I used a small 1″ screw in eyelet. ( I spray painted mine black). If you want to add this feature just add them approximately 1 1/2″ from the top of your frame. (On the SIDES!!) Then add twine. I doubled mine up just to be safe.
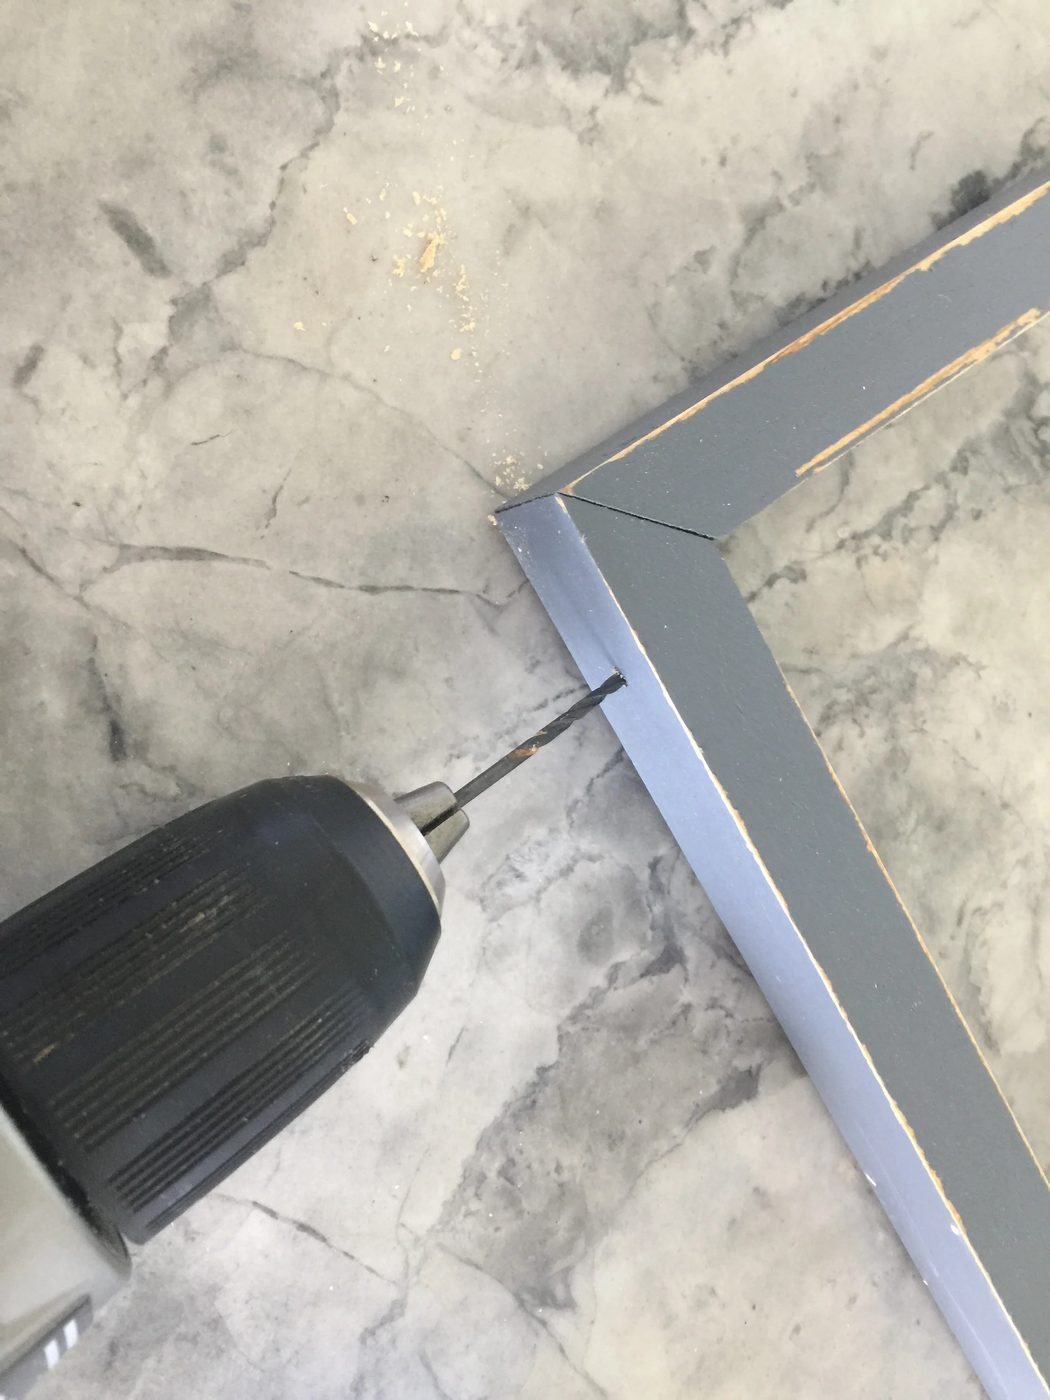
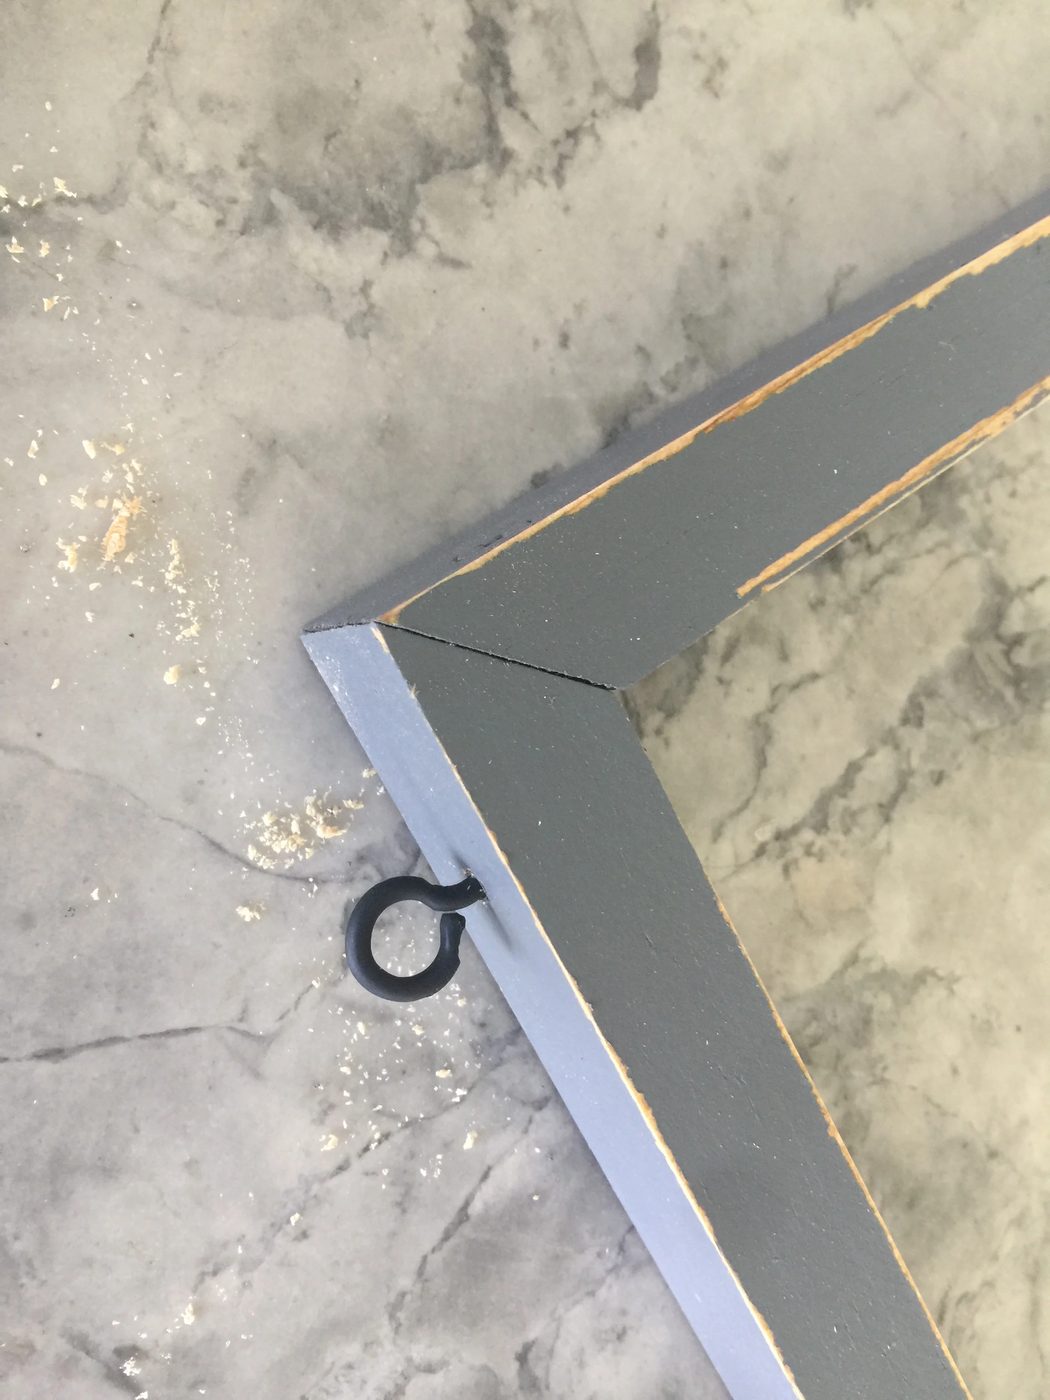
To hang mine I used tiny little hooks that I found at Hobby Lobby, but a screw of any form of hook would work!
That’s it! You are done! Now stand back and admire your work!
More affordable Handmade wall art:
Build a decorative window frame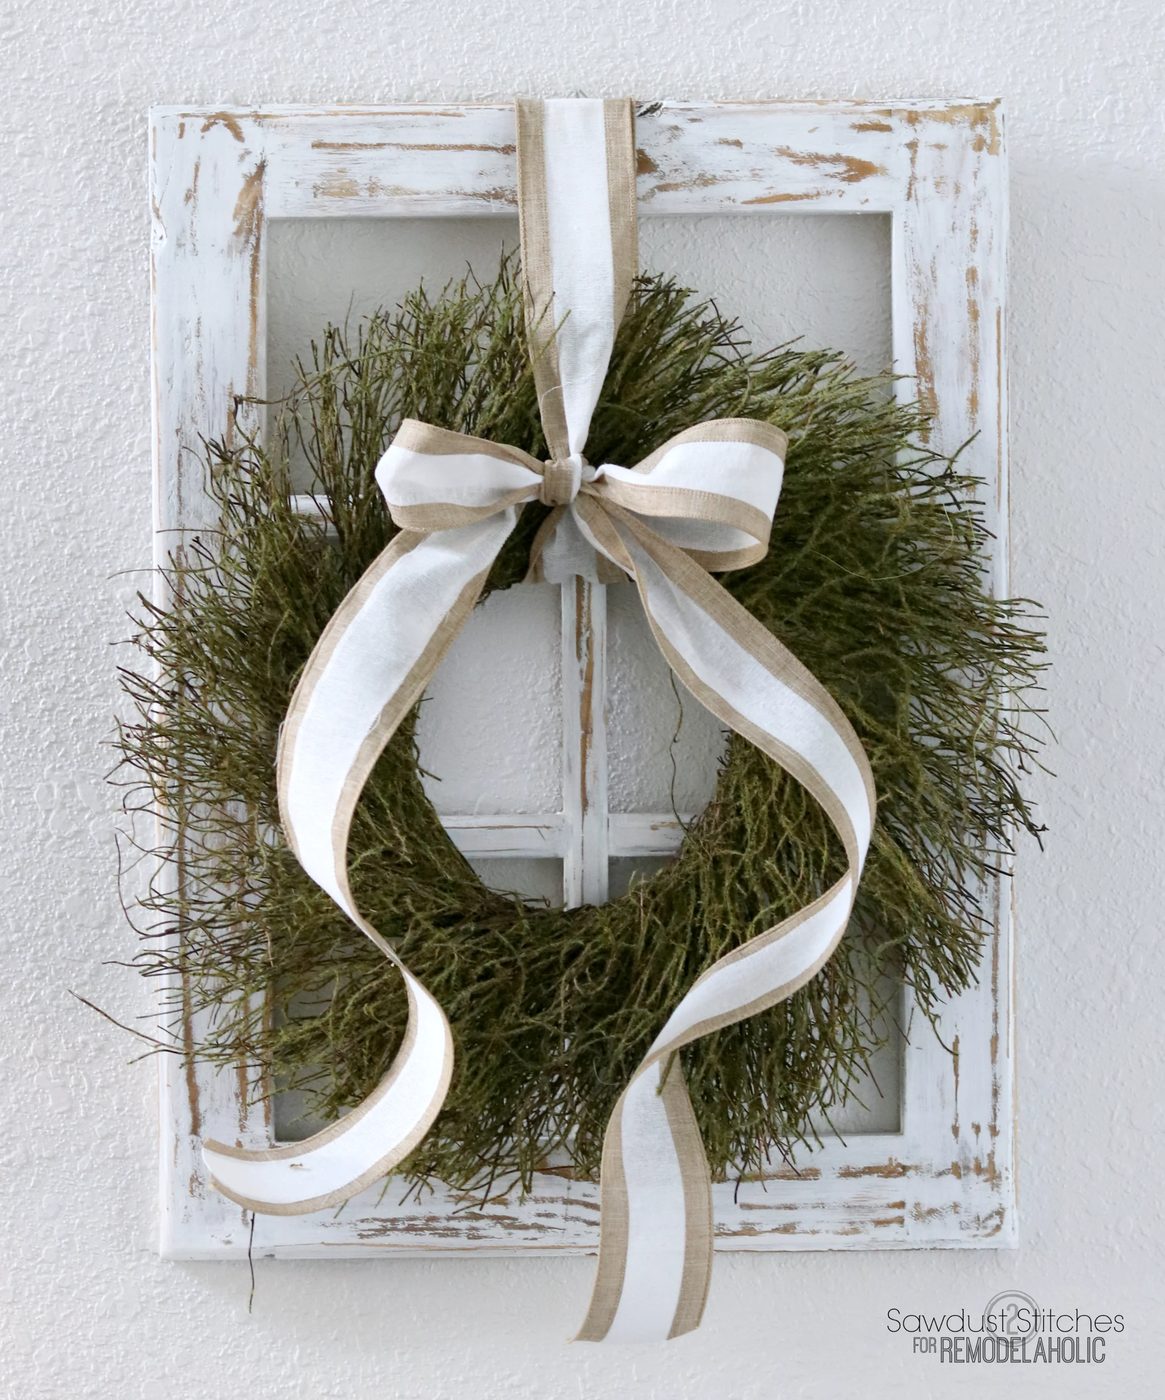
How to make a rustic wood frame for only $3