Materials and the sequence of the job sit together on this page.
Hey All, Corey here from Sawdust 2 Stitches.
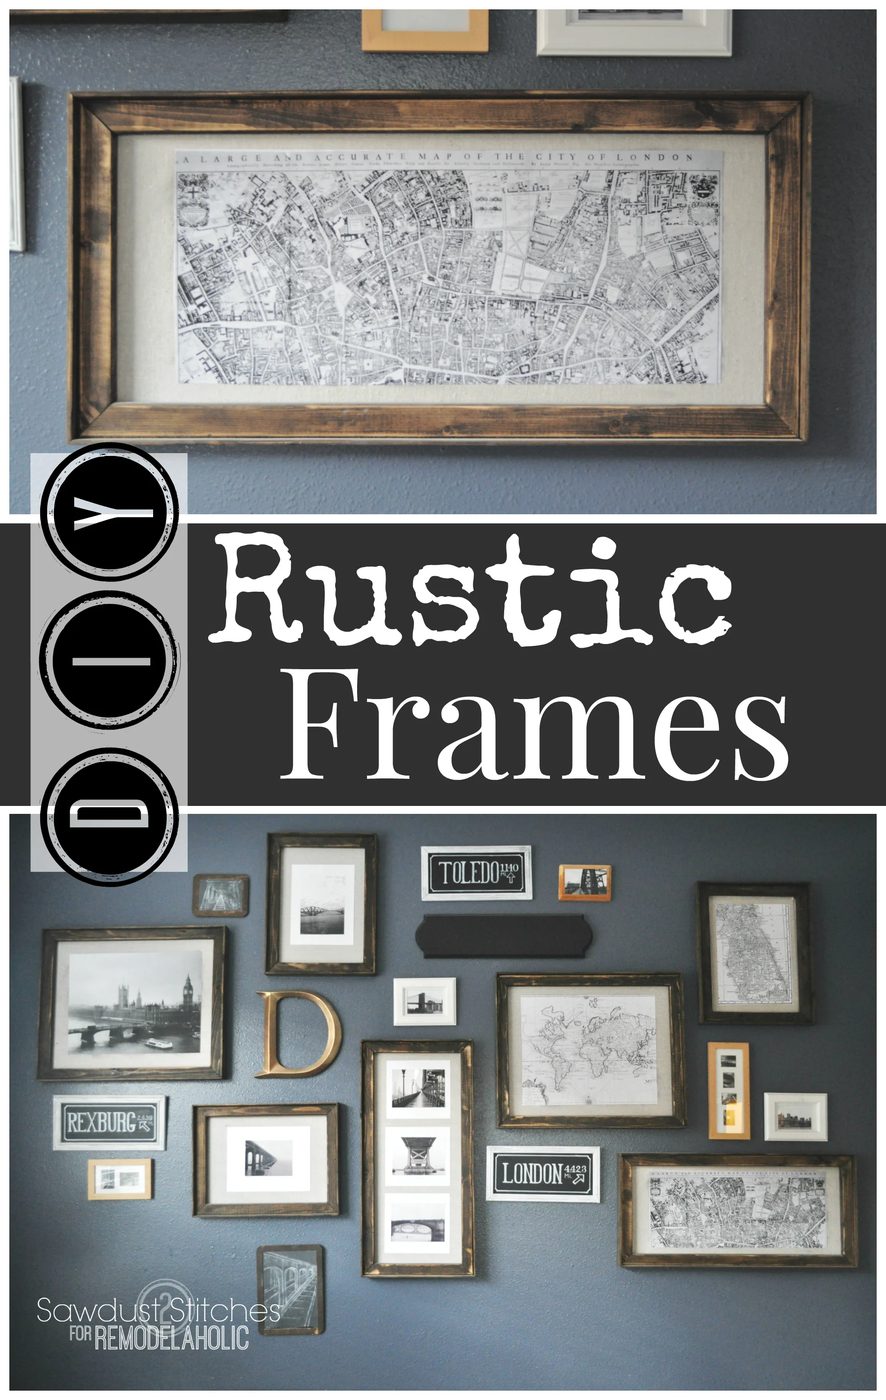
Handmade Rustic Frame walkthrough
Supplies Used:
- 1×3″
- lattice strip
- wood glue
- Spray adhesive
- muslin (Fabric
- Paneling 1/4″
- Mod Podge
- Stain
- picture hangers
Tools Suggested:
- Miter Saw
- Nail Gun
- Foam Brush
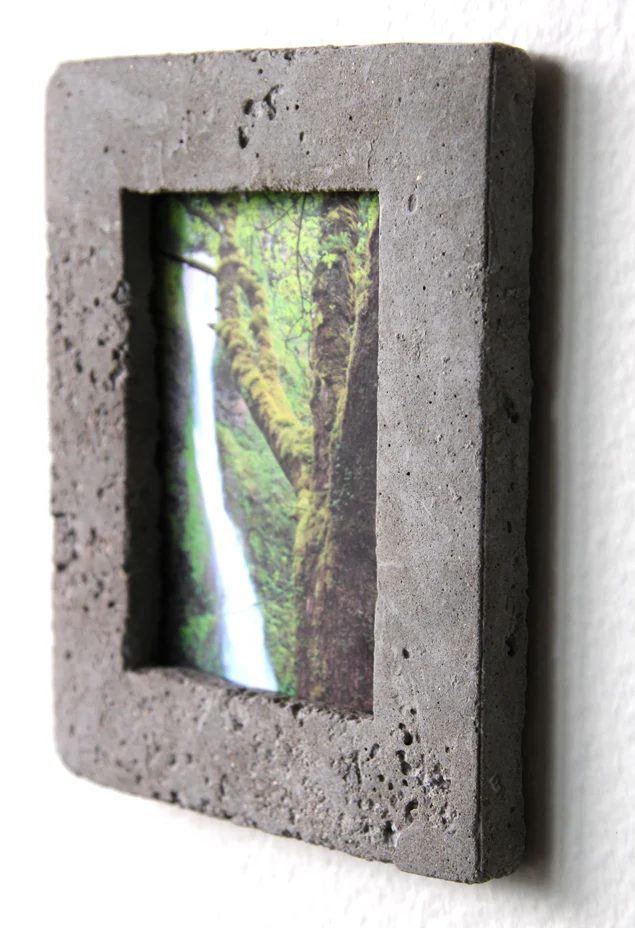
First determine the size you would like. For instance with an 18″x 24″ frame, I cut (2) 18″ and (2) 24″ pieces of 1×2″ board with 45 degree angles on all ends. The 45 degree angles will create a finished mitered corner.
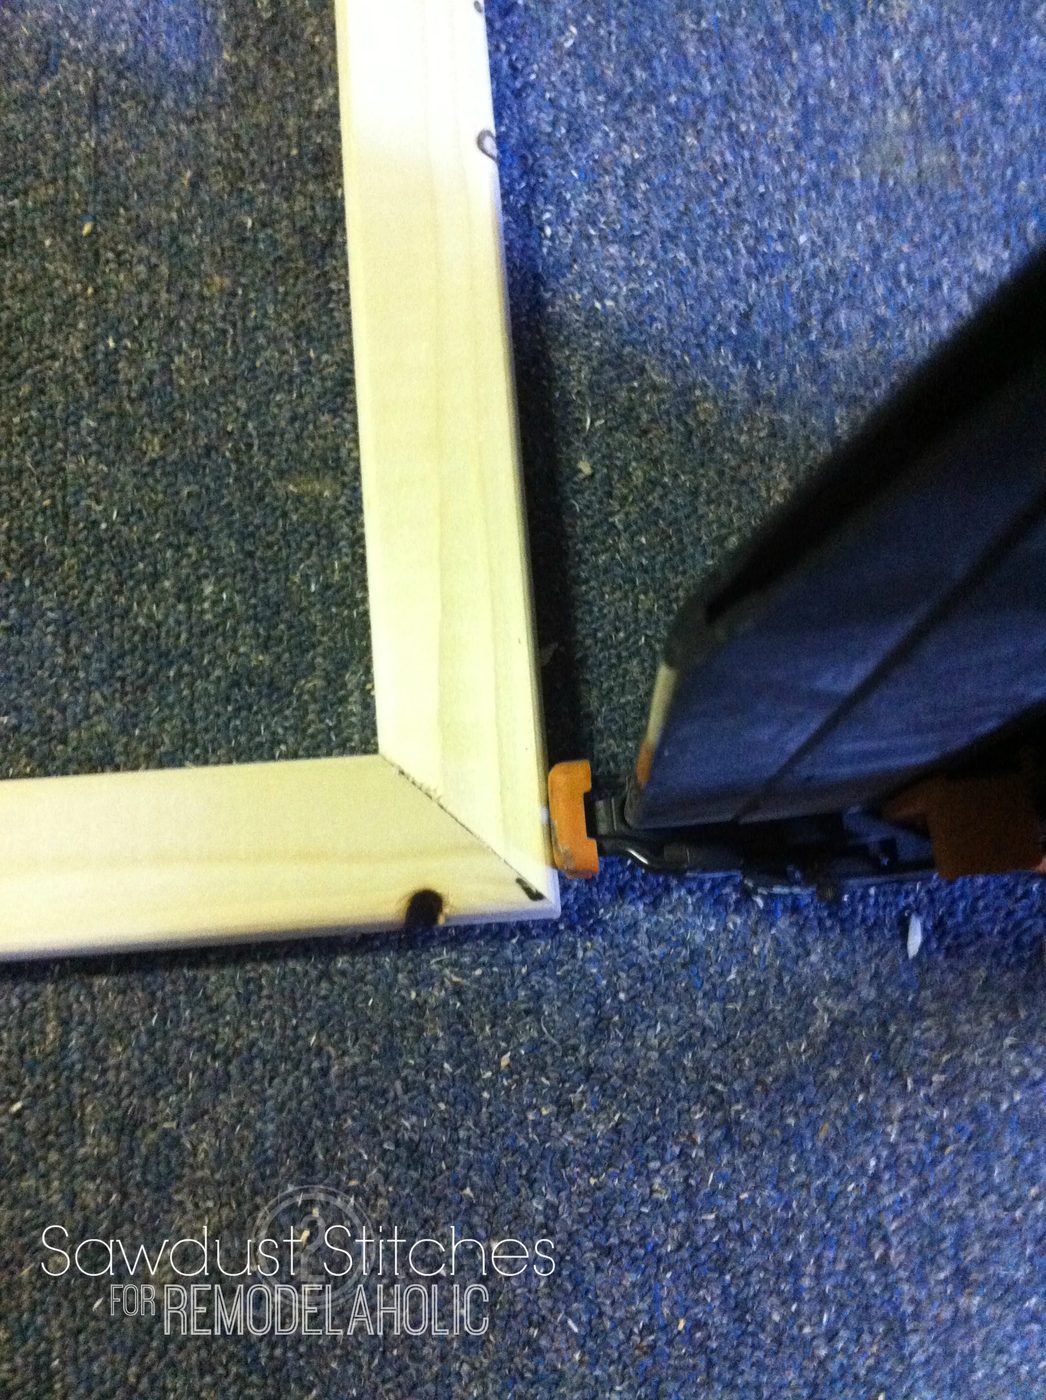 There are several options when securing the pieces together. If you own a jig, you can use pocket holes, or with a nail gun it is fairly direct to shoot into place. If you don’t have the arsenal of tools there is another option. Wood Glue. Wood glue, can be very strong. The biggest drawback, is that you will need to allow proper dry times. Repeat the process on all corners.
 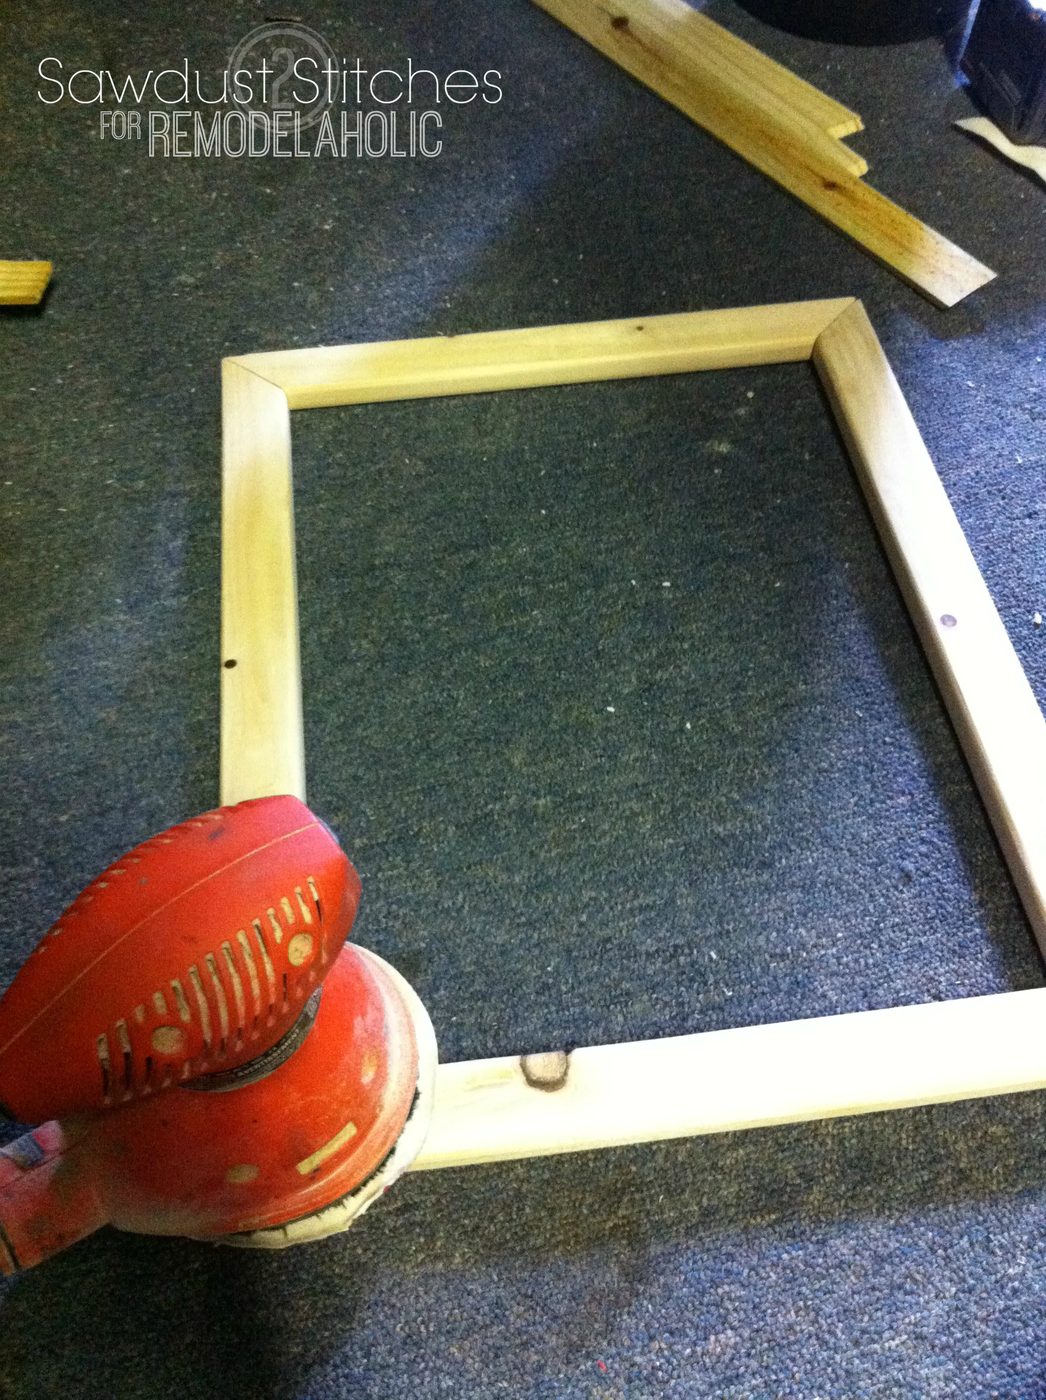 Once the four corners are secured, sand the frame, so that and joints are smooth. If there is a gap, fill it with a stain-able wood filler.
( Allow it to dry, and then sand again.)
I wanted my frames to have a little bit of bulk and depth so I added an edge to it. I used a piece of lattice. Lattice is a thin strip of wood, that is about 1/8″ thick and 1.5″ wide. ( It is typically found with the fencing materials.)
When cutting these pieces, again cut on a 45 degree angle, only this time cut the 45 on its side. (Pictured below)
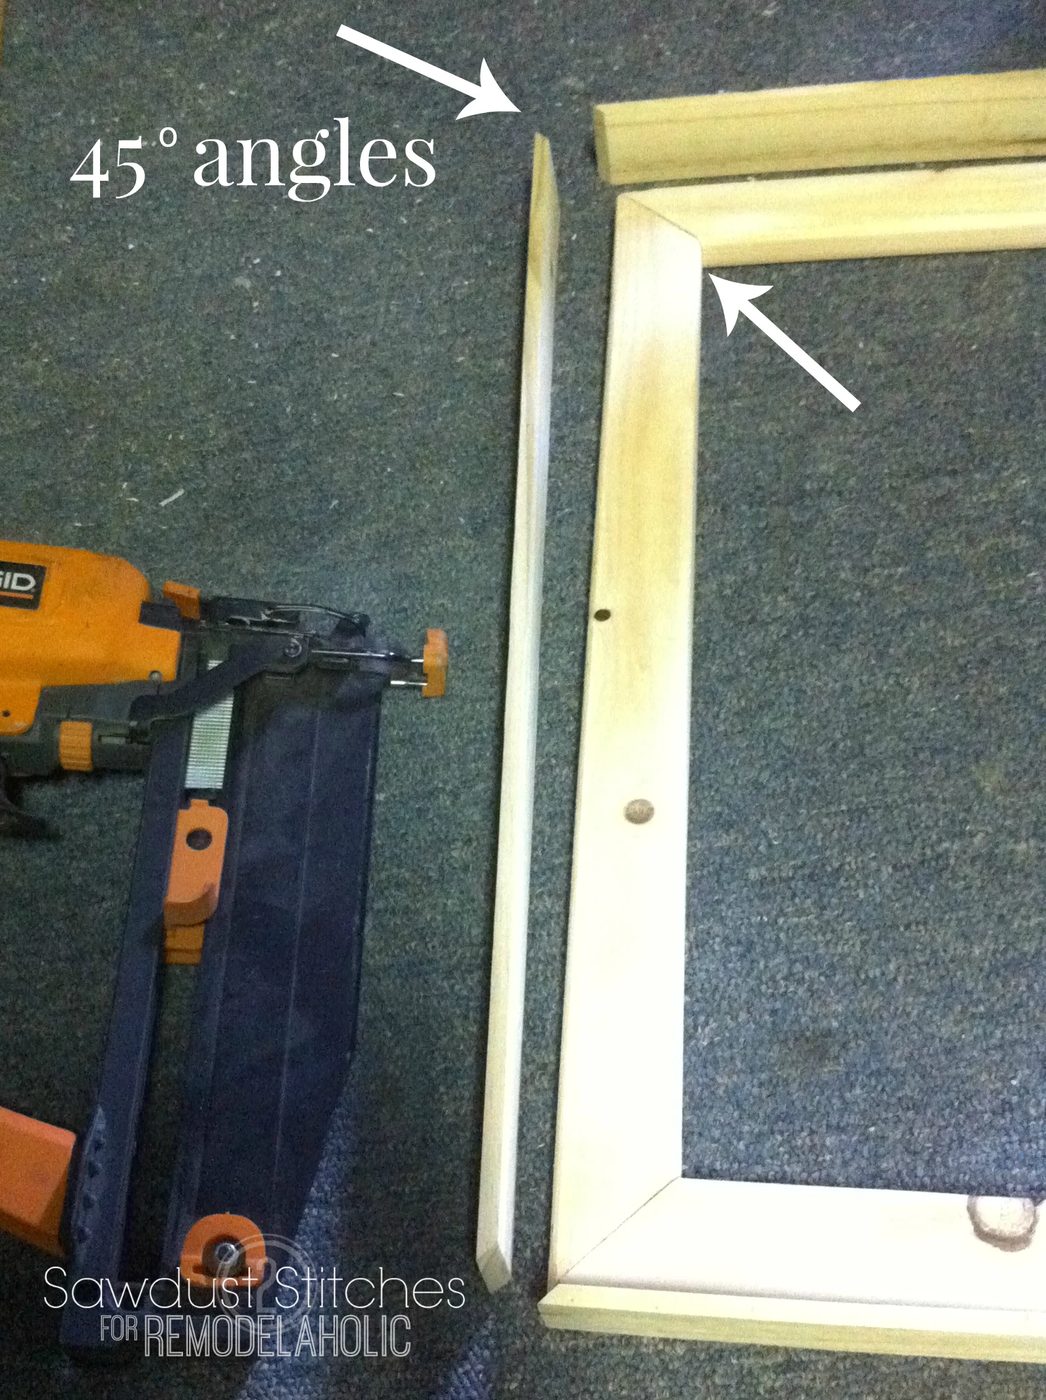 Once all the trim pieces are cut, proceed to attach to the 1×2″ frame.
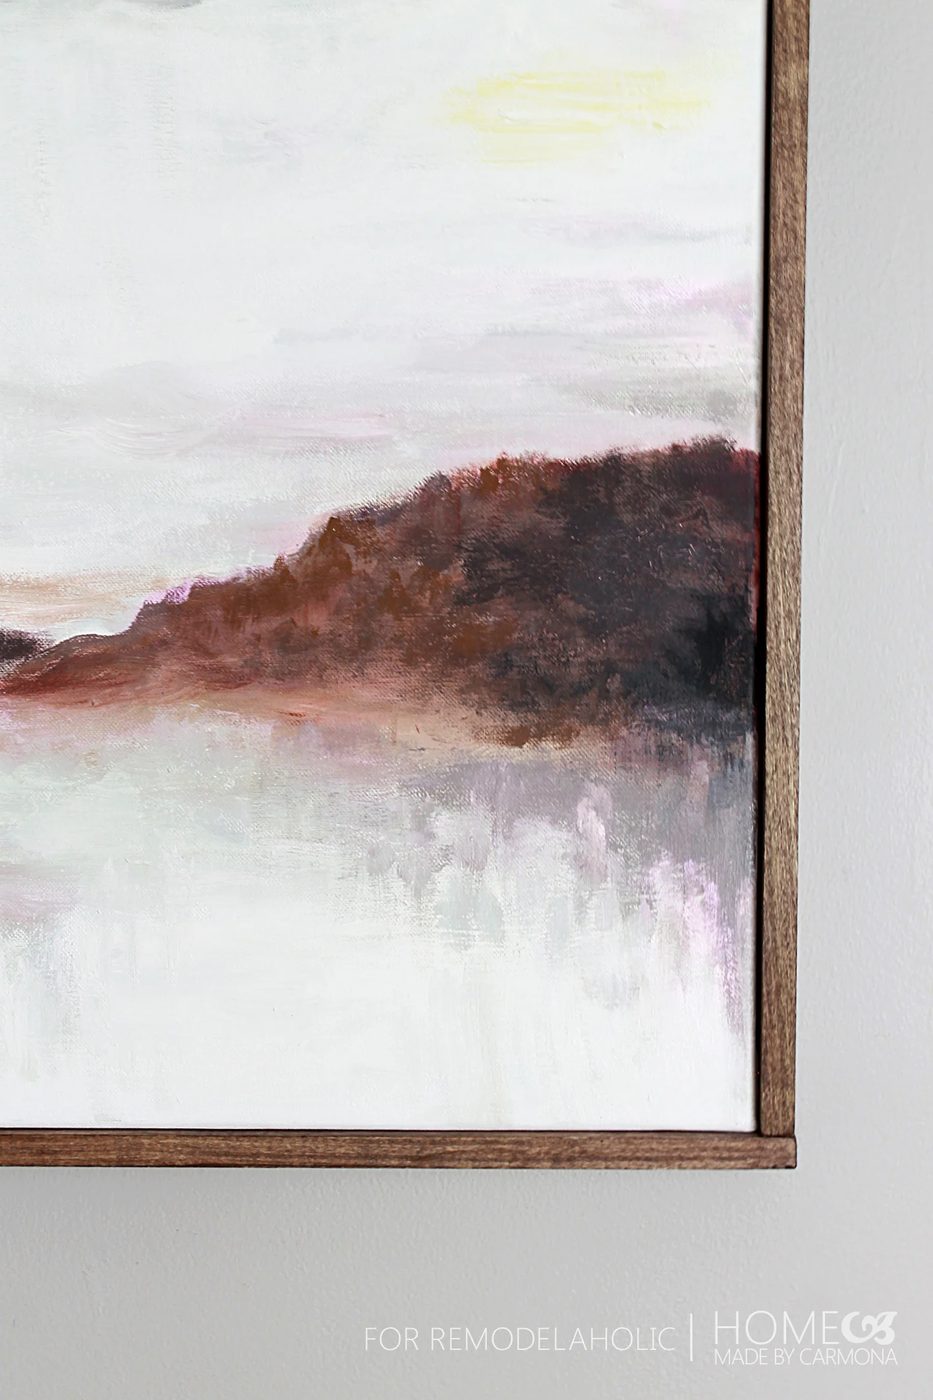
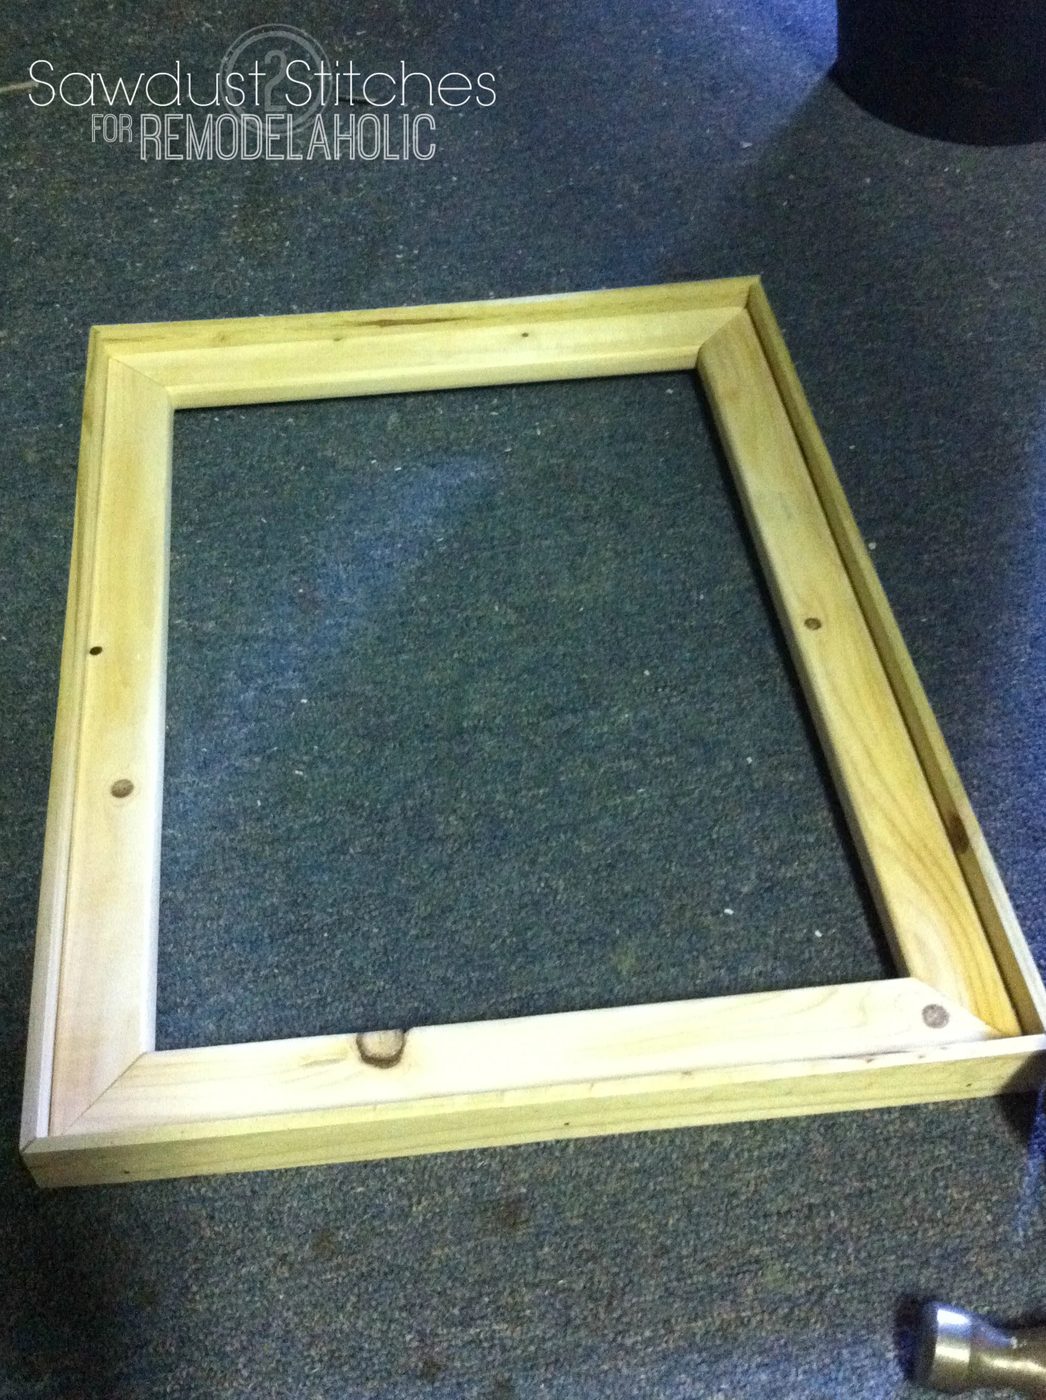 Give it a quick once over with a sander to create a nice finish. At this point apply either paint or stain, both can create a vivid rustic look. I opted to use Jacobean Stain by minwax.
For the mat/backing I chose to use a thin MDF paneling. This stuff is low-cost ( About $10.00 for an entire 4×8′ sheet, I made my entire gallery wall using one sheet.) Most hardware stores will cut paneling for you if you do not have access to a table saw.) Cut the paneling slightly smaller than the frame (But bigger than the picture opening
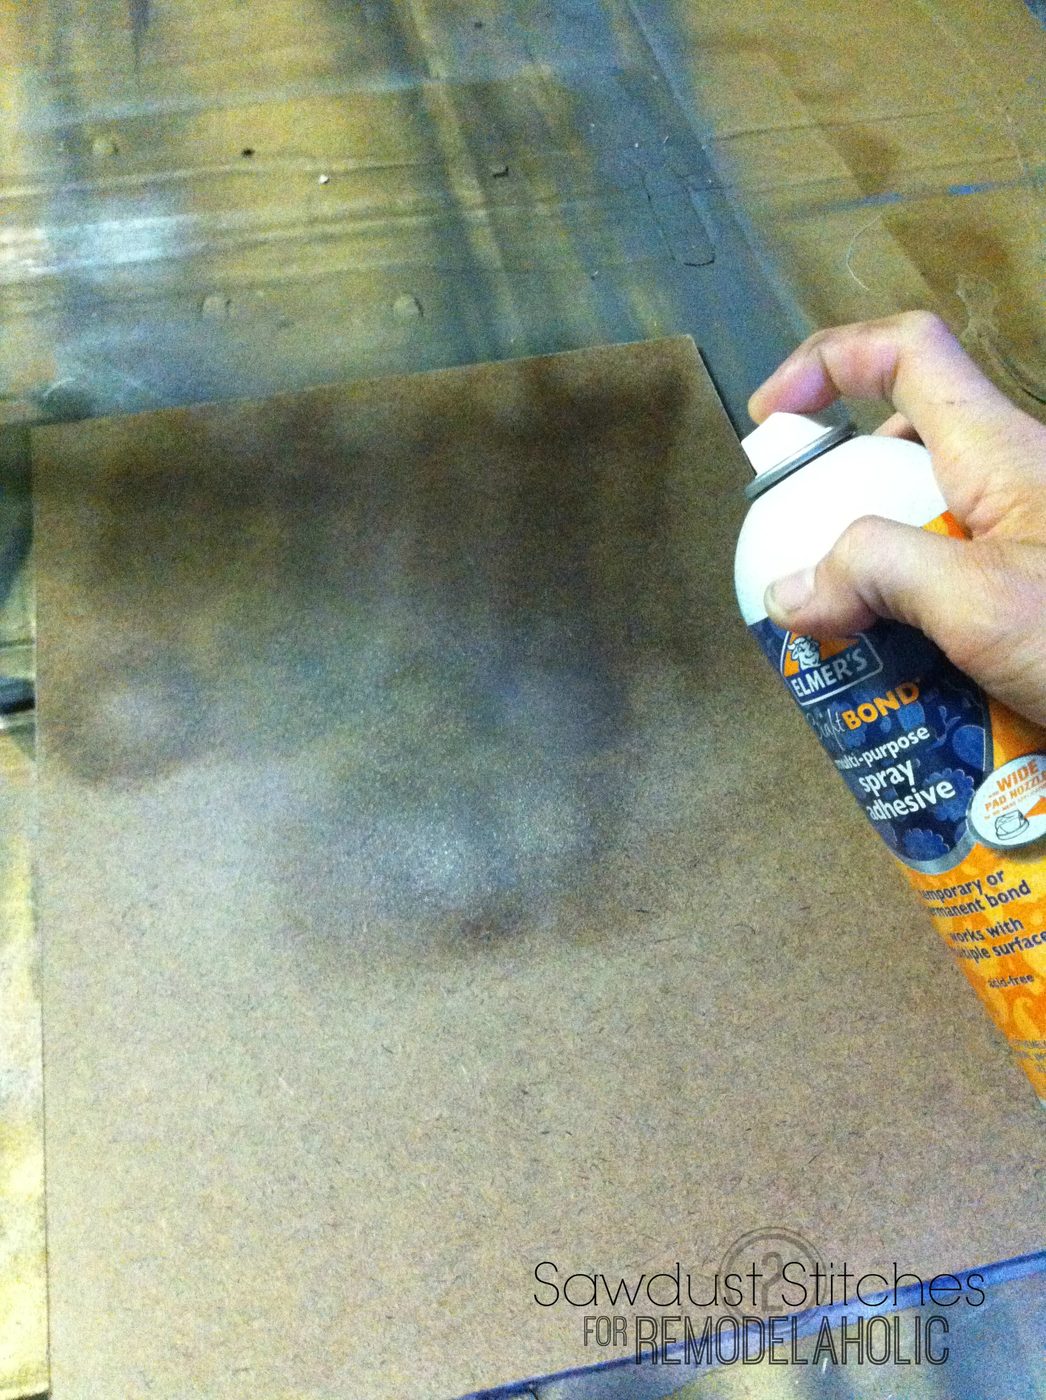
In order to create some texture, I decided to cover my boards with a thin fabric. First I sprayed my boards with adhesive.
 I had pre- cut muslin in the same dimensions as my boards, I simply smoothed the muslin fabric over the board. (Muslin is VERY low-cost, and some of them have a very cool rough linen texture that I LOVE! )
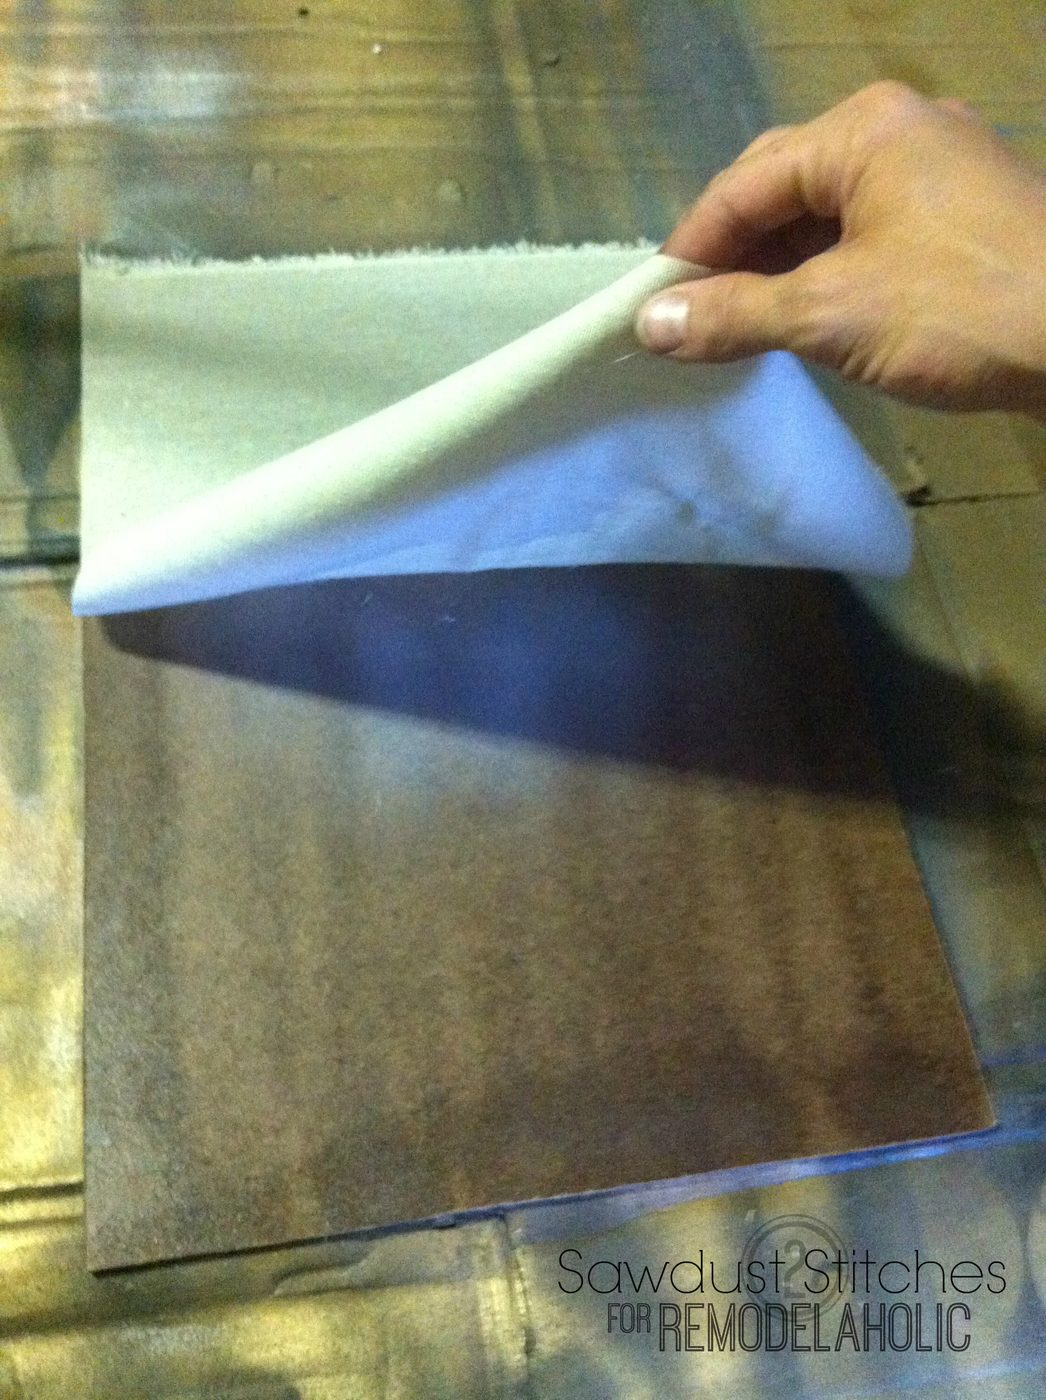 The adhesive works well to create a nice smooth surface.
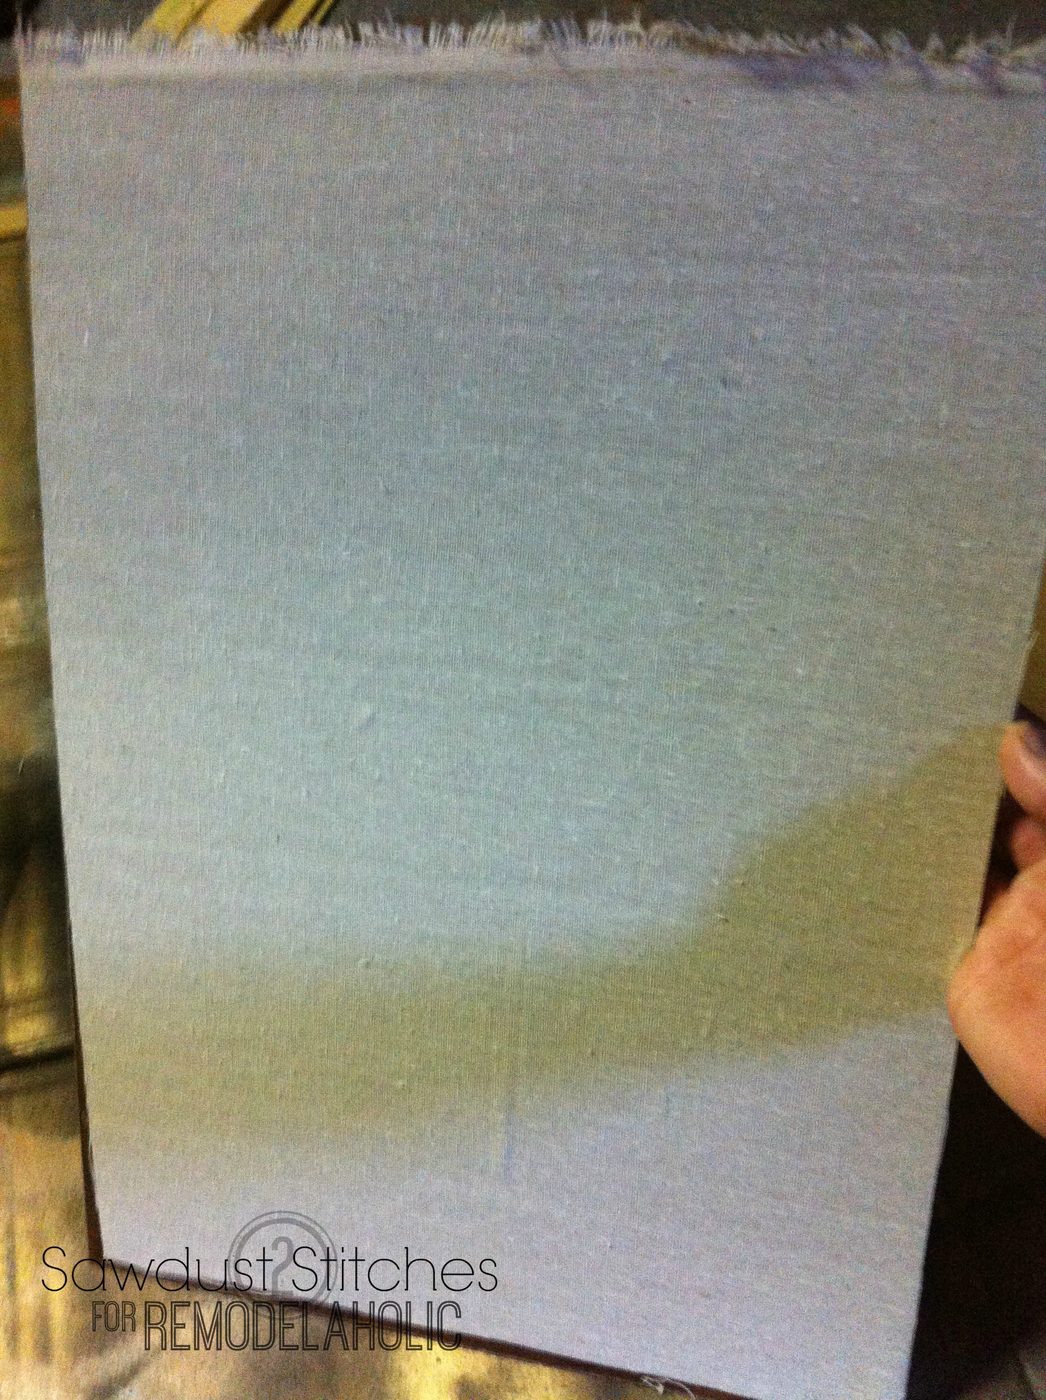 Next you are ready for your image! I chose to find stock images online and have them printed. (You can have LARGE images printed at office supply stores for low-cost! That is what I did. I just had them printed in black and white.
I used the spray adhesive directly on the back of my images and then smoothed them onto the fabric covered board.
For added texture apply a layer of mod-podge. It will give it the “canvas” look, and will give the picture a more durable finish. I have had mine hanging up in our home for 3 years with no problems! In order to hang the frames just add your choice of picture hanging hardware.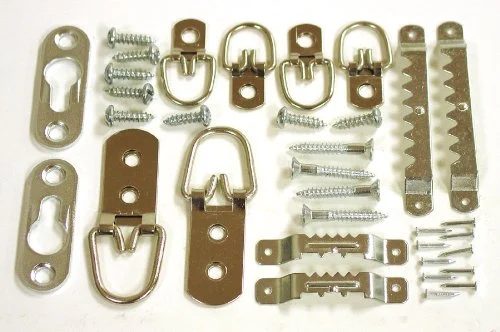 (You should choose according to the size of your frame.)
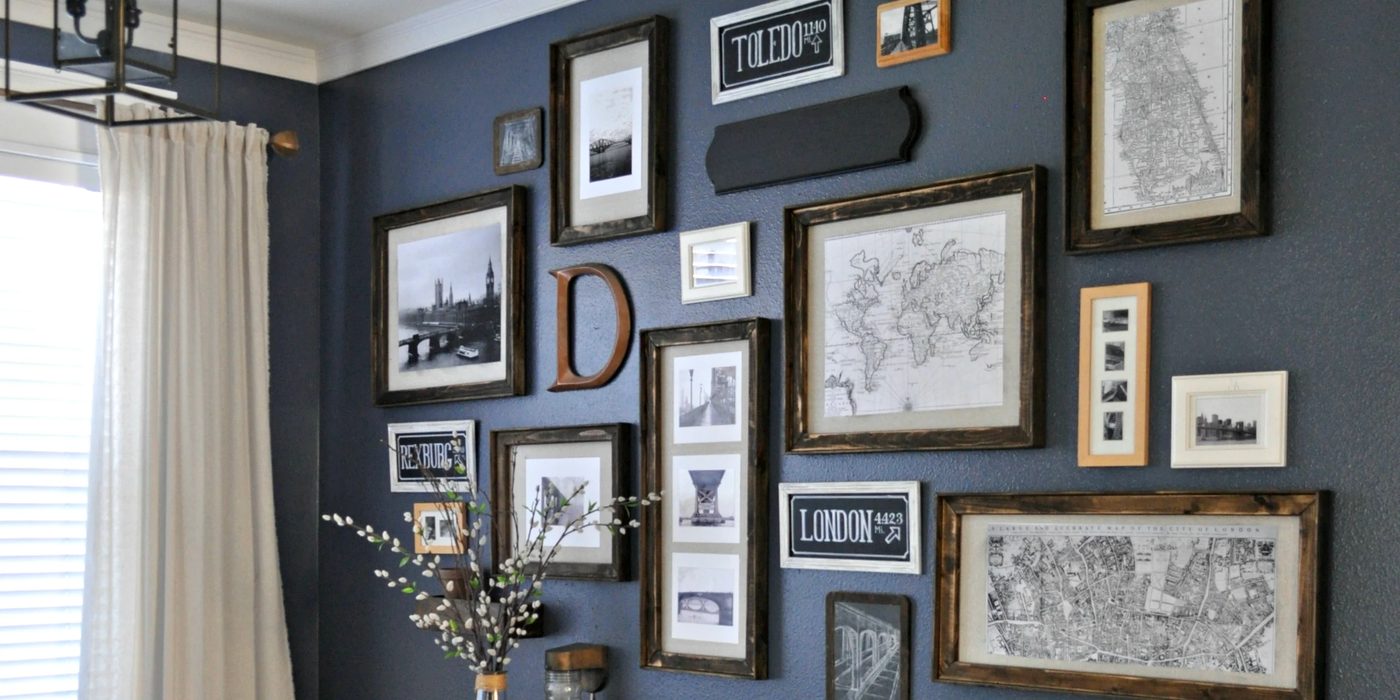
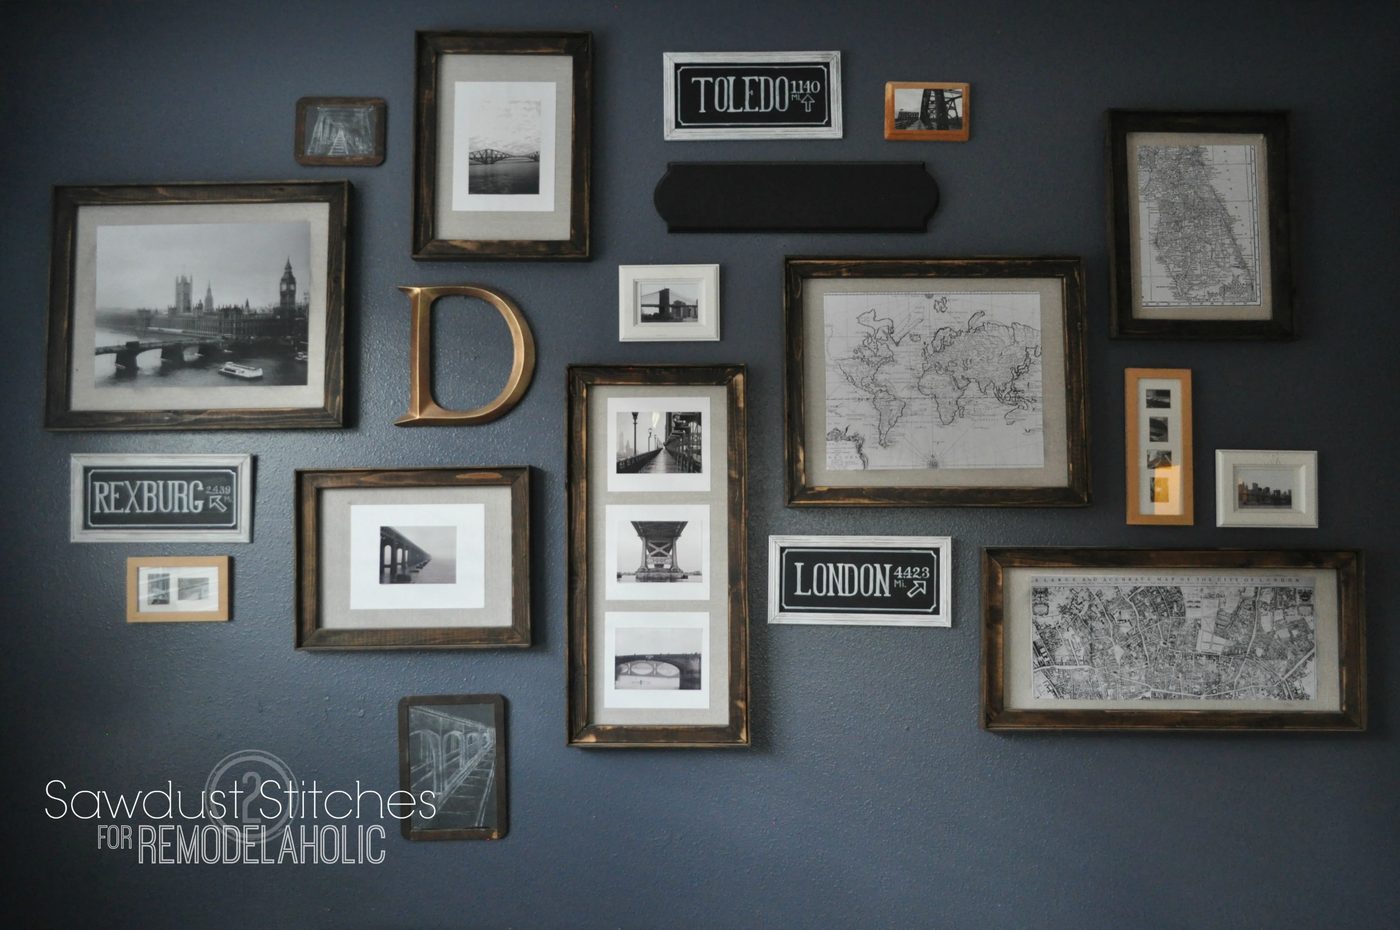
This is one of my very go-to walls in my home. These frames are honestly the biggest “bang for your buck” projects. They completely customizable to any size, space, color etc.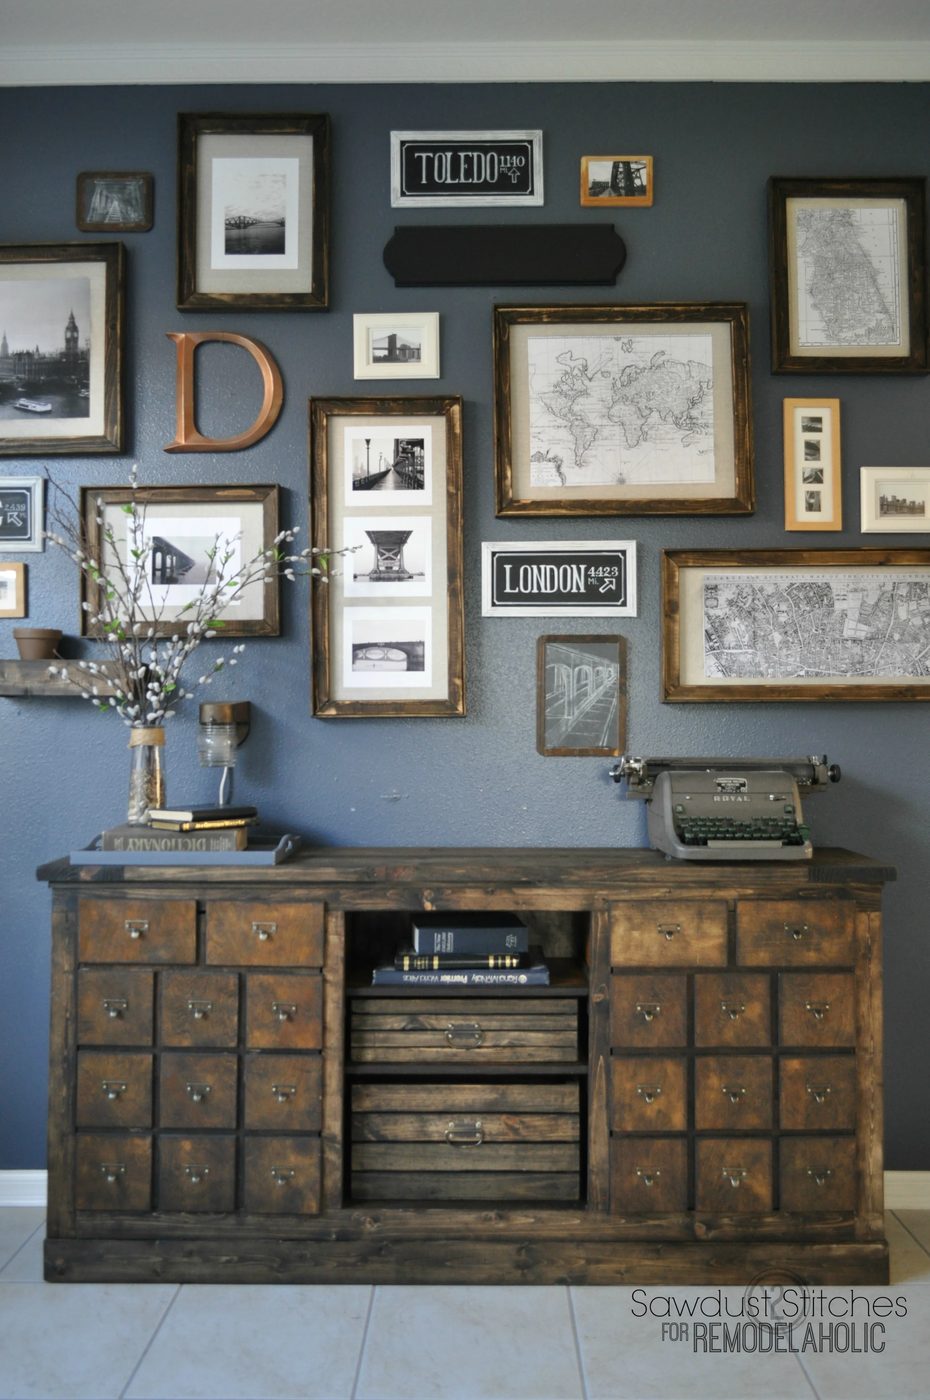 ( You can learn how I made the apothecary here.)
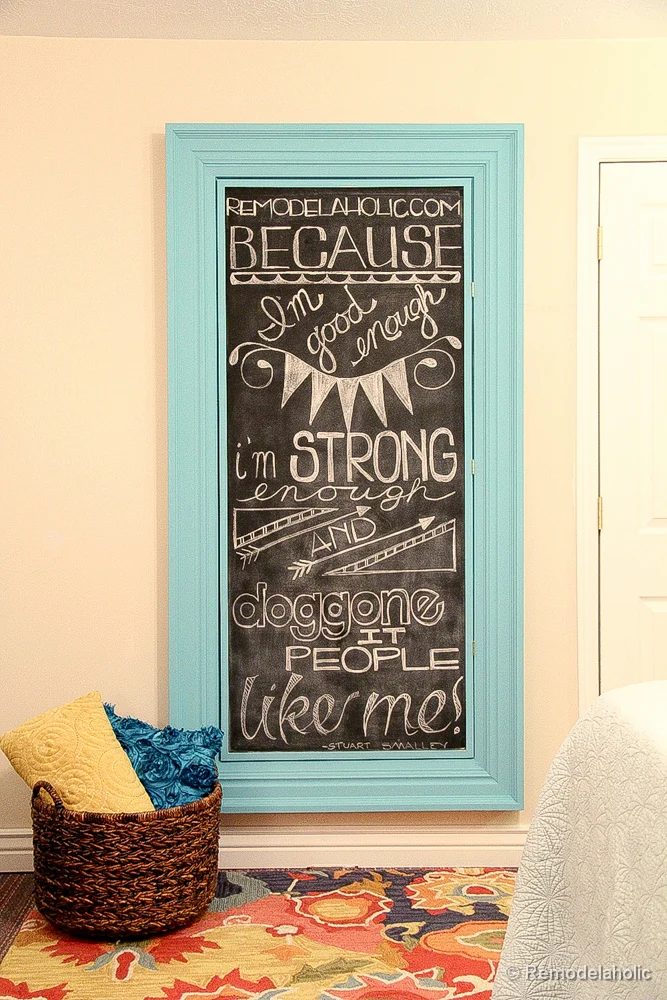
Here is an example of a frame on a much larger scale! (Just use 1×4’s in place of the 1×2’s and replace the lattice with 1×2’s)
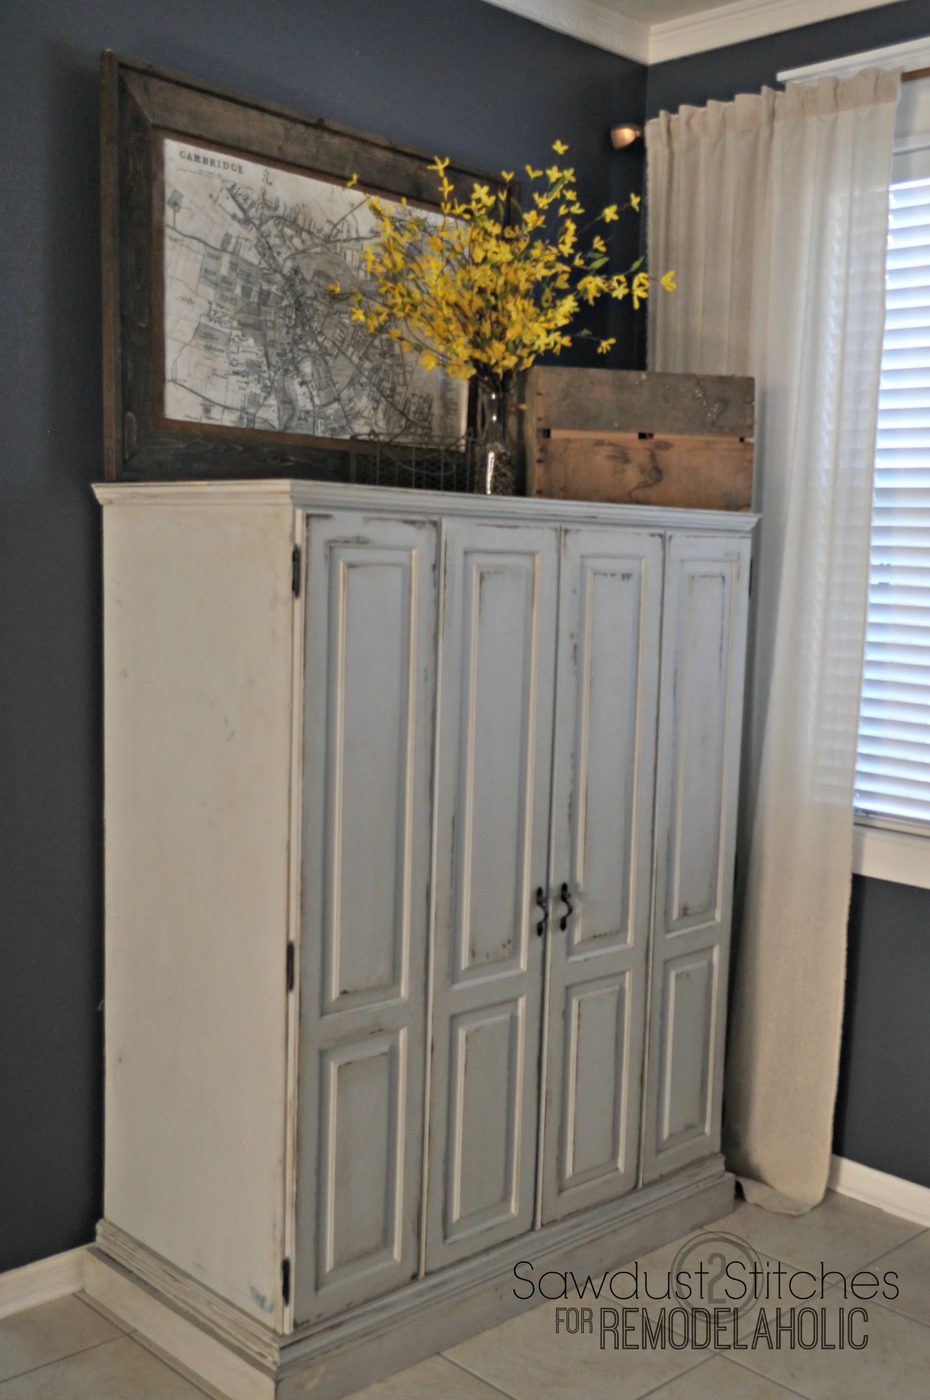 (You can read more about this craft cabinet here.)
The possibilities are pretty much un-limited. So, do you have a space in your home that you can’t find the well fitted size decor ? Consider your problem solved!
Thanks for reading, and take luck!
Corey with Sawdust 2 Stitches
——————————
More Handmade wall art and frame tutorials: