The steps below follow the order of the work for this decor project.
Hi everyone! Ursula here from Home Made by Carmona, back to share another penny pinching Handmade! Last time I shared a Knock-off Tin Can walkthrough and a Door Turned Stylish Headboard walkthrough. Today I’m going to show you how a make a quick and straightforward frame for your canvas art…and the best part, I only spent $6 to make a medium sized frame! The 1/2″ x 2″ x 4′ wood found in the hobby section of the hardware store typically costs less than $3/piece, and my medium frame only required 2 slats of wood.
The beauty in a piece of artwork is in the immediate impression it makes on a space. It sets the tone and says elegance lives here. The difficulty with acquiring artwork is in the price point; but say you lucked out and found your ideal canvas artwork, a piece that would look strong with a floating frame… well now you are really paying through the nose for that eye-catching piece!
Well, put your wallet away, today I’m showing you how to make a custom floating frame of any size!
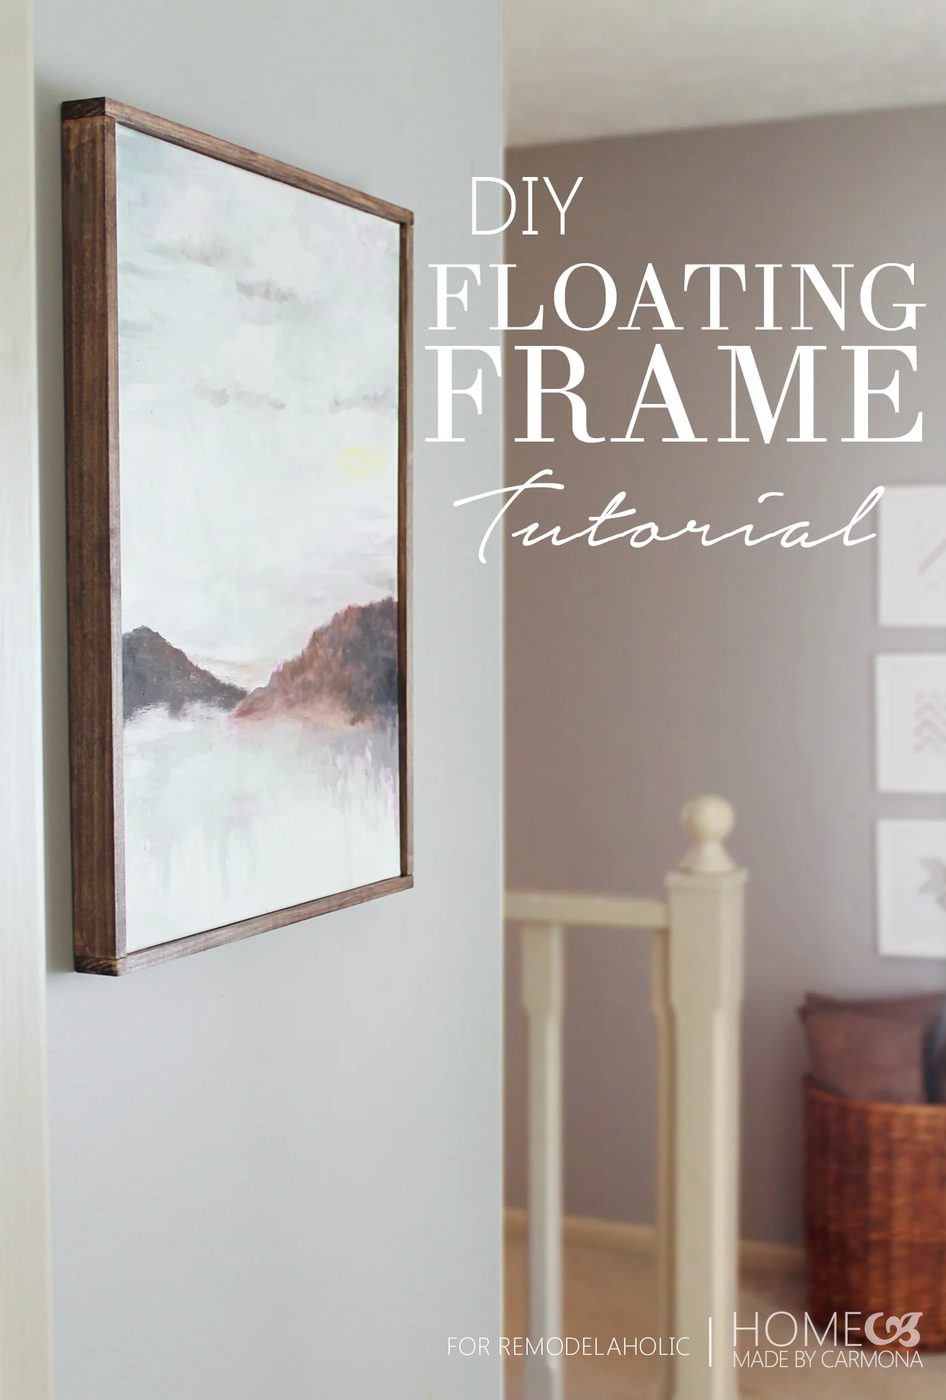
How to Build a Floating Canvas Frame
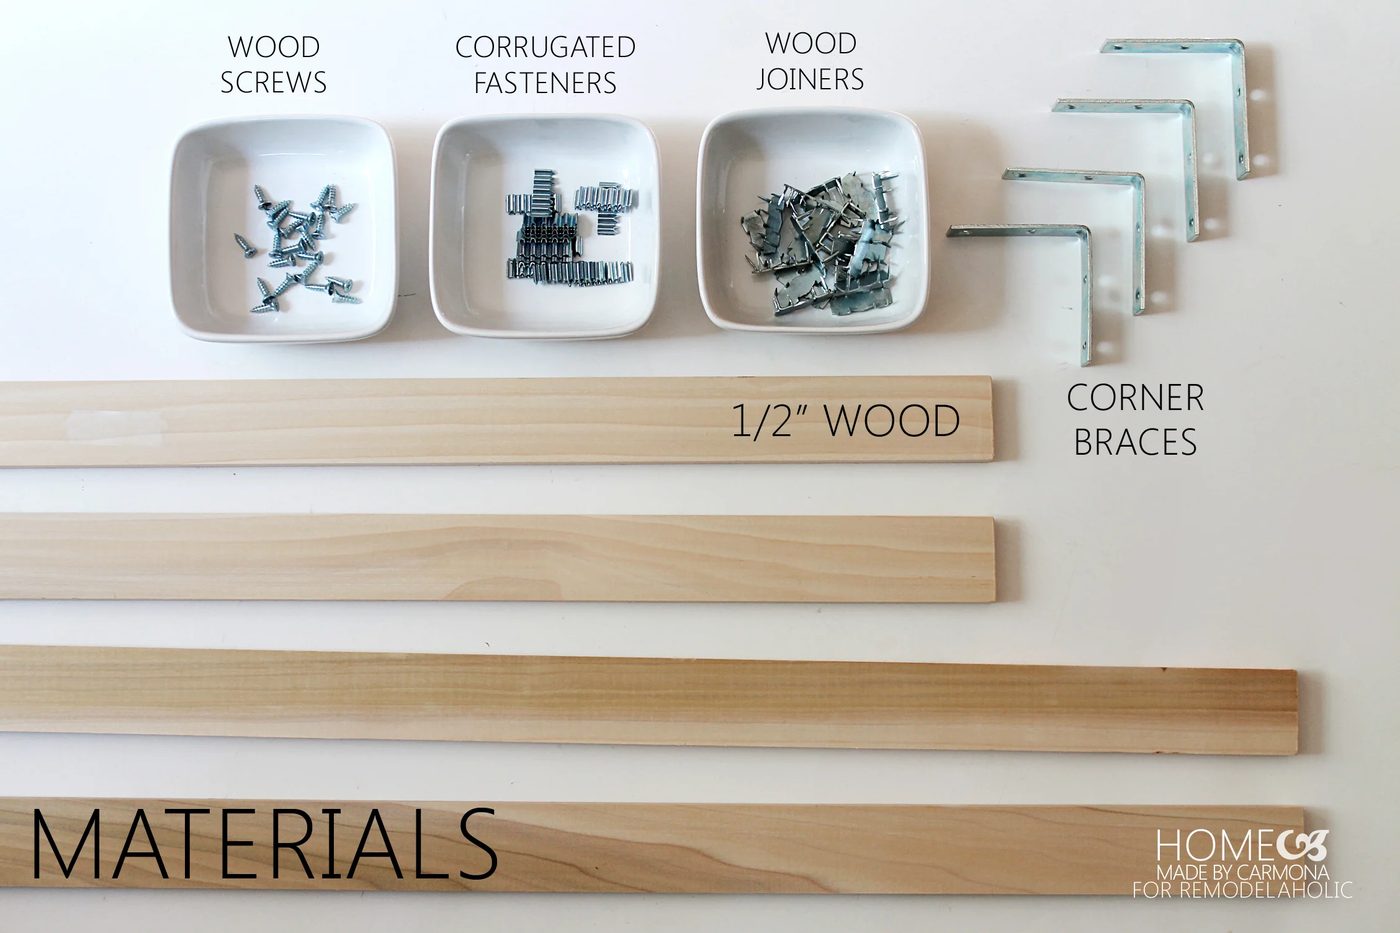
Materials
- 1/2″ thick wood strips: enough to wrap around the 4 sides of your canvas
- 4 – Corner braces, 2 – 1/2″
- Wood screws
- Wood joiners, 3/8″ x 1″ (optional)
- Corrugated fasteners, small (optional)
Snug Fit Style Frame vs. Floating Style Frame
There are two types of frames you can buy or make for your canvas, and technically they are both called “floating frames”. However there is the snug fit style, and a more true floating style with a small gap between the canvas and frame. I love them both…however the snug fit style is what you will want to beef up a normal 1/2″ or 5/8″ thick canvas, while the floating style is doable only with a 1 1/2″ canvas thickness.
Determine which will suit your needs the best, buy the desired canvas, and lets get started!
Snug Fit Style
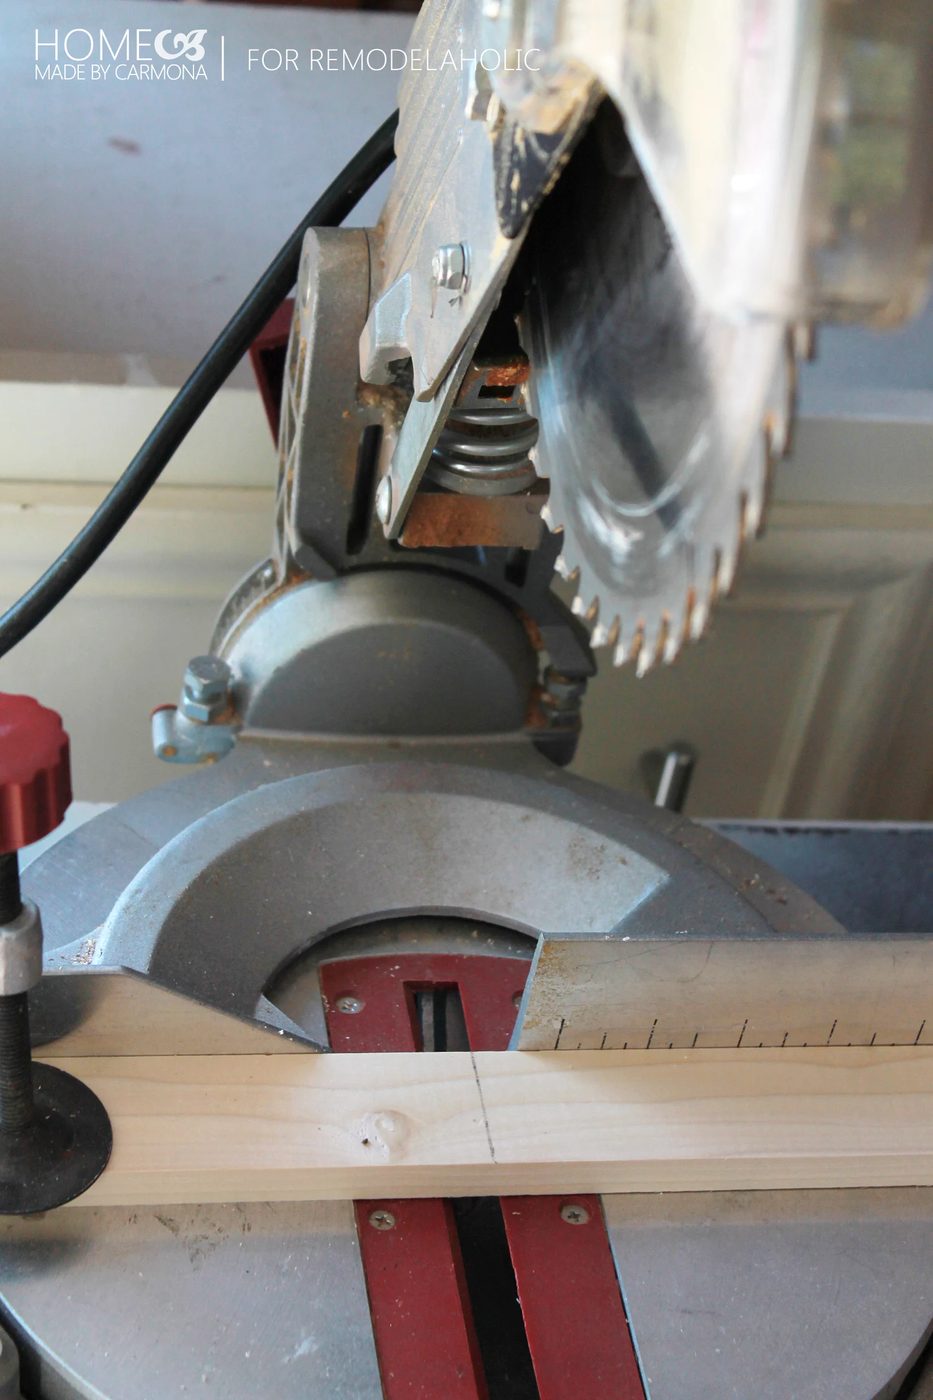
Measure & Cut Wood
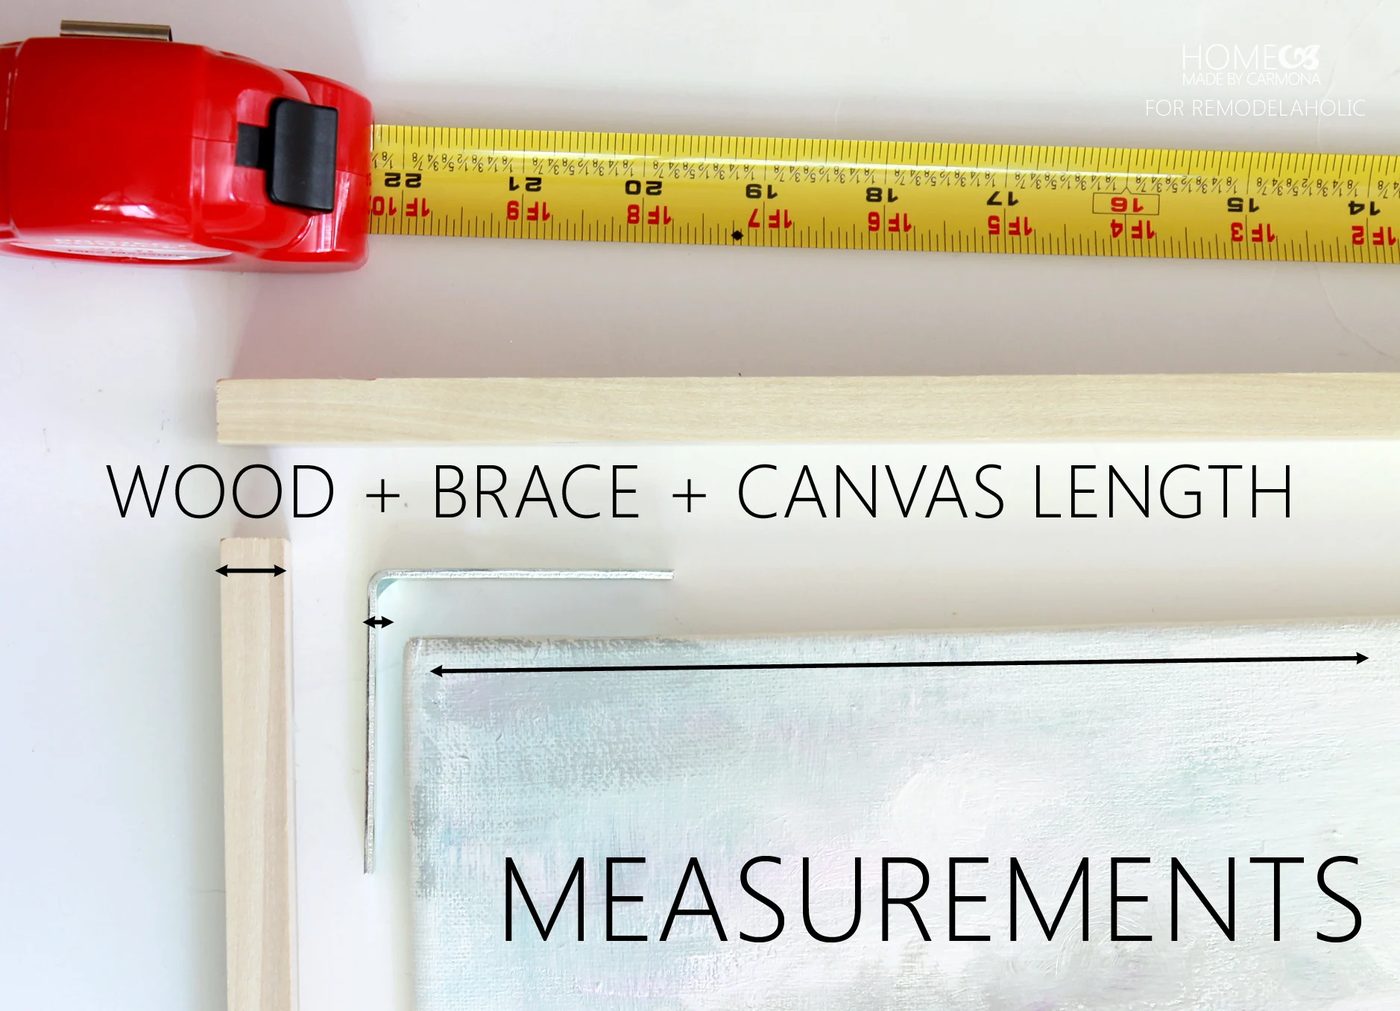
It’s very direct, two wood strips are cut to the same height of the canvas, and the other two wood strips are cut to the length of the canvas plus an extra inch (to overlap the two adjacent strips) .
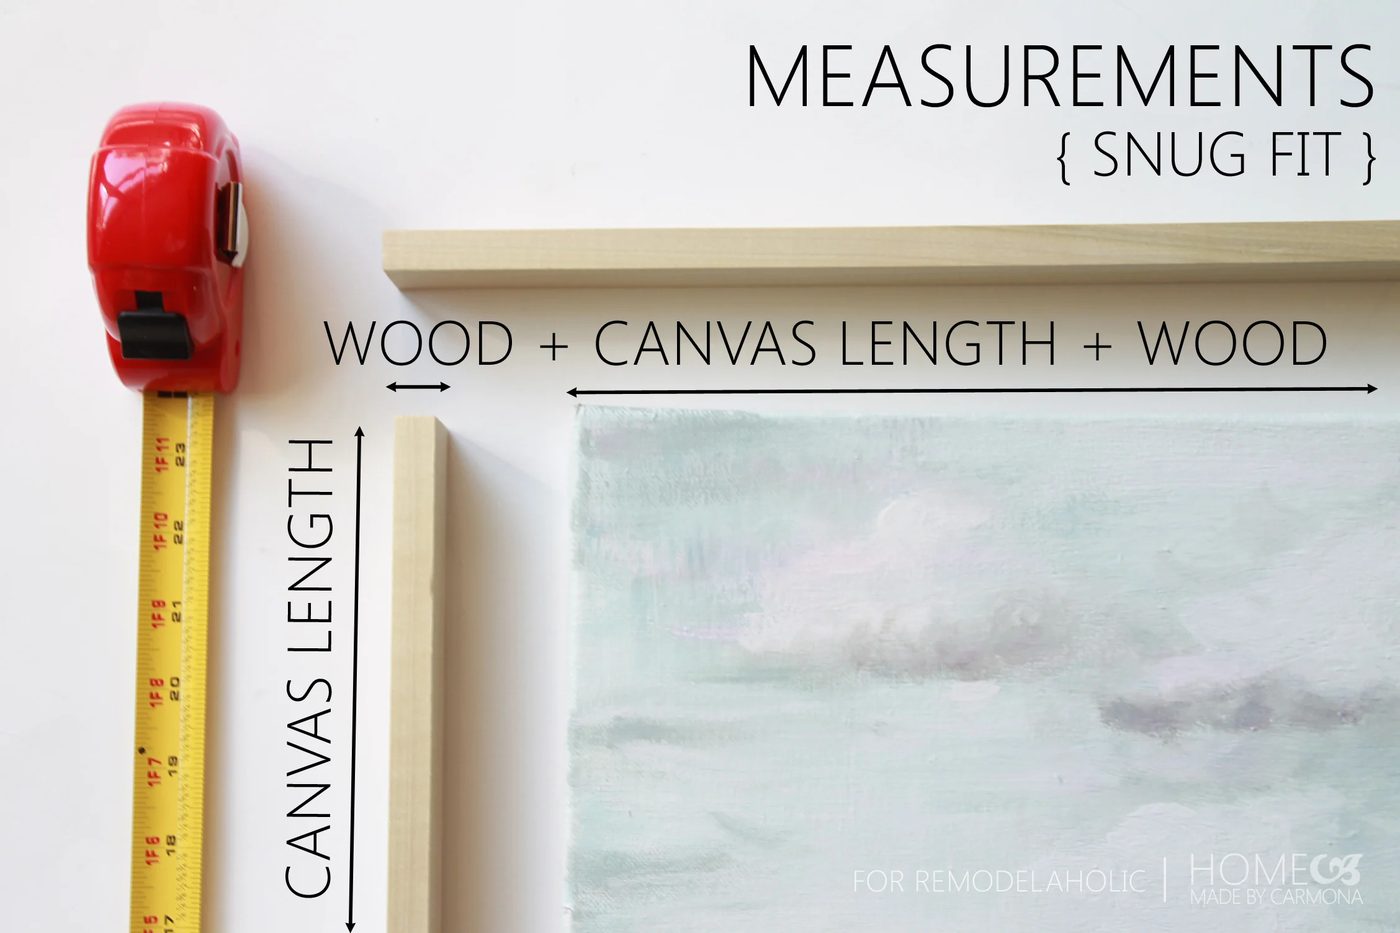
When you are done measuring and cutting the wood strips, you should be able to line up your wood strips around the canvas. Two strips running horizontally, two strips overlapping vertically. Sand the rough edges.
Mark & Drill Guide Holes
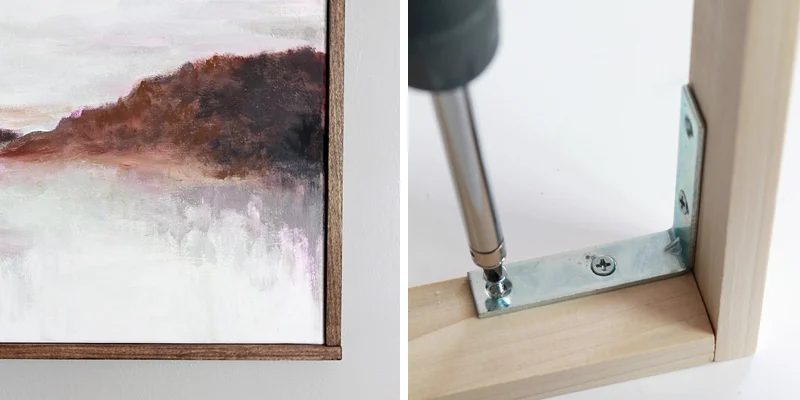
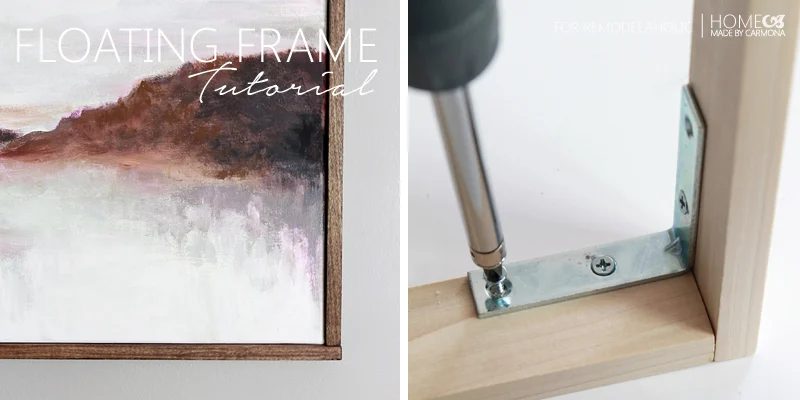
Carefully line up all corners and edges. Lay the corner brace to what will be the inside back-edge of the frame and carefully mark where the holes will be drilled. Drill shallow guide holes. Do this for all 4 corners.
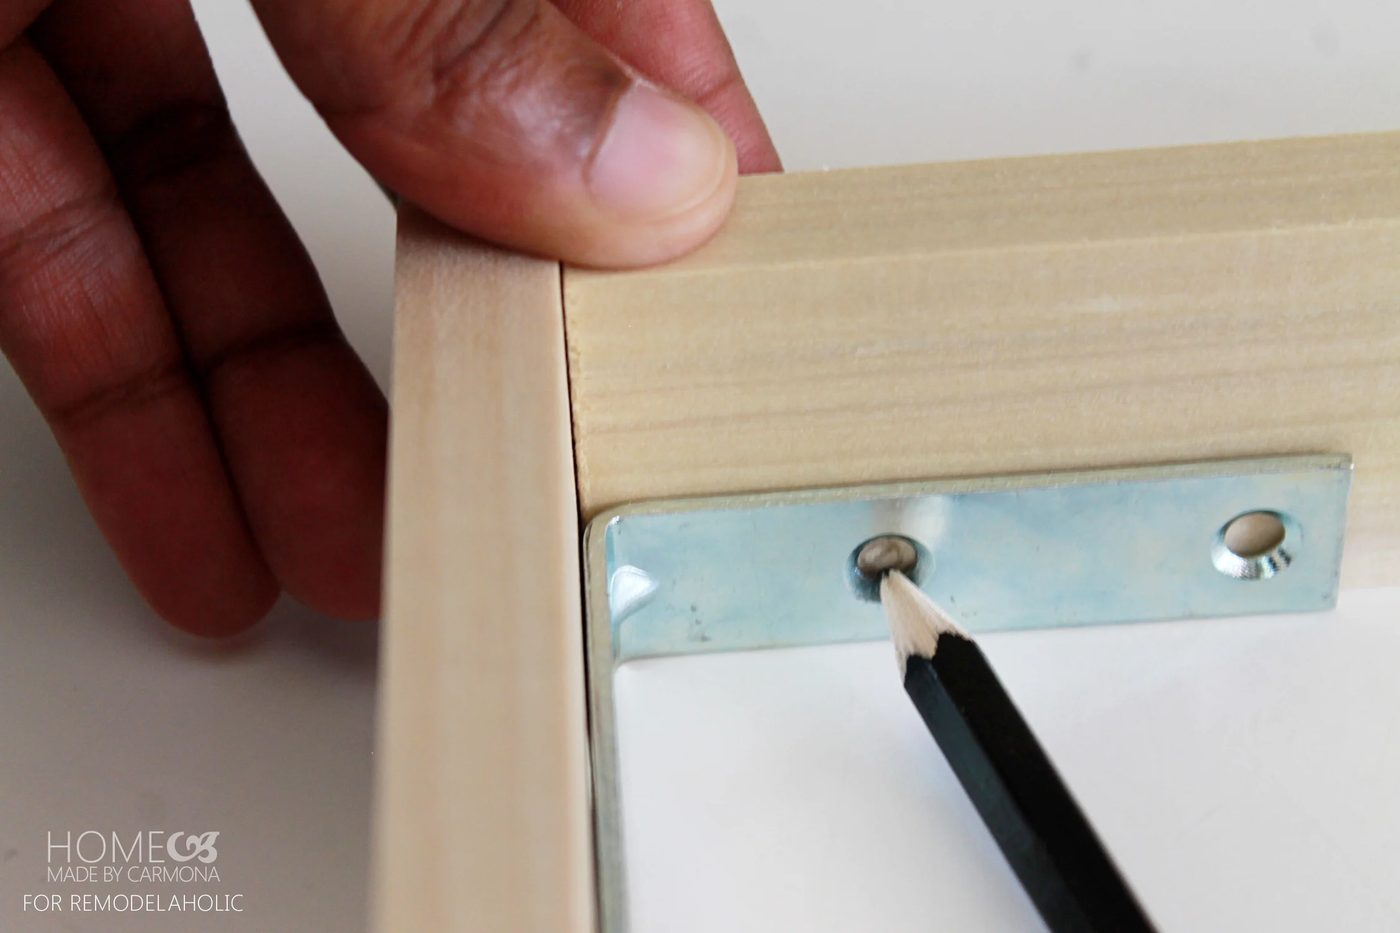
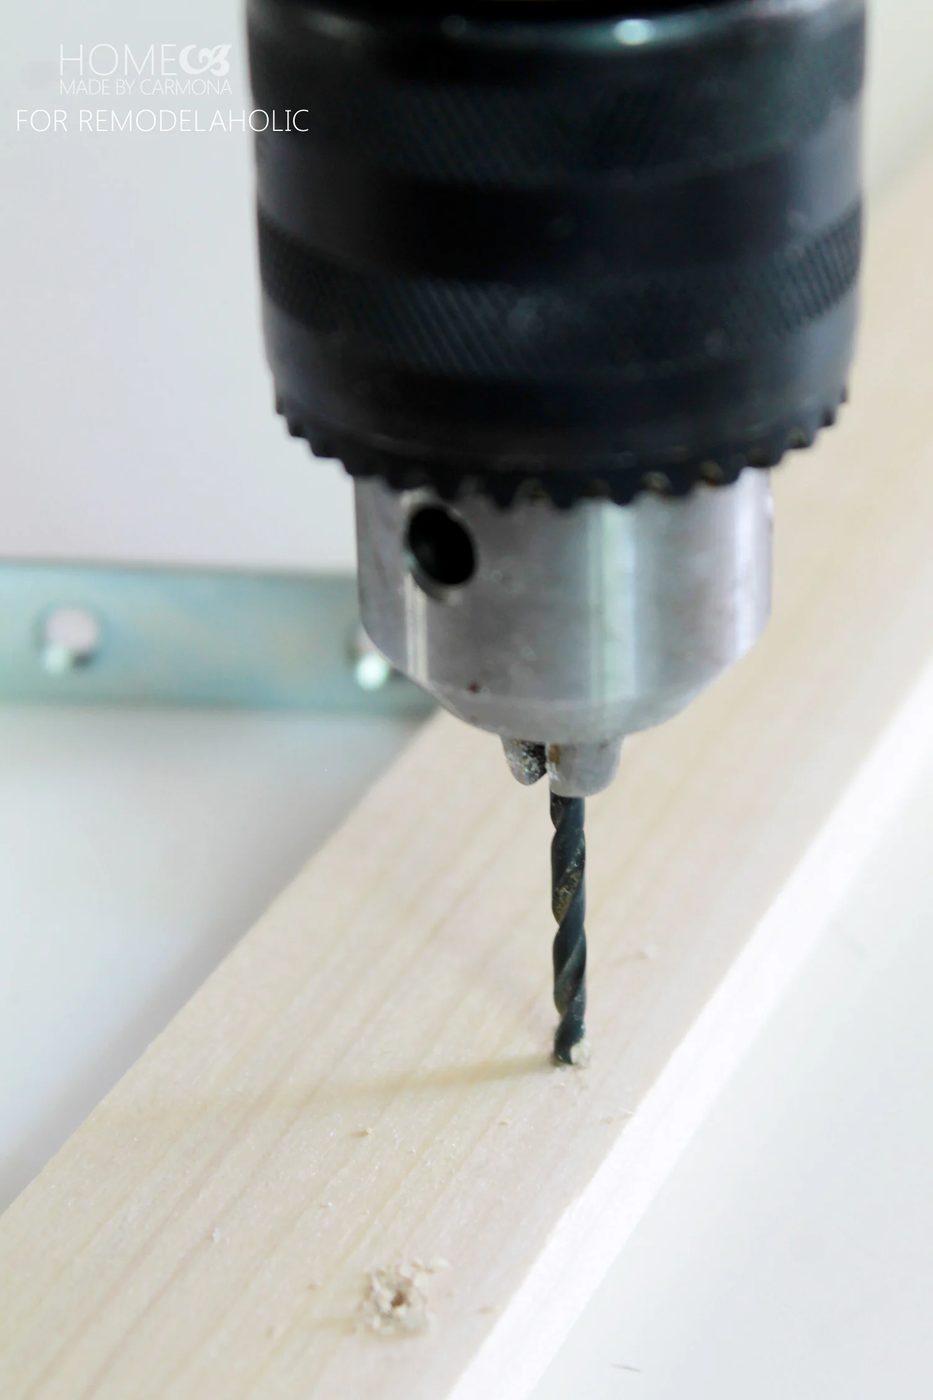
Attach Braces
Secure braces into place starting with the two inner screws to ensure best position, then attaching outer screws. If you are struggling to get a tight seam, feel free to use the corrugated fasteners on the back side of the frame.
Optionally fill all joints with wood filler if you prefer a perfectly seamless look, and sand smooth.
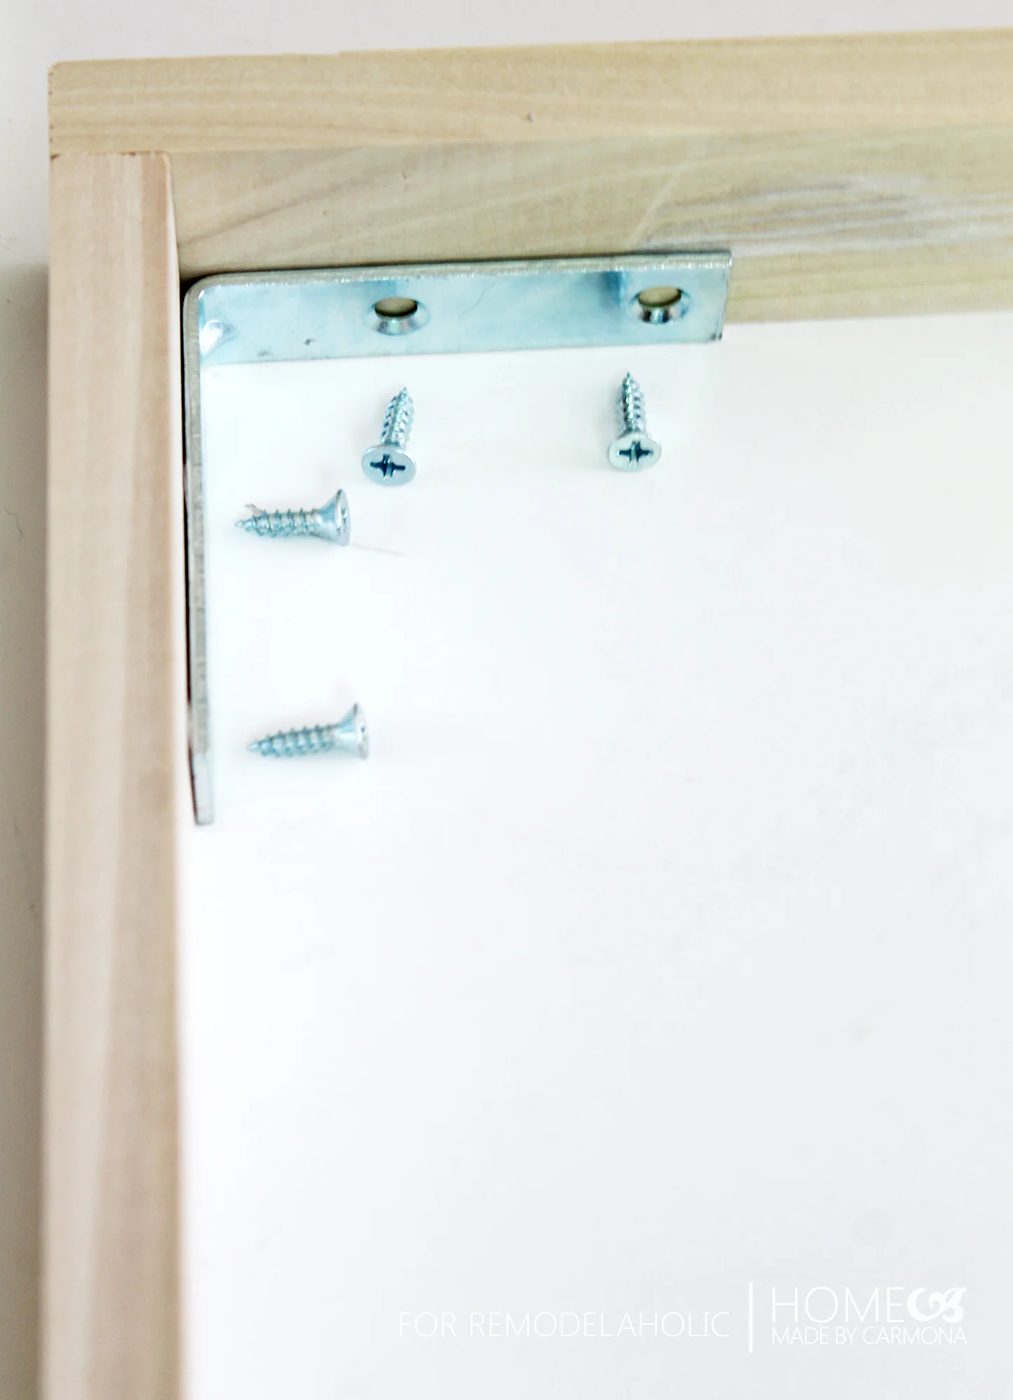
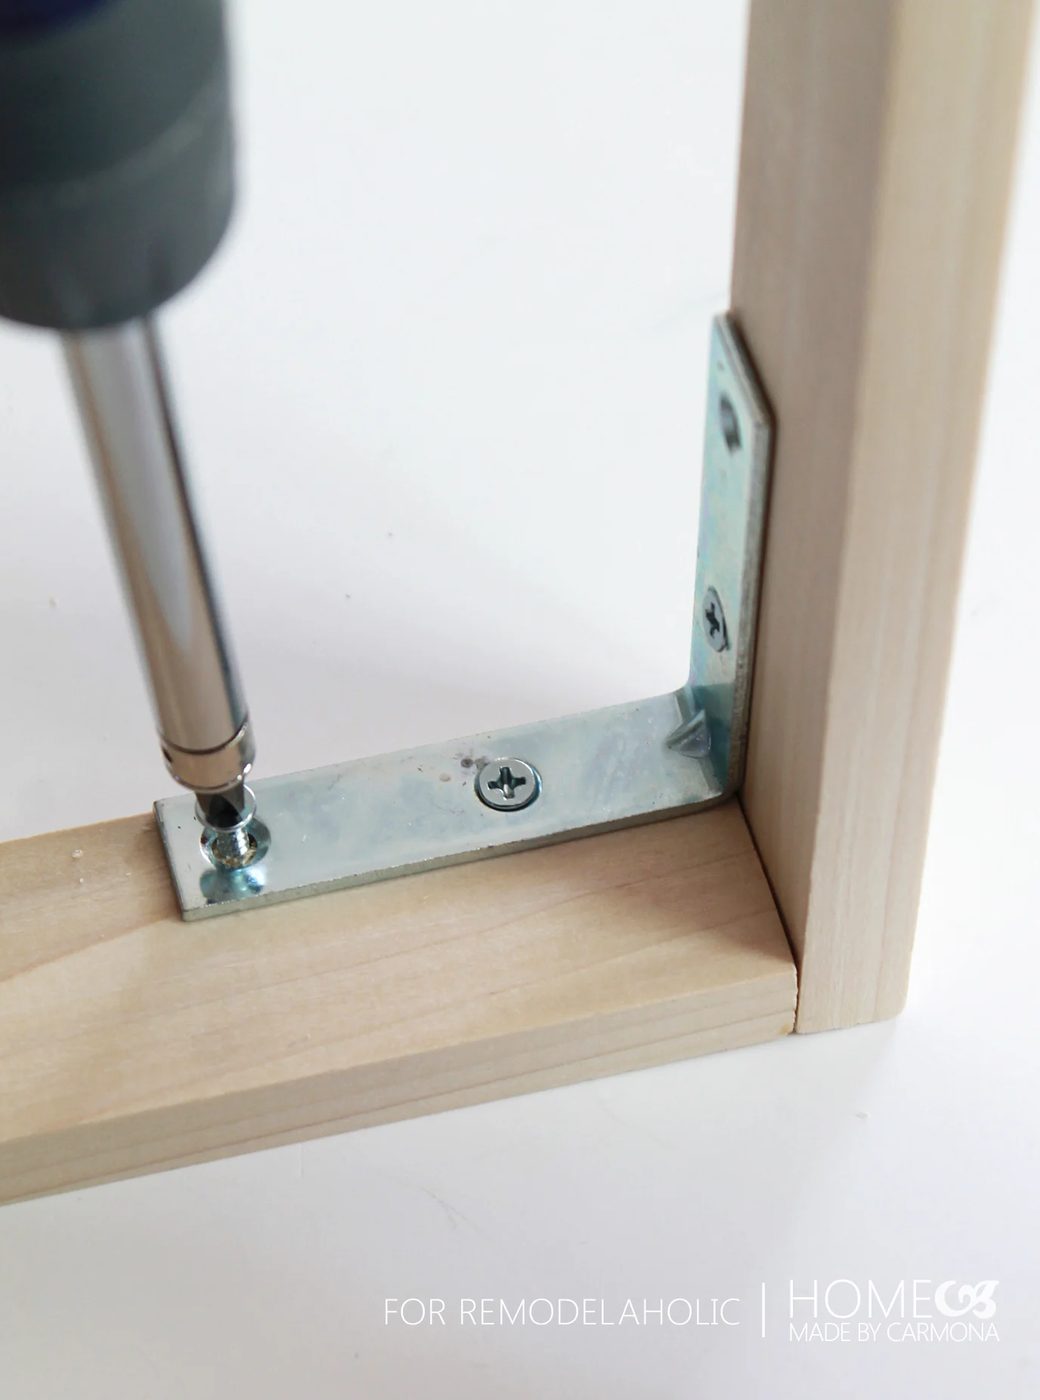
Test the fit of the canvas in your new frame. It should slide in until it hits the braces (which act as a stop) and sit in front of the brace. It will fit snugly and not require anything to hold it in place.
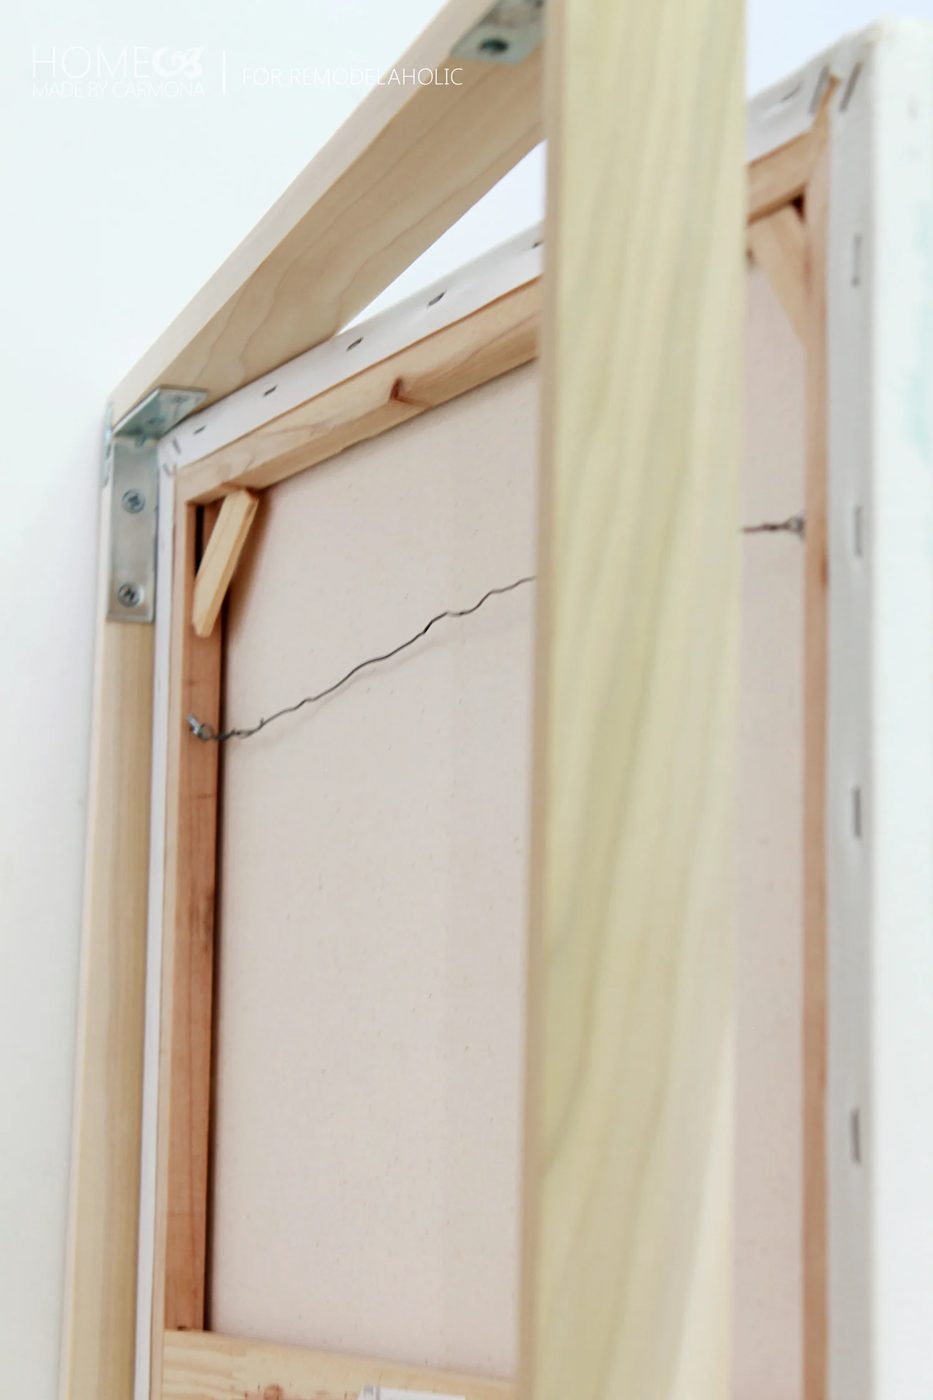
Stain or Paint & Enjoy!
Stain, paint, or leave natural if preferred! Once dried and sealed, pop your canvas into the frame…it should be a snug fit so that it easily holds in place.
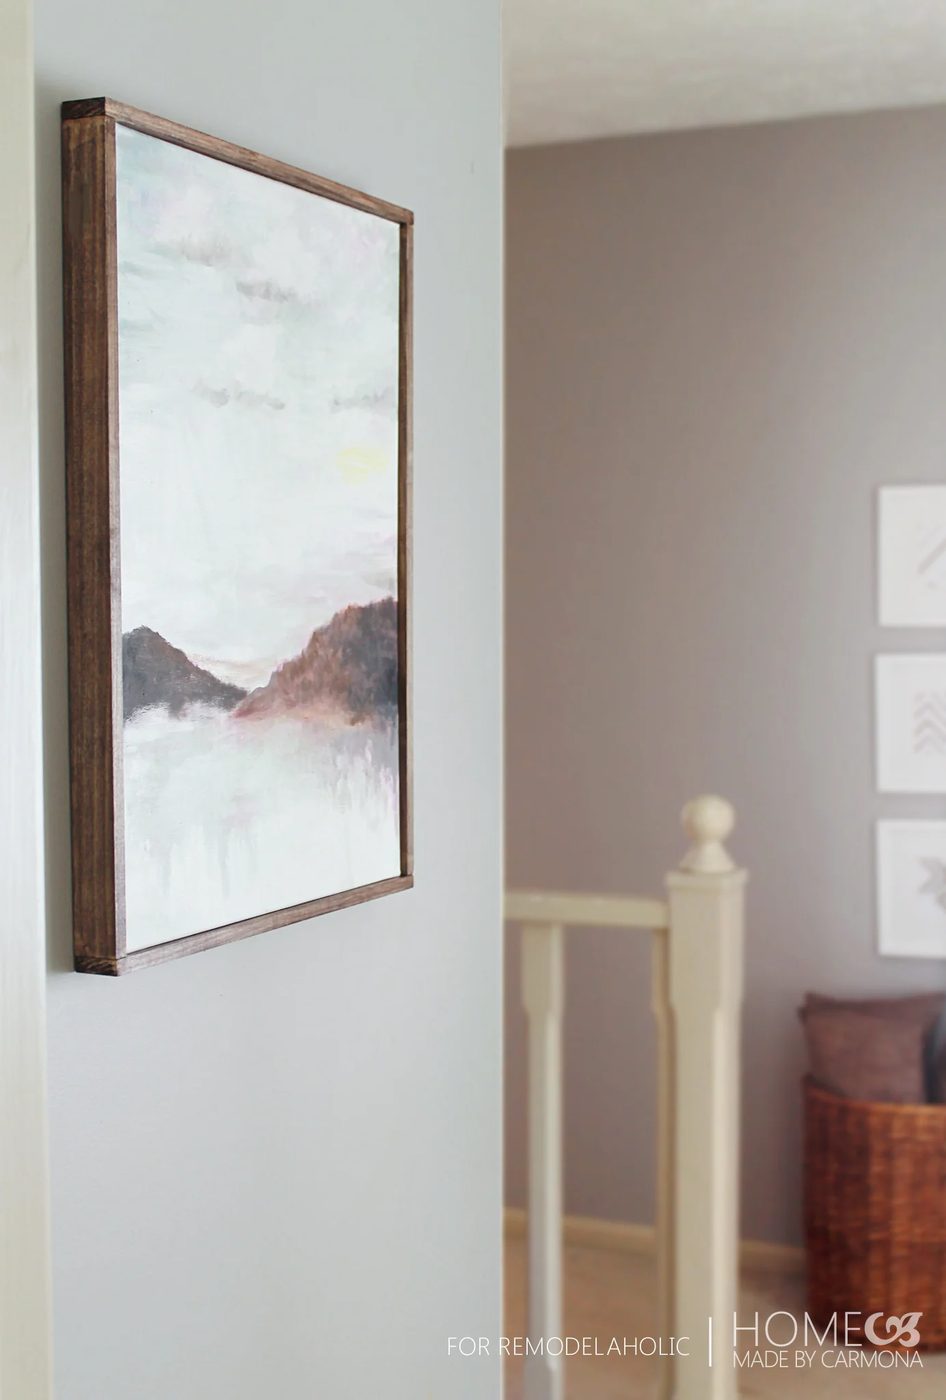
Alternate Floating Style Frame
If you prefer a truly “floating” effect it requires a thick canvas type. Look for a canvas that is approximately 1 1/2″ thick.
The only difference in steps are in measurements, and the addition of wood joiners to secure the canvas to the frame from behind.
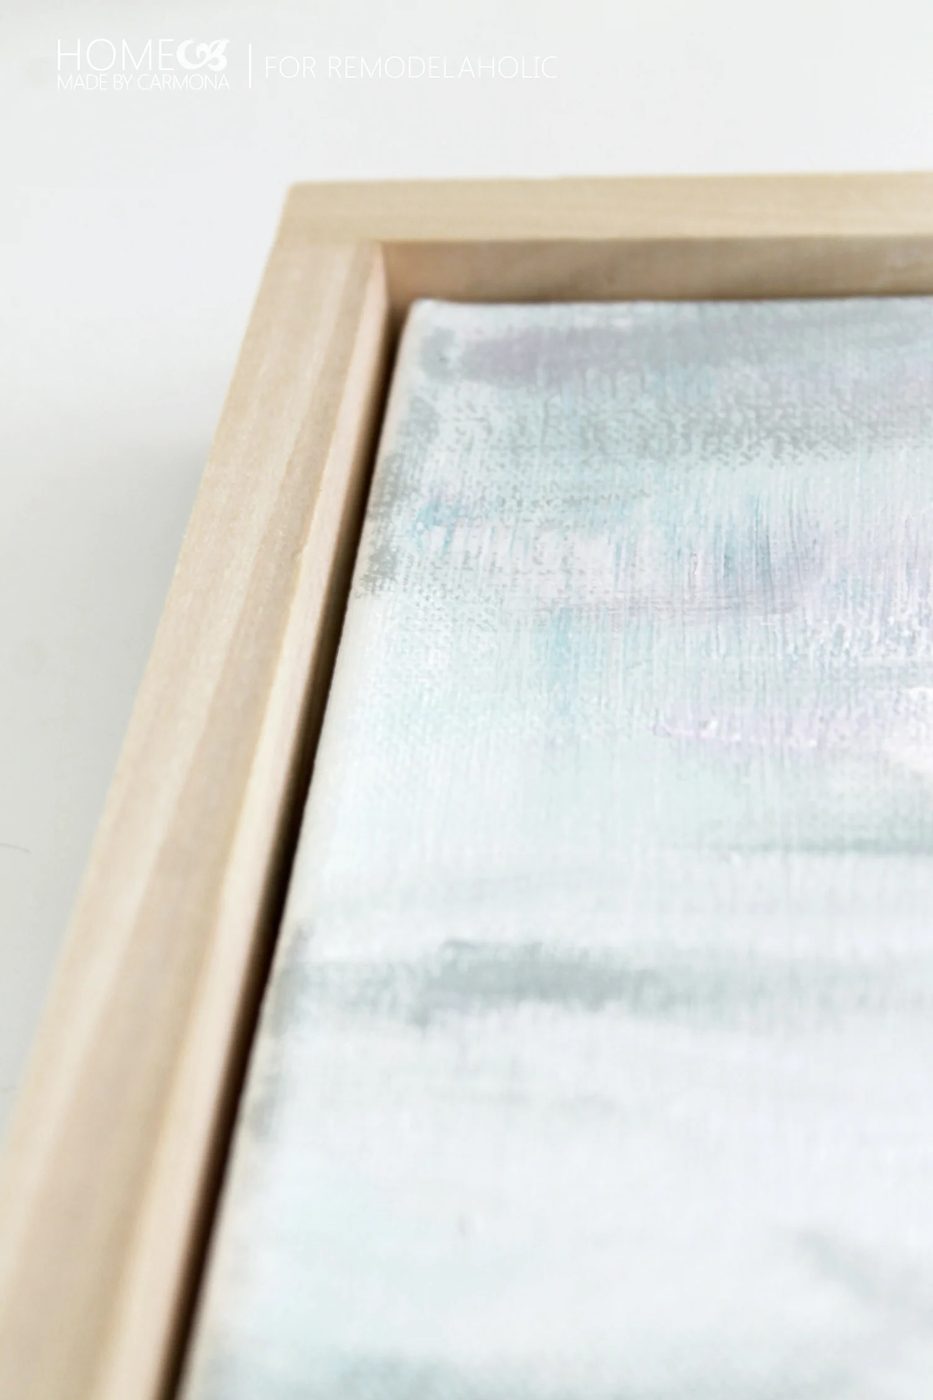
This time, when you measure accommodate for the extra 1/8″ of the corner brace. Rather than the braces acting as a stop for a thin canvas, this thick canvas will be slid on top of the braces (flush) so that it makes a frame/brace/canvas sandwich and creates a small gap between the canvas and the wood for that floating effect.
After staining or painting, use wood joiners to secure the canvas to the frame on the back, and presto! You’ve got a brand new floating frame!
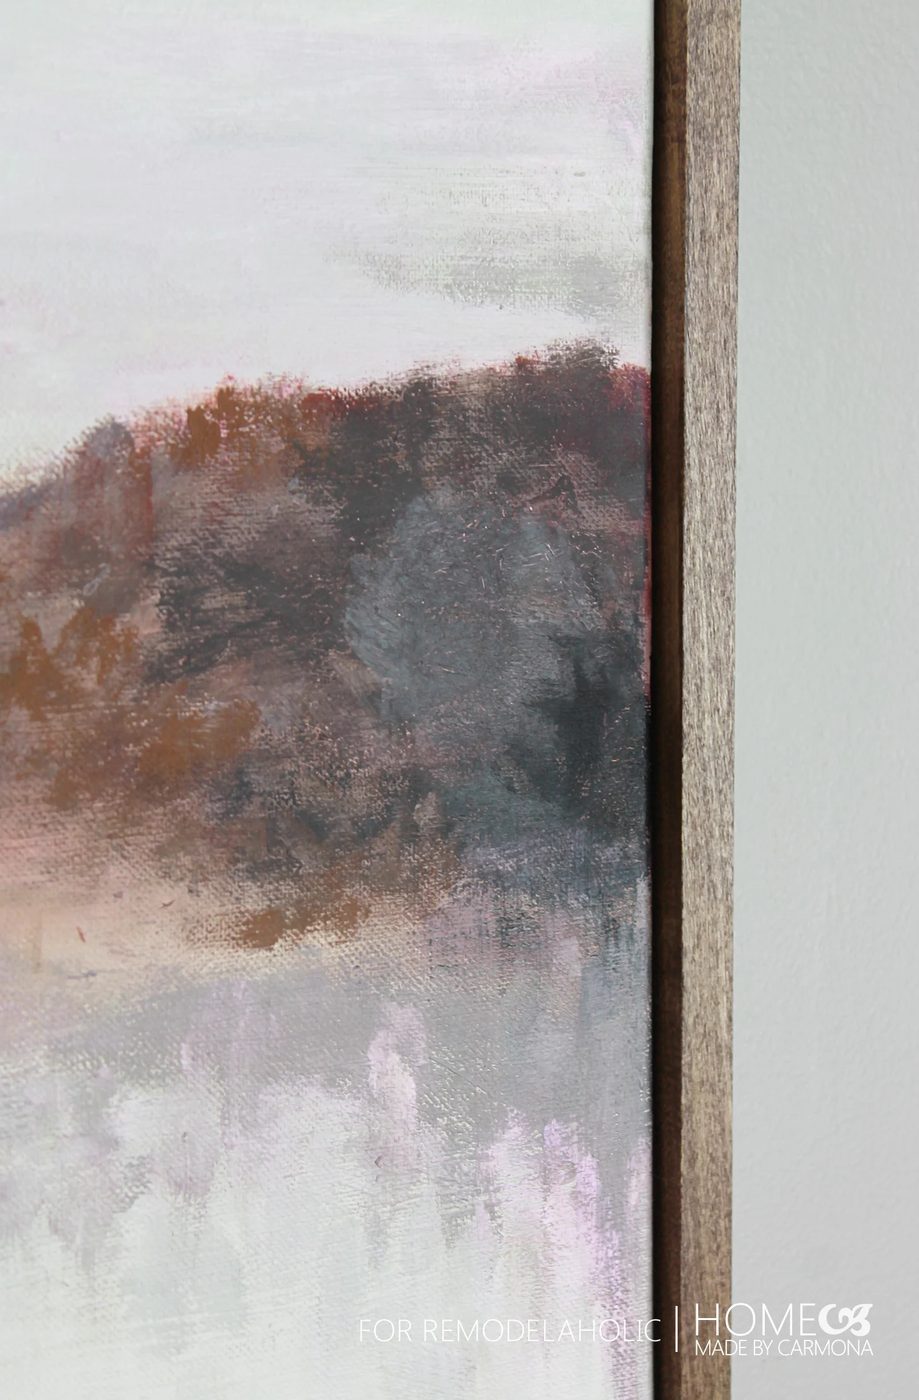
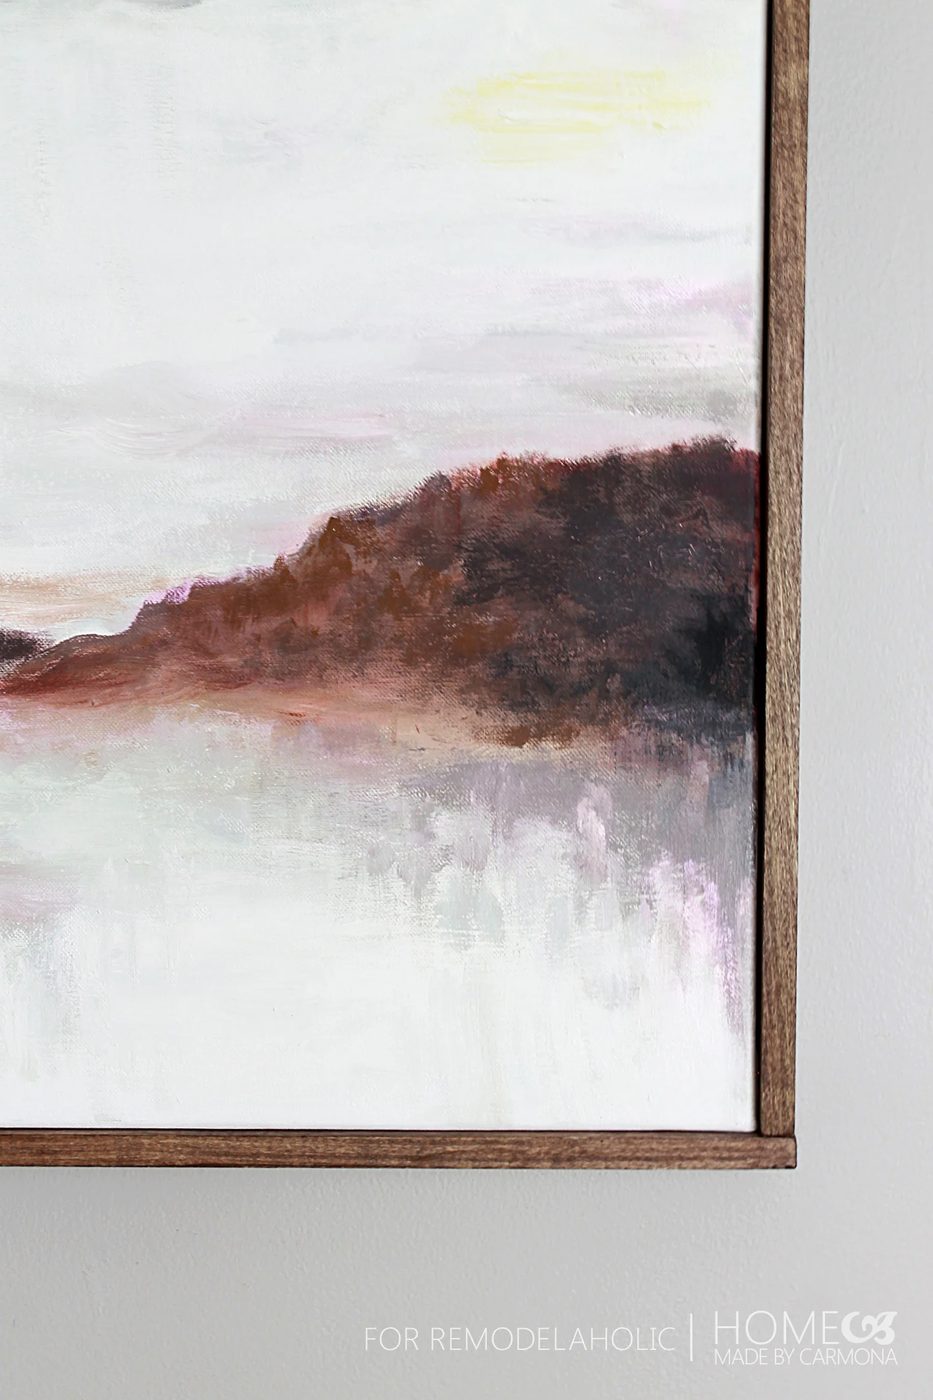
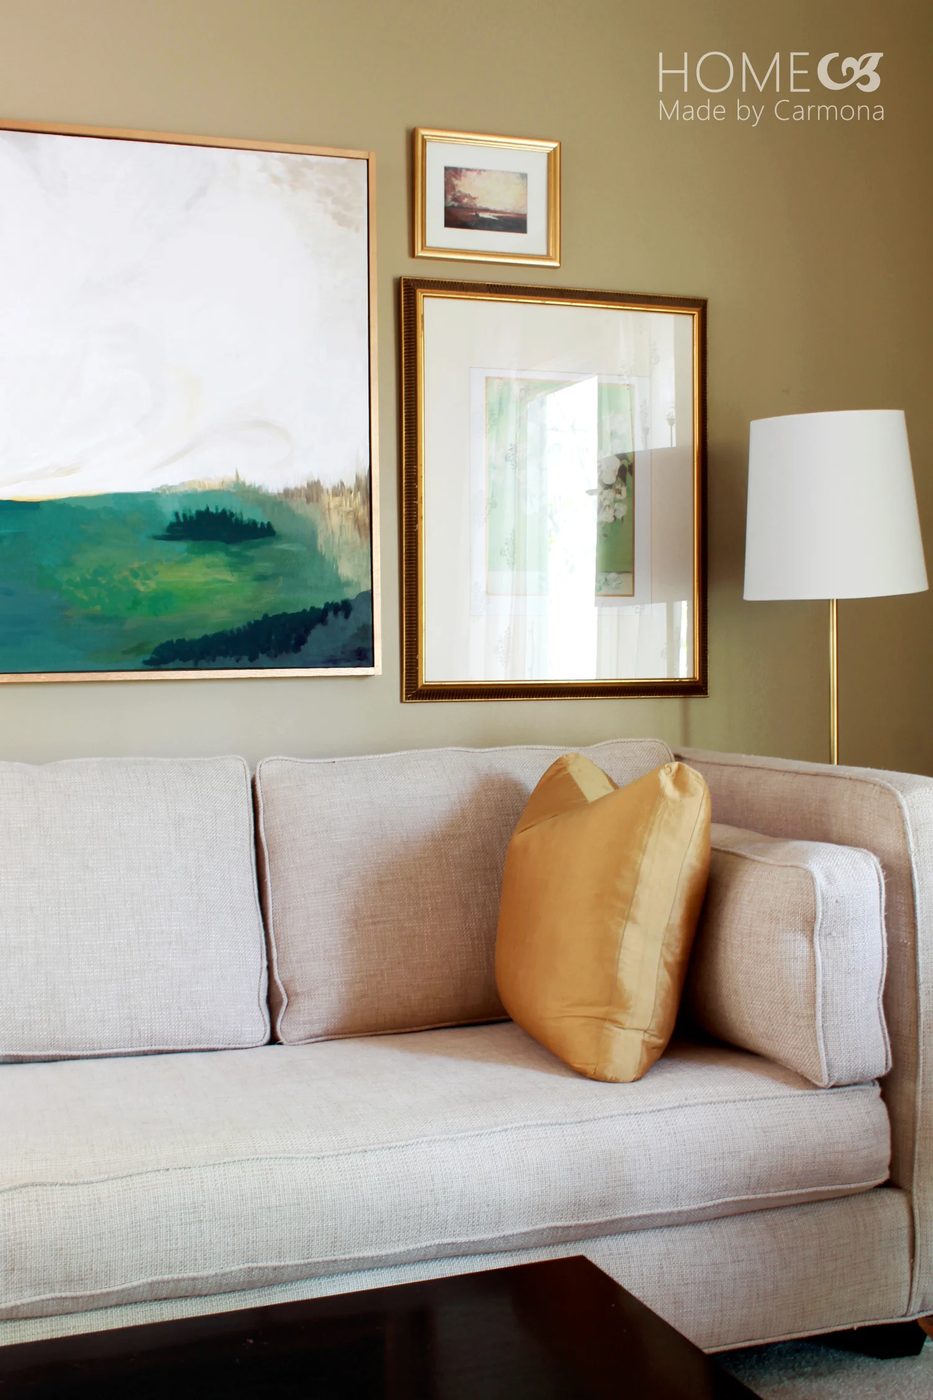
 You can easily make these frames any size you desire. This large scale landscape I painted for my living room is that much more chic with a floating canvas frame surround!
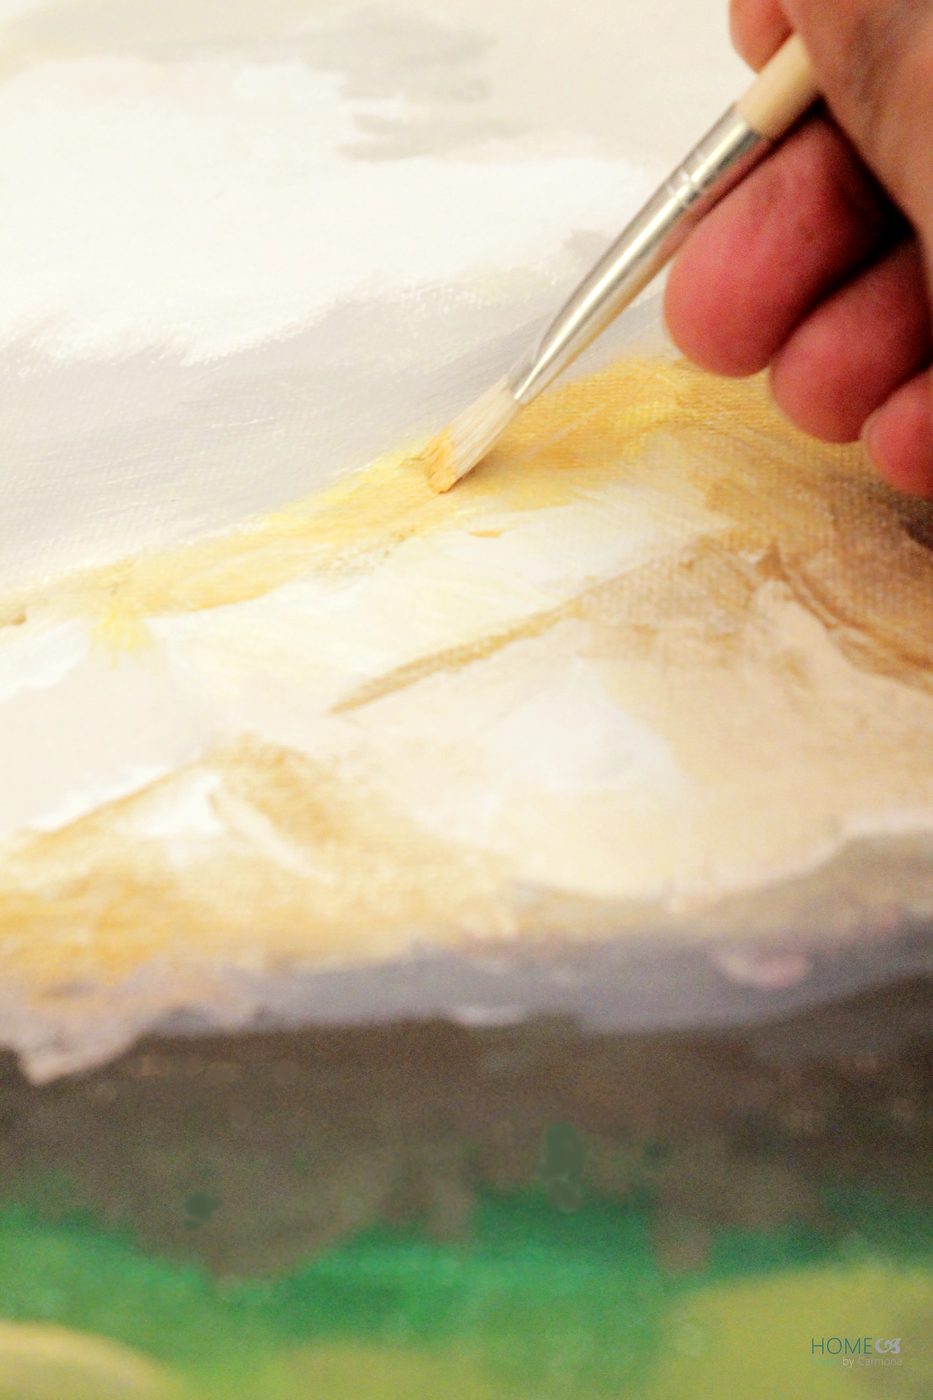
What’s better than a $5 frame? A $5 frame that holds a strong piece of Handmade artwork! It means all you paid for was a canvas and some wood. Read my walkthrough here for tips to paint a striking landscape.
————————————
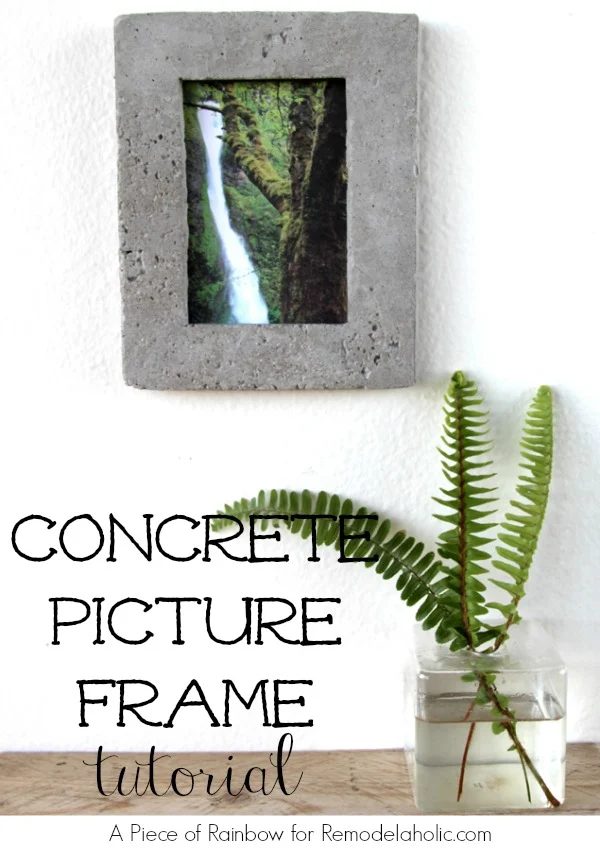
For a more industrial style, Handmade a concrete picture frame:
And fill your frames with some hand-crafted art: