This decor walkthrough stays in the order the work happens.
I am so excited to have Kristin here today! She is memorable and I am sure you will love her quartz walkthrough!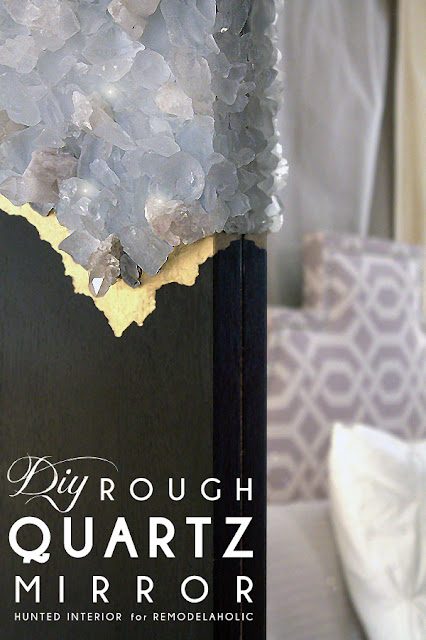 Kristin here, from The Hunted Interior. I was thrilled when Cassity contacted me about becoming a contributor for Bekob! I would love to share with all of you a little bit about my design philosophy. As an Interior Designer I adore high end design, but I do not have the modest-cost to match my taste… So I create it myself. I look at everything with an open mind & determine how I can transform everyday items laying around our home into luxurious items that I find in the magazines. Here is a little walkthrough where I have done just that.
My Inspiration: Rough Quartz Crystals
Quartz crystal accessories are EVERYWHERE right now. Even though they are one of the most common minerals in the Earth’s crust, they can still be a tad { cough cough } pricey… Here are a few accessories I am currently coveting:
Gold Dipped Quartz Cluster Bookends……………. $825.
Kristin here, from The Hunted Interior. I was thrilled when Cassity contacted me about becoming a contributor for Bekob! I would love to share with all of you a little bit about my design philosophy. As an Interior Designer I adore high end design, but I do not have the modest-cost to match my taste… So I create it myself. I look at everything with an open mind & determine how I can transform everyday items laying around our home into luxurious items that I find in the magazines. Here is a little walkthrough where I have done just that.
My Inspiration: Rough Quartz Crystals
Quartz crystal accessories are EVERYWHERE right now. Even though they are one of the most common minerals in the Earth’s crust, they can still be a tad { cough cough } pricey… Here are a few accessories I am currently coveting:
Gold Dipped Quartz Cluster Bookends……………. $825.
| OM Decor |
Clear Lucite Box with Rock Crystal ……………. $2,250.
| Vivre |
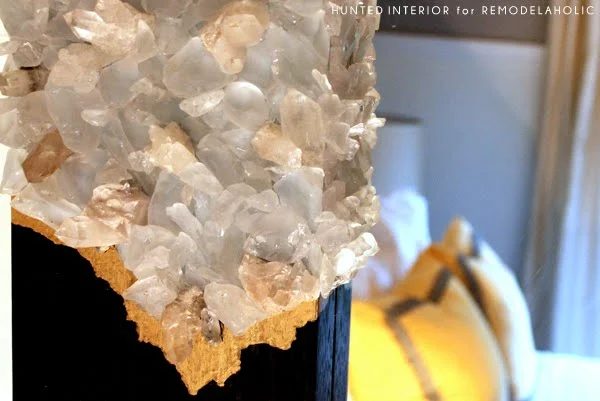
You can pick your jaw up off the floor now. Crazy talk right? Well I took inspiration from these & created a Rough Quartz Mirror Frame using an existing Ikea mirror I had at the house. For less than $75, this is how I created this look for much much less!
I ordered two variety packs of Quartz Crystal points from Rock Creek Treasure’s on eBay.
Knowing that I would need a lot more stones, I headed off to Michael’s & picked up 6 bags of Beach Glass Vase Fillers.
I then prepped the mirror frame. I taped off the corner I was planning on covering & tried to create an organic edge. I found that using the torn edges of the tape created a more natural line. Next, I primed the surface. Since the stones & the beach glass are translucent, the dark surface altered the look. Using the primer allowed them to stay bright. Using my trusty hot glue gun, I got to work. I glued each of the stones down filling in with the Quartz Crystals in the most desired locations. I found that laying the larger stones down & layering in some smaller ones on top gave it a more realistic look. Be sure to vary how you lay the stones. Quartz grow out vertically, so I took some of the Beach Glass & stood it up as well. Once all the stones were glued down I decided to add a touch of gold on the mirror frame. If the inspirations can have it, why can’t I? I used a Krylon Gold Leaf Pen to create another organic border coming off of the stones. Now we have a custom mirror frame that I think looks like a million bucks (Okay, maybe a couple hundred at least!) While this might be a little to modern for some people, the same concept could be carried out on a smaller scale using a picture frame, or attaching a few to an existing jewelry box. The point is to think outside of the box & don’t be afraid to create what you want! If you like what you see, I’d love for you to stop by The Hunted Interior to see our other tutorials such as: