This decor walkthrough stays in the order the work happens.
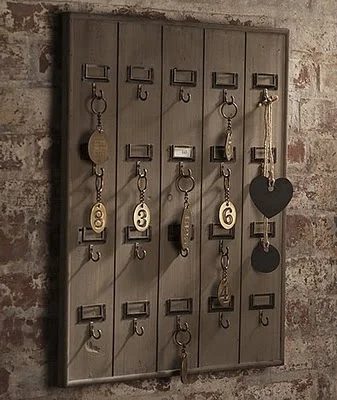
Suzanne Meridian Road saw a really nice hotel key rack and decided to build one of her own. See what she liked and how she built her own.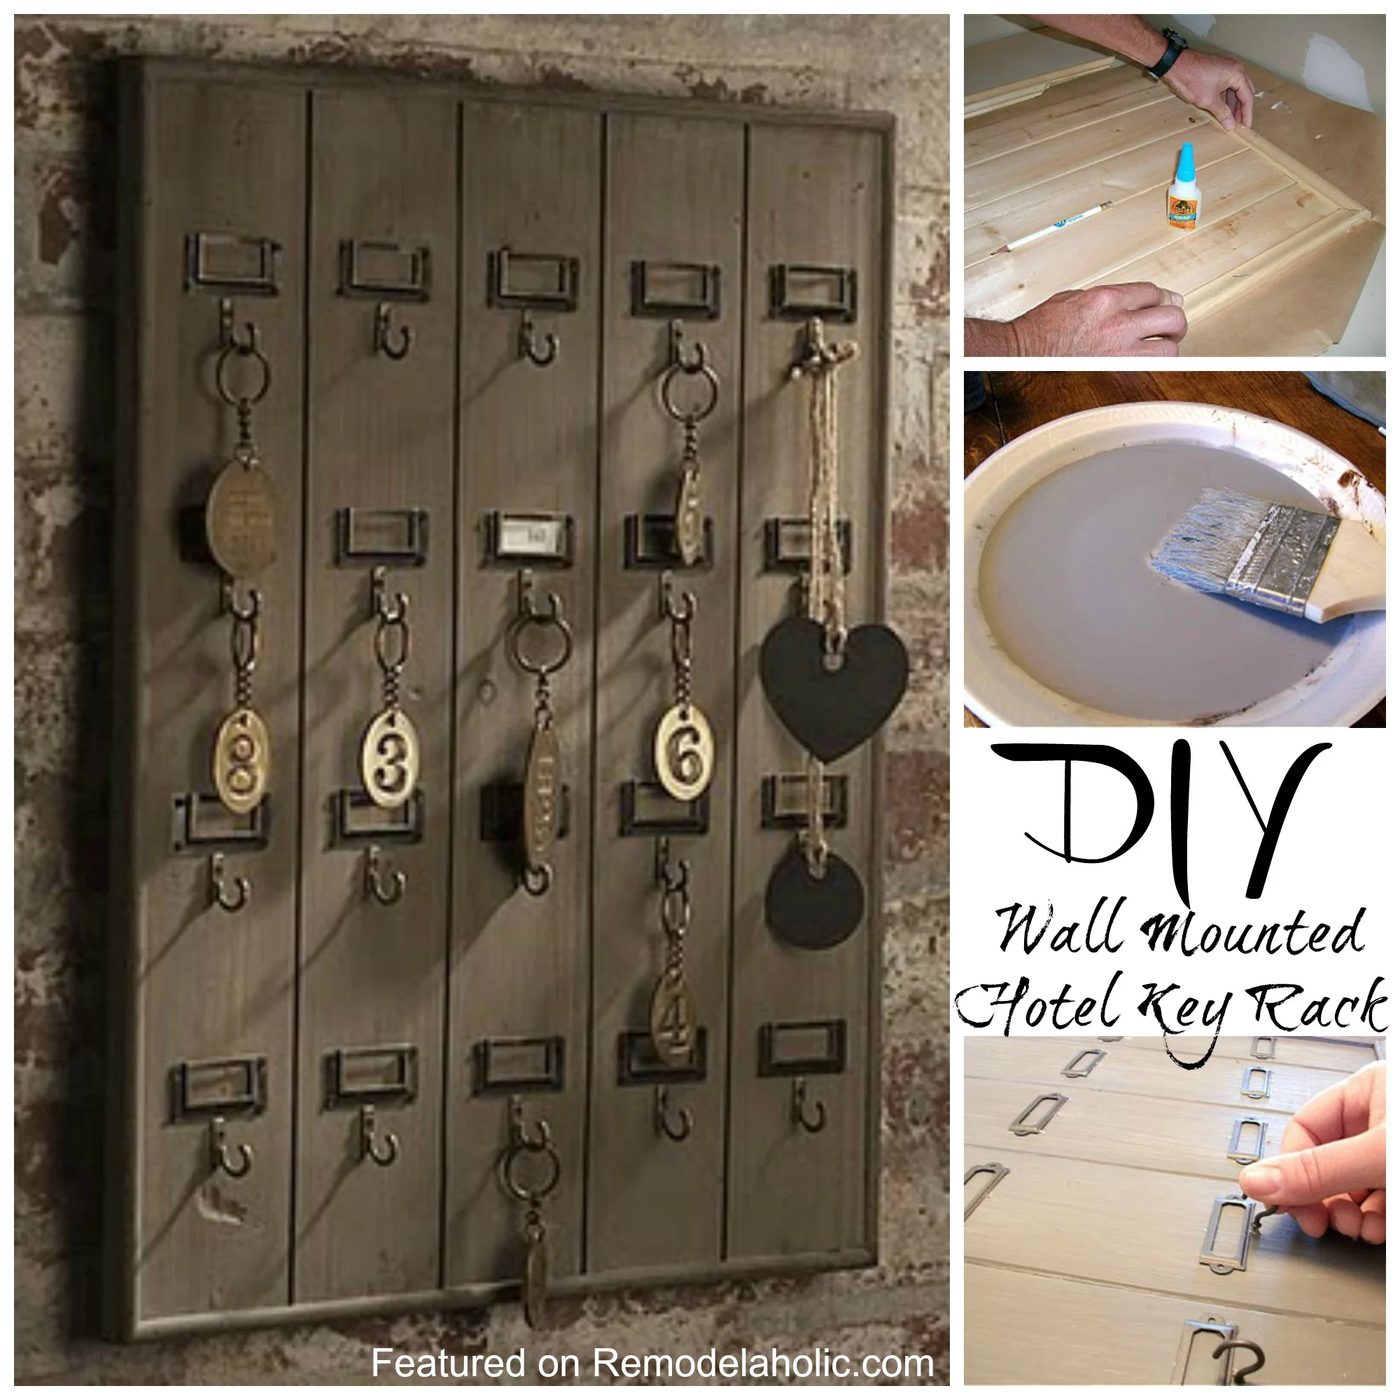
I really like this key rack
from Mothology.
I decided I need one. Even though our present system of key organization was clearly working for us.
Yeah.
So I thought I’d try to make one for less.I cut some tongue and groove planks that I had left over from thisproject and this project and glued them together. I just used an ordinary construction adhesive.Then I needed to frame it. Since our miter saw is broken, I asked someone who kinda likes me to help.
He just used Gorilla clearly glue to attach the frame.
(Because I didn’t want to fill in the holes that finishing nails would have left.)
Now for the hard part.
The original rack is made from reclaimed wood. Mine is made from brand new pine. Somehow I needed to make it look older, and maybe a little weathered.
(Yeah, a key rack wouldn’t normally be all that weathered. That thought occurred to me. But then I decided not to think that hard.) So I started with some of this. I just used a low-cost brush, because I wanted a little bit of a streaky look. I really like the gel stain. It doesn’t dry very fast, which was good. It gave me time to make sure I had a somewhat even coat. Once that was dry, it was time to add something else. I watered down some of the Slate Gray and applied it. Then I added the brown (Mississippi Mud) to the watered down gray paint, and applied some more streaks. I kept going until it looked like this. Then I added more gray to the watered down gray and brown paint mixture, and coated the whole thing. When it was just barely dry, I rubbed it down with a damp paper towel. That’s the cool thing about craft paint~it will wash off if you don’t let it dry too long. So then it looked more like this. I repeated the process a few times, alternating between a more brown coat, then a more gray coat, rubbing it down with a damp paper towel each time. This is the final coat. It’s streaky, but it doesn’t scream “STREAKS!!!” at you. Then it was time to put on the hooks. The hooks and label holders on the inspiration key rack look like they’re all one piece. I couldn’t find any like that. I found a few label holders online, but I really didn’t want to pay $3 each for them since I needed 20 of them. I found these
at a scrapbook store, and these cup hooks
I used one of the smallest drill bits we have
Here’s the finished product.
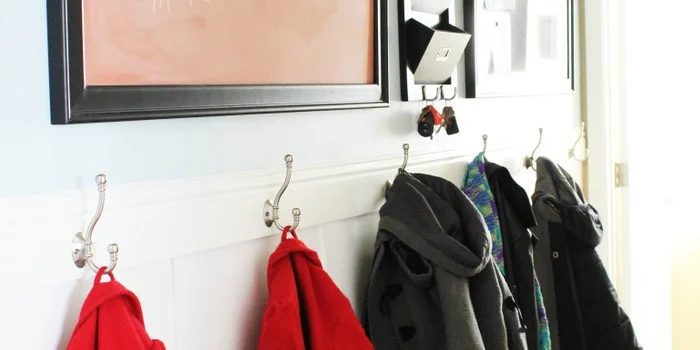
I hung it by the front door.
I’m really happy with how it turned out!
I love Handmade projects! It’s fun to see how we are able to recreate something that we see and make ourselves. Great job on the key rack!