Read the sequence from the top before cutting, painting, or moving pieces.
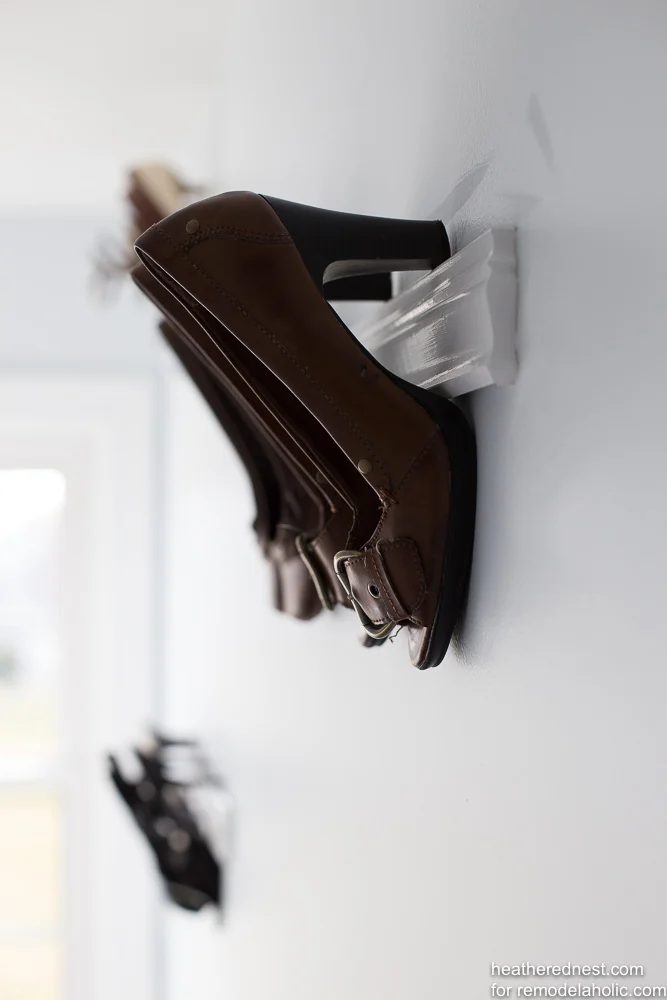
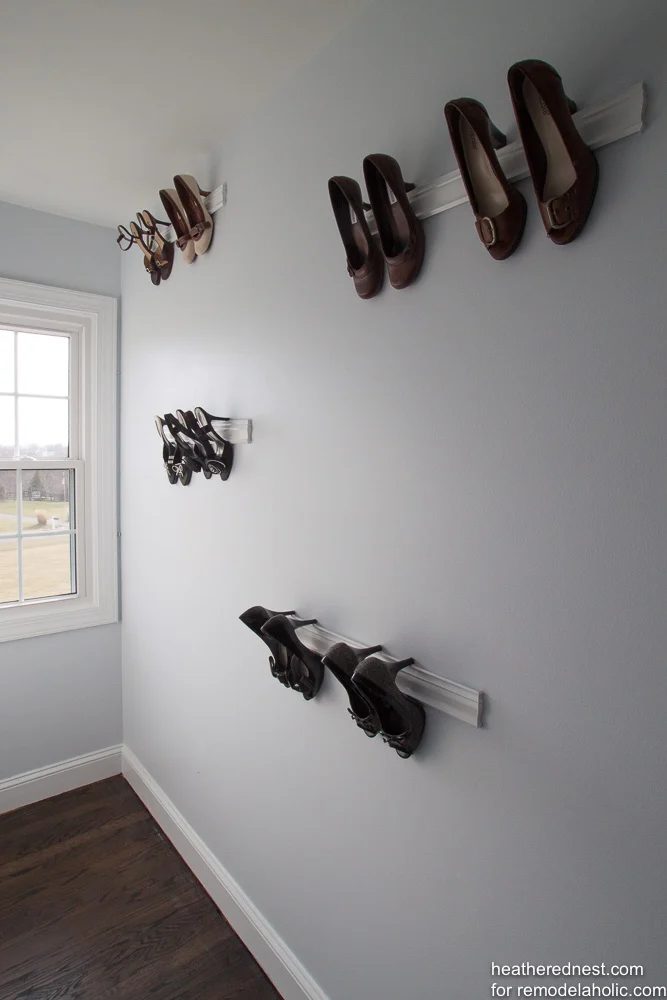
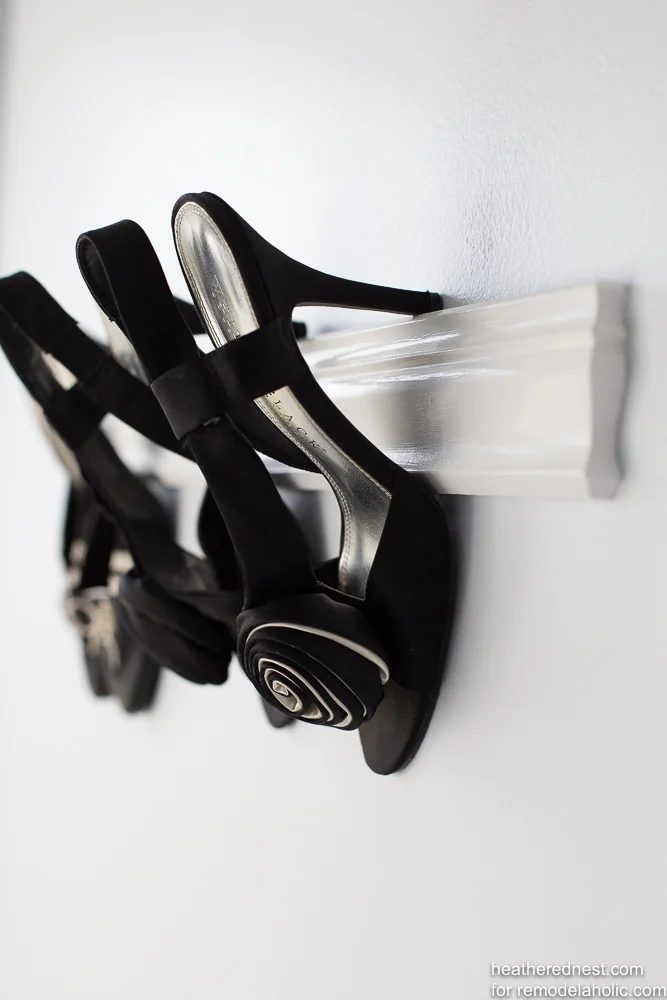
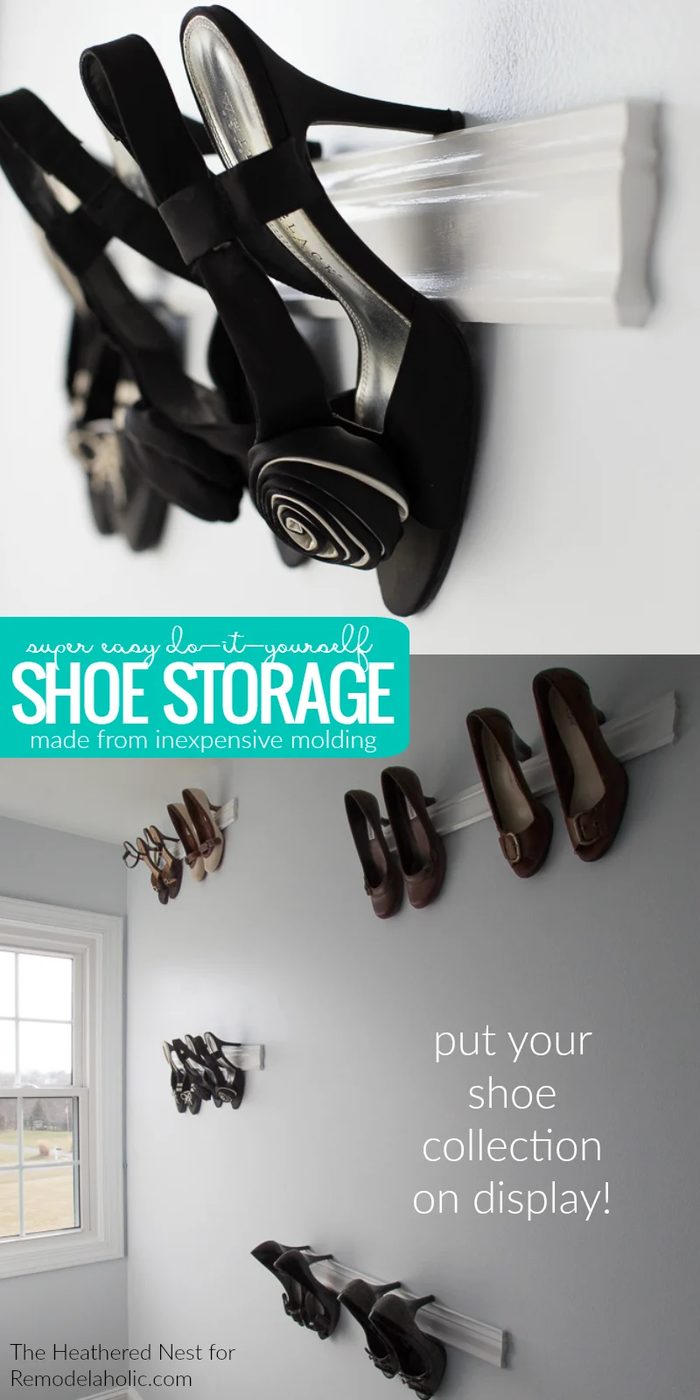
Here at The Heathered Nest, we are beginning a modest-cost-friendly master closet makeover. I had seen some examples of shoe storage systems using molding, and thought it would be a fun, and economical way to store and display some of my go-to heels.
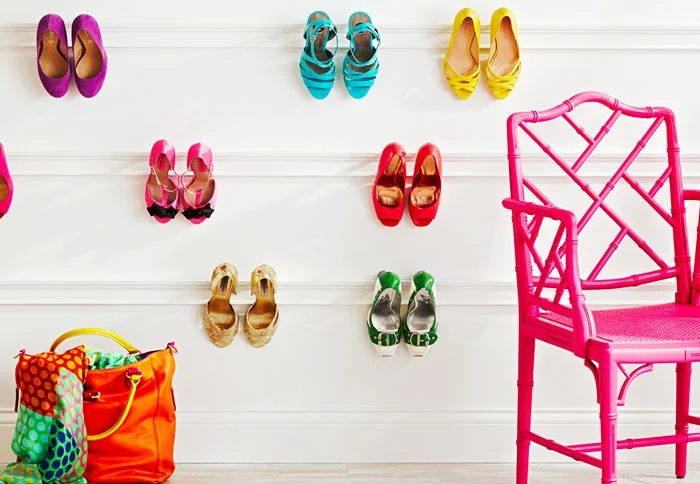
My go-to two versions included one from Martha Stewart, and another (below) from Lowes:
How to make and install molding shoe storage
supplies for molding shoe storage
- 2-1/2″ casing (sold by linear foot)
- 2-1/2″ nails (we used a nail gun)
- caulk
- wood putty or joint compound
- sanding block
- paint
- level
- saw
1.) Decide on layout of your molding shoe storage.
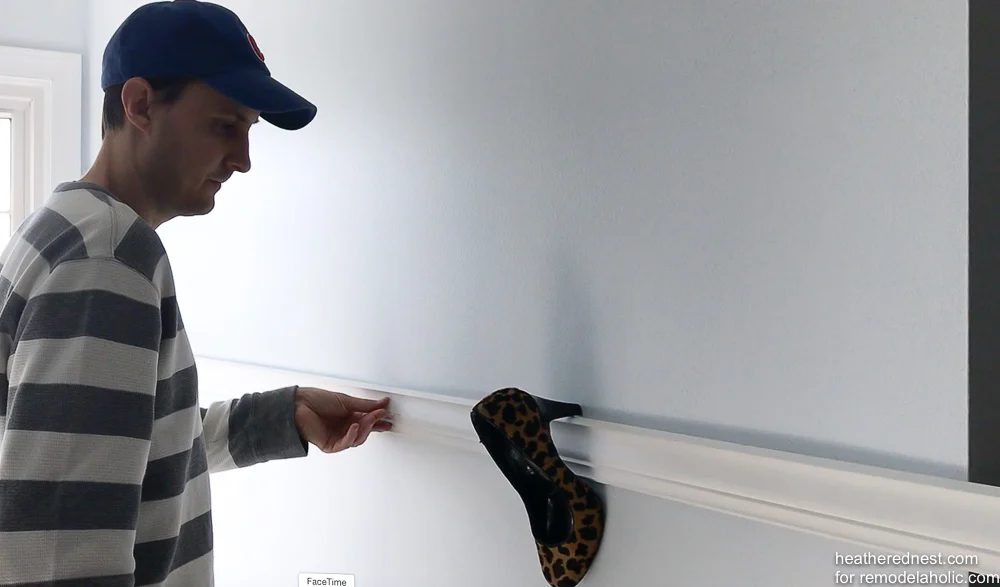
The molding we used for this project is called casing, and it’s sold by the linear foot. It can be purchased primed or unprimed. We tried various types of molding out, and this 2-1/2″ casing seemed to be the variety that held the shoes the best. We placed this shoe storage in a dormer area that will be a part of our master closet. Since I’m not using this as my primary shoe storage, I didn’t need too much of it. I decided to use a total of 8′ for the project, and we cut the casing into (4) 2′ sections.
2.) Prime and paint molding.
It’s easiest to prime/paint the molding before it’s on the wall. That way, you can slap the paint around without fear of having to re-paint the wall behind it. I debated between painting the molding to match the wall paint, going with a bright, bold color, or keeping it a direct white to match the other molding in the room. There’s endless flexibility here. In the end, I chose to paint the molding with a basic white semi-gloss.
3.) Cut the molding into desired length(s).
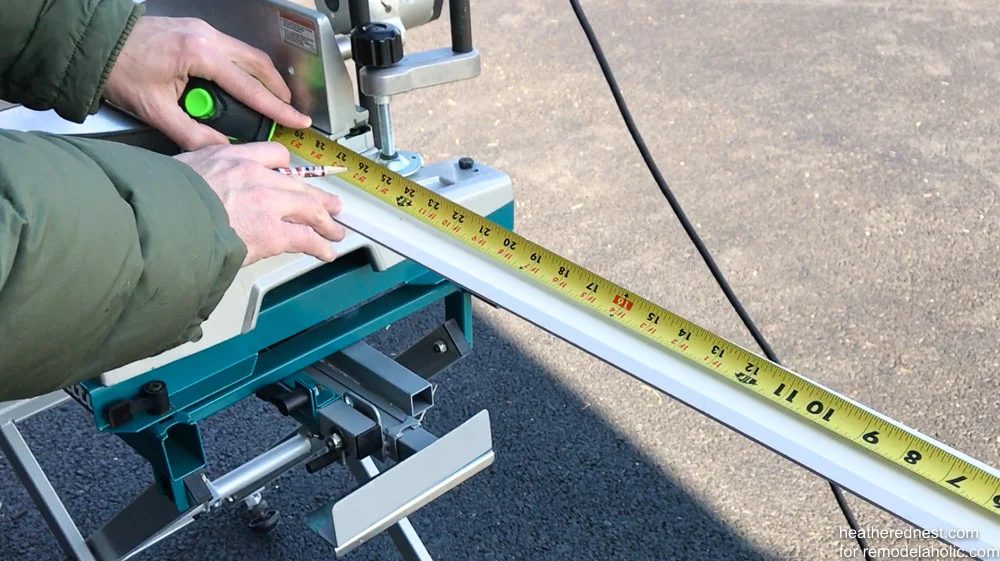
If you want to get fancy and make returns for the sides of your molding, then you’ll have to get out your geometry book and go to town on cutting all the angles and little end pieces you’ll need. Since Dave is a master at molding, he opted to add the end pieces. But the process for cutting those end pieces is beyond the scope of this basic walkthrough. This project can be done much quicker by simply making straight cuts on the molding to the desired length.
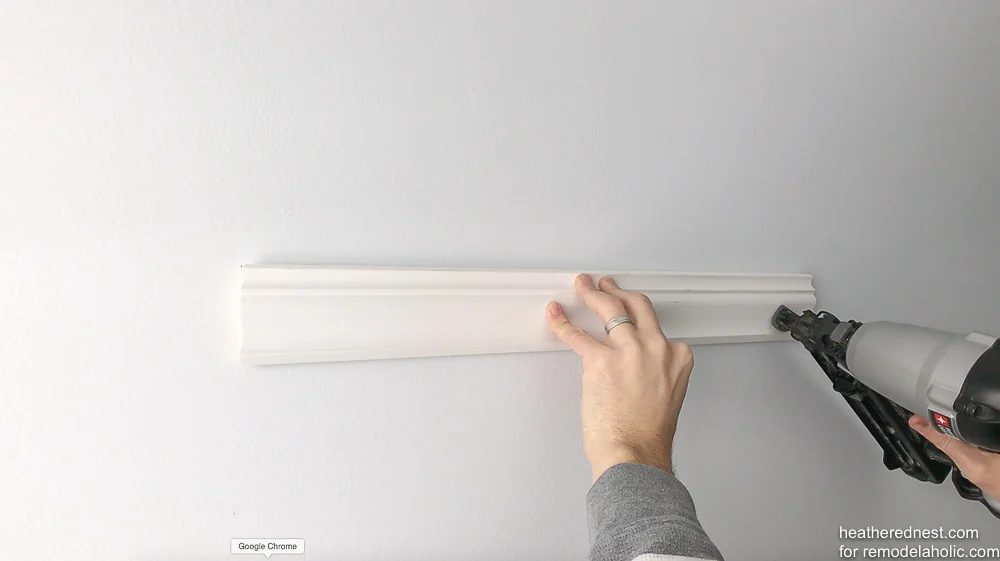
4.) Level, and nail.
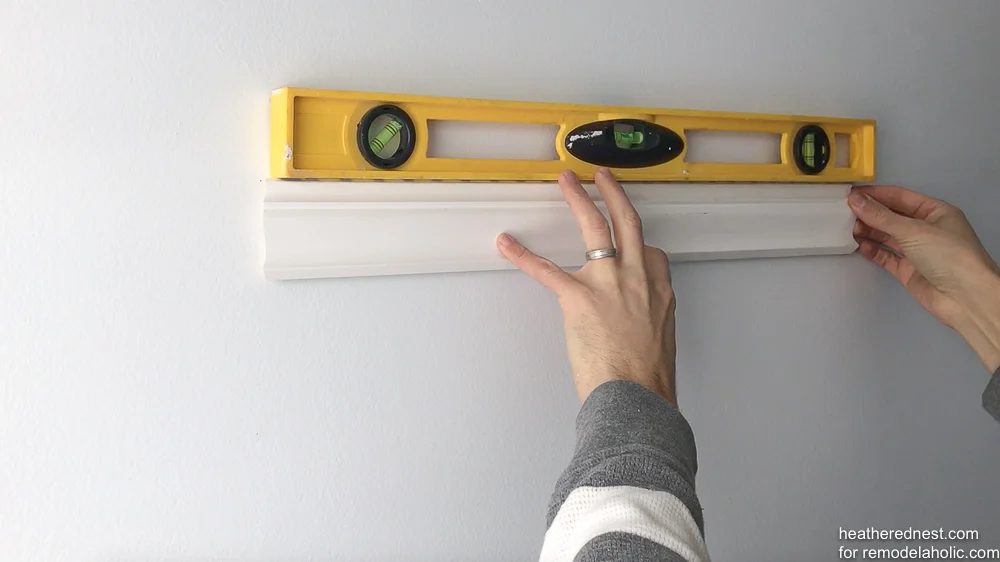
Once you’ve placed your molding where you’d like it, and checked the position with a level to ensure it’s not wonky, go ahead and nail it to the wall. We used our nail gun, but you could also use a staple gun, or pre-drill some holes and use screws.
5.) Fill nail holes. Sand.
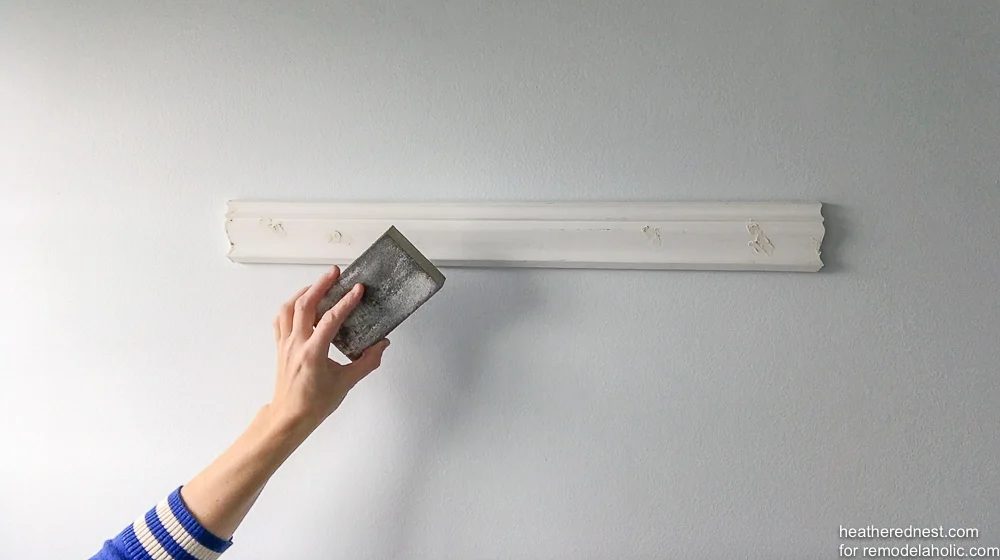
Fill the nail holes with spackle, joint compound or wood putty. Whichever floats your boat. Once dried, you can sand the excess until the holes are covered and smooth.
6.) Caulk, and touch up paint.
Caulk edges around the molding to give the molding a nice finished look. After the caulk is dry, you’ll want to touch up the paint on your molding to cover the wood putty or spackled areas.
Related: How to Caulk Like a Pro
7.) You’re done! Now for the hard part…
Decision time. This is undoubtedly the most challenging part of this project! You have to pick which shoes to showcase.
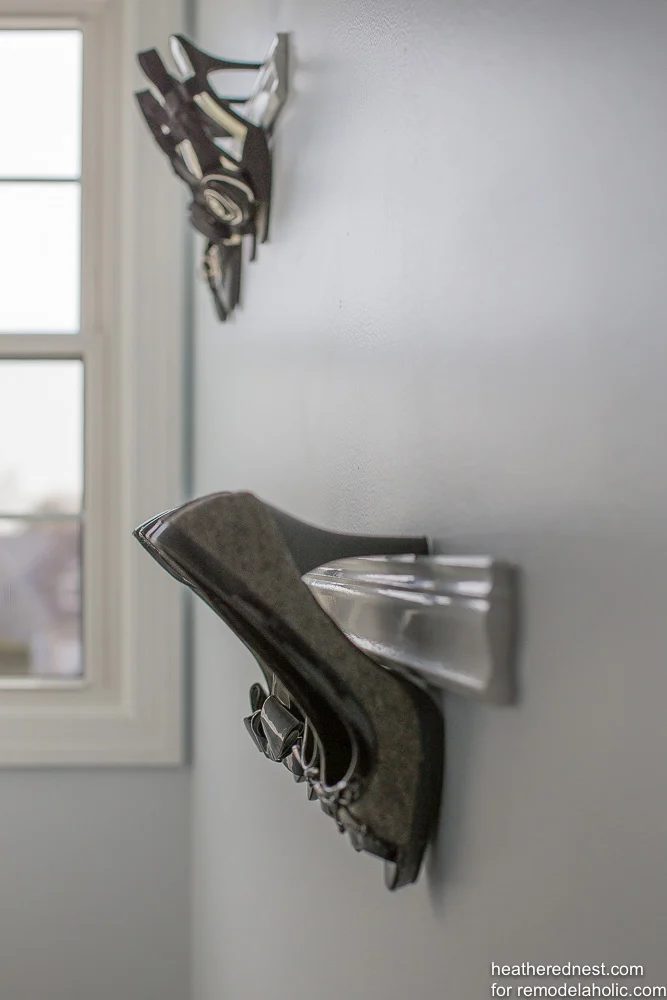
Or perhaps you’ll decide you really need a couple more pairs in order to well fitted this project (wink, wink). We’re still in the beginning stages of this closet revamp, but I LOVE how this shoe storage turned out. Can’t wait to work through the rest of this space!
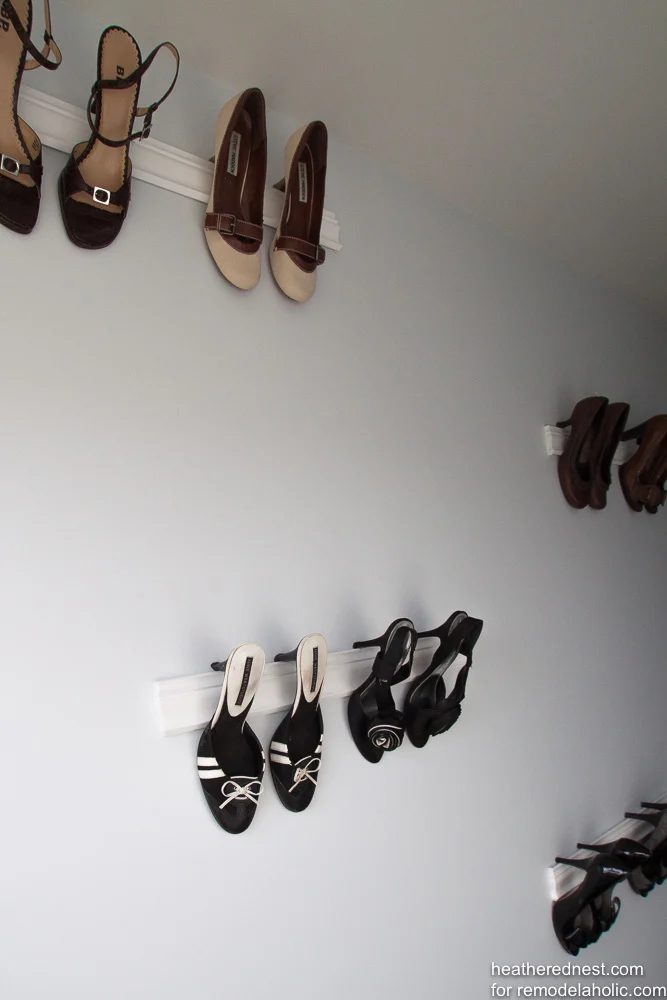
If you like straightforward storage and organization options, we’d love to share a couple of our other favorites with you!
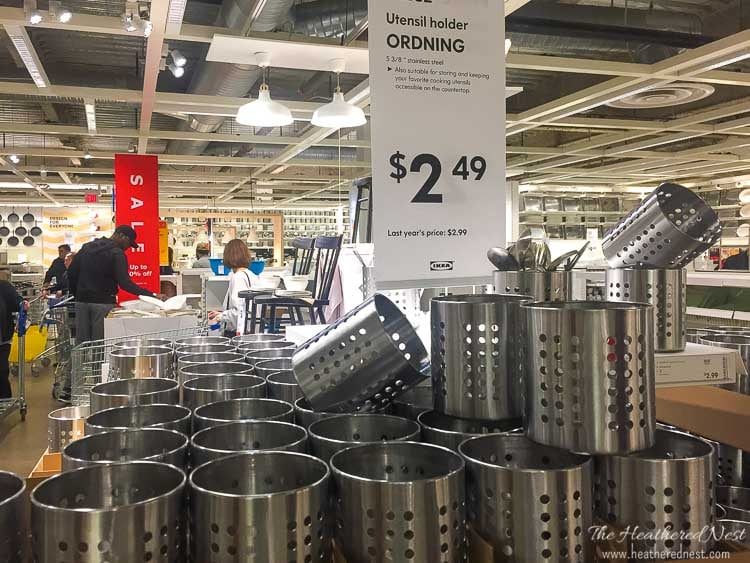
$2.50 Ribbon Organizer Ikea method
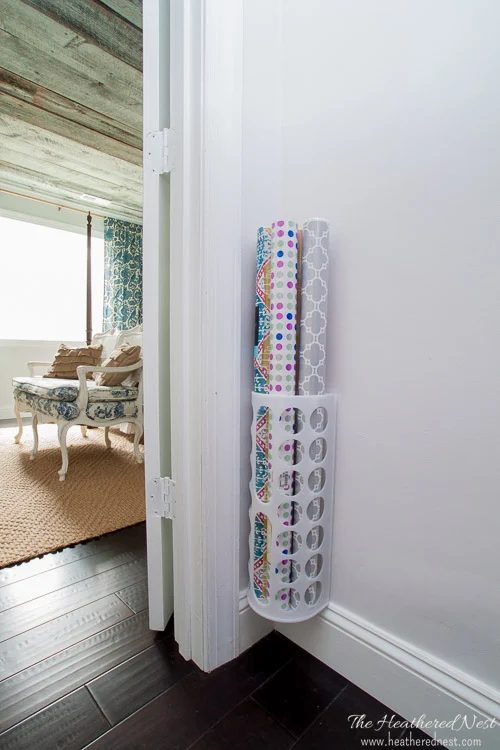
$2 Gift Wrap Organizer Ikea method
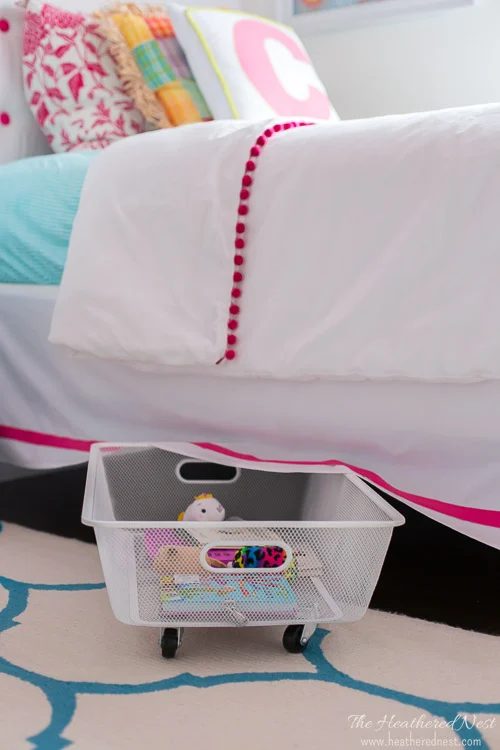
5-minute Handmade underbed rolling storage
More shoe storage options:
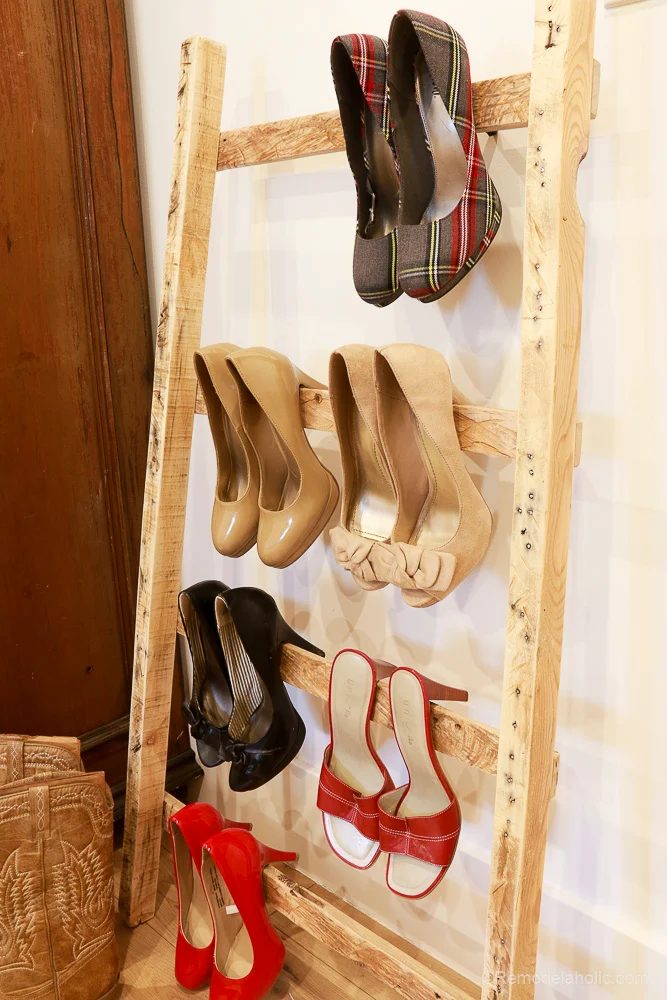
make a pallet shoe storage ladder
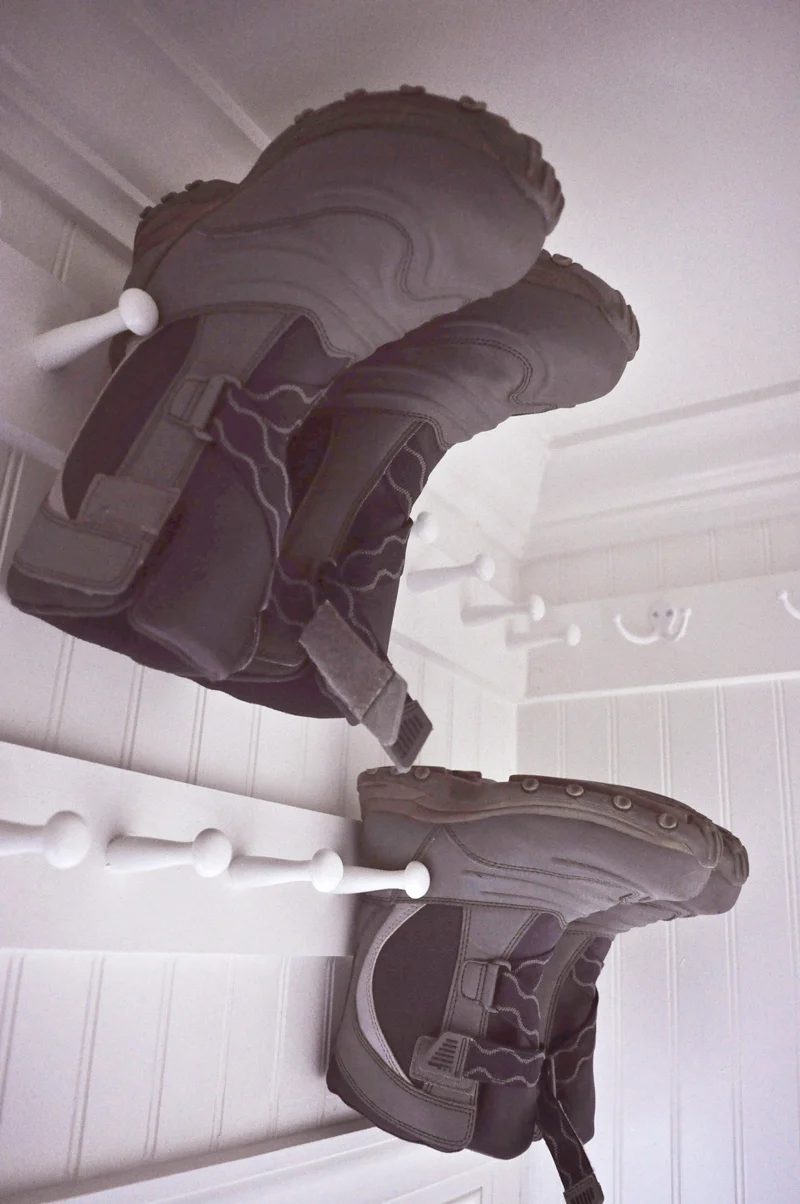
store boots using shaker pegs above the closet door
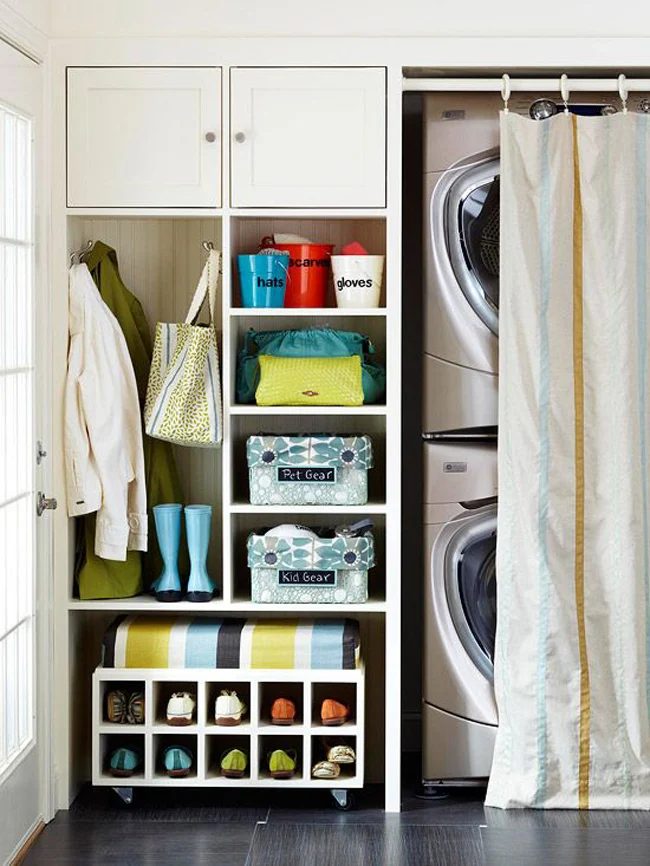
build a rolling shoe cubby bench
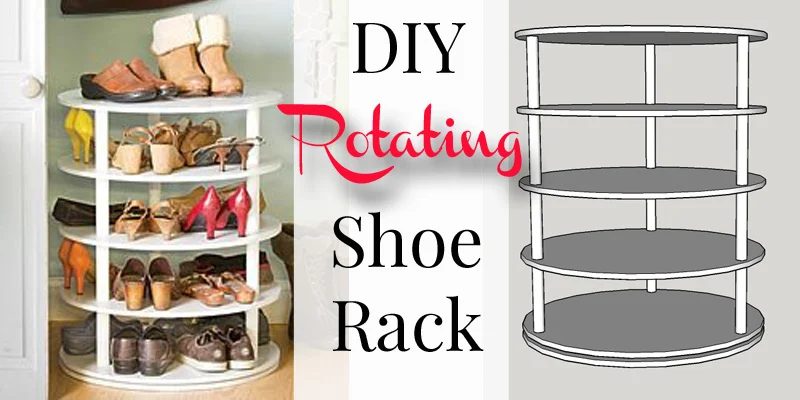
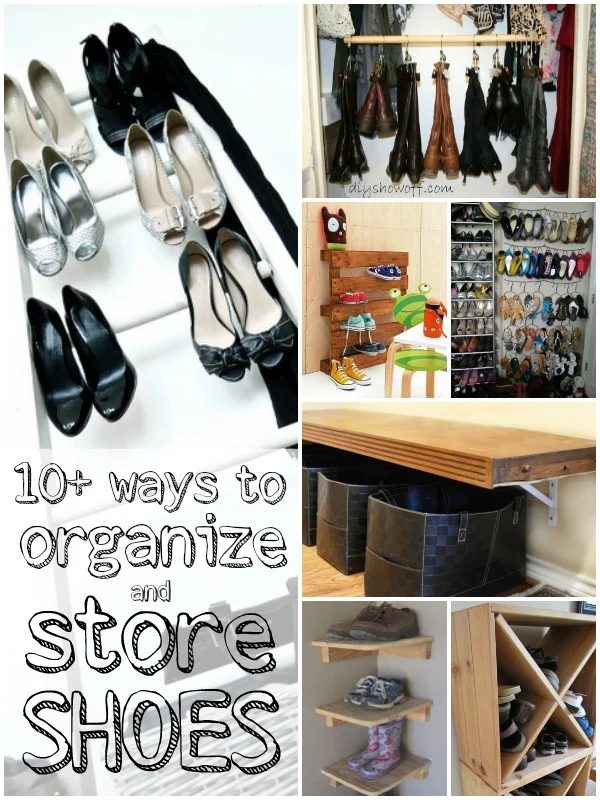
plus 10+ more ways to organize and store shoes