The steps below follow the order of the work for this methods project.
April at The Painted Cupboard has a very great looking shabby chic/distressed technique that I loved when I saw it. Check it out!
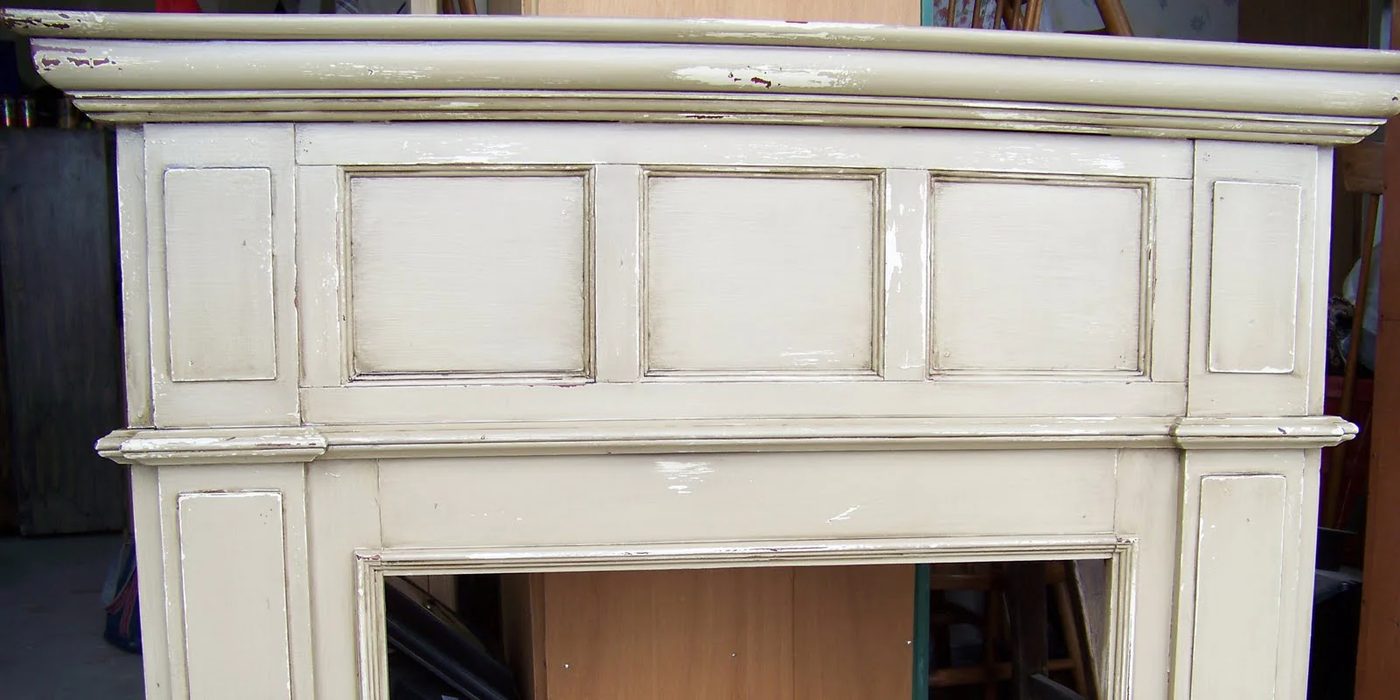
Yes, it is finally finished…I can hardly believe it myself!!! And I must be CRAZY for showing these awful pictures but, here is a sneak peak anyway…These pictures were taken in my garage with terrible lighting so it is really hard to see the true paint color ( more of a taupe/khaki) and finish. As soon as it is moved into the master bedroom, I will take and re post new ones. As far as the finish goes…I love it! As I stated in an earlier post, I was trying a new technique and was a little worried about it and although, it isn’t exactly like the Caromal Colours finish, I am very pleased. So, how did I do it?? I sanded, cleaned and prepped it.- I cut to size Luan (very thin wood) and wood glued it to cover the more ornate details along the front sides – it was a little too fancy for me.
- I then wiped Minwax Paste Wax over the areas where I wanted the wood to show through after the final sanding ( it helps to make the paint look like it is “chipping” off).
- I “smooshed”, “glopped” on or whatever you want to call it, the first coat or base coat of paint. I used Linen milk paint by General Finishes. You can find it on the Internet or Four Chairs in Lindon, Utah. *It actually looked like I had let my kids paint it!
- I then brushed 2 more coats of the same Linen paint to make sure I had even coverage.
- I applied another round of paste wax to the areas where I wanted the base coat to peak through from under the topcoat.
- I then put 2 coats of the topcoat Rittenhouse Ivory by Old Village Paints, again from Four Chairs.
- After it had dried and “cured” for a day or 2, I sanded and distressed it using a hammer and nail to make “worm holes” and “nicks and dings” paying particular attention to where normal wear would occur. I really wanted this to look like it had been around for a long time and had several layers of paint underneath.
- I applied Old Dad’s Old World Stain like a glaze…leaving it in all the “nooks and crannies” to make it look old and aged.
- Finally, I put 3 coats of General Finishes polyurethane on for added protection.
Before:
What do you think?