The steps below follow the order of the work for this furniture project.
Kicking off Headboard Week, we’ve got Corey from Sawdust2Stitches, one of our newest contributors! Learn to build a tall slat headboard, and come back later today for more great headboard tutorials and inspiration. Hop to the end of the post to join the link party and share your Handmade headboard, too!
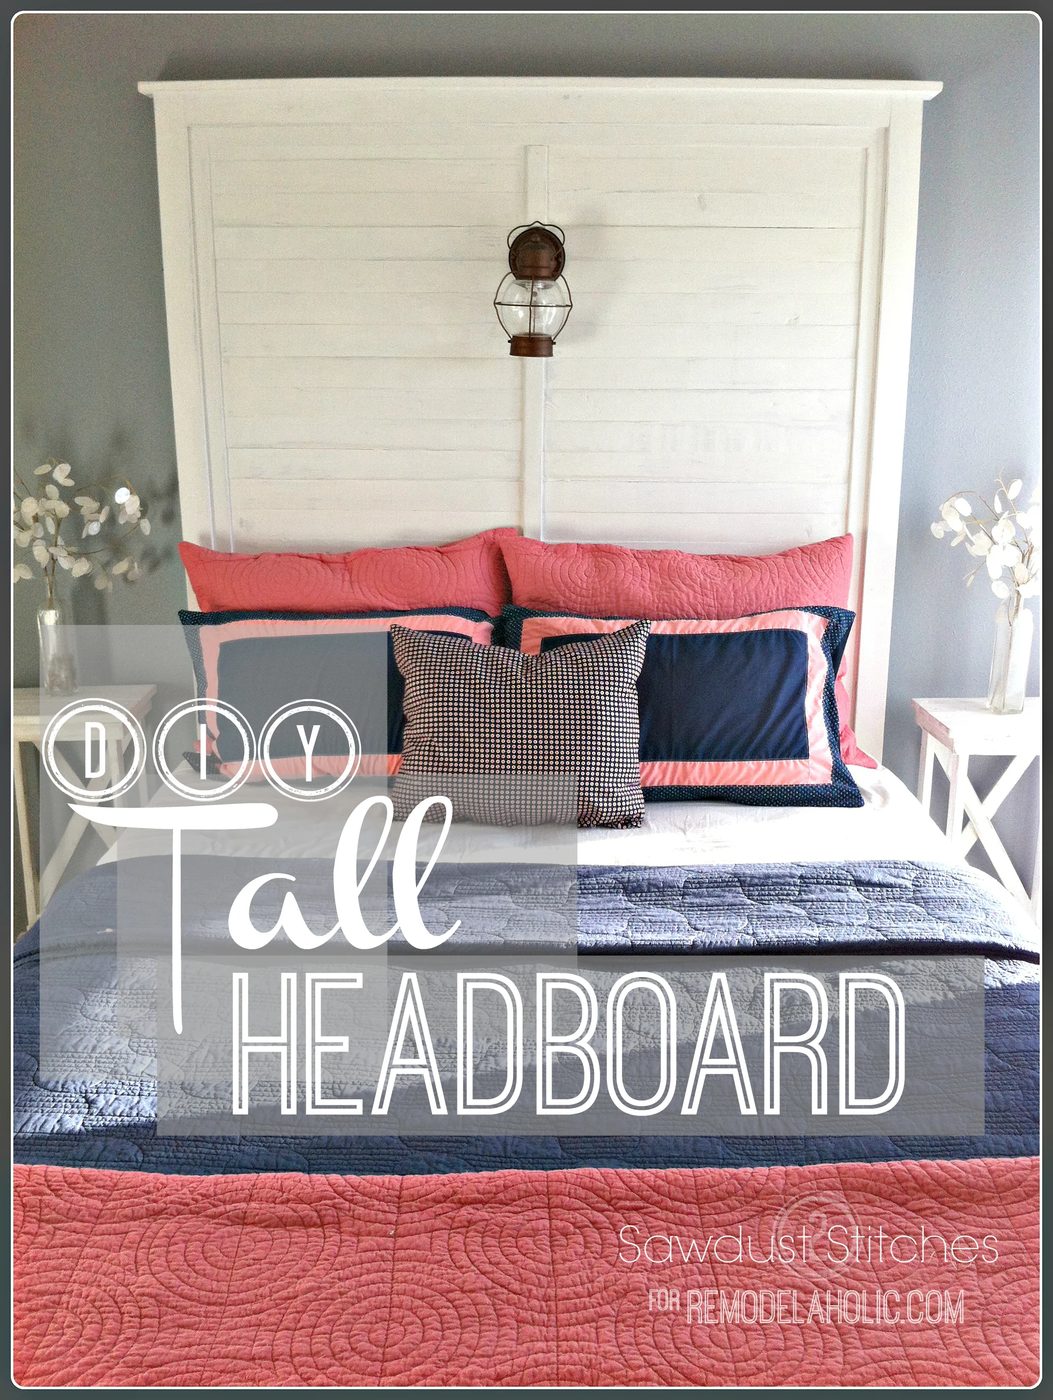
Have you ever started a project that seemed direct, but the deeper you get into it, the more you realize there was a far simpler approach! ? BUT you are already half way through; and you don’t want to start over? Then 4 hours later you realize, yet again, you could have already started the project over and finished it… twice ? This is one such project.
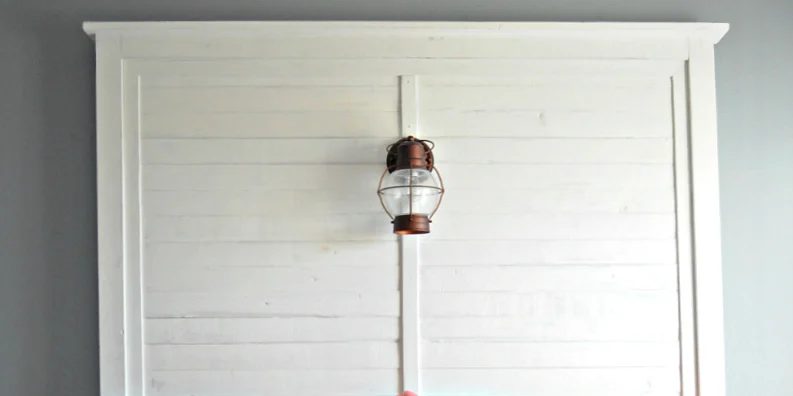
So, I present an easier version of an memorable headboard! NOTE: There are some slight modifications from the headboard pictured. (There is not a slat running down the center.)
How to Build a Tall Slat Headboard
by Corey of Sawdust2Stitches
Tools Recommended:
- Mitre Saw
- Sander
- Drill
- Drill bit
- Nail Gun
- Air Compressor
- Wire Strippers (If installing a lamp)
Supplies Needed: * The dimensions listed are to accommodate a QUEEN size bed.
(They can easily be adjusted to fit a twin or king, just a little bit of math.)
- 1×3 Fir Strip (8′) x 3 $1.71 / each = $5.13
- 1×2 Fir Strip (8′) x 2 $0.95/ each = $1.90
- 1×4″ Fir Strip (8′) x 16 $1.81 / each = $28.96
- Lattice Slats (8′) x 3 $1.07/ each = $3.21
Total = $39.20
(Subject to change by region, and does not include lamp or finish.)- Stain/Paint
- Lantern (if applicable)
- Straight Blade Plug (If installing a lamp)
- Extension cord (If installing a lamp)
- 1″ wood screws
Cut List
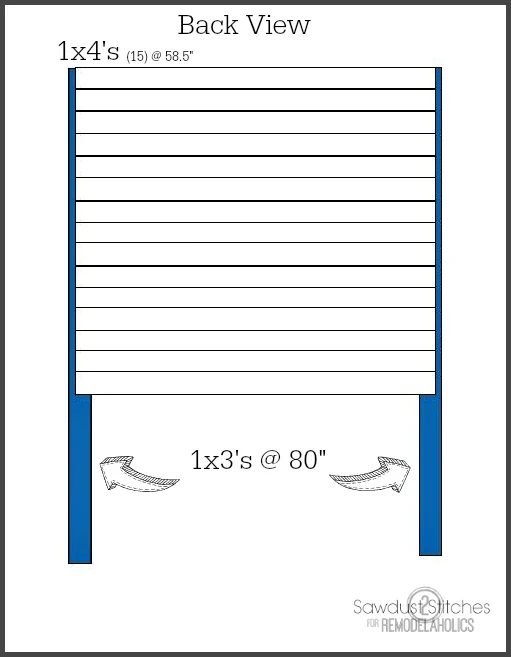
- 1×4 @ 58.5″ x 15
- 1×4 @ 61.5″ x 1
- 1×3 @ 80″ x 2
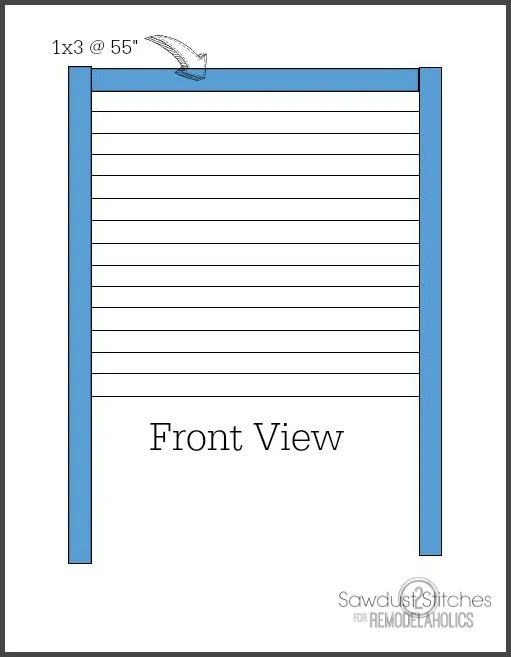
- 1×3 @ 55 ” x 1 ( I suggest cutting this to fit)
- 1×2 @ 80″ x 2
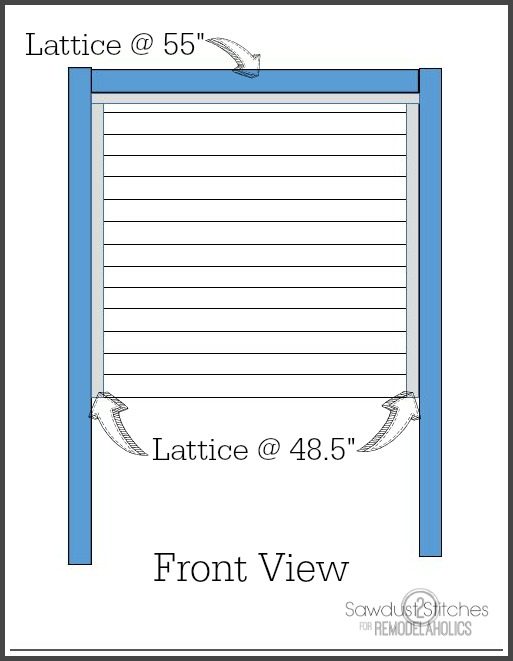
- lattice @55″ x 1
- lattice @48.5″ x 2
Building the frame
The ( 80″) 1×3 posts will be the vertical and the (58.5″) 1×4 slats will run horizontally connecting the 1×3 posts.
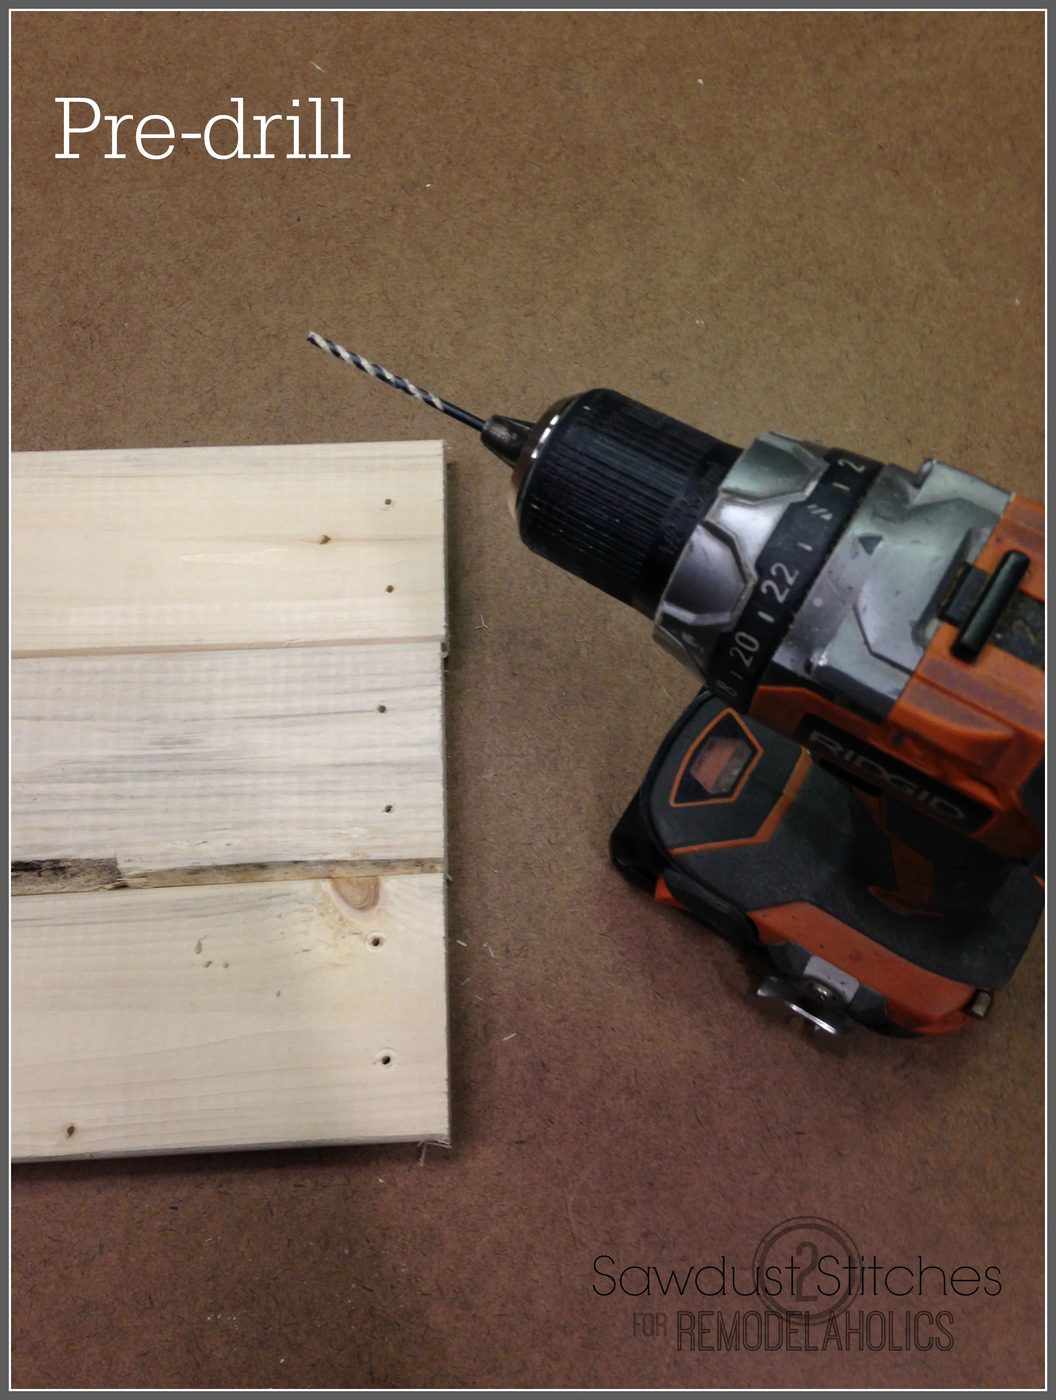
 Pre-drill the 1×4’s 2x on each end.
Once pre-drilled, use (2) 1″ wood screws to fasten each 1×4 end to the 1×3 post. The 1×4’s should be 3/4″ from the side. (I used a 1×3 turned on its side as a marker.)
I strongly suggest using a square as you go. You don’t want this thing to end up all wonky.
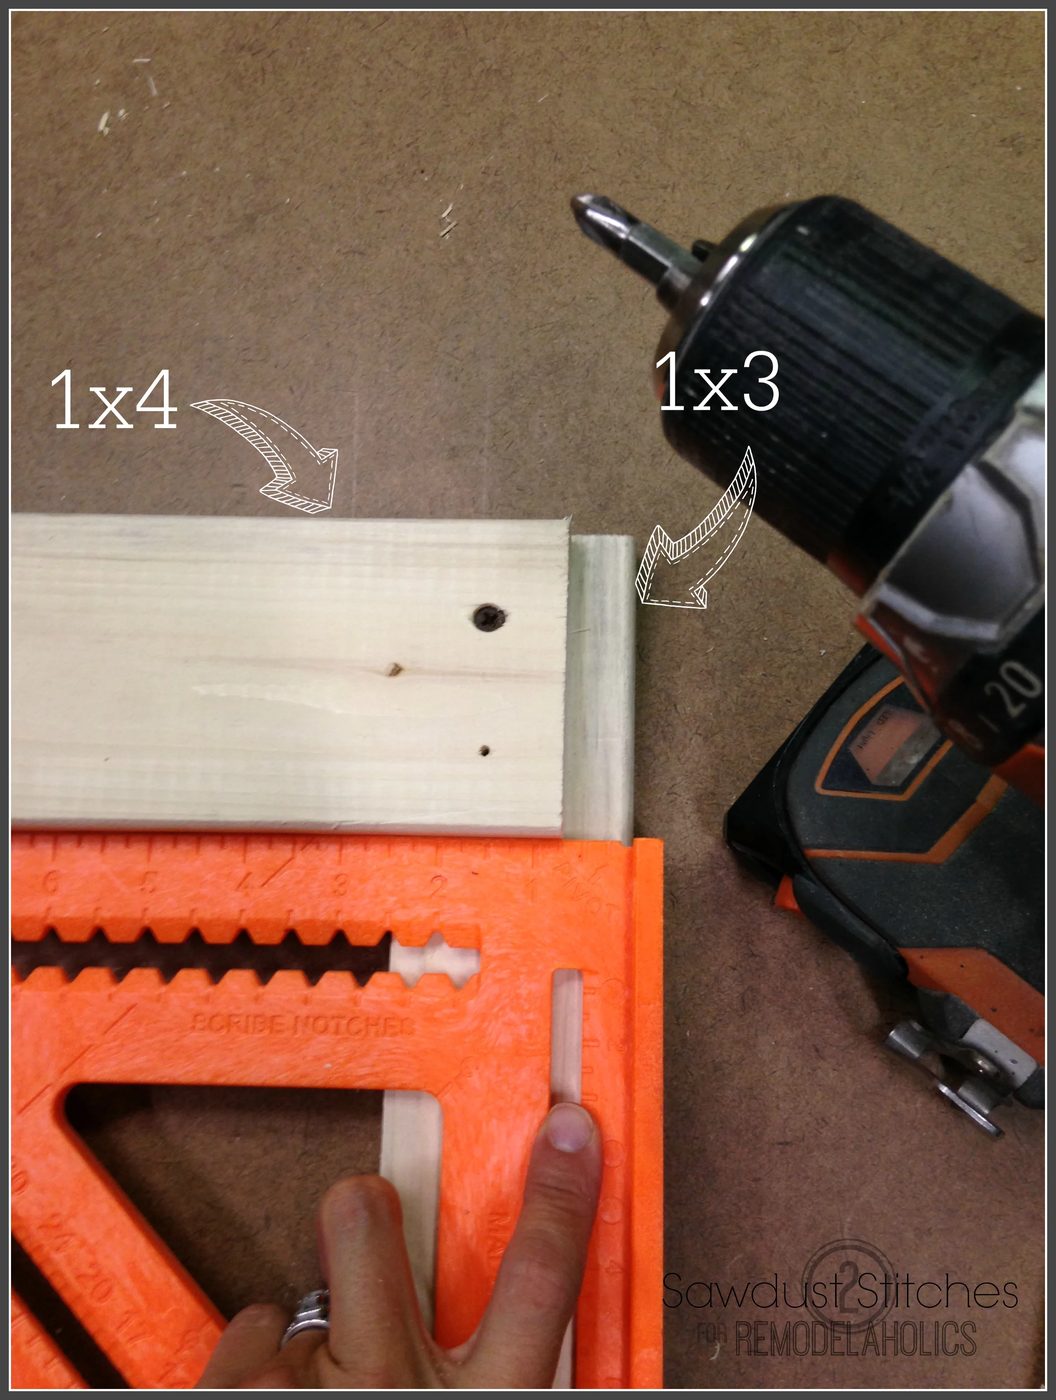 Repeat 14 more times!
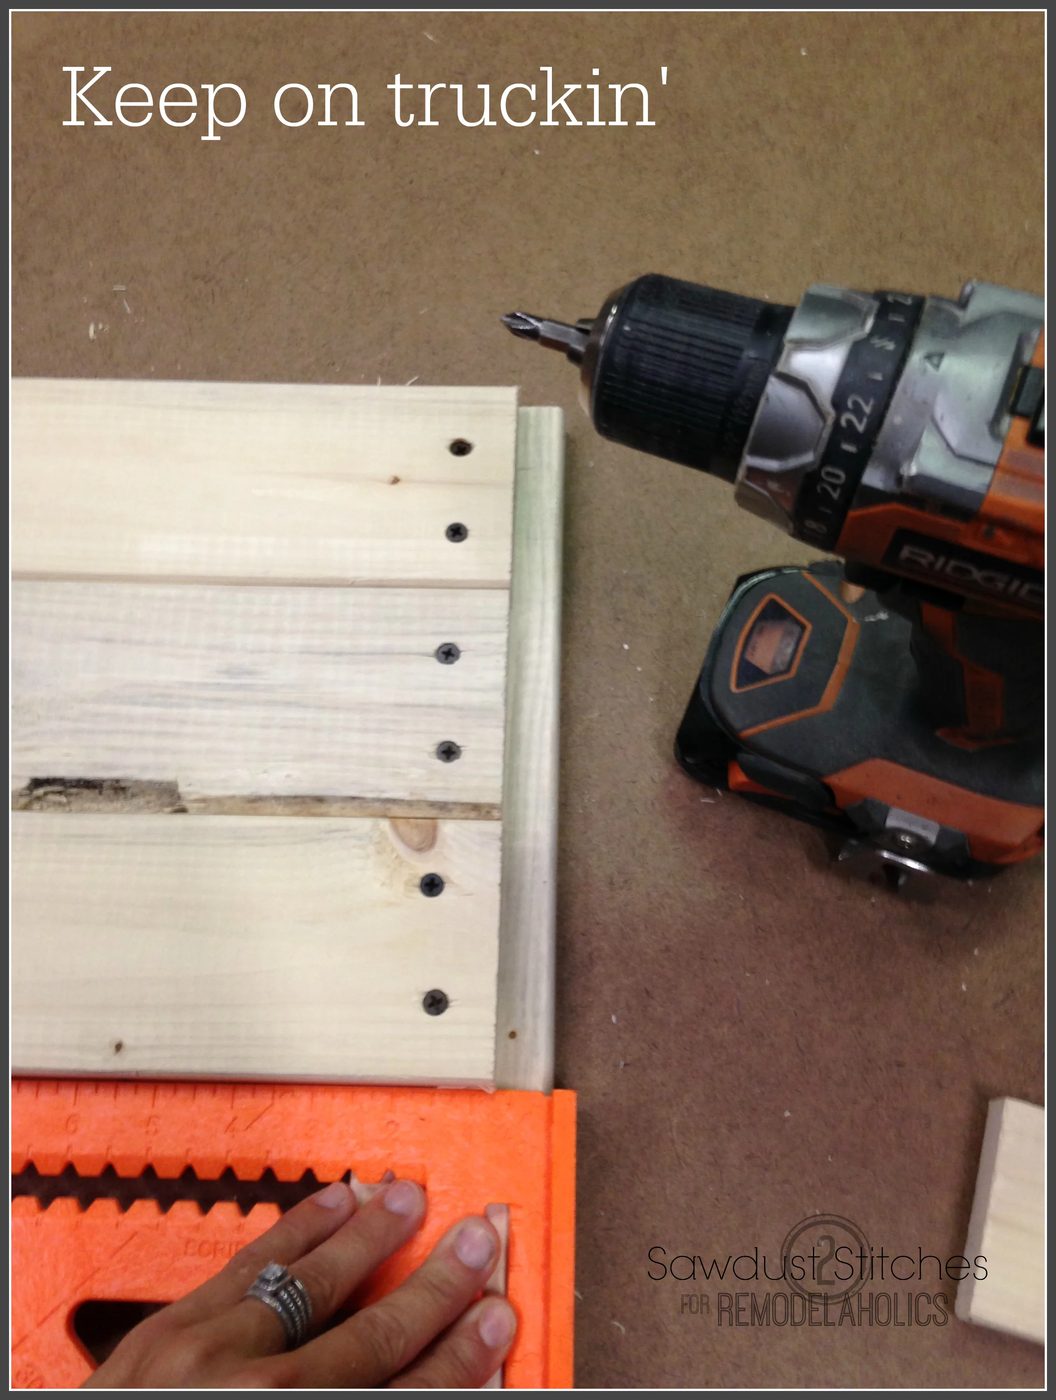
After all the 1×4’s are secured to the backside flip over and attach the 55″ 1×3. It “should” be a well fitted fit, but I might suggest cutting it to fit. You can either secure it from the back using a drill, or tack it in place with a nail gun.
Truth be told, I used the lattice on mine to hide a few mistakes. They are not necessary, but I like them. So if you like em, attach them. I used a nail gun to tack them in place.
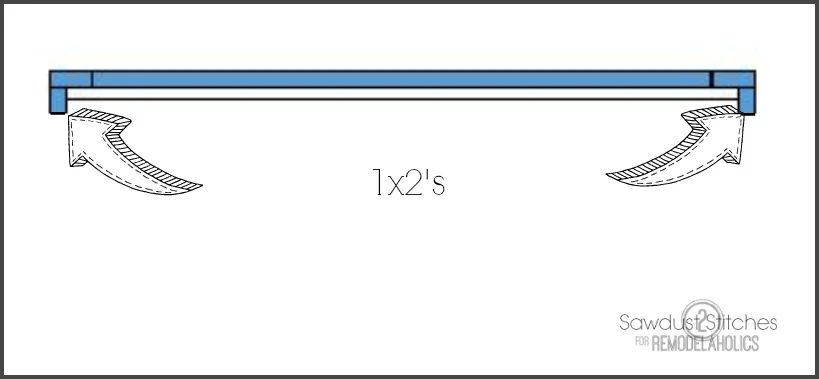
Attach the 1×2’s to the back of the posts. They will serve as a form of stability and also hide the ends of the 1×4’s.
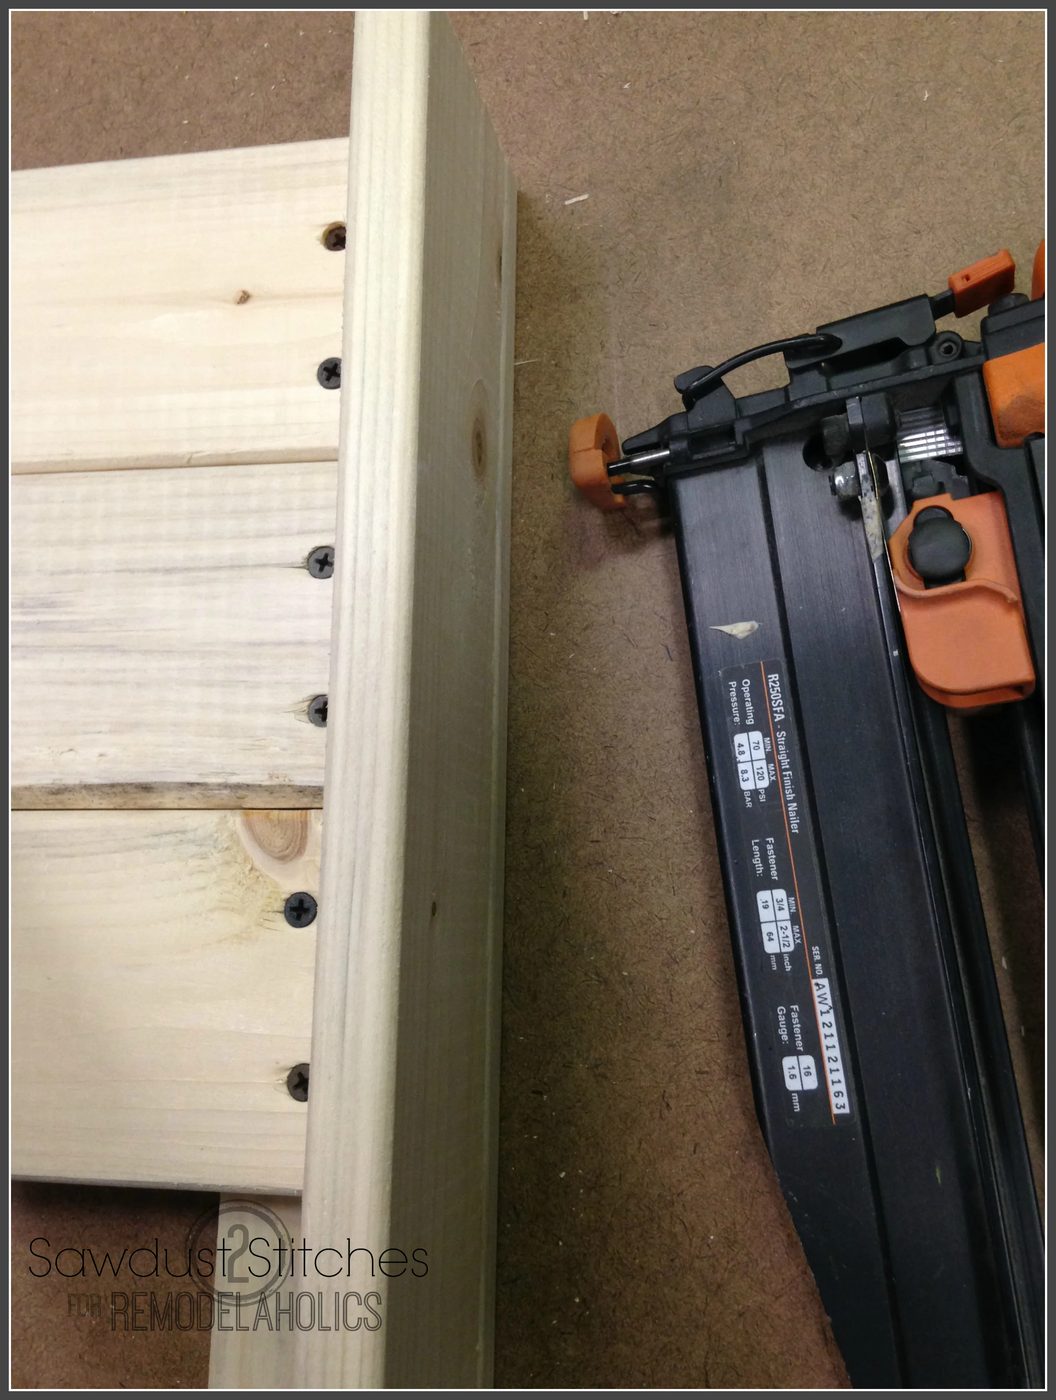
I used a nail gun, but you can hand nail, or if cautious, you can pre-drill and then attach via screws.
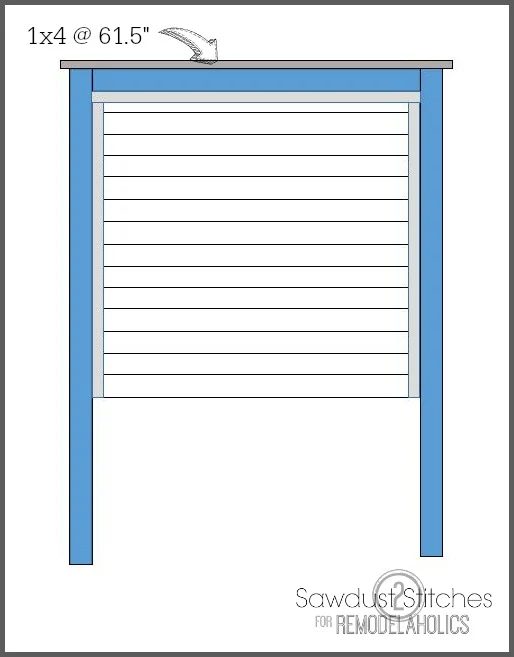
Last step in the building process is attaching the 1×4 to the top. Just make sure it is centered, then nail in place ( or pre-drill and screw).
Ta-da!
 At this point whip out your choice of finish, whether it be paint or stain, and go to town!
Installing the light
I purchased a “wall mounted” lantern kit, but I wanted to be able to plug it into a standard outlet. Guess what!? It is clearly straightforward!
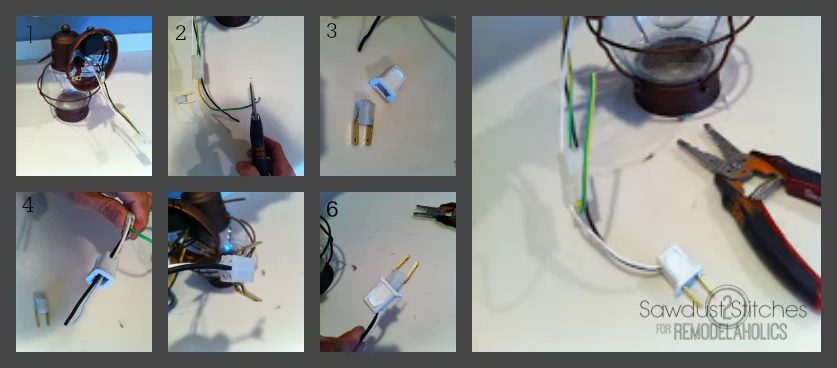
You just need one of these: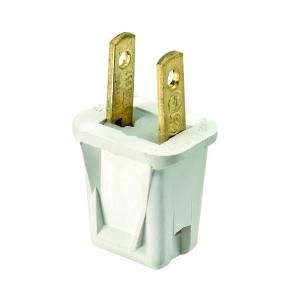 They can be found in the electrical section of most hardware stores for less than $2.00.
It will come with clear instructions, but here are pictures in the event you need reassurance.
In most cases, standard wall mount lights come with the mounting kit. Again, they come with instructions, but here are some step -by-step photos to put you at ease. The only additional step required is drilling a hole. You need the hole to be large enough to fit the newly attached plug through.
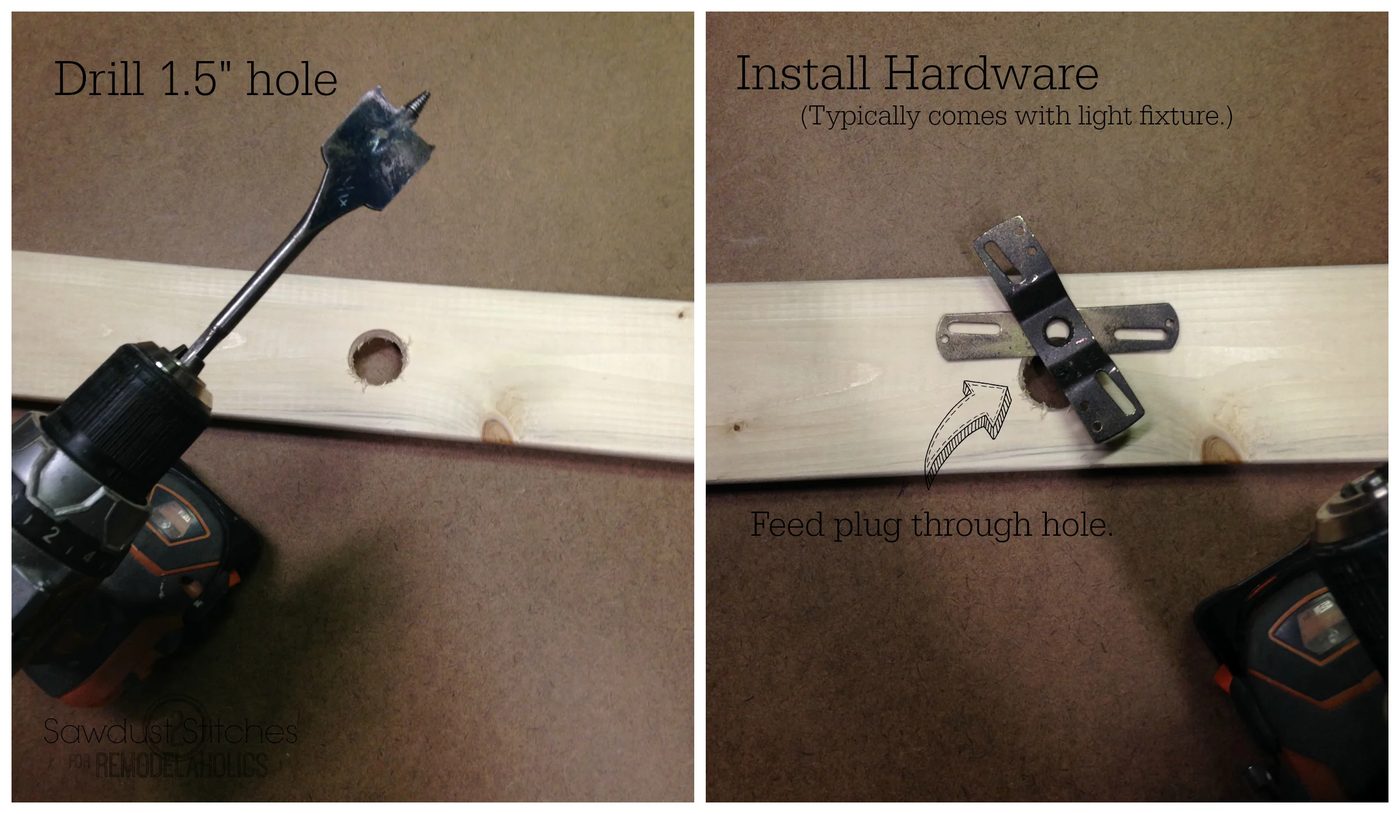
Once the bracket is mounted, most standard lights only require two screw-on caps to complete installation. (Again, this will vary depending on the lantern.) Once the plug is fed through the drilled hole , an extension cord can be used to accommodate outlet placement.
So pretty !
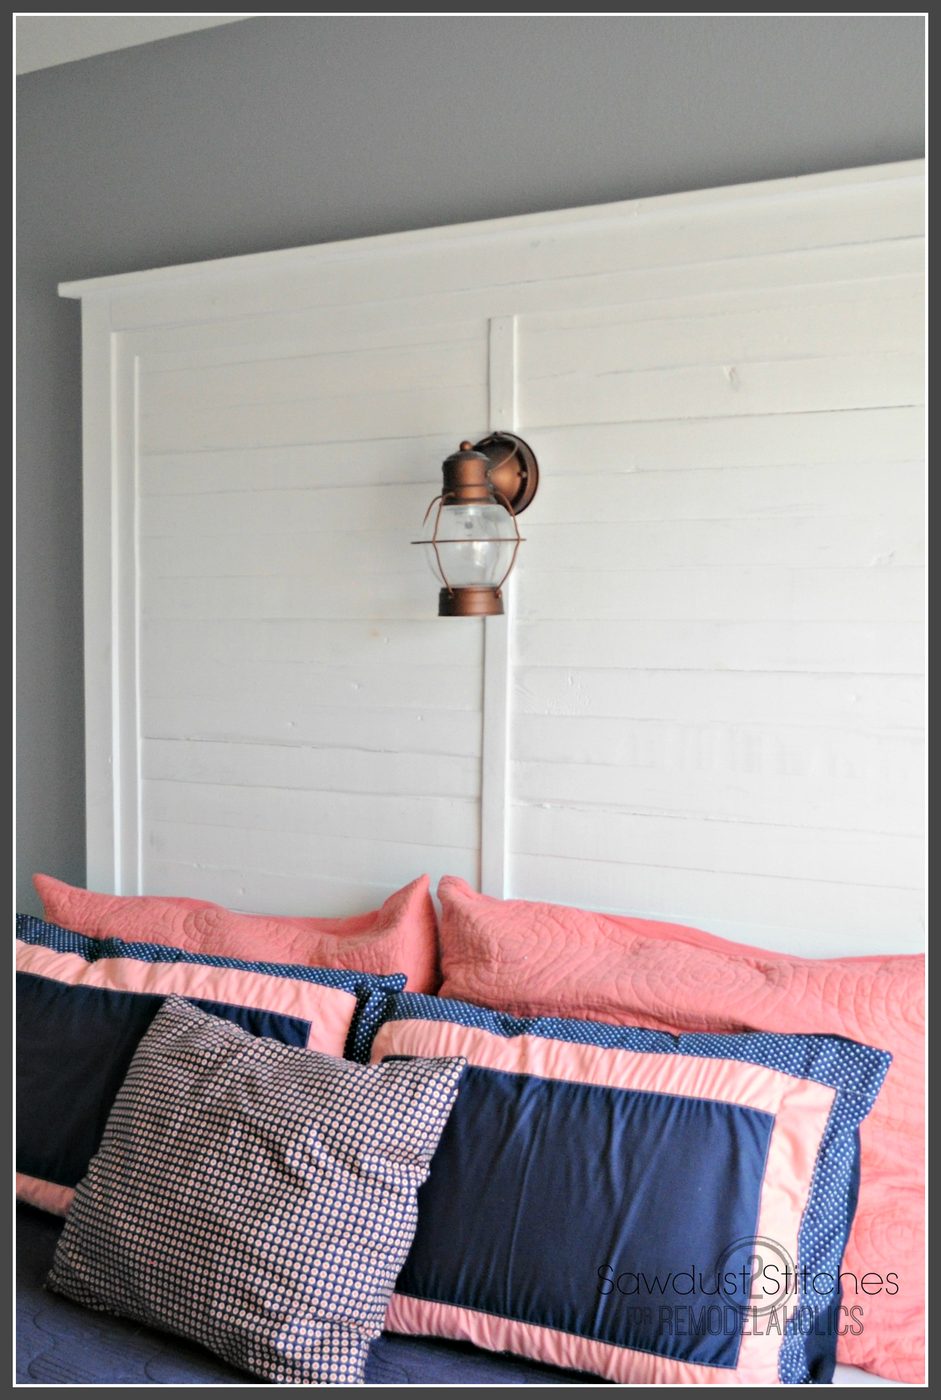
This is a sturdy headboard and can be bolted to most standard frames. However, this is a ” top heavy” frame, so I chose to take extra precautions with mine, I secured mine to the wall. I used a technique that I demonstrated on a Nightstand Lamp walkthrough.
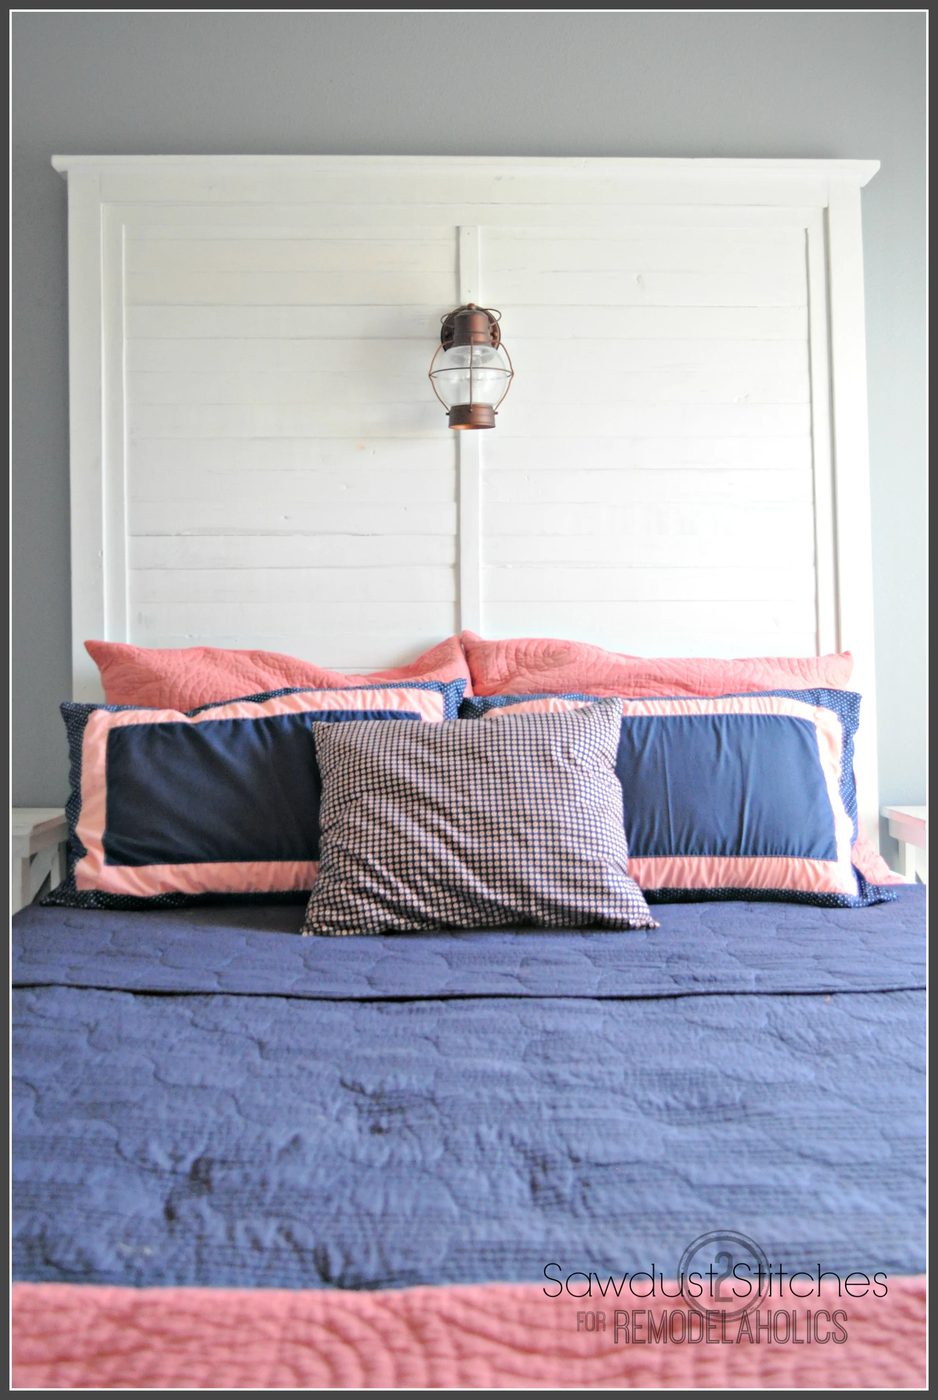 There you have it, an inexpensive, straightforward to build, striking headboard! Another bonus feature: You don’t have to figure out decorative wall art above the bed! Nice.
Take luck,
Corey
——————————————–
Come back later today (and check in each day this week) for more great features from Headboard Week like a no-sew headboard slipcover and our go-to built-in beds!
Don’t miss a single Headboard Week post! Follow us on Facebook here or subscribe to our RSS feed here.