Read the sequence from the top before cutting, painting, or moving pieces.
Nothing like a great walkthrough to get you through a hard project! This is a great post on how to reupholster that old cane chair you’re not quite sure what to do with! Make it “brand” new with this chair reupholster Handmade walkthrough!
Submitted By: Peacefully Home
Above all else, my desire is for my life to bring God glory and make Him known to others. I am blessed to be married to my best friend, a loving, patient, and Godly man. I am also a friend, sister, aunt and currently a caregiver to children with special needs.
I enjoy decorating, Handmade, crafts, cooking, organizing, and overall just “managing” my home. Over the past couple of years I have discovered the pure joy of making my home peaceful for all who enter. My hope is that I can help you make your home a little more peaceful as well.
You can also read more about me and why I started this blog in my post An Introduction.
More projects by Peacefully Home here: Handmade Picture Ledge Handmade Envelope Pillow in 10 Steps Old Window Turned Mirror
There’s nothing quite like admiring and enjoying a Handmade project that turns out to be a striking addition to your home! Refinishing this cane chair that belonged to my husband’s parents started out as a joke. They had a pair of them in their basement and I knew I could turn them into something wonderful, but my husband did not have the same vision.
Once we knew we were buying a house in the spring, I started doing some research to prove my point (that I could make these chairs into something we’d want to have in our living room). After mentioning that I wanted the chairs severaltimes over the course of the next few months, and after showing Josh pictures of other refinished chairs, he realized that they did have potential. The chairs had won him over!
My mother-in-law had mentioned that she would like to help me and that she had previously refinished the chairs with her mom and grandmother. So, a few weeks ago when my husband was gone on a business trip, she came to visit and we refinished one of the chairs to use in our living room. It was so much fun and I am so happy with the results.
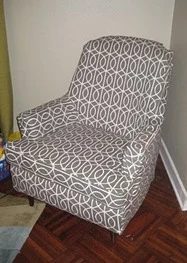
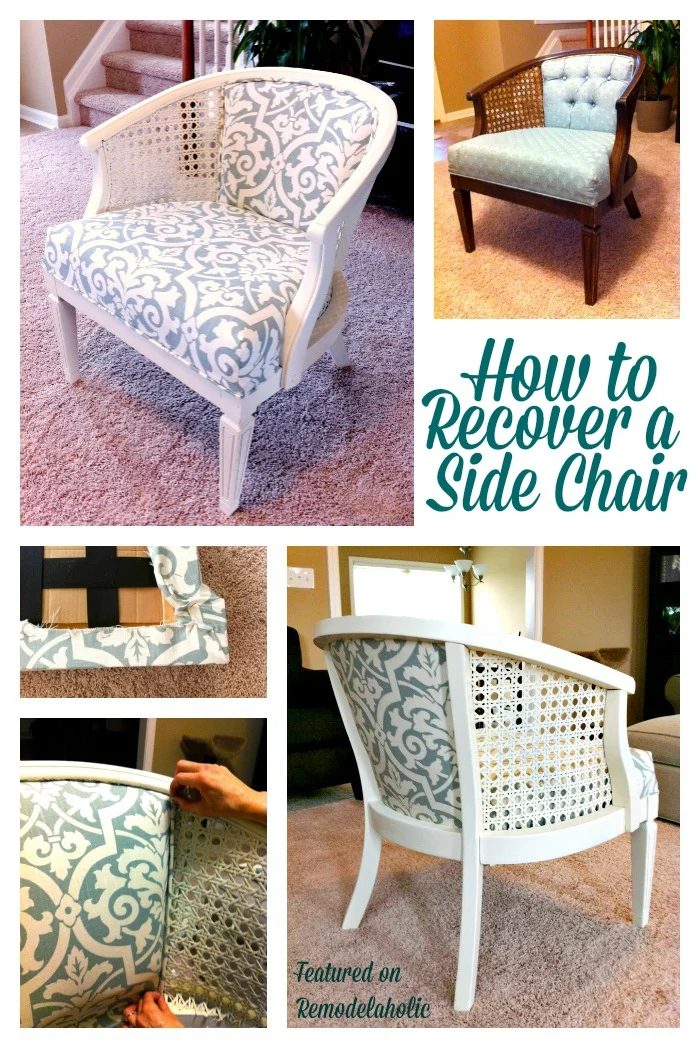
Here is what the chair looked like before:
The first thing we did was take the upholstered parts of the chair apart so we could see how it went together. We made some notes on how the pieces were attached so that we could remember when we put it back together. The very back piece was stapled in, but the seat back was stapled at the bottom and then hot glued around the rest of the edges.
I wanted the chair to be a cream color, so we wiped it down with mineral spirits, and then primed with Kilz spray paint primer. This was the first time I had used this primer, and wow, this stuff covers! I loved the coverage of Kilz, but for some reason the chair had a fine dust all over it afterwards. I am not sure why this was, but next time I will use fine sandpaper to sand after priming.
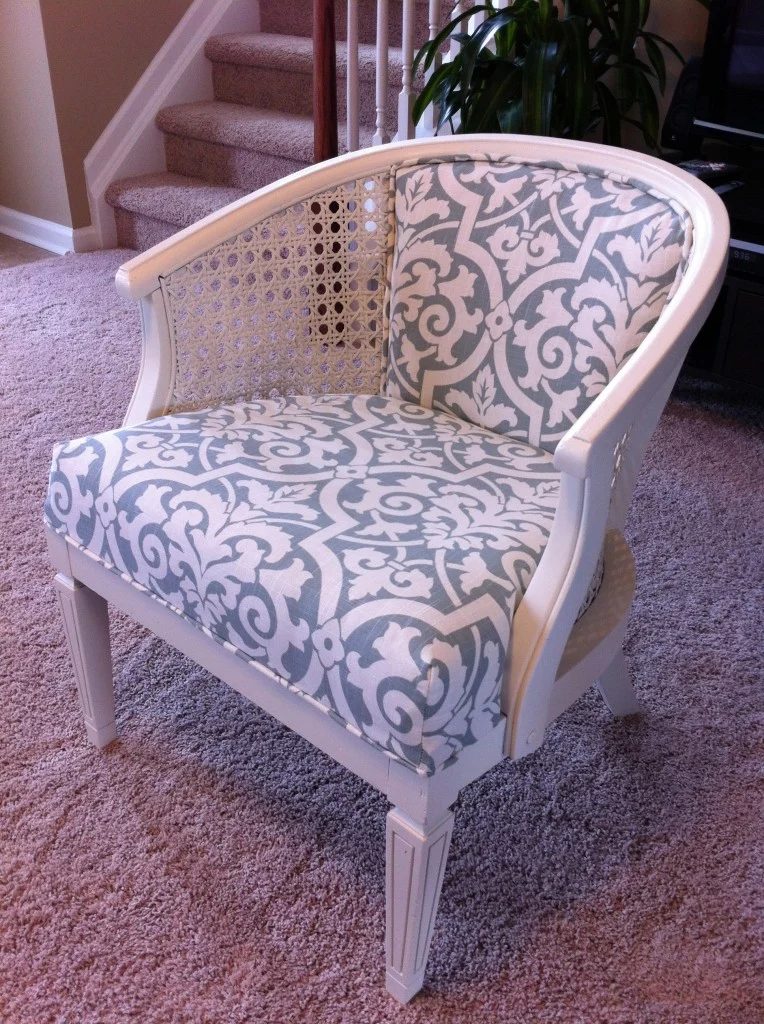
After the chair was primed, we painted it with Rust-Oleum’s Painter’s Touch in Heirloom White. Although I tried my best to cover everything with one can of paint, I had to use most of a second one to get the coverage I wanted.
I love this paint color and it made this chair striking!
(I had to go back and touch-up the paint after this picture was taken)
While the paint was drying, we worked on the upholstery of the seat. We purchased 2 yards of upholstery fabric so that we would have plenty of fabric to line up the pattern on the seat and seat back. Using the old fabric that covered the chair as our pattern, we placed each section on the fabric (over center of the portion of the fabric pattern we wanted), and cut out each piece. We also cut out two strips of the fabric for the piping on the front of the seat and around the edge of the seat back.
We then sewed two seams, one on each corner of the front of the seat. We also made the piping by folding the strip of the fabric over the piping and sewing all the way down, as close to the piping as possible. To cover the seat, we pulled the fabric tight, stapled around the edges on the underside and then hammered the staples down.
Next we stapled the fabric to the very back of the chair. The sides we stapled and then folded over, but along the top and bottom we simply stapled. We also hammered in all of these staples.
The seat back had buttons previously, but for a more modern look I wanted it to be plain. I had seen online that you could fill the button holes of the foam with batting instead of buying new foam. This worked wonderfully to make the seat back smooth.
Then came the most difficult part, adding the seat back fabric. It probably didn’t help that it was also late in the evening and we had been working all day! After we laid the foam and fabric on top of the chair, we stapled the bottom of the piece of fabric to the chair.
The rest of the sides we trimmed down to the exact amount of fabric we needed (which was quite difficult) and hot glued them down into the trench that goes around the sides. We used a screw driver to push the fabric down into the trench. To finish it off, we hot glued the piping around the sides, again pushing it down into the trench.
Next we screwed the bottom of the seat back together. We also added a dust cover the bottom of the chair that we had cut using the shape of the old one. We simply stapled it as tight as we could to the bottom of the chair to keep out the dust bunnies.
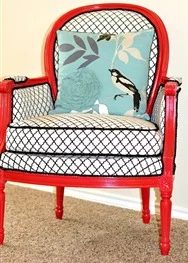
Finally, we sat in the vivid new chair and admired all of our hard work!
Just for fun, here is the before and after:
look at these other memorable chair reupholster projects!