Read the sequence from the top before cutting, painting, or moving pieces.
Hi there Bekob fans! Ursula here from Home Made by Carmona, where it is raining projects all the time!
I’ve come to the realization that I have price-tag-a-phobia. Every time I go hunting for that well fitted ‘decor’ or ‘organizing’ item (especially furniture), I find myself wondering why I bothered make the trip…there is NO way I’m spending that crazy amount of money for something I could probably make myself. Granted, I occasionally over-estimate my abilities; last month I looked at a $2,900 Restoration Hardware armchair and said “ha! I bet I could make that!”. Yeah right, in my dreams.
Last time here on Bekob I broke out the tools for my tykes and made the cutest little play kitchen ever. Yes, I’m a grown up, and yes, I had a fabulous time playing “let’s make fake dinner and clean the kitchen after”…but then I had to leave to make real dinner and clean the real kitchen, which I did rather grumpily.
Well today I’m clearly excited to share a Handmade upholstered bench I built after loudly exclaiming “I bet I could make that bench!”, while ogling a lovely long tufted bench at Pottery Barn a few weeks ago. Hm, maybe that is my actual sickness. Should we entitle it I-can-make-that-itis ? Symptoms include tightness of chest when a high price tag shows, shortness of breath while examining to see if an item that can be made, and lightheadedness (plus a feeling of euphoria) when it is perceived that you can indeed do-it-yourself. Ha! Enough about my illness, let’s get to the walkthrough (and if you jump on this walkthrough, you might have caught my bug)!
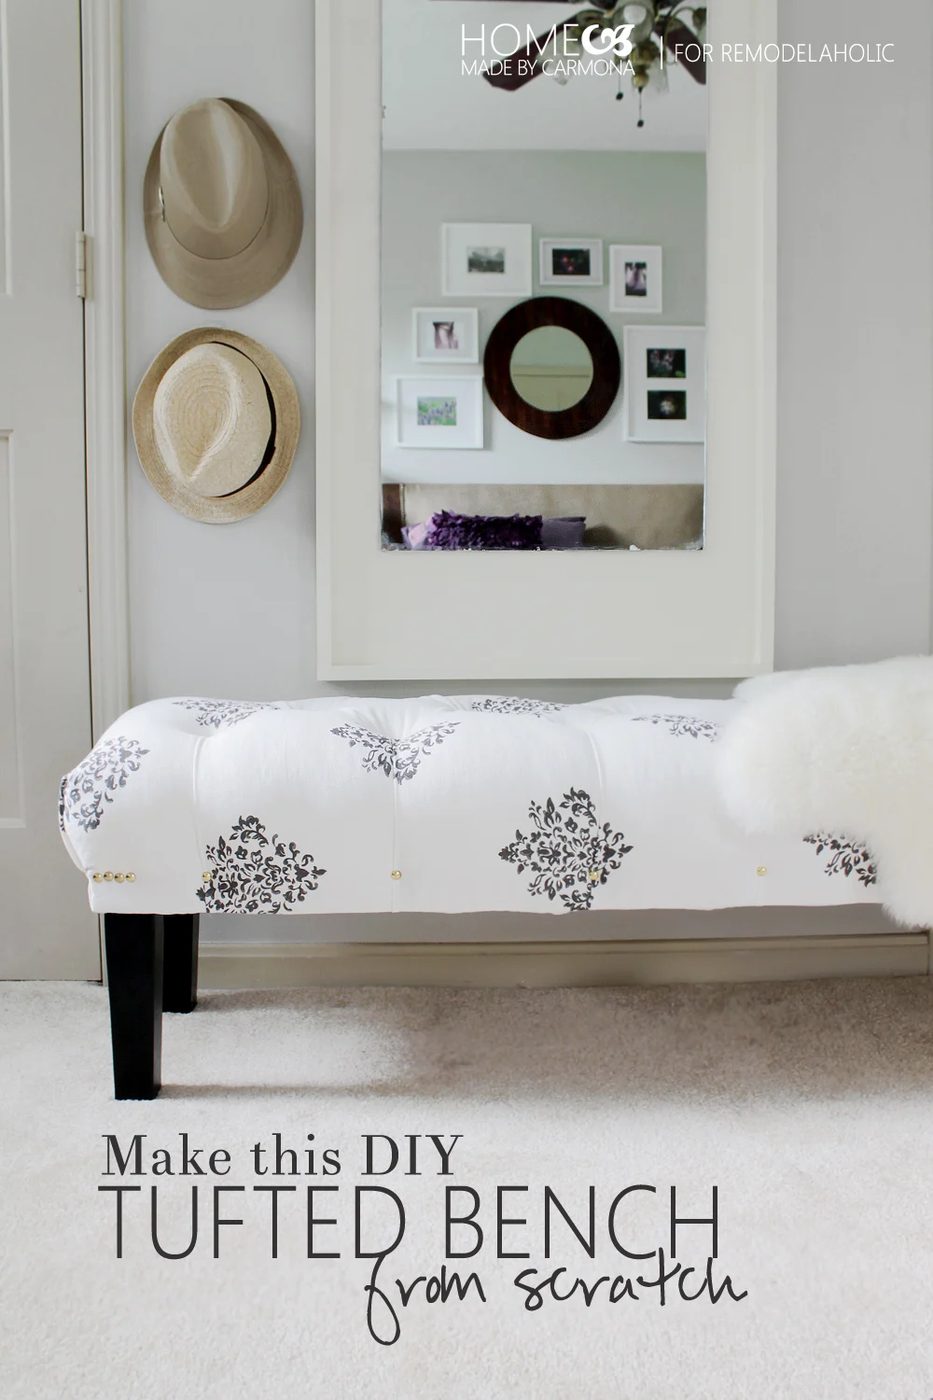
How to Build a Handmade Tufted Bench
This post contains some affiliate links for your convenience. open this to read our full disclosure policy.
Materials & Cost
I spent $43 making this bench, however I salvaged to get half the materials required. Here is what I used, and where I got it:
Bench Building Materials
- (2) 1×4 – 8ft Common board: Home Depot $3.15 ea.
- (2) 1×8 – 6 ft Common board: Home Depot $5.53 ea.
- (4) Chair legs: salvaged off of a broken armchair that got thrown away
- Nails, wood screws, and glue: already owned
Bench Tufting Materials
- (1) 1″ Queen sized mattress foam topper: Fantastic steal at Burlington $18.99. But you can use twin sized egg crate mattress toppers from Walmart for just $11!
- Chair foam: already owned, salvaged from a previous dining set that was so broken I had to throw it away. But you can also find chair foam at Walmart for just $6 (a pk of 4)!
- Button cover set (3/4″ buttons)(optional): Joann’s with a 50% off coupon brought it to $4.99
- Quilting batting (optional): already owned
- Material: an old window curtain panel I stopped using ages ago
Building The Bench
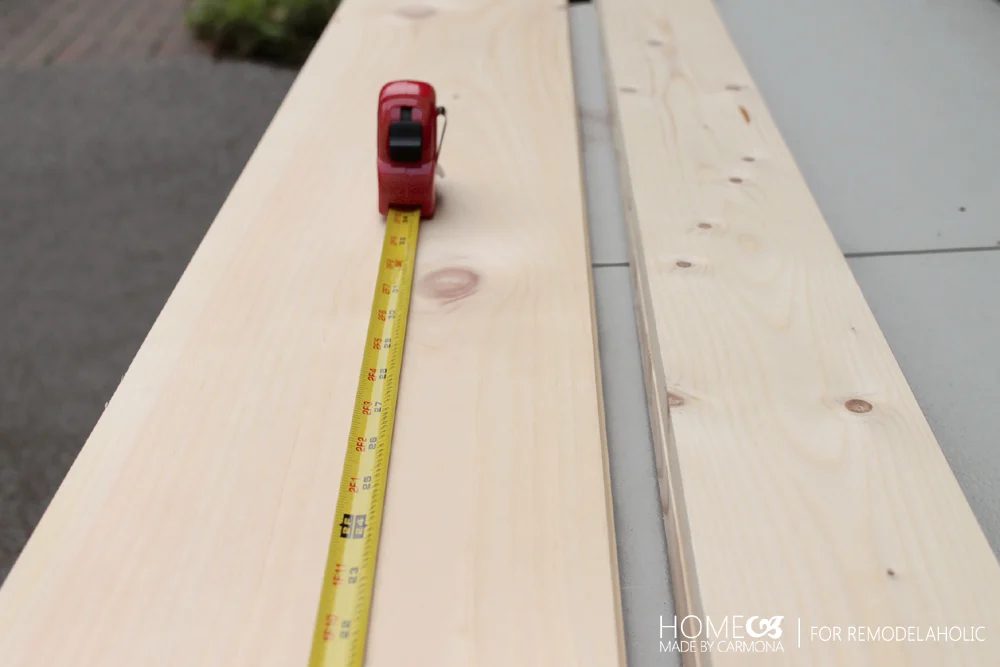
I brought home 4 common boards. I cut the 1×8 – 6 ft common boards to my desired bench length of 64 in. This is the length that would best fit my dining room, as this bench will be a long bench for us to dine at. Of course, you can customize your own to the desired length. Then I cut the 1×4 – 8 ft common board down into two 64 inches long pieces, and four smaller 13 inch pieces. You’ll have a bit of leftover wood, which you’ll need for later (every little bit of it!). Set up all the cut pieces like the picture below to make sure everything fits.
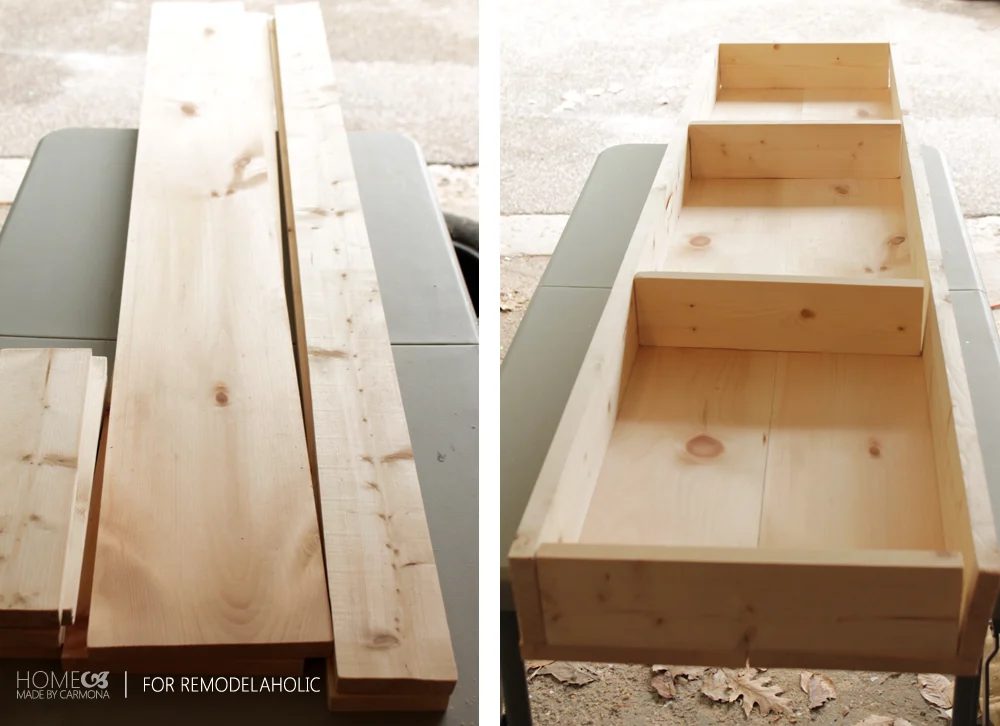
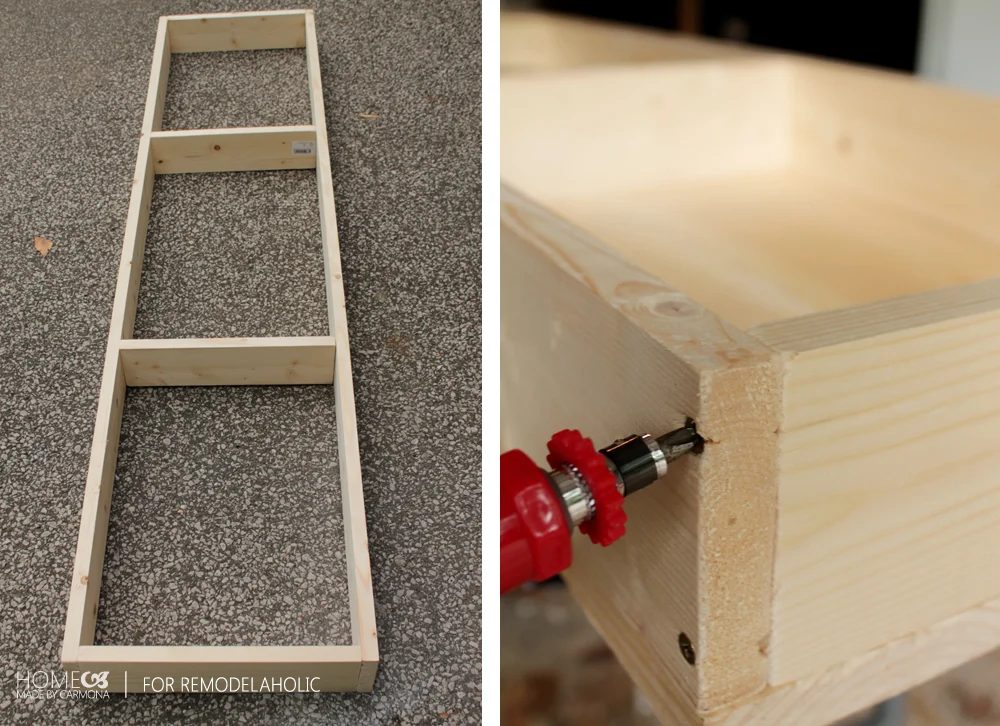
Assemble your basic frame. Lay it down on a level surface, and either drill guide holes and screw the pieces together, or if you have a nail gun you can knock it out in a few minutes. This bench is extra long, so the extra added sturdiness of screws is my go to.
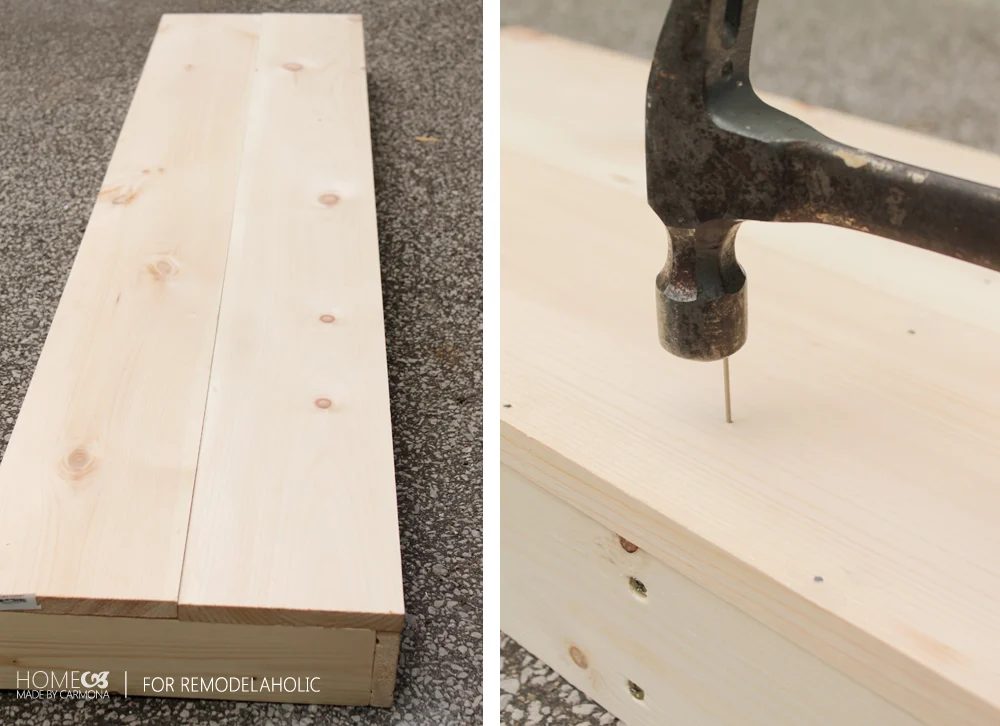
Place the two 1×8 -64in boards atop the frame, and nail it down all around the outside edges. By the way, don’t worry about how pretty it is, just how square the entire structure is… after all, the frame isn’t going to show once you upholster it.
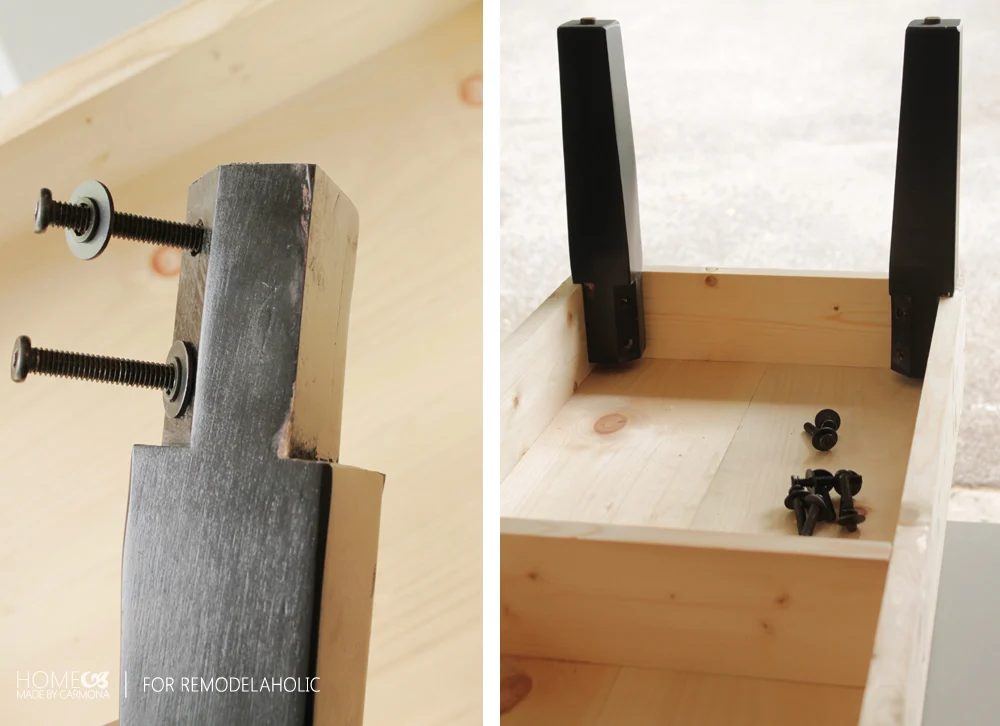
Next we are going to attach the salvaged legs. My salvaged legs came bench ready since they were from an old armchair. However if you are salvaging legs off of a bed, or some other item, you will have to make an angled cut at the top of the leg, and using instead of bolts you will just screw directly into the legs when it is time to attach them. If your legs will not be removable (no bolts), then do not attach the legs until after you upholster it. But I’m getting ahead of myself, before you worry about the legs, let’s make the piece that will help secure them.
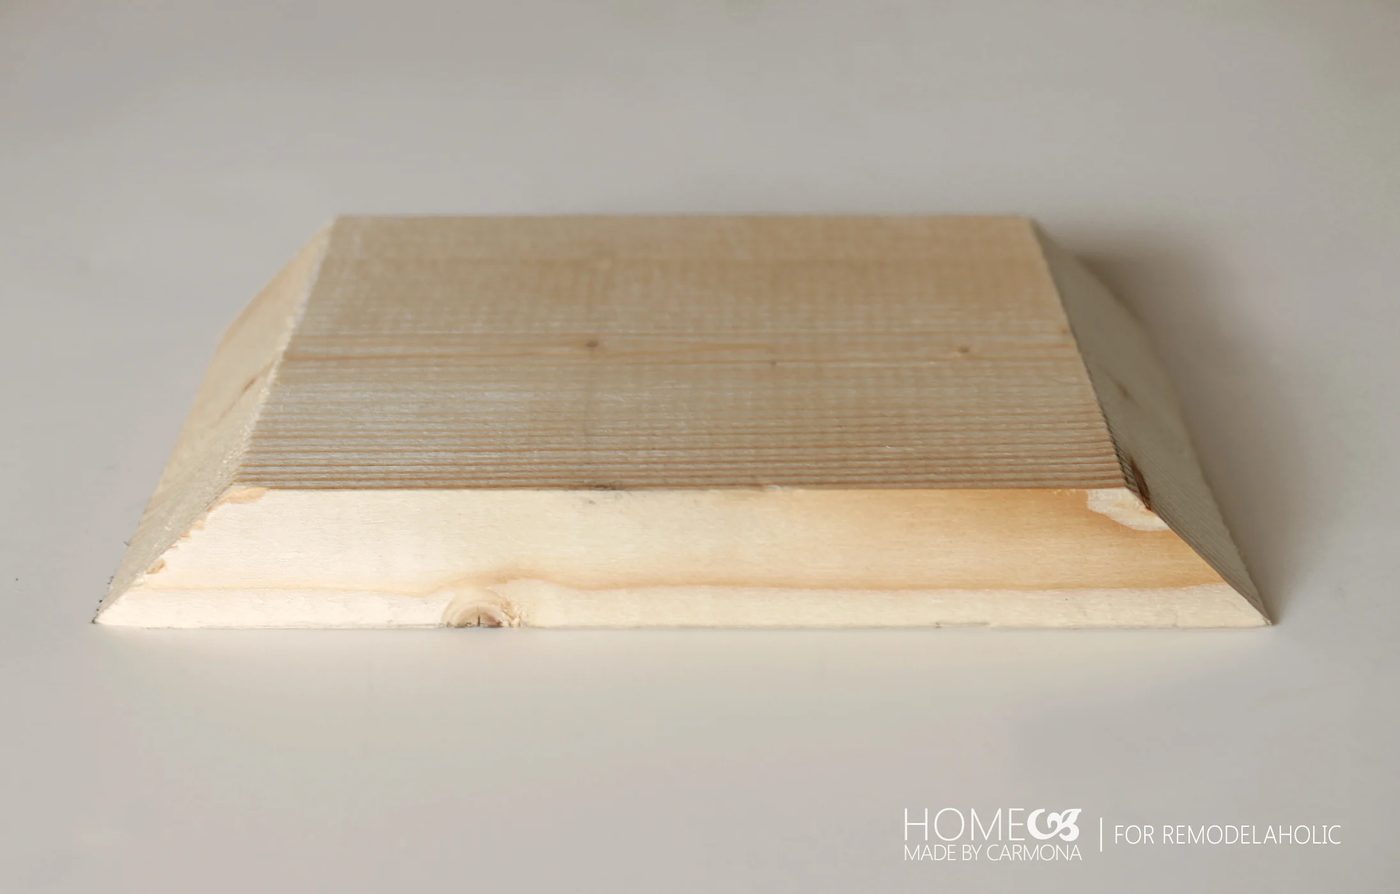
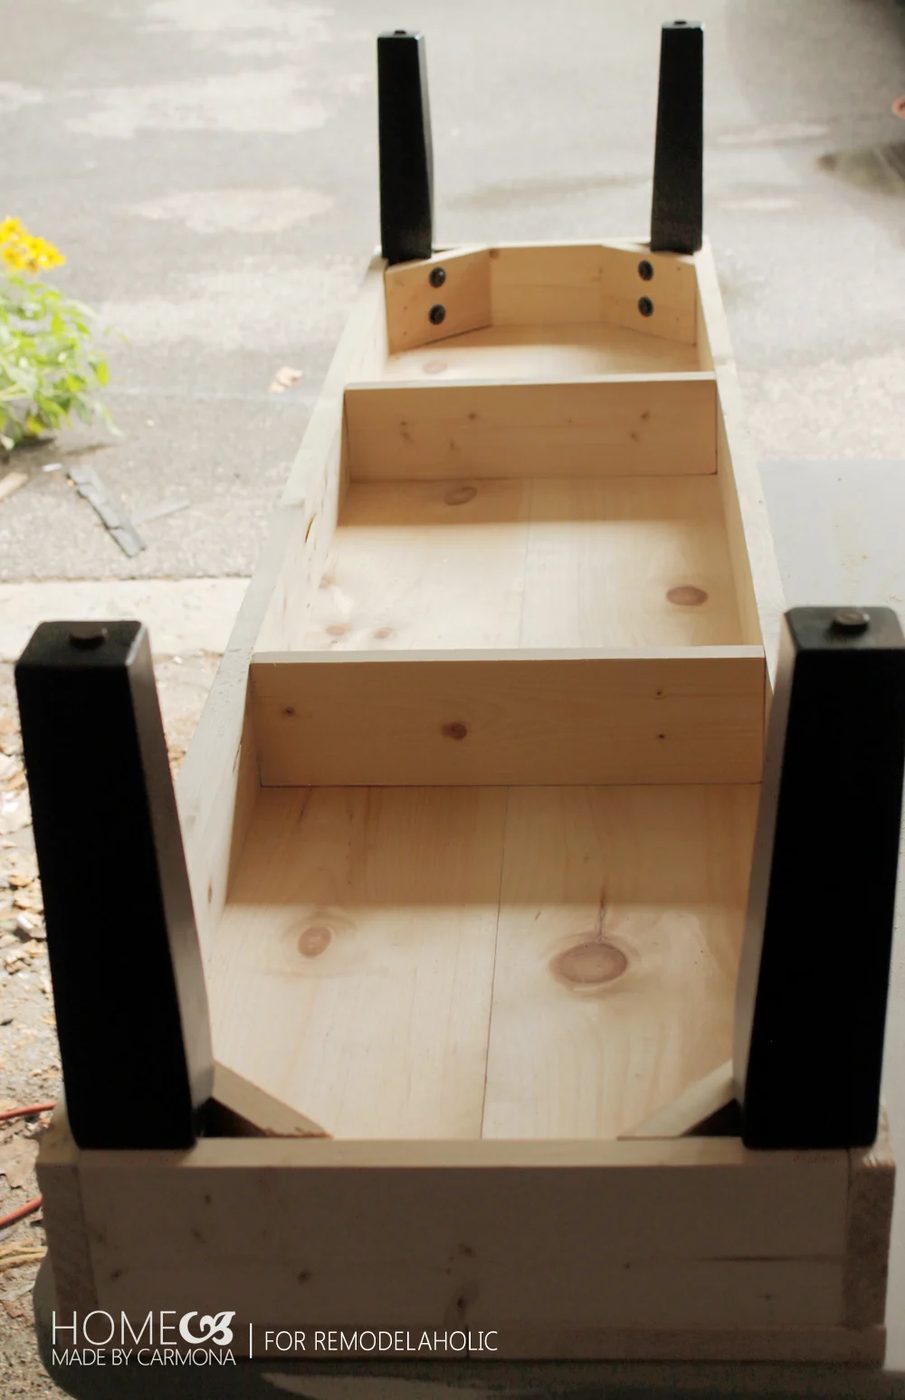
Now you will use those leftover slices of wood to create a corner wedge to secure the space your legs will go. The length of the slices really depends on how thick your legs are (my pieces measured 5 – 3/4. You will cut your angled pieces at 45 degrees, and you want your legs to go in smoothly with a little space for the upholstery to get tucked into (don’t make it too snug or you’ll have trouble later!).
Since my legs came with bolts, I drilled holes to go where the bolt holes already exist. If yours didn’t come with bolts, later you will just screw through this wood piece into your leg to secure it (after you upholster it). Typically you would use a nail gun or furniture grade staples to attach the angled wood piece to the bench, but I don’t have either (so sad), so I’m using gorilla glue and regular nails.
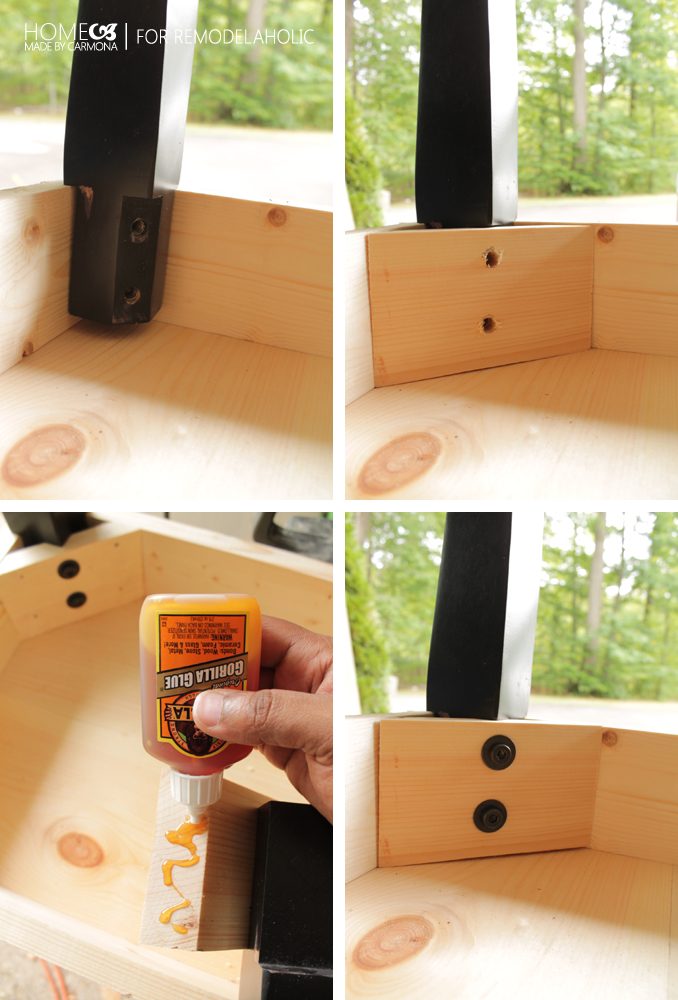
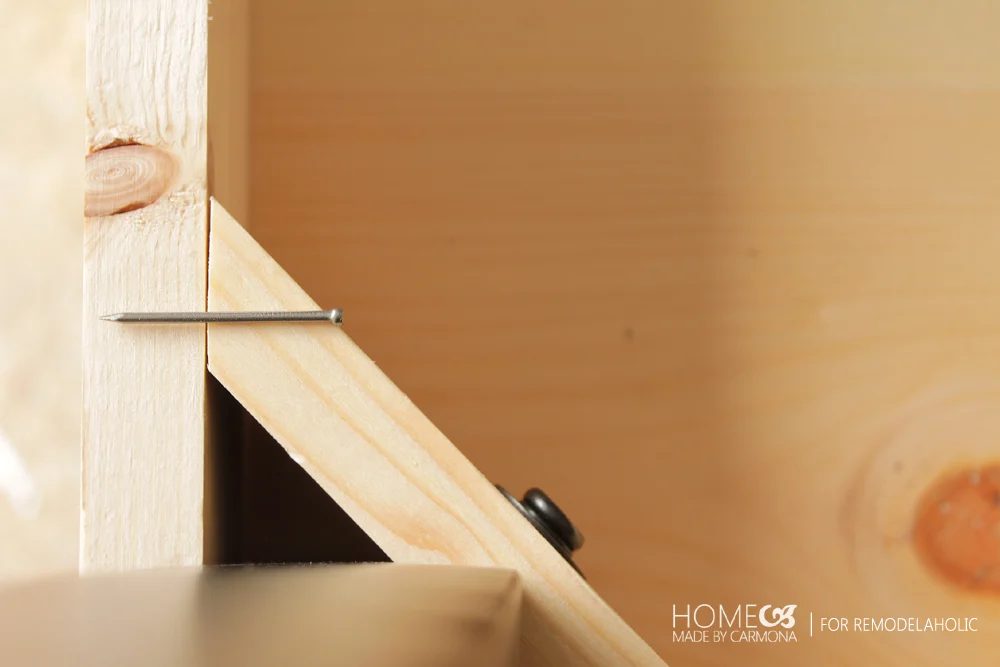
I just made sure I nailed it at an angle. 2 or 3 of these babies on either side of the angled wood piece made it quite sturdy.
There you have it! This is the completed bench frame from the underside. I wanted to show it to you with the legs, but I will have to remove them when it comes time to upholster it.
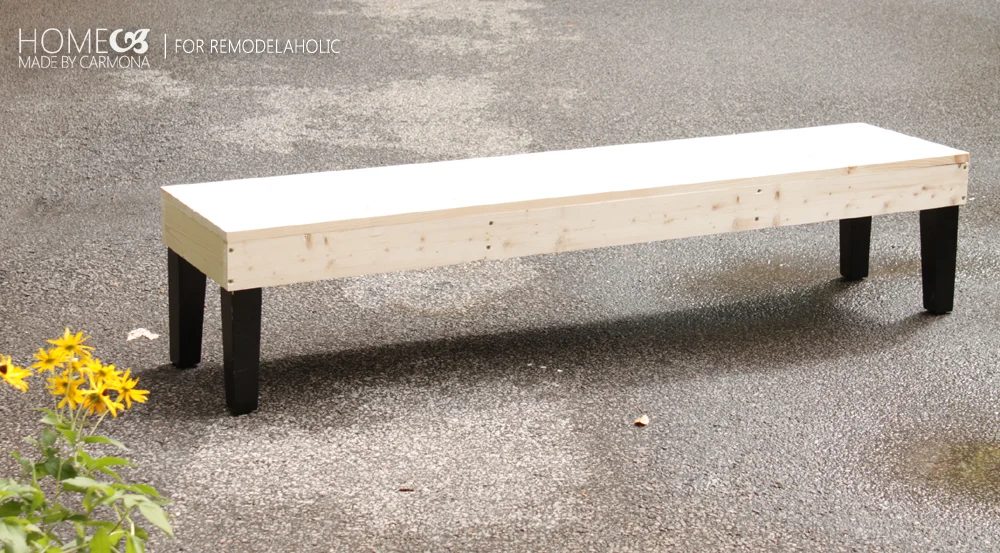
Here is what it looks like from the top.
Let’s Upholster!
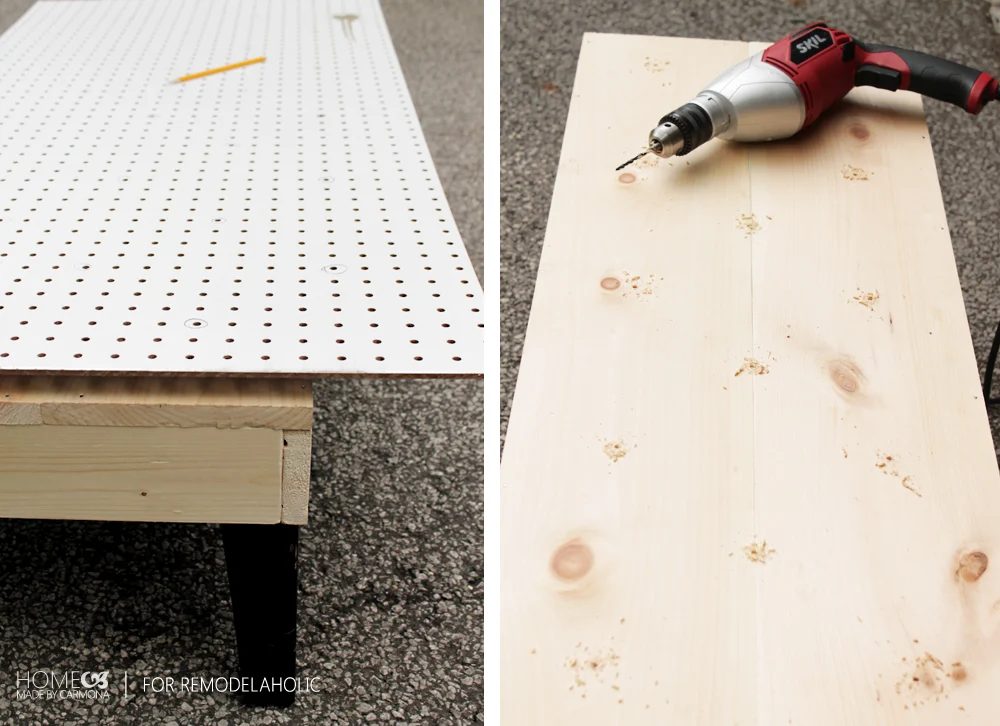
There are a myriad of vivid styles for tufting. I am going with a diamond tuft (which is a bit harder to execute), but you can choose to do a direct straight forward two by two styled tuft if you like. Either way, you will need to start by determining where you want your buttons to fall. To do this, I cheated. I used my peg board to decide how many spaces apart I wanted my buttons to sit, then marked through the holes. Much easier than measuring!
Next you’ll drill your holes. But first examine to make sure none of the holes intersect with a crossing wooden slat.
Let’s take this bad boy inside an get it fitted for foam! I’m using a queen sized mattress topper and some salvaged chair foam to give it a whopping 5 inches of foam. Just so you know, that is major overkill on my part…I just needed the extra height since this is sitting at my dining table. A regular 1-1/2 inch twin sized egg crate mattress topper (found at Walmart for just $11) will do just fine. You’ll double it over and lay it atop (which gives you a total of 3 inches!), then staple it down on the sides. Using a little quilters batting across the top of that is optional as well. Again I just needed lots of height and padding.
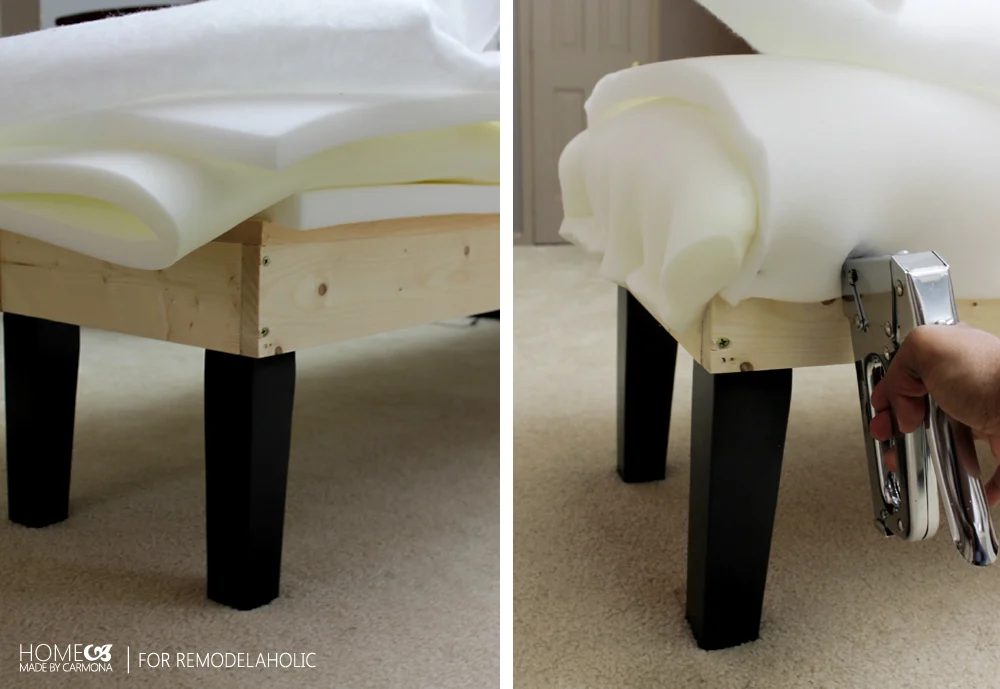
Lay your fabric atop, and begin tufting. You will staple the fabric to the underside as you complete each section of tufting.
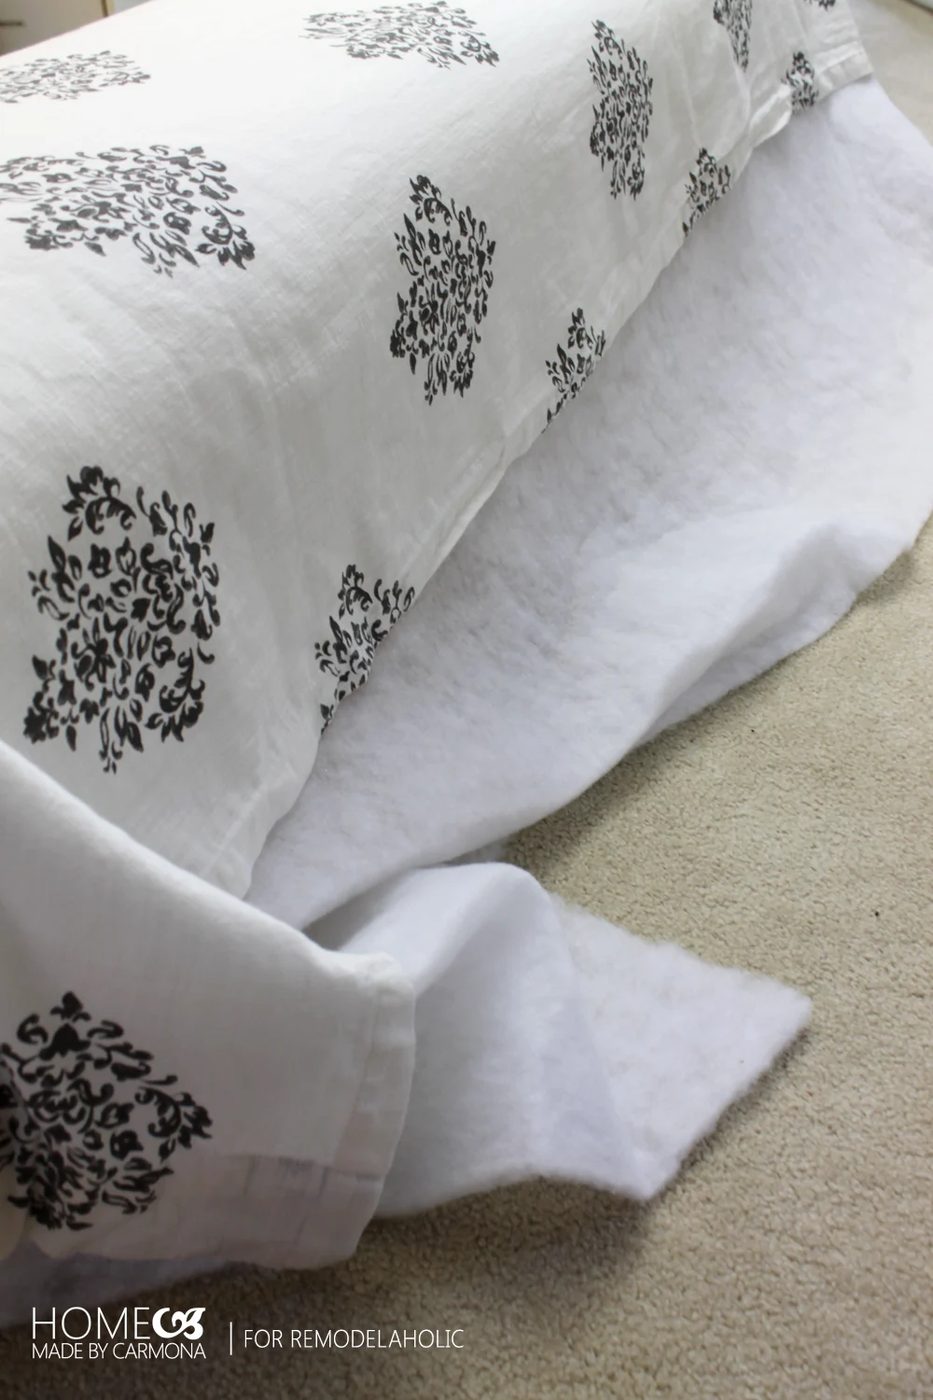
You will need a long tufting needle and waxed twine. I used a button making kit to cover my own custom buttons, but you can also choose to simply purchase matching fabric covered buttons. It’s much easier and saves your fingers the extra effort. If you choose to custom cover buttons, I have loads of valuable tips for you here.
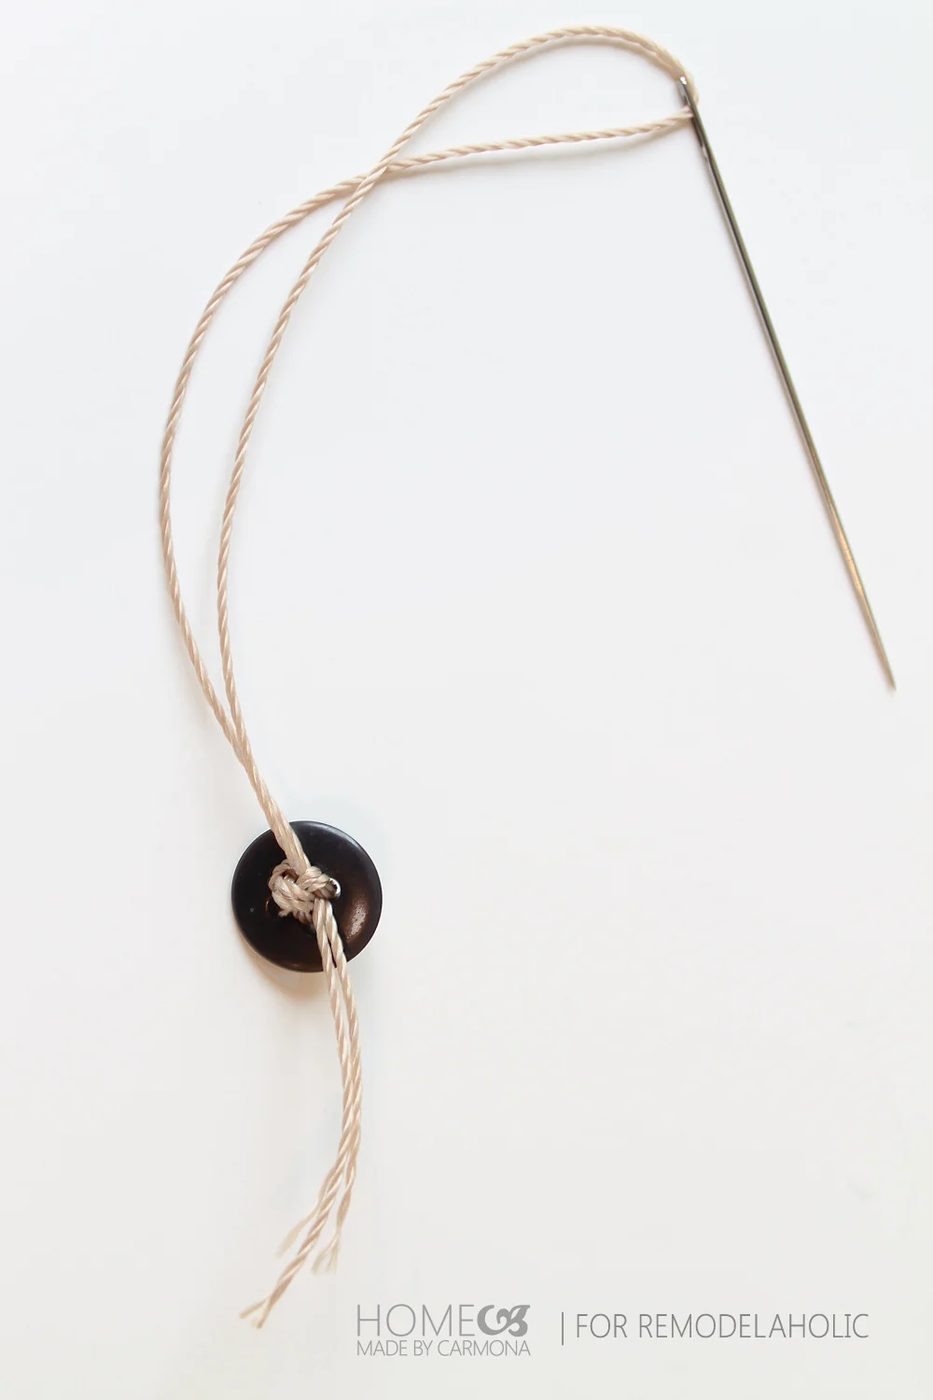
You’ll thread a regular button to the end of the twine piece you’ll be using (this acts to hold things in place securely). Then you will feed the needle/button/twine combo through the hole in the base of the bench. Pull it through the front, and thread the fabric covered button through and pull tight. You will knot the thread around the front several times and before trimming the twine and tucking the ends under the button.
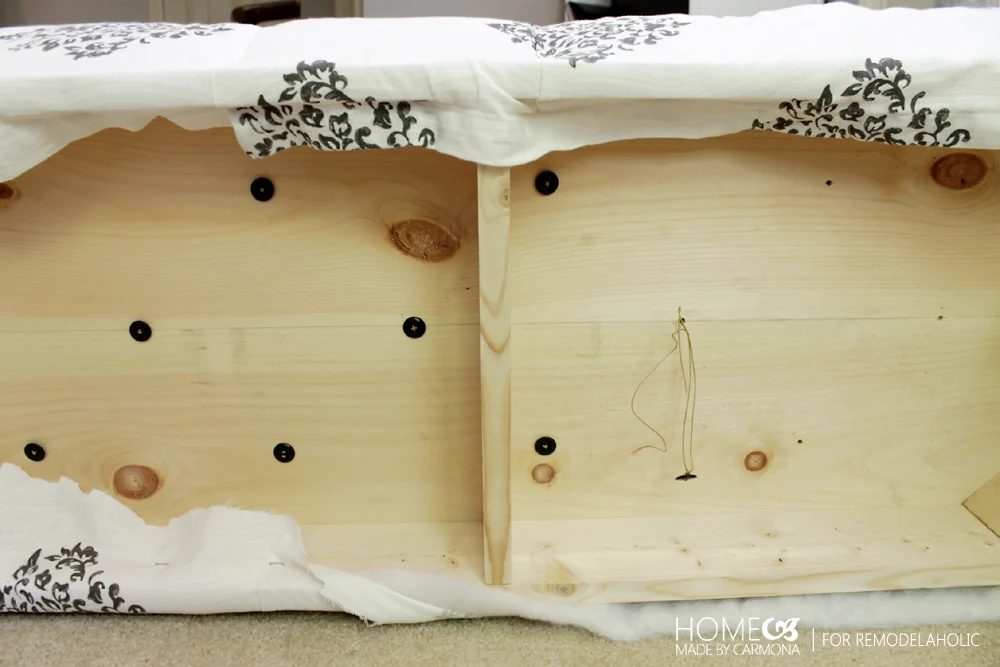
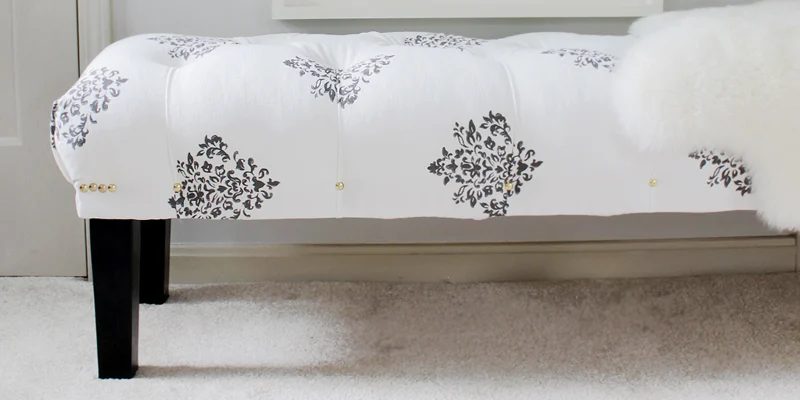
Finally staple the fabric to the underside, and if you would like add decorative nails as an embellishment.
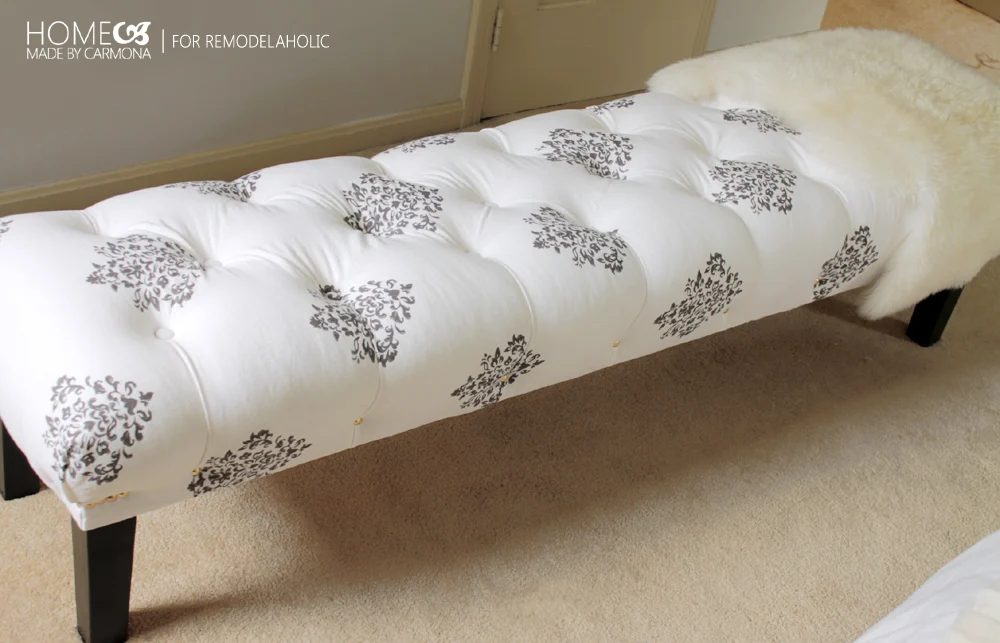
Isn’t she a beaut? I love having this in my dining room, it provides loads of seating!
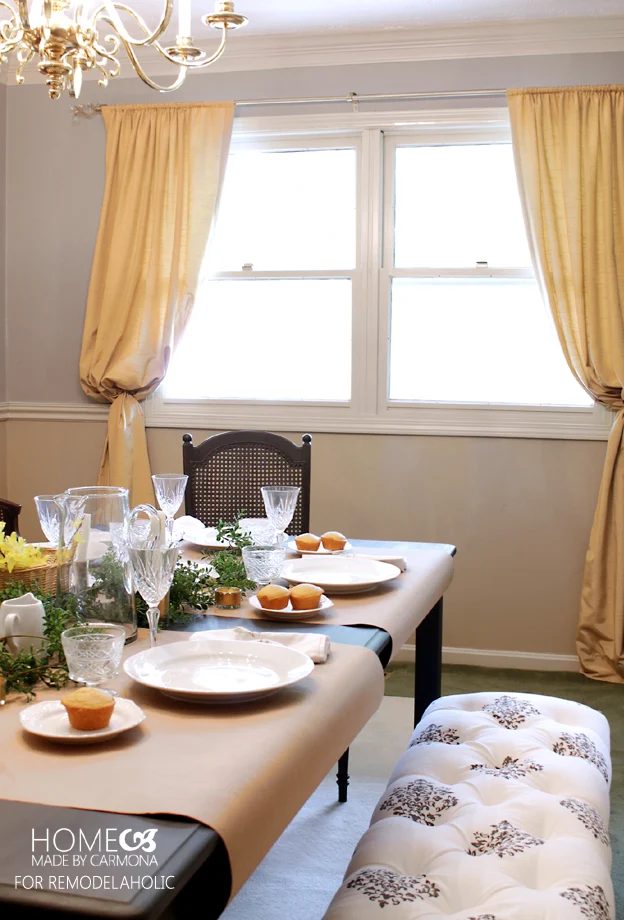
It would also be memorable in a bedroom. This bench is a beast, so perhaps for a King sized bed footer, or maybe as a coffee table bench. The options are endless! Since you are customizing the length, you can make it perfectly fit any nook and cranny you desire.
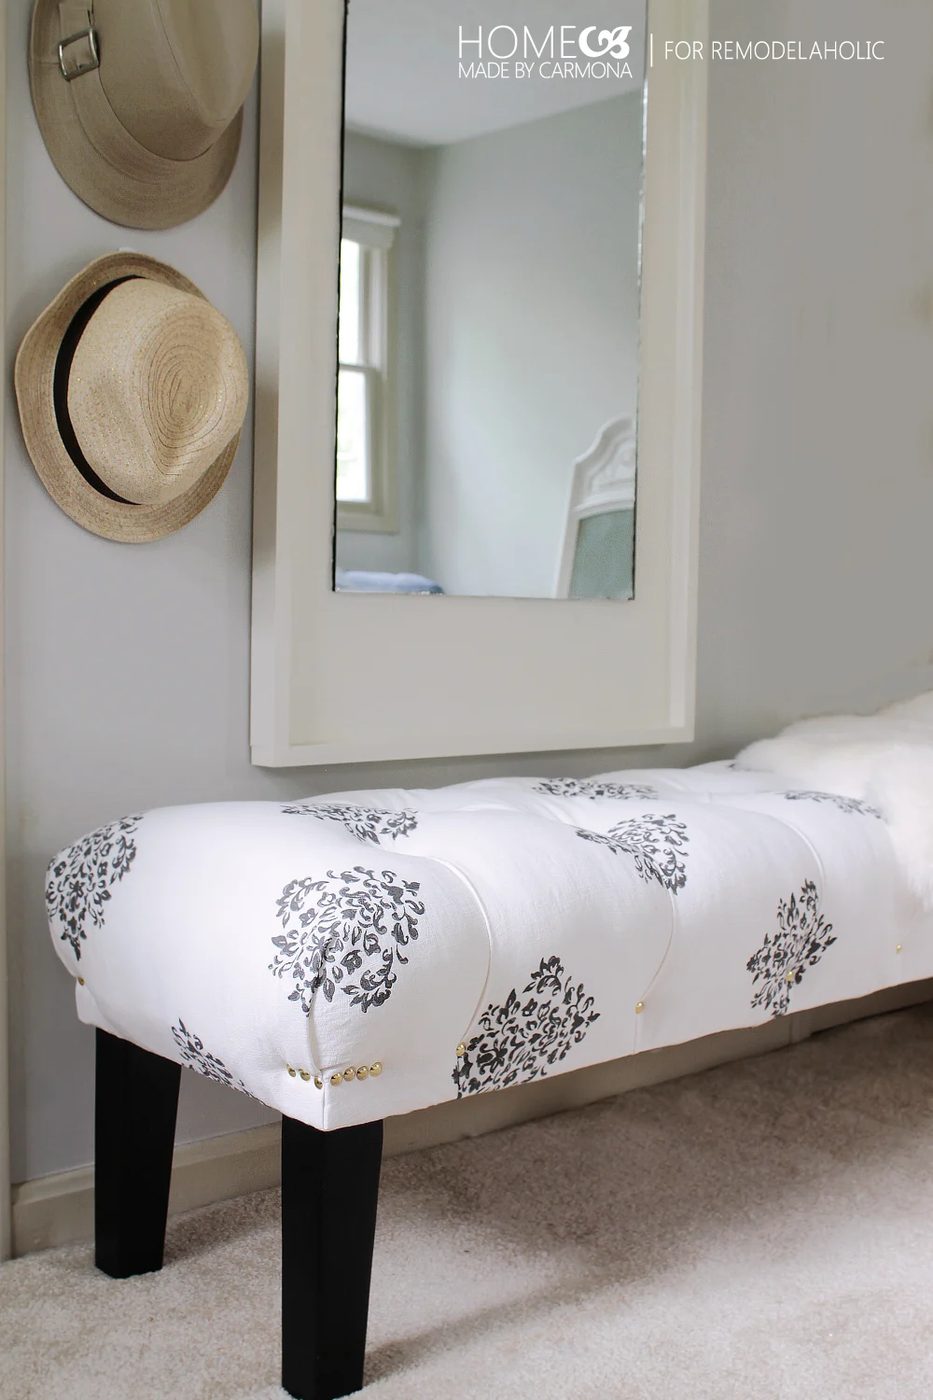
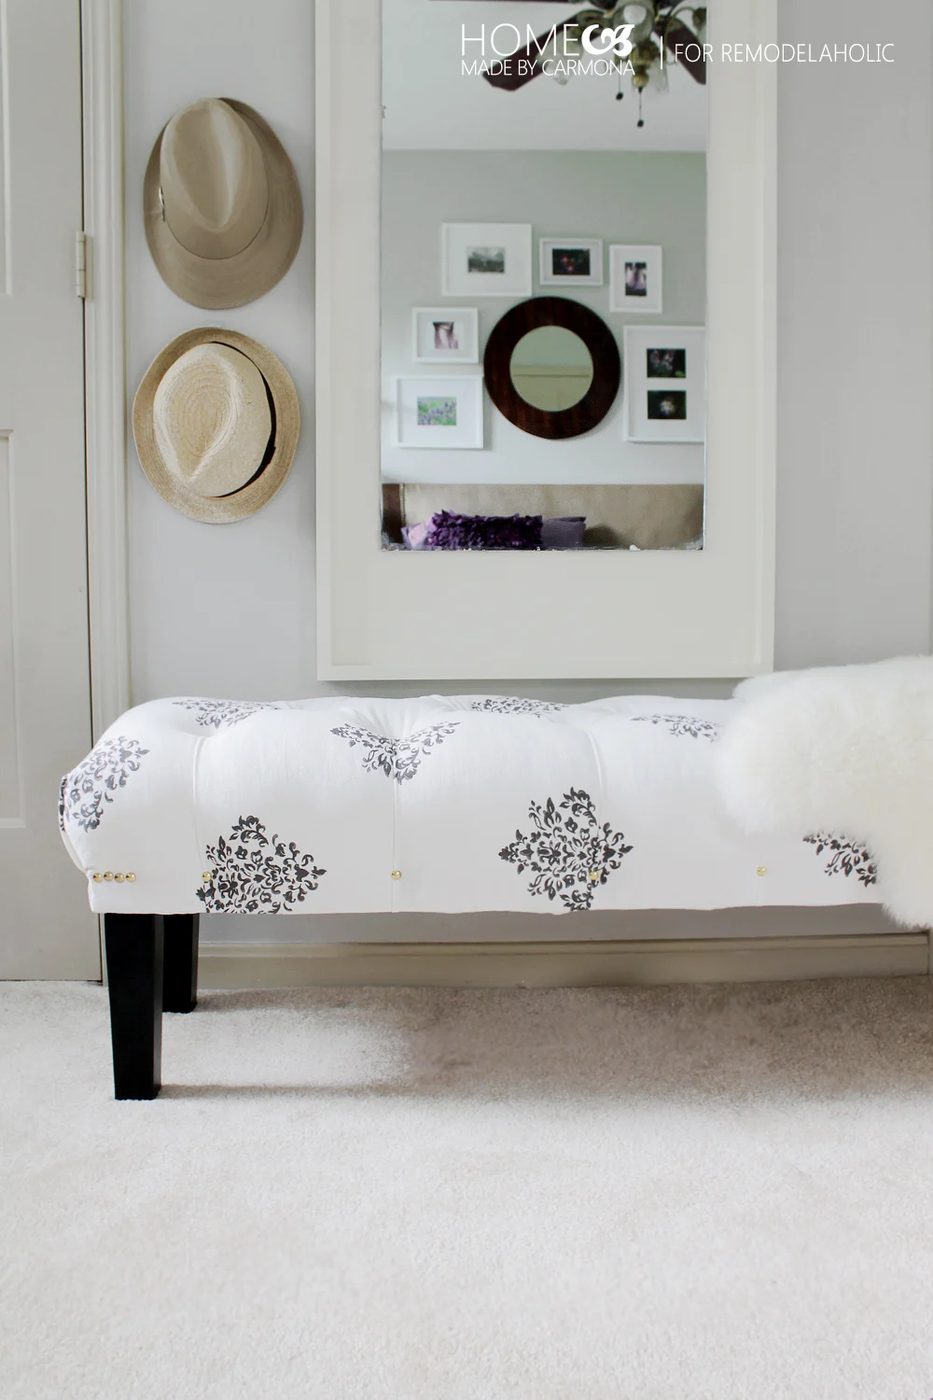
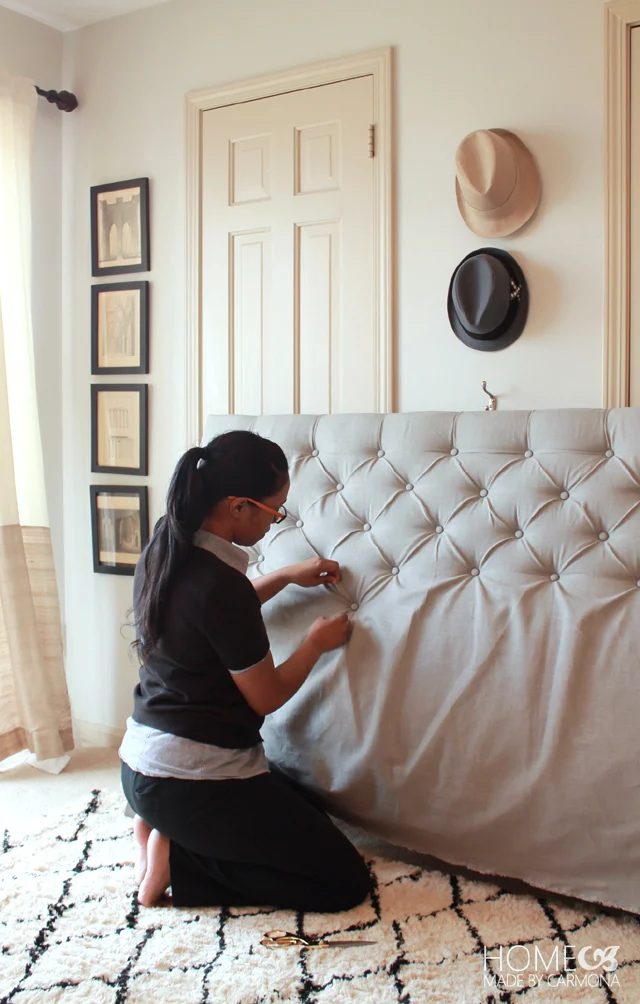
If you would like to learn how to make a diamond shaped tuft, or just want a more detailed how-to for tufting, I made this Handmade Diamond Tufted Headboard here, and I’m sharing tons of cost cutting tips and clever techniques. Happy Handmade’ing!!
—————————————
More Handmade benches to build:
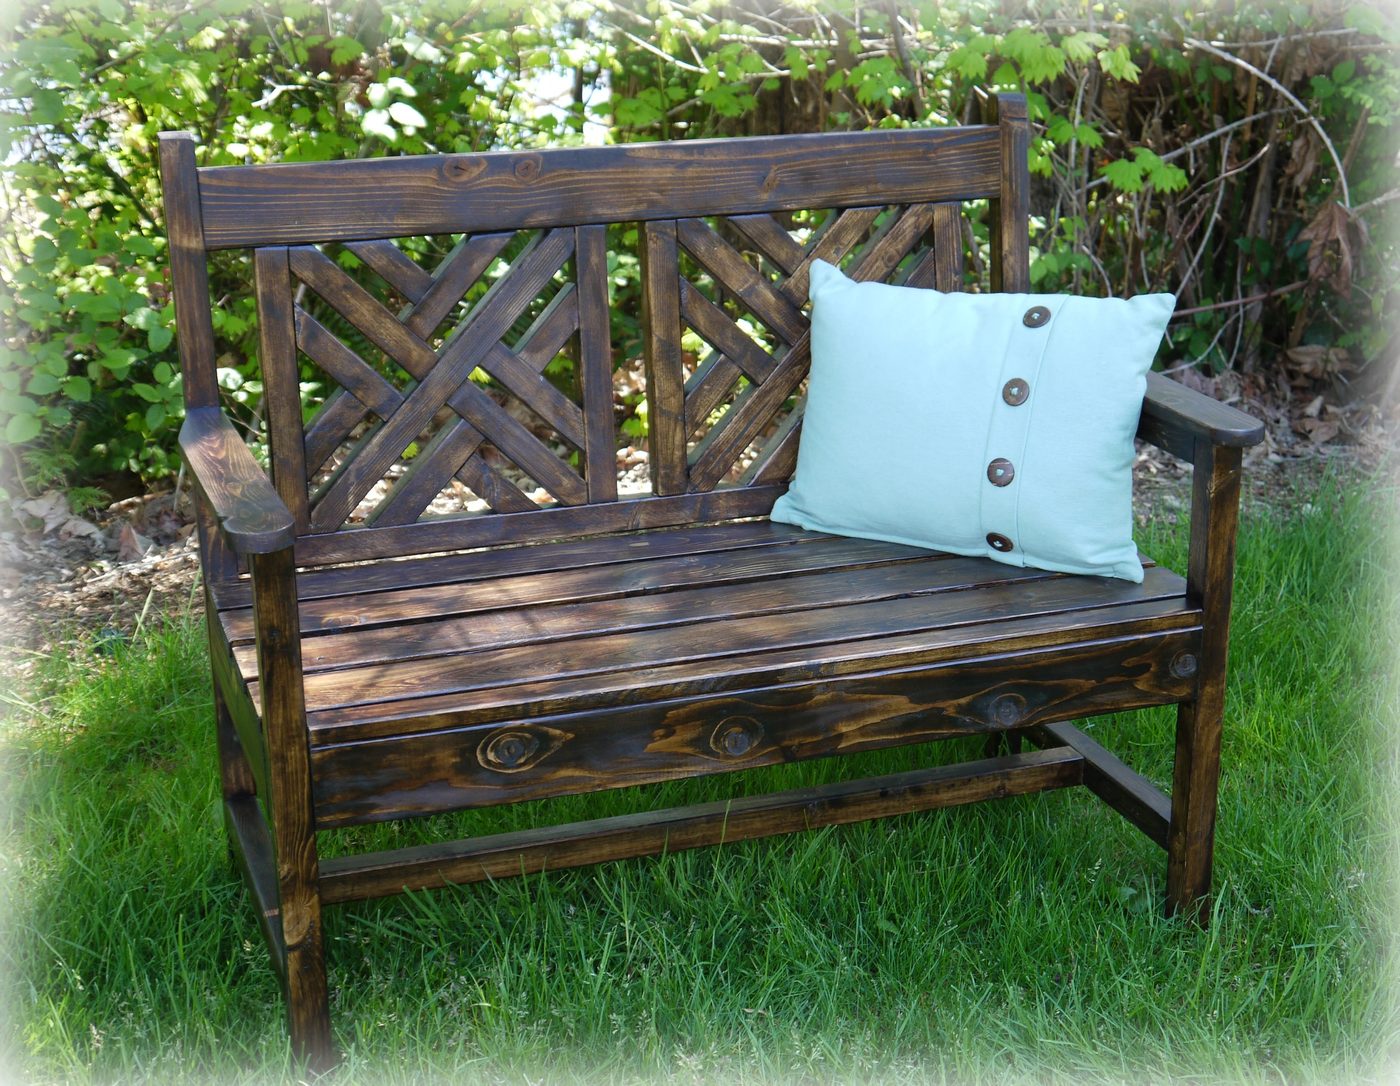
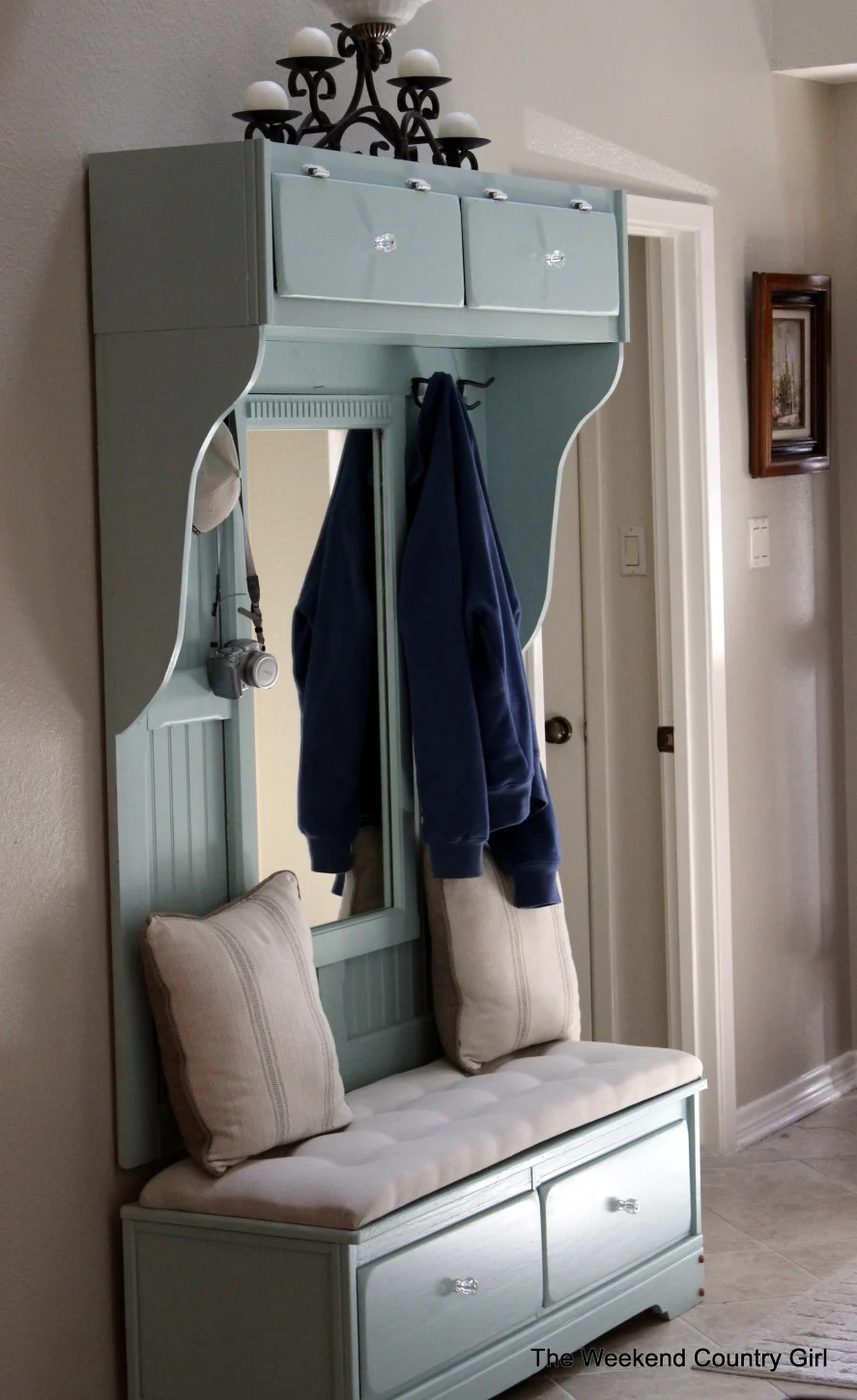
Make a mudroom bench from an old dresser
Build a corner banquette bench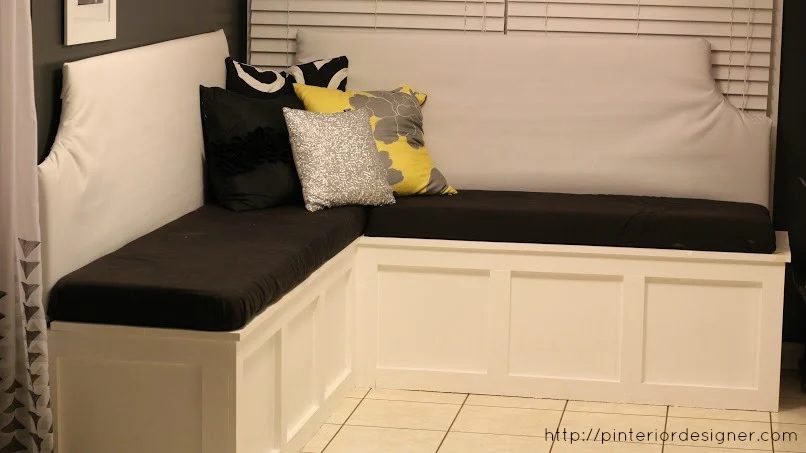
Make an straightforward entryway bench with storage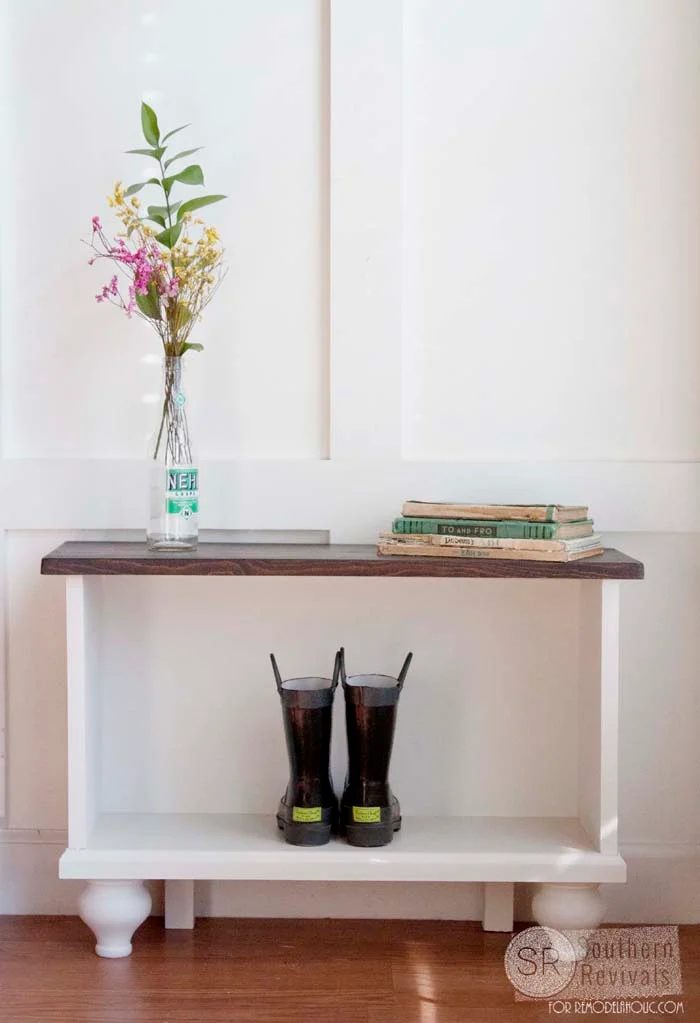
Build a dining banquette bench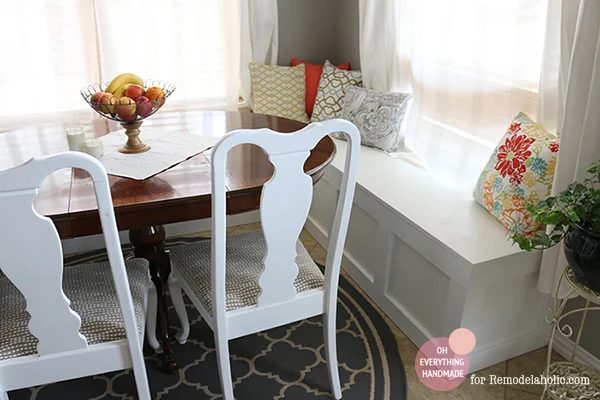
Build a corner bench and matching shelf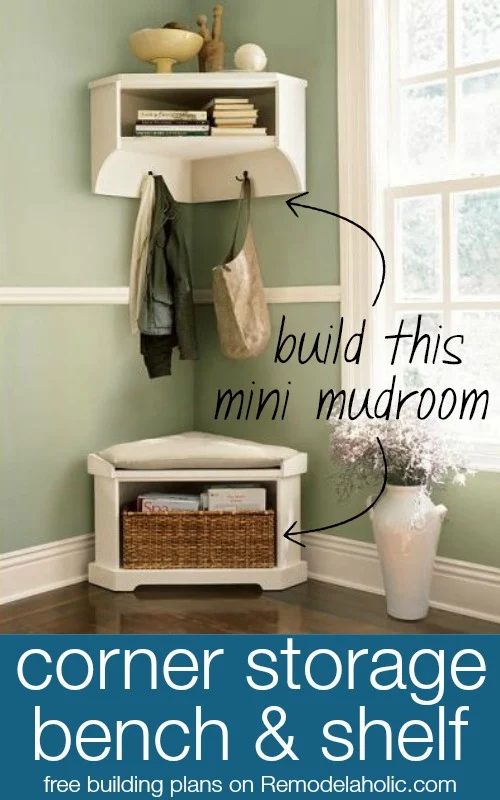
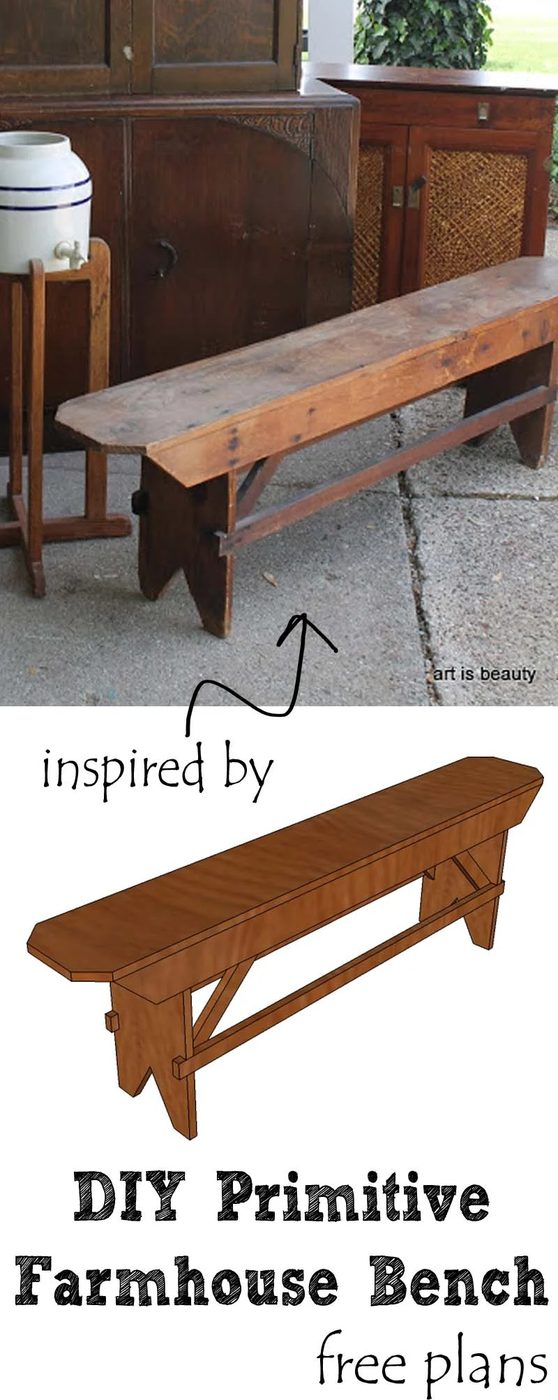
Make an straightforward rustic farmhouse style bench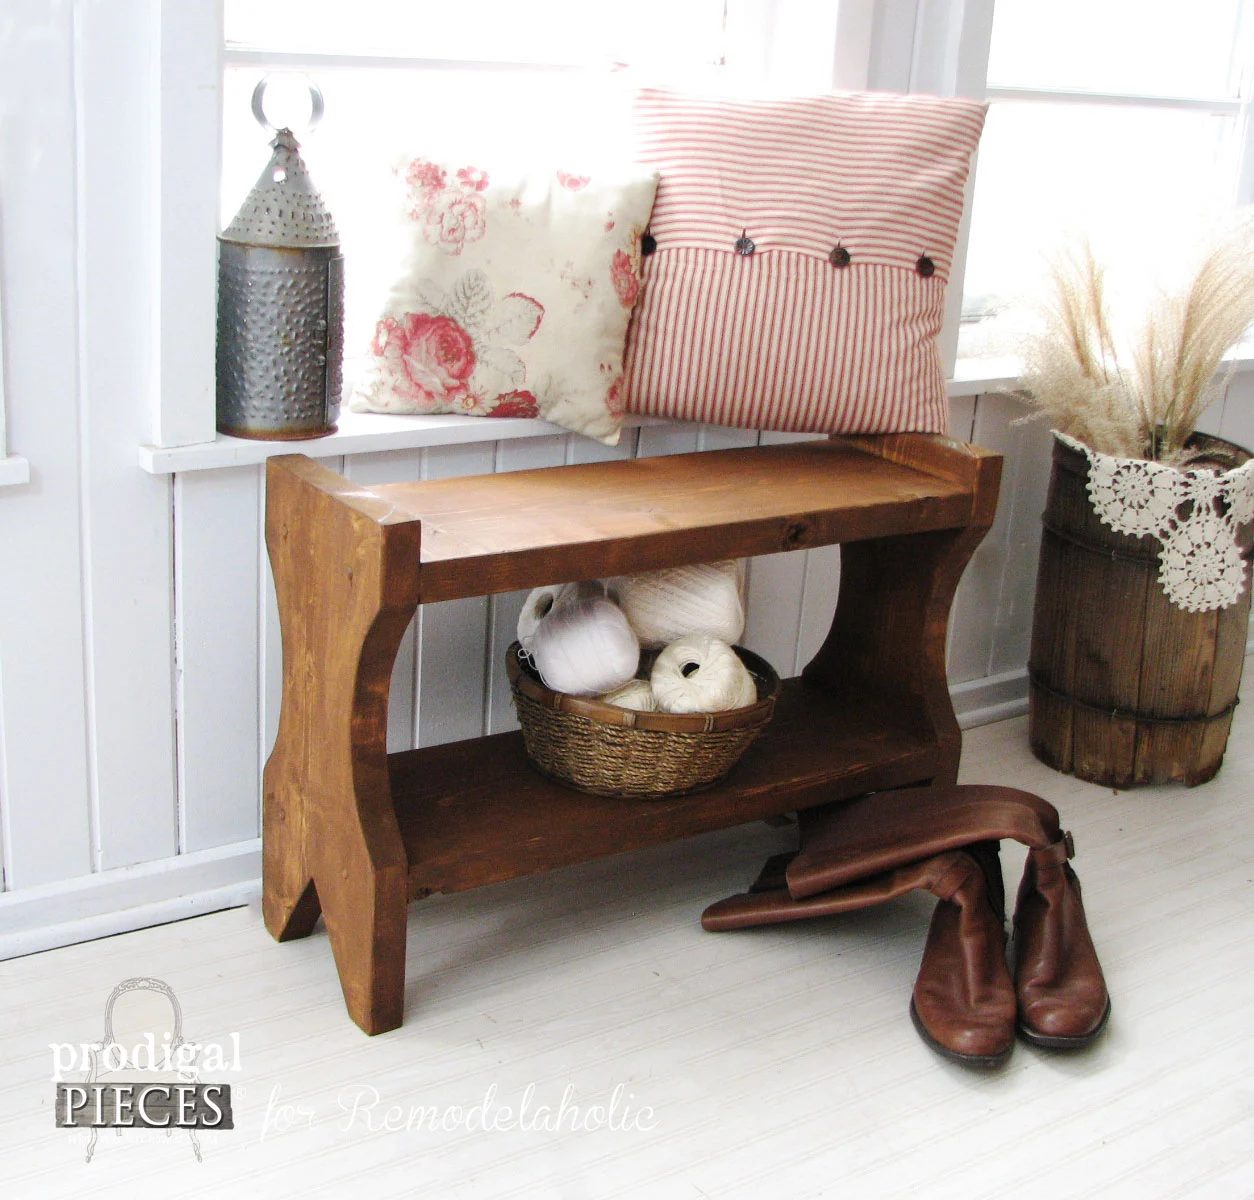
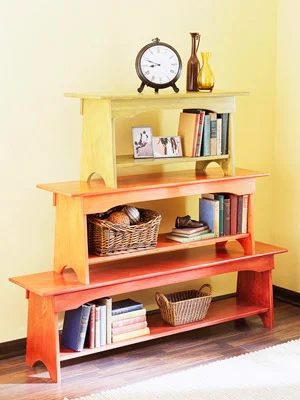
Build a bench with a shelf underneath (stacking optional!)