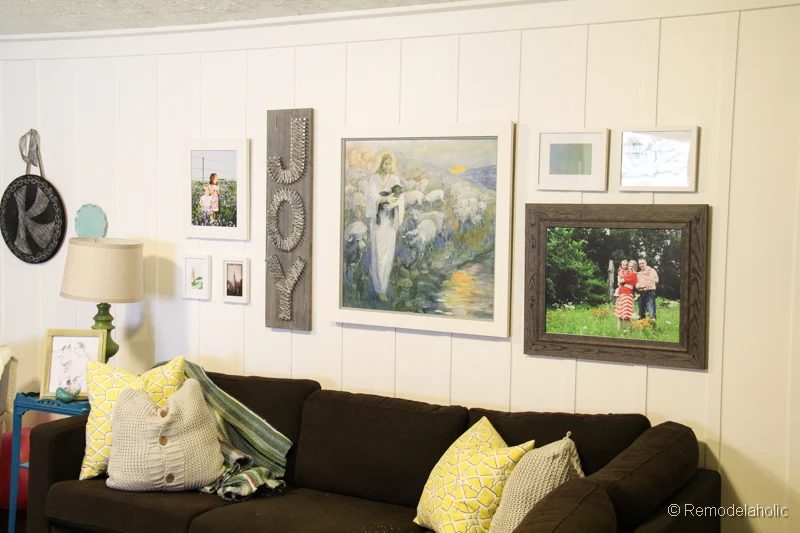
Materials and the sequence of the job sit together on this page.
Well we have all seen the string art craze. I have loved it since I first saw it (probably because I still have some from 3 rd grade that I made… and they are still cool..)
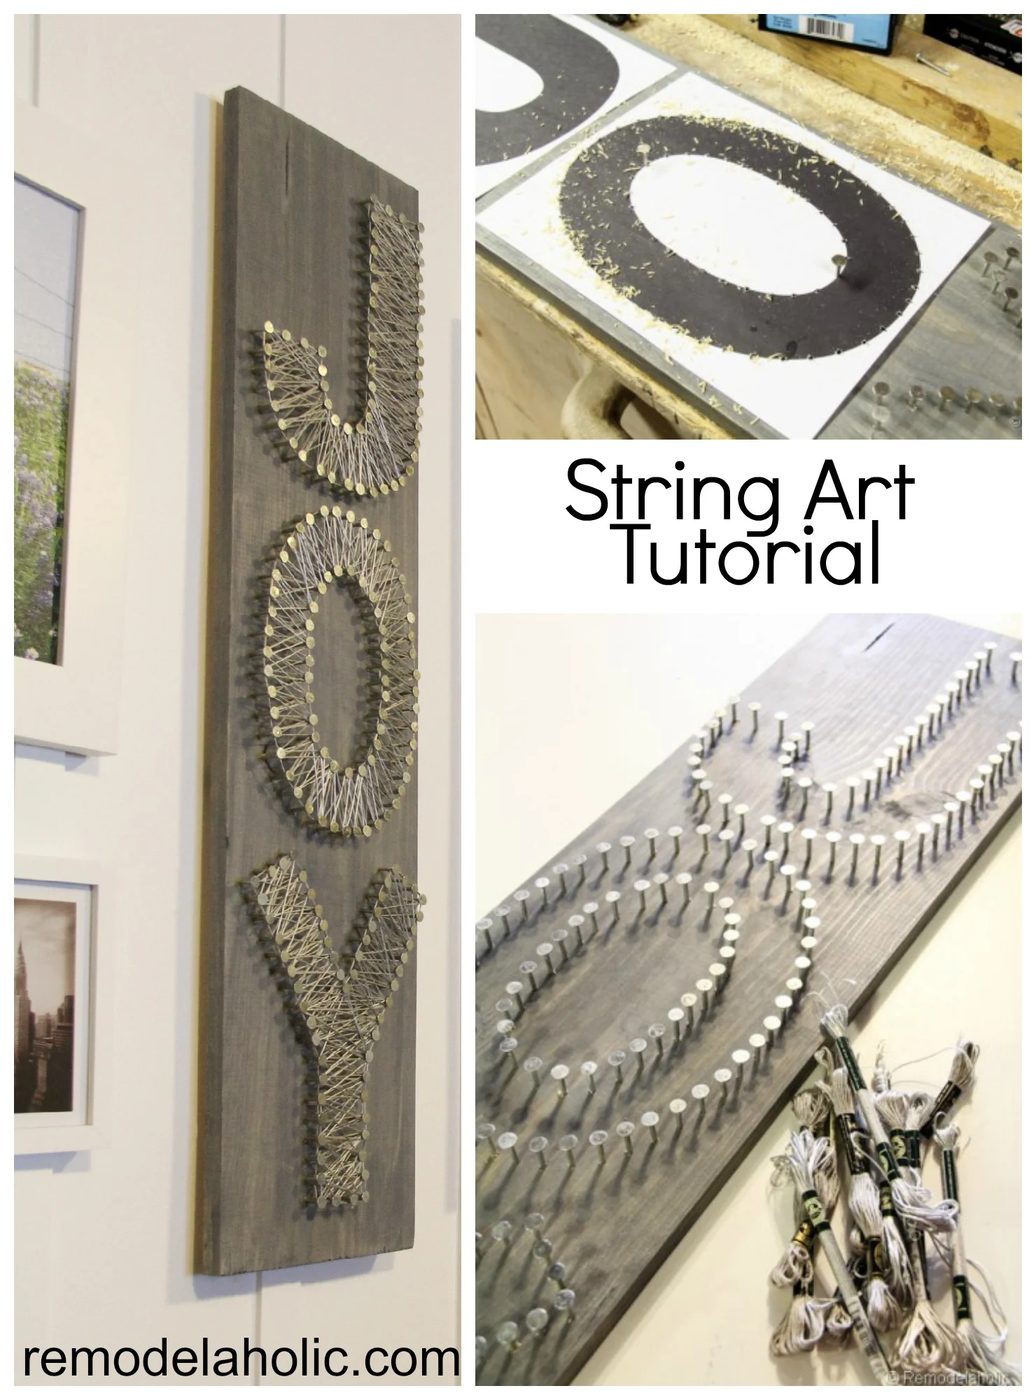
I decided it would be fun to make a Christmas version and since JOY only has three letters (straightforward!)… it was the well fitted word to try out!!
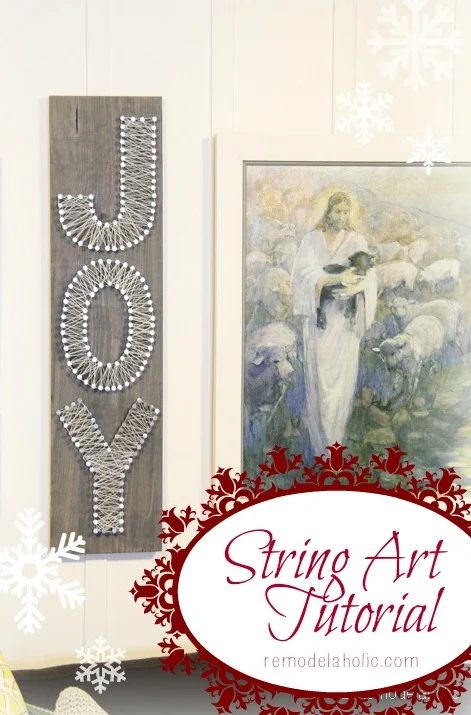
straightforward JOY String Art walkthrough
This post contains affiliate links for your shopping convenience. Learn more and read our full disclosure policy here.
Supplies:
- 1 Pine 1″ x 10″ x 6′ (cut to length)
- Stain, (if desired) I used Varathane, Weathered Grey
- 1 lb box of 1 1/4″ Electro Galvanized Roofing Nails
- 7-8 Pearlescent Embroidery Floss
- Art Hanging hardware
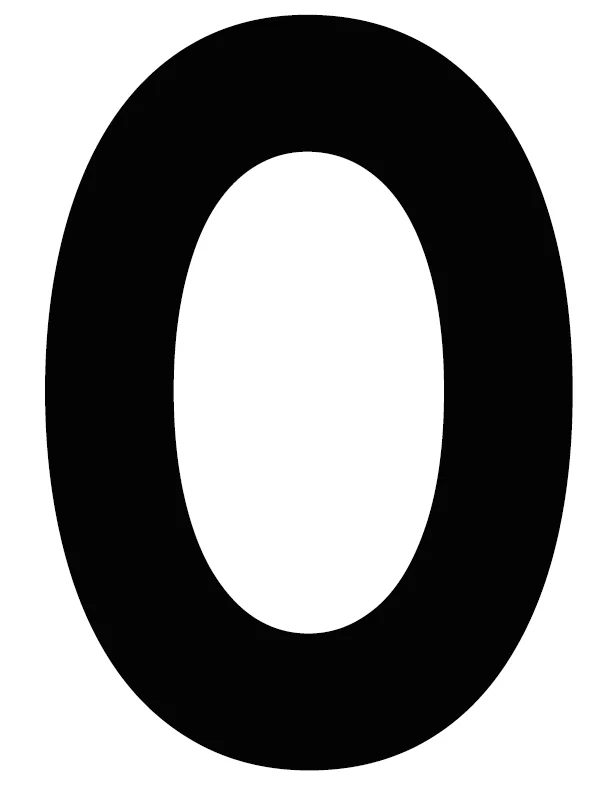
- printed letters (you can download my JOY templates here)
Tools:
- Drill, and bit just smaller than the nails.
- Hammer
- Scissors
Instructions:
1. Cut your wood to length, mine was 37″ but if you did 36″, and bought a few more nails and thread you could make two at a time and give one away… ’tis the season!!!
2. Sand any rough edges, then brush off board.
3. Stain the wood. I chose a grey, but you could even color wash the wood with craft paint and water, so the wood grain shows through but you have a bright happy color!…. it could be really cute red or green! Follow the instructions on your stain of choice, be sure it is dried completely before moving on!
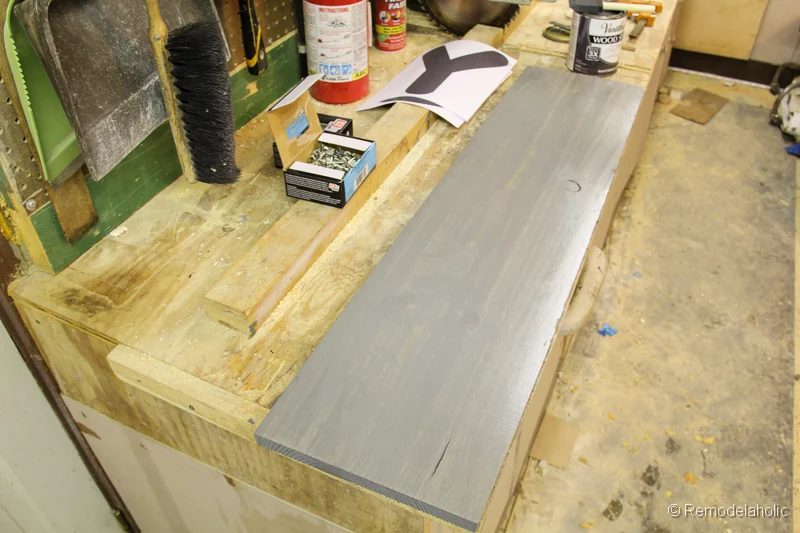
4. Save and print these letters. Here’s a PDF to make it straightforward. Make them print to fit a full size 8 1/2 by 11 sheet of paper. Or you can do a font of your choice, but it basically needs to almost fill a full 8 1/2″ x 11″ piece of paper, this particular font was set at about a 900 pt font.
 |
 |
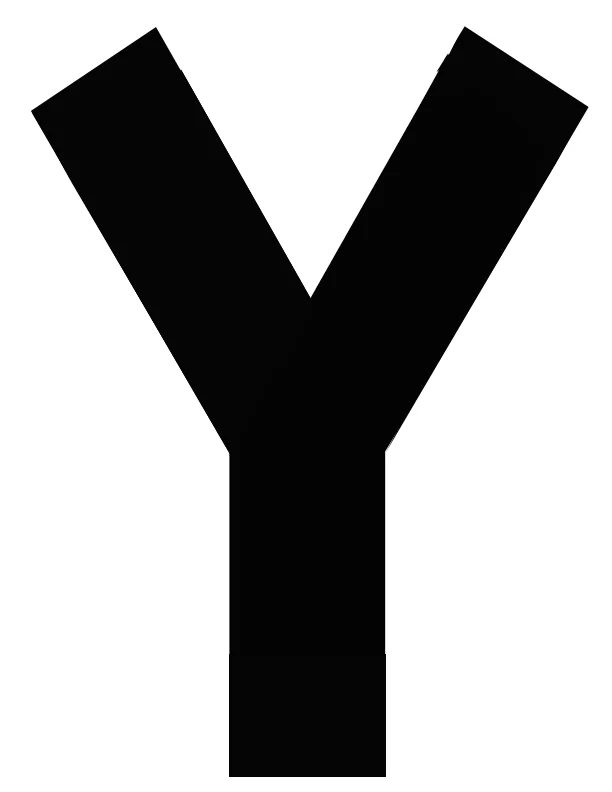 |
open this to download the JOY letters template
5. Now place your letters on your stained wood board, where you think they look good.
*The letters can be placed both vertically or horizontally. If you would like them horizontal, just print to scale. Remember a 1 x 10 is actually only 9 1/2″ wide, and you want a bit of space above and below of wood, so I wouldn’t print it taller than 8.5 inches, I would probably go with 7.5″ to give the right scale of empty space. (you could make a lot more with fewer supplies using a horizontal layout!!! if you are thinking about gifts!)
6. Nail 2 nails in corners to secure your paper.
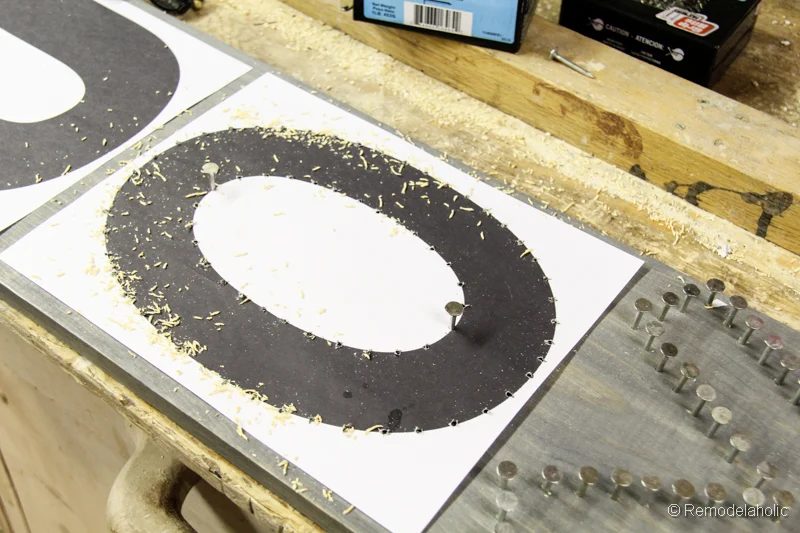
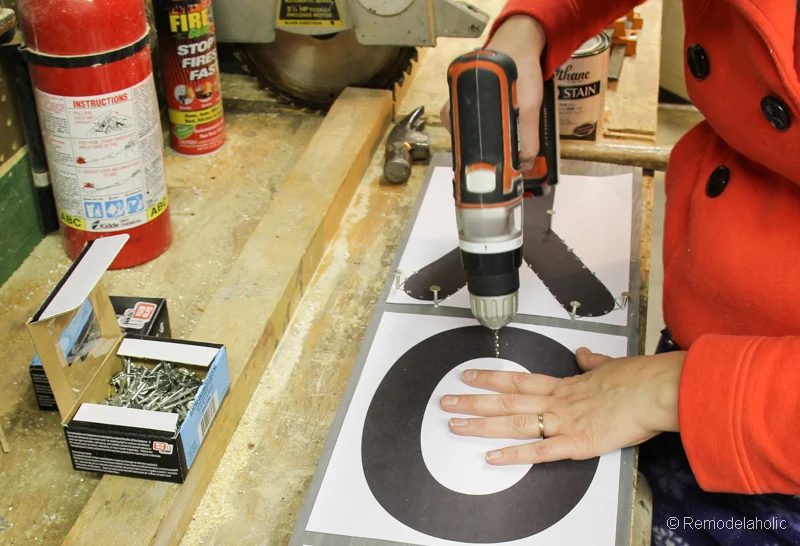
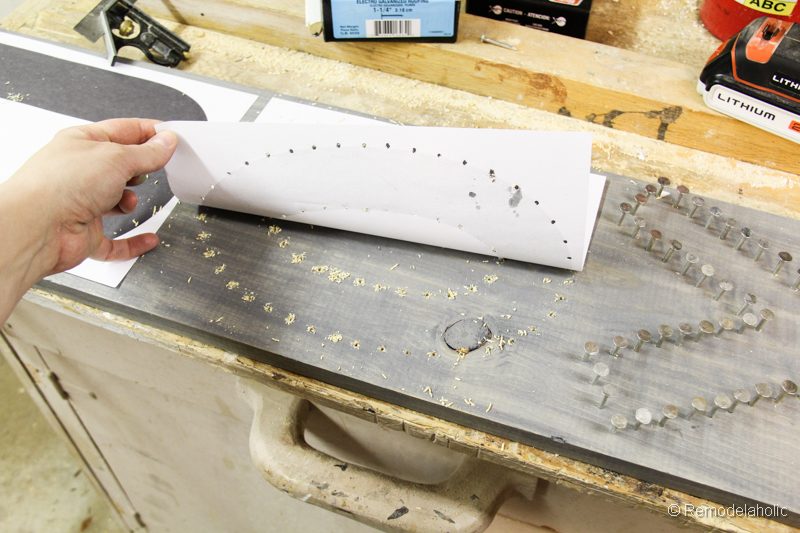
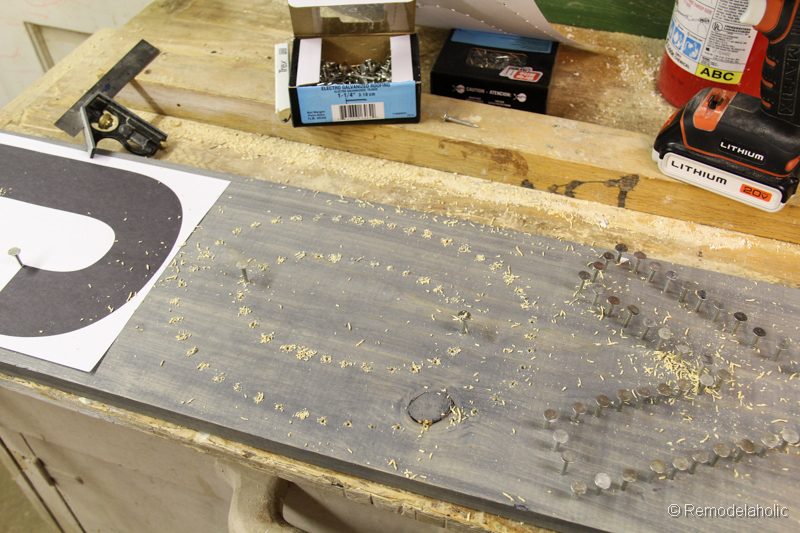
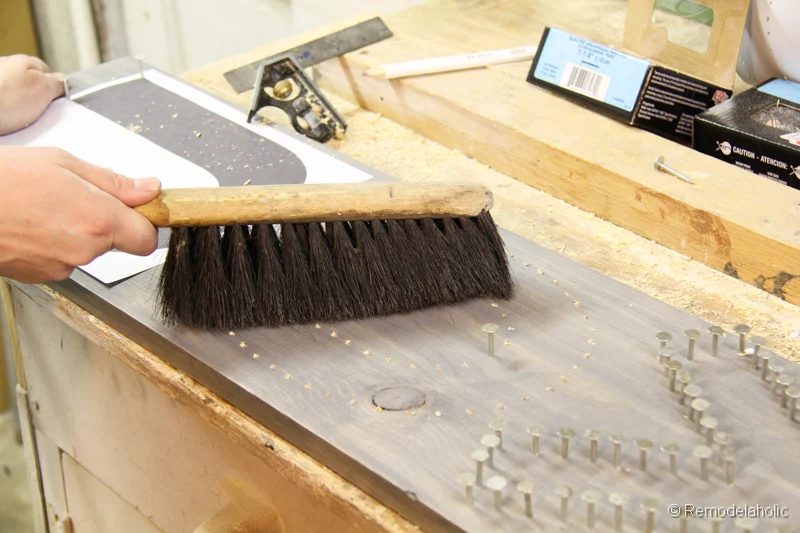
7. Pre-drill the holes for your nails. This may seem tedious, but trying to nail that many nails on a bouncy board will drive you CRAZY! Believe me I tried, and they are not all straight! So don’t skip this step!!! I drilled about every 1/2 inch around the letter’s form. Trying to eyeball that the nails will be placed symmetrically on the letter form. Brush off all the dust!
 |
 |
 |
 |
8. Hammer the nails in the pre-drilled holes. I have mine sticking out about 3/4″ to 7/8″ of an inch. (But they are not sticking out the back side at all)
9. Attach the hanging hardware on the back according to the instructions of whatever hardware you choose.
10. Begin with the end of your embroidery floss. Double knot the end, just under the large nail head, so the knot it hidden. Then just wind your way around the shape, keeping an eye on how the strings are filling the interior space of the letters. I kept all my string at the end of the nail, just under the nail head for added dimension. You are done when you feel like it looks good, secure the end with another double knot. Trim away any long ends! Done!
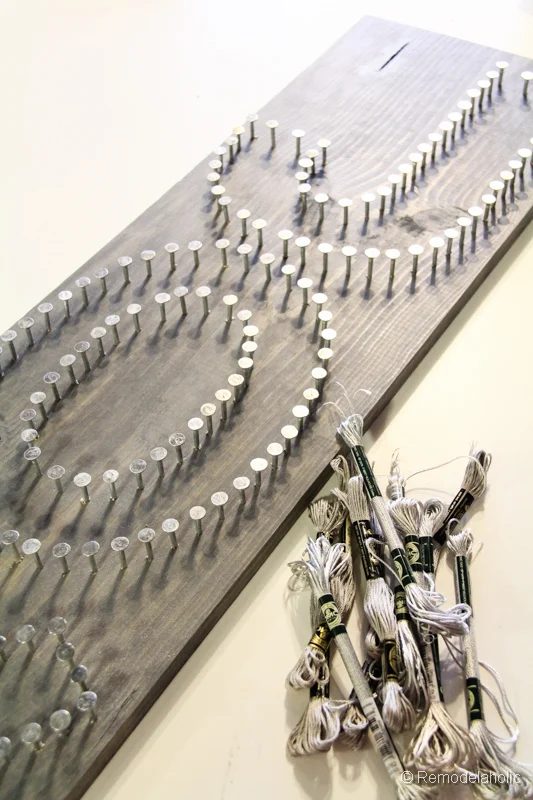
Hang it wherever you like!
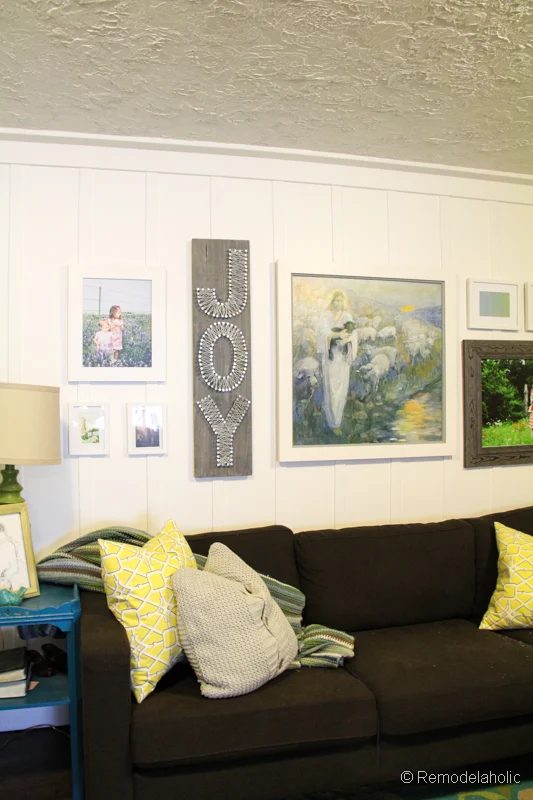
My go-to part about this project, is how the galvanized nails shine in different lights! It is really striking… and I have to admit, I think I am going to keep this on my wall year round. I just like it. And we all need a little joy in our lives, right?

Be sure to look at these other great projects!
Day 1: Santa and Reindeer Paper Garland, Day 2: Pipe Cleaner Ornaments, Kid Friendly Craft, Day 3: Sugar Free Pumpkin Steamers, Day 4: Fudge Brownie S’mores Pie (and I have a Blendtec Giveaway going on right now!)
And these great ones from the other participating bloggers!
 |
 |
 |
 |
 |
 |