Materials and the sequence of the job sit together on this page.
I know, I know, a very naughty title. Forgive me, but I really am talking about the base of this white hutch.
look at the 1st and 2nd post about this piece if you have the chance!
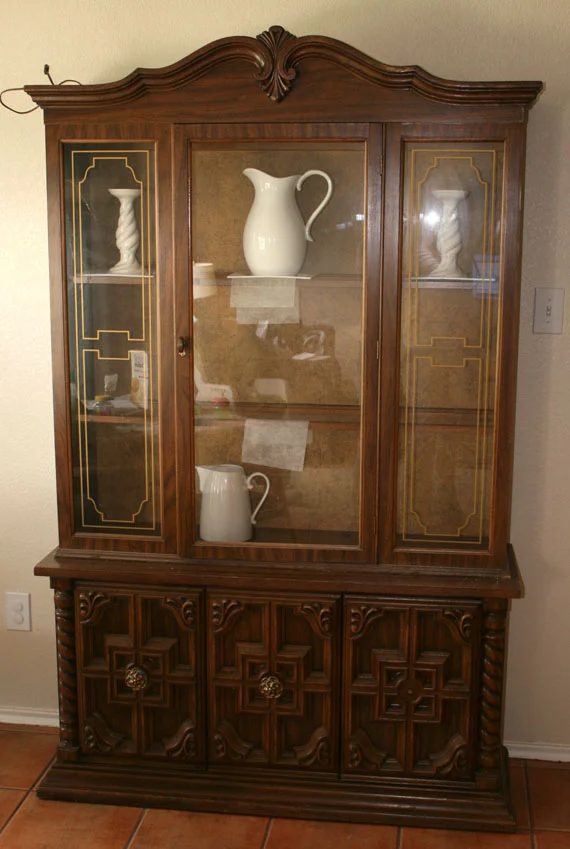
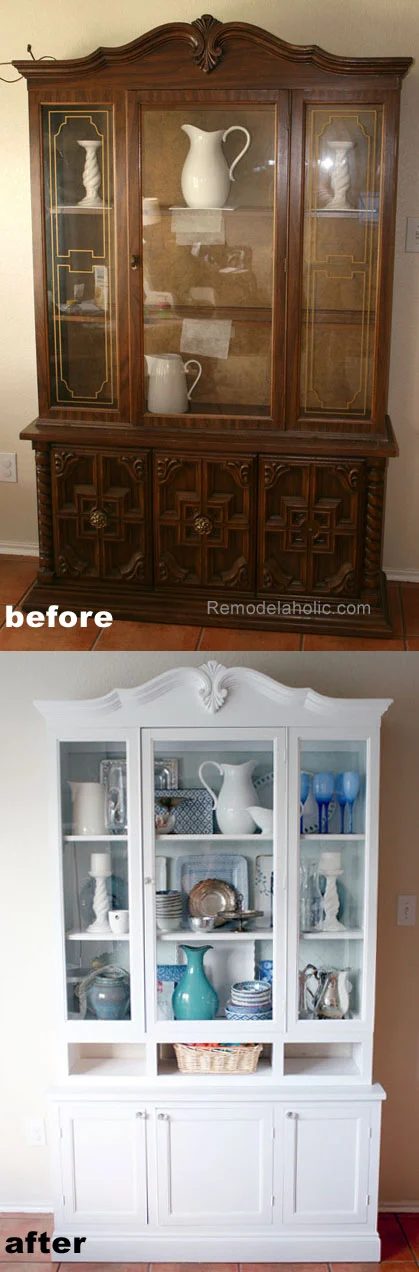
Originally the hutch base had three doors. The thing that bothered me the most about the original look is that the spacing didn’t match the top doors. Function wise, the middle section didn’t move, it was nailed in place and only the two outside doors worked. AND the doors were literally 2 inches thick, so the space inside was limited and I hate wasted space, I want this white hutch to store stuff so I needed more space.
When coming to a look we liked design wise, we tried to copy as many details from the top that we could. That doesn’t mean that all the details were the best, but that the two pieces needed to work together so we took our cues from above (ha ha).
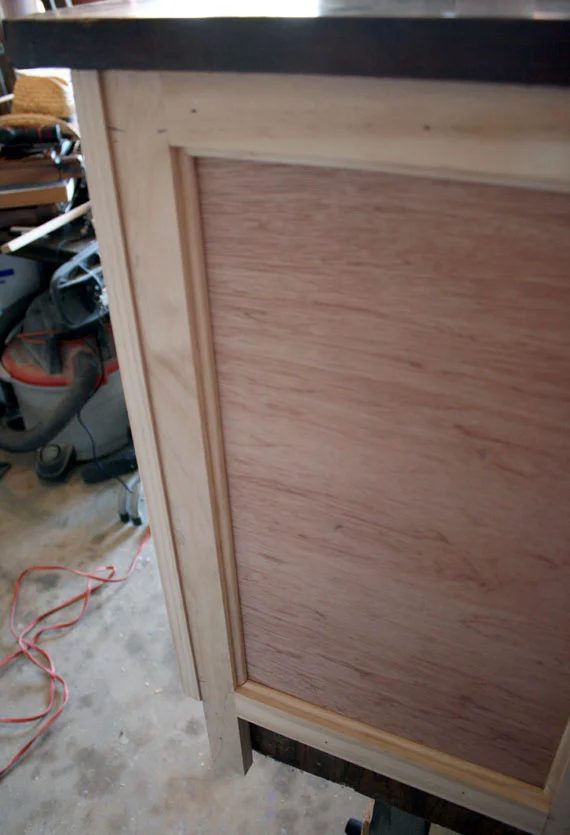
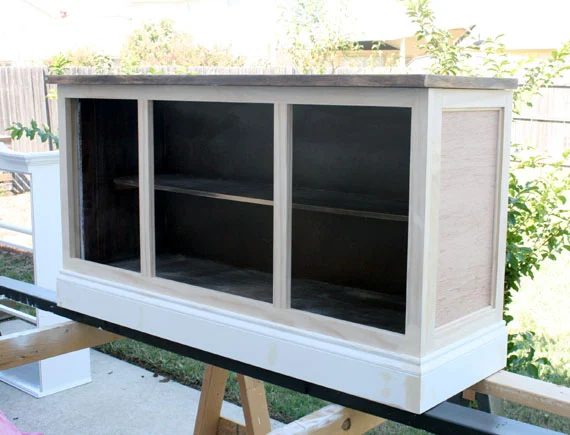
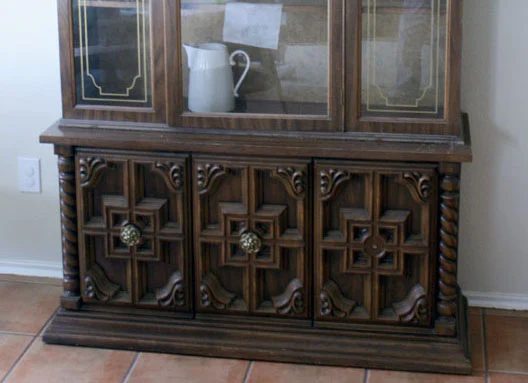 We started by adding a face frame to the sides. Because the original doors were the front face frame and we wanted to make the new piece a little deeper, so technically the original frame sits back a few inches. One detail we added to make it look a little more classy are the side panels. We made the sides to match the existing upper doors, and the new base doors.
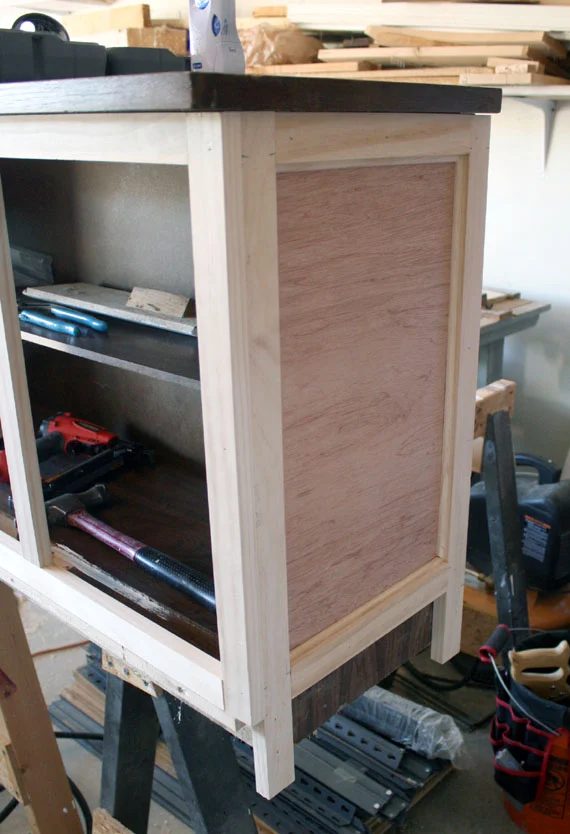 For the bead detail, we found a molding that worked and ripped it down on the table saw to the proper width, and applied it on instead of using the router. At this point we also made the feet an inch or two longer than the original base cuz I mentioned earlier that we wanted it a little taller.
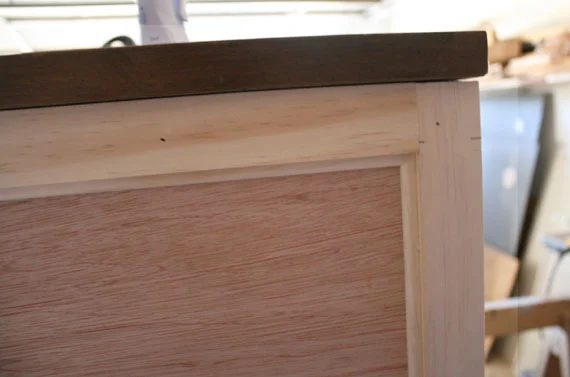 Justin then made a basic face frame and nailed it in place to the front. It overlapped the side panel about an 1/8 of an inch, similar to the existing top.
 I wanted the doors to match the glass doors, so he made those to look as close as he could. But, one thing we did have to change a bit were the door dimensions. Because we added the face frame it would have made the two side doors really small, so we had to tweak it a bit (along with the drawer section) but we think it turned out okay, see if you notice)
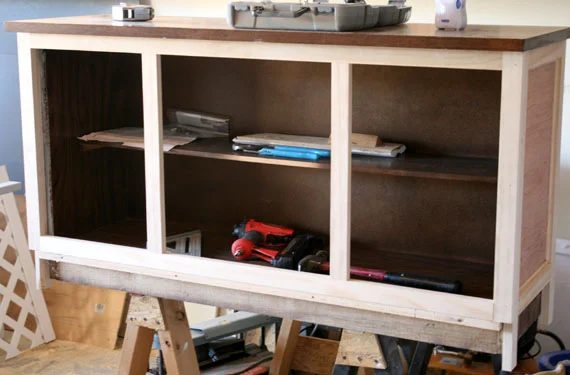
Lastly, when I was looking for inspiration on how I wanted my hutch to look once updated, I saw a lot of molding wrapped bases. So, we went for that look, and it has the added benefit of keeping little baby things, cat toys and junk from falling under the furniture.
Before paint this is what the piece looked like. (so much better than before… you should really scroll up there and check it out)
Now on to putting humpty-dumpty back together again… Here are all the pieces coming together. You can see in this picture that the stencil is really subtle. I am liking this….
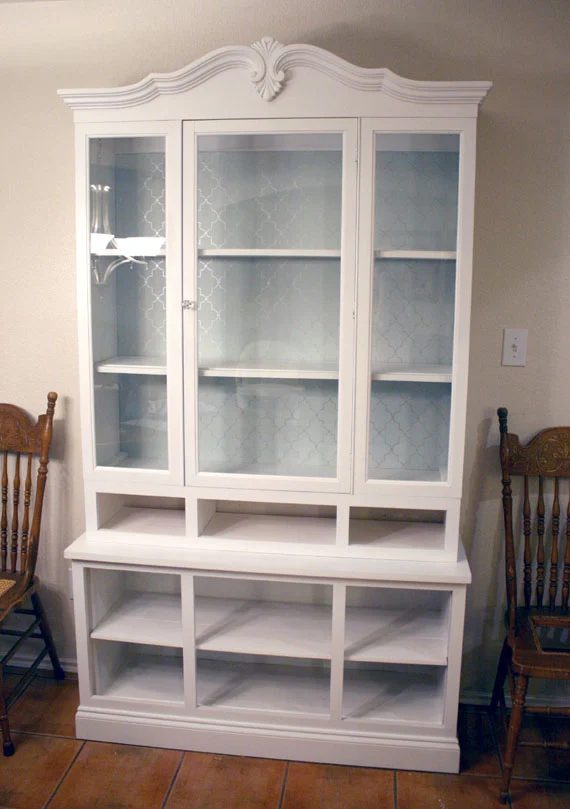
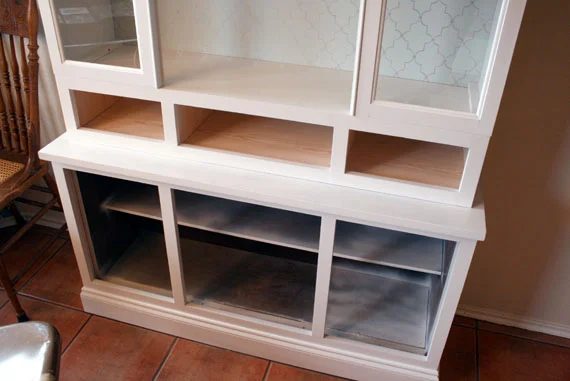
I decided that I didn’t want to have to spray paint the inside shelves outside and I was going to ignore them completely, but it took a while to finish and install the doors, so one day I just sat down and painted the interior. I am glad I did.
Trying on the doors for size…
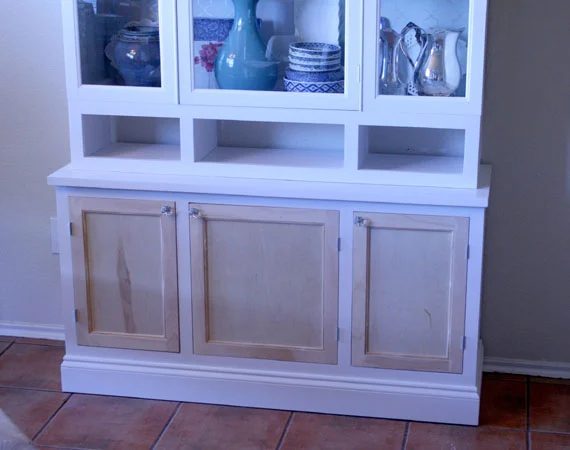
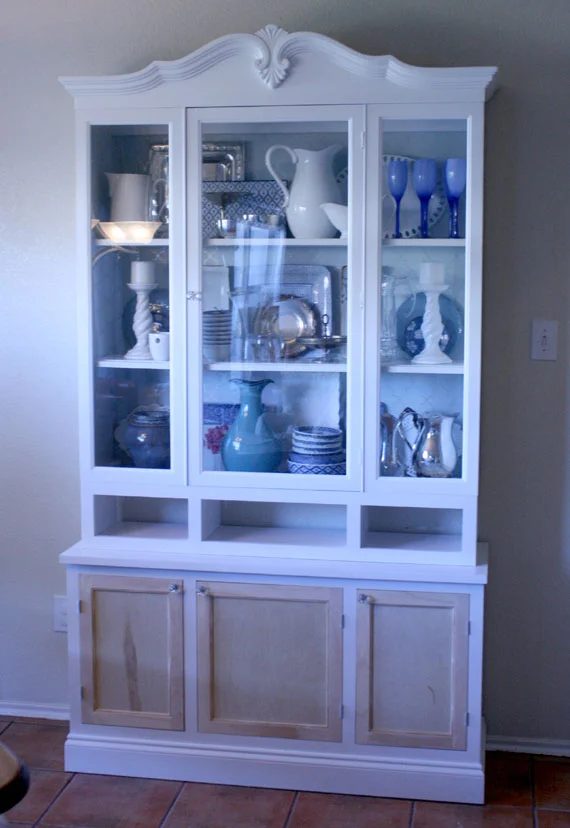
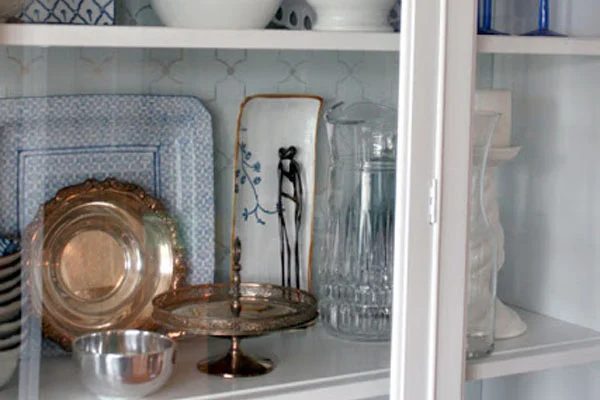
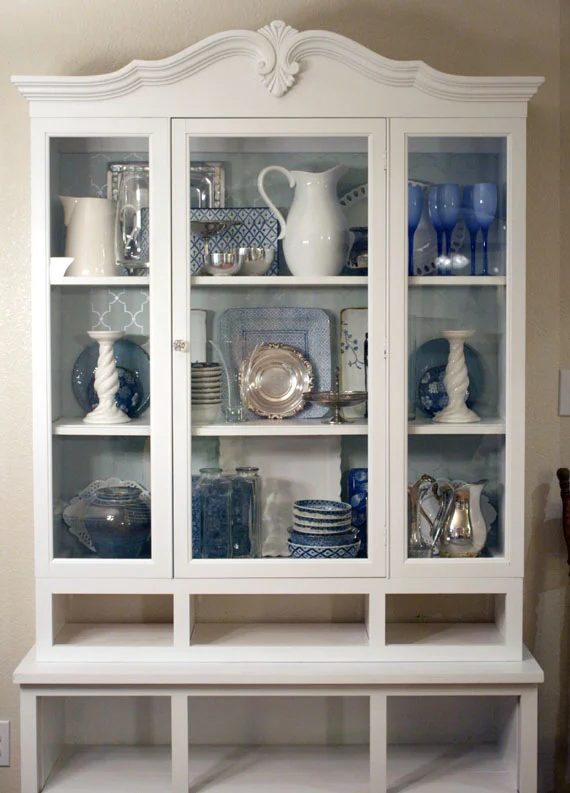
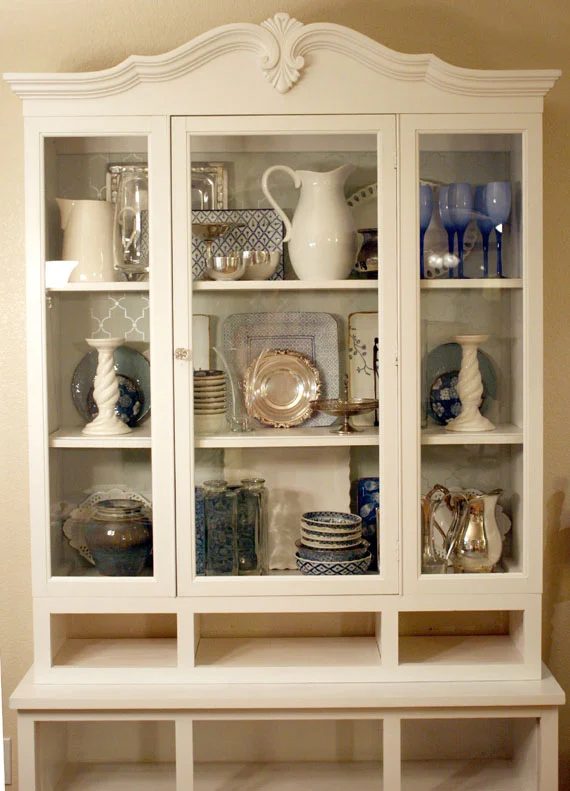
Then off again to paint… now for the fun stuff – dishes. I realize for some people’s taste I may have too much stuff in there, but I am really happy with it, and it changes occasionally, but not too often, and not too much. This really is about function for me cuz I totally have a dish fetish so I need storage.
 Quick reminder of the old:
And FINALLY with the doors back in place and painted! Now all we need to finish are the drawers.
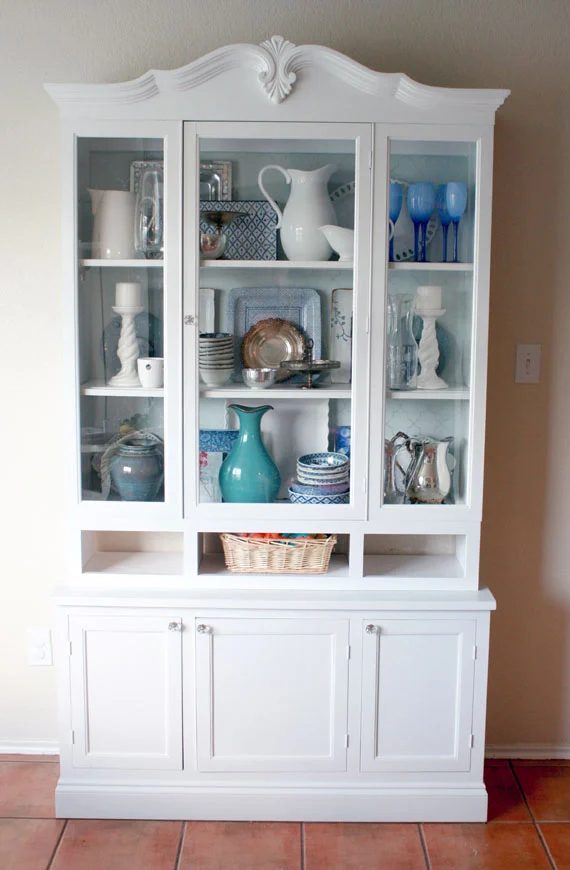
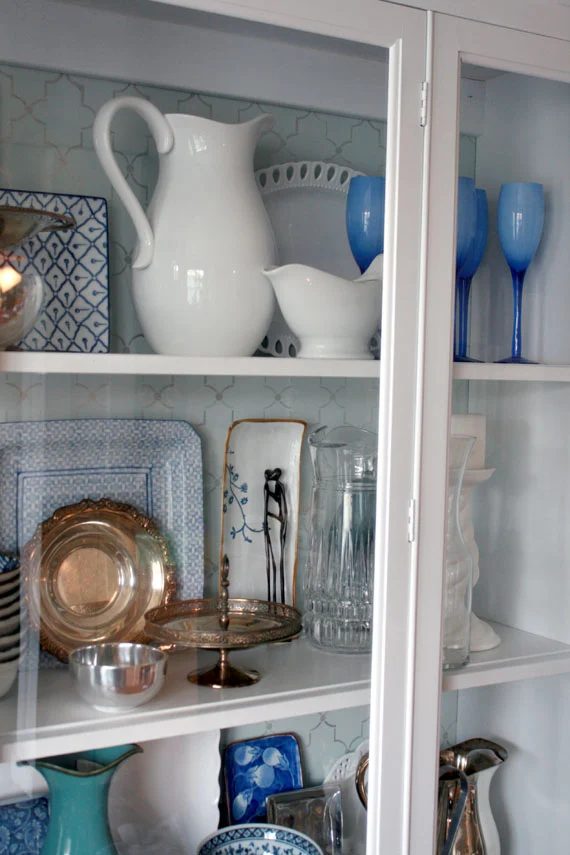
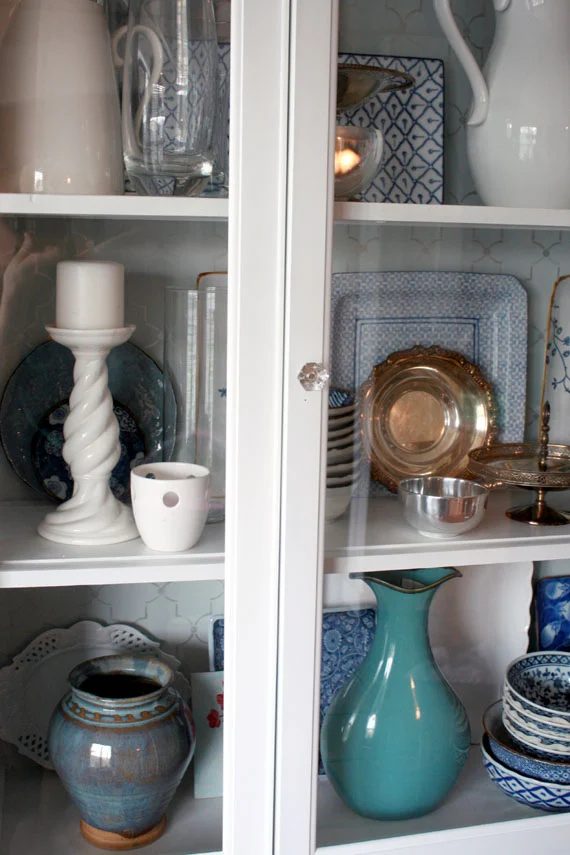
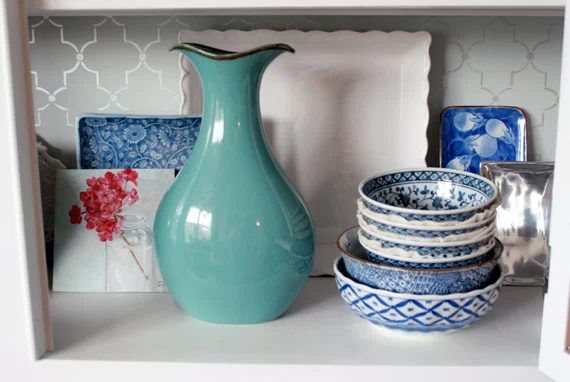
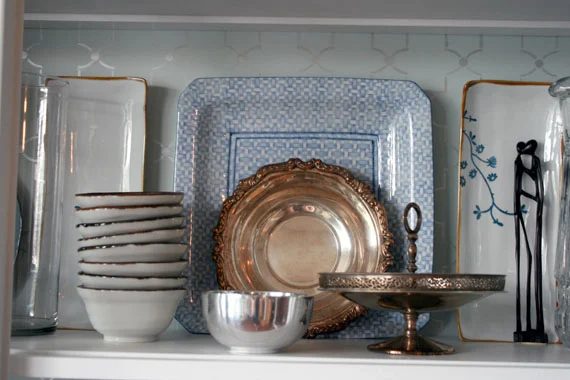
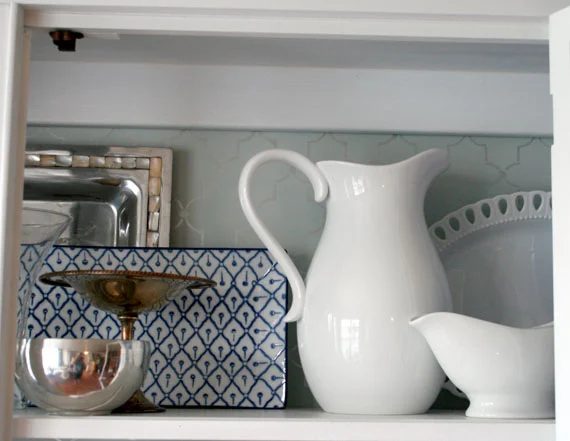
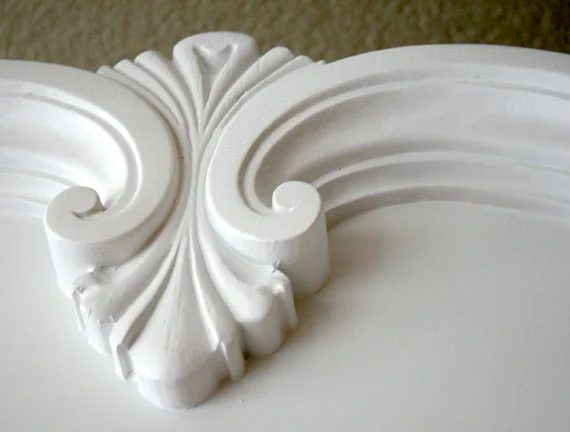 Hey everyone! Hope you can’t see the dirty dishes I am neglecting in the reflection of this bowl!

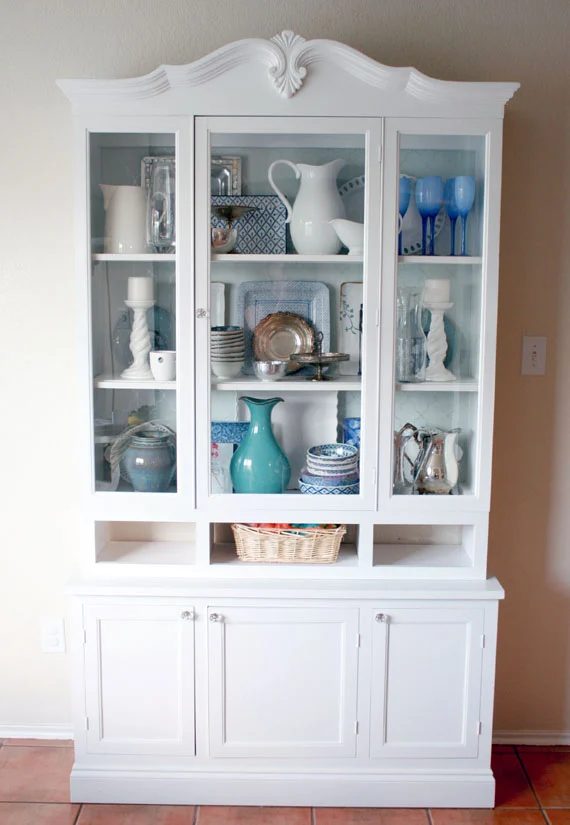 Here just so you feel satisfied, I photoshopped (not so expertly) some drawer fronts on there.
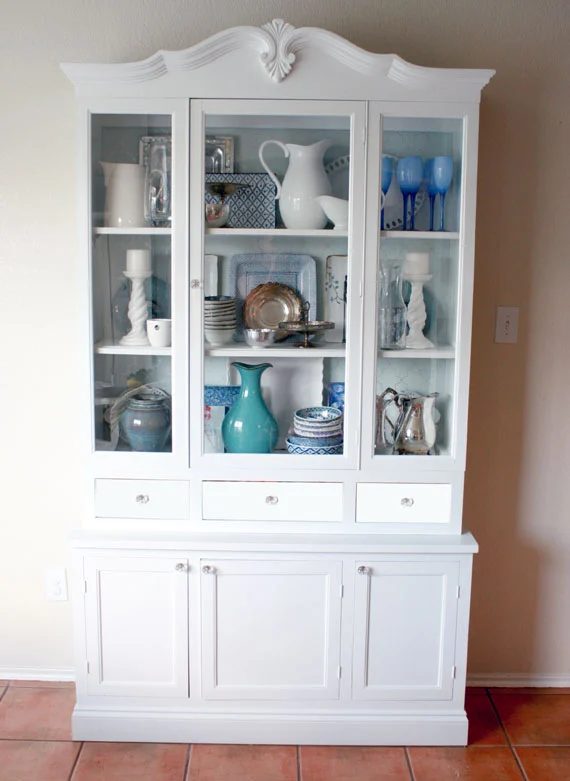
 What do you think about our white hutch project?
It only took me about 10 months to blog about it…
What do you think about our white hutch project?
It only took me about 10 months to blog about it…
Bekob is written by Cassity and Justin. Cassity has a degree in interior design and Justin is a landscape architect, so we adore everything that makes up a HOME! We love to share home remodeling options and projects we’re working on. From huge kitchen renovation options to small bathroom remodels, there isn’t anything we won’t try to tackle (at least once!). We are in the midst of our third whole home renovation, (look at house 1 and house 2 as well, so there should be a lot more inspiration coming your way. We hope that you will stop by often for home design inspiration, tutorials, interior design tips, delicious recipes and what going on in our family life.