Read the sequence from the top before cutting, painting, or moving pieces.
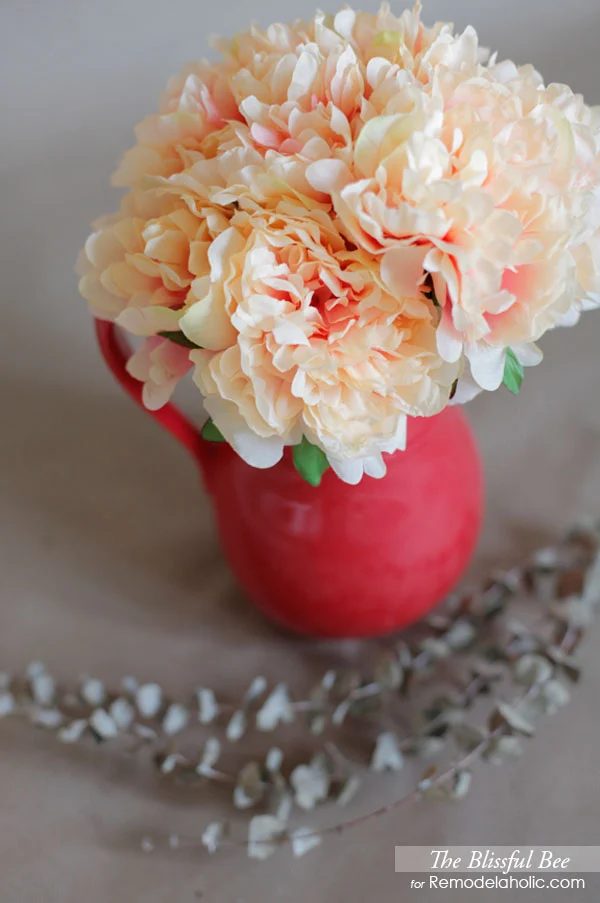
First of all, I didn’t use backdrops for a long time because I kept thinking they were either too expensive or too annoying to set up. Well the good news is, they AREN’T expensive OR difficult to use. Yay! There are so many ways you can make your own backdrop, like my Handmade fabric scraps backdrop that I posted about months ago, but there are also a ton of options online that you can simply purchase.
For your convenience, this post contains affiliate links, which allow us to continue providing you lots of decorating and Handmade options at no cost to you. Learn more here.
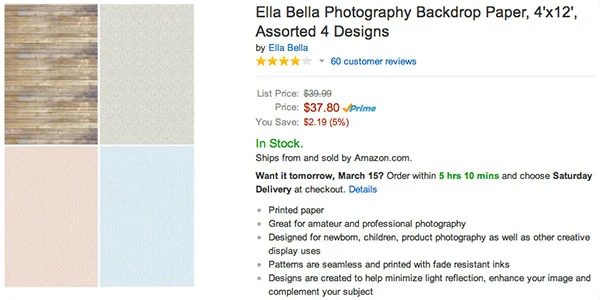
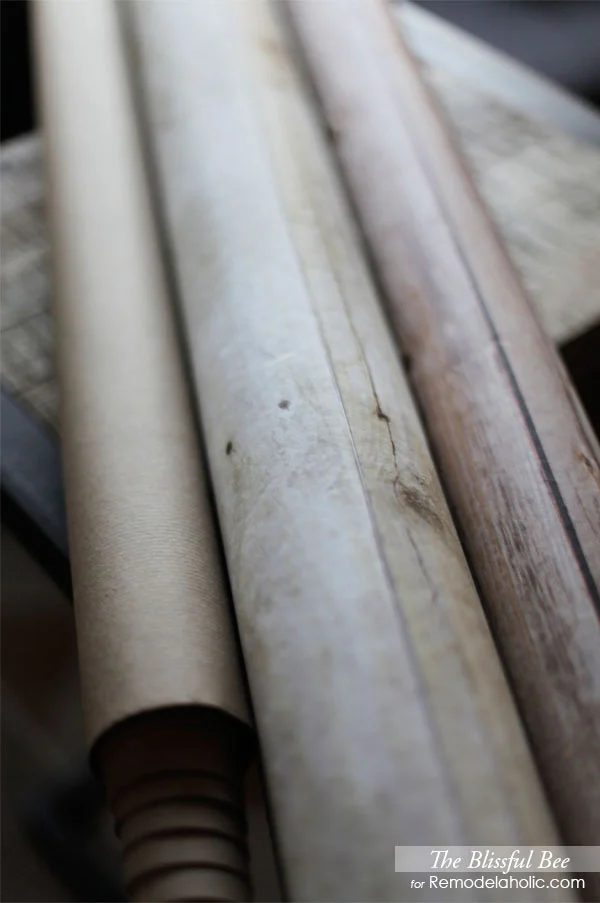
My go-to paper backdrops are found on Amazon. My all time go-to set is the Ella Bella Photography Backdrop 4 roll set. You can purchase ALL 4 backdrops for under $40 (Amazon prices fluctuate a bit). And they are rather large too – 4 feet by 12 feet.
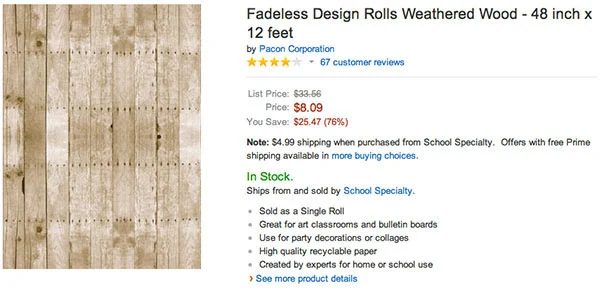
Another backdrop that is popular (and you might have seen it around the blogosphere) is the Weathered Wood roll which is also 4×12 feet and only $8 for the roll.
I have all 5 of these backdrops and like to switch them out for different projects. I’ve also even gone to the $1 Store and purchased some neutral wrapping paper and used that as a backdrop! Now that we know where to buy our photography backdrops, I’d like to show you how I set them up in my home.
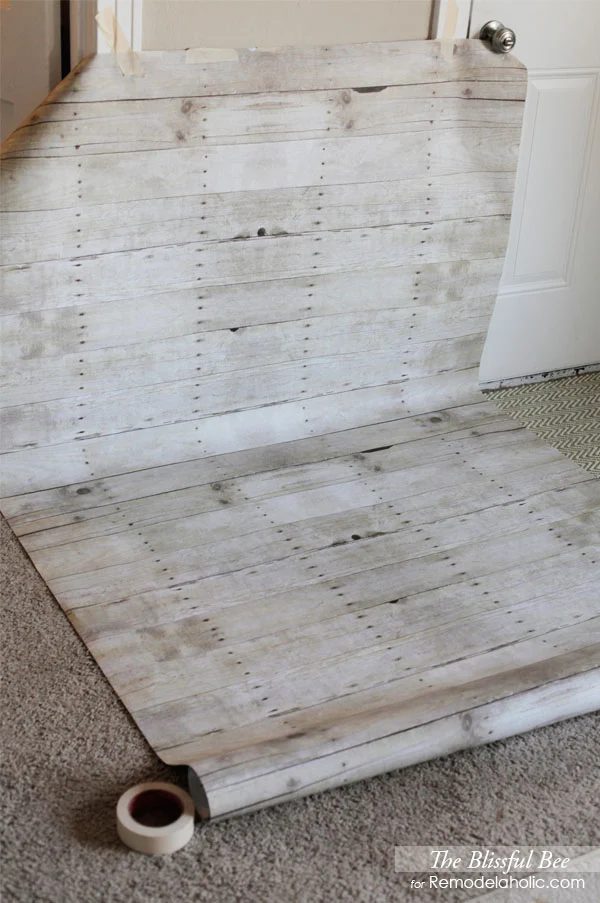
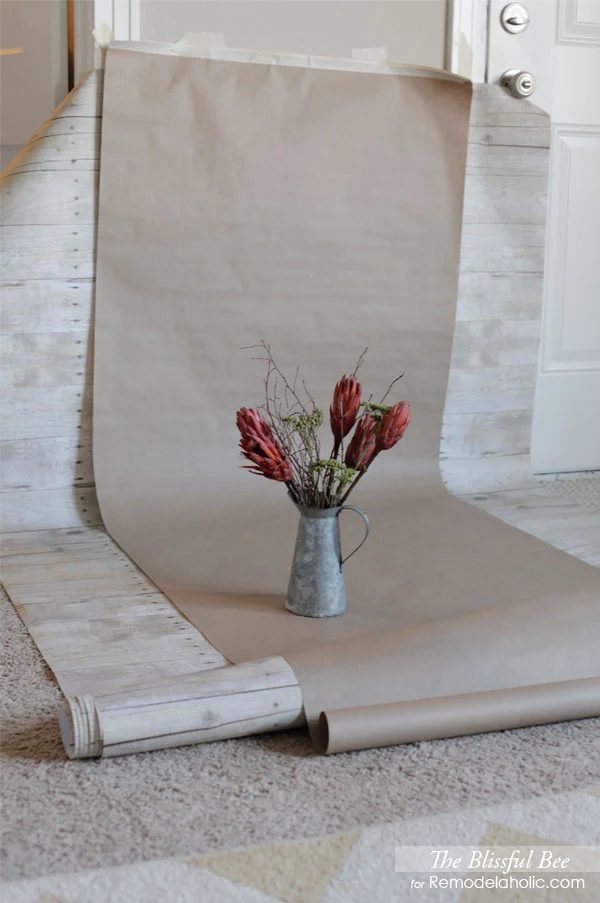
As you can see, I simply hang these up with some masking tape. I don’t rip off the tape when I’m done, because it will rip the paper, but I simply fold over the tape to the other side when I’m done. You can even see some of the leftover tape from when I’ve used it in the past. Since the top of the backdrop will never be in the actual photo, it doesn’t matter if I still have leftover masking tape showing.
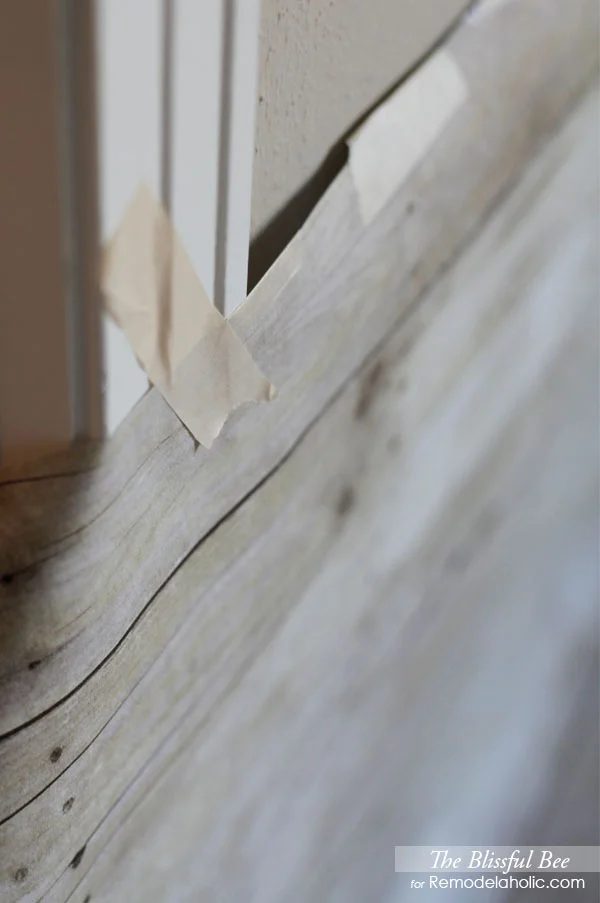
Once your backdrop is hung, you are ready to shoot your product! Remember, make sure to set up your backdrop near natural light! See my last post for more info on that.
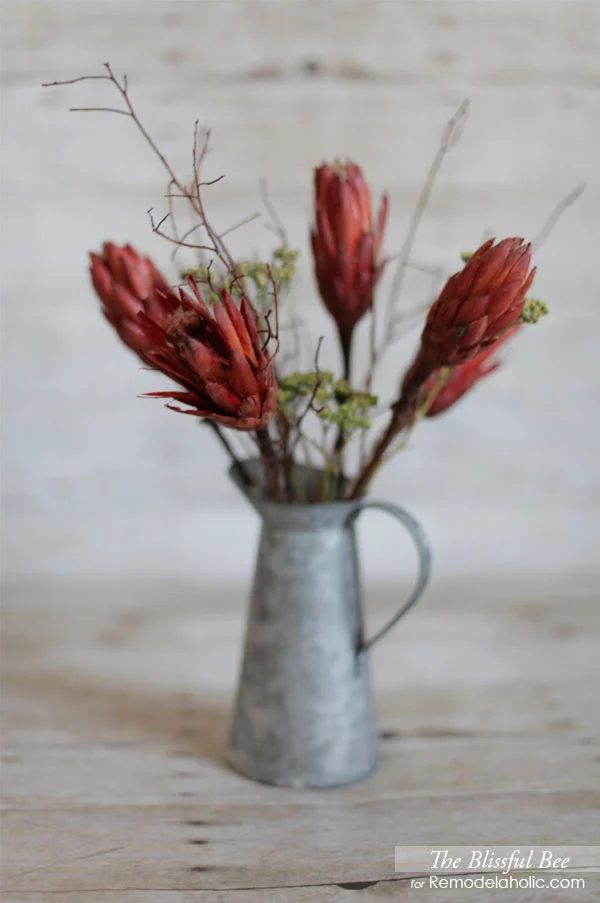
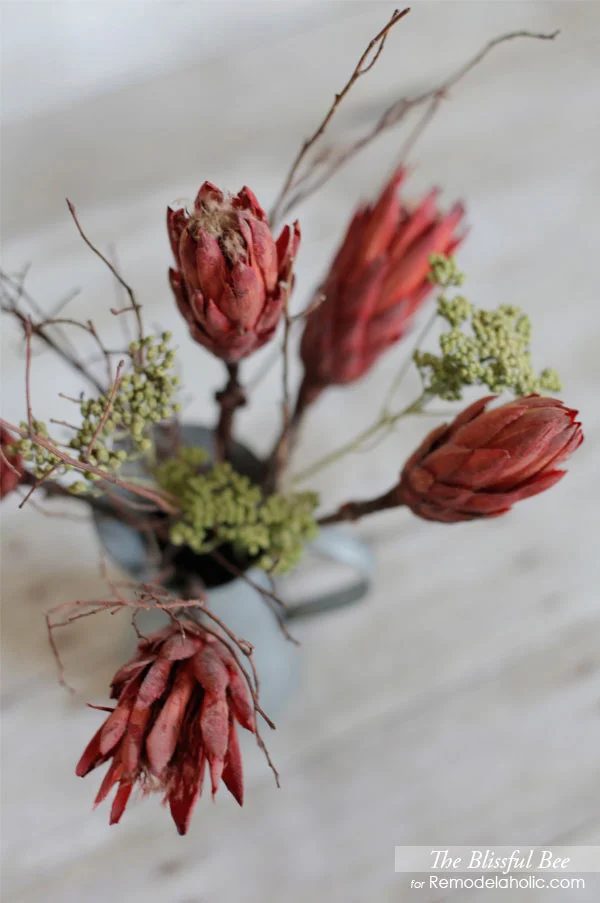
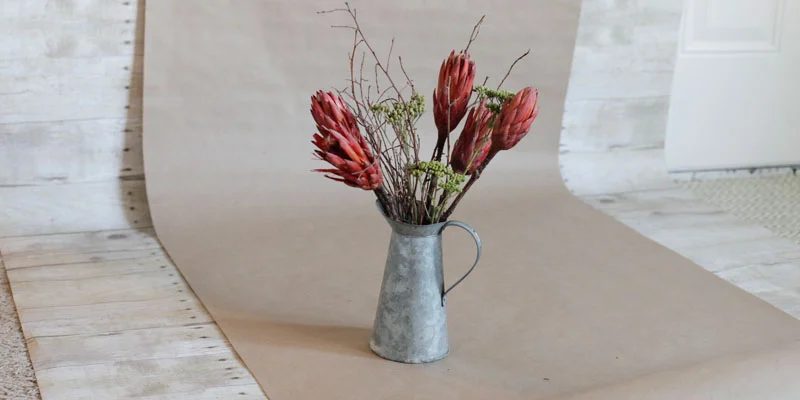
If I’m shooting multiple projects in one sitting, I will simply layer my backdrops rather than roll them up between shoots. Depending on the project, I might decide to use my first backdrop again, so it’s just easier to keep them all laid out rather than cleaning up and re-setting them up for each project. NOTE: The brown paper you see below is actually wrapping paper I found at the $1 store.
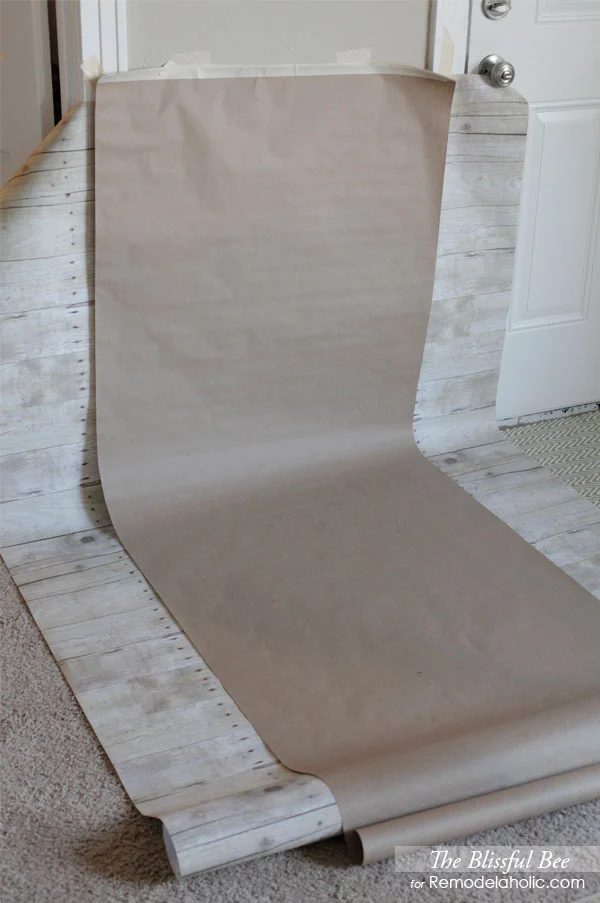
And here is what the “behind the scenes” look like: