The steps below follow the order of the work for this methods project.
Sorry it has been such a long time since our last tiling installment, it obviously took more than a week to show you the progress… With the unexpected move, we’ve been working NON-STOP for the last 5 weeks, literally to finish our entire house – I vow to finish projects to at least 95% from now on… no more 75% done for me…. Anyway, after finishing up the house. It took an additional week to completely pack and load the boxes on our ABF trailer…(and I am telling you that wasn’t enough time… but we had to make ourselves just do it, and I now understand why everyone hates moving…) A 2 day drive later, and finally we are at our new, soon to be home… (I’ll talk more about it soon!)
But in the mean time, I am FINALLY able to show you the progress of the flooring, and some tips for tiling, which I really hope you will like. I LOVE it!
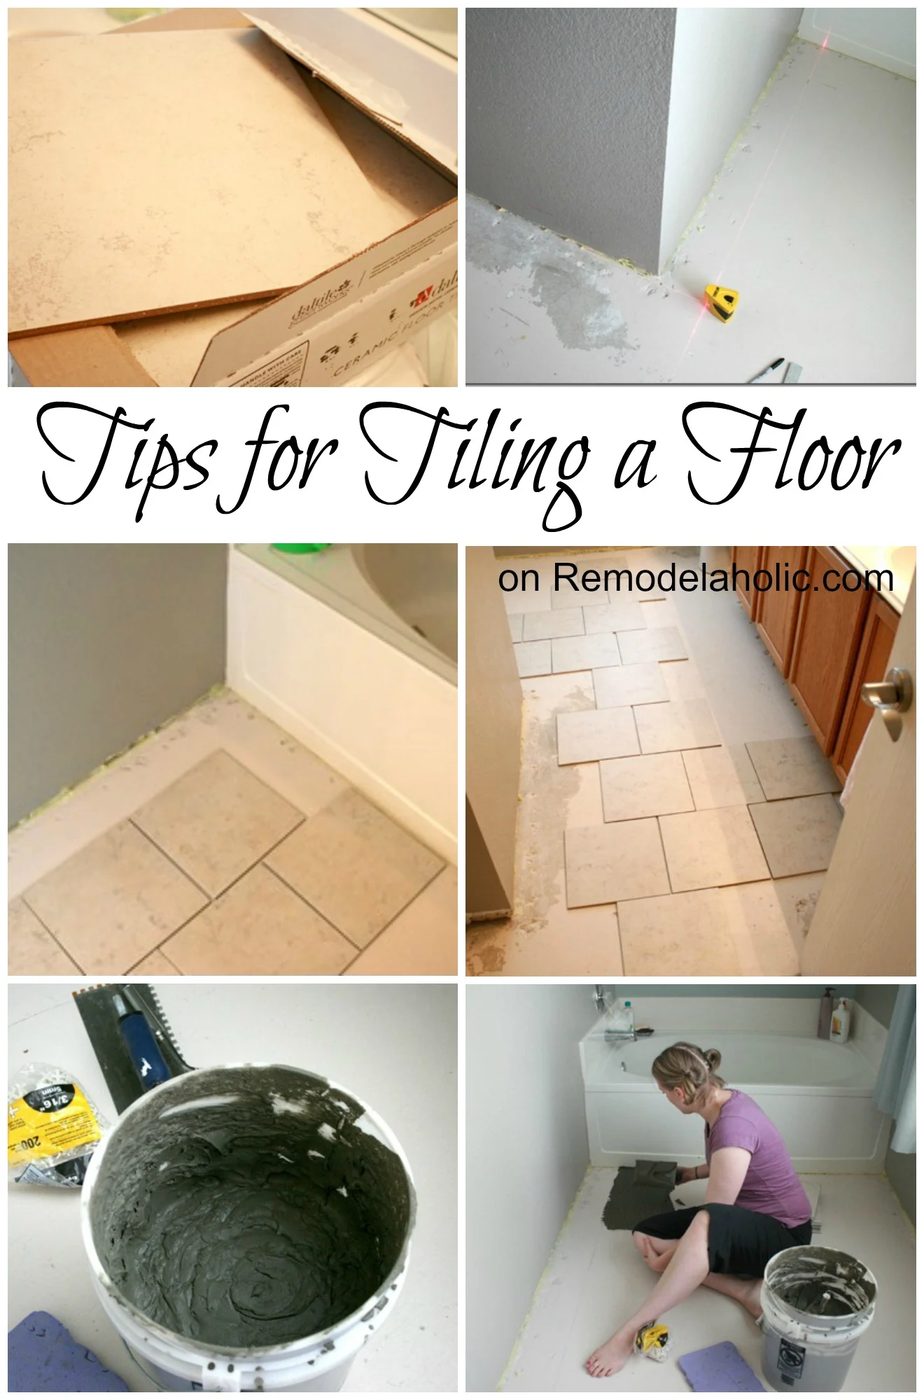
I am not a complete novice to tiling… I’ve tiled our upstairs bathroom, the half bath, our last house’s kitchen and two baths, so I wasn’t intimidated by the project. But if you are, you just need to break it down a little, and try not to get overwhelmed. And one on one help cannot be beat for a first timer, so be sure to ask your Home Depot flooring associate for any help you might need.
Tips for Tiling:
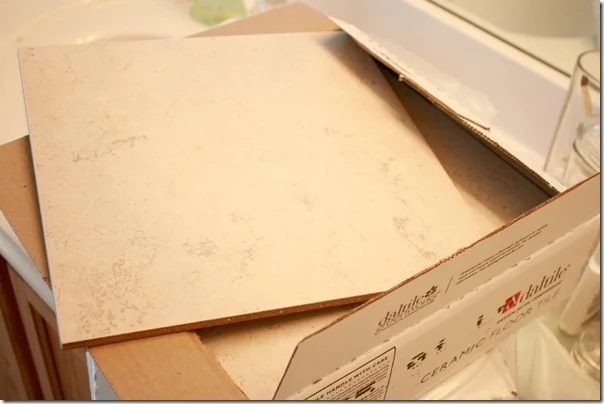
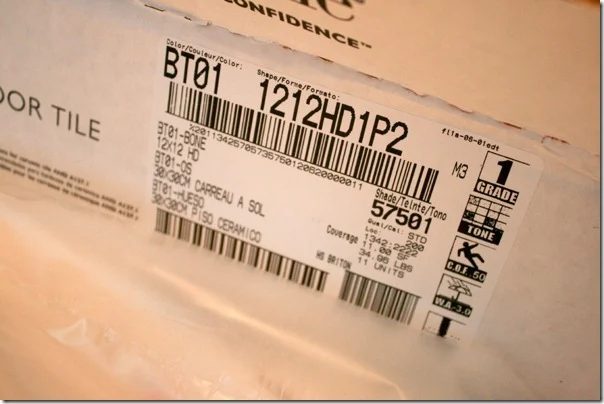
1. Pick out your tile, be sure to get the same lot or shade number for all boxes of tiles to avoid slight differences in the looks of your tile!
2. Layout the tile, in place, check the spacing of the cuts, keep the sides even and try to avoid little slits of tile. (please be sure to remove your baseboards!)
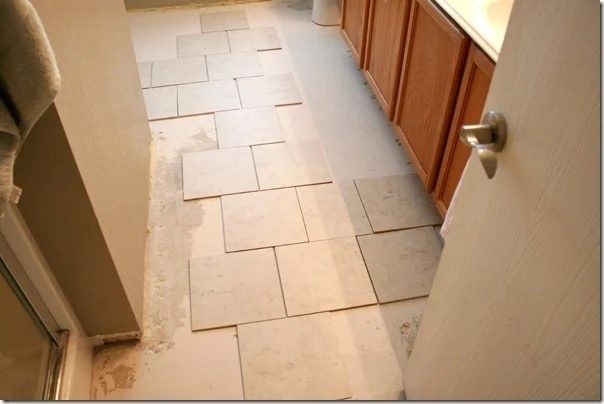
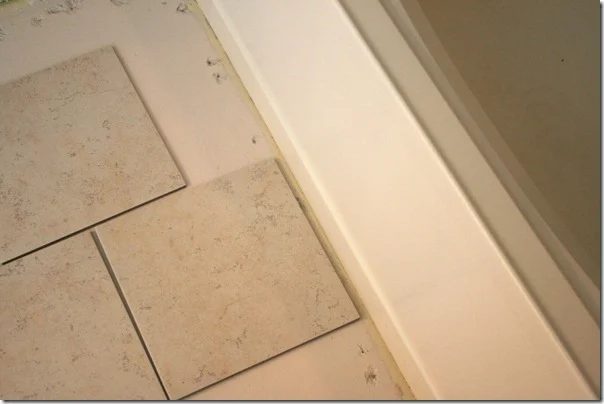
* this tile in front of the tub had to be moved just slightly in order to begin with a full tile and not have a sliver of tile , without laying out the design, I would have had a less than ideal cut.
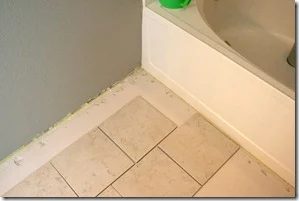
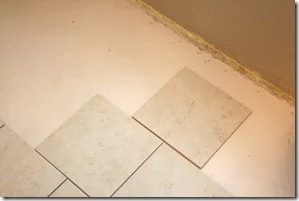
Both sides of the space in front of the tub had about 1/2 a tile showing. It would have looked strange if there was a whole tile on one side and 1/4 on the other… so space them evenly for the best results!
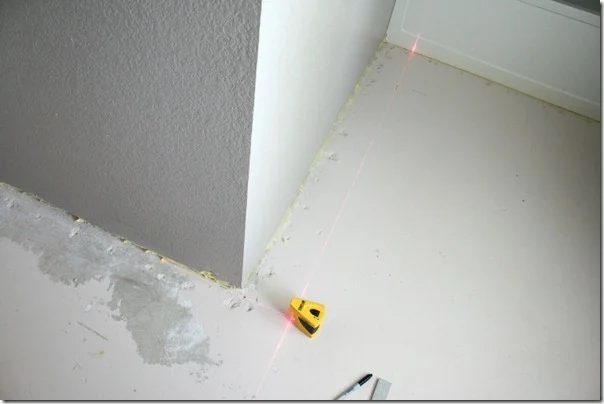
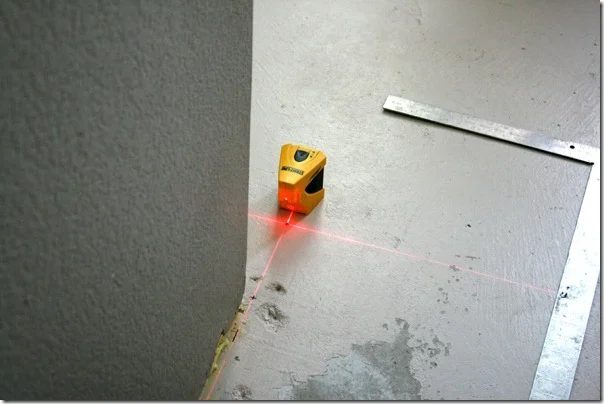
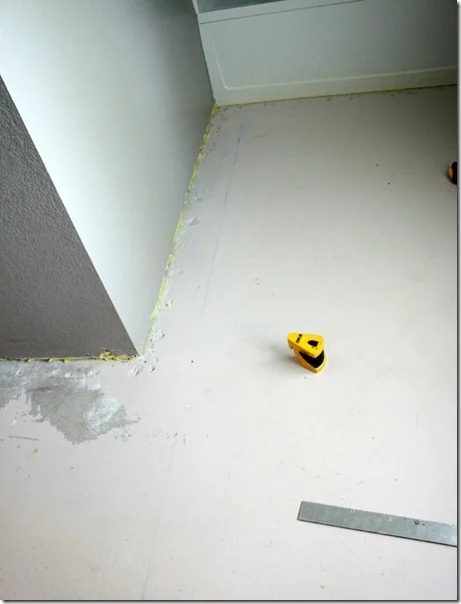
3. Chalk line the main lines, plan to use a laser level. Ours has the option to go side to side and forward, so I can check all lines at one time.
(p.s. you can see in the picture below how uneven the wall is, don’t take for granted that the wall is straight! Be sure to check everything in the room so that lines look their best!)
4. Mix your mortar (we use one of these drill attachments, it makes it so straightforward… be careful not to burn up the motor of your drill though!) Don’t mix more than half a bag at a time, especially if you are new to tiling!
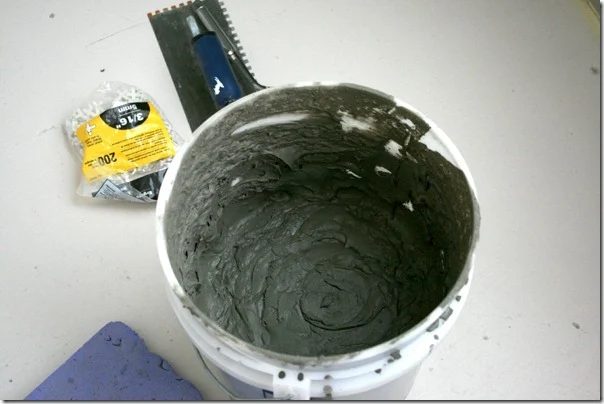
5. Be sure you have the proper sized trowel… the bigger the tile, the bigger the grooves, ask a tiling expert for the proper size.
6. Just start slow. USE LOTS of spacers and check the tiles for level, before moving on. I feel all a joining tiles with the palm of my hand to make sure they aren’t sticking up unevenly!
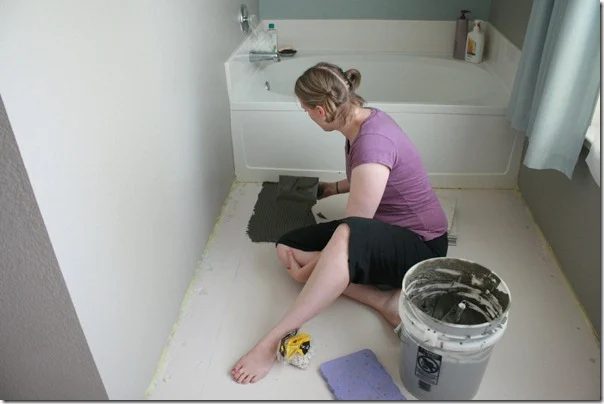
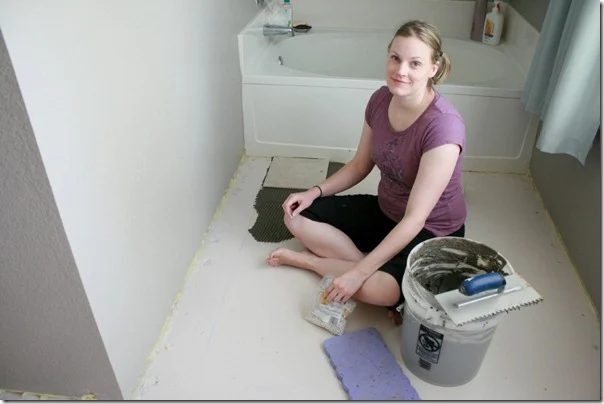
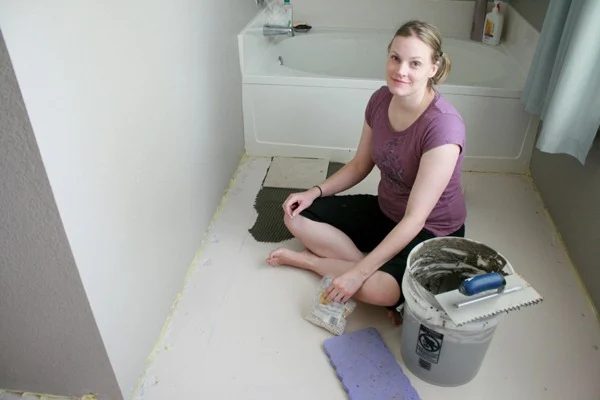
One tile down… 200 more to go!
By the way I noticed that one of the best ways to keep the tile level was to spread the mortar for 3-4 tiles at a time.
So now that you’ve seen a few tips from me, I would LOVE to hear your best tiling tips?
We have another project or two on the bathroom to show you before the “big reveal!” but please let us know, what you think!
Disclaimer: The Home Depot partnered with bloggers such as me to participate in its Daltile program. As part of the program, I received compensation from The Home Depot in the form of a gift card to participate in this campaign promoting the new Atmospheres Tile Collection by Daltile. They did not tell me what to say about the products used for the Daltile Program. The Home Depot believes that consumers and bloggers are free to form their own opinions and share them in their own words. The Home Depot’s policies align with WOMMA Ethics Code, FTC guidelines and social media engagement recommendations. The winner of any giveaways in this program will be randomly chosen and gift card fulfillment will be handled by a third party.