Materials and the sequence of the job sit together on this page.
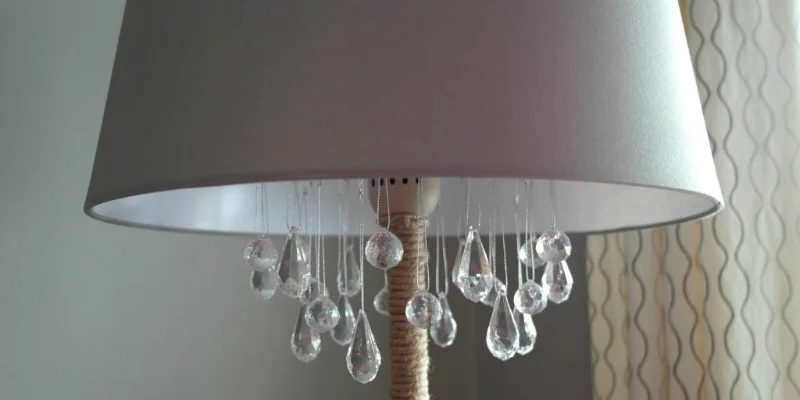
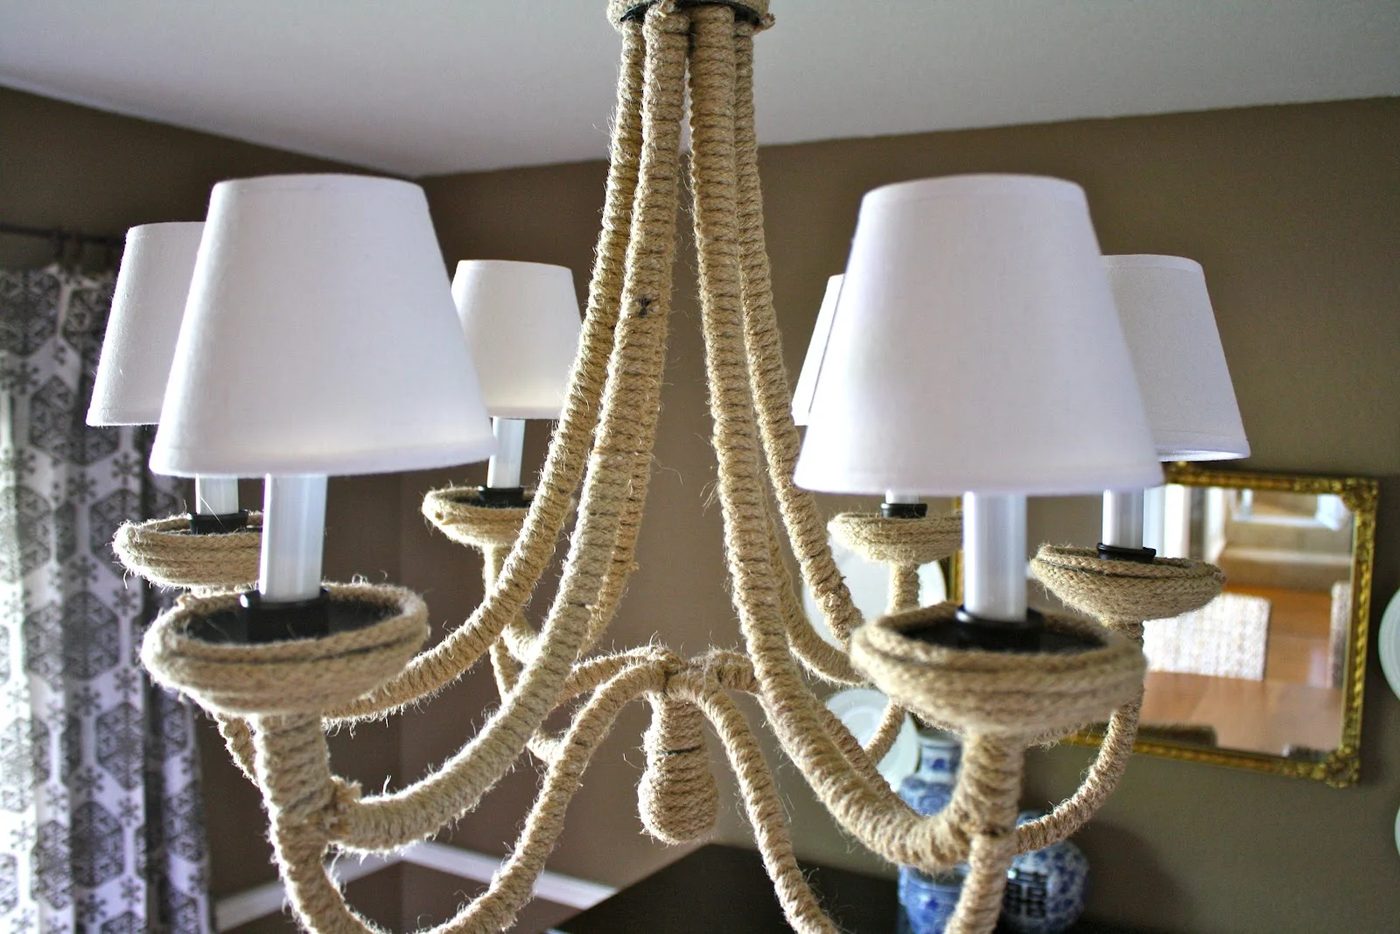
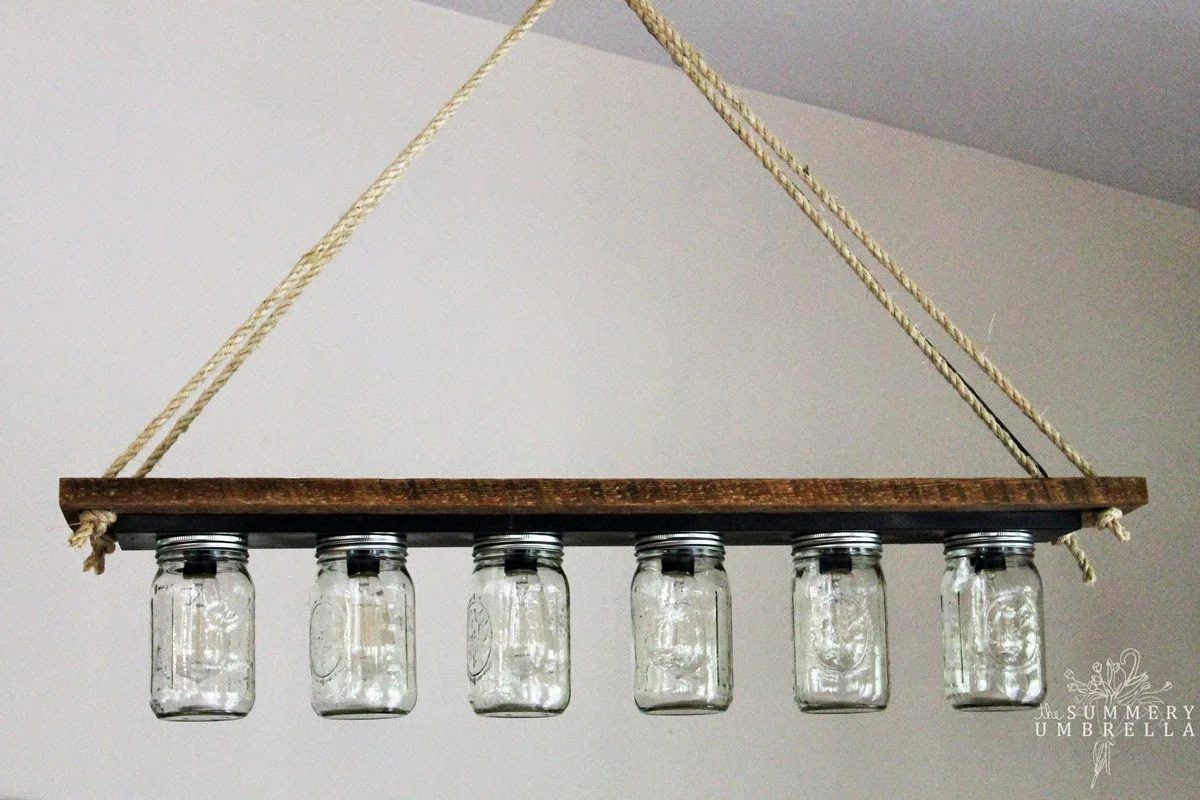
When you think of a stylish ceiling light, odds are that you are thinking of pretty much anything *but* the ubiquitous builder-grade glass dome lights… often affectionately called “boob lights” (sorry!) There are lots of nice flushmount fixtures that you can purchase to replace your standard lights, but what I love about today’s walkthrough is that it is a direct way to update the existing fixture rather than just replacing it.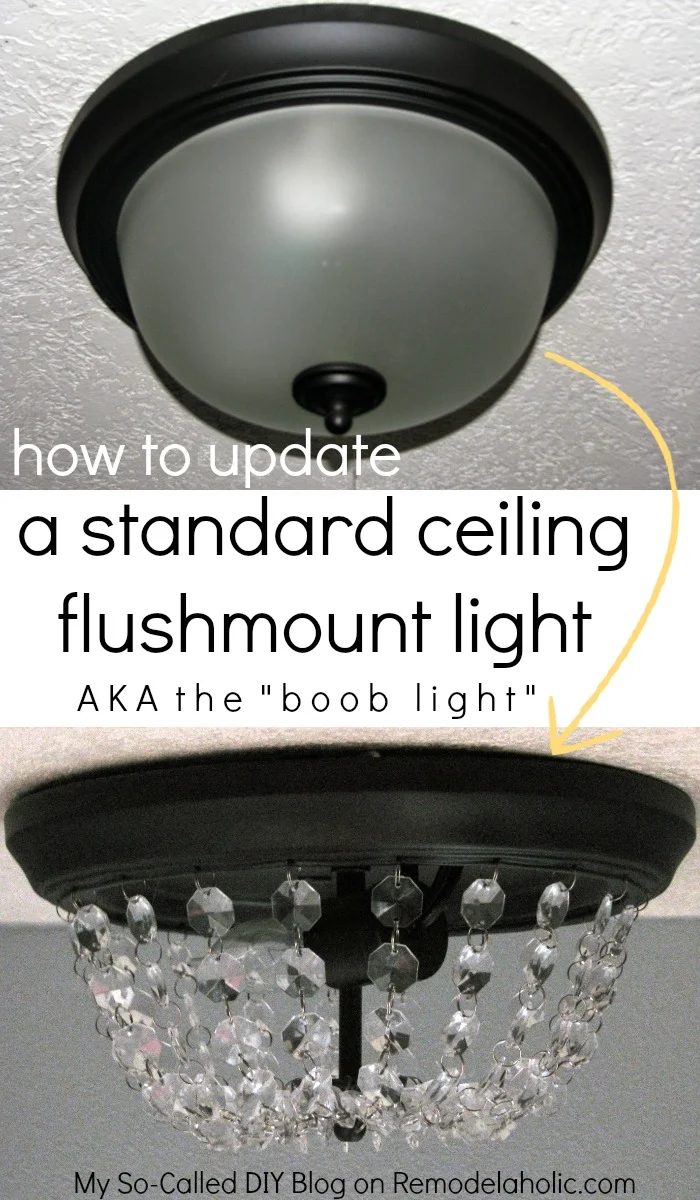 Excited? Me too! Read on for the walkthrough, and if you’re battling with a different type of builder-grade light that you don’t love, here are some more light fixture updates for you to browse and get inspired (click on the picture to see the walkthrough):
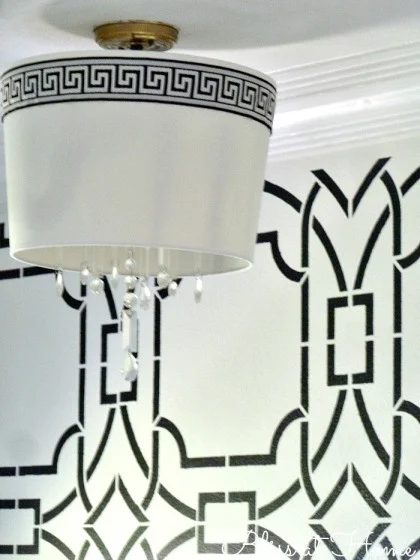
How to Update a Flushmount Dome Ceiling Light with Chandelier Crystals
by Emily of My So-Called Handmade Blog
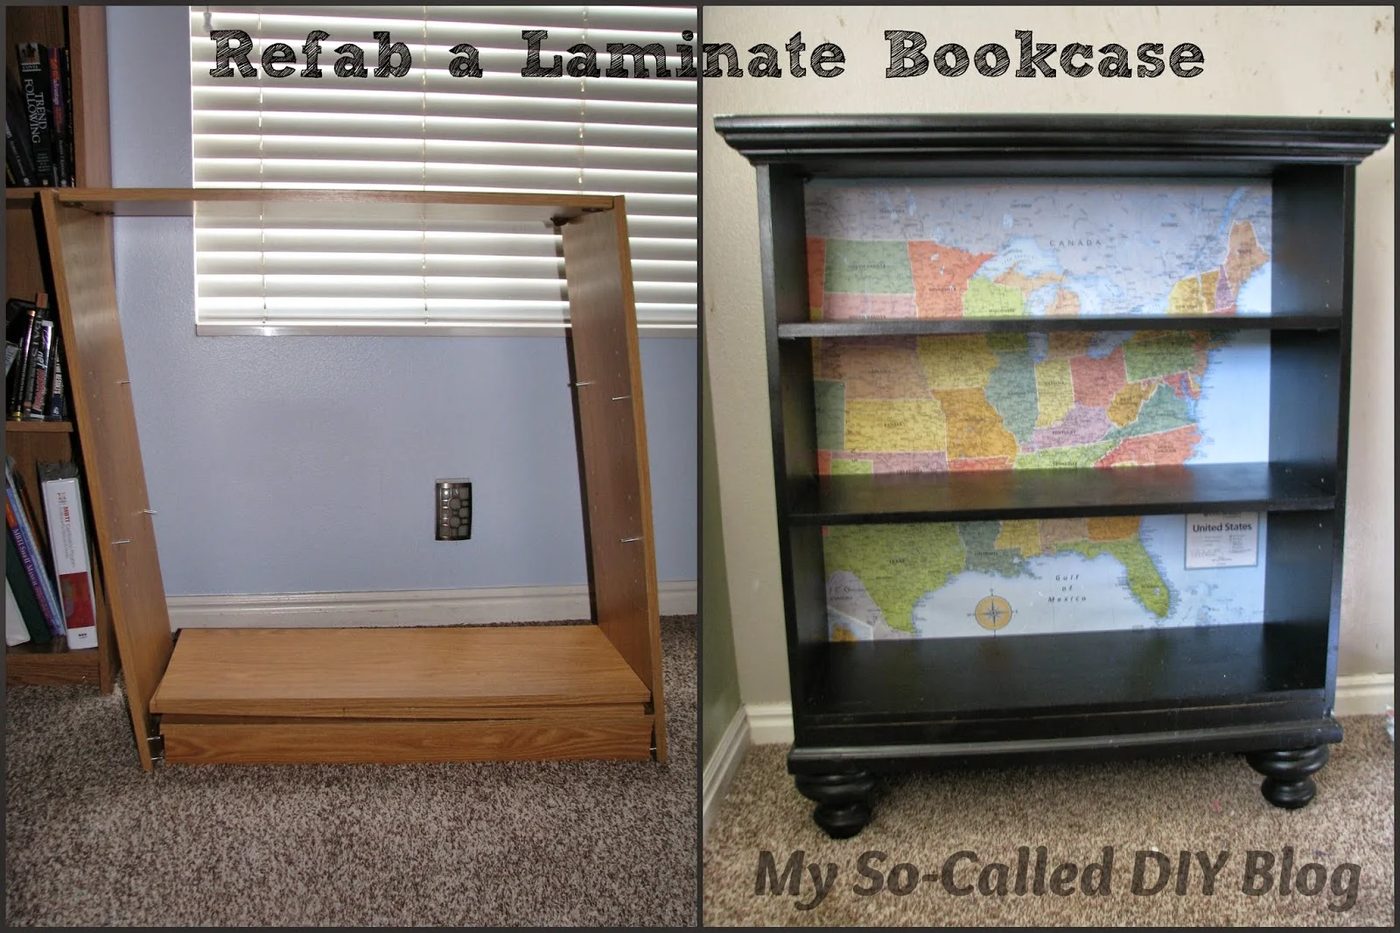
 Hi! This is Emily from My-So Called Handmade Blog, where I blog about refurbishing old furniture, like this laminate bookcase
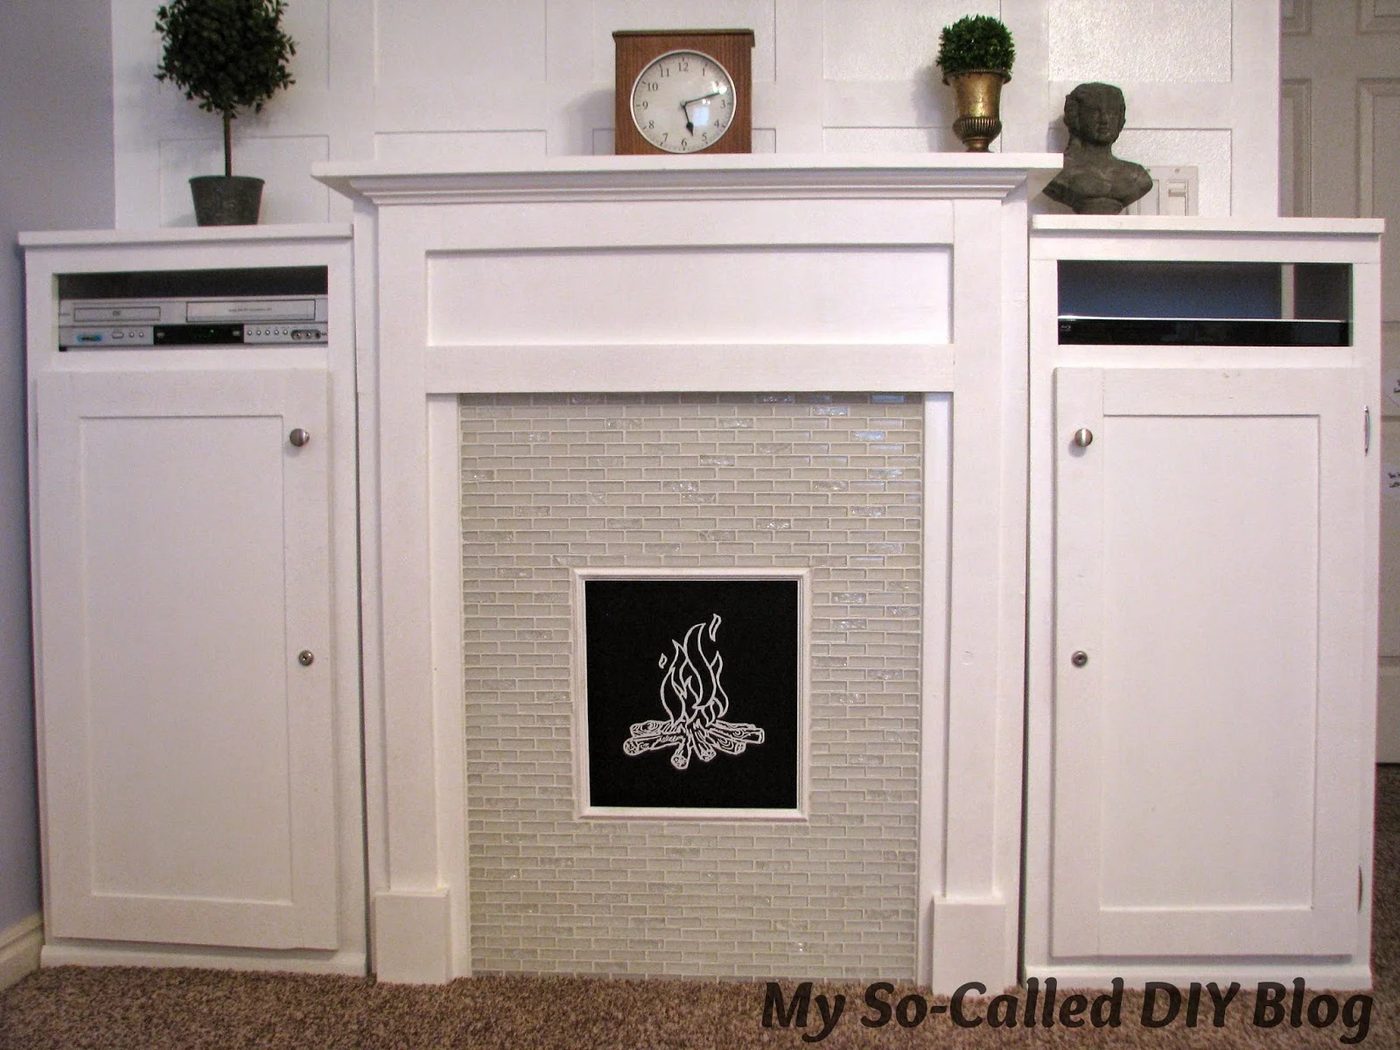
and building new pieces from scratch, like this faux fireplace and cabinets.
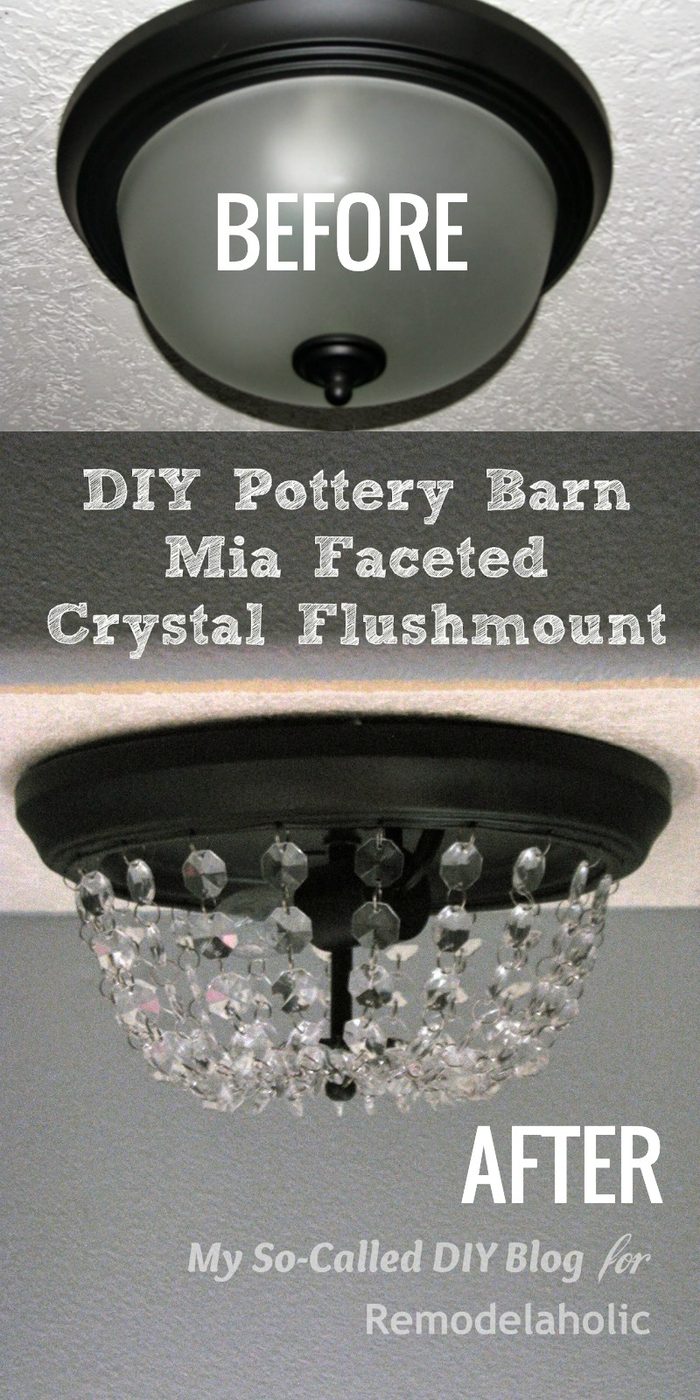
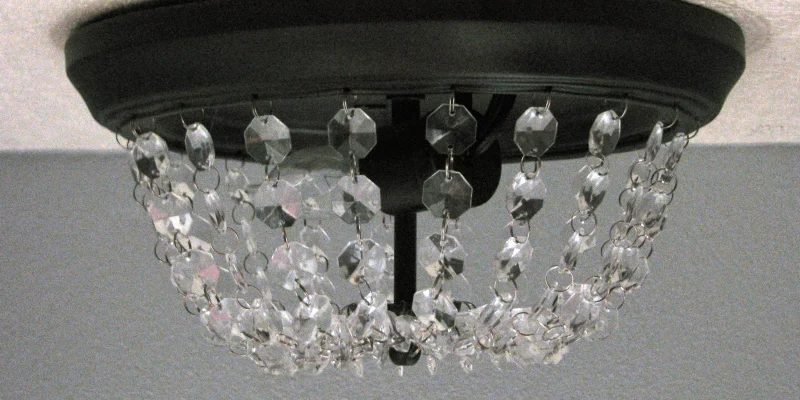
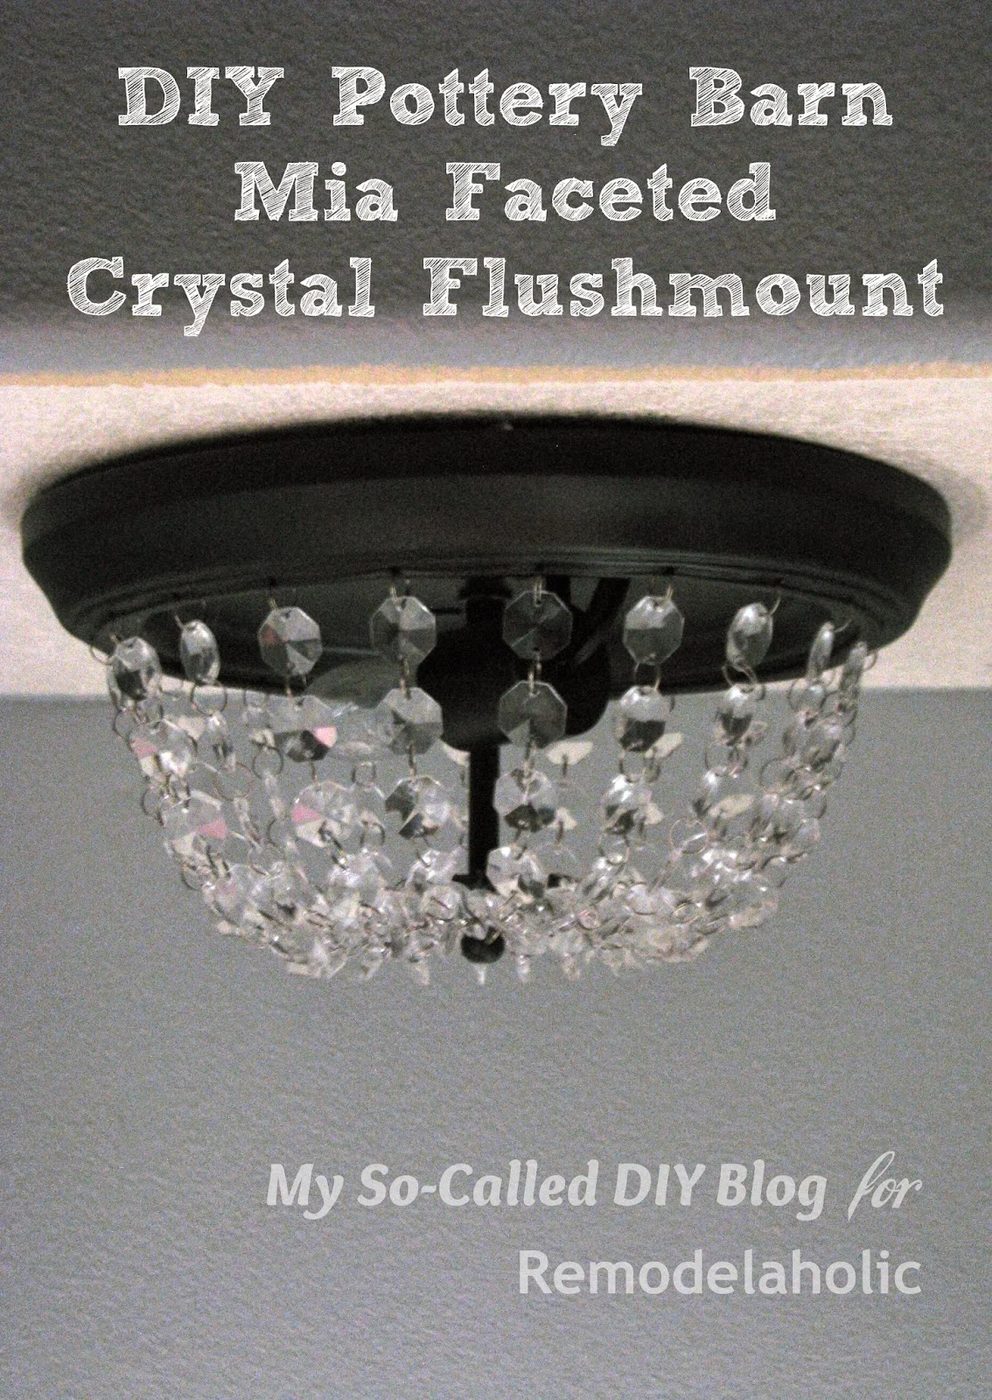
Today I’ll be showing you how to transform your builder’s grade “boob” lights into some elegant Handmade Pottery Barn Mia Faceted-Crystal Flushmounts!
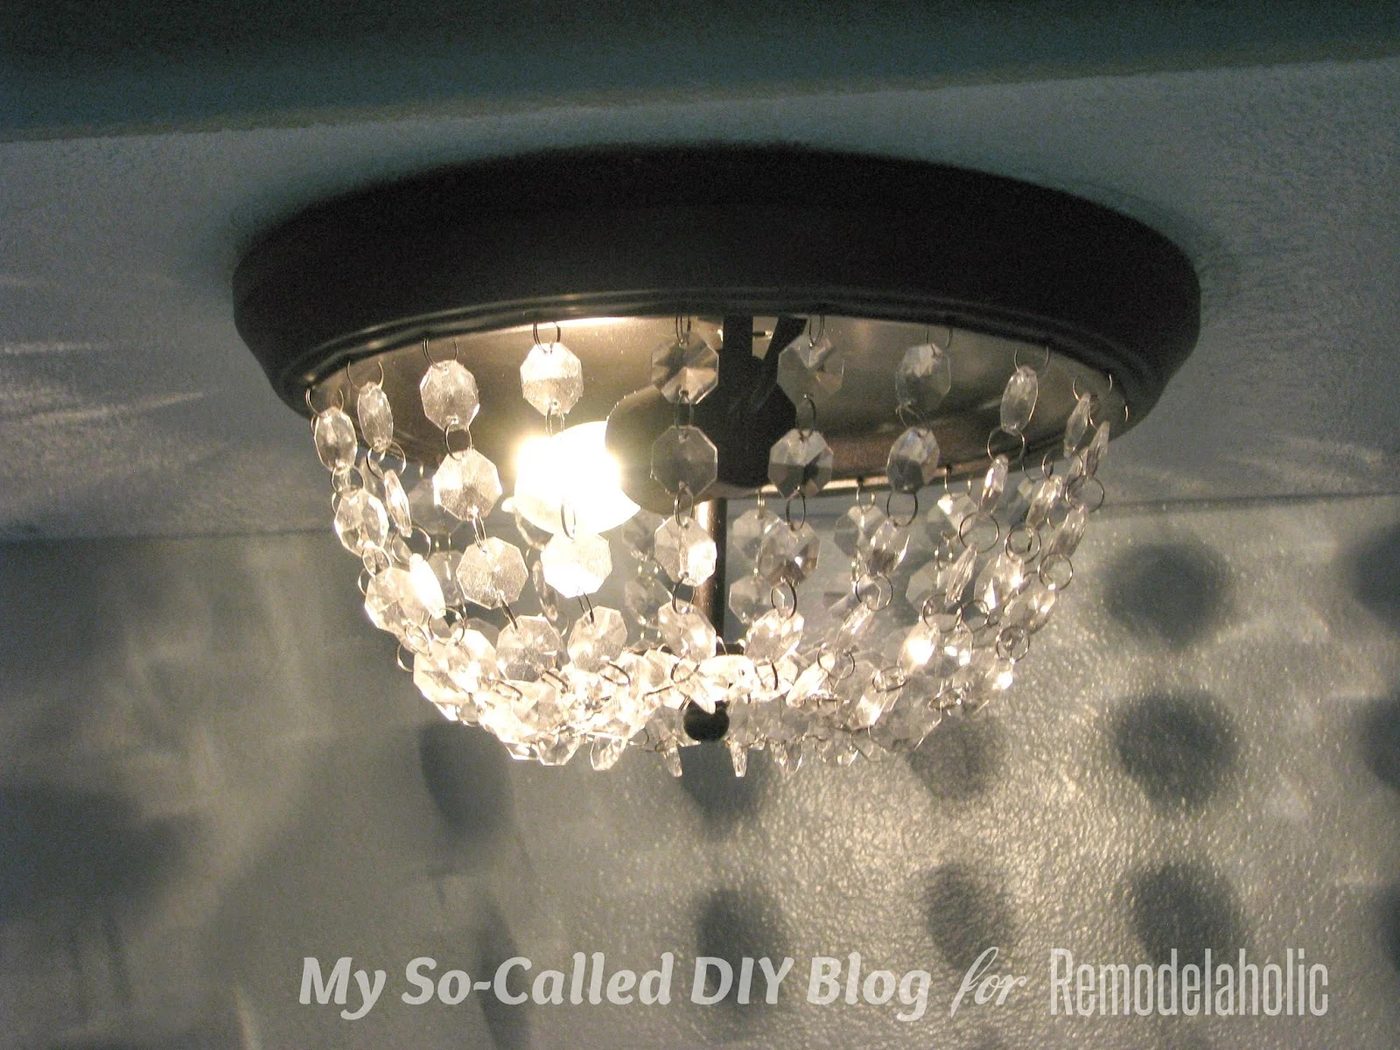
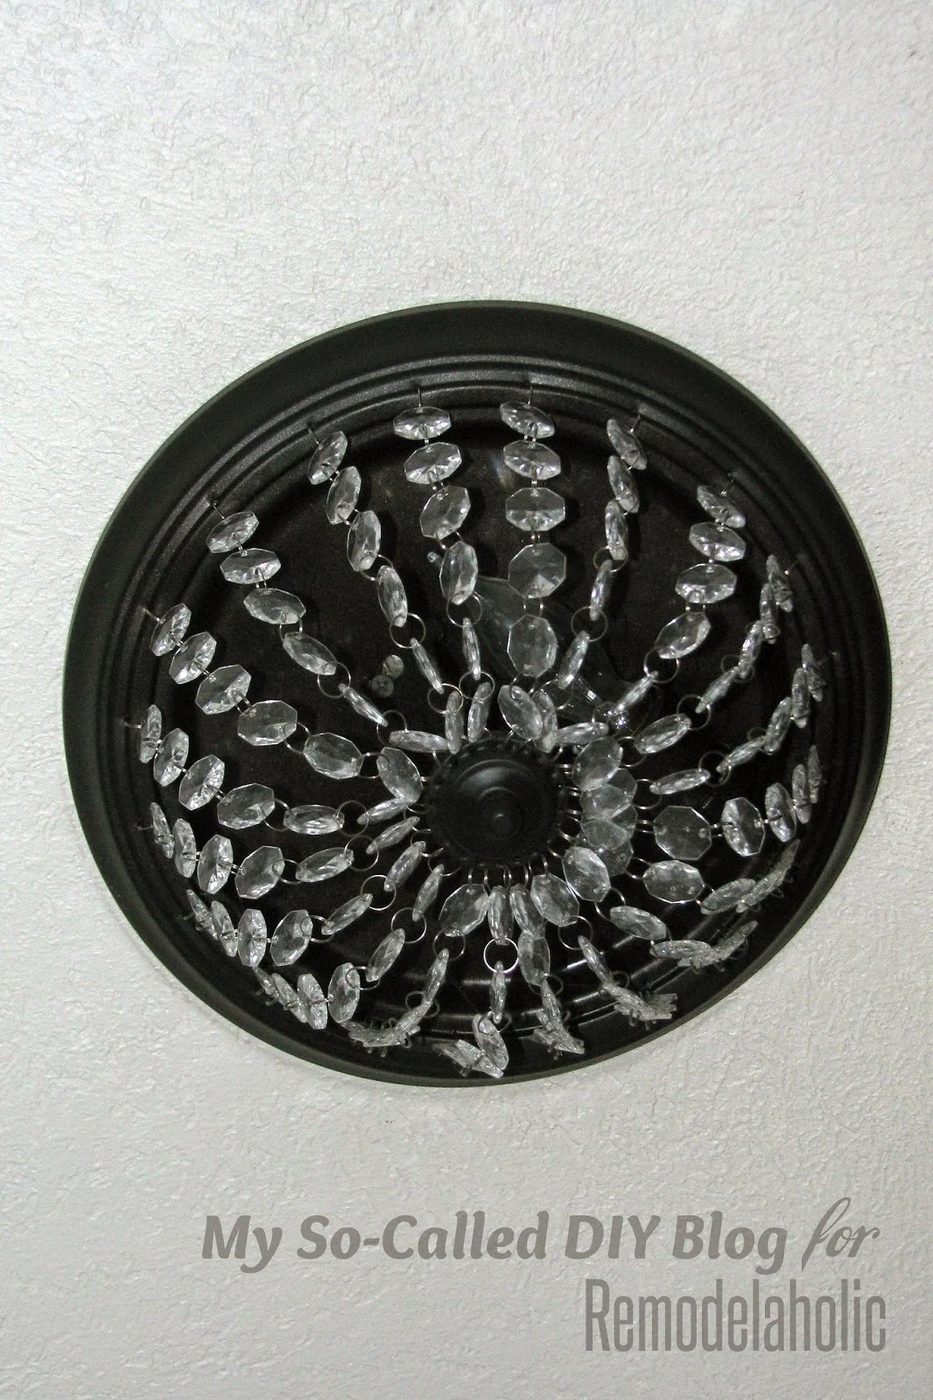
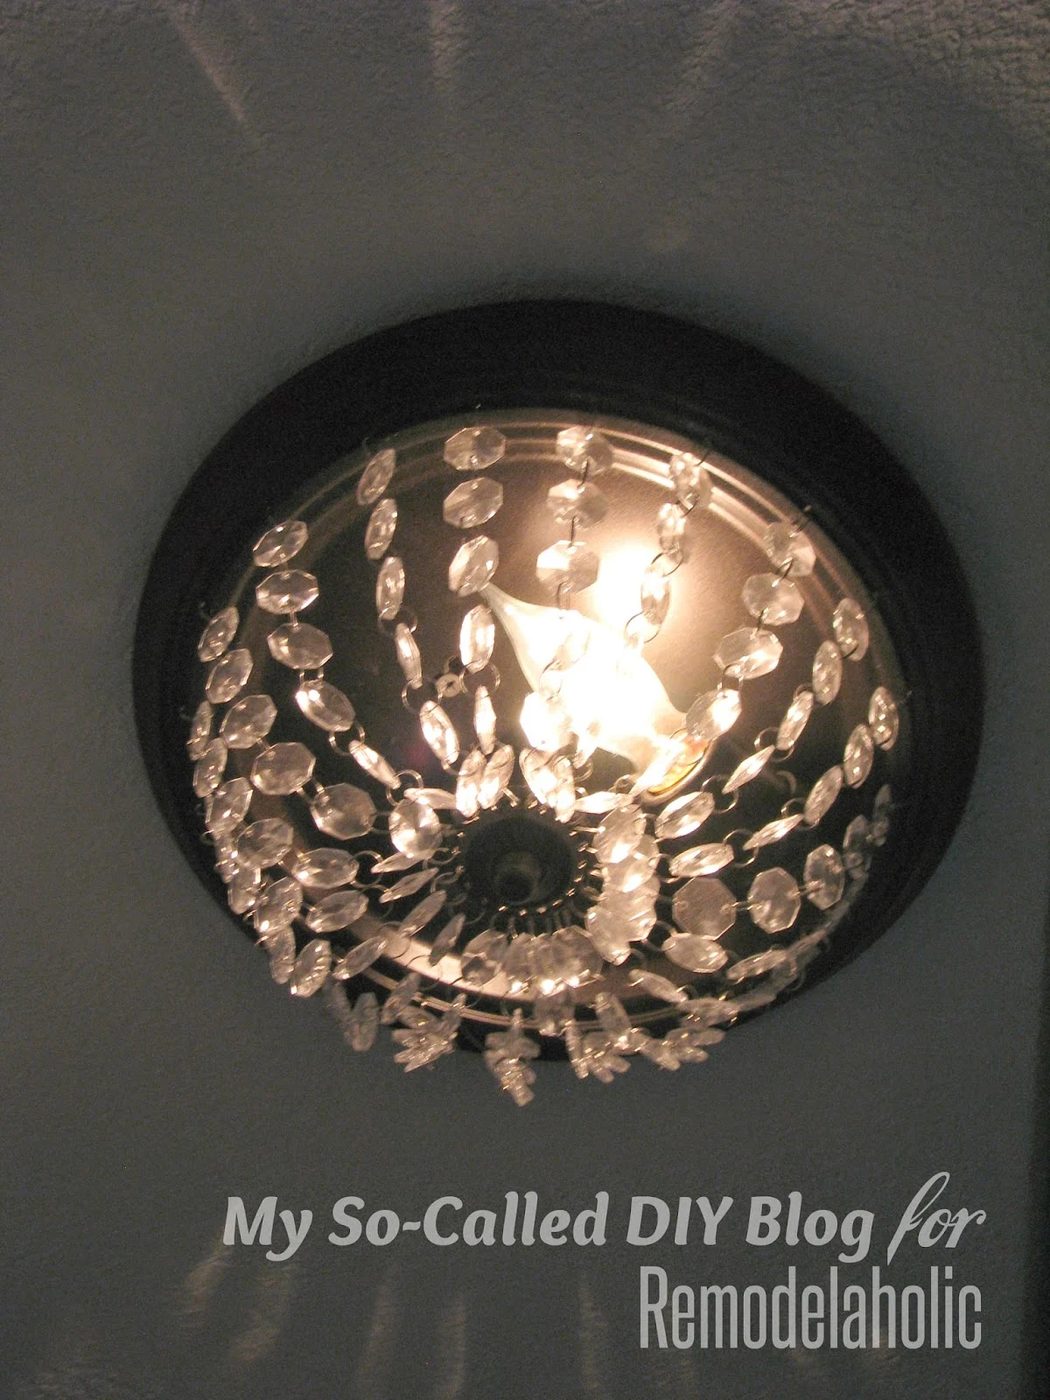
I was longing to replace the lights in my hallway and stairwell, when I noticed that the structure of those lights looked just like the Mia Flushmount from Pottery Barn. The wheels started turning in my brain and I realized if I removed the domes and added some holes, I could attach strands of crystals on the lights I already had.
Materials Needed:
This post contains some affiliate links for your convenience. Click here to read our full disclosure policy.
- Boob light (if you don’t already have one in your house, you could probably find one at a Habitat for Humanity Restore or thrift store. They are also at Wal-mart for $15-$20)
- Can of oil rubbed bronze spray paint ($13; I was able to use this for all 4 lights that I redid)
- Nail and Hammer or Dremmel tool with metal drill bit
- Garland of acrylic crystal (I used some from Amazon for about $13; 30′ worked for 2 lights)
- Measuring tape or ruler
- Optional: yarn or string to help measure circumference
- Optional: Sharpie
Cost: Since I already had the lights, I only spent $26 and had enough material for 2 lights
Time Needed: This went pretty fast, but it took about 2-3 days for one light. There was wait time for the paint to dry. I also had to take several breaks to get all the strands looped through the drilled holes (it makes your fingers get sore pretty fast).
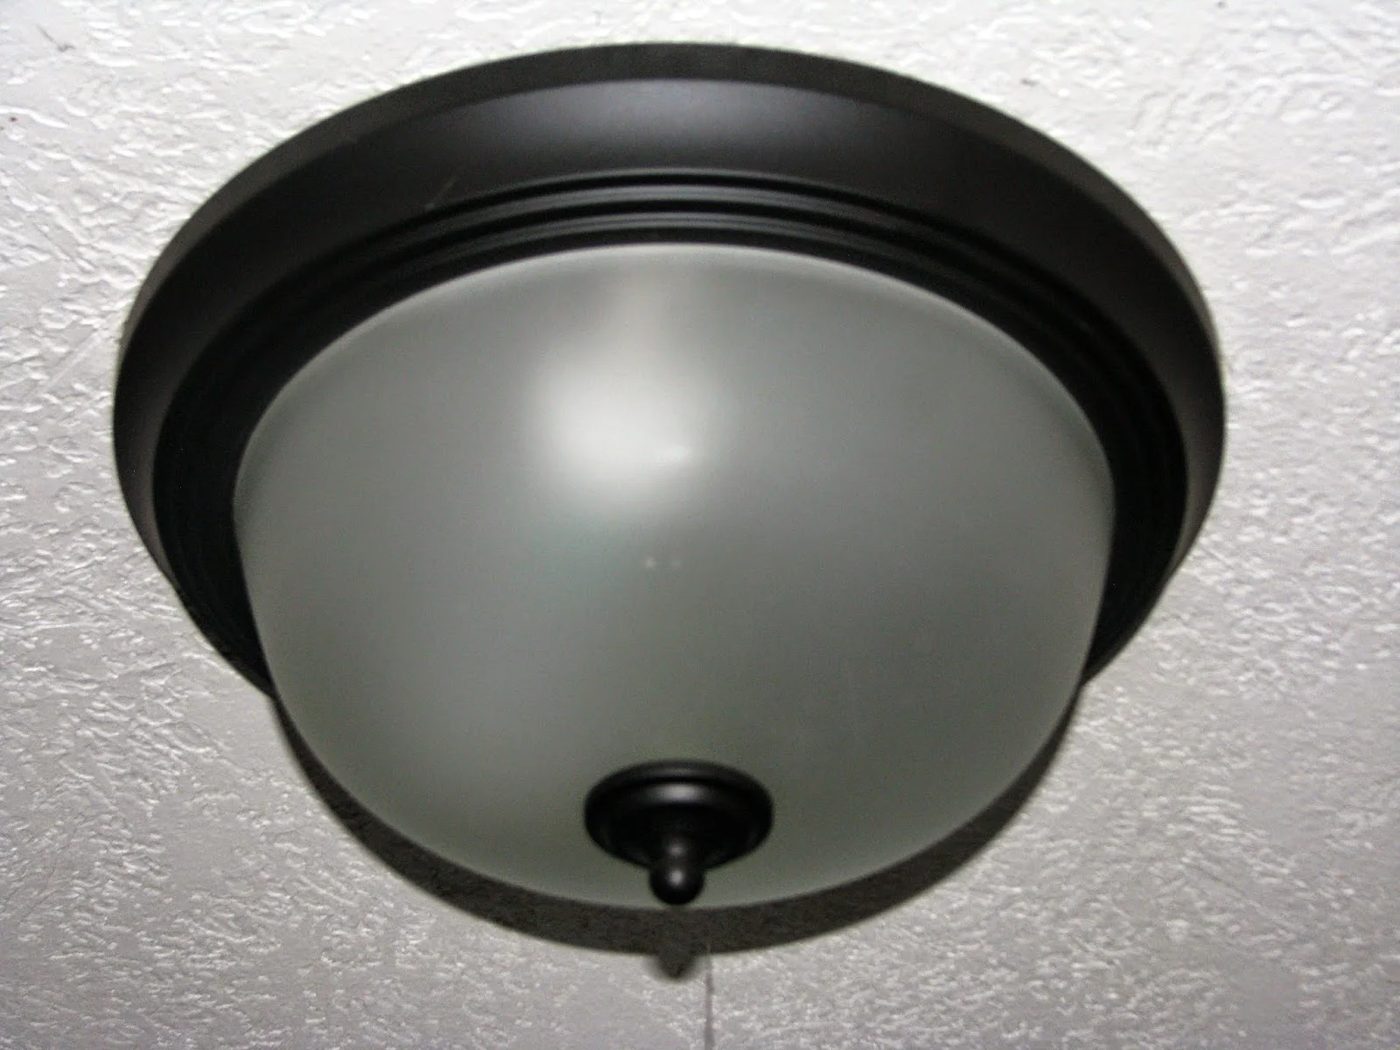
Step 1: Make sure to turn off the electrical breaker going to your light. Unscrew the knob at the bottom and remove dome. Remove light from ceiling.
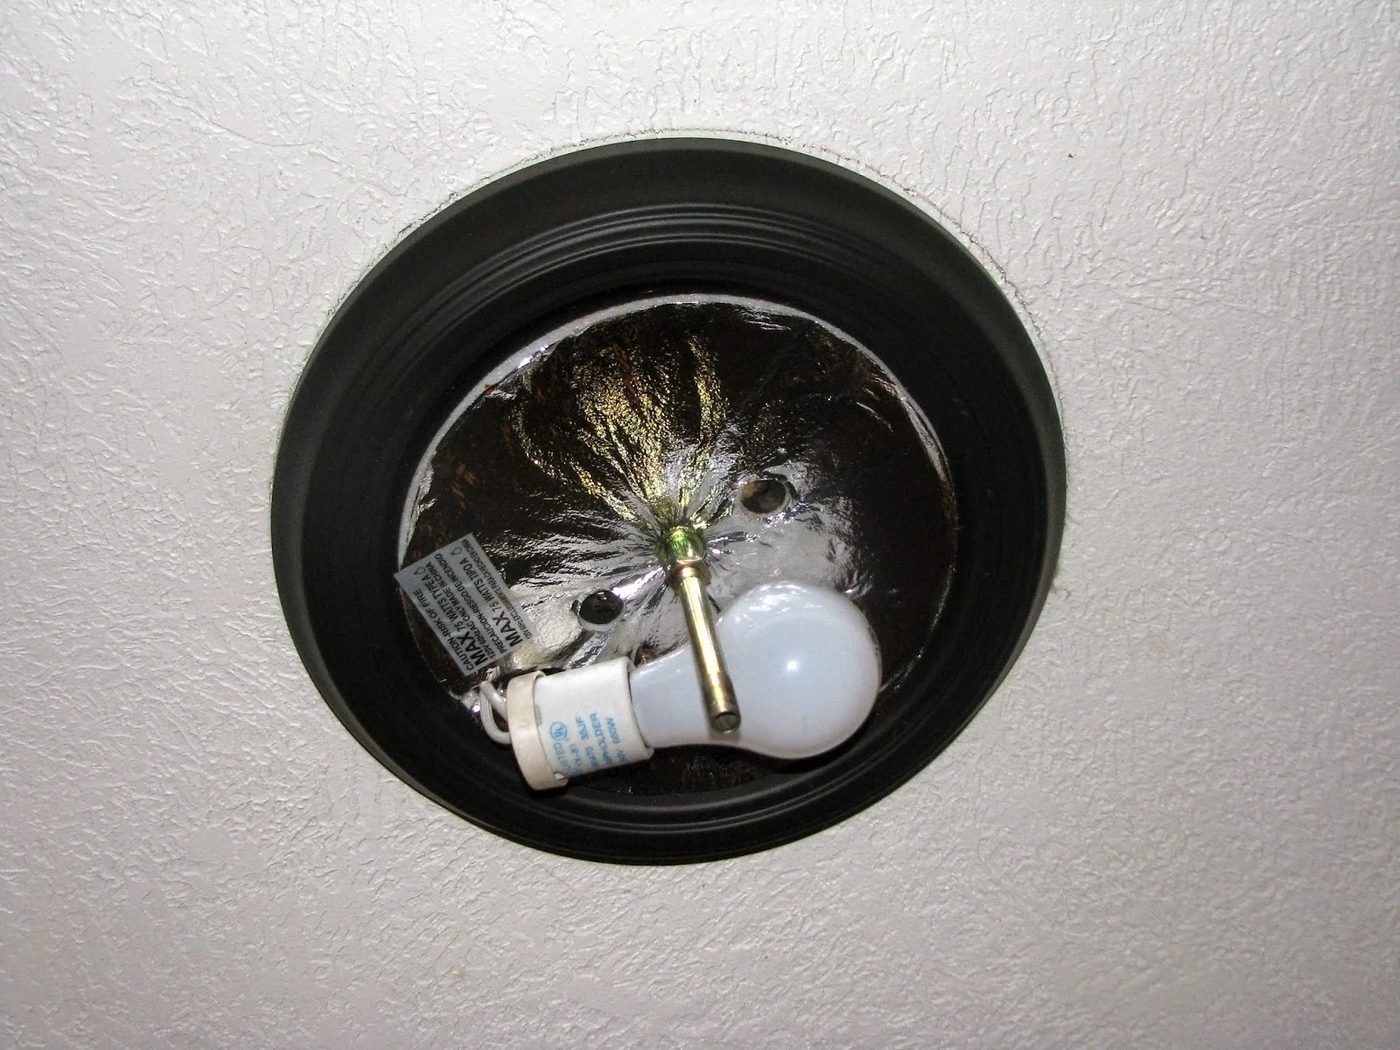
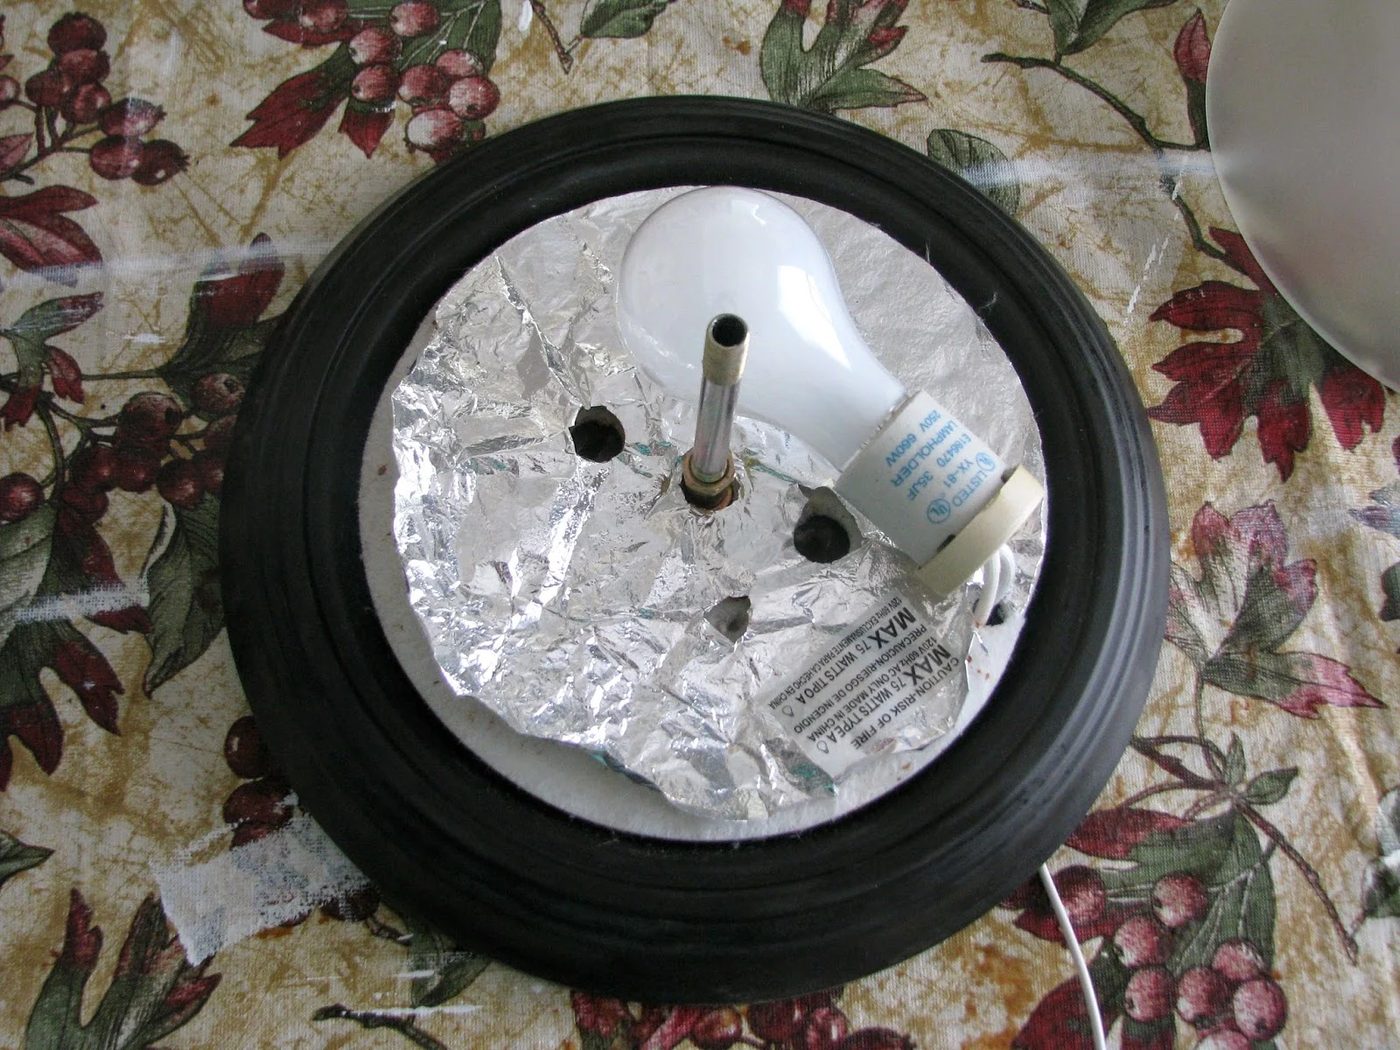
Step 2: Remove the foil reflector piece. I used some Goo Gone to clean off some glue stuck to one of the lights. Tape off the inside of the light bulb socket.
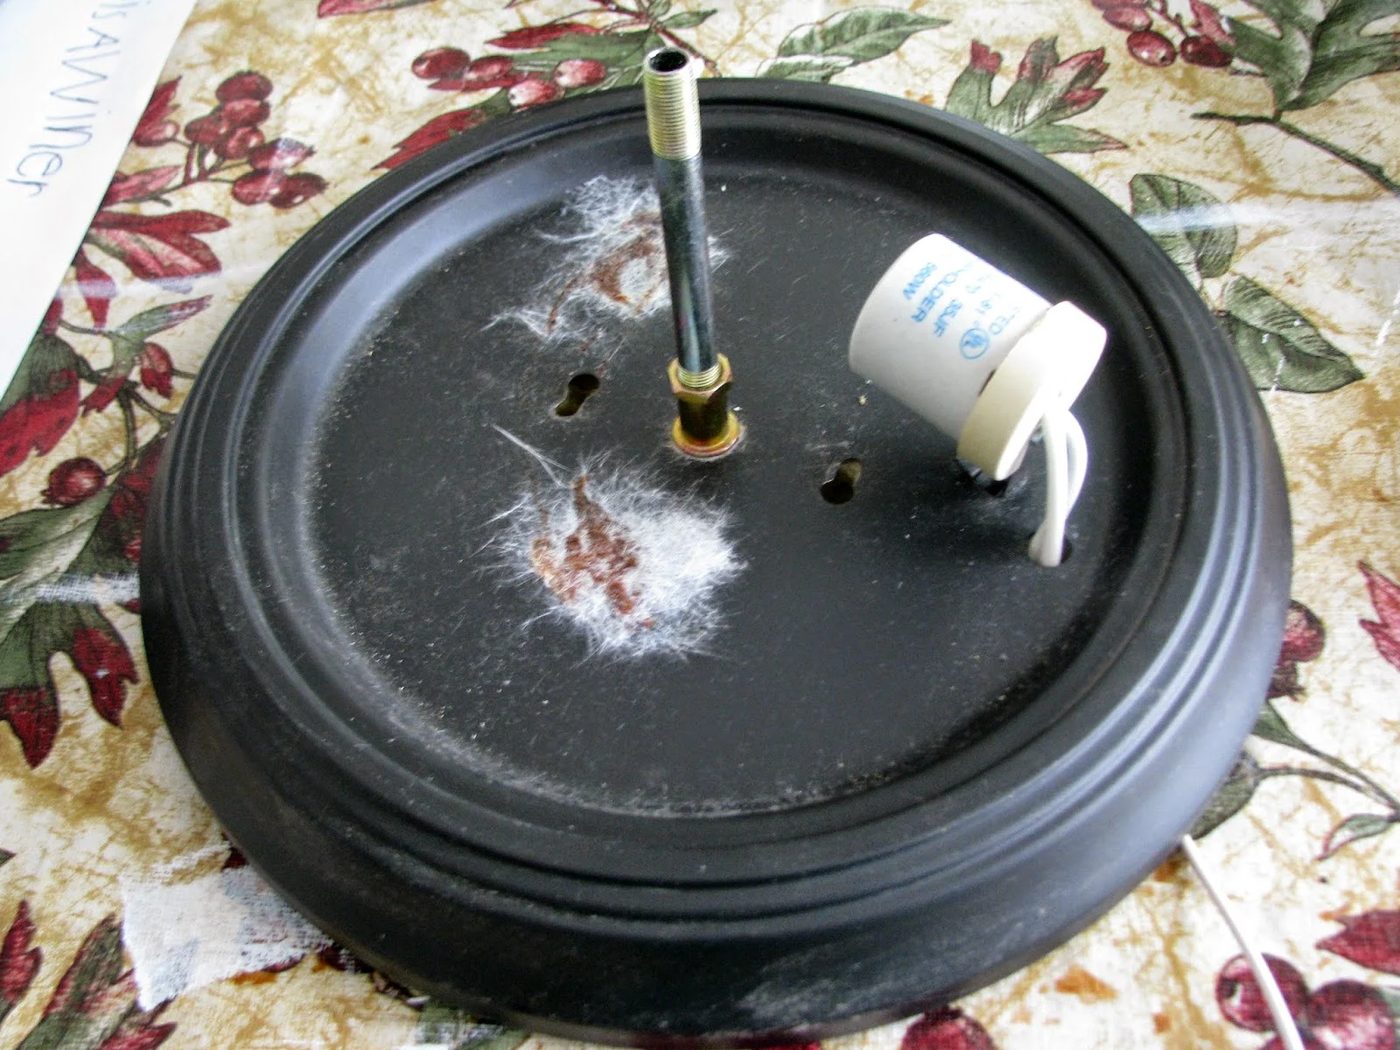
Step 3: Measure the circumference of the light using a string. Divide that number by the number of crystal strands you want to attach (I used 20). I made 20 holes 1.25″ apart. You can cut your string to 1.25″ and use it to mark along the circle with a Sharpie where the holes will go.
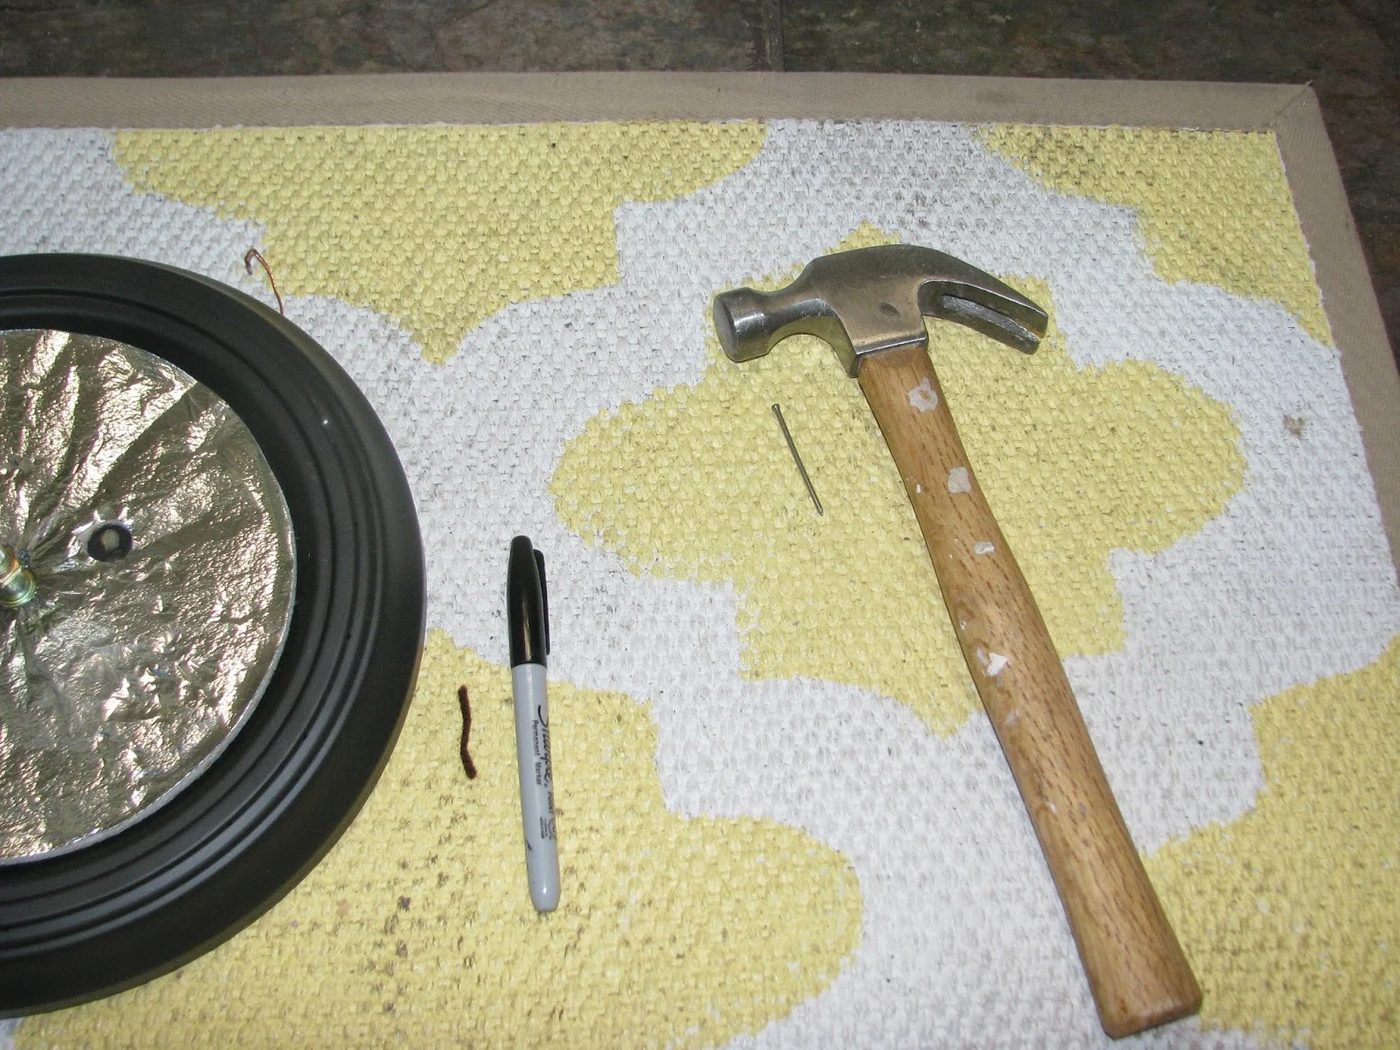
Step 4: Use a hammer and finishing nail to hammer two rows of holes around the base circle. You need two rows to loop the metal part of the crystal strands through. It helps to put it on a hard surface, like cement, when you nail the holes in.
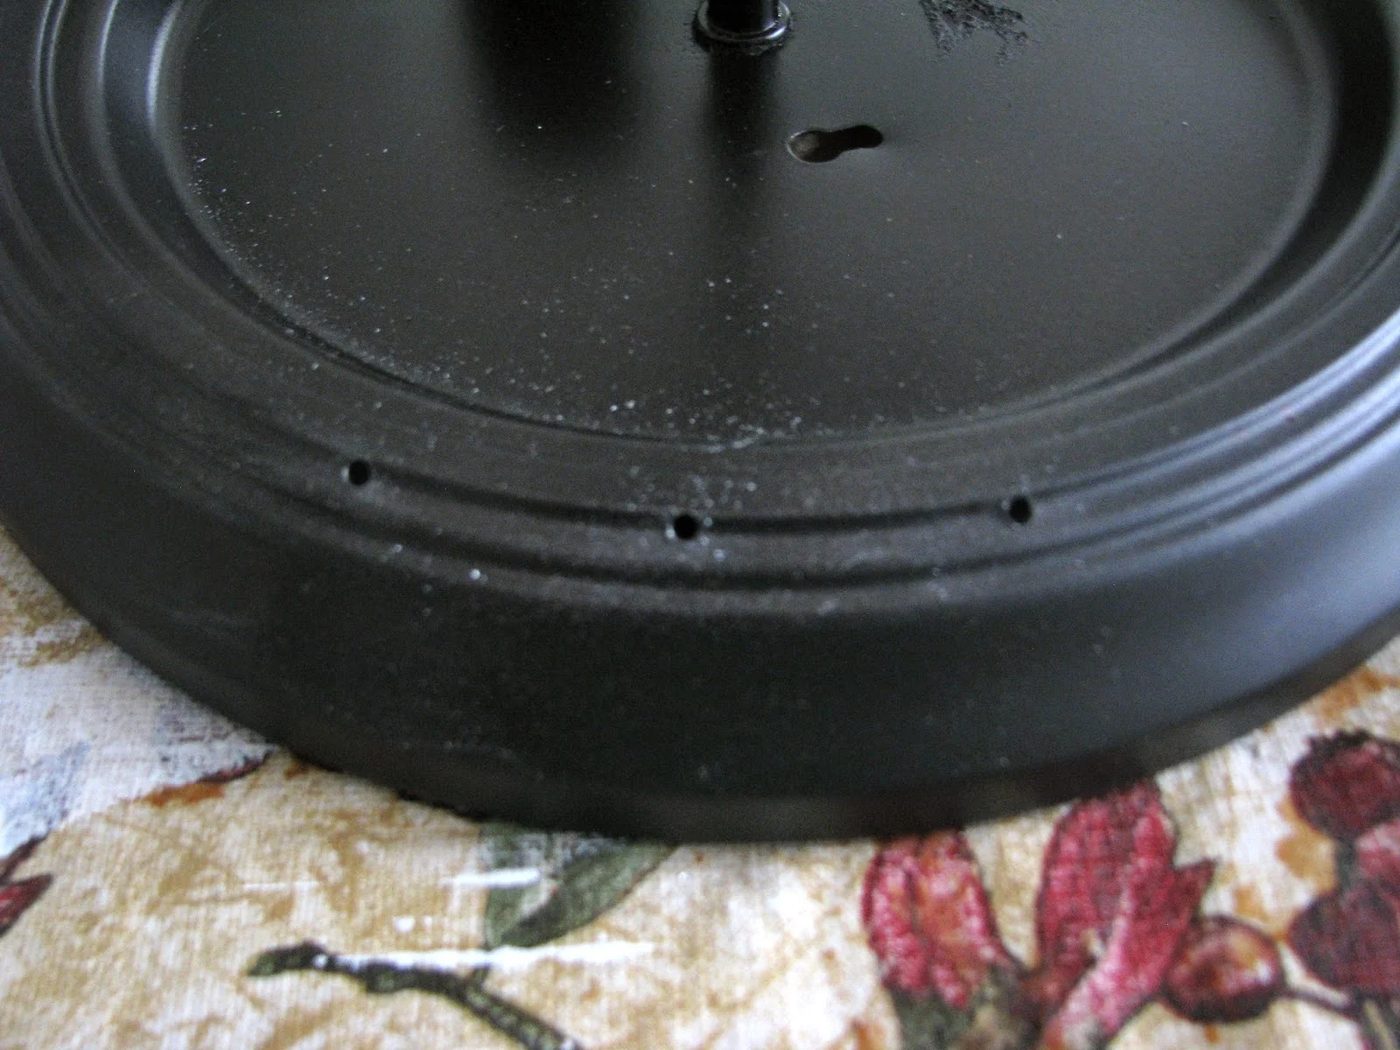
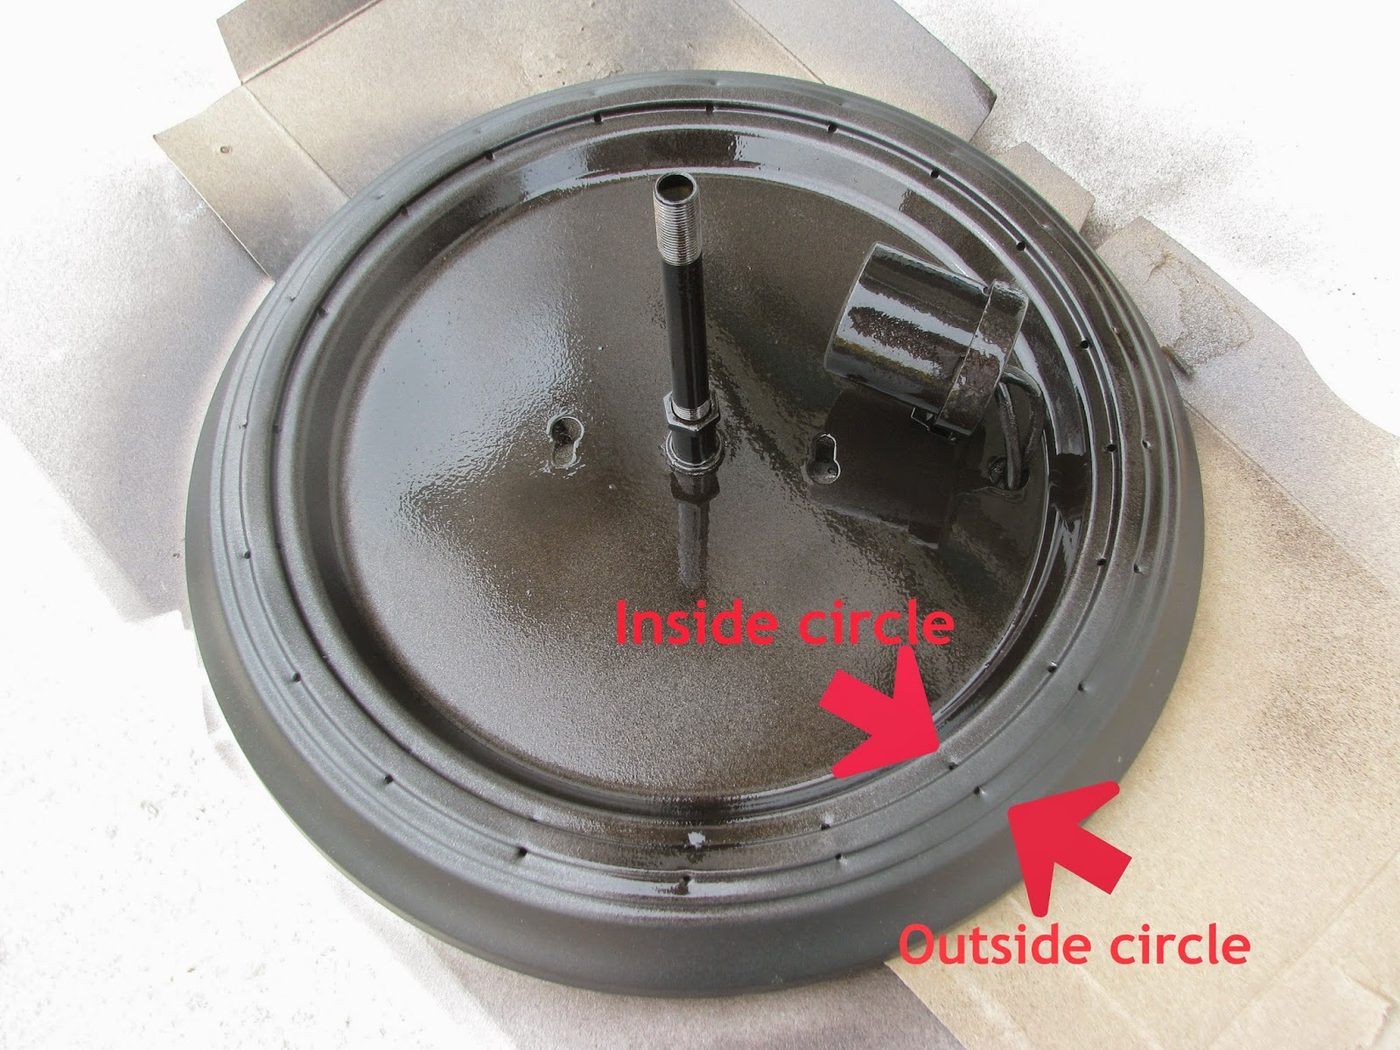
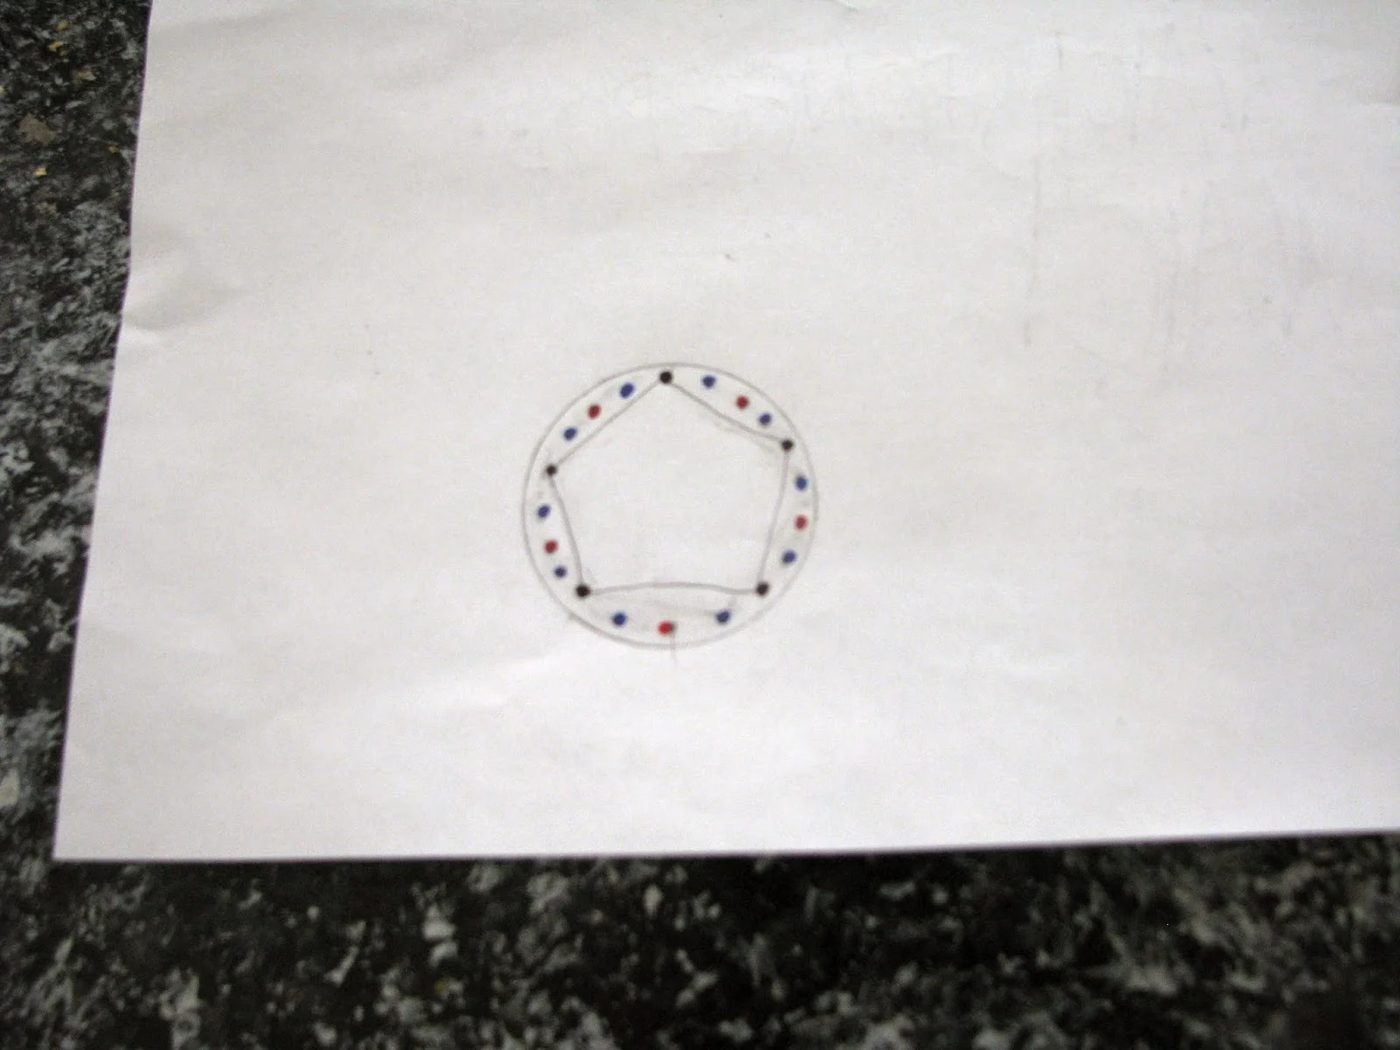
Step 5: Next you need to put holes in the smaller circle on the light. It helps to trace the circle on a piece of paper to help you figure out how to space things. Since I was making 20 holes, I could divide it by 5 and make a pentagon (the black dots). Then I divided each side in half (the red dots). Then I divided that space in half (the blue dots). Then I could more easily mark on the actual piece where I was going to put the holes. You only need to do one row on this piece because the wire on the acrylic chain will loop around the outside edge.
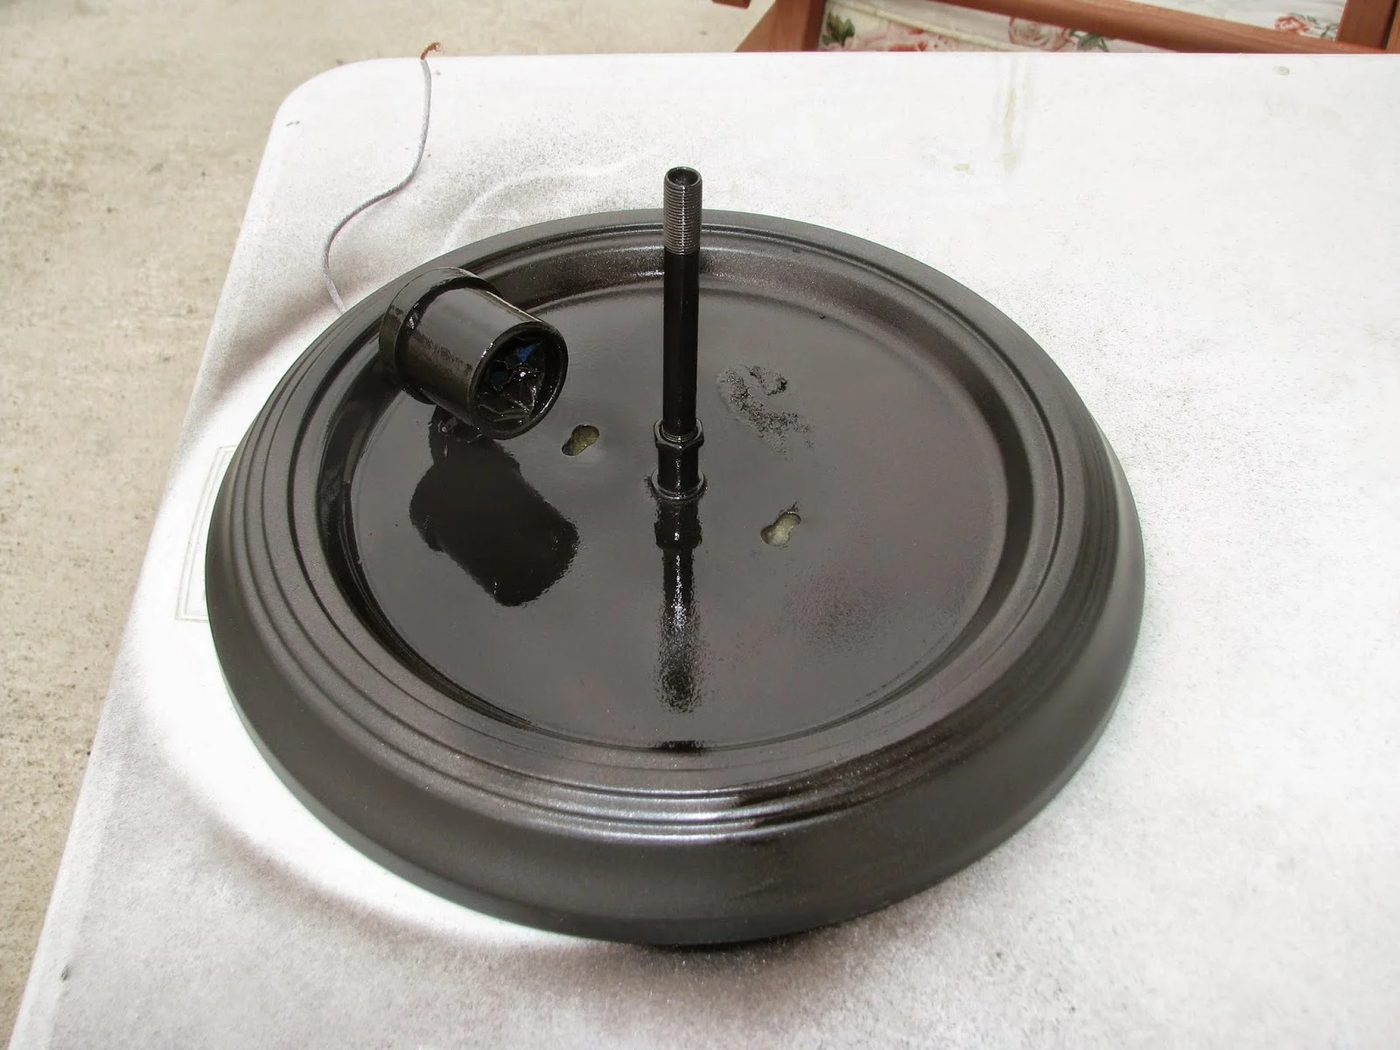
Step 6: Once you hammer all your holes, you’ll want to spray paint the fixture. I made the mistake of spray painting before making the holes. The metal dust got stuck in the newly painted surface and there was a little bit of chipping that had to be touched up afterwards anyway.
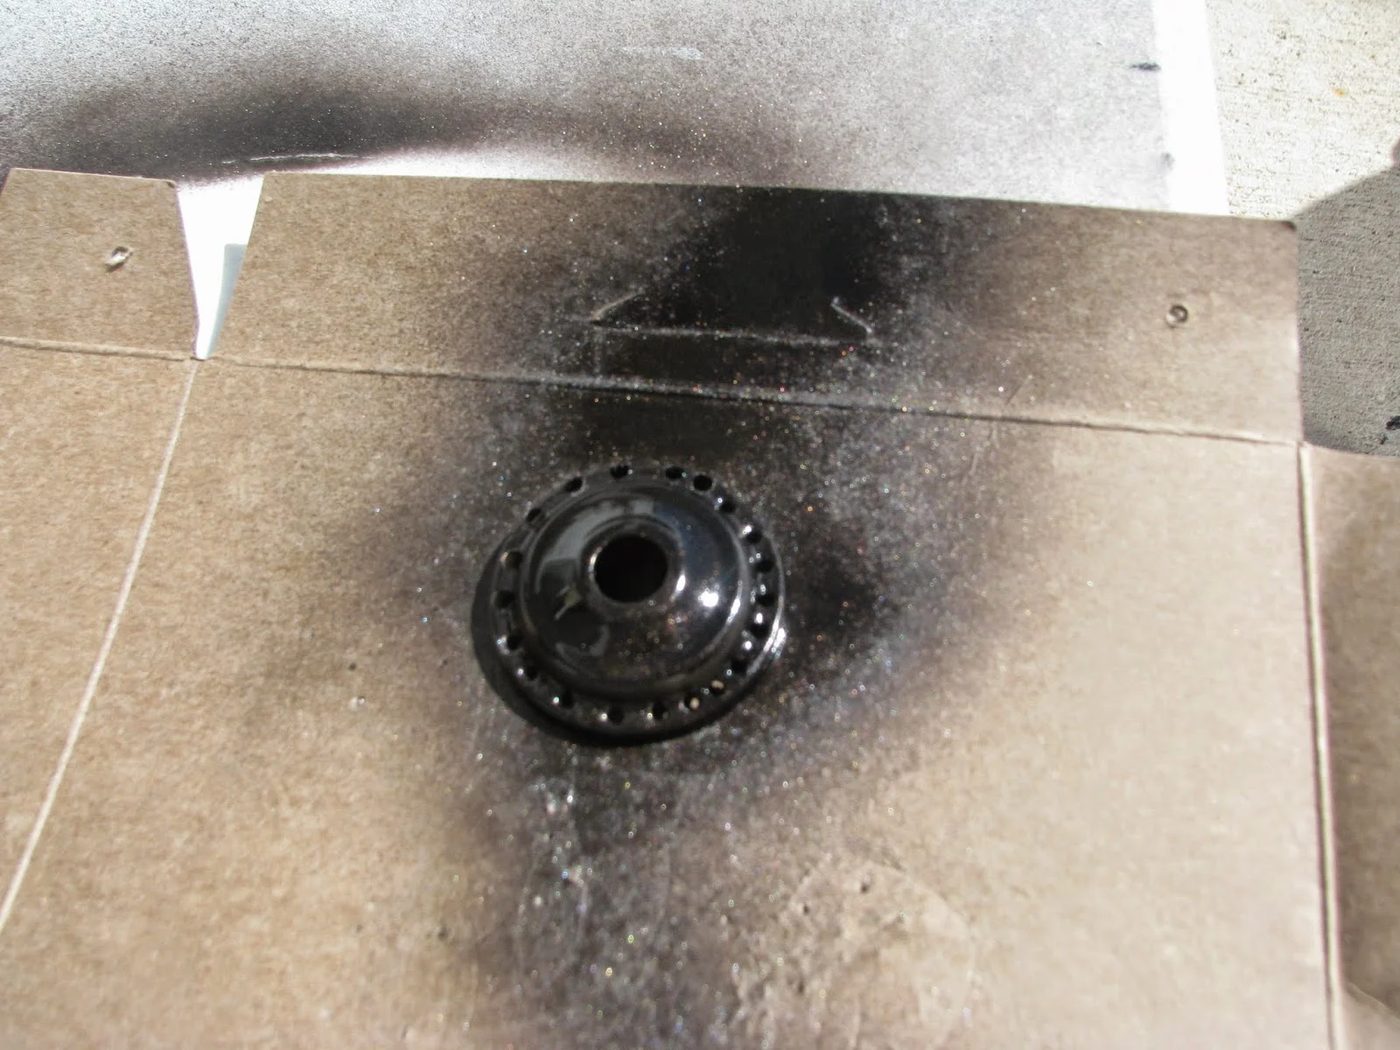
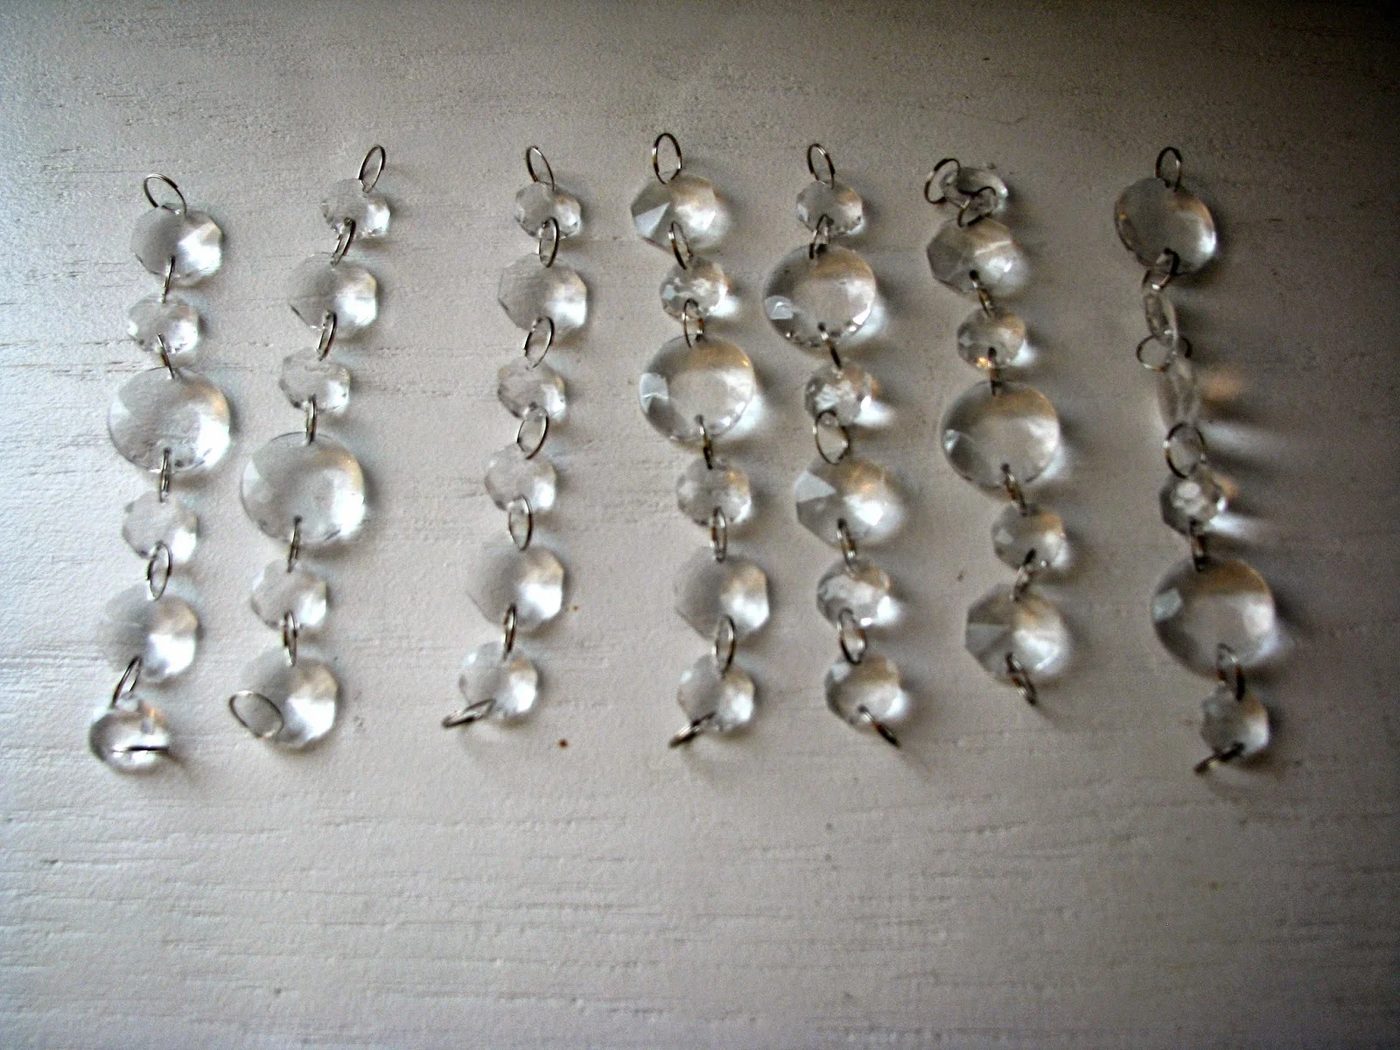
Step 7: Once you’ve given the paint plenty of time to dry, you can start attaching the crystal strands. I divided my garland into strands with 6 crystals each. I had some varying sized crystal garlands from a different project, so I used them on one of my lights. On my other 3 lights I used crystals that were all the same size.
I attached them to the smaller circle first.
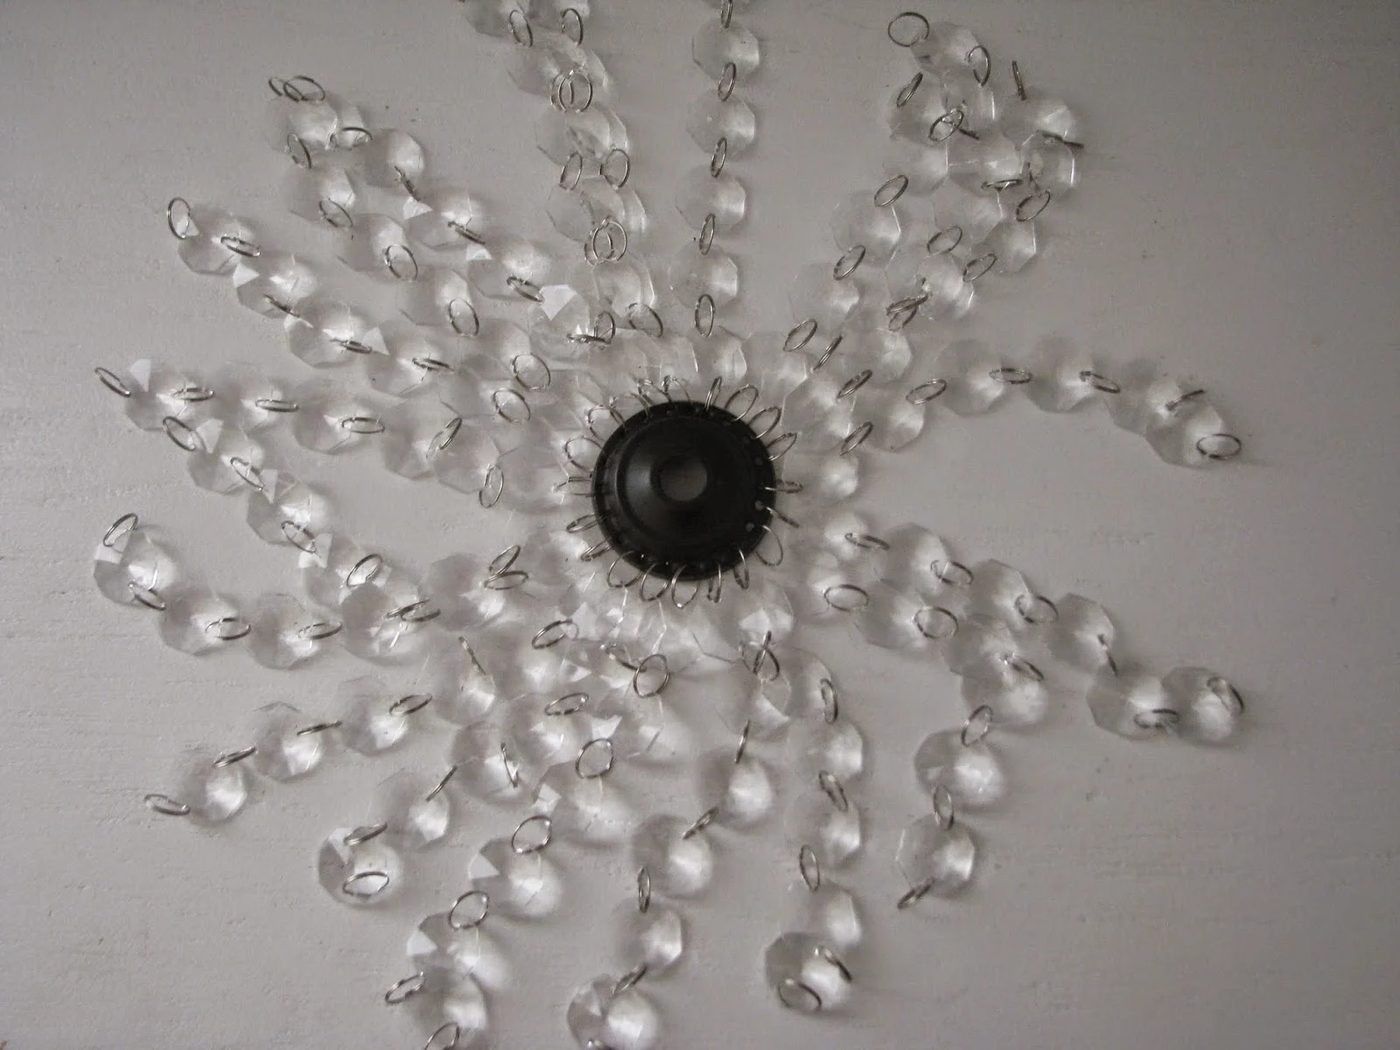
Then I slid the small circle on the light and started to attach the outside pieces.
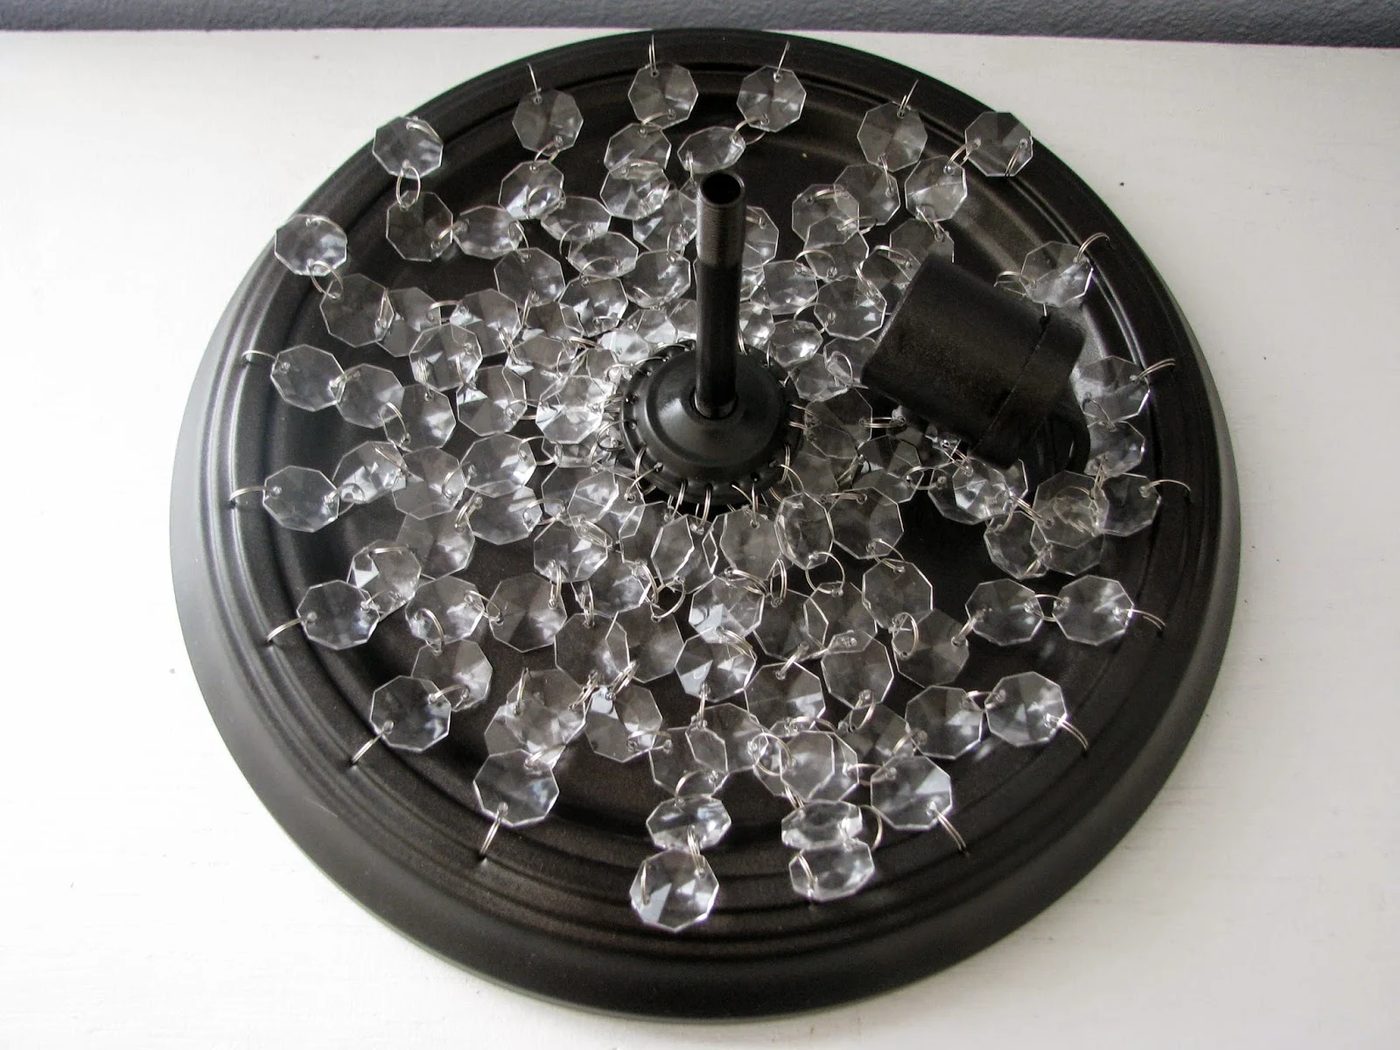
Step 8: Screw the round knob on the end and when you flip it over, gravity creates the nice rounded dome look.
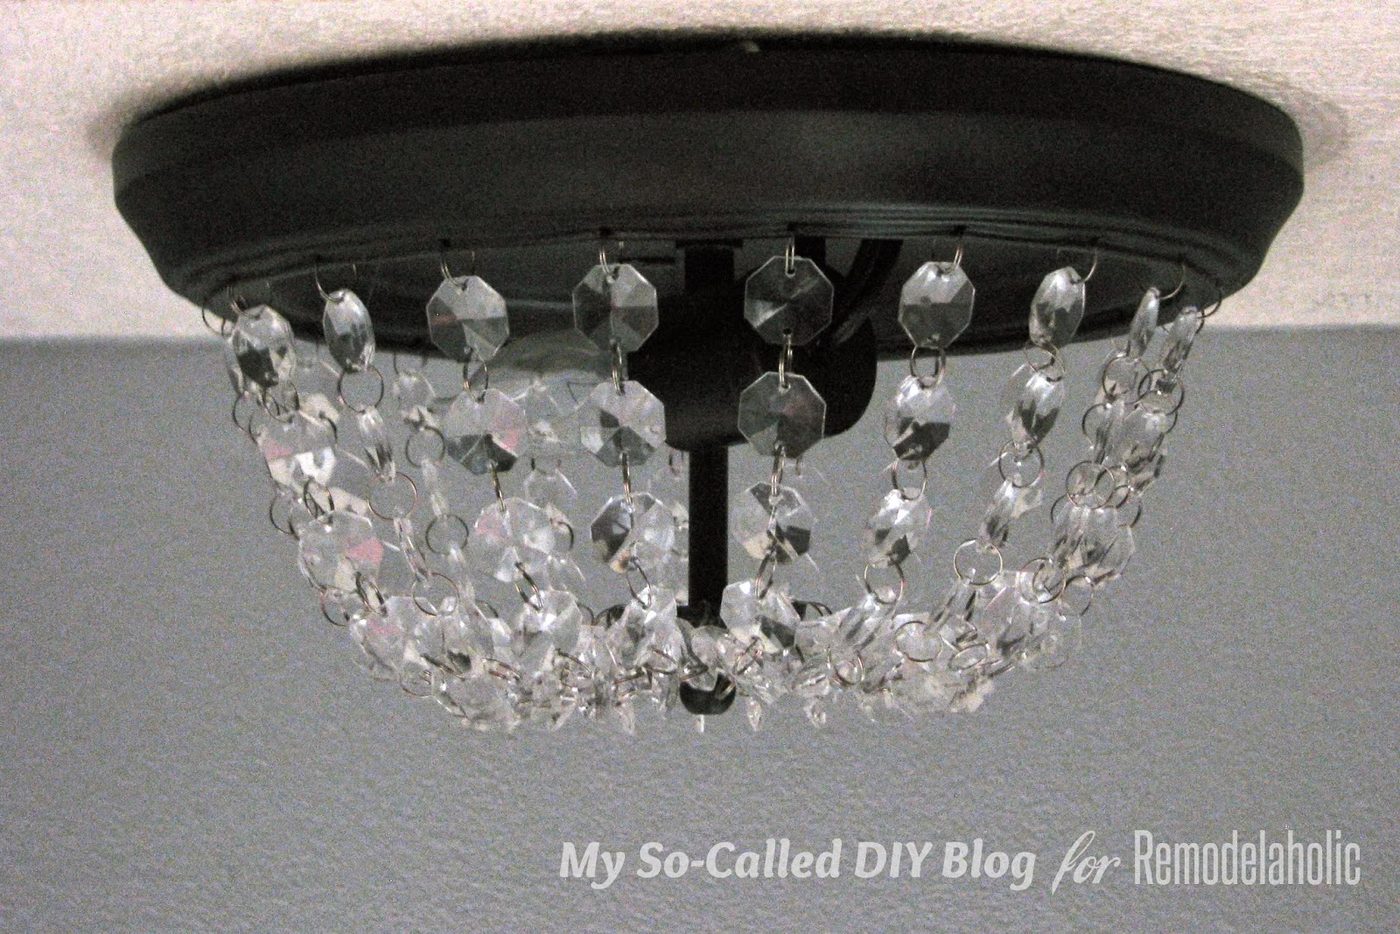 Working in between the crystal strands, you can then reattach it to the ceiling and add a pretty bulb.
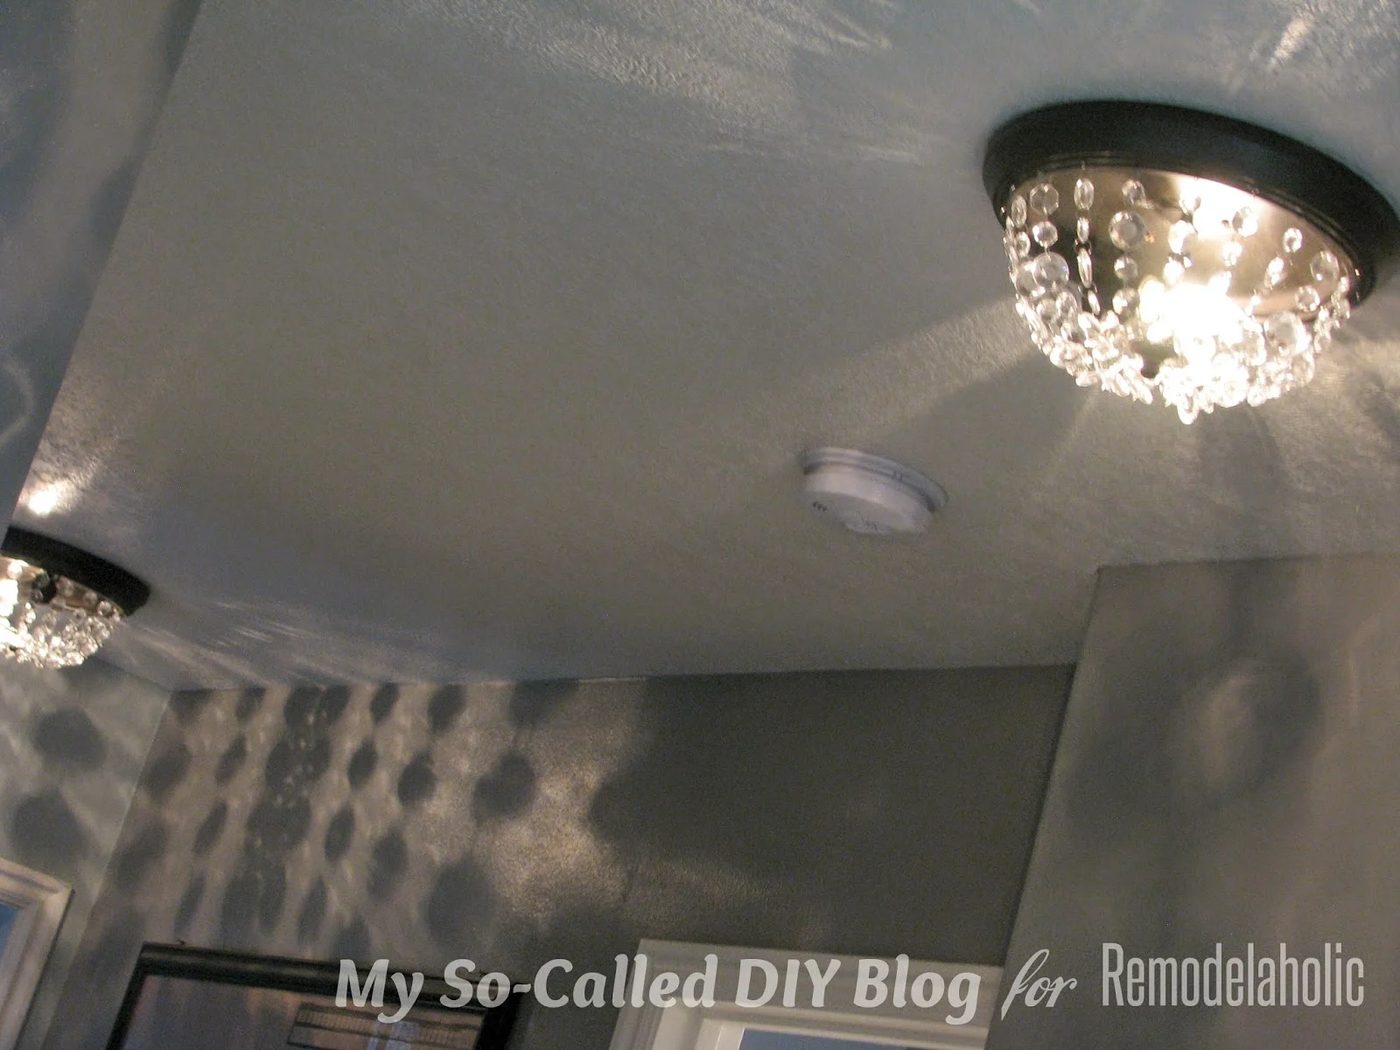
This one has varying sized crystals
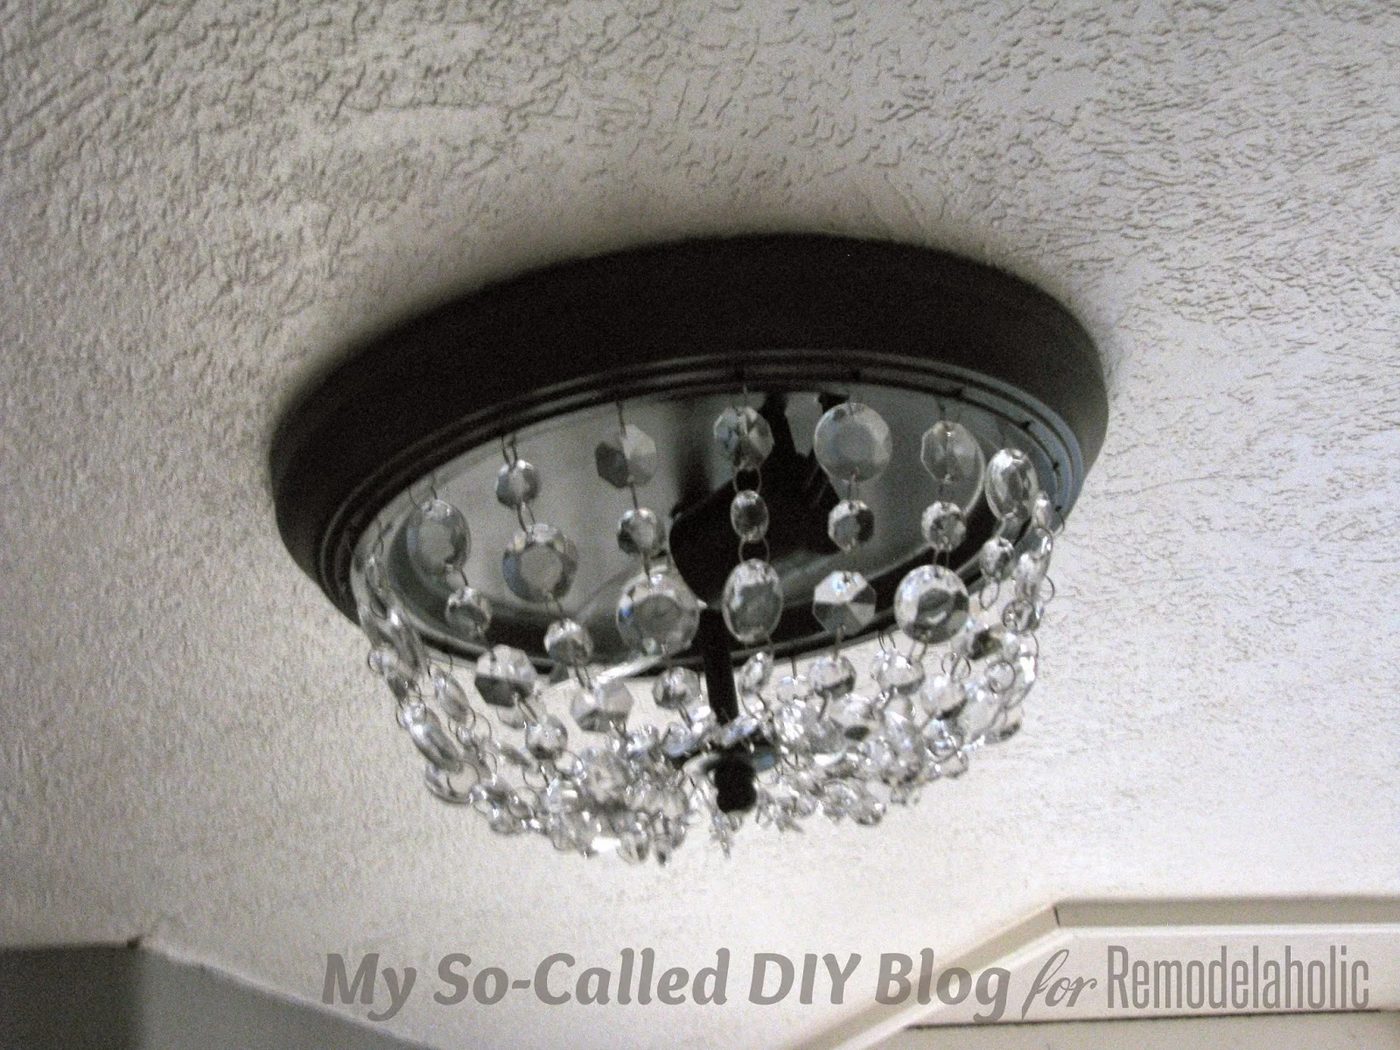 This one was made with same sized crystals
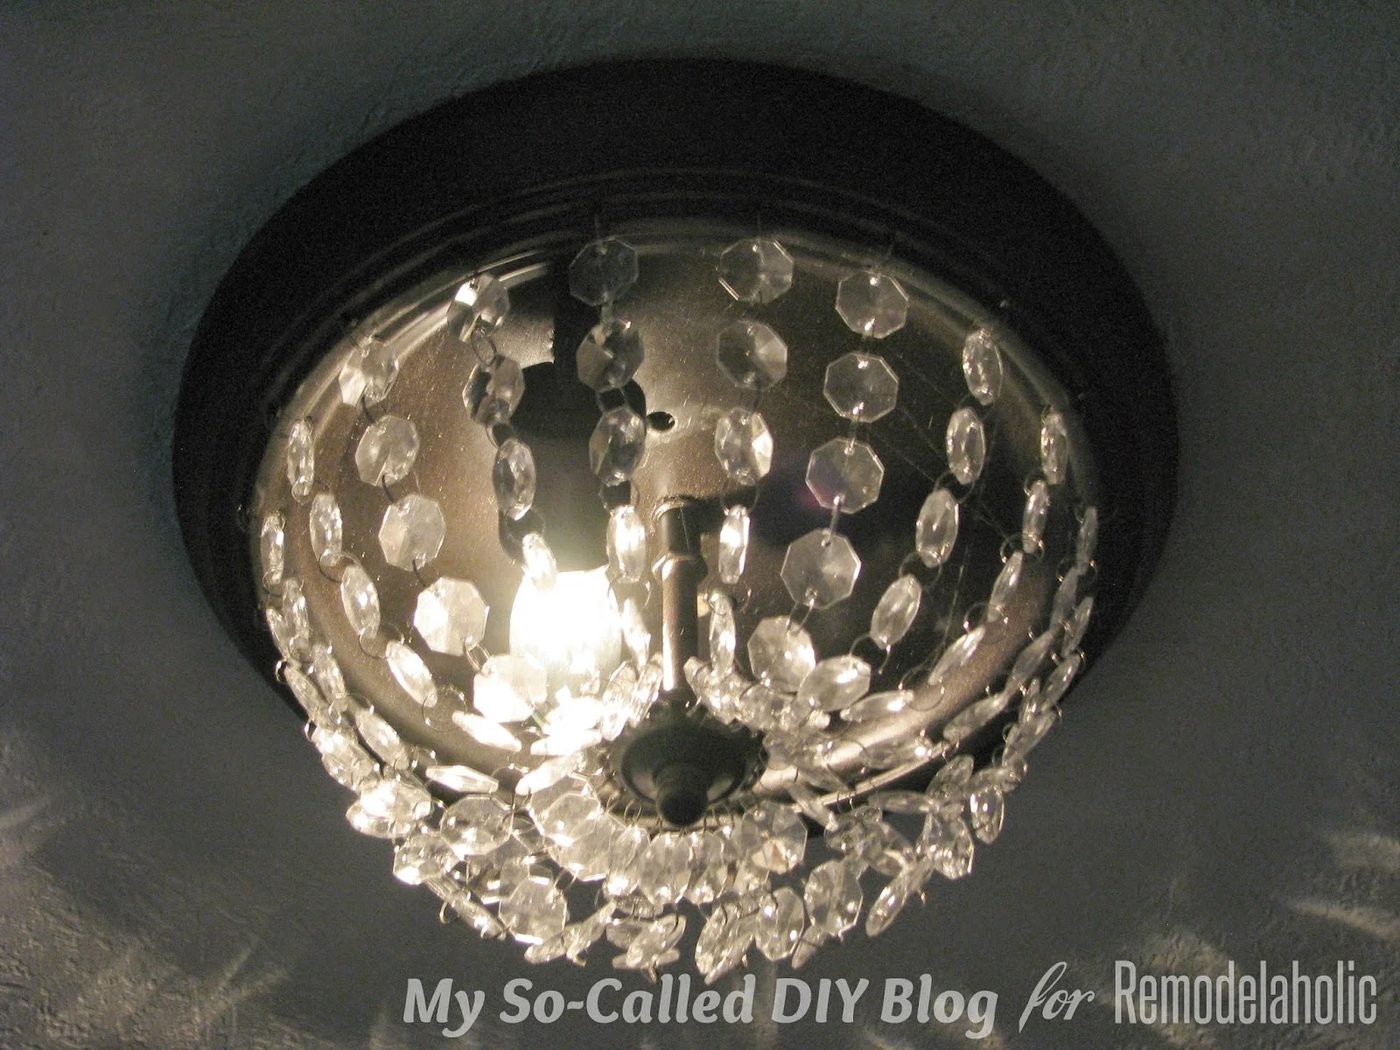
Happy lighting!
———————
Thanks so much for sharing with us, Emily! Such a direct innovative update to a basic light!
Visit My So-Called Handmade Blog for more from Emily — be sure to look at her kitchen makeover and how she adapted her cabinets to hold her striking farmhouse sink!