Materials and the sequence of the job sit together on this page.
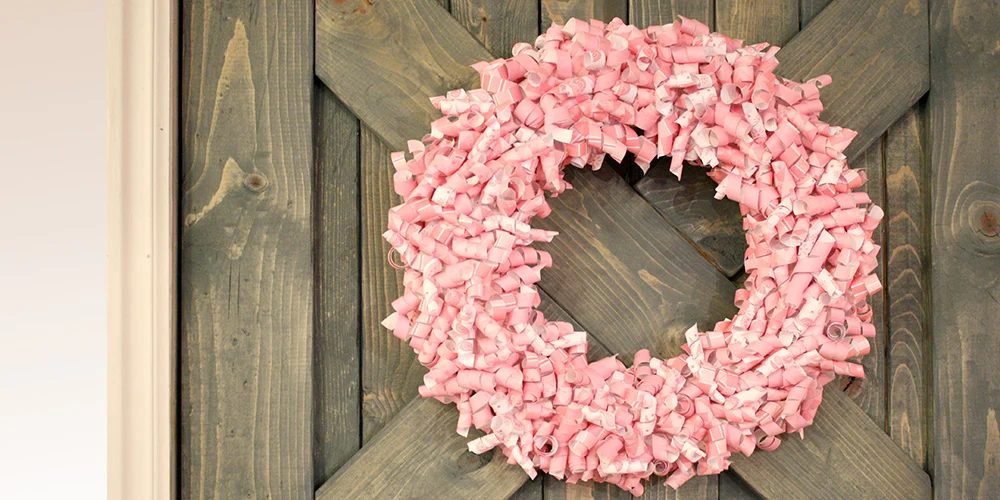
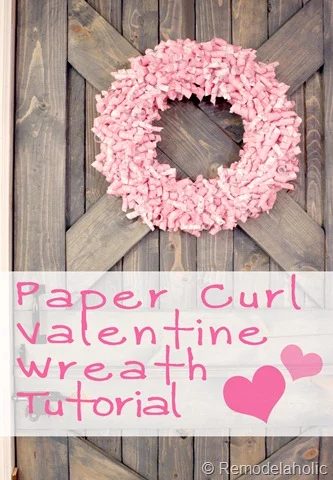
A direct and fun valentine wreath made from paper curls. Use any cute valentine themed paper to create this fun piece of home decor.
If you are looking for more fabulous Valentine options, try getting crafty with your kids, make a rustic Valentine themed sign, or if you want a different style wreath we also have a fun modern Valentine Wall or door hanging. Another fun option is Handmade Sharpie Mugs.
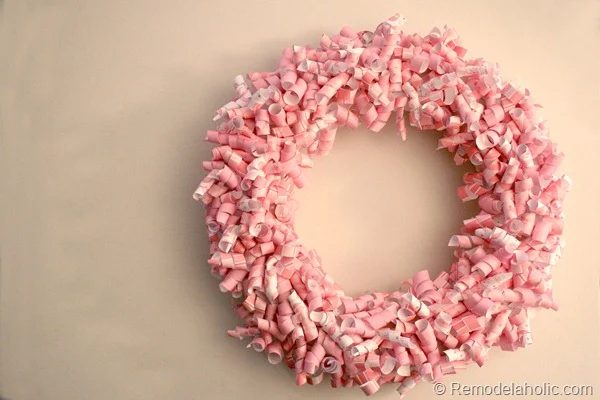
Okay, I haven’t made a wreath since last spring (if I am remembering right) And I think they are fun, so I decided to make another one. I saw the option on Better Homes and Gardens for a paper curls wreath and I loved it, plus it helps me to use up my old scrap book paper supply, which is not being used other wise! Who else is no longer scrappin’, by show of hands? (but don’t hold your hand up, too long, cuz I can’t see you, and your arm will get tired)
Anyway, here it is! I made this last night, and it was clearly fast!
List of Supplies
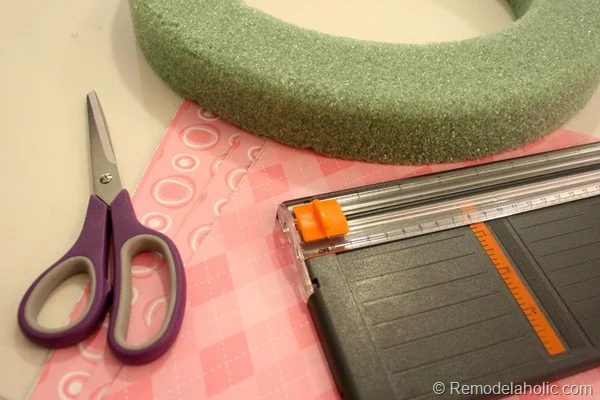
Many of these supplies for a paper curl Valentine wreath can probably be found around the home if you craft regularly.
This post also contains affiliate links; learn more and read our full disclosure policy here.
- 12 sheets of 12 x12 Scrapbook paper, (not card stock!)
- Scissors or bone tool
- Paper cutter
- styrofoam wreath form (16″)
- Straight pins
- fabric in similar color to paper for wreath
Wreath walkthrough Steps
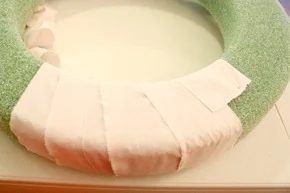
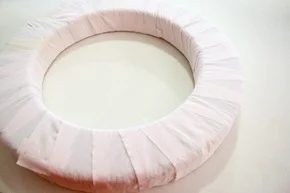
1. Start by wrapping your wreath form with a similar color to your paper. Then set aside.
 |
 |
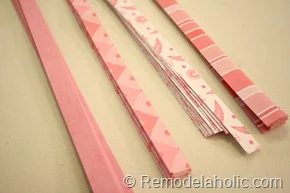
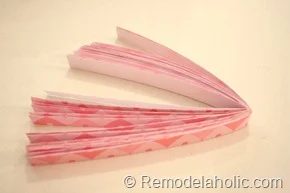
2. Cut your 12 sheets of paper into 1/2” by 12” strips. I cut 2 sheets at a time. (next time I might do a little less thick strips, somewhere around 3/8”). I used about 3/4 solid colored paper (but printed) and 1/4 contrasting light paper. I feel like it was a good balance. Fold the 12” strips in half.
 |
 |
3. Begin curling your strips. I found that holding my scissors at about a 45 degree angle with the paper helped to make the curls long, rather than just curling onto themselves.
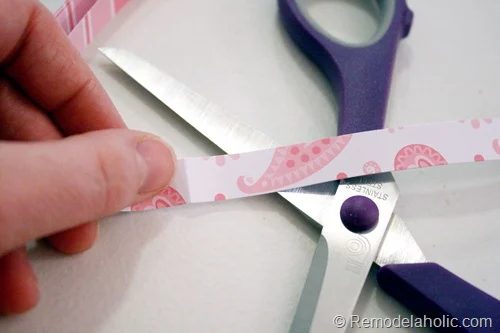
When curling the paper, start in the center and do one side, then curl the other side. so you have two curls per strip, this will help you fill up the wreath faster!
|
|
|
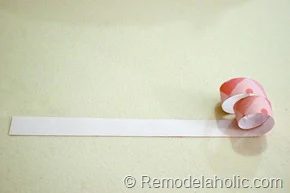
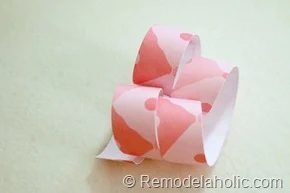
I curled a good amount of my paper first. And while it is hard to tell, I keep the colors in four separate piles.
5. Once most of my paper strips were curled, I took the form and using just one color I evenly distributed that color around the entire wreath, using straight pins.
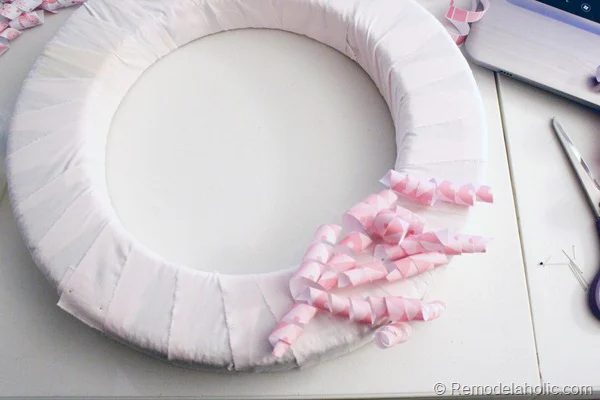
6. Once, the first layers were on the entire wreath, I continued to fill in blank spots with the other two solid colors. Trying to fill in both the front and two sides of the wreath. Once the wreath was filled in, I begin to use the contrasting color, evenly distributed around the wreath.
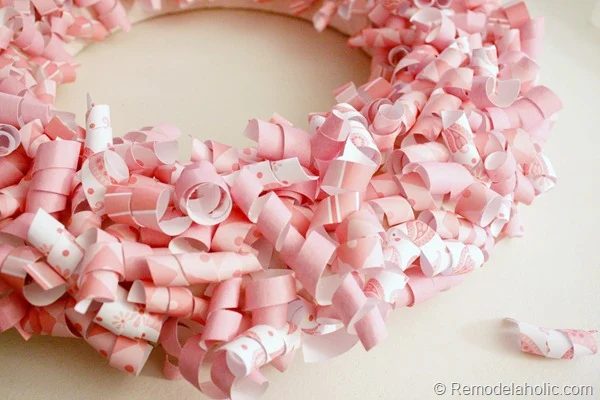
7. When that was all done, I curled a bit more paper and filled in any extra blank spots (especially on the bottom of the sides), and Ta-Da! I was done!
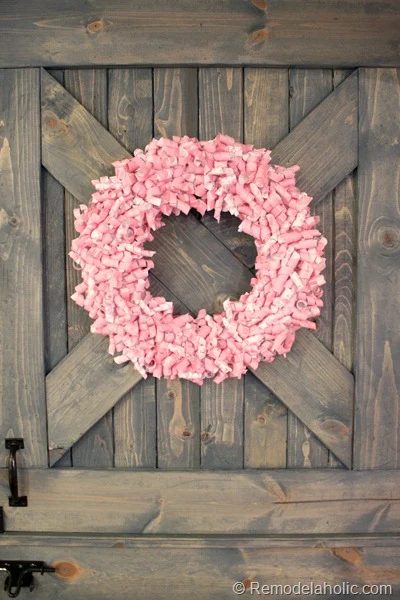
More options for decorating with wreaths
Wreaths generally go on doors, but they can do so much more. Here are more options for where to add a cute valentine wreath around your home.
- Above a mantle
- on a window
- on a cabinet door
- on interior doors
- on exterior doors
- on the back of chairs
- use the wreath as a centerpiece and add a candle or vase of flowers in the middle
- hang it on a wall, or above a bed
What do you think of the paper curl Valentine wreath walkthrough? If you want to see another great option for a Valentine wreath look at the argyle valentine wreath I made last year and the cupcake liner heart from a few years ago.
Be sure to pin this Valentine Wreath for later:
Originally posted 1.22.2013 // Updated 1.31.2020