Read the sequence from the top before cutting, painting, or moving pieces.
Other posts in this remodel:
Wet your Appetite, Part 1
Got Paint, Part 2
Tile with Style, Part 3
For Vanity’s Sake, Part 4
Mirror Mirror, Part 5
This post has taken a long time in coming. Building the cabinet took a week or two longer than expected. Then it was Thanksgiving, and I wasn’t in the mood to paint… for 4 weeks, and when I finally got the energy to do it Christmas was here. (Should I think of any more excuses? I think not! Honestly, I hate excuses!)
The truth of the matter is, we take a long time on projects. I have learned from this remodeling project that I need to have the project completely done before I am allowed to start posting about it.
It is just too straightforward for me to live in an unfinished house. It doesn’t even faze me! For example, there was a time in college, where we didn’t have carpet over the sub-floor in our hall for three and half years. I had to wear shoes in that house, big deal.
Anyway, one of the whole reasons for this little bath remodel was that I wanted a cabinet above the toilet. This way, cleaning products will be in a safer location, and there will be more room for toiletries. Especially since we have no drawers in our tiny vanity.
Also, we had done this in the past. Which is another reason, I wanted it, I missed the space that it created.
**FYI** When we did this before, we just modified one of those over the commode cabinets that has legs.. you know what I am talking about right (picture below)? Well, we just attached it to the studs with good heavy duty screws and never installed the legs, when putting it together (such an straightforward customization/fix to those sorta silly looking things!). Here is a picture of one of the cabinets I am talking about, and here is the picture of our old bath with the cabinet in it.
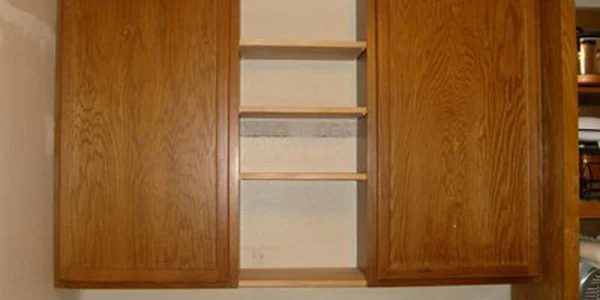
This time, we were trying to do this without spending any money,or VERRRRY little! I decided to run to The Habitat Re-store and buy an old cabinet door(to save time), then build a cabinet around that door. I found one for $4.00, straightforward as pie! And Justin, bless his heart designed it around my specifications and built… and rendered it in 3D so we could discuss how it looked. Here are the final renderings, (he even did one with a mirror on the inside of the door).
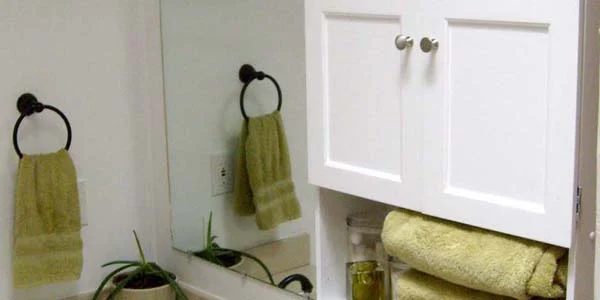
We tweaked it a bit here and there, then he was ready to build it. There is the cabinet all put together before it was painted. You can see that we used all old recycled wood. FREE! Then when I painted it, of course there is no proof, because there are no pictures, but here is the final cabinet. Looking good! Now we just need to accessorize and update a few fixtures and you can see it all done. Next week I will show you the few little fixes then I’ll do a whole summary post! I am posting this remodel to the parties at (Wow! Am I a party girl or what?) A Soft Place to Land, Reinvented, Today’s Creative Blog, and 2nd Time Around Tuesday.