
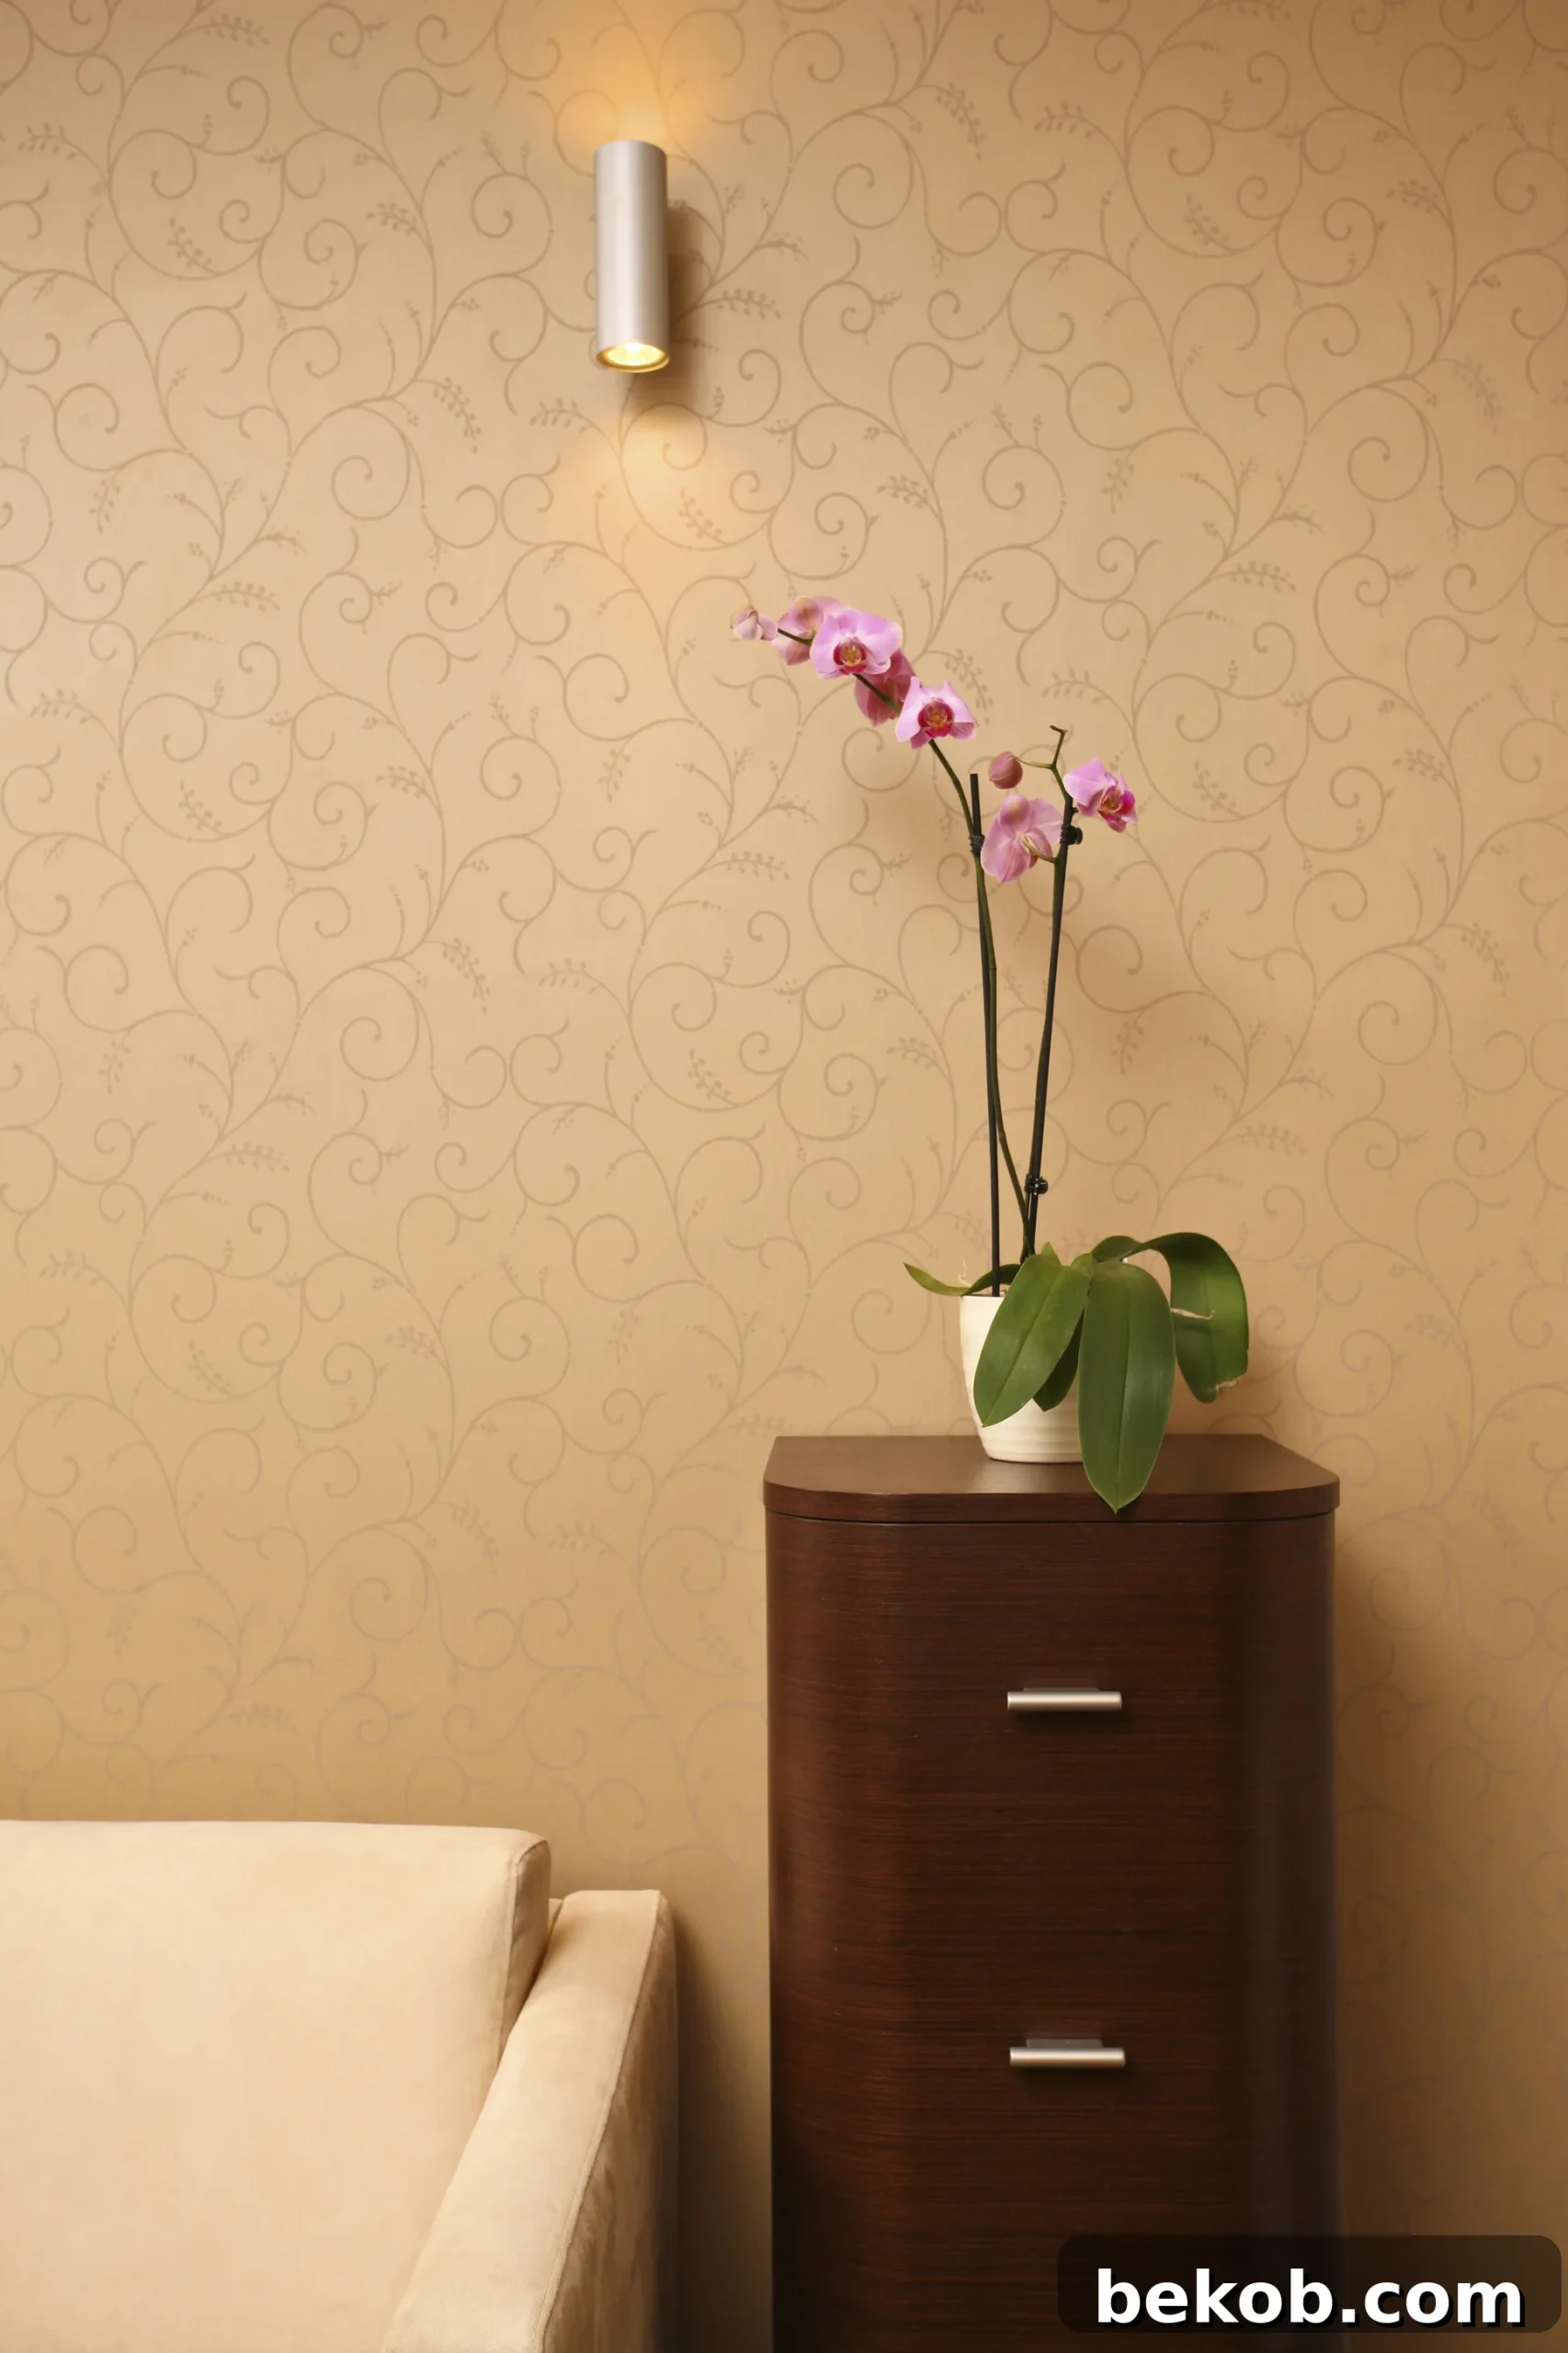
Unlock Your Walls’ Potential: 5 Creative DIY Decor Ideas with Paint Pens
Are you looking to infuse personality and charm into your living spaces without the hefty cost and commitment of traditional wallpaper? Do you dream of transforming a dull room into a captivating haven that reflects your unique style? Often, a striking pattern on a single accent wall is all it takes to elevate a room from ordinary to extraordinary. While wallpaper certainly achieves this, it can be a significant investment, a notorious headache to install, and an even greater challenge to remove when your tastes inevitably change.
Fortunately, there’s a revolutionary, budget-friendly, and incredibly versatile alternative that allows for boundless creativity: paint pens! These simple tools can unlock a world of DIY wall decor possibilities, offering the precision of a marker with the rich pigmentation of paint. Imagine creating bespoke designs, intricate patterns, or grand murals with ease, all without the mess and intimidation of traditional painting. Whether you’re a seasoned artist or a novice DIY enthusiast, paint pens empower you to personalize your home with stunning, hand-crafted details.
In this comprehensive guide, we’ll explore five ingenious ways to decorate your walls using paint pens, turning your decorative visions into tangible realities. Get ready to discover how these humble tools can dramatically transform your home, offering flexibility, affordability, and endless creative freedom. Let’s dive into the exciting world of paint pen wall art!
1. Embrace Your Inner Artist: Freehand It!
For those with a knack for drawing or a passion for artistic expression, freehanding a design directly onto your wall is an incredibly rewarding method to make your room pop. This approach allows for unparalleled customization and ensures your accent wall is truly one-of-a-kind. You don’t need to be a professional artist; sometimes, the beauty lies in the imperfect, hand-drawn quality of the lines.
Before you begin, gather inspiration from various sources. Peruse wallpaper designs, scroll through Pinterest boards, or even sketch out ideas on paper to find a pattern or motif that resonates with you. Many find success in replicating organic, nature-inspired patterns, whimsical doodles, or even abstract geometric shapes. The key is to start with a concept that you feel confident translating onto a larger canvas.
Take Kellie, for instance, who magnificently transformed her long hallway walls with a unique freehand design, as seen here. Her work serves as a brilliant example of how a repetitive yet intricate pattern can add depth and character to an otherwise overlooked space. The impact is truly remarkable!
Inspired by Kellie’s success, one of her readers also tackled a similar wall treatment with a paint pen, achieving equally stunning results. These examples highlight the accessibility of this technique, proving that anyone can create beautiful, personalized wall art.
Another inspiring freehand project is Monica’s modern faux stone accent wall. Her technique involved sketching the design with a pencil directly onto the wall first, then meticulously tracing over it with a black paint pen. This method offers a safety net for those who might feel less confident about their freehand skills, allowing for adjustments before the permanent application of paint.
If you’re not entirely confident in your freehand abilities, adopting Monica’s approach by sketching your design with a pencil beforehand is highly recommended. This allows you to refine your pattern, correct any mistakes, and visualize the final look before committing. It’s an excellent way to test out any design you envision, giving you peace of mind and ensuring a result you’ll love. Remember, practice makes perfect, and even simple, repeated motifs can create a powerful visual statement.
2. Precision and Ease: Utilize a Pre-made Stencil
For those who desire intricate patterns and crisp lines without the artistic pressure of freehand drawing, pre-made stencils are an absolute game-changer. Using a paint pen with a stencil is a far less messy and more precise alternative to traditional stencil painting with brushes and liquid paint. The fine tip of a paint pen allows you to trace within the stencil’s cutouts with incredible accuracy, resulting in a cleaner, more delicate finish.
The beauty of this method lies in its simplicity and the professional-looking results it yields. Stencils come in an endless array of designs, from classic damasks and floral motifs to modern geometrics and whimsical elements, ensuring there’s a perfect pattern for every aesthetic. Applying paint with a pen also minimizes paint bleed under the stencil, a common frustration with brushes, making the process smoother and more enjoyable.
Amy, from Amy’s Casablanca, demonstrated the elegant results of this method by using a pre-made stencil with a paint pen. Her project showcases how effortlessly sophisticated patterns can be achieved, adding a touch of bespoke artistry to any room. The precision afforded by paint pens allows for a truly refined look.
If you’re ready to explore this route, the selection of stencils available today is vast. Reputable companies like Royal Design Studio offer an amazing array of high-quality stencils, ranging from intricate global patterns to bold contemporary designs, providing endless possibilities for your accent wall project. Always secure your stencil firmly to the wall with painter’s tape or a temporary adhesive spray to prevent movement and ensure sharp edges.
3. Unleash Customization: Create Your Own Stencil or Template
Why limit yourself to pre-made designs when you can craft a pattern that is uniquely yours? Creating your own stencil or template offers the ultimate personalization, allowing you to replicate any design you can imagine, from intricate personal logos to abstract shapes inspired by everyday objects. This DIY approach not only saves money but also ensures that your wall decor is truly reflective of your personal style and creativity.
The process of making your own stencil can be incredibly straightforward. A Beautiful Mess famously created a fun, interlocking pattern stencil out of cardboard, meticulously cutting it out with an X-Acto knife. They ingeniously used push pins to hold the stencil in place on the wall as they traced, ensuring consistent alignment and a seamless repeat. This method is ideal for repetitive geometric or simple organic patterns.
Alternatively, if your design is more about tracing an outline than filling in a cutout, a template might be a better fit. Wendy, from Shabby Nest, demonstrated this beautifully by creating a template based on a fabric pattern she adored. She meticulously traced around the fabric motif with a pencil, then went back to refine and darken the lines with a paint pen. This technique is fantastic for replicating delicate designs, like damasks or intricate floral arrangements, from textiles or other sources of inspiration.
Sometimes, the best templates are right under your nose! Savannah from Classy Clutter created this stunning scalloped accent wall using an unexpected household item: a steamer pot lid! This clever approach exemplifies how everyday objects can serve as perfect templates for unique designs. Before you embark on your project, it’s advisable to finalize your desired pattern and design. This will help you determine whether a custom stencil (for filling in areas) or a template (for tracing outlines) is the most suitable tool for your vision.
4. Structured Elegance: Measure Out a Geometric Design
While often associated with numbers and equations, mathematics is also the backbone of stunning visual design. It allows for precision, balance, and mesmerizing patterns that can transform a plain wall into a modern masterpiece. With a little measuring, careful planning, and a dose of creativity, you can design and execute a breathtaking geometric accent wall using just a paint pen, a ruler, and a level.
Geometric designs are incredibly versatile, ranging from simple stripes and chevrons to complex tessellations and abstract angular patterns. They introduce a sense of order, sophistication, and contemporary flair to any room. The key to success with this method lies in meticulous measurement and accurate marking before you apply any paint.
Mandi from Vintage Revivals showcased the power of geometry with her DIY Sharpie “wallpaper” accent wall. She masterfully used a level and a ruler to create perfectly straight horizontal lines, followed by additional measurements to form an array of triangles. The finished wall is an absolute beauty, demonstrating how simple shapes, when repeated and arranged thoughtfully, can create a dynamic and visually engaging focal point.
Another inspiring example comes from Becky, who created an adorable arrow-patterned nursery feature wall for her son. Again, a ruler and a level were her primary tools for achieving these crisp, playful arrows. For those who prefer digital planning, Becky also leveraged software like Photoshop to map out her design beforehand, which can be an excellent strategy for visualizing the pattern and ensuring proportionality before you even touch the wall.
Even the simplest geometric designs can have a powerful impact. Consider Julia’s bathroom transformation, where a simple, diagonal design rendered with a gold metallic paint pen proved unexpectedly gorgeous. This elegant approach, easily achieved with just a little measuring and a long, straight ruler, added a touch of luxury and movement to the space. The visual effect of metallic paint pens on a geometric pattern can be truly captivating, especially when light catches the subtle sheen. For complex patterns, it’s always a good idea to sketch your design lightly with a pencil first, or even draw it on a large piece of paper to gauge scale and spacing before transferring it to the wall.
5. Go Big or Go Home: Use a Projector for Murals
If your vision extends beyond repetitive patterns to a grand, expansive mural, paint pens paired with a projector offer an incredibly effective and accessible solution. This method allows you to transfer virtually any image – from intricate landscapes to bold typography – onto your wall with precision and ease, making it perfect for creating a truly custom focal point in any room.
The beauty of using a projector is that it eliminates the need for advanced drawing skills. The projector casts your chosen image onto the wall, which you can then simply trace with a pencil before filling in the details with your paint pens. This technique is particularly popular for creating elaborate scenes in children’s rooms, detailed world maps in studies, or striking abstract art in living areas.
Amanda from Burlap and Denim beautifully showcased this method by creating a magnificent world map mural for her son’s room using an overhead projector. The result is not only visually stunning but also educational, making it a truly engaging piece of wall art that can inspire curiosity and adventure. Imagine the conversations and learning opportunities a mural like this could spark!
Don’t own an overhead projector? No problem! Many local libraries offer them for loan, or you can invest in an affordable image projector, which is a versatile tool for various DIY projects. The options for your mural are virtually limitless: you can draw your own design, create one digitally in Photoshop or a similar program, print out a high-resolution photo from the internet, or even trace an intricate image from a book. This method empowers you to execute large-scale, detailed designs with a professional finish, transforming an entire wall into a captivating canvas.
Essential Tips for Successful Paint Pen Wall Decor
To ensure your paint pen wall decor project is a resounding success, consider these crucial tips:
- Choose the Right Pens: Always opt for high-quality, latex or water-based paint pens. These are not only easier to work with but also make future changes simple, as they can be painted over without the need for extensive priming. Look for various nib sizes (fine, medium, broad) to accommodate different design details. Oil-based pens, while durable, can be more challenging to remove or cover.
- Surface Preparation is Key: Ensure your wall is clean, dry, and smooth. Any dust, grime, or imperfections will show through your design. A light sanding and a fresh coat of base paint can make a huge difference.
- Practice Makes Perfect: Before drawing on your wall, practice your lines and patterns on a scrap piece of cardboard or paper. This helps you get a feel for the pen’s flow and consistency.
- Start Lightly: For freehand or template-based designs, always sketch your pattern lightly with a pencil first. This allows for corrections and adjustments before committing with the paint pen.
- Work in Sections: Especially for large or repetitive patterns, divide your wall into manageable sections. This helps maintain consistency and prevents fatigue.
- Ventilation: While water-based paint pens typically have low odor, always ensure good ventilation in your workspace.
- Fixing Mistakes: Small mistakes can often be gently wiped away with a damp cloth if caught quickly, especially with water-based pens. For dried errors, a tiny bit of matching wall paint can cover them.
Transform Your Space with Confidence
The greatest advantage of using paint pens to create an accent wall or mural is the incredible impact achieved through a remarkably affordable project. A quality paint pen typically costs just a few dollars, making this a highly accessible DIY endeavor. You can find them readily available at most craft and art supply stores.
These five methods – freehand artistry, pre-made stencils, custom templates, geometric precision, and projector-aided murals – offer a spectrum of possibilities for every skill level and design preference. Each approach empowers you to bypass the hassle and expense of wallpaper, offering a flexible, creative, and personalized way to enhance your home’s aesthetic.
So, why wait? Grab a few paint pens, unleash your creativity, and start transforming your walls into unique expressions of your style. Whether you’re aiming for a subtle backdrop or a bold statement piece, paint pens provide an easy, enjoyable, and impactful path to stunning DIY home decor. Your dream walls are just a few strokes away!
For more inspiring decorating ideas and home renovation tips, be sure to check out our other guides:
- 8 Ideas for Decorating a Kids Bathroom
- Great Mudroom Round Up