

The Ultimate Guide to Choosing the Perfect Paint Roller for a Flawless Finish
Achieving a professional-looking paint finish in your home is a deeply satisfying endeavor that significantly enhances your living space. While many factors contribute to a successful painting project, one often underestimated but critically important tool is the paint roller. With an overwhelming array of options available on the market, selecting the right paint roller for your specific project can feel like navigating a complex maze. The difference between a beautifully smooth, consistent coat and a splotchy, textured mess often comes down to this single choice.
This comprehensive guide is designed to demystify the process, offering expert insights and actionable tips to help you confidently choose the ideal paint roller for any painting task. By understanding the nuances of roller types, materials, and features, you’ll be equipped to achieve impeccable results, save time, and avoid common painting frustrations. Let’s delve into the essential considerations that will ensure your next painting project looks truly professional.
1. Understand Paint Type Compatibility
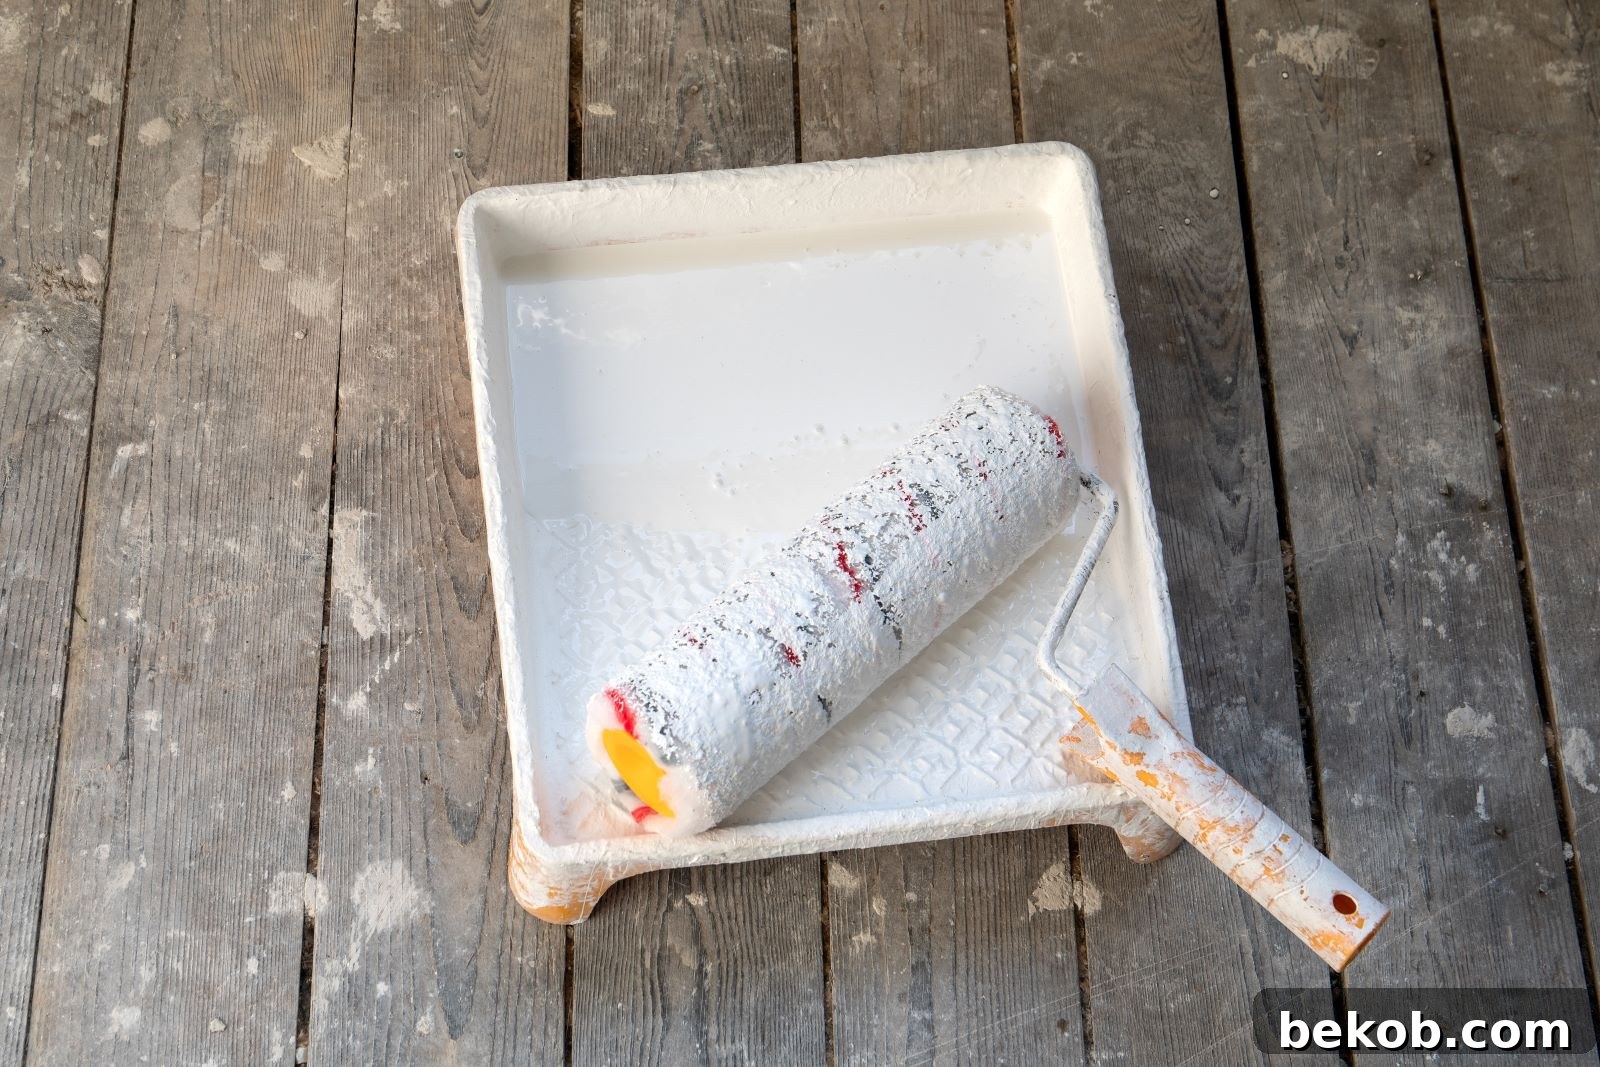
The type of paint you’re using is arguably the most crucial factor in selecting a compatible paint roller. Different paints possess unique characteristics, such as viscosity, drying time, and chemical composition, which dictate the best roller material and nap length. For instance, water-based paints (like latex or acrylics) are generally best applied with synthetic fiber rollers (polyester, nylon, or a blend), as these materials resist absorbing water and becoming matted, ensuring a smooth and even application. Oil-based paints, on the other hand, often benefit from natural fiber rollers (like lambswool or mohair) or specific synthetic blends designed for solvent resistance, which can provide a superior finish and better durability with these thicker paints. Using the wrong roller can lead to poor paint transfer, uneven coverage, roller degradation, or even streaks and bubbles, compromising your entire finish. Always check the paint can’s recommendations, as manufacturers often specify suitable applicator types.
2. Choose the Right Roller Material and Nap Length
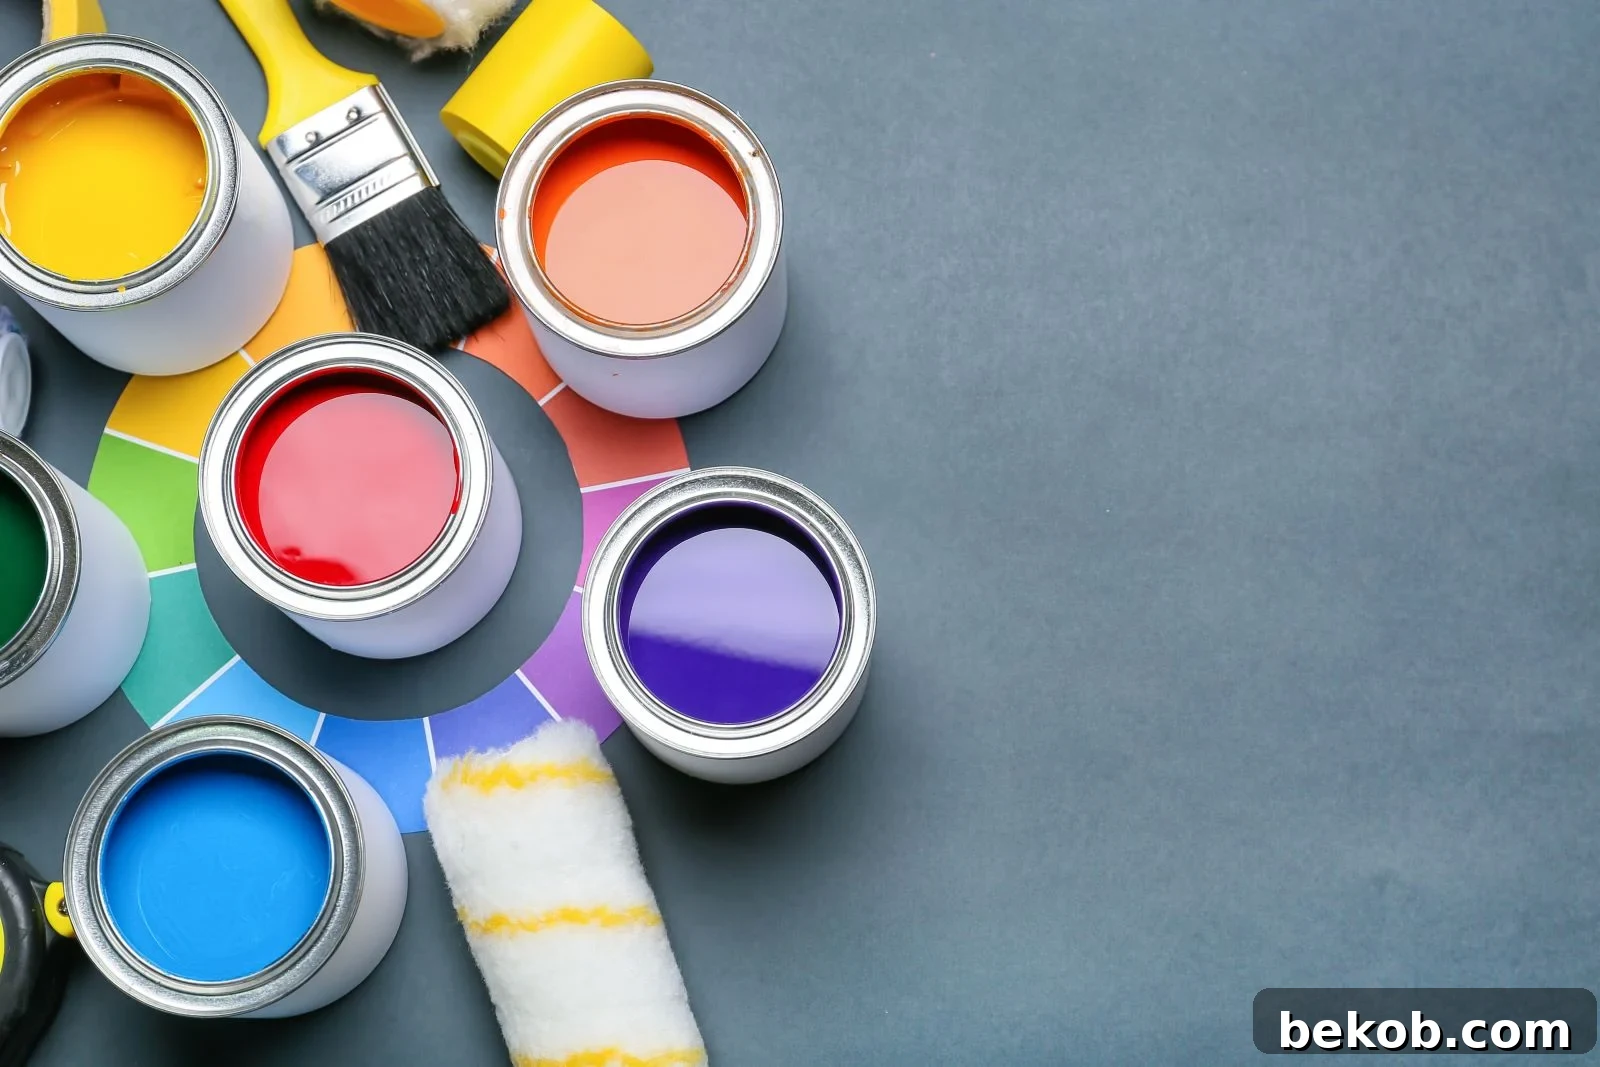
The roller’s material, often referred to as its “nap” or “pile,” directly impacts how the paint is picked up, held, and released onto the surface, as well as the final texture of your finish. Understanding the various materials and their ideal uses is fundamental:
- Knit Polyester/Nylon Blends: These synthetic fibers are highly versatile and durable, making them excellent for water-based paints, primers, and many oil-based paints. They offer good paint pick-up and release, with minimal shedding, making them a popular choice for general use.
- Woven Polyester/Microfiber: Known for their excellent absorption and smooth finish, microfiber rollers are highly efficient for both water-based and some oil-based paints on smooth to semi-smooth surfaces. They tend to minimize splatter and leave a lint-free finish.
- Lambswool/Mohair: These natural fibers are often preferred for oil-based paints, enamels, and varnishes. They hold a large amount of paint and deliver an exceptionally smooth, high-quality finish, though they can be more expensive and require thorough cleaning.
- Foam: Foam rollers are designed for ultra-smooth surfaces, providing a glass-like finish with thin paints, stains, and clear coats. They are ideal for trim, cabinets, and furniture, but they may create air bubbles if applied too quickly or with thicker paints.
Beyond material, the nap length (the length of the fibers) is crucial for surface texture:
- Short Nap (1/4″ – 3/8″): Best for very smooth surfaces like drywall, plaster, metal, or trim. It delivers the smoothest finish and minimizes stippling.
- Medium Nap (3/8″ – 1/2″): The most versatile choice for lightly textured walls, ceilings, and semi-smooth surfaces. It holds a good amount of paint without excessive spatter.
- Long Nap (3/4″ – 1 1/4″): Ideal for rough or highly textured surfaces like stucco, brick, concrete, or popcorn ceilings. It allows the roller to penetrate crevices and deliver adequate coverage.

3. Assess the Roller’s Absorption Capacity and Density
The absorption capacity of a roller’s material, coupled with its density, plays a significant role in the efficiency and quality of your painting. A roller that can hold a sufficient amount of paint will reduce the number of times you need to reload, speeding up your project and contributing to more consistent coverage. However, it’s not just about how much paint it holds, but also how well it releases it. A high-quality roller will absorb paint evenly and release it smoothly and consistently without excessive dripping or spattering. The density of the roller material—whether low, medium, or high—will influence this balance. Denser rollers often provide a smoother finish with less lint, while less dense rollers can be useful for absorbing a lot of paint for very rough surfaces. Always consider the porosity of the material and how effectively it manages paint distribution to ensure a uniform application every time.

4. Examine the Roller’s Core
The core is the central cylindrical component that gives the roller cover its shape and provides a secure fit onto the roller frame. While often overlooked, the quality of the core significantly impacts the roller’s performance and longevity. A sturdy, well-constructed core, typically made from high-density plastic or phenolic resin, prevents wobbling and ensures smooth rotation during painting. Cheap cardboard cores, in contrast, can soften, warp, or even collapse when exposed to paint or cleaning solutions, leading to an uneven application and frustrating delays. Furthermore, a high-quality core should be properly sealed to prevent paint from seeping inside, which can cause the roller cover to stick to the frame, making removal and cleaning difficult. Investing in rollers with robust cores ensures consistent pressure, easy attachment, and a more durable tool for your project.
5. Determine the Ideal Roller Width for Your Project
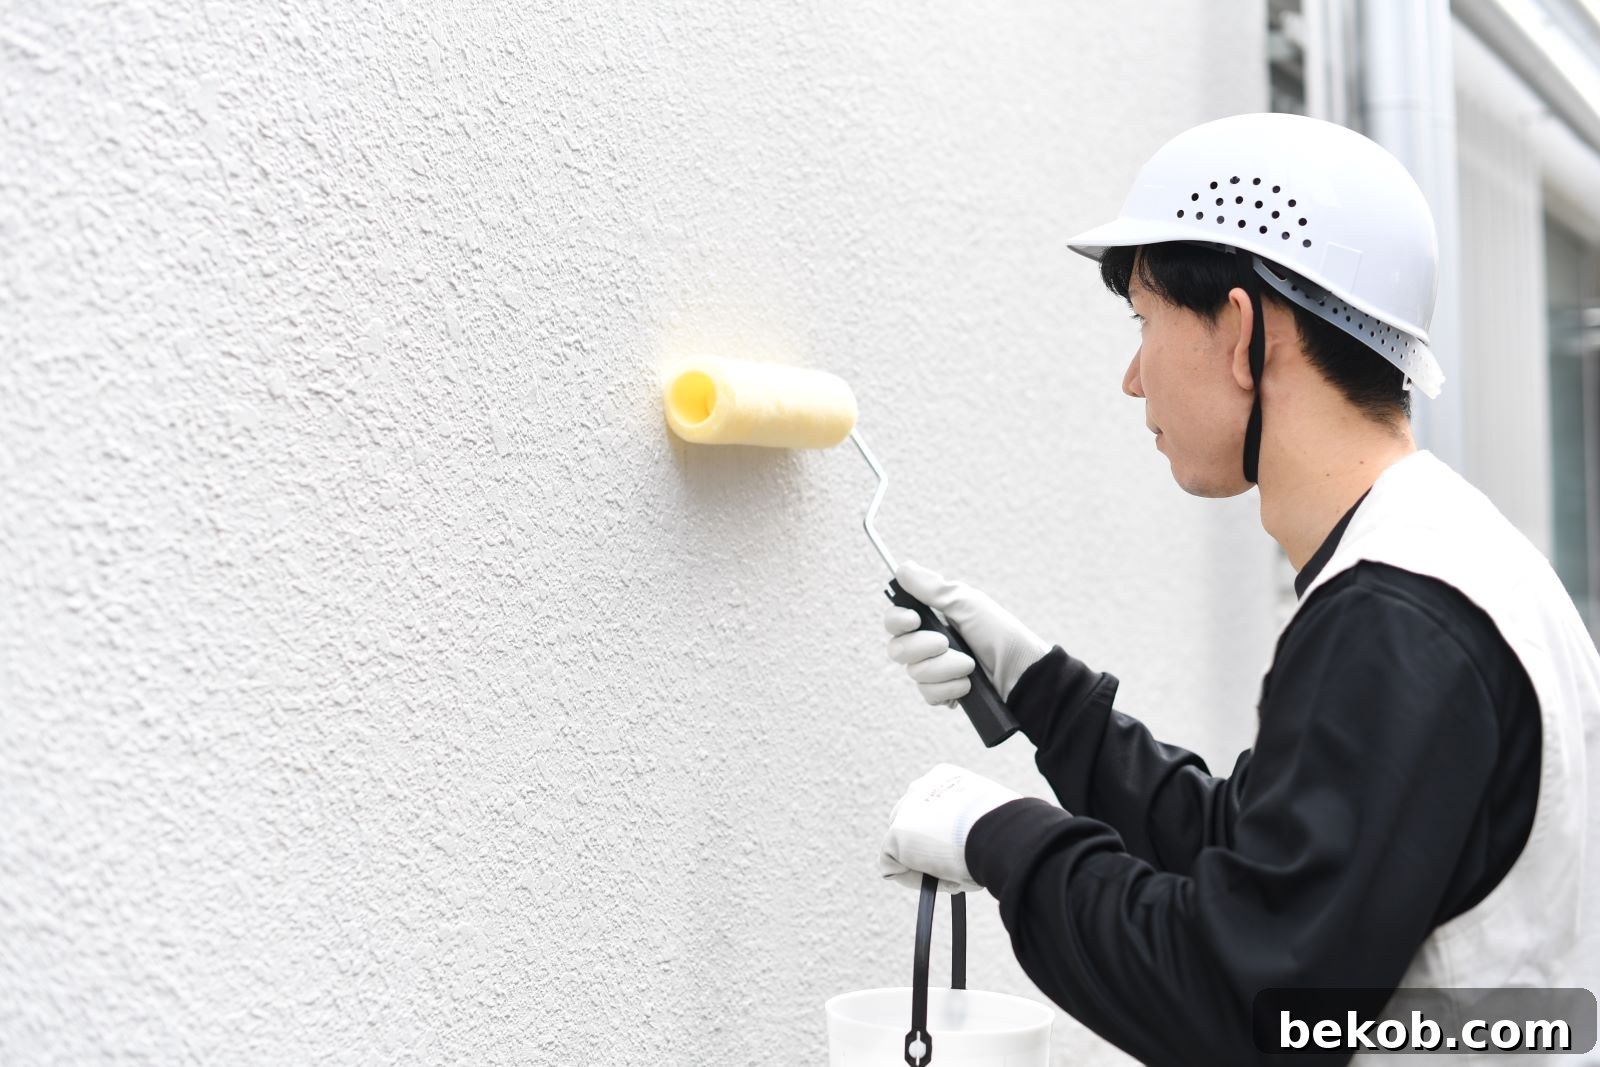
The width of your paint roller directly affects the speed and consistency of your painting. Choosing the correct width is essential for both efficiency and achieving a uniform finish, especially when dealing with different-sized areas. For expansive surfaces like living room walls, ceilings, or large exterior facades, wider rollers (12-inch or 18-inch) are highly efficient, covering more ground with each stroke and significantly speeding up the process. This helps to maintain a wet edge, reducing visible lap marks. For smaller, more confined spaces such as hallways, bathrooms, or areas around windows and doors, a standard 9-inch roller is often ideal, offering a balance of coverage and maneuverability. For intricate work, trim, furniture, or very tight spots like behind toilets or under stairs, mini-rollers (4-inch or 6-inch) are indispensable, allowing for precision and preventing paint from getting where it doesn’t belong. Carefully assess the scope and dimensions of your painting area before making a decision on roller width.
6. Consider Handle Length for Reach and Comfort
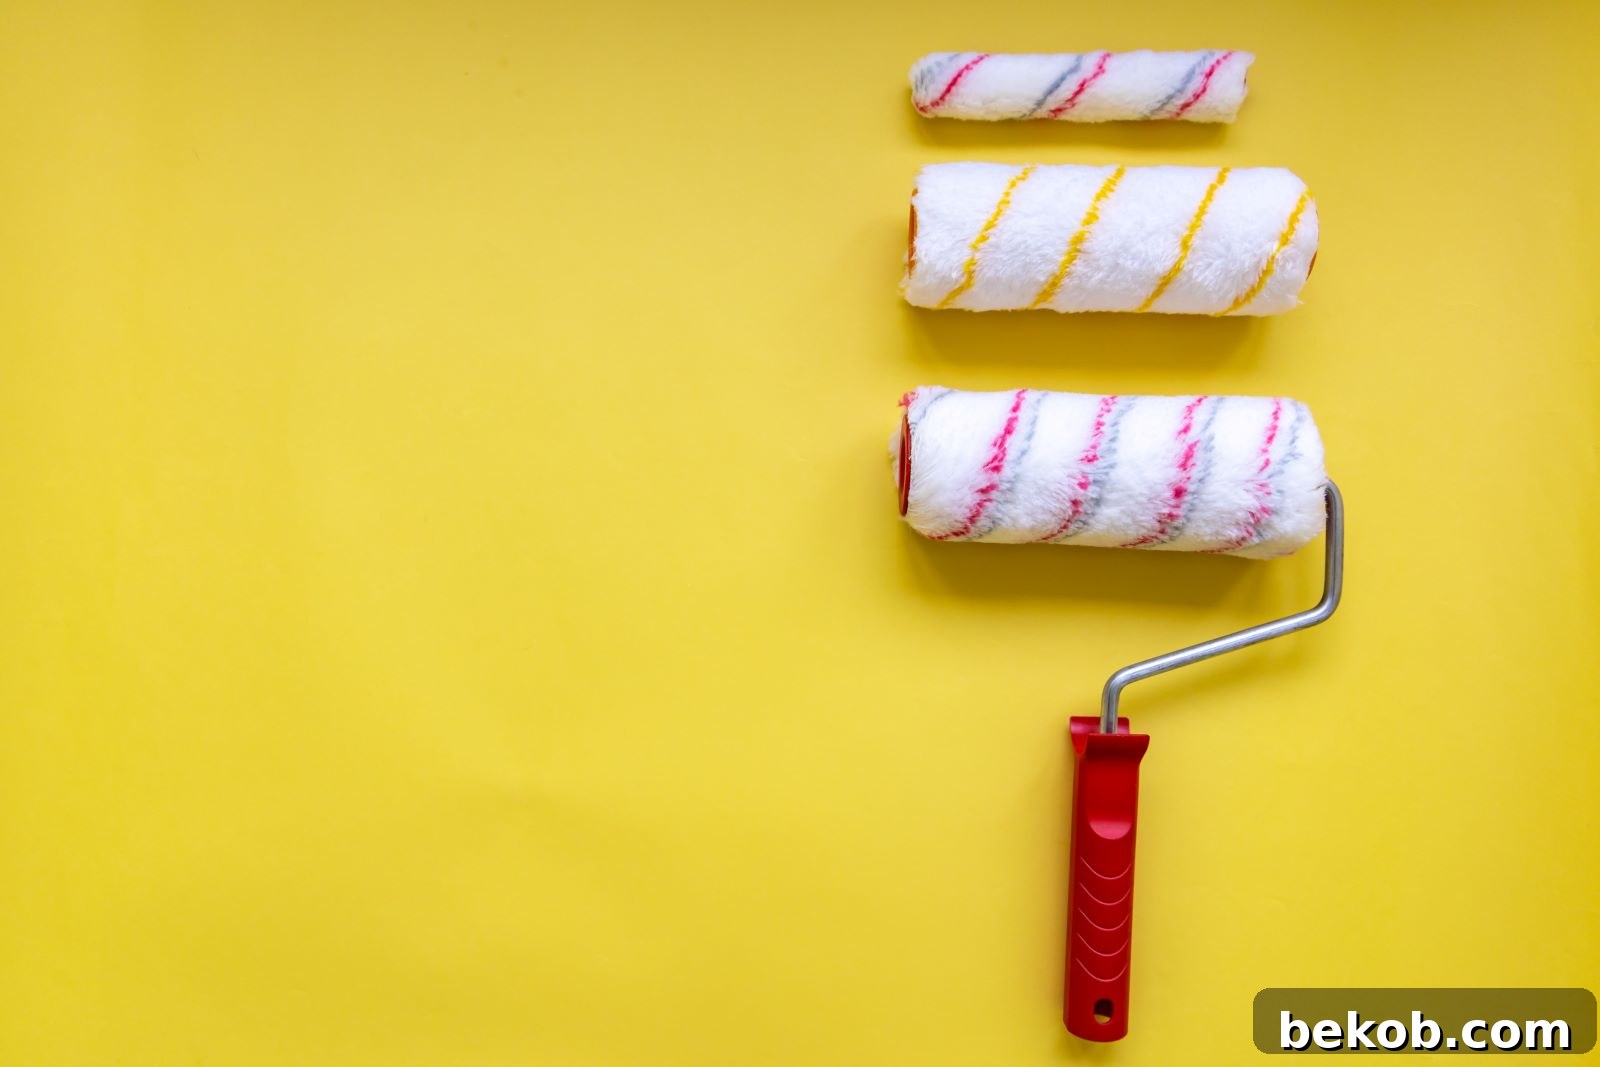
The handle length of your paint roller, or the frame it attaches to, is crucial for both reach and ergonomic comfort during your painting project. Painting often involves awkward angles and high surfaces, and having the right handle can prevent unnecessary strain and improve efficiency. Standard roller frames are typically around 12-14 inches long, suitable for most wall sections. However, for hard-to-reach areas, high ceilings, or to avoid constant bending, an extension pole is an invaluable accessory. These telescopic handles can extend your reach significantly, allowing you to paint walls and ceilings without the need for ladders or scaffolding, thereby enhancing safety and reducing fatigue. When choosing an extension pole, ensure it has a sturdy connection to the roller frame and a comfortable grip. A good balance between flexibility and reach is achieved with a pole that can extend to lengths of 18 to 38 inches, allowing you to tackle various heights with ease.
7. Evaluate the Roller Frame’s Quality and Ergonomics
Beyond the roller cover itself, the frame on which it sits is a critical component that affects both your comfort and the quality of your paint application. A high-quality roller frame should be made from sturdy, durable material, typically steel or reinforced plastic, to prevent flexing or bending under pressure. A flimsy frame can lead to uneven pressure, streaks, and premature wear on the roller cover. Look for frames with a comfortable, ergonomic grip that reduces hand fatigue during long painting sessions. Rubberized or soft-touch handles are often preferred for their enhanced comfort and control. Additionally, check the frame’s cage mechanism – it should hold the roller cover securely without wobbling, but also allow for easy attachment and removal. Some frames feature quick-release buttons or spring-loaded clips, which can be a time-saver. A well-designed frame also ensures proper balance, making it easier to maneuver and apply paint smoothly across surfaces, thus contributing significantly to a more pleasant and effective painting experience.

8. Factor in Compatibility with Paint Additives
Modern painting often involves the use of various additives to modify paint characteristics, such as extenders to prolong drying time, conditioners to improve flow and leveling, or texture additives to create specific finishes. If you plan to incorporate any of these into your paint, it is imperative to ensure that your chosen paint roller is compatible with them. Some materials used in roller covers can react adversely with certain chemical additives, leading to a breakdown of the roller fibers, reduced paint adhesion, or an altered finish. For instance, specific solvents in some paint extenders might degrade foam or certain synthetic materials. Always read the labels of both your paint additives and your roller covers, or consult with a paint store specialist, to confirm compatibility. This crucial step prevents unexpected issues during application and ensures the additives perform as intended, helping you achieve your desired paint performance and finish.
9. Prioritize Quality for Professional Results
While it might be tempting to opt for the cheapest paint roller available, prioritizing quality is a wise investment that pays dividends in the form of a superior finish, reduced frustration, and increased efficiency. A high-quality paint roller is designed with better materials and construction, leading to several key benefits. It will provide a smoother, more even finish with less stippling and visible roller marks. Premium rollers are also engineered to minimize spatter, keeping paint where it belongs – on your walls, not on you or your surroundings. Furthermore, a durable, high-quality roller will last longer, withstanding multiple cleanings and projects, and will not shed fibers into your paint. This durability ultimately contributes to faster application, as you won’t be constantly stopping to remove lint or re-roll patchy areas. You can often discern quality by checking customer reviews, opting for reputable brands, and feeling the roller material itself – it should feel dense and resilient.
10. Consider Your Budget and Cost-Effectiveness
Like any DIY project, painting requires proper budgeting, and paint rollers are no exception. While prioritizing quality (as discussed above) is important, it’s also essential to consider the cost of a paint roller in relation to your project’s scope and your overall budget. For a single, small project, a mid-range quality roller might be perfectly adequate, offering good performance without a premium price tag. However, for extensive home renovations or frequent painting tasks, investing in a higher-quality, more durable roller and frame can prove more cost-effective in the long run. A cheap roller might save you a few dollars upfront, but if it sheds fibers, spatters excessively, delivers a poor finish, or needs frequent replacement, the hidden costs in time, frustration, and potential re-work can quickly outweigh the initial savings. Balance your desire for efficiency and a professional finish with your budget, aiming for the best quality you can afford for the specific needs of your project.

11. Understand the Surface Texture of Your Project
The texture of the surface you’re painting is a critical determinant for choosing the correct roller nap. Applying a short-nap roller to a rough, porous wall will lead to inadequate coverage and a patchy finish, as the roller won’t effectively push paint into the crevices. Conversely, using a long-nap roller on a very smooth surface will likely result in excessive stippling (a bumpy texture) and possible paint drips, ruining the sleek look you’re aiming for. Therefore, accurately assessing your surface is key:
- Smooth Surfaces (e.g., new drywall, plaster, trim, cabinets): Require a very short nap (1/4″ to 3/8″) or a foam roller for the smoothest, most professional finish.
- Semi-Smooth Surfaces (e.g., lightly textured walls, existing painted drywall): A medium nap (3/8″ to 1/2″) is typically ideal, offering good paint pick-up and release without excessive texture.
- Rough Surfaces (e.g., stucco, concrete, brick, popcorn ceilings, heavily textured walls): Demand a longer nap (3/4″ to 1 1/4″) to ensure the roller can adequately deposit paint into all the indentations and irregularities, providing full and even coverage.
Matching the nap to the surface ensures maximum efficiency, optimal paint adhesion, and the desired aesthetic outcome for your project.
12. Read Reviews and Seek Expert Advice
In today’s interconnected world, one of the most valuable resources for making an informed purchase decision is the collective experience of other users. Before committing to a specific paint roller, take the time to read online reviews from previous customers. These reviews can offer practical insights into a roller’s real-world performance, durability, ease of cleaning, and any potential quirks or drawbacks that might not be evident from product descriptions alone. Look for consistent feedback regarding aspects like lint shedding, spatter, finish quality, and compatibility with various paint types. Furthermore, don’t hesitate to seek advice from professionals. Staff at reputable paint stores or experienced hardware store employees often possess a wealth of knowledge and can provide personalized recommendations based on your specific project, paint choice, and skill level. Their expert guidance can be invaluable in narrowing down your options and ensuring you make the best choice for a flawless finish.
Choosing the perfect paint roller is not merely a matter of grabbing the first one you see. It’s a strategic decision that, when made thoughtfully, can significantly impact the ease of your painting process and the professional quality of your final finish. By carefully considering these twelve essential tips – from understanding paint compatibility and roller materials to assessing core quality, width, and ergonomic comfort – you empower yourself to make confident choices. Remember that investing a little extra time and perhaps a bit more money in the right tools is a fundamental step toward achieving beautiful, lasting results in your home. Armed with this knowledge, you are now ready to tackle your next painting project with skill and precision. Happy painting!
Related Articles & Further Reading
Pick Perfectly: 11 Steps to Pro Paint Color Schemes!

Ready to transform your home with stunning color? Let’s cruise through these 11 no-brainer steps the pros use to cook up some killer color combos. These easy-peasy steps will be your roadmap to picking out some wicked paint shades for your pad, ensuring your home’s aesthetic is perfectly harmonized.
Choosing the Perfect Paint Sheen: Top 10 Tips for Your Next Project

Are you struggling to choose the perfect paint sheen for your next project? Don’t fret; we’re here to guide you with our top 10 foolproof tips, designed to help you make an informed and confident decision that complements your space and lifestyle.
26 Tips for Painting Interior Doors
Don’t underestimate the impact of freshly painted doors! Check out these amazing 26 tips for painting interior doors to achieve a smooth, durable finish that elevates the look of your entire home.
Best Dark Green Paint Colors for Walls & Cabinets

If you’re considering adding rich, sophisticated dark green shades to your home, here are our picks for the best dark green paint colors for your home, kitchen cabinets, and walls, bringing a touch of nature-inspired elegance indoors.
And for a dose of design nostalgia, let’s check out some old home design trends that are so yesterday. We’re talking about things that used to be cool but now make us go, “Huh?” Here are 15 outdated home trends that need a major makeover to bring your decor into the modern era!