
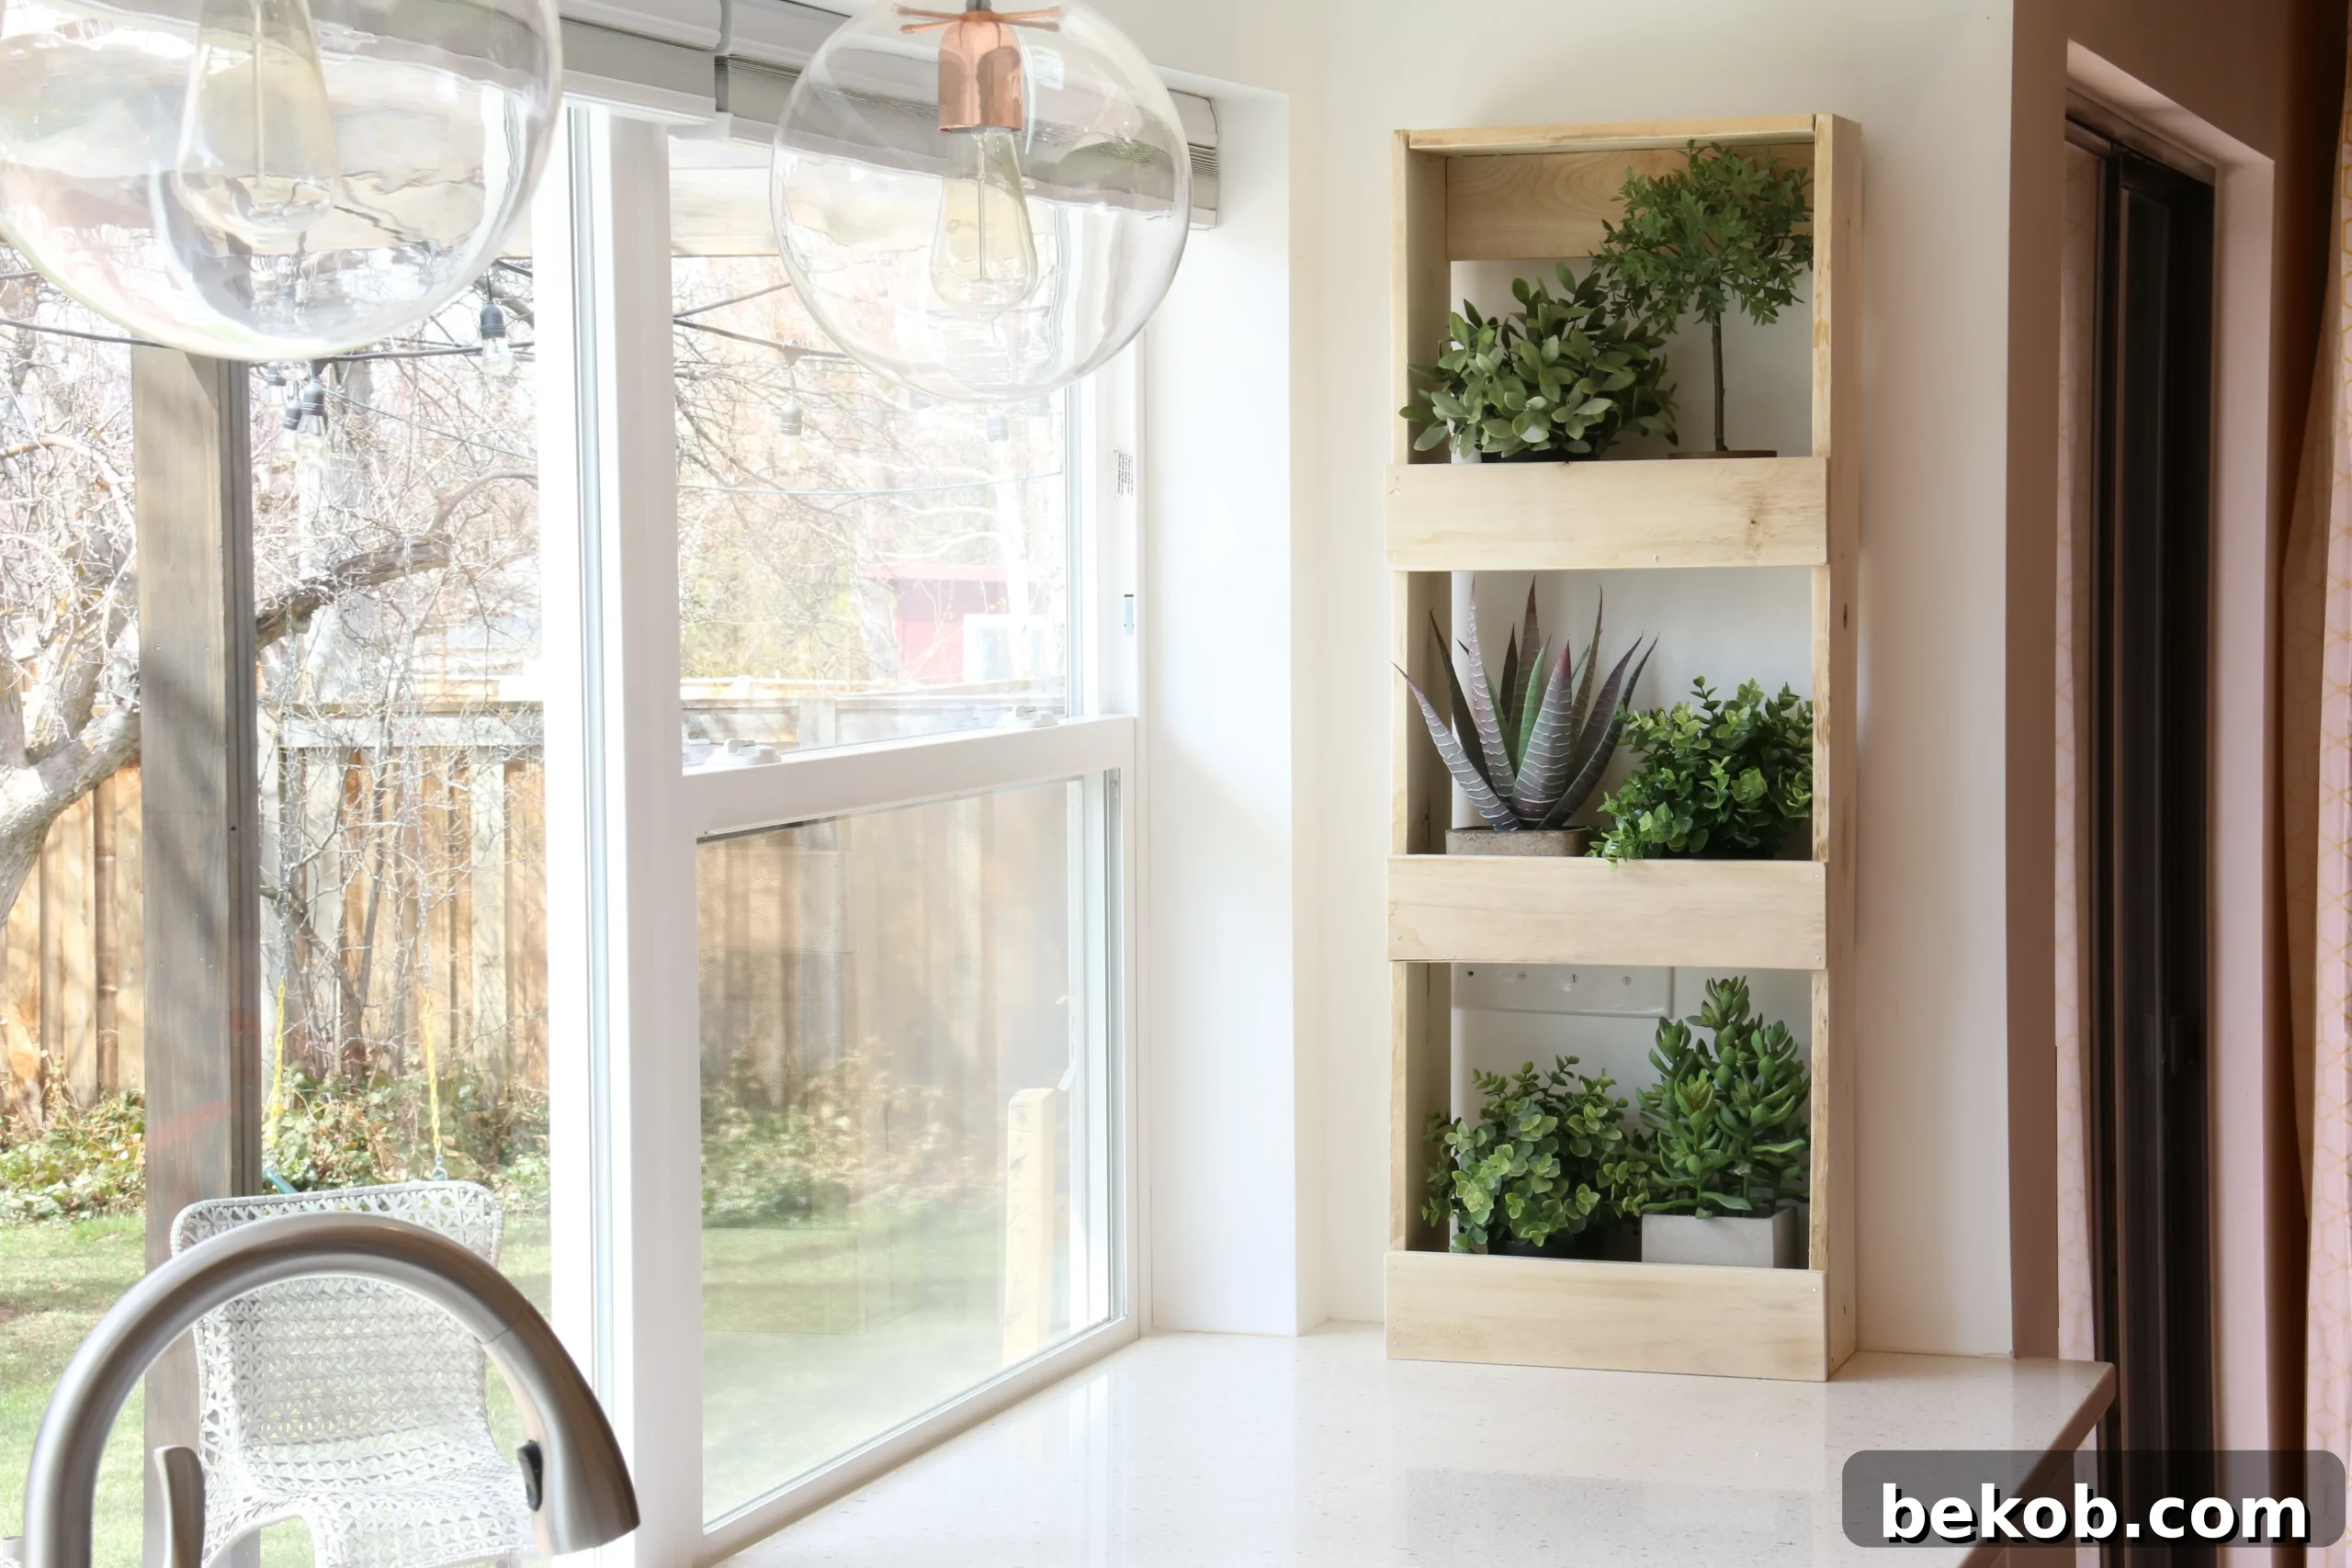
DIY Rustic Wall Bins: Easy Storage and Decor Ideas
Welcome! Are you looking for a simple and stylish way to add storage to your home? Look no further! This guide will walk you through building your own rustic wall bins, perfect for any room and skill level. These versatile bins are not only functional but also add a touch of rustic charm to your decor.
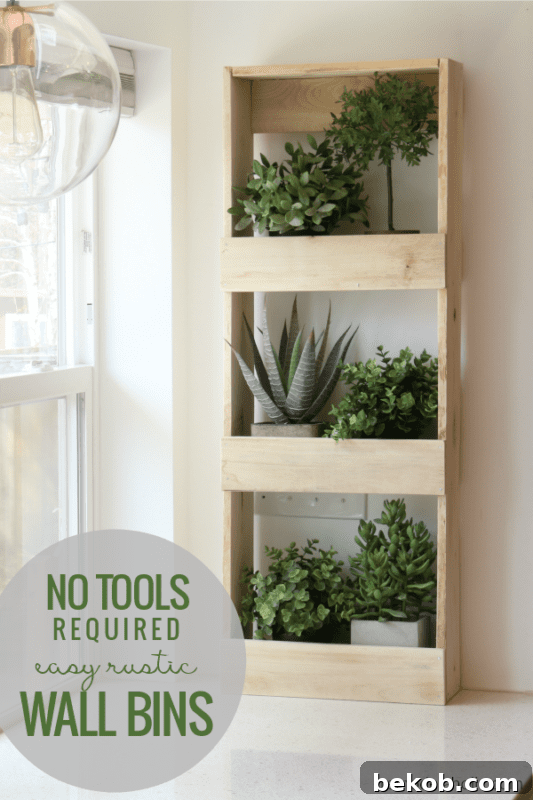
How to Build an Easy Wooden Wall Bin: A Step-by-Step Guide
Note: This post contains affiliate links. Please see our full disclosure policy here for more information.
In this tutorial, we’ll show you how to create a simplified version of our popular rustic wall bins. We’ve streamlined the design to make it even easier for beginners. The best part? You don’t need a ton of expensive power tools! With just a few basic tools, you can create these charming storage bins for your home.
We originally built these wall bins from reclaimed pallet wood, giving them a unique, rustic appeal. The updated design features only straight cuts, making the construction process straightforward and beginner-friendly. You can easily complete this project with an inexpensive miter box and saw, a hammer, and some nails. This project is a testament to the fact that you don’t need fancy equipment to create beautiful and functional pieces for your home.
These rustic wood wall bins offer a slim profile which are incredibly convenient for storing smaller items. Think gloves, scarves, and even baby shoes! Their compact design makes them perfect for entryways or any space where you need to maximize storage without taking up too much room.
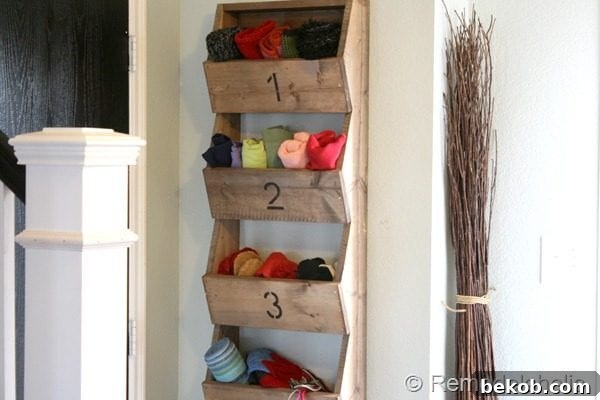
The simplified design, featuring all straight cuts, not only makes the building process easier but also enhances the versatility of these storage bins. You can use them in a variety of ways throughout your home. Let’s explore some of the possibilities.
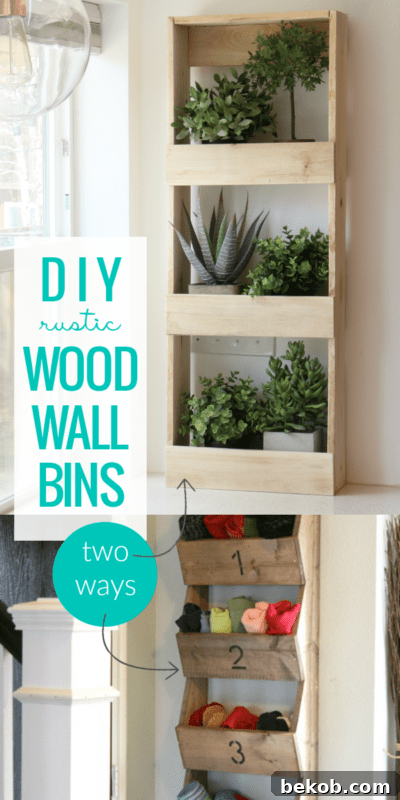
One idea is to use these wood bins as an herb garden in your kitchen window. Their rustic charm complements the natural beauty of plants, creating a visually appealing and functional display.
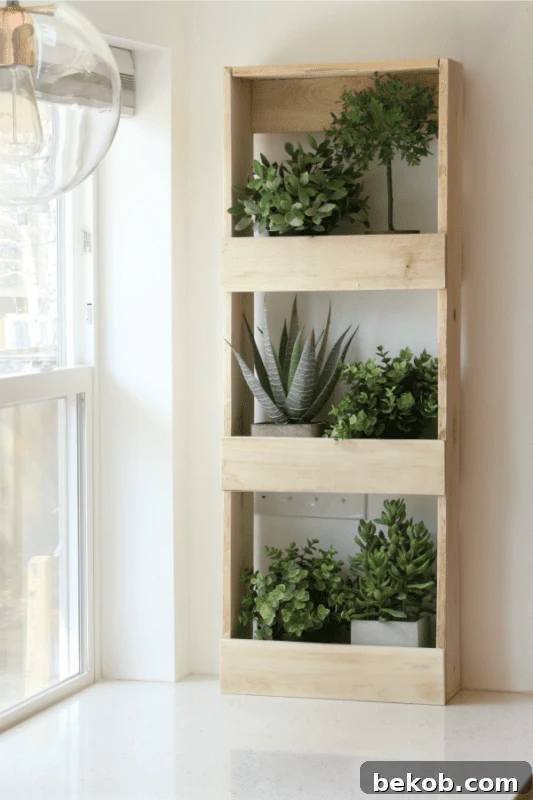
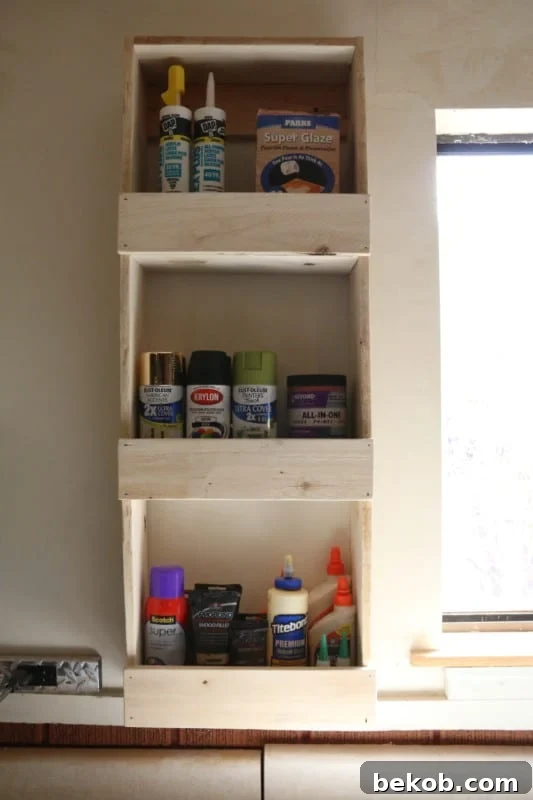
In the garage, these bins can provide much-needed storage for paint, glue, and other supplies. Their sturdy construction ensures that your items are safely stored and easily accessible.
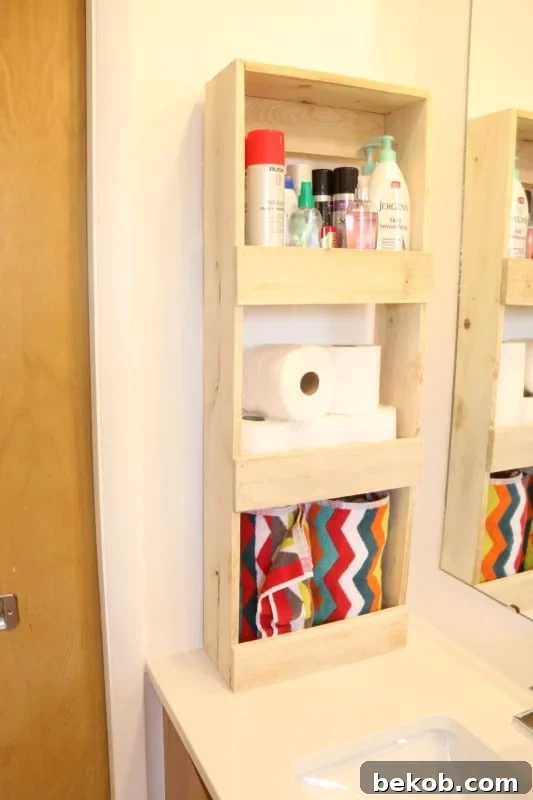
Another great place for these bins is in the bathroom. Use them to store towels, toilet paper, and toiletries like lotion and hairspray. This helps keep your bathroom organized and clutter-free.
To elevate the look of these bins, consider using a nicer grade of wood and applying a stain for a more refined, department-store style. Adding label holders can further enhance their functionality and aesthetic appeal. Alternatively, you can stick with a less expensive board and paint or stain it to match your existing decor. These bins are incredibly versatile and can be customized to fit seamlessly into any space, from an entryway to a kids’ room, craft room, office, or even a closet!

We’d love to hear about where you plan to use these wall bins! Share your ideas and projects with us, and let us know what other DIY projects you’d like to see us tackle.
Don’t forget to check out the original plans for the angled wall bins, too!
More DIY Wall Bin Storage Tutorials:
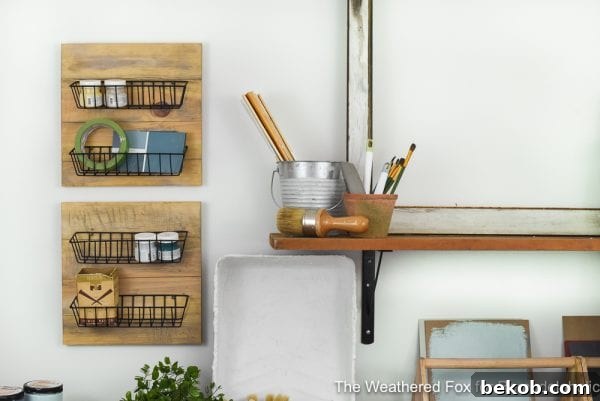
Wall cubby storage shelf
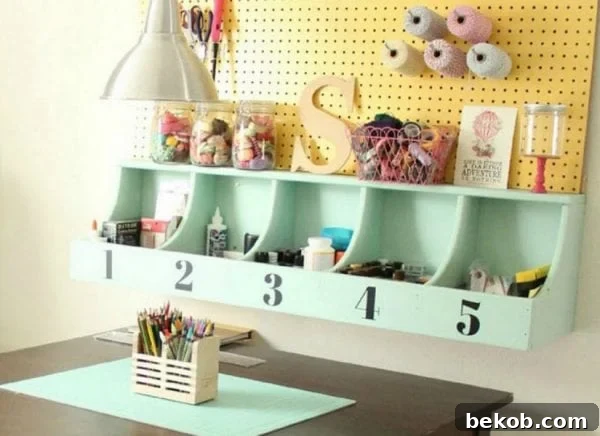
Dollar store wire wall baskets
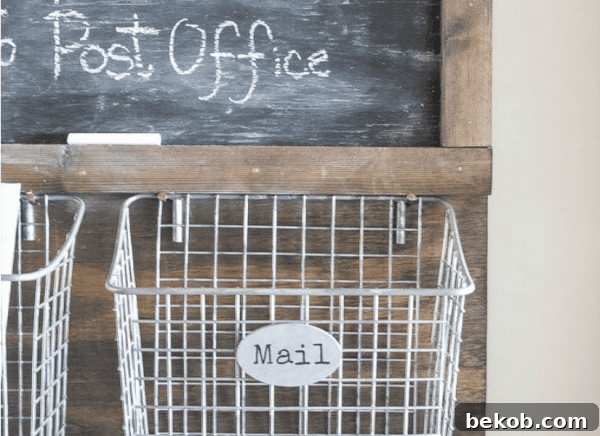
Chalkboard mail organizer with baskets
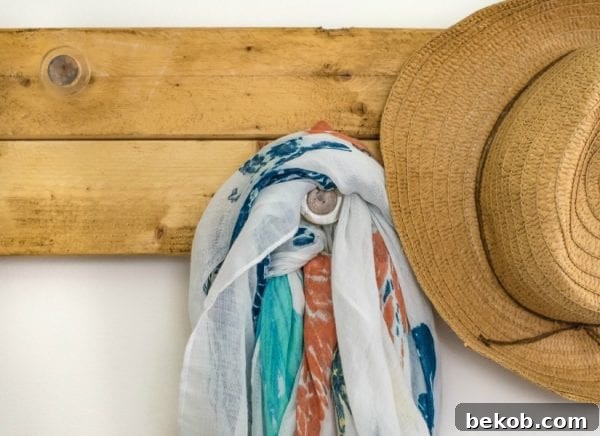
Farmhouse wall rack
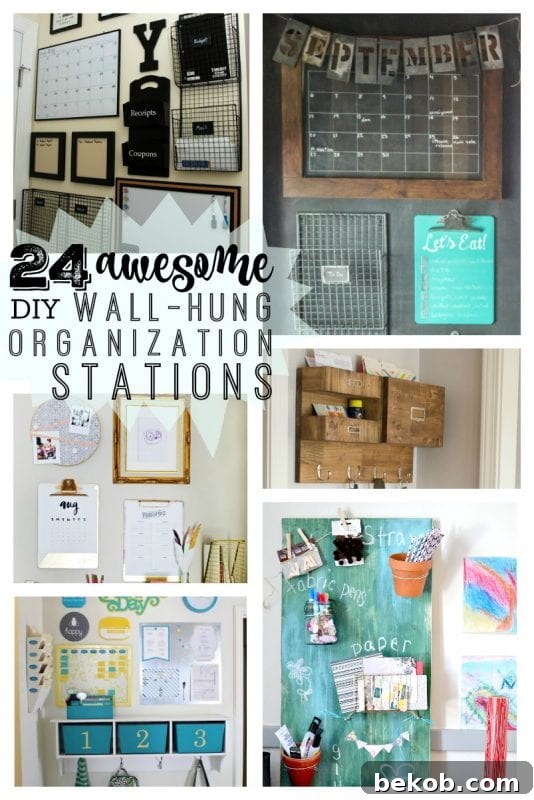
Plus 24 more awesome wall organization stations
Beyond the Basics: Expanding Your Rustic Wall Bin Project
Now that you’ve mastered the basic rustic wall bin, let’s explore some ways to customize and expand your project. Consider these ideas to make your wall bins even more unique and functional:
Custom Sizes and Configurations
Don’t feel limited to the standard size. Adjust the dimensions to fit specific needs. Create taller bins for storing umbrellas or wrapping paper, or wider bins for holding larger items like blankets. You can also combine multiple bins to create a modular wall storage system.
Adding Dividers and Shelves
Enhance the functionality of your bins by adding dividers or small shelves. This is particularly useful for organizing smaller items like craft supplies, office stationery, or bathroom toiletries. Use thin pieces of wood to create compartments within the bins, maximizing space and organization.
Experimenting with Different Wood Types
While reclaimed pallet wood adds a charming rustic look, consider experimenting with other types of wood. Pine, oak, or cedar can provide a more polished appearance. Each type of wood has its own unique grain and texture, so choose one that complements your existing decor.
Decorative Finishes and Embellishments
Take your rustic wall bins to the next level with decorative finishes and embellishments. Try distressing the wood for a more aged look, or use stencils to add patterns or designs. Consider adding decorative hardware like antique-style knobs or pulls. These small details can make a big difference in the overall appearance of your bins.
Integrating with Other DIY Projects
Consider how your rustic wall bins can be integrated with other DIY projects in your home. For example, you could build a custom shelving unit and incorporate the bins as part of the overall design. Or, you could create a matching set of bins and shelves for a cohesive look throughout your home.
Sustainability and Eco-Friendly Practices
When building your rustic wall bins, consider using sustainable and eco-friendly practices. Reclaimed wood is a great option, as it reduces waste and gives new life to old materials. Choose eco-friendly paints and stains, and avoid using harmful chemicals during the construction process.
Wall Bin Placement Ideas for Every Room
The beauty of these DIY rustic wall bins lies not only in their construction but also in their versatility. Here are some specific placement ideas to inspire your own decorating endeavors, room by room:
Entryway
The entryway is the first impression of your home. Install a few wall bins to hold keys, mail, sunglasses, and even dog leashes. This helps keep the entryway clutter-free and organized, making it easier to grab essential items as you head out the door.
Kitchen
In the kitchen, wall bins can be used to store spices, herbs, cooking utensils, or even small appliances. Mount them near the stove or countertop to keep frequently used items within easy reach. As mentioned, consider a small herb garden!
Bathroom
Bathrooms often lack sufficient storage space. Wall bins are perfect for holding extra towels, toiletries, or even decorative items like candles and bath salts. Install them near the sink or bathtub to keep essential items organized and accessible.
Bedroom
In the bedroom, wall bins can be used to store books, magazines, jewelry, or even clothing items like scarves and belts. Mount them next to the bed as a nightstand alternative, or above a dresser to maximize vertical space.
Home Office
A well-organized home office is essential for productivity. Wall bins can be used to store files, notebooks, pens, and other office supplies. Mount them above a desk or workstation to keep everything within easy reach and maintain a clutter-free workspace.
Kids’ Room
Kids’ rooms can quickly become cluttered with toys, books, and art supplies. Wall bins are a great solution for keeping these items organized. Mount them at a child-friendly height so kids can easily access their belongings and learn to tidy up after themselves.
Craft Room
Craft rooms often require specialized storage solutions. Wall bins can be used to store yarn, fabric, paint, brushes, and other crafting supplies. Mount them near a workstation to keep everything organized and easily accessible, fostering creativity and efficiency.
Final Thoughts on DIY Rustic Wall Bins
Building your own rustic wall bins is a rewarding DIY project that combines functionality with rustic charm. Whether you’re a beginner or an experienced woodworker, this project offers endless possibilities for customization and creativity. With a few basic tools and some reclaimed wood, you can create stylish and practical storage solutions for every room in your home.
Remember to share your DIY rustic wall bin projects with us! We love seeing how our readers customize and adapt our projects to suit their own unique needs and styles. Happy building!