
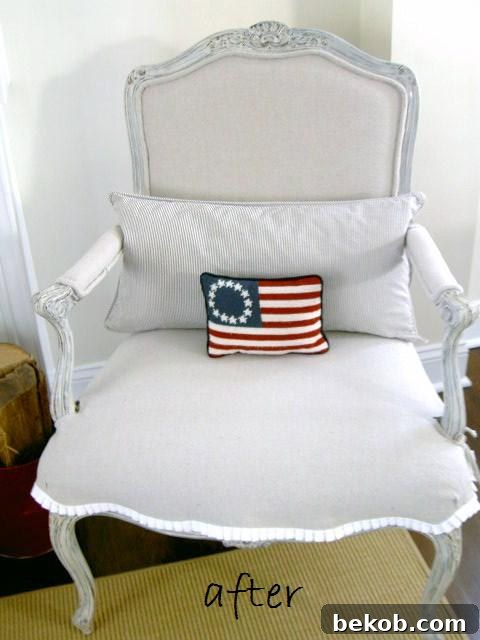
Amazing Armchair Makeover: A DIY Transformation
This stunning armchair makeover was originally featured on Remodelaholic by Jaime from That’s My Letter. Known for her creative DIY projects and transformations, Jaime’s blog is a virtual scrapbook of inspiring ideas for those who love to work with their hands. Her signature style involves titling each post with a letter and a descriptive word, making her projects instantly recognizable.
Jaime, a Midwestern native now residing on the East Coast, has always had a passion for creating. With a background in studio art and interior design, she now balances her creative pursuits with raising three young children. This armchair makeover perfectly showcases her ability to find beauty in the overlooked and transform it into something truly special.
Let’s dive into this incredible armchair transformation, a testament to the power of DIY and a keen eye for design.
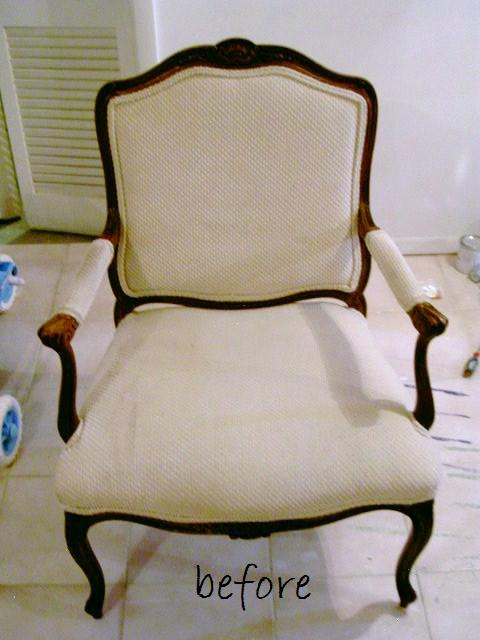
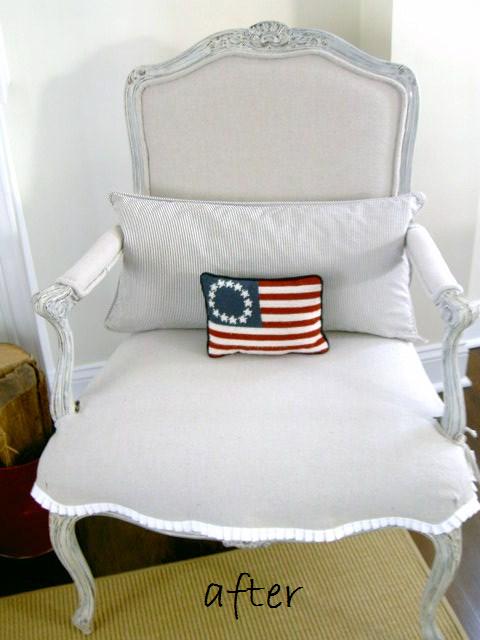
The journey begins with a simple discovery: a $20 armchair from the Salvation Army! While the chair was structurally sound, it lacked personality and needed a fresh, updated look. Jaime saw the potential and embarked on a mission to make it her own.
Step 1: Deconstruction and Preparation
The first step in this armchair makeover involved removing the existing upholstery and trim. This process allows for a clean slate and reveals the chair’s underlying structure, ready for a new design.
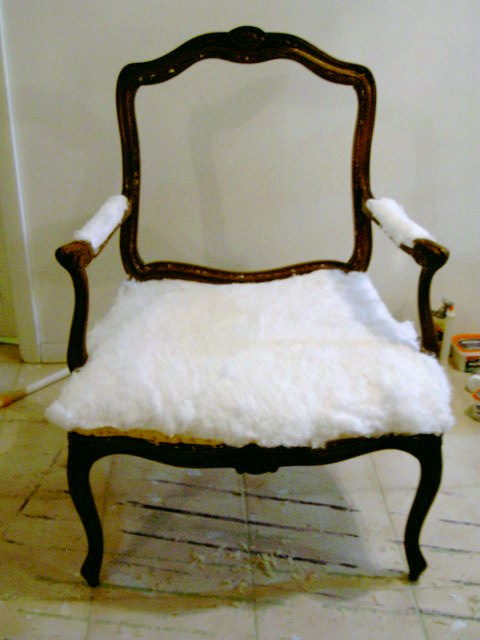
Step 2: Painting, Sanding, and Staining
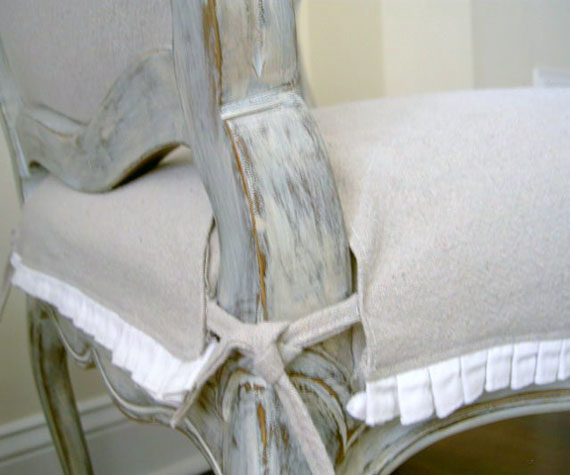
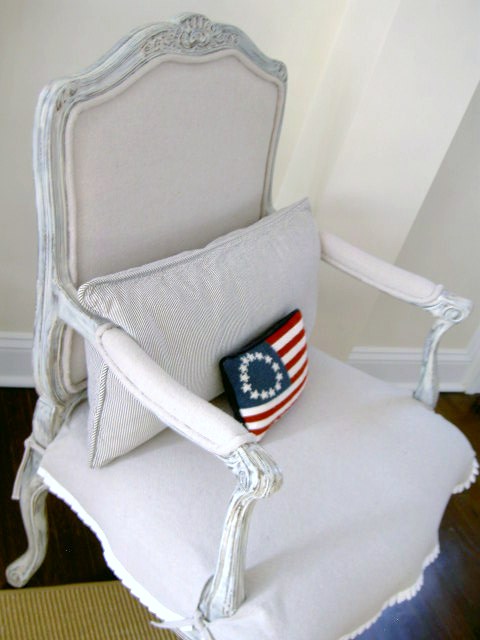
To give the armchair a fresh and updated look, Jaime painted, sanded, and stained the wooden frame. This process not only rejuvenated the wood but also highlighted the beautiful floral carvings, adding character and charm to the piece.
Choosing the right paint and stain colors is crucial in achieving the desired aesthetic. Opting for lighter colors can create a bright and airy feel, while darker stains can add a touch of elegance and sophistication. The sanding process helps to create a smooth surface for the paint and stain to adhere to, ensuring a professional finish. Distressing the paint after it dries can add a vintage or shabby chic effect, enhancing the chair’s unique character.
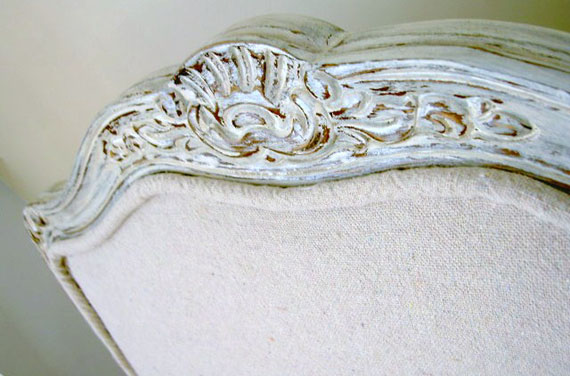
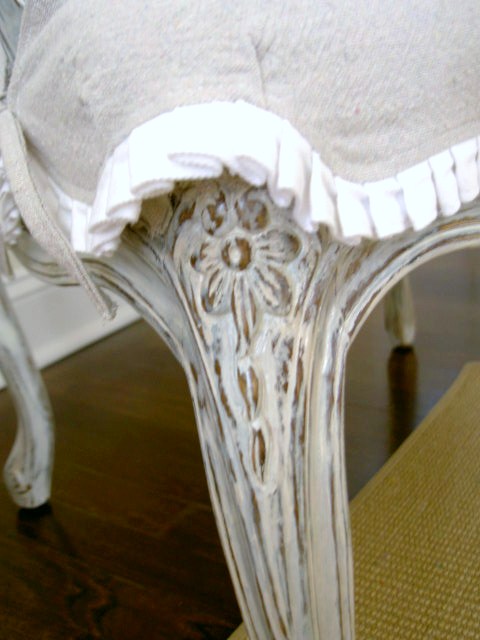
Step 3: Upholstery with a Washable Slipcover
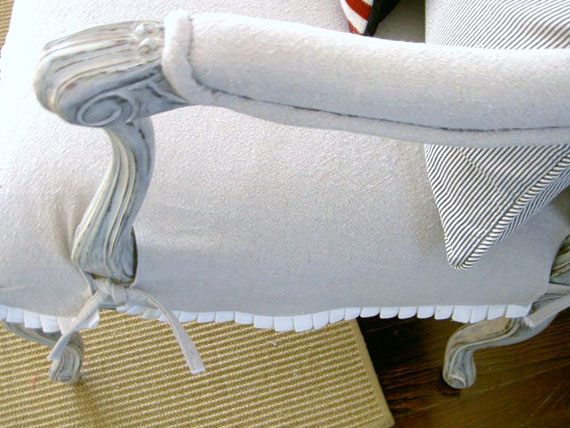
For the upholstery, Jaime chose a practical and stylish solution: a drop cloth. The drop cloth was stapled onto the chair, creating a base for a custom-made slipcover for the seat. This slipcover design offers a unique advantage for families with young children – it’s easily removable and washable!
Creating a slipcover involves careful measurement and cutting of the fabric to ensure a snug and tailored fit. Sewing the slipcover together can be done by hand or with a sewing machine, depending on your skill level and preference. The slipcover is then attached to the seat, providing a comfortable and easily maintainable seating surface.
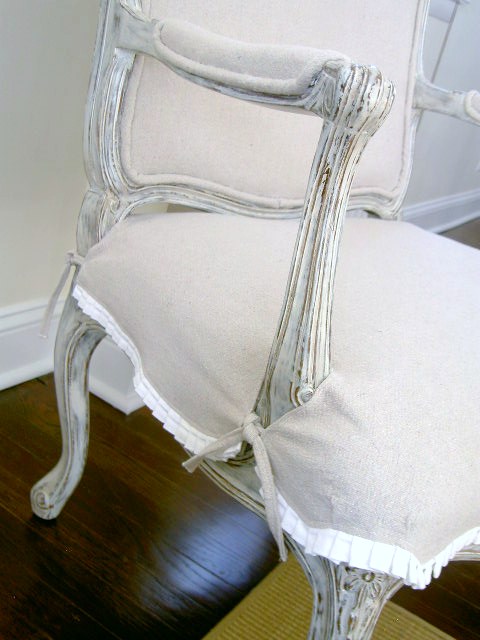
Step 4: Adding the Finishing Touches
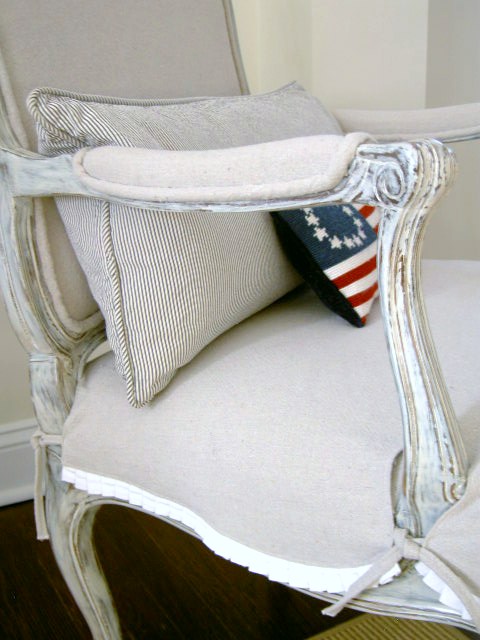
To complete the armchair makeover, Jaime added a pleated white trim to the slipcover. This trim not only gives the slipcover a polished and finished look but also creates a striking contrast against the beige of the drop cloth, making it truly stand out.
The addition of trim can elevate any upholstery project, adding a touch of elegance and sophistication. Choosing a trim that complements the fabric and overall design is essential. The pleated white trim used in this project provides a feminine and delicate touch, enhancing the chair’s shabby chic aesthetic.
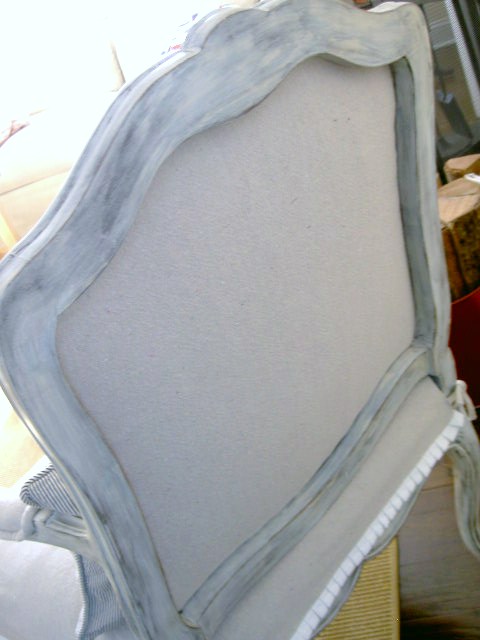
A view of the back and the trim:
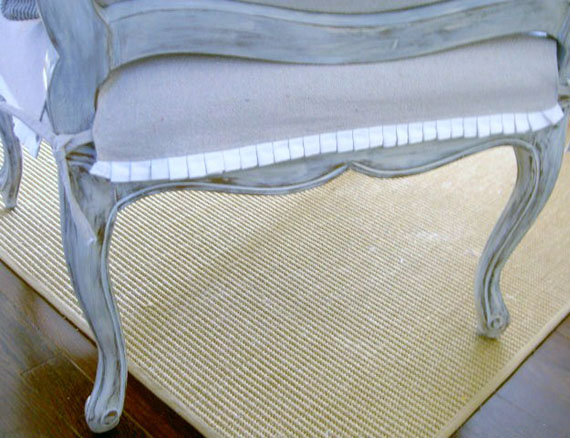
For a more detailed, step-by-step guide to this amazing armchair makeover, be sure to visit That’s My Letter.

This armchair makeover demonstrates that with a little vision, creativity, and effort, you can transform ordinary furniture into extraordinary pieces. Upcycling and renovating furniture is not only a cost-effective way to decorate your home but also an environmentally friendly practice.
By giving old furniture a new lease on life, you can reduce waste and create unique pieces that reflect your personal style. Whether you’re a seasoned DIY enthusiast or just starting out, this armchair makeover can serve as inspiration for your own furniture transformation projects.
Jaime from That’s My Letter takes pride in her projects and strives to capture the joy of working with her hands in each post. This armchair makeover is a perfect example of her dedication to creating beautiful and functional pieces through DIY. A big thank you to Cassity from Remodelaholic for featuring this inspiring project!
If you enjoyed this post, you might also like this amazing entry staircase reveal makeover!